Introduction
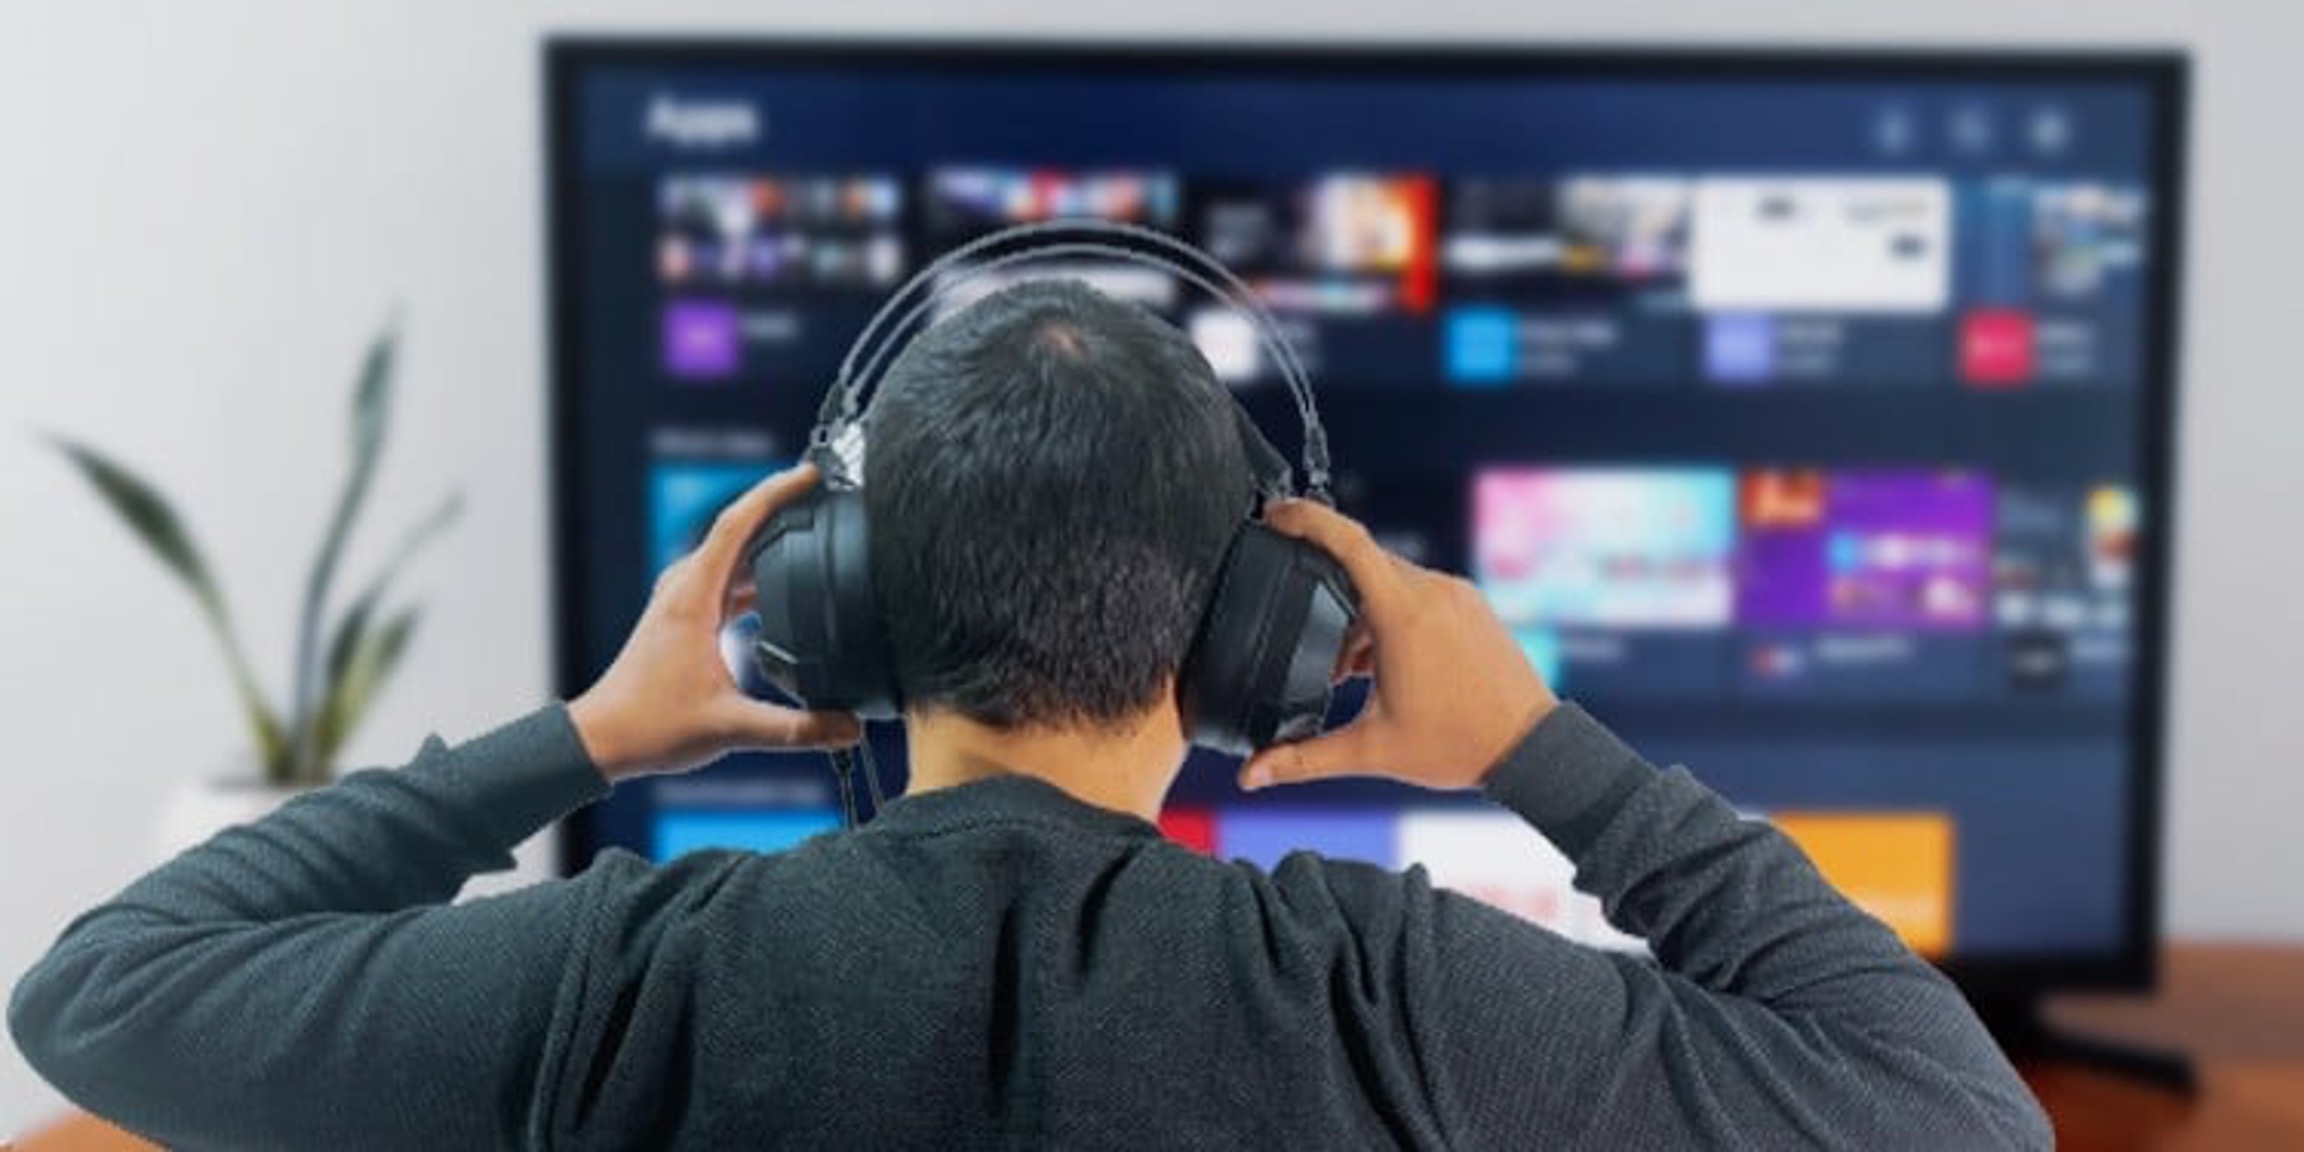
Wireless headphones have become a popular accessory for television viewing, providing a convenient and immersive audio experience. If you have a Smart TV and want to connect wireless headphones to it, you’ve come to the right place. In this article, we will guide you through the step-by-step process of connecting wireless headphones to a Smart TV.
Gone are the days of dealing with tangled wires and limited mobility while watching TV. With wireless headphones, you can enjoy your favorite shows, movies, and games without disturbing others or being restricted by cords. Whether you prefer to watch late at night, have a hearing impairment, or simply crave a more personalized audio experience, connecting wireless headphones to your Smart TV can greatly enhance your entertainment.
However, before diving into the process, it is important to consider the compatibility of your TV with wireless headphones, as well as the type of wireless headphones that would best suit your needs. Additionally, understanding how to set up and pair the headphones with your Smart TV, as well as troubleshooting common issues, will ensure a smooth and hassle-free experience.
In the following sections, we will walk you through each step required to connect wireless headphones to your Smart TV. Whether you have a Bluetooth-enabled TV or you need to use an intermediary device, such as a Bluetooth transmitter, we’ll cover everything you need to know. So, let’s get started on this journey to wireless audio freedom!
Step 1: Check the TV’s Compatibility with Wireless Headphones
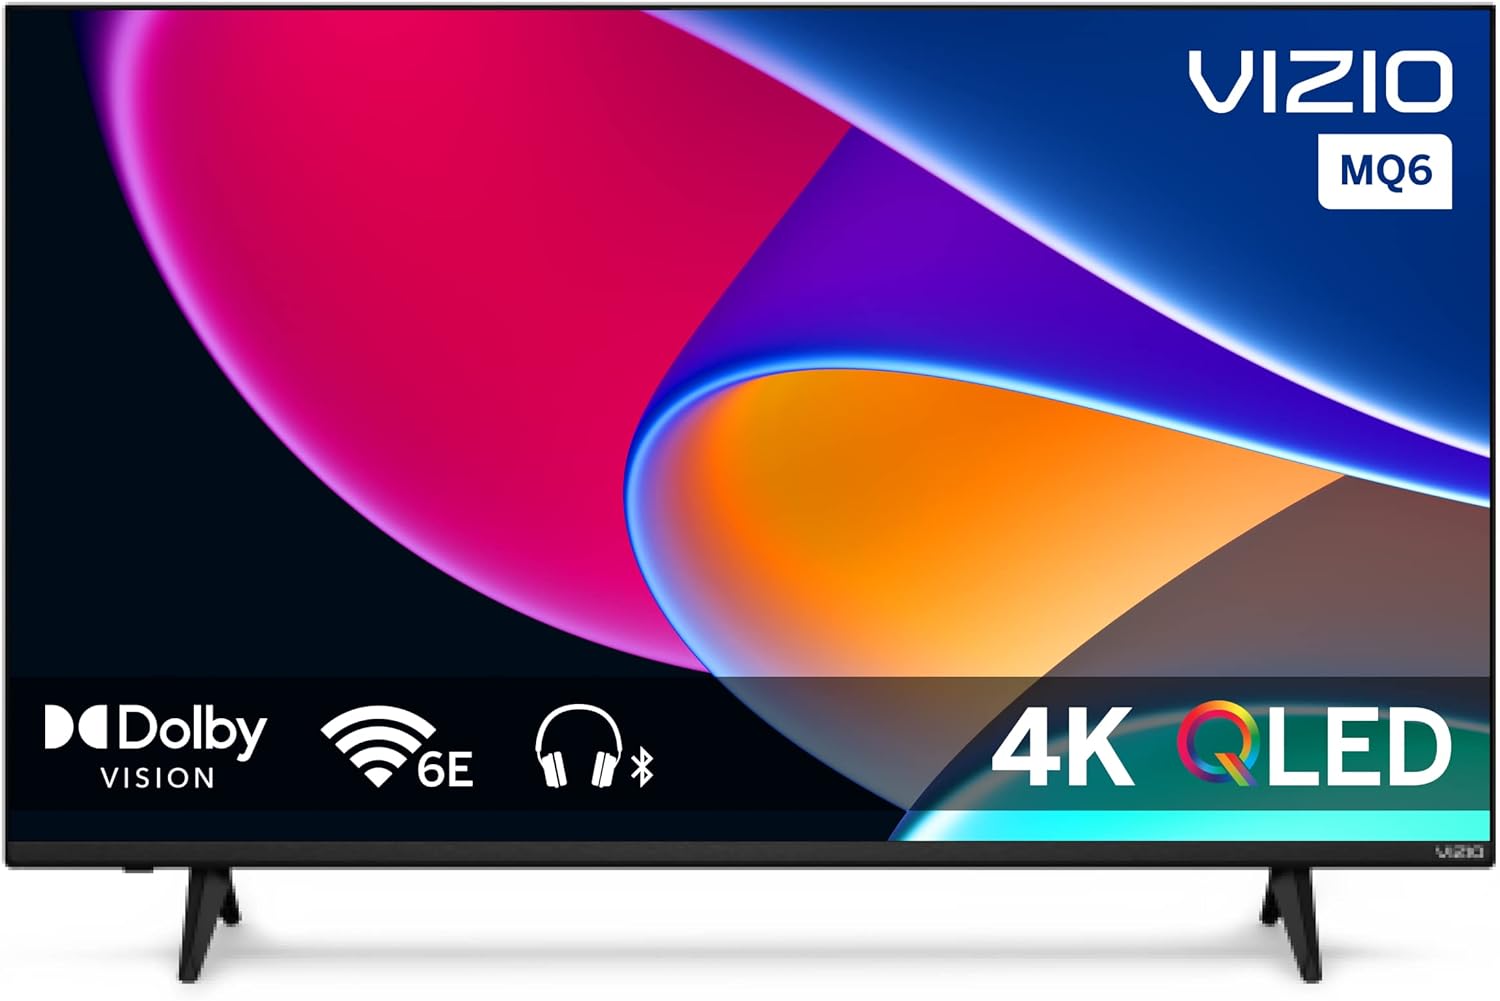
Before you begin the process of connecting your wireless headphones to your Smart TV, it’s important to ensure that your TV is compatible with wireless headphones. While most modern Smart TVs have Bluetooth functionality built-in, not all TVs support Bluetooth connections for audio devices like headphones.
To check if your TV is compatible, start by referring to the user manual or specifications of your Smart TV. Look for terms like “Bluetooth”, “wireless audio”, or “audio output options” in the features list. If you cannot find any information about Bluetooth capabilities, it is likely that your TV does not support wireless headphone connections.
Another way to check compatibility is by navigating through the TV’s settings menu. Look for an option related to audio connections or audio output. If you find a Bluetooth or wireless audio option, it’s a good indication that your TV is compatible with wireless headphone connections.
If your TV doesn’t have built-in Bluetooth capabilities, don’t worry. You can still connect your wireless headphones using an external Bluetooth transmitter. These devices allow you to add Bluetooth functionality to non-Bluetooth TVs by connecting them to the audio output ports on the TV.
In summary, confirming your TV’s compatibility with wireless headphones is the first crucial step in connecting them. By consulting the user manual, checking the TV’s specifications, or exploring the settings menu, you can determine if your Smart TV supports Bluetooth or if you need an external Bluetooth transmitter. Once you’ve established compatibility, you can move on to selecting the right type of wireless headphones for your TV and proceed with the setup process.
Step 2: Choose the Right Type of Wireless Headphones
After ensuring that your Smart TV is compatible with wireless headphones, the next step is to choose the right type of wireless headphones for your needs. There are several options available in the market, each with its own features and advantages.
1. Bluetooth headphones: These are the most common type of wireless headphones that connect to devices using Bluetooth technology. If your Smart TV has built-in Bluetooth capabilities, you can opt for a pair of Bluetooth headphones. They offer great convenience and ease of use, allowing you to connect directly to the TV without the need for any additional devices.
2. Radio frequency (RF) headphones: RF headphones use a radio signal to transmit audio from the TV to the headphones. They typically come with a base station that connects to the TV’s audio output ports. RF headphones offer a longer range than Bluetooth headphones, making them a suitable choice if you want to move around while watching TV.
3. Infrared (IR) headphones: IR headphones use infrared technology to transmit audio signals from the TV to the headphones. They require a direct line of sight between the TV and the headphones’ receiver. While they are an affordable option, keep in mind that they have a limited range and may not be suitable for large living rooms or areas with obstacles.
When choosing the right type of wireless headphones, consider factors such as comfort, sound quality, battery life, and range. It’s also a good idea to read reviews and compare different models to find the one that best suits your preferences and budget.
In summary, selecting the right type of wireless headphones depends on your preferences and the capabilities of your Smart TV. Whether you opt for Bluetooth headphones, RF headphones, or IR headphones, ensure that they meet your requirements in terms of comfort, audio quality, and range. Once you have chosen the suitable wireless headphones, you can proceed to the setup process in the next step.
Step 3: Set up the Wireless Headphones for Pairing
Once you have chosen the right type of wireless headphones for your Smart TV, the next step is to set them up for pairing. The setup process may vary depending on the headphones you have selected, so be sure to refer to the manufacturer’s instructions for specific details. However, here is a general step-by-step guide to help you get started:
1. Charge the headphones: If your wireless headphones are rechargeable, it’s essential to fully charge them before the pairing process. Follow the instructions provided by the manufacturer to ensure proper charging.
2. Put the headphones in pairing mode: Most wireless headphones have a dedicated pairing mode that allows them to connect with other devices. Refer to the user manual to understand how to activate the pairing mode. This usually involves pressing and holding a specific button or combination of buttons on the headphones until a LED light starts blinking or an audio prompt confirms that the headphones are in pairing mode.
3. Verify the pairing mode: Once the headphones are in pairing mode, ensure that the TV or transmitter you are using is also in pairing mode. Refer to the respective user manuals for instructions on how to enable pairing mode.
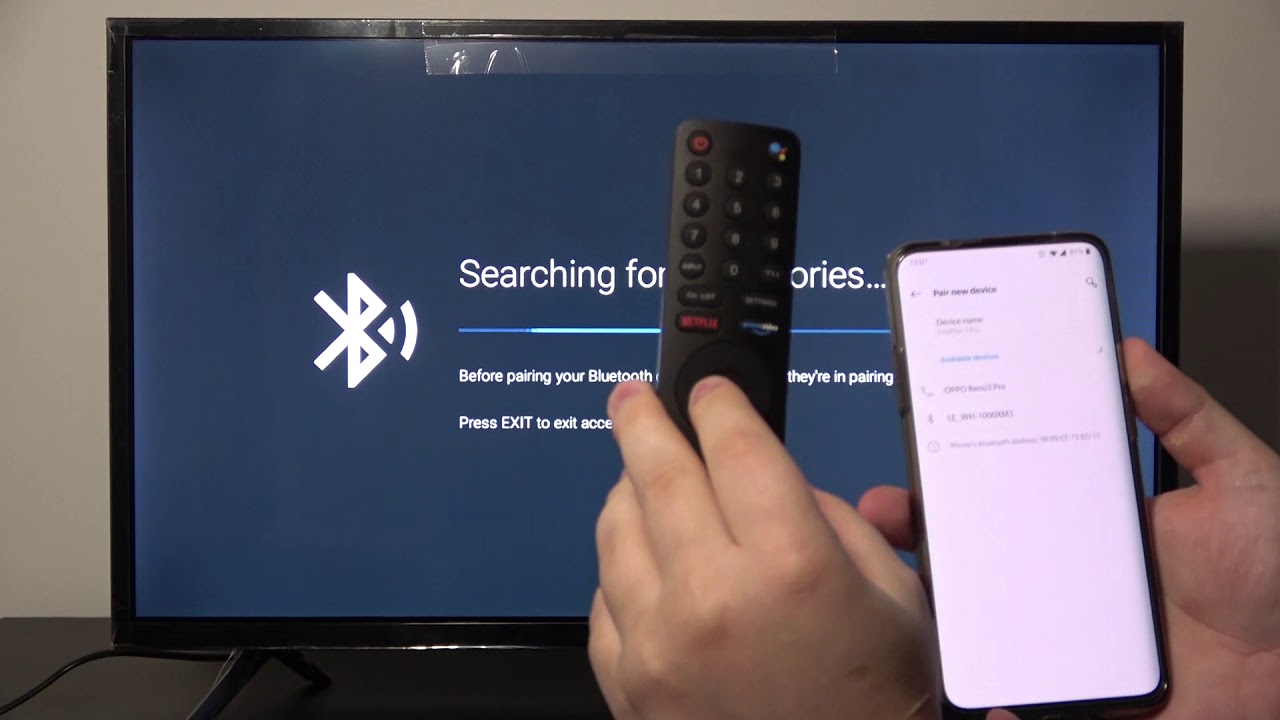
4. Initiate the pairing process: On your TV or transmitter, navigate to the settings or Bluetooth menu to search for available devices to pair with. Select the wireless headphones from the list of detected devices. The TV or transmitter may prompt you to enter a PIN or confirm the pairing request. Follow the on-screen instructions to complete the pairing process.
5. Confirm successful pairing: Once the pairing process is complete, you should see a notification or confirmation message on the TV or transmitter indicating successful pairing with the wireless headphones. Some headphones may also emit a sound or display a light to indicate a successful connection.
In summary, setting up the wireless headphones for pairing involves charging the headphones (if necessary), activating the pairing mode, verifying the pairing mode on the TV or transmitter, initiating the pairing process, and confirming the successful connection. Always refer to the specific instructions provided by the manufacturer to ensure a smooth and successful pairing process.
Step 4: Enable Bluetooth on the Smart TV
Before you can connect your wireless headphones to your Smart TV, you need to ensure that the Bluetooth functionality is enabled on the TV. Here’s a step-by-step guide on how to enable Bluetooth on your Smart TV:
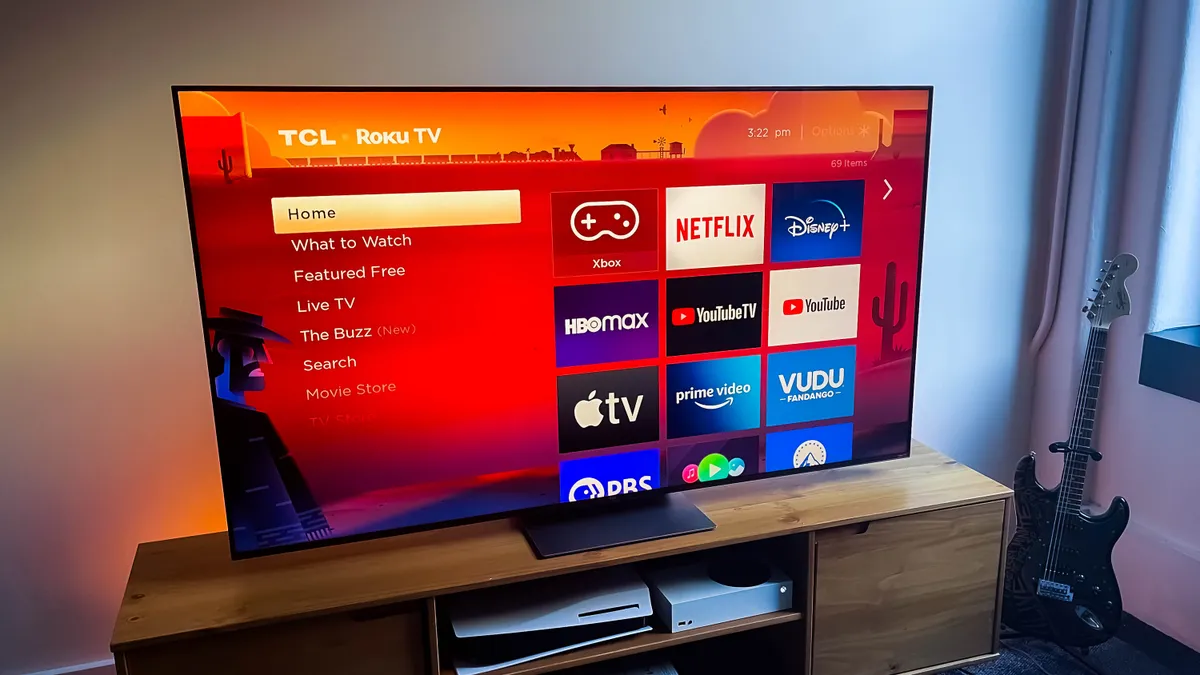
1. Access the settings menu: Using your TV remote, navigate to the settings menu of your Smart TV. The location of the settings menu may vary depending on the brand and model of your TV. Look for a button or option on the remote that is labeled “Settings” or “Menu”.
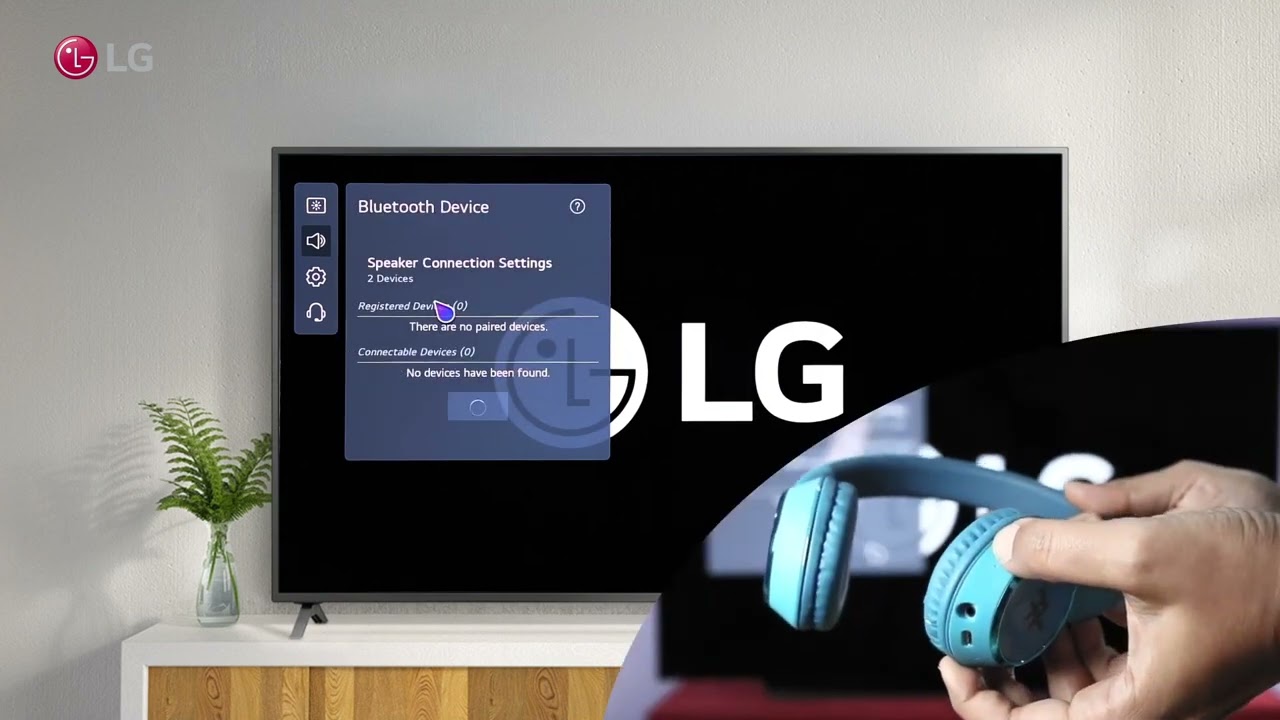
2. Find the Bluetooth settings: Within the settings menu, search for an option labeled “Bluetooth” or something similar. It may be located under the “Network” or “Connections” section. If you’re having trouble locating it, consult the TV’s user manual for specific instructions.
3. Enable Bluetooth: Once you’ve found the Bluetooth settings, select it to access the Bluetooth configuration options. Look for a switch or button that allows you to turn on Bluetooth. Toggle it to the “On” position to enable Bluetooth connectivity on your Smart TV.
4. Wait for the TV to detect devices: After enabling Bluetooth, your Smart TV will start scanning for available devices to connect to. This process may take a few moments. Ensure that your wireless headphones are in pairing mode, as discussed in the previous step, so that they can be detected by the TV.
5. Select the headphones for pairing: Once your Smart TV detects the wireless headphones, it will display them in a list of available devices. Using the TV remote, select the headphones from the list. If prompted, enter a PIN or follow any additional instructions to complete the pairing process.
6. Confirm the successful pairing: Once the pairing process is complete, you should see a confirmation message on the TV screen indicating that the wireless headphones have been successfully paired and connected.
It’s important to note that the steps to enable Bluetooth on your Smart TV may differ depending on the brand and model. Always consult the user manual or the manufacturer’s website for specific instructions tailored to your TV.
In summary, enabling Bluetooth on your Smart TV is an essential step in connecting wireless headphones. Access the settings menu, find the Bluetooth settings, enable Bluetooth, wait for the TV to detect devices, select the headphones for pairing, and confirm the successful connection. Once Bluetooth is enabled, you can move on to the next step of pairing the headphones with your Smart TV.
Step 5: Pair the Headphones with the Smart TV
After enabling Bluetooth on your Smart TV, the next step is to pair your wireless headphones with the TV. Follow these steps to successfully pair the headphones with your Smart TV:
1. Make sure the headphones are in pairing mode: Refer to the user manual of your wireless headphones to understand how to activate the pairing mode. Usually, this involves pressing and holding a specific button or a combination of buttons on the headphones until a LED light starts flashing or an audio prompt confirms that the headphones are in pairing mode.
2. Access the Bluetooth settings on your Smart TV: Using the TV remote, navigate to the Bluetooth settings menu as we discussed in the previous step. Make sure the headphones are in pairing mode, as the TV will scan for available devices during this process.
3. Select the headphones for pairing: The TV will display a list of available Bluetooth devices, including your wireless headphones. Using the TV remote, select the headphones from the list.
4. Pair the headphones: If prompted on the TV screen or the headphones, confirm the pairing request. Some devices may require you to enter a PIN code. If this is the case, refer to the headphone’s user manual for the correct PIN.
5. Wait for the pairing process to complete: Once you have confirmed the pairing request, the TV will establish a connection with your wireless headphones. This process may take a few moments, so be patient. Once the pairing is successful, you will see a notification on the TV screen or hear a confirmation sound on the headphones.
6. Adjust the volume: After pairing, it is a good idea to adjust the volume on both the TV and the headphones to an appropriate level. This ensures that you have the best audio experience without any distortion or discomfort.
Remember, the pairing process can differ slightly depending on the make and model of both the TV and the headphones, so refer to the specific instructions provided by the manufacturer for accurate guidance. Once the headphones are successfully paired with your Smart TV, you can enjoy your favorite shows, movies, and games with wireless audio freedom.
Step 6: Adjust the Audio Settings for Optimal Performance
After pairing your wireless headphones with your Smart TV, it’s important to adjust the audio settings to ensure optimal performance and a satisfying audio experience. Here are some key settings to consider:
1. Volume control: Adjust the volume on both your headphones and the TV to a comfortable level. This allows you to find the right balance between the headphone volume and the TV’s speaker volume.
2. Sound mode: Explore the sound mode options on your Smart TV. Different modes, such as “Movie,” “Music,” or “Game,” optimize the audio settings for different types of content. Experiment with these modes to find the one that enhances your audio experience.
3. Equalizer settings: Many Smart TVs offer an equalizer feature that allows you to fine-tune the audio quality. Depending on your preferences, you can adjust settings like bass, treble, and balance to customize the sound output.
4. Audio delay settings: If you experience lag between the audio and video while using wireless headphones, you can adjust the audio delay settings on your Smart TV. This feature ensures that the audio syncs perfectly with the visuals, providing a seamless viewing experience.
5. Surround sound: If you have a surround sound system connected to your Smart TV, make sure it is properly configured to work with your wireless headphones. Consult the user manual for your sound system to understand how to enable surround sound for headphones.
Remember to periodically check and adjust these settings based on your preferences and the content you’re watching. This will ensure the best audio experience and make your wireless headphone connection with your Smart TV even more enjoyable.
Note: The availability and range of audio settings can vary depending on the brand and model of your Smart TV. Refer to the TV’s user manual or the manufacturer’s website for specific instructions on adjusting audio settings.
By customizing the audio settings to your liking, you can further enhance your wireless headphone experience and create a personalized audio environment that brings your favorite movies, shows, and games to life.
Step 7: Troubleshooting Common Issues
While connecting wireless headphones to a Smart TV is generally a straightforward process, you may encounter some common issues along the way. Here are a few troubleshooting tips to help you resolve these issues:
1. Connection issues: If you’re having trouble connecting the wireless headphones to your Smart TV, ensure that both the headphones and the TV are in pairing mode. Double-check the Bluetooth settings on both devices to ensure they are enabled. If the issue persists, try turning off both devices, restarting them, and attempting the pairing process again.
2. Audio lag: If you experience a delay between the audio and video while using wireless headphones, adjust the audio delay settings on your Smart TV. This will sync the audio with the visuals. Check the TV’s user manual for specific instructions on accessing these settings.
3. Low sound quality: If the sound quality of your wireless headphones is not satisfactory, try adjusting the equalizer settings on your Smart TV. This will enable you to fine-tune the bass, treble, and overall audio balance to your preference.
4. Interference: If you notice audio dropouts or interference while using wireless headphones, ensure that there are no obstructions or other devices interfering with the signal. Keep your headphones and the TV’s Bluetooth transmitter within a reasonable range and away from any potential sources of interference, such as Wi-Fi routers or other electronic devices.
5. Battery issues: If your wireless headphones have poor battery life or aren’t holding a charge, check the battery level and recharge if necessary. If the issue persists, consult the headphone’s user manual for specific troubleshooting steps or consider contacting the manufacturer for assistance.
6. Compatibility issues: If you’re unable to pair your wireless headphones with your Smart TV, confirm that both devices are compatible. Check the TV’s user manual or consult the manufacturer’s website for information on supported Bluetooth headset profiles or any specific compatibility requirements.
If you have tried these troubleshooting steps and are still experiencing issues, it’s recommended to consult the user manuals of both your wireless headphones and your Smart TV for additional troubleshooting guidance. Additionally, you may consider reaching out to the customer support of the respective manufacturers for further assistance and resolving any persistent issues.
In summary, troubleshooting common issues when connecting wireless headphones to a Smart TV can often be resolved by ensuring both devices are in pairing mode, adjusting audio settings, addressing interference concerns, checking battery life, and verifying compatibility. By following these troubleshooting tips, you can overcome any obstacles and enjoy a seamless and immersive audio experience with your wireless headphones.
Conclusion
Connecting wireless headphones to your Smart TV can greatly enhance your TV-watching experience, providing you with the freedom to enjoy personalized audio without disturbing others. By following the step-by-step guide outlined in this article, you can successfully connect wireless headphones to your Smart TV and enjoy wireless audio freedom.
Throughout the process, we discussed the importance of checking your TV’s compatibility with wireless headphones and selecting the right type of headphones for your needs. We also covered setting up the headphones for pairing, enabling Bluetooth on your Smart TV, pairing the headphones with the TV, and adjusting the audio settings for optimal performance.
Additionally, we provided troubleshooting tips for common issues you may encounter during the setup process. By following these troubleshooting steps and considering the specific instructions provided by the manufacturer, you can overcome challenges and ensure a seamless and enjoyable wireless headphone experience with your Smart TV.
Remember to refer to the user manuals of your Smart TV and wireless headphones for detailed instructions tailored to your specific make and model. If you encounter persistent issues or require further assistance, don’t hesitate to reach out to the customer support of the respective manufacturers.
Now that you have successfully connected your wireless headphones to your Smart TV, sit back, relax, and immerse yourself in your favorite movies, shows, and games with crystal clear audio. Experience the convenience and freedom that wireless headphones bring to your TV-watching enjoyment.
Enjoy the journey to wireless audio freedom and make the most out of your Smart TV experience with wireless headphones!