Introduction
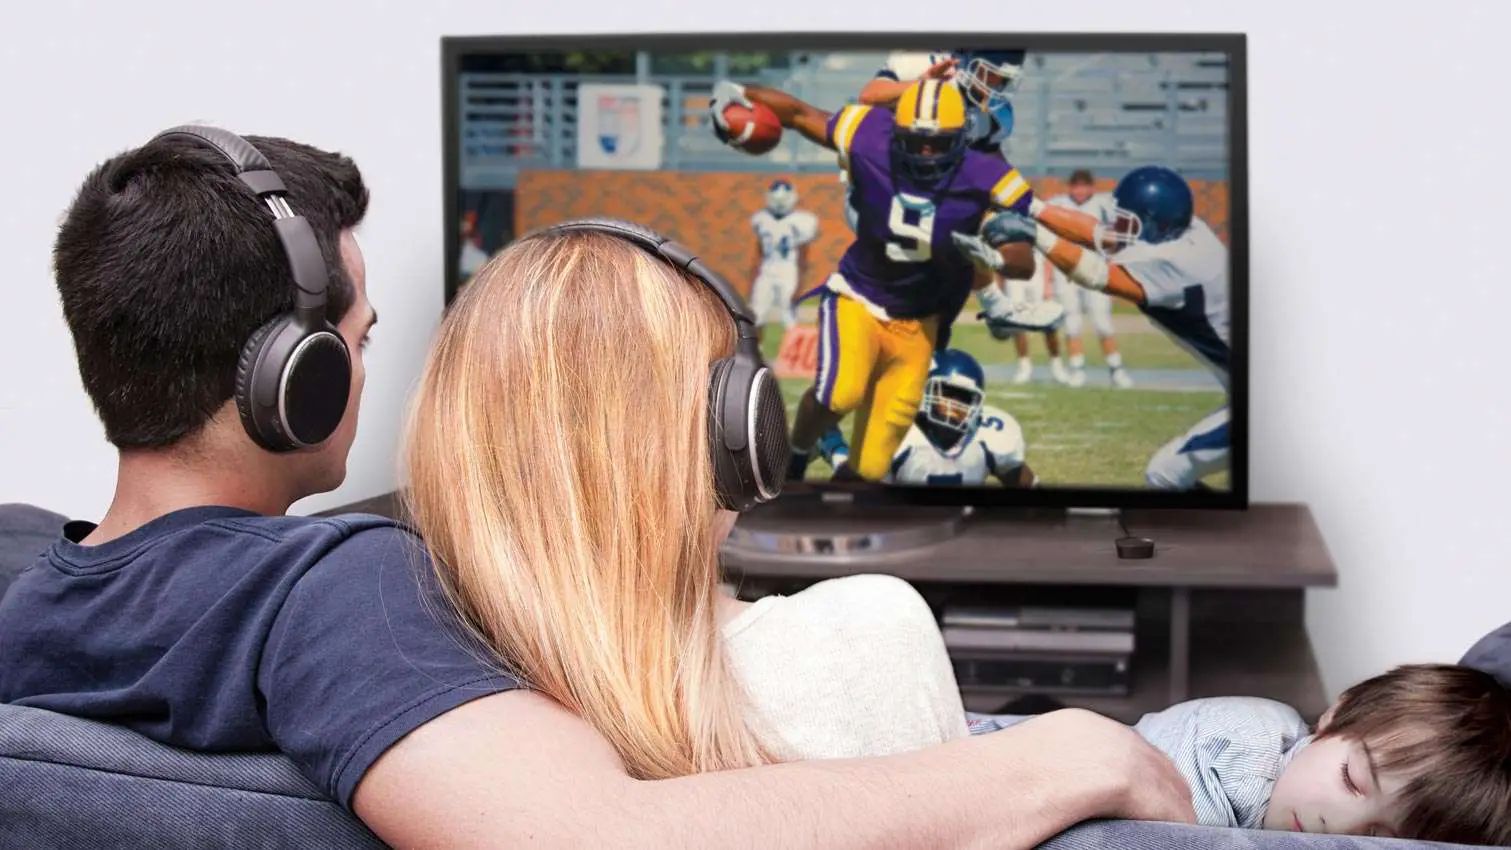
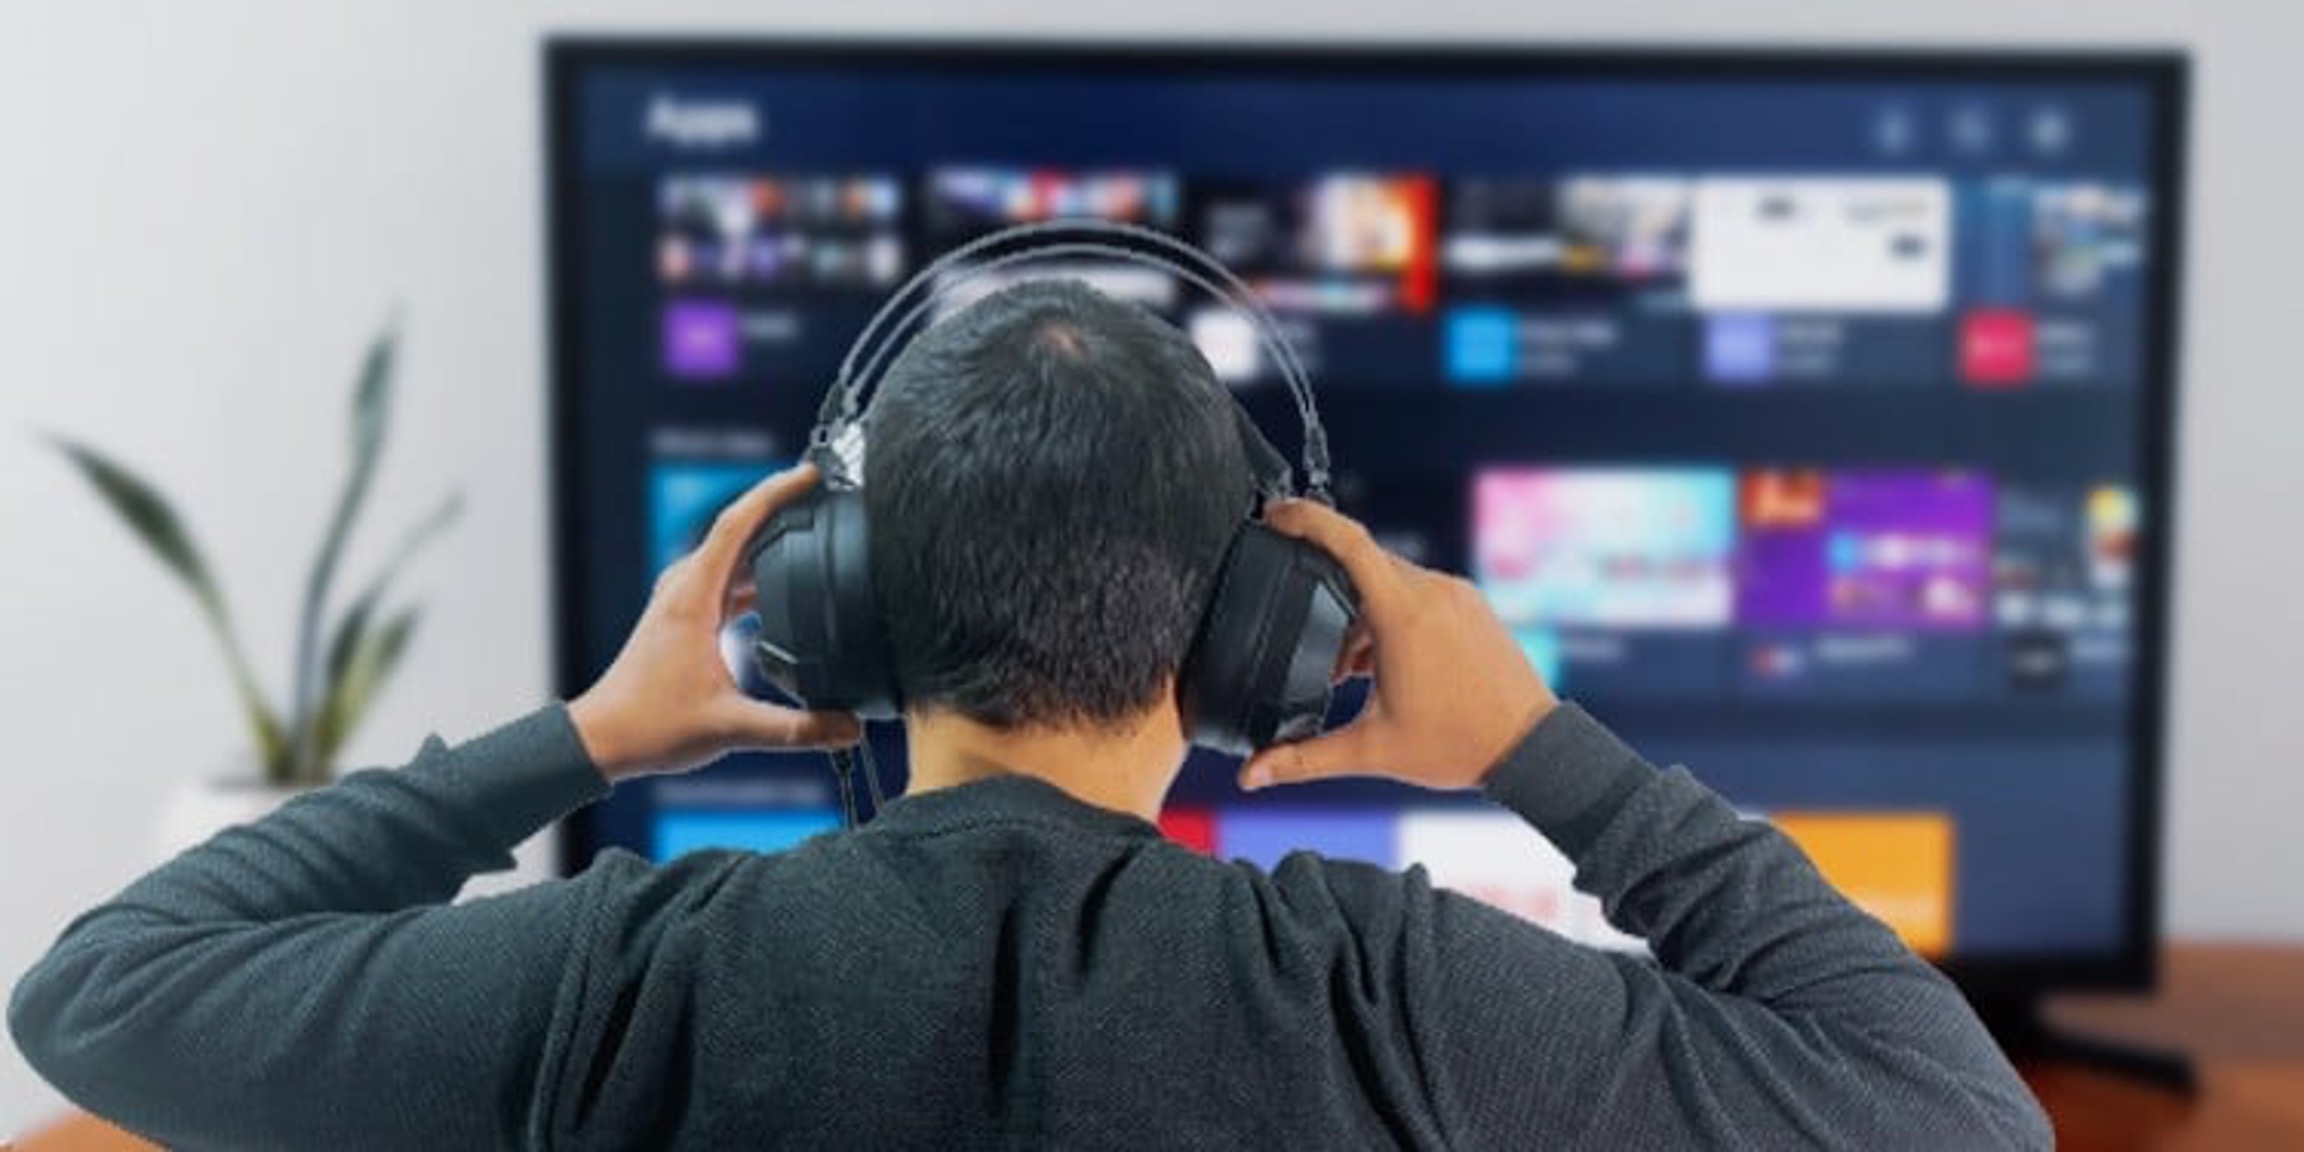
Connecting your headphones to a Smart TV can enhance your viewing experience by allowing you to enjoy the audio without disturbing others. Whether you’re watching your favorite movies, playing video games, or streaming online content, having the ability to connect your headphones directly to your Smart TV can provide a more immersive and personal audio experience.
However, it’s important to note that not all Smart TVs are equipped with headphone jacks or built-in Bluetooth connectivity. Therefore, it’s essential to check the compatibility of your Smart TV before proceeding with the connection process.
In this article, we will guide you through the steps to connect your headphones to a Smart TV using both wired and wireless methods. We will cover how to connect wirelessly via Bluetooth or using RF (radio frequency) technology. Furthermore, we will provide troubleshooting tips for common issues that may arise during the connection process.
Before diving into the step-by-step instructions, it’s important to understand that the specifics of connecting headphones to a Smart TV may vary depending on the manufacturer and model. Therefore, it’s recommended to consult your Smart TV’s user manual or the manufacturer’s website for any device-specific instructions or limitations.
Now, let’s explore the different methods available to connect your headphones to a Smart TV and enhance your audio experience.
Step 1: Check the Smart TV’s compatibility
Before attempting to connect your headphones to a Smart TV, it’s crucial to ensure that your TV is compatible with headphone connections or wireless connectivity options such as Bluetooth or RF. While many modern Smart TVs include audio output options, some older models may not have these features. Here are a few methods to determine your TV’s compatibility:
- Check the TV’s manual: Start by locating the user manual that came with your Smart TV. It should provide information about the available audio output options and whether the TV supports headphone connections.
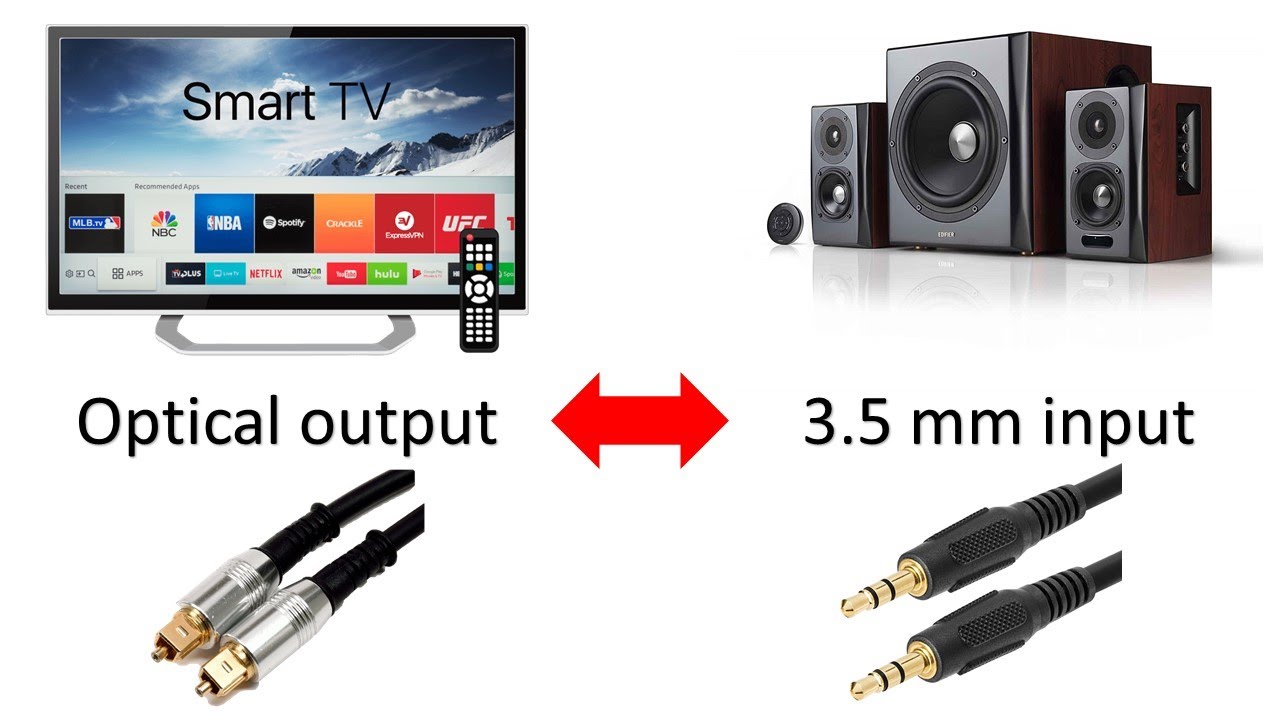
- Inspect the TV’s ports: Examine the back or side of your Smart TV for audio output ports. Look for a 3.5mm headphone jack or a digital optical audio output. These ports indicate that your TV can support wired headphone connections.
- Access the TV settings: Navigate through your TV’s settings menu to find audio or sound settings. Look for options related to audio output, headphone connections, or Bluetooth connectivity. If any of these options are present, it indicates that your TV can support wireless headphone connections.
- Visit the manufacturer’s website: If you’re unable to find information in the user manual or TV settings, check the manufacturer’s website for additional details about audio connectivity options. Many manufacturers provide detailed specifications for their Smart TV models, including audio output capabilities.
Keep in mind that while newer Smart TVs often come with built-in Bluetooth support, older models may require additional accessories like wireless adapters or audio converters to enable headphone connectivity. If your TV lacks the necessary ports or features, you may need to consider alternative methods, such as connecting your headphones to an external audio device such as a soundbar or AV receiver.
Once you have confirmed the compatibility of your Smart TV, you can proceed to the next steps to connect your headphones. In the following sections, we will cover wired and wireless methods, allowing you to choose the option that best suits your preferences and TV’s capabilities.
Step 2: Connecting with a wired adapter
If your Smart TV has a headphone jack or an audio output port, connecting your headphones with a wired adapter is a straightforward and reliable method. Here’s how to do it:
- Identify the audio output port: Locate the headphone jack or audio output port on your Smart TV. It is usually marked with a headphone icon or labeled as “audio out.”
- Choose the appropriate adapter: Depending on the type of audio output port on your TV, you might need an adapter to convert the port into a 3.5mm headphone jack. If your TV has a 3.5mm headphone jack, you can skip this step.
- Connect the adapter and headphones: Attach the adapter to the TV’s audio output port. Then, plug your headphones into the adapter’s headphone jack.
- Adjust the volume: Make sure that the volume on your TV and headphones is set to a comfortable level. You can adjust the headphone volume independently if your Smart TV has separate audio controls.
- Test the connection: Play some audio or video content on your Smart TV to verify that the sound is coming through your headphones. If there is no sound or the quality is poor, double-check the connections and make sure they are secure.
Connecting your headphones with a wired adapter is a reliable method that provides high-quality audio without the need for additional equipment. However, keep in mind that this method restricts your movement, as you are physically tethered to your Smart TV. If you prefer a wireless experience for more freedom of movement, continue reading to learn how to connect your headphones via Bluetooth or RF.
Step 3: Connecting wireless headphones using Bluetooth
If your Smart TV supports Bluetooth connectivity, you can enjoy the convenience of wireless headphones. Here’s how to connect your wireless headphones via Bluetooth:
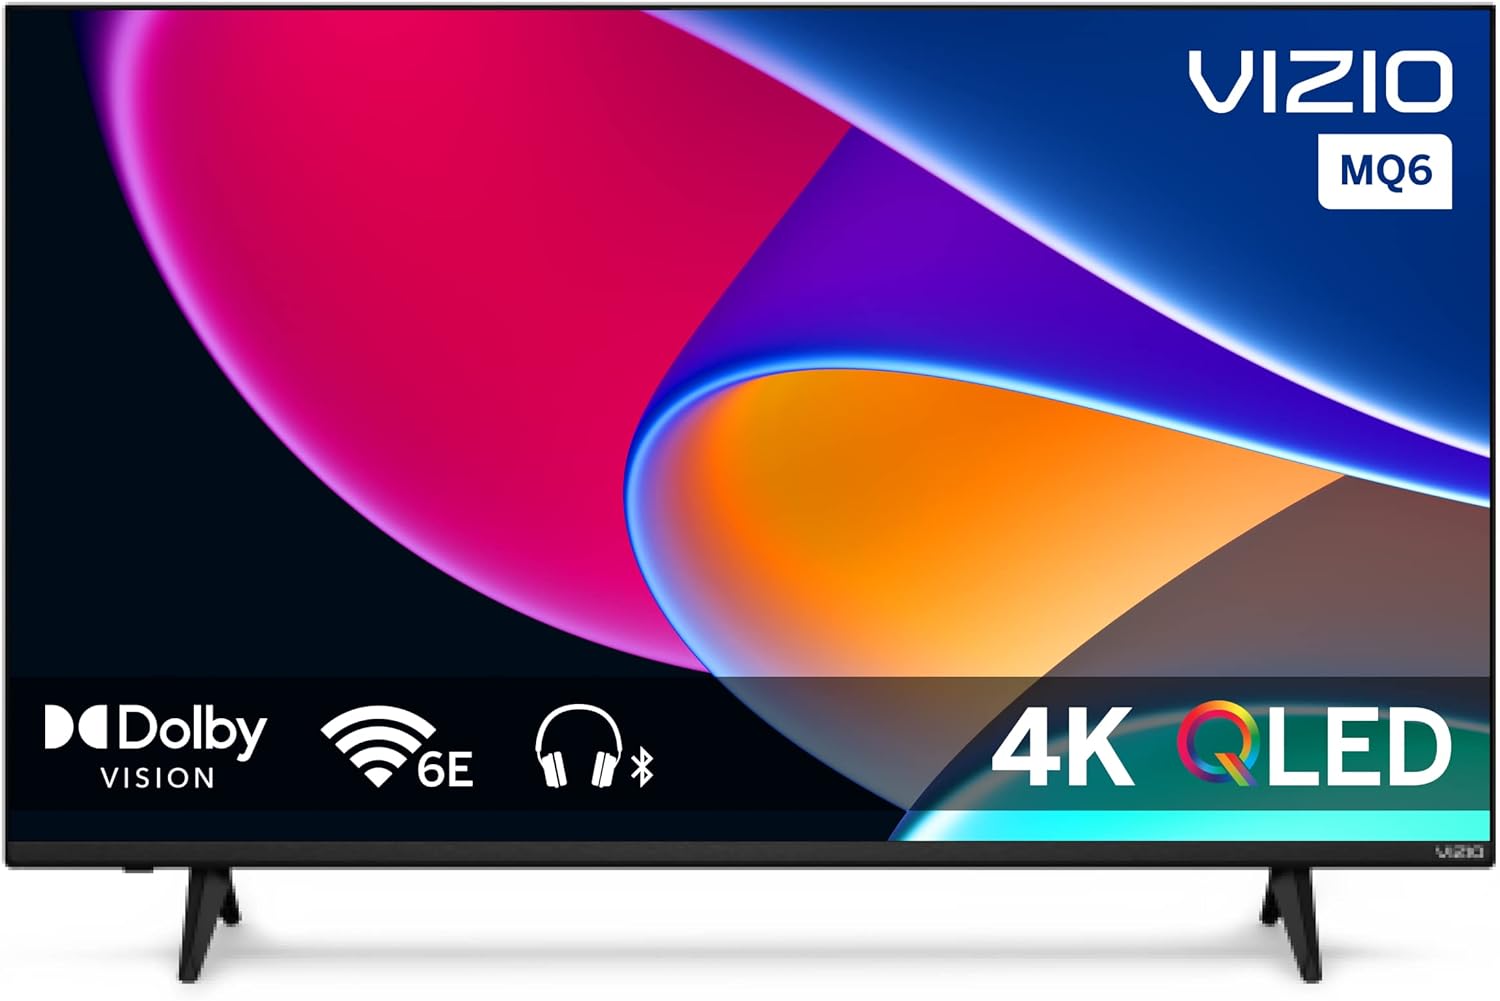
- Ensure Bluetooth compatibility: Check if your Smart TV has Bluetooth functionality. You can usually find this information in the TV’s user manual or settings menu.
- Put your headphones in pairing mode: Activate the pairing mode on your wireless headphones. Refer to your headphone’s user manual for specific instructions on how to do this, as the process may vary between models.
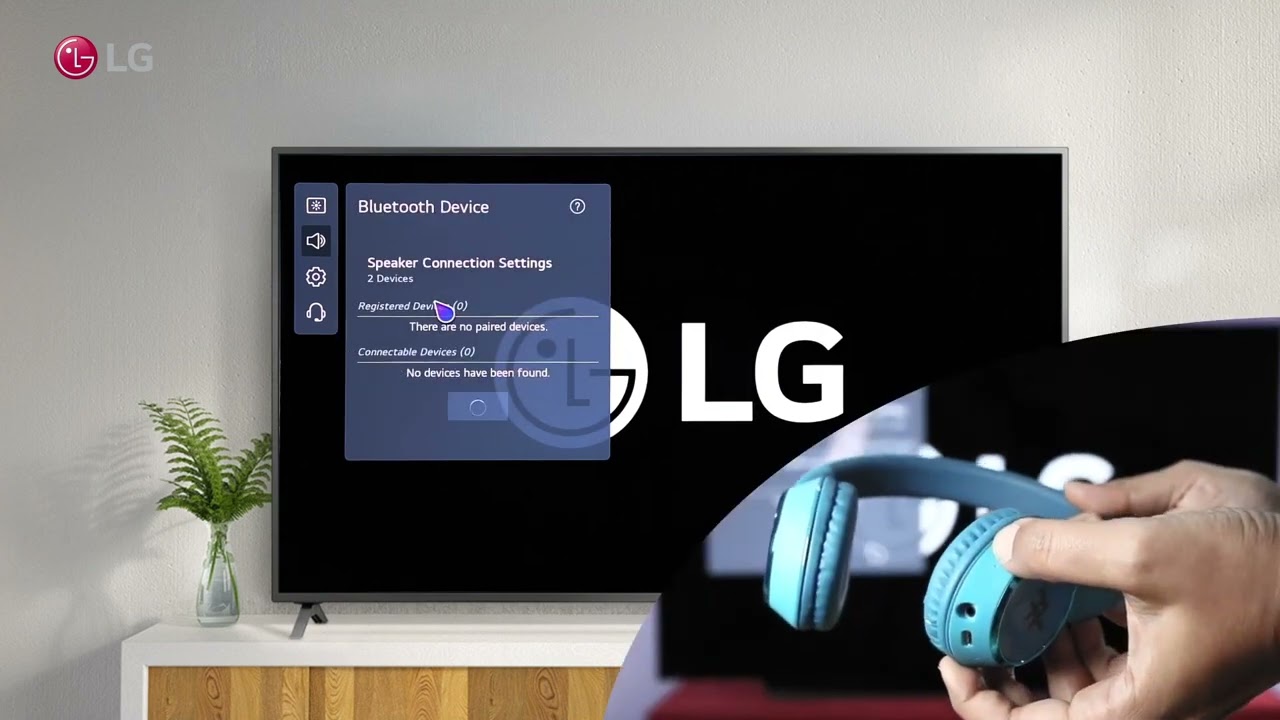
- Access the TV’s Bluetooth settings: On your Smart TV, navigate to the Bluetooth settings. This is usually found in the TV’s settings menu under the “Connections” or “Bluetooth” section.
- Enable Bluetooth pairing mode on your Smart TV: Activate the Bluetooth pairing mode on your Smart TV. This step allows your headphones to detect and connect to the TV.
- Select and pair your headphones: In the TV’s Bluetooth settings, scan for available devices. Once your headphones appear on the list, select them and initiate the pairing process. The TV and headphones will establish a wireless connection.
- Confirm the connection: After successfully pairing your headphones, you should receive a confirmation message on both the TV and headphones. You can now enjoy audio wirelessly through your headphones.
- Adjust the audio settings: Fine-tune the audio settings on your Smart TV to ensure optimal sound quality. Some TVs allow you to adjust the headphones’ volume separately from the TV’s built-in speakers.
It’s important to note that not all Smart TVs support Bluetooth connectivity. If your TV doesn’t have this feature, you may consider using a Bluetooth transmitter that connects to the TV’s audio output port and transmits the audio signal wirelessly to your headphones.
Connecting wireless headphones via Bluetooth offers the convenience of cord-free listening, allowing you to move around your entertainment area without restrictions. However, please keep in mind that the range of Bluetooth signals can vary between devices, so ensure that you stay within a reasonable distance from your Smart TV for a stable and uninterrupted connection.
Step 4: Connecting wireless headphones using RF
If your Smart TV doesn’t support Bluetooth connectivity, you can still connect your wireless headphones using RF (radio frequency) technology. Here’s how to do it:
- Check RF compatibility: Ensure that your Smart TV has an RF audio output or supports RF headphone connectivity. You can refer to your TV’s user manual or check the specifications on the manufacturer’s website.
- Obtain an RF transmitter: Purchase an RF transmitter that is compatible with your Smart TV. These transmitters usually come with a base station that connects to the TV’s audio output and an RF receiver unit that you can connect your wireless headphones to.
- Connect the base station: Connect the base station to your Smart TV’s audio output port using the appropriate cables provided with the RF transmitter kit.
- Set up the RF receiver unit: Follow the instructions provided with your wireless headphones to connect them to the RF receiver unit. This usually involves pairing the headphones with the unit and setting the channel frequency to match the base station.
- Adjust the audio settings: Fine-tune the audio settings on your Smart TV to ensure the best sound quality for your wireless headphones. Some TVs allow you to adjust the headphone volume independently.
- Test the connection: Play some audio or video content on your Smart TV to ensure that the audio is being transmitted to the wireless headphones. If you experience any issues, double-check the connections and make sure the RF transmitter and receiver are properly paired.
Connecting wireless headphones using RF technology provides you with the freedom to move around your entertainment area without being tethered by cables. However, keep in mind that RF signals have a limited range, typically between 100-300 feet, so make sure you stay within the specified range for a stable connection.
It’s worth noting that RF headphones require their own power source, either built-in batteries or AAA/AA batteries. Ensure that your headphones are properly charged or have fresh batteries to enjoy uninterrupted wireless audio.
By following these steps, you can connect your wireless headphones to your Smart TV using RF technology and enjoy high-quality audio without the need for cables.
Step 5: Troubleshooting common issues
While connecting headphones to a Smart TV is generally a straightforward process, there may be times when you encounter some common issues. Here are a few troubleshooting steps to help you resolve these problems:
- No sound: If you’re not hearing any sound through your headphones, ensure that they are properly connected to the TV’s headphone jack or the wireless connection is established. Also, check the volume settings on both the TV and headphones to make sure they are not muted or set too low.
- Poor audio quality: If the audio quality from your headphones is distorted, try adjusting the volume levels on both the TV and headphones. Make sure that the headphone’s signal frequency matches the base station for RF connections. For wireless headphones connected via Bluetooth, try moving closer to the TV to improve the signal strength.
- Interference: Wireless connections, especially those using Bluetooth, can be susceptible to interference from other devices. Ensure that there are no other devices nearby that may be causing interference, such as wireless routers, cordless phones, or microwave ovens.
- Compatibility issues: If you’re unable to establish a connection between your headphones and Smart TV, double-check the compatibility of both devices. Ensure that your headphones support the required connectivity technology, such as Bluetooth or RF, and that your Smart TV has the necessary ports or features.
- Software updates: Check for software updates for both your Smart TV and headphones. Manufacturers often release firmware updates that address connectivity issues or improve overall performance. Updating the firmware can help resolve compatibility problems.
- Reset devices: If you’re still experiencing issues, try resetting both your Smart TV and headphones. Refer to the user manuals for instructions on how to perform a factory reset. This can help clear any temporary glitches or conflicting settings.
If you’ve tried these troubleshooting techniques and are still encountering issues, it may be helpful to consult the user manuals for both your Smart TV and headphones or reach out to their respective manufacturers’ customer support for further assistance.
By addressing these common problems, you can overcome any obstacles that may arise while connecting your headphones to your Smart TV, ensuring an optimal audio experience.
Conclusion
Connecting your headphones to a Smart TV can greatly enhance your audio experience while watching movies, playing games, or streaming content. Whether you choose to connect your headphones with a wired adapter, via Bluetooth, or using RF technology, the process is relatively simple and can be done with a few easy steps.
Before attempting to connect your headphones, it’s essential to check the compatibility of your Smart TV. Make sure your TV has the necessary ports or features to support headphone connections or wireless connectivity options like Bluetooth or RF.
If your Smart TV has a headphone jack or audio output port, connecting your headphones with a wired adapter provides a reliable and high-quality audio experience. On the other hand, if your TV supports Bluetooth, you can enjoy the convenience of wireless headphones, allowing you to move around your entertainment area freely.
If your Smart TV lacks Bluetooth connectivity, connecting your wireless headphones using RF technology is an excellent alternative. Just ensure that both your TV and headphones are compatible with RF connections.
Throughout the connection process, it’s essential to troubleshoot common issues that may arise. From resolving audio problems to addressing compatibility issues, taking simple troubleshooting steps can help you achieve a seamless connection.
Remember, the specific steps and requirements for connecting headphones to a Smart TV may vary depending on the manufacturer and model. It’s always a good idea to consult the user manuals or reach out to customer support for further assistance if you encounter any difficulties.
By following the steps provided in this guide and troubleshooting any issues that arise, you can successfully connect your headphones to your Smart TV and enjoy an immersive and personalized audio experience.