Introduction
Are you a nostalgic gamer who still enjoys playing Super Nintendo games? If so, you might be wondering how to connect your Super Nintendo console to your smart TV. While the Super Nintendo may be a vintage gaming system, it is still possible to connect it to modern smart TVs and relive those classic gaming moments.
Connecting a Super Nintendo to a smart TV may seem like a daunting task, especially if you are not familiar with the technical aspects of setting up gaming consoles. However, with the right equipment and a little know-how, you can easily connect your Super Nintendo to your smart TV and indulge in retro gaming goodness.
Before diving into the step-by-step guide, it is important to note that there are different models of Super Nintendo consoles, and the exact method of connection may vary slightly depending on the model you have. Additionally, the smart TV you own may have different input ports and settings options, so it is always a good idea to consult your TV’s user manual for specific instructions.
In this guide, we will provide a general overview of the steps involved in connecting a Super Nintendo to a smart TV. These steps are applicable to most Super Nintendo console models and smart TVs, but please keep in mind that there may be slight variations depending on your specific setup.
So, dust off your Super Nintendo console and get ready to unleash those classic gaming memories. Read on to learn how to connect your Super Nintendo to your smart TV and embark on a trip down retro gaming lane.
Requirements
Before you begin connecting your Super Nintendo to your smart TV, you will need to gather a few essential items. Here are the requirements you should keep in mind to ensure a smooth setup process:
- A Super Nintendo console: This is the main gaming device that you will connect to your smart TV. Make sure you have a working Super Nintendo console that is in good condition.
- A smart TV: You will need a smart TV with available input ports. Most smart TVs have multiple input options, such as HDMI, RCA, or AV ports. Check your TV’s user manual to determine the available input ports.
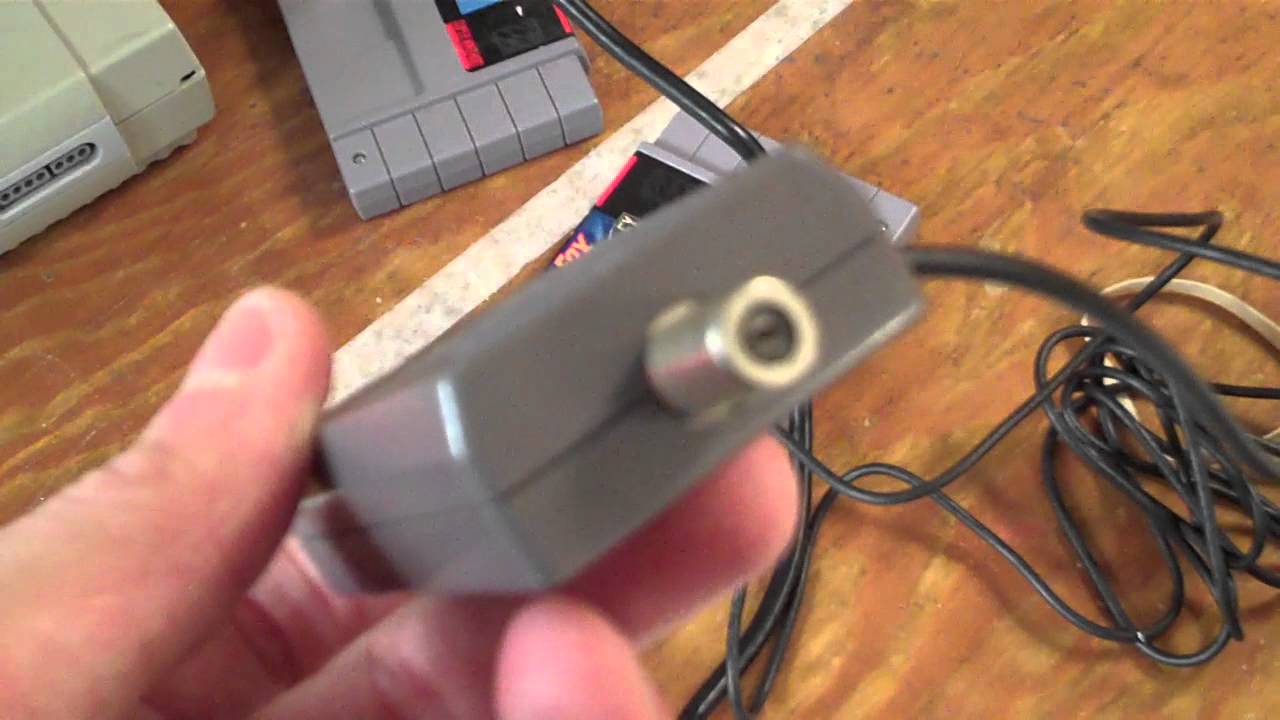
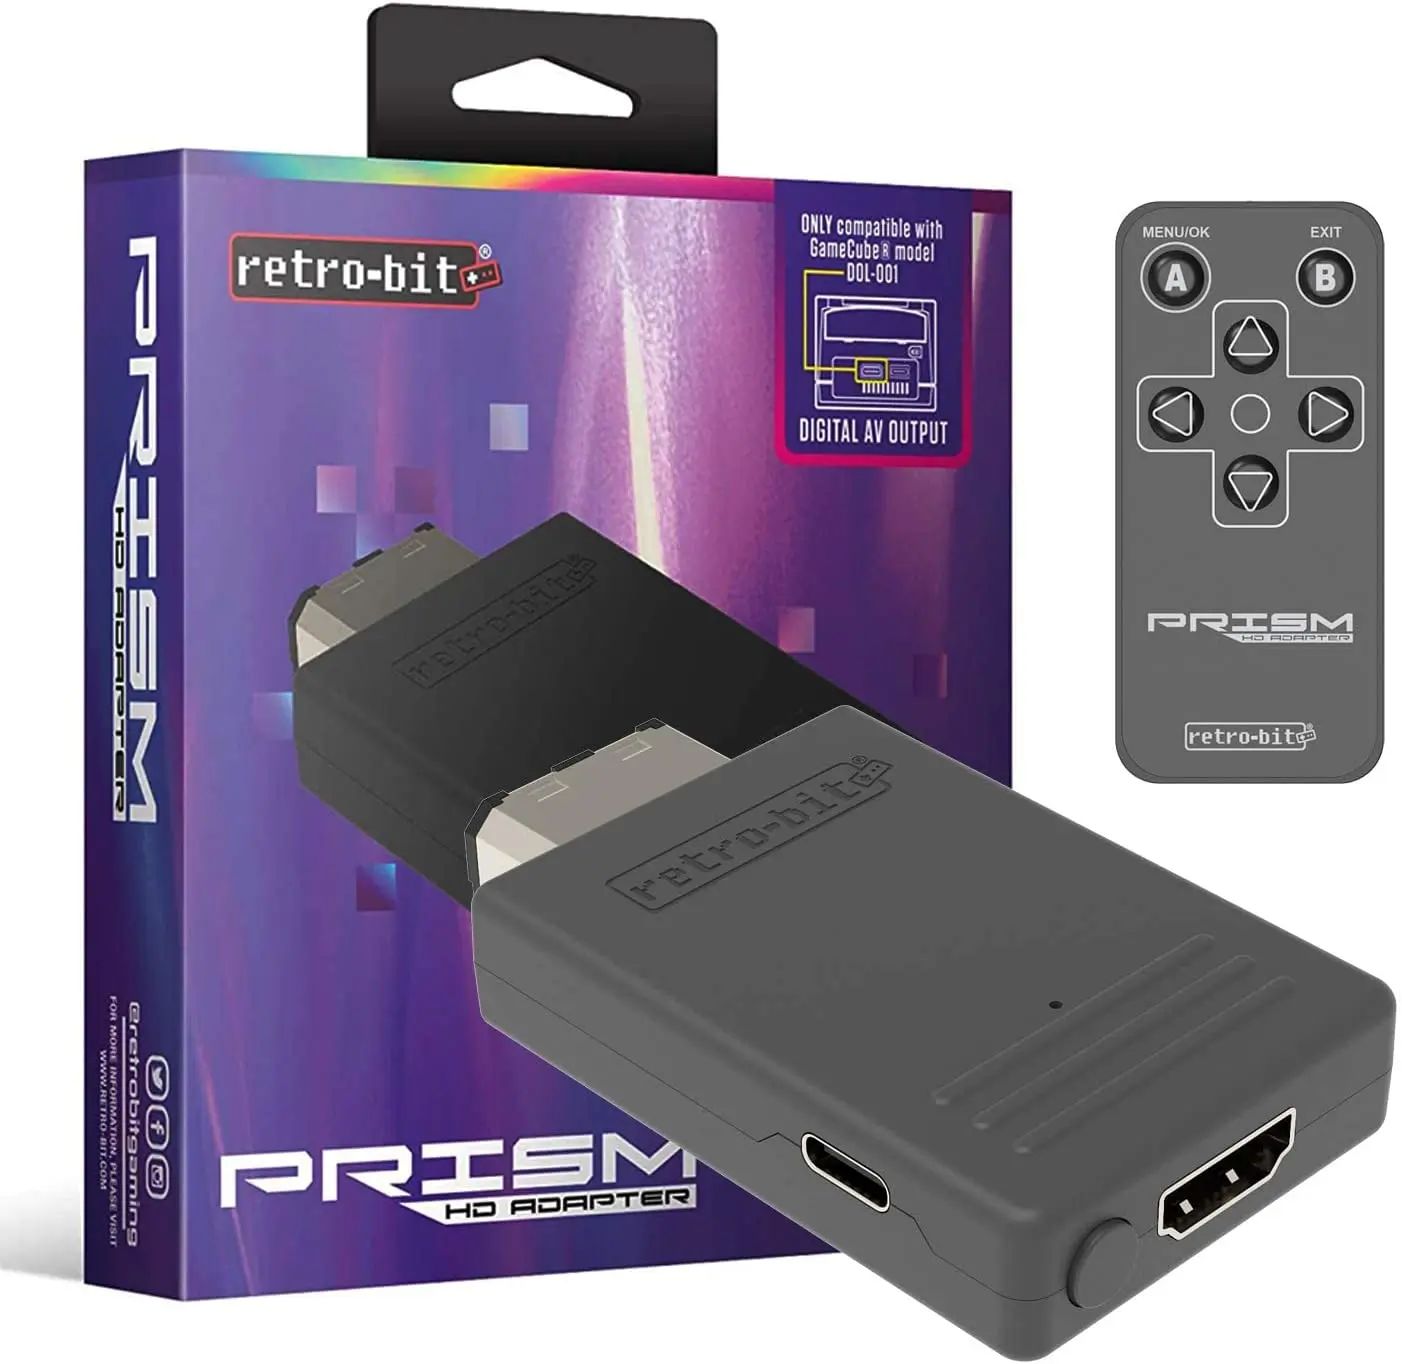
- A compatible cable: The type of cable you will need depends on the available inputs on both your Super Nintendo console and your smart TV. Common cable options include HDMI, RCA composite, or S-video cables. Choose the cable that is compatible with the input ports on both devices.
- Power adapter and cables: Ensure that you have the necessary power adapter and cables to connect the Super Nintendo console to a power source.
- A controller: Don’t forget to have at least one compatible controller for your Super Nintendo console. You will need it to navigate and play games on the console.
- A stable surface: Find a stable surface near your smart TV to place the Super Nintendo console. This will ensure that the console remains secure and stable during gameplay.
Having these items ready will significantly streamline the process of connecting your Super Nintendo to your smart TV. Take a moment to double-check that you have everything you need before moving on to the next steps.
Step 1: Check the TV Inputs
The first step in connecting your Super Nintendo to your smart TV is to identify and check the available input ports on your TV. Most smart TVs have multiple input options, such as HDMI, RCA, or AV ports. Here’s how you can check and verify the input options on your TV:
- Locate the input panel: The input panel is usually located at the back or on the side of the TV. It may be labeled “Inputs,” “HDMI,” or “AV.”
- Inspect the available input ports: Take a close look at the input ports to determine what options are available. On modern smart TVs, HDMI ports are commonly used for connecting gaming consoles.
- Note down the available input ports: Make a note of the specific input ports available on your TV. This will help you choose the correct cable to connect your Super Nintendo.
Once you have identified and recorded the available input ports on your smart TV, you are ready to move on to the next step. Keep this information handy as you will need it to make the appropriate connections between your Super Nintendo and your TV.
Step 2: Connect the Super Nintendo
Now that you have identified the available input ports on your smart TV, it’s time to connect your Super Nintendo console. The method of connection will vary depending on the input ports you noted down in the previous step. Here’s a general guide to help you connect your Super Nintendo to your smart TV:
- Locate the appropriate cable: Based on the available input ports on your TV and your Super Nintendo console, choose the cable that will provide the best connection. Common options include HDMI, RCA composite, or S-video cables.
- Connect the cable to the Super Nintendo: Insert one end of the cable into the corresponding output port on your Super Nintendo console. Ensure a secure connection.
- Connect the other end of the cable to the TV: Take the other end of the cable and connect it to the matching input port on your smart TV. Again, ensure a secure connection.
Now that the Super Nintendo console is physically connected to your smart TV, you are one step closer to enjoying retro gaming on the big screen. However, before you power it on, make sure to check the next step for configuring the TV settings to ensure optimal performance.
Step 3: Power on the Super Nintendo
After connecting your Super Nintendo console to your smart TV, it’s time to power it on and prepare for the gaming experience. Here’s how you can power on your Super Nintendo:
- Ensure that both your Super Nintendo console and your smart TV are plugged into a power source.
- Locate the power button: On the Super Nintendo console, you will find the power button. It is typically located on the front or top of the console.
- Press the power button: Press the power button to turn on the Super Nintendo console. You should see the power indicator light up, indicating that the console is receiving power.
Once you have successfully powered on your Super Nintendo, you are ready to move on to the next step: configuring the TV settings. However, before doing so, make sure that the appropriate input source is selected on your smart TV to receive the signal from the Super Nintendo console.
Note: If you are using AV or RCA input, ensure the yellow video cable is connected to the matching video input port on your TV. If you are using HDMI input, no separate audio connection is necessary as HDMI carries both audio and video signals.
Continue reading to learn how to configure the TV settings to ensure optimal compatibility and image quality for your Super Nintendo gaming experience.
Step 4: Configure the TV Settings
Now that your Super Nintendo console is powered on and connected to your smart TV, it’s time to configure the TV settings to ensure the best gaming experience. Follow these steps to optimize the settings on your smart TV:
- Access the TV settings: Locate the settings menu on your smart TV. You can usually find it by pressing the “Menu” button on your TV remote control.
- Select the input source: In the TV settings menu, look for the option to select the input source. Choose the input port that your Super Nintendo is connected to, such as HDMI or AV.
- Configure the display settings: Within the TV settings menu, navigate to the display or picture settings. Adjust the settings to your preference, including brightness, contrast, color, and aspect ratio. Experiment with these settings until you achieve the desired visuals for your Super Nintendo games.
- Enable gaming mode (optional): Some smart TVs come with a gaming mode feature that reduces input lag and enhances the gaming experience. If your TV has this feature, activate it in the settings menu to enjoy smoother gameplay.
Once you have adjusted the TV settings to your liking, you are all set to start playing your favorite Super Nintendo games on your smart TV. Grab your controller and get ready for some retro gaming nostalgia.
Remember, the specific settings and options in your TV’s menu may vary depending on the make and model of your smart TV. Consult your TV’s user manual for further instructions if needed.
Continue reading to learn how to test the connection between your Super Nintendo and your smart TV in the final step.
Step 5: Test the Connection
After connecting your Super Nintendo console to your smart TV and configuring the necessary settings, it’s important to test the connection to ensure everything is working correctly. Follow these steps to test the connection between your Super Nintendo and your smart TV:
- Ensure that your Super Nintendo console is powered on and that your TV is set to the correct input source for the Super Nintendo.
- Select a Super Nintendo game: Insert a game cartridge into the console or access a digital game if using an emulator. Make sure the game is compatible with your Super Nintendo console.
- Check for display and audio: Once the game is loaded, look for the game display on your smart TV screen. Check if the visuals are clear, crisp, and properly centered. Listen for the game audio to confirm that the sound is coming through the TV speakers or any external audio system you have connected.
- Gameplay test: Play the game for a few minutes to ensure there are no issues with the graphics, audio, or controls. Check for any lag or synchronization issues between the controller input and the on-screen response.
If you experience any issues during the testing phase, double-check all the connections between your Super Nintendo console and your smart TV. Verify that the input source on your TV is set correctly, and ensure that the cables are securely connected.
If the problem persists, consult the user manuals of both your Super Nintendo console and your smart TV for troubleshooting tips. You may also consider seeking assistance from online forums or contacting customer support for further assistance.
Once you have confirmed that the connection and gameplay are working smoothly, you are ready to dive into the world of Super Nintendo gaming on your smart TV. Enjoy the nostalgic gaming experience and have fun reliving those classic moments.
Conclusion
Connecting your Super Nintendo to your smart TV opens up a world of nostalgic gaming possibilities. With a few simple steps, you can enjoy your favorite Super Nintendo games on the big screen and relive the classic gaming experience.
In this guide, we covered the necessary requirements, step-by-step instructions, and tips for connecting your Super Nintendo console to your smart TV. By following these steps, you can ensure a smooth setup process and optimize the display and audio settings for an enhanced gaming experience.
Remember, while the general steps provided in this guide should work for most setups, there may be slight variations depending on your specific Super Nintendo console model and smart TV. Always consult the user manuals for both devices for accurate and detailed instructions.
From checking the available input ports to configuring the TV settings and testing the connection, each step plays a crucial role in ensuring a seamless and enjoyable gaming experience. Take your time to double-check the connections and settings to avoid any issues during gameplay.
Now that your Super Nintendo is connected to your smart TV, it’s time to grab your controller, immerse yourself in the world of retro gaming, and let the nostalgia wash over you. Whether you’re battling Bowser in Super Mario World or exploring Hyrule in The Legend of Zelda, get ready to embark on an unforgettable gaming journey.
So, dust off those old game cartridges, plug in your Super Nintendo, and get ready to relive the 16-bit magic. Connect, play, and reminisce – the world of Super Nintendo gaming awaits you on your smart TV!


