Introduction
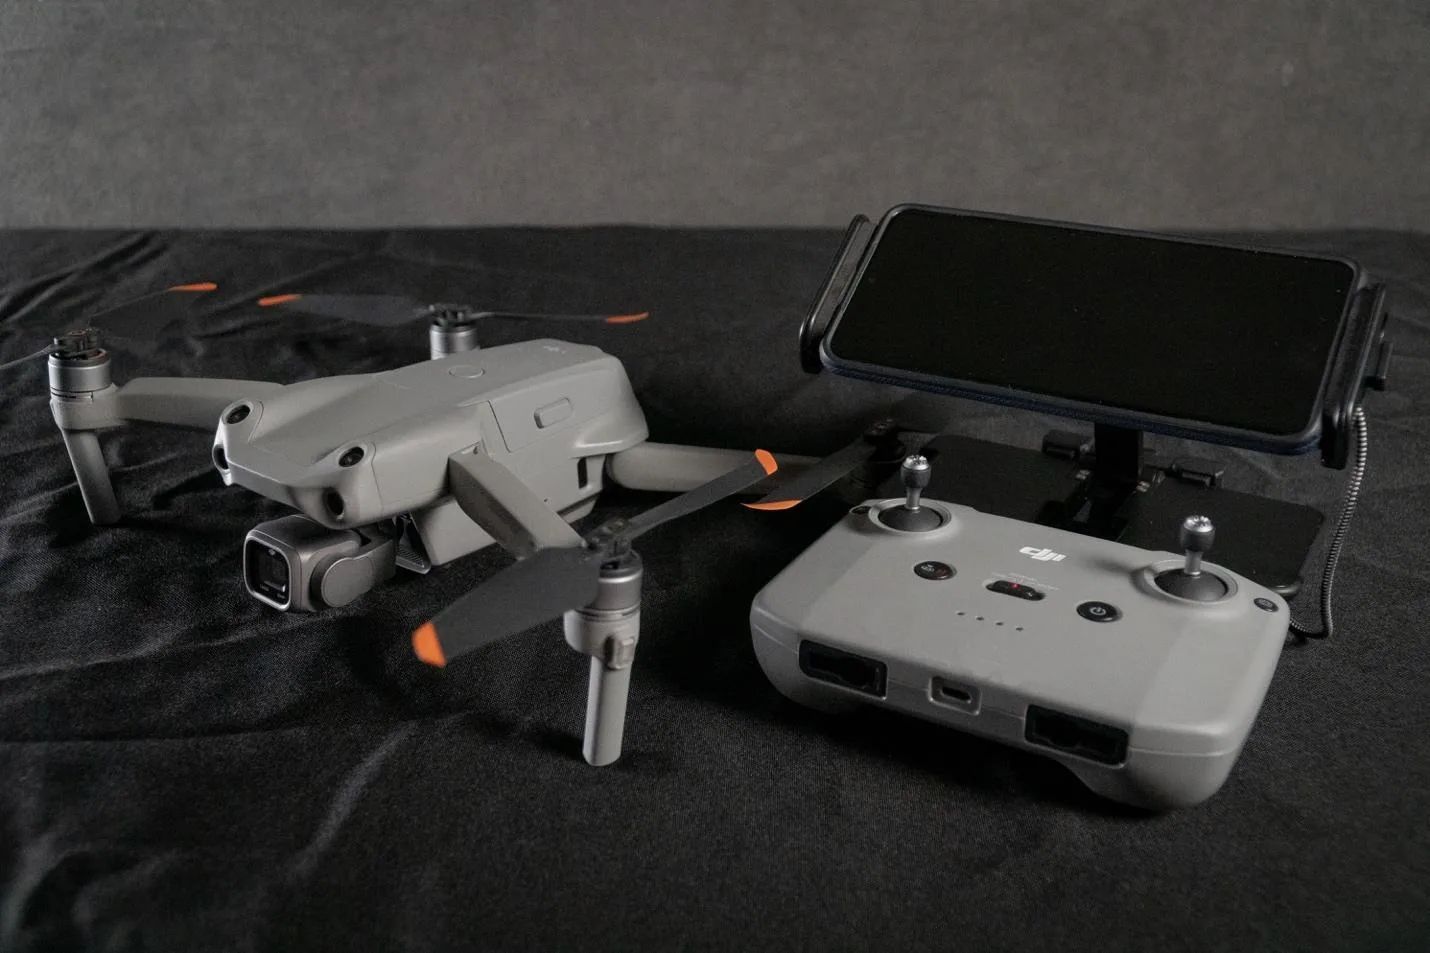
Welcome to our guide on how to connect your DJI drone to the controller. DJI drones are known for their exceptional performance and innovative features, but before you can take to the skies, you need to make sure your drone is properly connected to the controller.
Connecting your DJI drone to the controller is a crucial step in the setup process. Without a proper connection, you won’t be able to control your drone or access its various flight modes and features. Whether you’re a beginner or an experienced drone pilot, knowing how to establish a solid connection between your DJI drone and the controller is essential for a successful flight.
In this guide, we will walk you through the step-by-step process of connecting your DJI drone to the controller, as well as provide troubleshooting tips for common connection issues. So, let’s get started and ensure that you are ready to take your DJI drone to new heights!
Why Connecting Your DJI Drone to the Controller is Important
Connecting your DJI drone to the controller is a crucial step that ensures you have full control over your aerial device. Here are some important reasons why establishing a proper connection is essential:
- Flight Control: When your DJI drone is connected to the controller, you have the ability to control its flight movements, such as ascending, descending, turning, and hovering. The controller acts as a command center, allowing you to navigate your drone with precision.
- Access to Features and Flight Modes: By connecting your DJI drone to the controller, you can access a wide range of features and flight modes. This includes intelligent flight modes like ActiveTrack, where the drone can autonomously track and follow a subject, or Waypoints, where you can pre-program a flight path. These advanced functionalities enhance your flying experience and enable you to capture stunning aerial footage.
- Real-Time Feedback: When your DJI drone is connected to the controller, it provides you with real-time feedback on important flight parameters. This includes data on battery life, GPS signal strength, altitude, and distance from the controller. Having access to this information ensures that you can monitor your drone’s performance and make necessary adjustments while in flight.
- Safety Measures: Connecting your DJI drone to the controller allows you to implement safety measures such as setting a maximum flight altitude and activating return-to-home functions. These features help prevent accidents and ensure the safe return of your drone.
- Firmware Updates: By establishing a connection with the controller, you can easily update the firmware of your DJI drone. Firmware updates often include bug fixes, performance improvements, and the addition of new features. Keeping your drone’s firmware up-to-date is crucial for optimal performance and compatibility with the latest DJI software.
Overall, connecting your DJI drone to the controller provides you with complete control, access to advanced features, real-time feedback, safety measures, and the ability to update firmware. It is a vital step that every drone pilot should take to ensure a safe and enjoyable flying experience.
Preparations before Connecting DJI Drone to Controller
Before you begin the process of connecting your DJI drone to the controller, there are a few important preparations you should make. These preparations will help ensure a smooth and successful connection. Here are the key steps to follow:
- Charge the Batteries: It’s crucial to ensure that both your DJI drone and the controller have sufficient battery power. Charge the batteries fully before attempting to connect them. This will prevent any disruptions during the connection process and allow for a longer flying time.
- Check Compatibility: Ensure that your DJI drone and controller are compatible with each other. Check the user manuals or product specifications to verify compatibility. Using an incompatible controller may result in connection issues or limited functionality.
- Ensure Line of Sight: Find an open, outdoor area with a clear line of sight between the drone and the controller. This will reduce the chances of signal interference and enhance the strength of the connection.
- Remove Obstructions: Remove any obstructions that may interfere with the connection between the DJI drone and the controller. Keep away from metal structures, power lines, and other electronic devices that can cause signal interference.
- Update Firmware: Check for any available firmware updates for both your DJI drone and controller. Updating the firmware ensures that you have the latest software enhancements and bug fixes, which can improve the overall performance and stability of the connection.
- Calibrate the Compass: Before connecting the drone to the controller, it’s essential to calibrate the compass. Follow the instructions in the user manual or the DJI app to calibrate the compass properly. This step is crucial for accurate flight navigation.
- Download DJI App: Ensure that you have downloaded and installed the appropriate DJI app on your smartphone or tablet. The DJI app is usually required for establishing the initial connection between the drone and the controller.
- Review User Manual: Familiarize yourself with the user manual provided with your DJI drone and controller. Understand the specific instructions and guidelines for connecting the drone to the controller. This will help you avoid any mistakes or difficulties during the process.
By following these preparations, you’ll be well-prepared to connect your DJI drone to the controller. These steps will help ensure a stable and successful connection, allowing you to fully enjoy the capabilities of your drone during every flight.
Step-by-Step Guide: How to Connect DJI Drone to Controller
Now that you have made the necessary preparations, it’s time to connect your DJI drone to the controller. Follow these step-by-step instructions to establish a solid connection:
- Power On: Turn on your DJI drone by pressing the power button. Wait until the drone’s LED lights stabilize, indicating that it’s ready for connection.
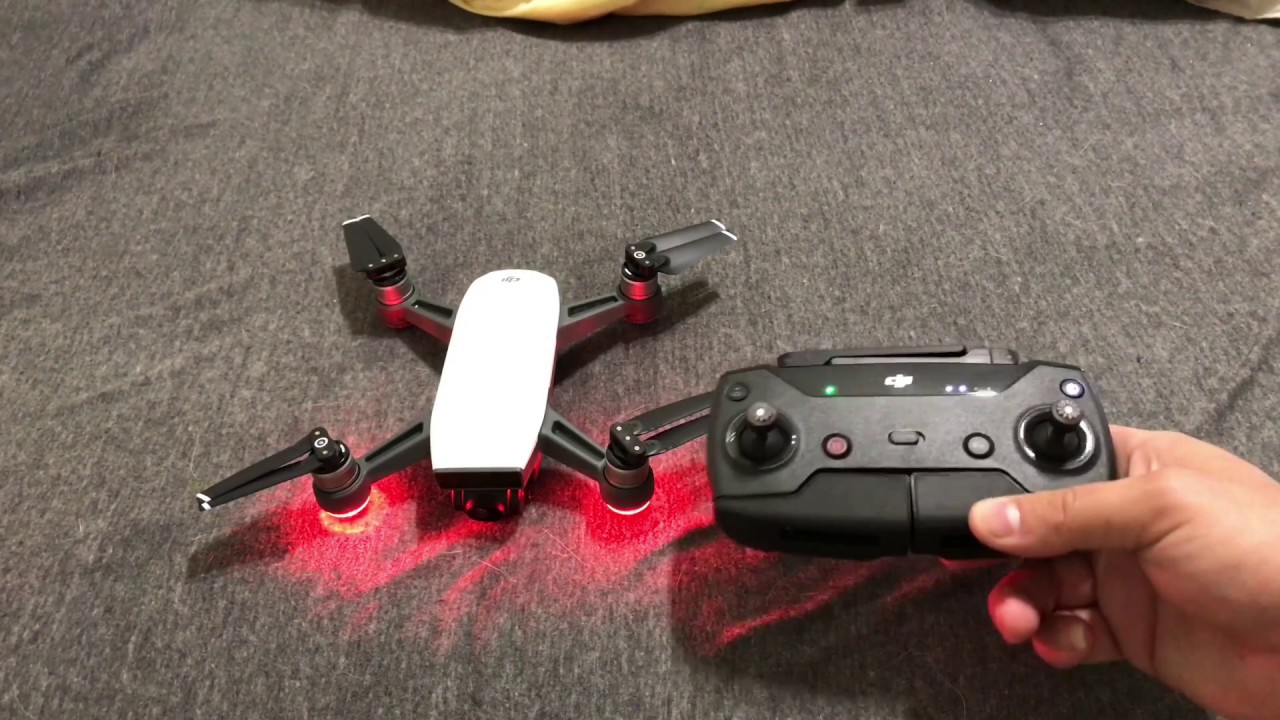
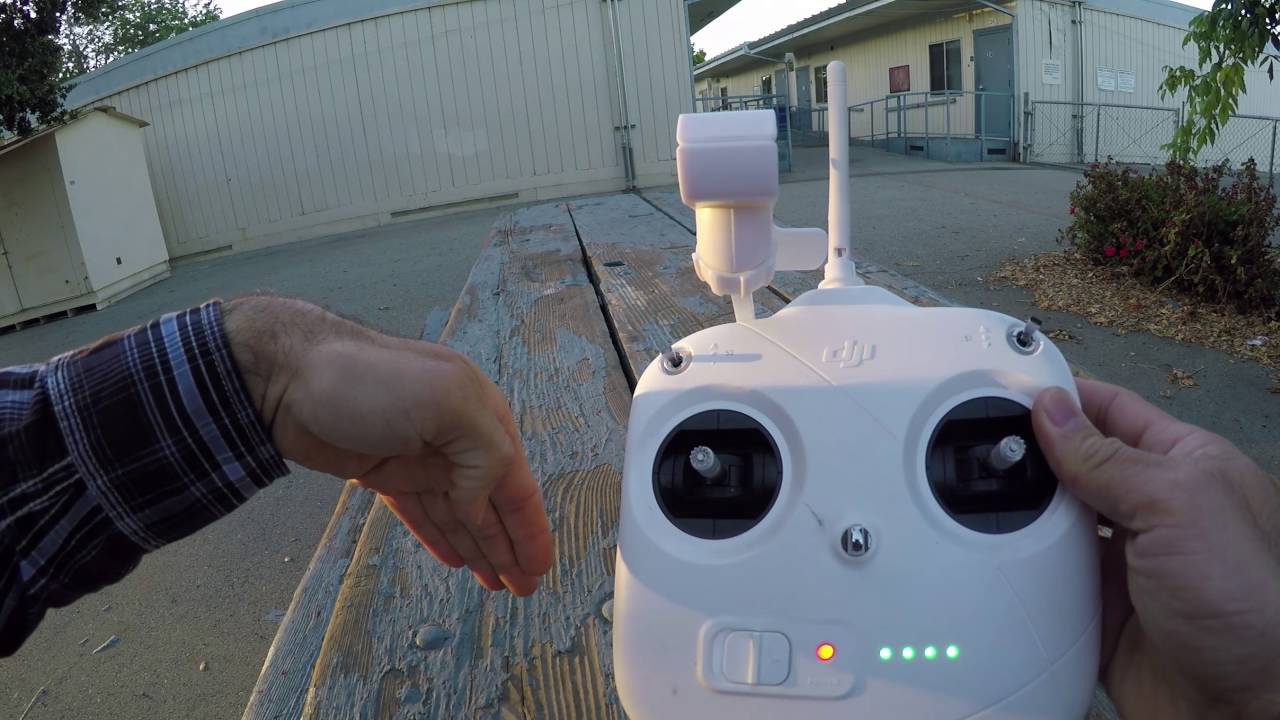
- Power On the Controller: Power on the controller by pressing and holding the power button. Once the controller is powered on, its LED lights will start to blink, indicating that it’s in pairing mode.
- Open DJI App: Open the DJI app on your smartphone or tablet. Ensure that your device’s Bluetooth or Wi-Fi is enabled, as the app will need to establish a connection with the controller.
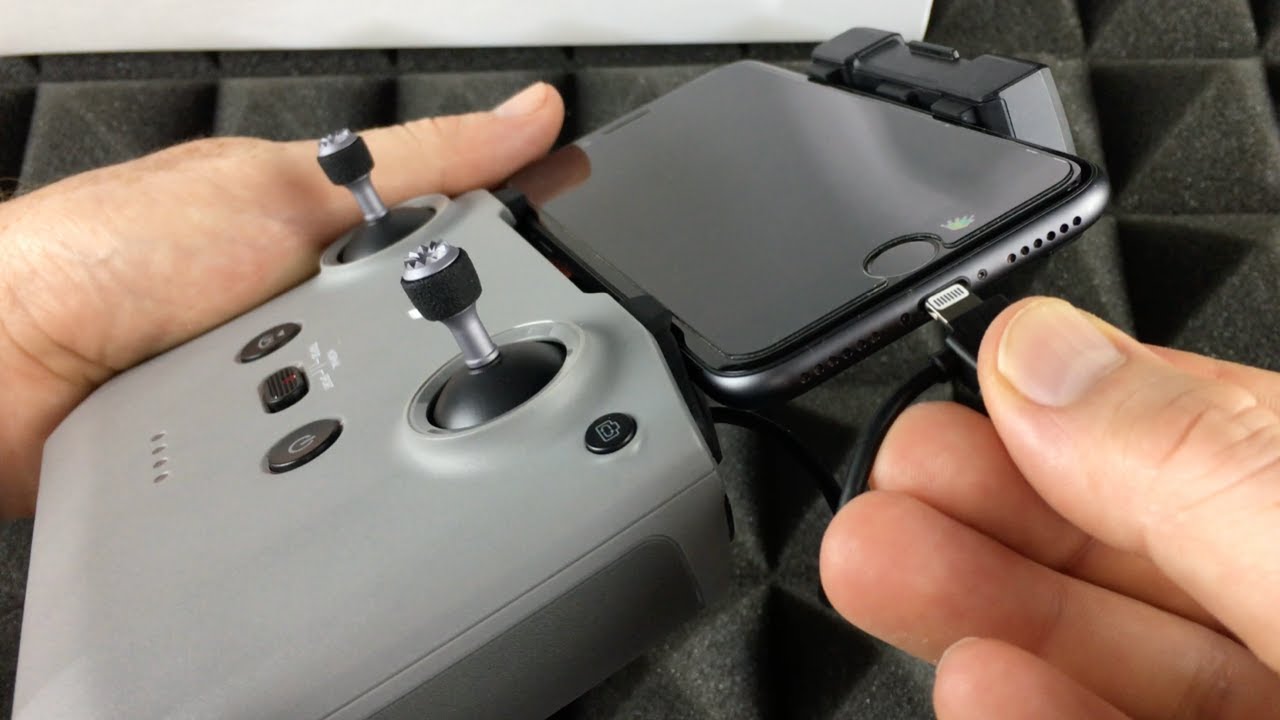
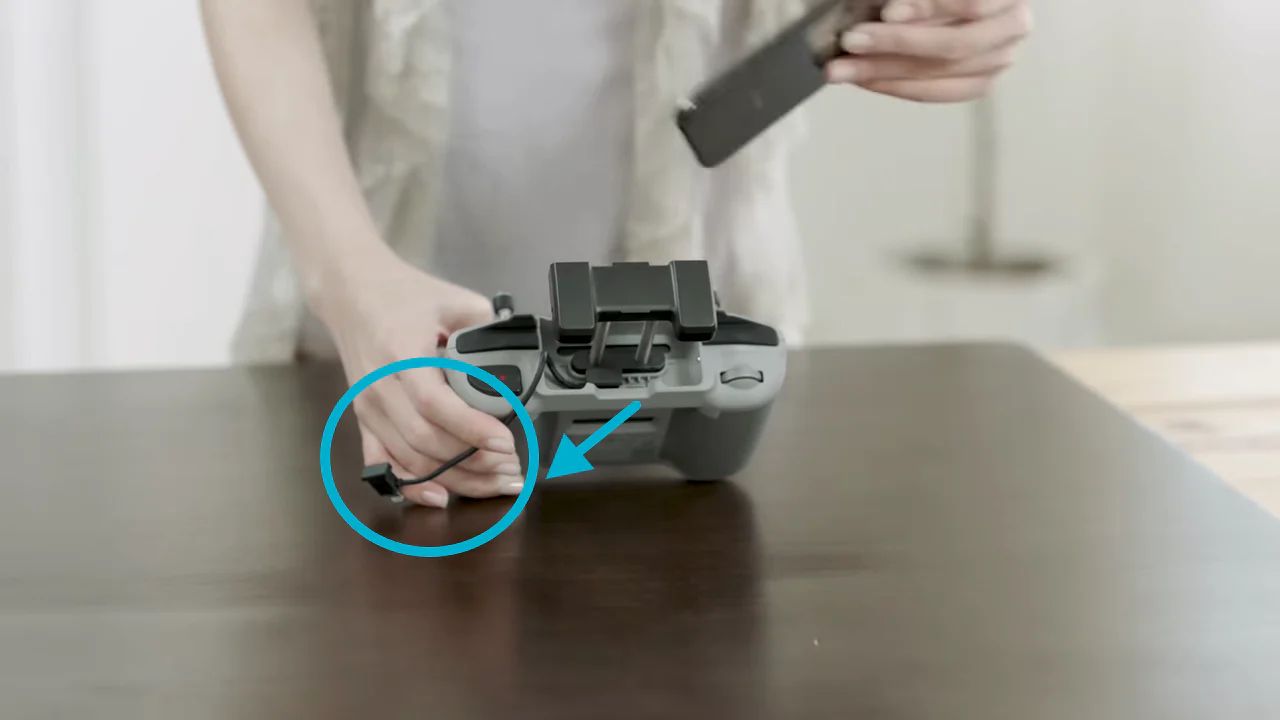
- Connect Controller to Mobile Device: Use a USB cable or connect wirelessly to link your mobile device to the controller. Follow the instructions in the DJI app to establish the connection. Once connected, the app will display a live feed from your drone’s camera.
- Select Drone: In the app, select your specific DJI drone model from the list of available drones. The app will prompt you to confirm the selection and proceed with the connection process.
- Pair the Drone and Controller: On the controller, press and hold the designated pairing button, usually located on the side or bottom of the controller. While holding the button, power on the drone. The LED lights on both the drone and the controller will begin to blink rapidly, indicating that they are attempting to establish a connection.
- Wait for Successful Connection: Be patient and wait for the drone and controller to establish a successful connection. This process can take a few seconds to a minute. Once connected, the LED lights on both devices will become solid, indicating a stable connection.
- Perform a Test Flight: After the successful connection, perform a quick test flight to ensure that the drone responds to the controller’s commands. Ascend, descend, and perform basic flight maneuvers to guarantee that the connection is reliable and responsive.
By following these step-by-step instructions, you can connect your DJI drone to the controller effectively. Remember to always refer to your specific drone model’s user manual for any additional instructions or troubleshooting guidance.
Troubleshooting Common Connection Issues
While connecting your DJI drone to the controller is usually a seamless process, there may be instances when you encounter connection issues. Here are some common problems you may encounter and troubleshooting steps to resolve them:
- Weak or No Signal: If you experience a weak or no signal between the drone and the controller, ensure that you are within the recommended range. Additionally, double-check that there are no obstacles blocking the signal, such as buildings, trees, or radio interference. Try relocating to an open area with a clearer line of sight for a stronger connection.
- Bluetooth or Wi-Fi Connectivity Issues: If you are using a mobile device to connect to the controller, make sure that your device’s Bluetooth or Wi-Fi is enabled and working properly. Reboot your device and try reconnecting to the controller’s network. If the issue persists, try using a different device or cable for the connection.
- Controller and Drone Not Pairing: If the controller and drone are not pairing successfully, ensure that both devices are powered on and in pairing mode. Check that you are pressing and holding the designated pairing button on the controller while powering on the drone. If the pairing process fails repeatedly, consult the user manual for specific troubleshooting instructions or contact DJI support for further assistance.
- Outdated Firmware: If the connection between the drone and the controller seems unstable or unreliable, check for any available firmware updates for both devices. Outdated firmware can cause compatibility issues and connectivity problems. Use the DJI app or DJI Assistant software to update the firmware and ensure optimal performance.
- Intermittent Connection Loss: If you experience intermittent connection loss during flight, it could be due to signal interference or weak battery power. Ensure that you’re flying in an area with minimal electromagnetic interference. Also, check the battery level of both the drone and the controller and consider replacing or recharging them if they are running low.
- App Crashes: If the DJI app crashes while attempting to establish a connection or during flight, try closing the app and reopening it. Ensure that you have the latest version of the app installed. If the problem persists, uninstall and reinstall the app or try using a different mobile device.
If you have tried these troubleshooting steps and are still experiencing connection issues, it is recommended to consult the user manual for your DJI drone or controller or contact DJI customer support for further assistance. They will be able to provide specific troubleshooting guidance based on your particular situation.
Conclusion
Connecting your DJI drone to the controller is a vital step in ensuring a successful and enjoyable flying experience. By following the step-by-step guide outlined in this article, you can establish a solid connection and have complete control over your drone’s flight movements and advanced features. Remember to make the necessary preparations, such as charging the batteries, checking compatibility, and removing obstructions, before attempting to connect the drone to the controller.
In the event of any connection issues, refer to the troubleshooting section for common solutions. Weak signal, connectivity problems, outdated firmware, and intermittent connection loss can often be resolved by following the troubleshooting steps provided.
Keep in mind that staying updated with the latest firmware for both your drone and controller is crucial for optimal performance and compatibility. Firmware updates often bring bug fixes, performance enhancements, and additional features, ensuring you get the most out of your DJI drone.
By establishing a stable connection, you can access advanced flight modes, receive real-time feedback, implement safety measures, and control your drone with precision. So, take the time to connect your DJI drone to the controller properly and embark on unforgettable aerial adventures.


