Introduction
The DJI FPV Goggles are one of the most popular accessories for drone enthusiasts, offering an immersive and thrilling flight experience. With their high-resolution screens and low-latency transmission, they allow the pilot to see through the eyes of the drone in real-time. Connecting the DJI FPV Goggles to your drone is essential for experiencing this exciting first-person view.
In this guide, we will walk you through the step-by-step process of connecting your DJI FPV Goggles to your drone. Whether you are a novice pilot or an experienced professional, this tutorial will help you establish a stable and reliable connection between your goggles and drone.
Before we get started, it is important to note that the DJI FPV Goggles are compatible with specific DJI drones, such as the DJI FPV drone and certain models from the DJI Mavic series. Make sure to check the compatibility of your drone with the DJI FPV Goggles before proceeding.
Now let’s gather the necessary equipment and get ready to connect your DJI FPV Goggles to your drone!
What You Will Need
Before you begin the process of connecting your DJI FPV Goggles to your drone, there are a few essential items you will need:
- DJI FPV Goggles: The main component is, of course, the DJI FPV Goggles themselves. Ensure that they are fully charged before starting.
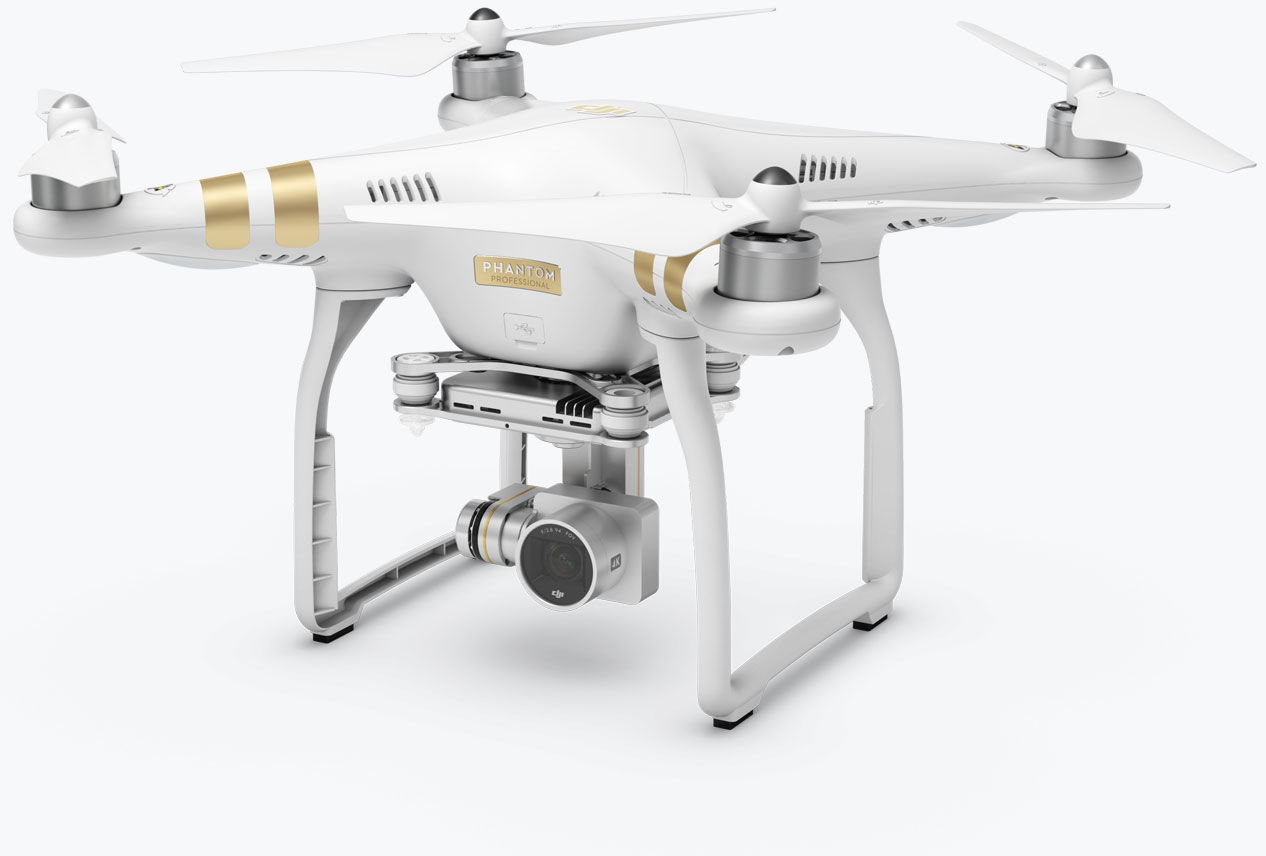
- Compatible DJI Drone: You will need a DJI drone that is compatible with the DJI FPV Goggles. This can include the DJI FPV drone or select models from the DJI Mavic series.
- Drone Battery: Make sure your drone has a fully charged battery installed.
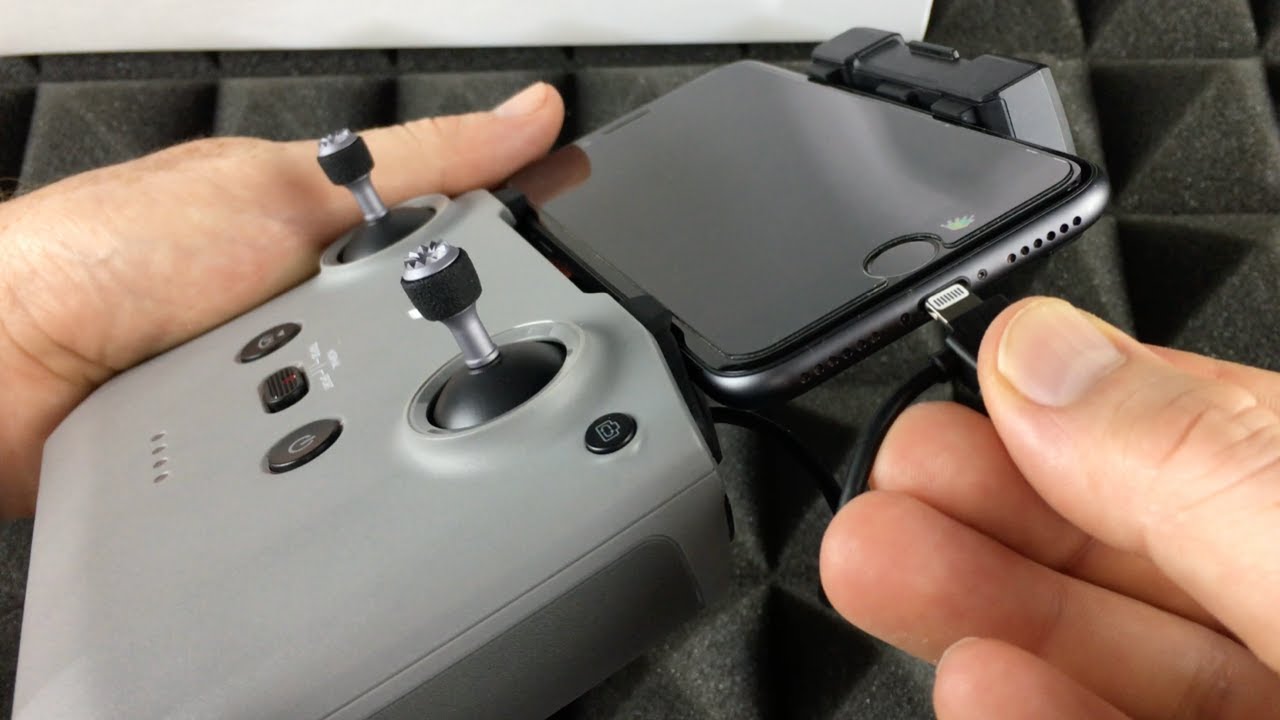
- Micro USB Cable: You will need a micro USB cable to connect the DJI FPV Goggles to the drone.
Once you have gathered these essential items, you are ready to proceed with the connection process. It’s important to have everything prepared to avoid any interruptions or delays during the setup.
Now that you have all the necessary tools, let’s move on to the step-by-step instructions for connecting your DJI FPV Goggles to your drone.
Step 1: Power On the DJI FPV Goggles
The first step in connecting your DJI FPV Goggles to your drone is to power them on. Follow these simple instructions:
- Locate the power button on the DJI FPV Goggles. It is usually located on the top or side of the device.
- Press and hold the power button for a few seconds until the goggles power on. You will see the DJI logo appear on the screens.
- Wait for the goggles to complete the power-up process. This may take a few moments.
Once the DJI FPV Goggles are powered on, they are ready to be connected to your drone. Remember to ensure that the goggles are fully charged to avoid any battery-related issues during the connection process.
Now that the DJI FPV Goggles are powered on, let’s move on to the next step, which is to power on the drone itself.
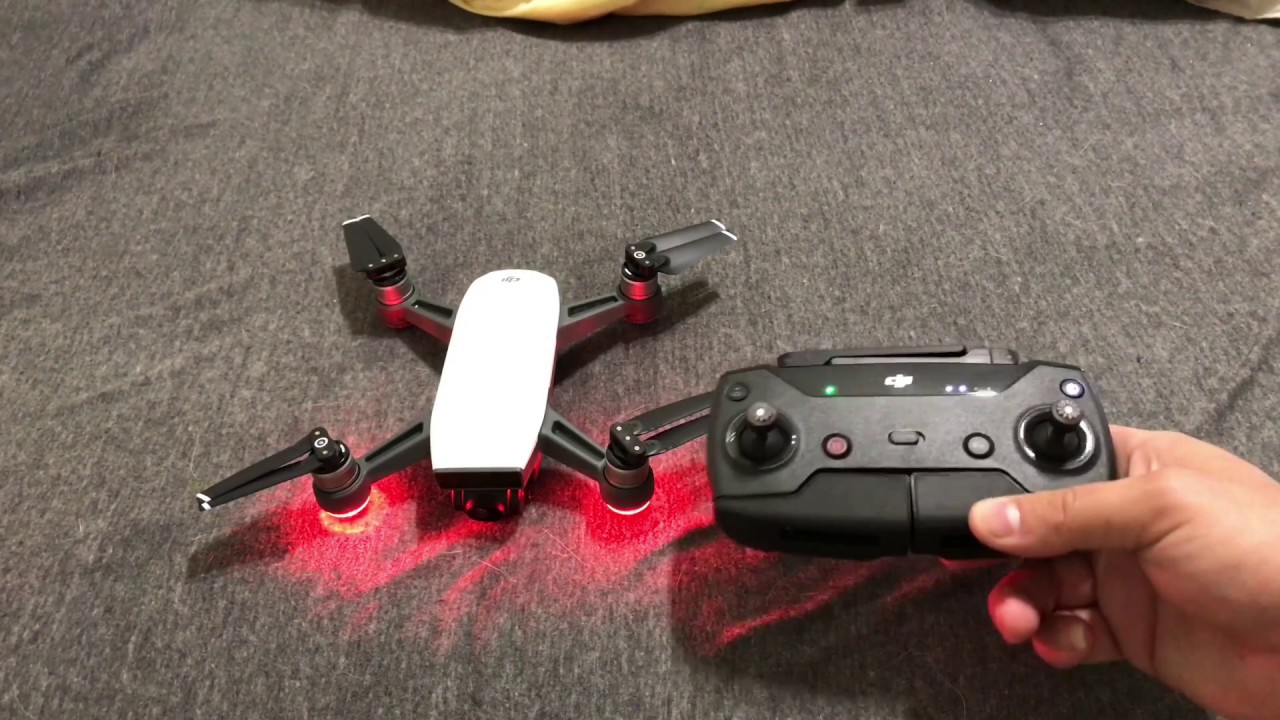
Step 2: Power On the Drone
Now that your DJI FPV Goggles are powered on, it’s time to power on your drone. Follow these steps:
- Locate the power button or switch on your drone. The location may vary depending on the drone model, so refer to your drone’s user manual if you’re unsure.
- Ensure that the drone’s battery is fully charged and properly inserted.
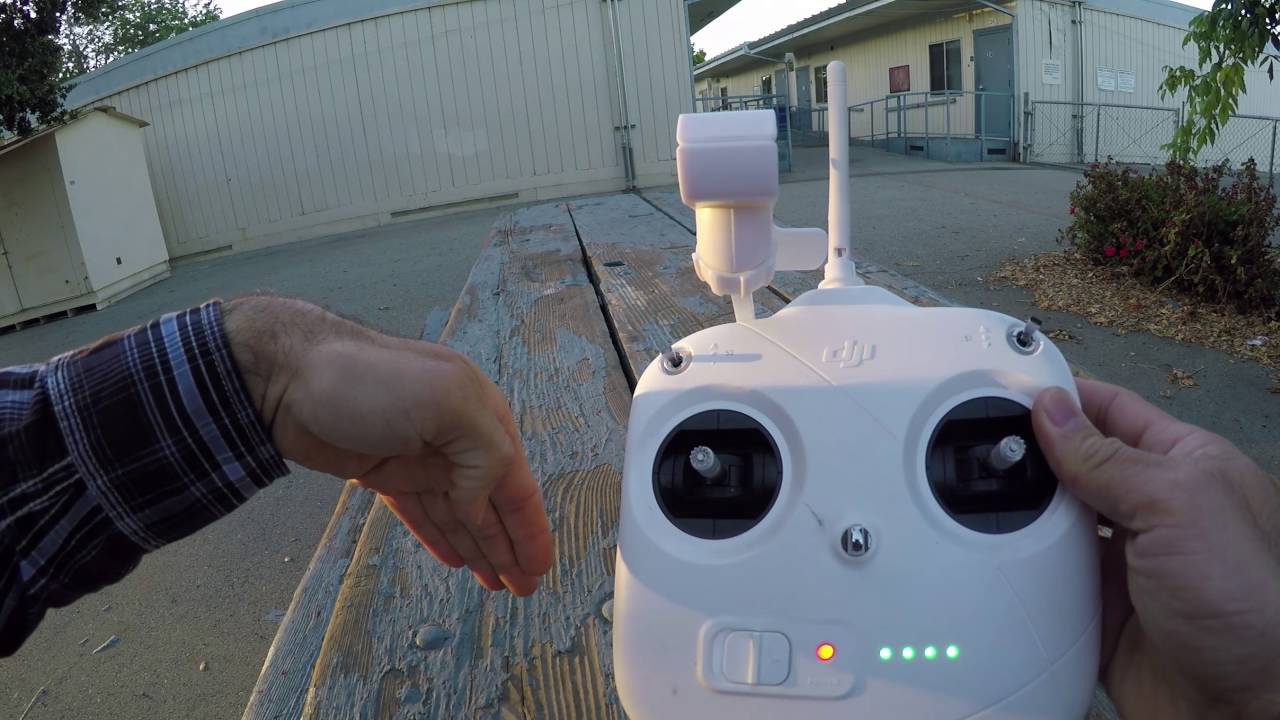
- Press and hold the power button or switch for a few seconds until the drone’s indicators illuminate or the drone’s lights turn on.
- Wait for the drone to complete its power-on sequence. This may involve the drone’s motors initializing and the flight controller establishing a connection with the remote control.
Once the drone is powered on, it is ready to establish a connection with your DJI FPV Goggles. Make sure to keep the drone within range and in view of the goggles for a seamless connection.
With the drone powered on, we can now move on to the next step, which involves connecting the DJI FPV Goggles to the drone.
Step 3: Connect the DJI FPV Goggles to the Drone
Now that both the DJI FPV Goggles and the drone are powered on, it’s time to establish a connection between the two. Follow these steps:
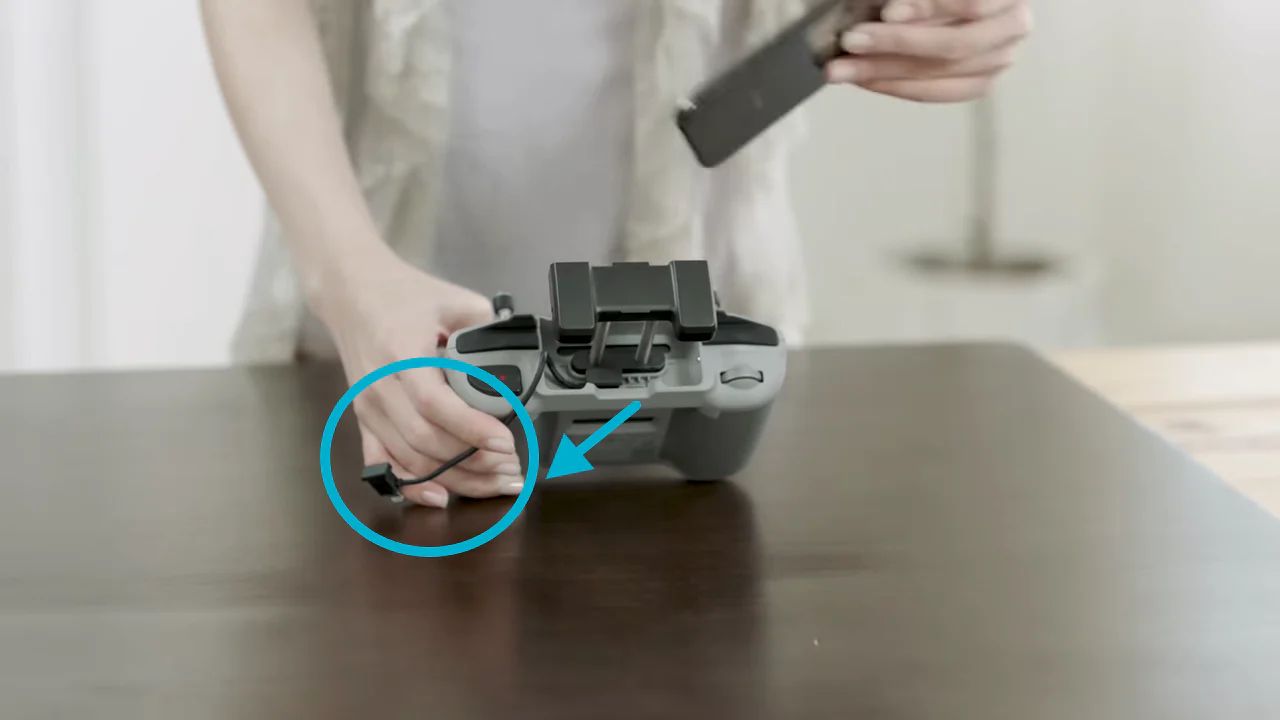
- Locate the micro USB port on your DJI FPV Goggles. It is usually located on the side or bottom of the goggles.
- Take the micro USB cable and plug one end into the designated port on the DJI FPV Goggles.
- Locate the micro USB port on your drone. The location may vary depending on the drone model, so refer to your drone’s user manual if needed.
- Take the other end of the micro USB cable and plug it into the micro USB port on the drone.
- Ensure that the micro USB cable is securely connected to both the DJI FPV Goggles and the drone.
Once the micro USB cable is properly connected, the DJI FPV Goggles and the drone will start communication. This connection allows the goggles to receive the live video feed from the drone’s camera, providing you with a real-time first-person view.
With the DJI FPV Goggles now successfully connected to the drone, it’s time to proceed to the next step, which involves pairing the goggles with the drone.
Step 4: Pair the DJI FPV Goggles with the Drone
After connecting the DJI FPV Goggles to the drone, the next step is to pair them together. Follow these instructions to complete the pairing process:
- Take a look at the DJI FPV Goggles’ screens. You should see the live video feed from the drone’s camera.
- Use the drone’s remote control to navigate through the menu options or using the designated buttons on the drone itself.
- Look for the menu option that allows you to connect or pair the goggles with the drone. This option may be named differently depending on the drone model, such as “Pair Goggles” or “Connect FPV Goggles”. Refer to your drone’s user manual to locate the specific option.
- Select the option to pair the DJI FPV Goggles with the drone.
- Wait for the pairing process to complete. This may take a few moments as the drone and the goggles establish a secure connection.
- Once the pairing is successful, you should see a notification or confirmation message on the DJI FPV Goggles’ screens.
Now that the DJI FPV Goggles are paired with the drone, you are ready to move on to the next step, which involves adjusting and testing the connection.
Step 5: Adjust and Test the Connection
With the DJI FPV Goggles connected to the drone and successfully paired, it’s time to adjust and test the connection. Follow these steps:
- Put on the DJI FPV Goggles and ensure they are securely and comfortably fitted. Adjust the straps if needed.
- Take a moment to familiarize yourself with the controls on the goggles. This may include buttons for navigating menus, adjusting settings, and switching between flight modes.
- Ensure that the goggles are displaying the live video feed from the drone’s camera. You should be able to see a clear and stable image on the screens.
- Use the controls on the drone’s remote control to maneuver the drone in the air. Observe how the live video feed responds to your actions.
- If you notice any issues with the connection, such as video lag or signal loss, try adjusting the position of the antennas on the drone and the goggles to optimize the signal reception.
- Take a short test flight with the drone to further assess the connection. Fly the drone in different directions and distances while closely monitoring the video feed on the goggles.
- If you encounter any significant issues or disruptions in the video feed, refer to the troubleshooting section in the user manual or seek assistance from DJI’s support channels.
By adjusting and testing the connection, you can ensure a smooth and reliable experience while using the DJI FPV Goggles with your drone.
With the connection adjusted and tested, you are now ready to embark on thrilling FPV flights and enjoy the immersive experience provided by the DJI FPV Goggles and your drone.
Conclusion
Connecting your DJI FPV Goggles to your drone opens up a whole new world of flight experience. By following the step-by-step process outlined in this guide, you can establish a seamless connection and enjoy the thrill of flying with a first-person view.
Throughout this tutorial, we covered the essential steps required to connect the DJI FPV Goggles to your drone. From powering on the goggles and the drone to connecting them using a micro USB cable, and finally, pairing them together, each step was explained in detail.
Once the connection is established, it is crucial to adjust and test the connection to ensure optimal performance. This involves adjusting the position of the antennas, familiarizing yourself with the goggles’ controls, and testing the live video feed during a short test flight.
Remember to always consult your drone’s user manual for specific instructions and compatibility requirements. DJI’s support channels are also available to assist you in case of any technical issues or questions.
Now that you have successfully connected your DJI FPV Goggles to your drone, it’s time to take flight and experience the thrill of aerial exploration in a whole new way. Enjoy your FPV journeys and capture breathtaking moments from a unique perspective!