Introduction
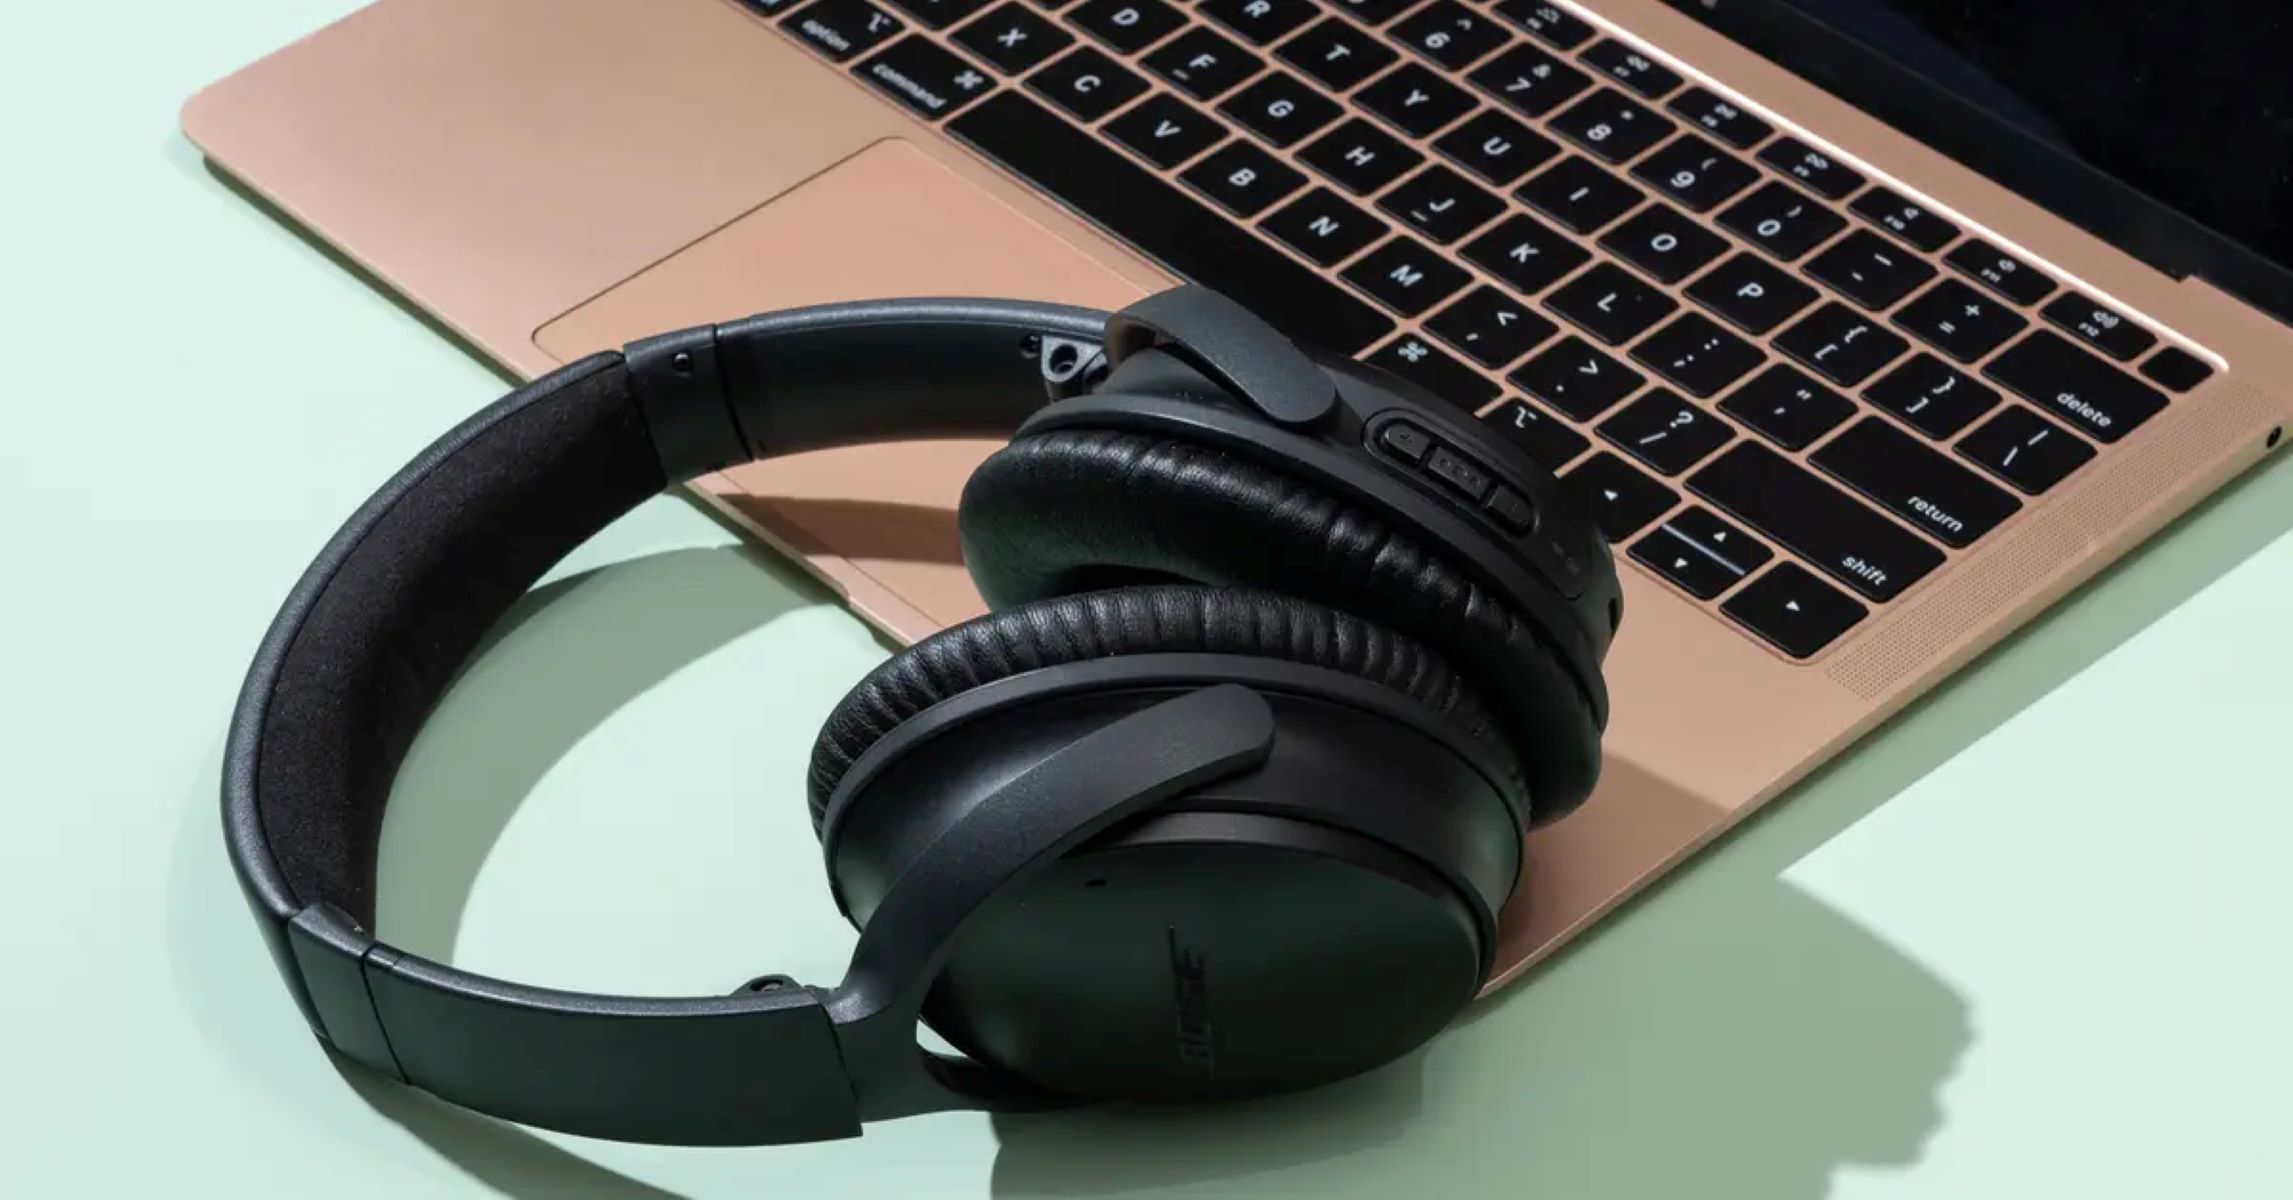
Bluetooth headphones have become immensely popular in recent years, providing a wireless and convenient way to enjoy audio on your laptop. Whether you want to listen to music, watch movies, or participate in online meetings, connecting Bluetooth headphones to your laptop can enhance your audio experience.
In this article, we will guide you through the process of connecting Bluetooth headphones to your laptop, step by step. We will cover everything from checking compatibility to troubleshooting common issues. So, if you’re ready to cut the cords and embrace wireless audio, let’s get started!
Before we dive into the steps, it’s important to note that the specific instructions may vary slightly depending on the operating system and laptop model you’re using. However, the general process remains the same.
Now, let’s check if your laptop is compatible with Bluetooth headphones. While most modern laptops come with built-in Bluetooth capabilities, older models may require additional hardware.
Step 1: Check Compatibility
Before attempting to connect your Bluetooth headphones to your laptop, it’s essential to ensure that both devices are compatible with each other.
Firstly, check if your laptop has built-in Bluetooth functionality. You can do this by looking for the Bluetooth symbol on your laptop’s keyboard or checking the system settings. If you can’t find the Bluetooth symbol or the option in the settings, it’s likely that your laptop doesn’t have native Bluetooth support.
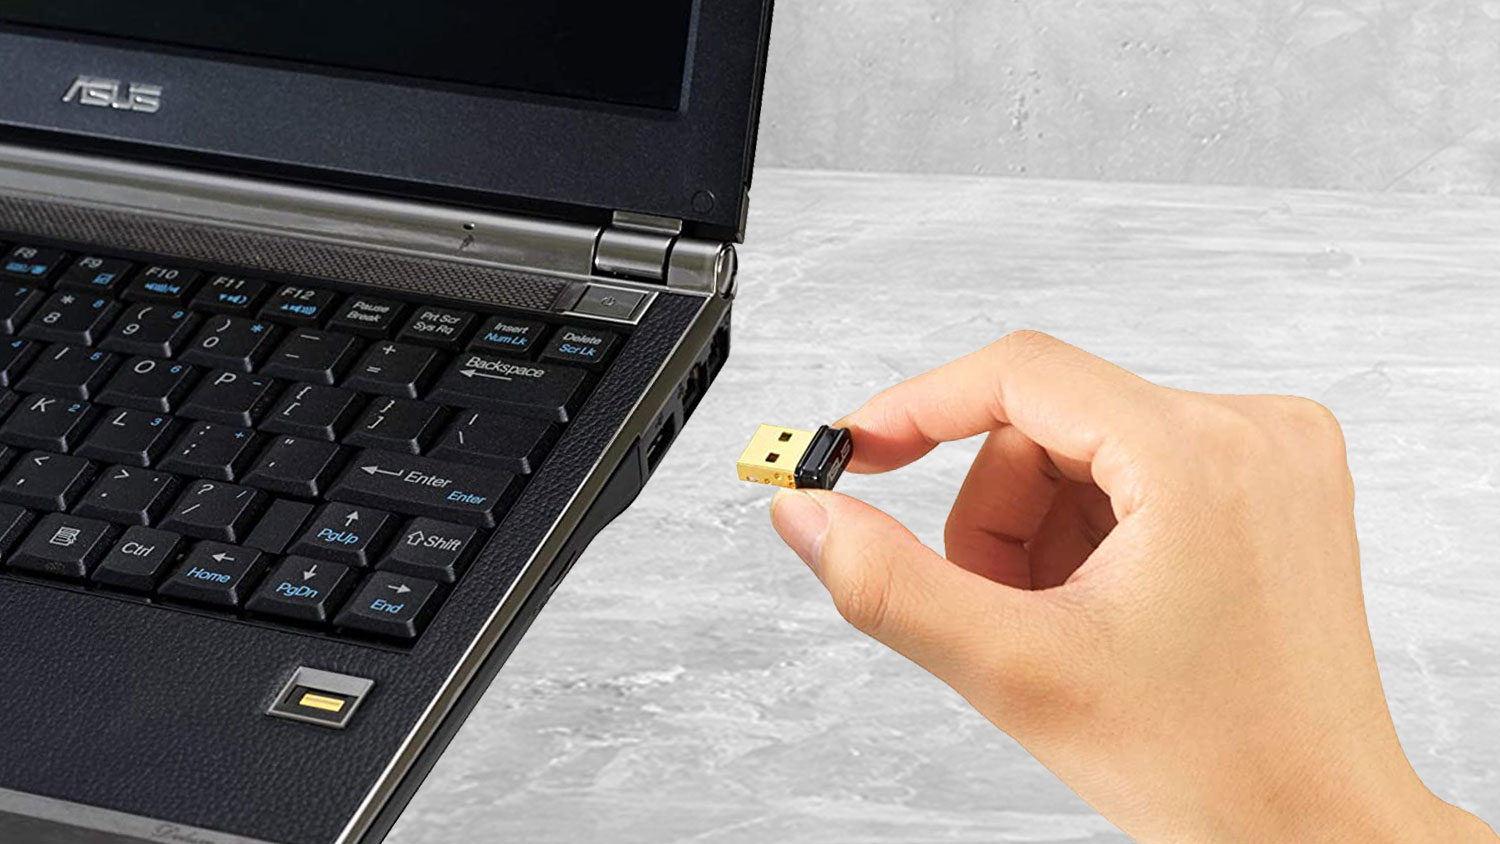
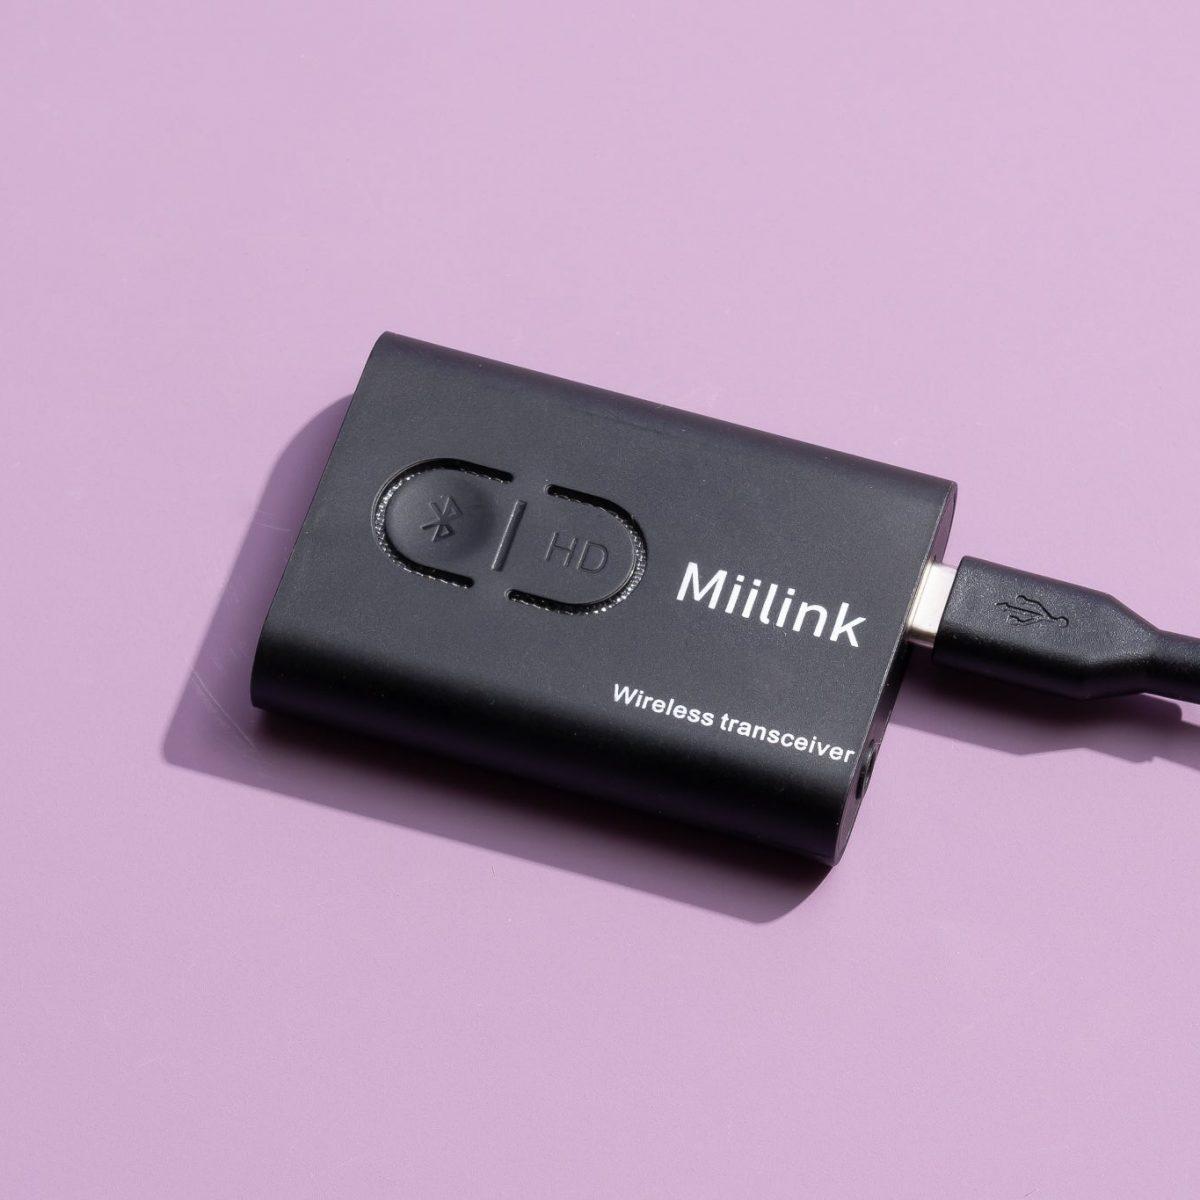
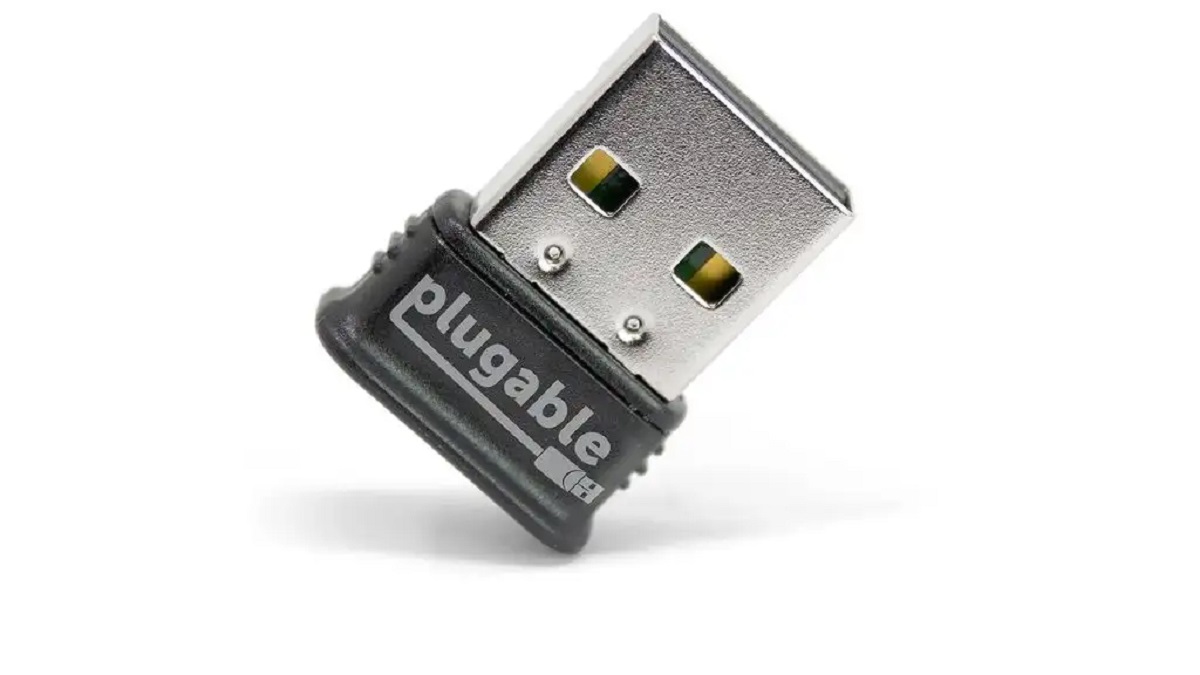
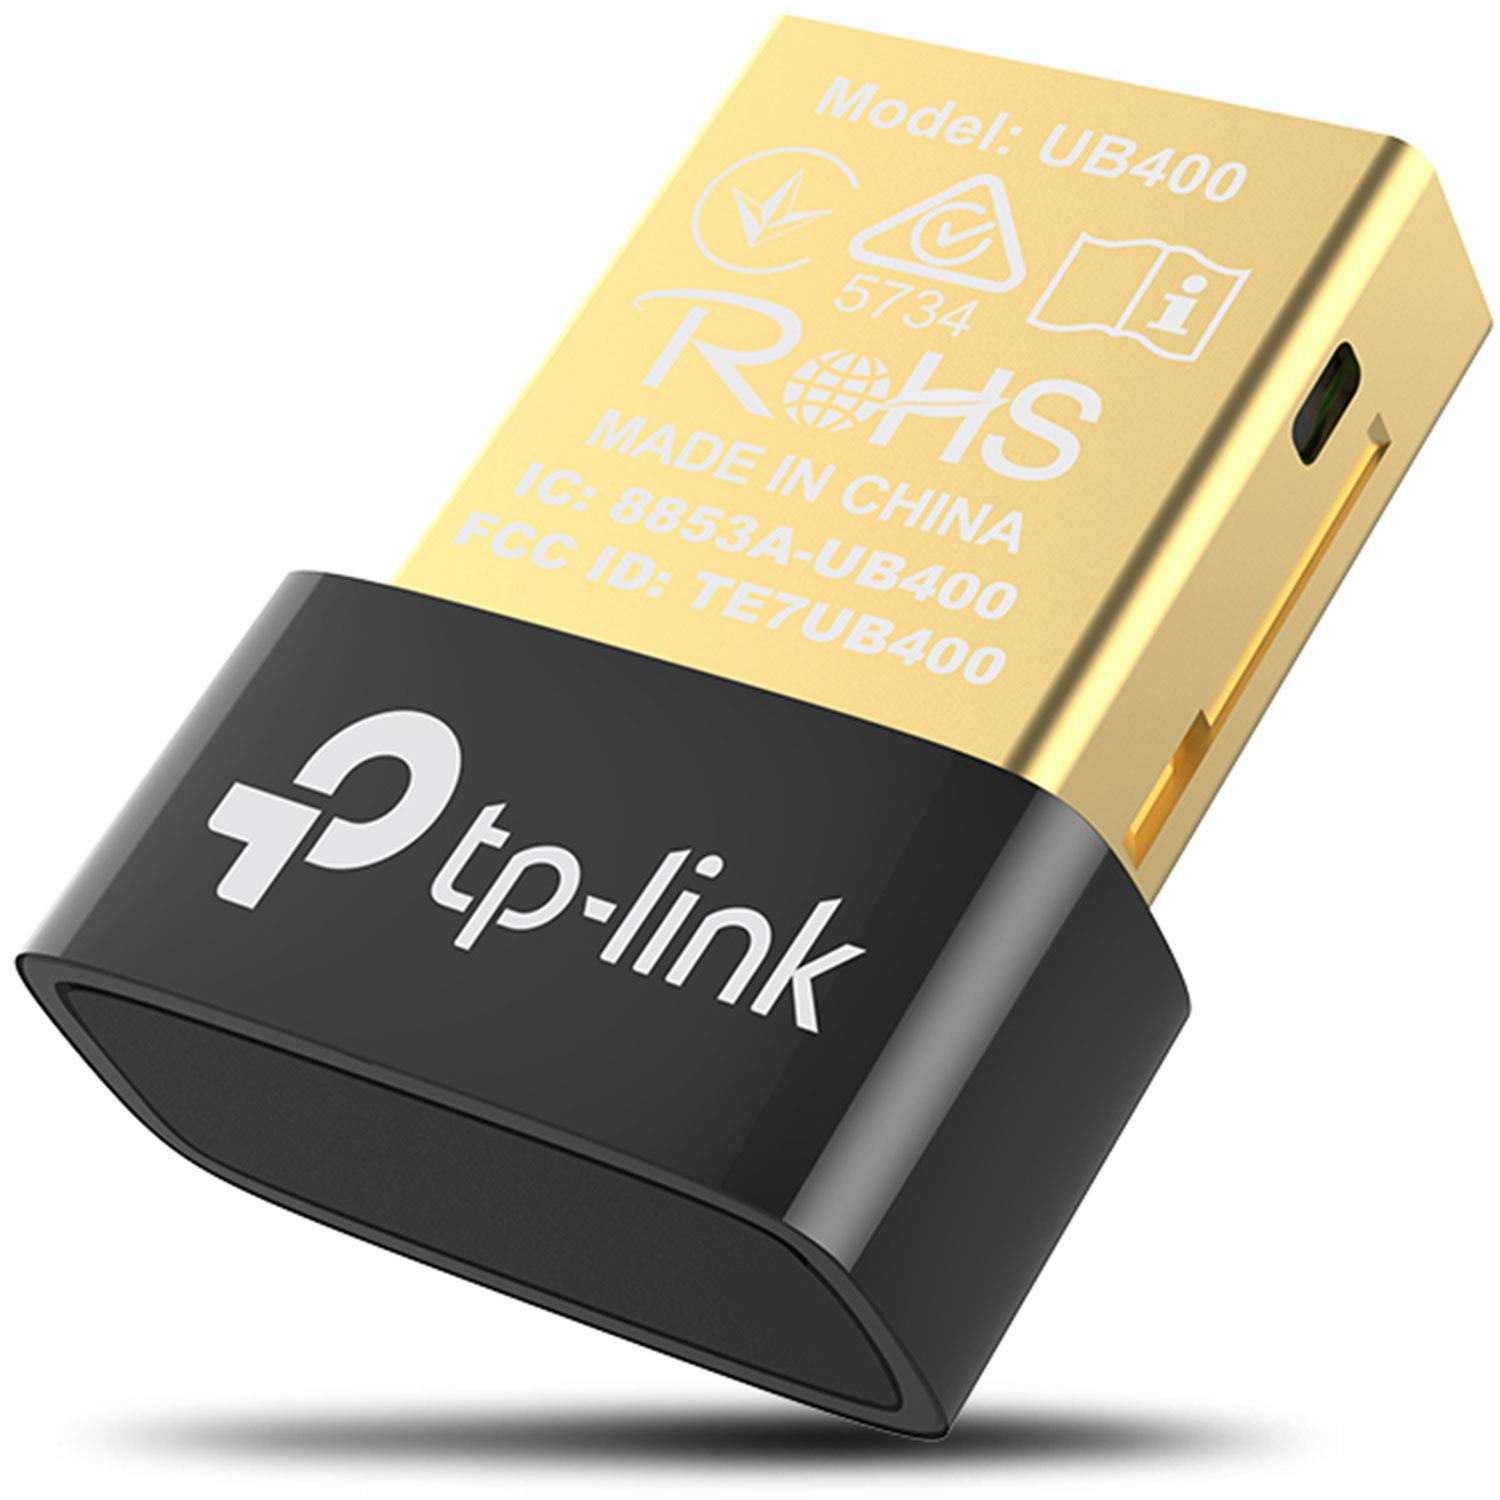
If your laptop doesn’t have built-in Bluetooth, don’t worry! You can still connect Bluetooth headphones by using an external Bluetooth adapter. These adapters are small devices that plug into your laptop’s USB port and provide Bluetooth connectivity. Make sure to purchase a reputable adapter that is compatible with your laptop’s operating system.
Next, ensure that your Bluetooth headphones are compatible with your laptop. Most Bluetooth headphones are designed to work with various devices, including laptops. However, it’s always a good idea to check the product specifications or the user manual to confirm compatibility.
Keep in mind that older laptops or operating systems may have limited support for Bluetooth devices, so it’s worth checking if any software updates are available for your laptop. Updating to the latest operating system version or installing Bluetooth drivers can often resolve compatibility issues.
Once you’ve confirmed that both your laptop and Bluetooth headphones are compatible, you’re ready to proceed to the next step: enabling Bluetooth on your laptop.
Step 2: Enable Bluetooth on Your Laptop
Now that you’ve verified compatibility, it’s time to enable Bluetooth on your laptop. This step may vary slightly depending on the operating system of your laptop.
If you’re using a Windows laptop, follow these steps:
- Click on the Start menu and go to the Settings (gear icon).
- In the Settings window, select “Devices.”
- Click on “Bluetooth & other devices” in the left sidebar.
- In the Bluetooth settings, toggle the switch to “On” to enable Bluetooth. You may also see an option to “Show Bluetooth devices” or “Add Bluetooth or other device.” Click on the respective option and follow the prompts to enable Bluetooth.
If you’re using a macOS laptop, the steps are slightly different:
- Click on the Apple menu and select “System Preferences.”
- In the System Preferences window, click on “Bluetooth.”
- In the Bluetooth settings, toggle the switch to “On” to enable Bluetooth.
Once Bluetooth is enabled on your laptop, you will see a Bluetooth icon in the system tray or menu bar, indicating that it’s ready to connect with other Bluetooth devices.
It’s worth noting that some laptops also have a dedicated physical switch or a function key combination to enable or disable Bluetooth. Consult your laptop’s user manual or look for any labeled keys or switches to ensure Bluetooth is enabled.
With Bluetooth enabled on your laptop, you’re now ready to proceed to the next step: turning on your Bluetooth headphones.
Step 3: Turn on Your Bluetooth Headphones
Now that Bluetooth is enabled on your laptop, it’s time to power up your Bluetooth headphones. The process for turning on Bluetooth headphones can vary depending on the model, so refer to the user manual if you’re unsure.
Typically, Bluetooth headphones have a power or pairing button. Press and hold this button until you see an LED light indicator or hear an audio prompt indicating that the headphones are in pairing mode. This is the mode that allows your headphones to be discovered by your laptop.
It’s important to note that some Bluetooth headphones may enter pairing mode automatically when they are turned on. In such cases, skip the pairing mode activation step and proceed to the next step directly.
Make sure your headphones are sufficiently charged before attempting to pair them with your laptop. Low battery levels can impact the pairing and connection process.
Once your Bluetooth headphones are in pairing mode, they are ready to be connected to your laptop. It’s time to move on to the next step: pairing your headphones with your laptop.
Step 4: Pair Your Headphones with Your Laptop
With your Bluetooth headphones in pairing mode, it’s time to connect them with your laptop. The steps for pairing may vary depending on your laptop’s operating system, so follow the appropriate instructions below.
If you’re using a Windows laptop, follow these steps:
- Click on the Start menu and go to the Settings (gear icon).
- In the Settings window, select “Devices.”
- Click on “Bluetooth & other devices” in the left sidebar.
- Under the “Bluetooth” section, click on the “Add Bluetooth or other device” button.
- In the pop-up window, select “Bluetooth.”
- Your laptop will start scanning for nearby Bluetooth devices. When your headphones appear in the list, click on them to initiate the pairing process.
- If prompted, enter the PIN or passkey provided with your headphones or simply confirm the pairing on both your laptop and headphones.
- Once the pairing is successful, your headphones will be connected to your laptop.
If you’re using a macOS laptop, the steps are slightly different:
- Click on the Apple menu and select “System Preferences.”
- In the System Preferences window, click on “Bluetooth.”
- Your laptop will start scanning for nearby Bluetooth devices. When your headphones appear in the list, click on them to initiate the pairing process.
- If prompted, enter the PIN or passkey provided with your headphones or simply confirm the pairing on both your laptop and headphones.
- Once the pairing is successful, your headphones will be connected to your laptop.
After successfully pairing your headphones with your laptop, you might see a notification or indication that the devices are connected. At this point, you are ready to proceed to the final step: testing the connection.
Step 5: Test the Connection
Now that your Bluetooth headphones are successfully paired with your laptop, it’s time to test the connection and ensure everything is working as expected.
Start by playing some audio on your laptop, such as a music track or a video. Be sure to adjust the volume on your headphones to a comfortable level. If you can hear the audio through your Bluetooth headphones, congratulations! The connection is working properly.
If you’re not hearing any audio through your headphones, there could be a few troubleshooting steps you can take:
- Double-check the headphone’s volume and make sure it’s turned up.
- Make sure the Bluetooth headphones are set as the default audio output device on your laptop. You can do this by going to the sound settings in your operating system and selecting the headphones as the preferred output device.
- If the connection is unstable or if you’re experiencing audio interruptions, ensure that your headphones are within the recommended Bluetooth range from your laptop. Walls, other electronic devices, and distance can all affect the connection quality.
- Try disconnecting and reconnecting the Bluetooth headphones to your laptop to refresh the connection.
- If you’re still encountering issues, restarting your laptop and headphones may resolve any temporary glitches or conflicts.
If none of the troubleshooting steps above work, consult the user manual of your Bluetooth headphones or visit the manufacturer’s website for further assistance.
Remember, each pair of Bluetooth headphones may have different features and options. It’s worth exploring the user manual or the manufacturer’s website to learn more about additional capabilities, such as noise cancellation, EQ settings, or touch/gesture controls.
Once you’re satisfied with the connection and audio quality, you can enjoy the freedom and convenience of wireless audio on your laptop.
Troubleshooting Common Issues
While connecting Bluetooth headphones to your laptop is usually a smooth process, you may encounter some common issues along the way. Here are a few troubleshooting steps to help you resolve them:
1. Bluetooth Not Discovering Headphones: If your laptop is unable to detect your Bluetooth headphones during the pairing process, try the following:
- Ensure that your headphones are in pairing mode.
- Move your headphones closer to your laptop to improve the Bluetooth signal.
- Restart your laptop and the headphones, then attempt the pairing process again.
- Check for any software updates for your laptop’s operating system and Bluetooth drivers.
2. Poor Audio Quality: If you’re experiencing low sound quality or intermittent audio interruptions, try the following steps:
- Make sure there are no obstructions between your laptop and the headphones.
- Keep your headphones within the recommended Bluetooth range from your laptop (typically 33 feet or 10 meters).
- Ensure that your headphones are charged properly.
- Try adjusting the audio quality settings in your laptop’s sound settings or the headphone’s companion app (if available).
3. Unable to Connect to Multiple Devices: Some Bluetooth headphones are capable of connecting to multiple devices simultaneously. If you’re having issues with this feature, try the following:
- Make sure both devices have Bluetooth enabled and are in pairing mode.
- Refer to the user manual or the manufacturer’s website to confirm if your headphones support simultaneous connection with multiple devices.
- Disconnect and forget the headphones from all devices, then restart the pairing process.
If you’re still experiencing difficulties after trying these troubleshooting steps, it may be necessary to contact the manufacturer for further assistance. They can provide specific guidance based on your headphones’ model and help resolve any technical issues.
Remember, Bluetooth technology continues to evolve, and software updates may bring improvements and bug fixes to enhance the overall performance of your Bluetooth headphones. It’s a good idea to periodically check for updates for both your laptop’s operating system and your headphones’ firmware.
Now that you have some troubleshooting techniques under your belt, you can confidently tackle any issues that may arise when connecting Bluetooth headphones to your laptop.
Conclusion
Connecting Bluetooth headphones to your laptop opens up a world of wireless convenience and improved audio experience. By following the step-by-step process outlined in this article, you can easily connect your Bluetooth headphones to your laptop and enjoy audio without the hassle of tangled wires.
First, ensure compatibility by verifying that your laptop has built-in Bluetooth or by using an external Bluetooth adapter. It’s important to also check if your headphones are compatible with your laptop.
Next, enable Bluetooth on your laptop by accessing the appropriate settings, either through the Windows settings or macOS system preferences. Make sure Bluetooth is turned on and ready to connect.
Then, turn on your Bluetooth headphones, entering pairing mode if necessary, and ensuring they are adequately charged for a seamless connection.
Proceed to pair your headphones with your laptop by accessing the Bluetooth settings on your laptop and selecting your headphones from the available devices list. Confirm the pairing process by following any prompts or entering the provided PIN or passkey.
Finally, test the connection by playing audio on your laptop and adjusting the volume on your headphones. If everything is working correctly, you can enjoy a wireless audio experience with your newly connected Bluetooth headphones.
If you encounter any issues along the way, try troubleshooting common problems such as unpairing and repairing the devices, checking Bluetooth signal strength, and ensuring proper charging. Don’t hesitate to consult the user manual or reach out to the manufacturer for further assistance if needed.
Now that you have successfully connected your Bluetooth headphones to your laptop, you can immerse yourself in your favorite music, movies, or online meetings without the restrictions imposed by wired headphones. Embrace the freedom and convenience that Bluetooth technology brings to your audio experience.