Introduction
So, you've got your hands on a pair of Beats over-ear headphones, and you're eager to immerse yourself in your favorite tunes. Connecting your headphones is the first step to enjoying a premium audio experience. Whether you're a seasoned audiophile or a newcomer to the world of high-quality sound, this guide will walk you through the process of connecting your Beats over-ear headphones to your device.
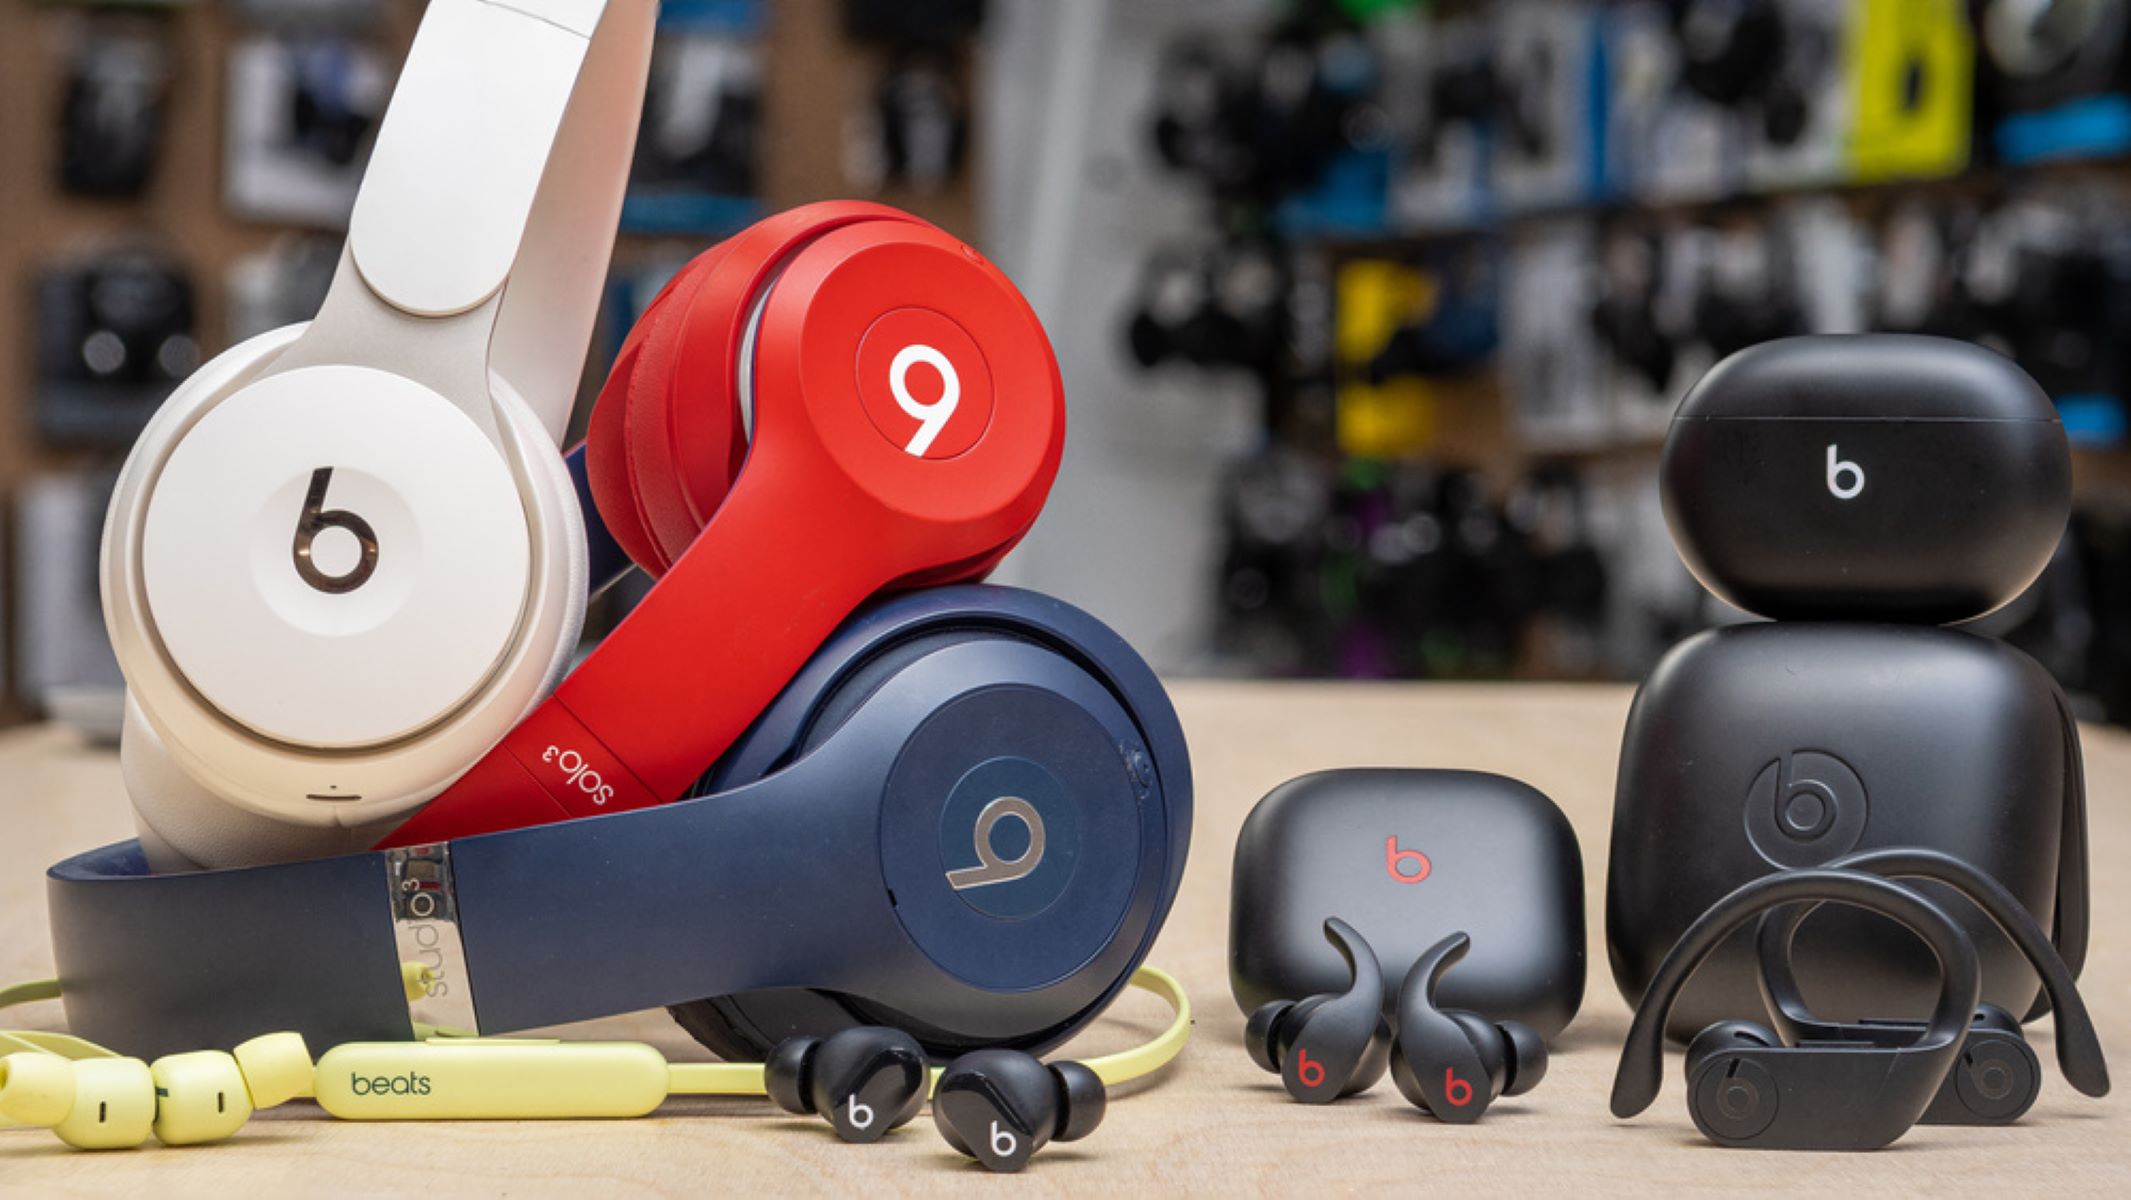
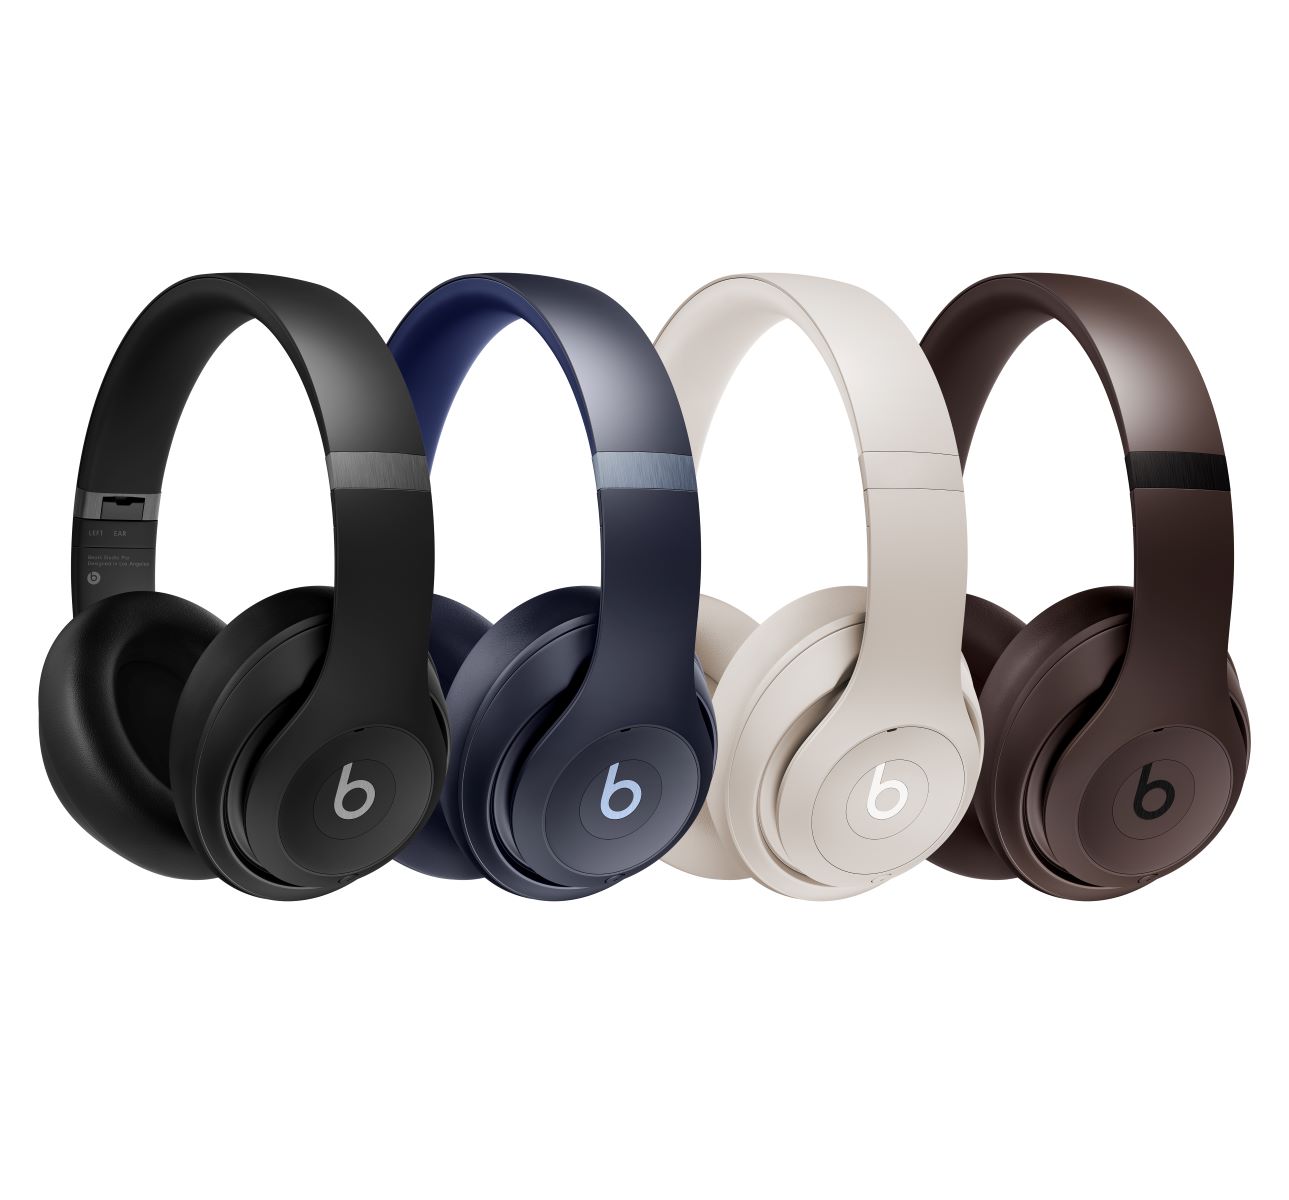
Beats headphones are renowned for their sleek design, superior sound quality, and advanced features. With a little know-how, you can easily harness the full potential of these stylish and powerful headphones. By following the simple steps outlined in this guide, you'll be able to seamlessly pair your Beats over-ear headphones with your smartphone, tablet, laptop, or any other compatible device.
From unboxing your headphones to troubleshooting common connection issues, this comprehensive guide will equip you with the knowledge and skills needed to make the most of your Beats headphones. Whether you're gearing up for an intense workout, a relaxing evening at home, or a productive day at the office, your Beats over-ear headphones will be your faithful companion, delivering rich, immersive sound that enhances every moment.
So, let's dive in and get your Beats headphones connected, so you can start enjoying your favorite music, podcasts, and more in stunning clarity and detail. Whether you're a music enthusiast, a podcast aficionado, or simply someone who appreciates the power of premium audio, this guide will help you unlock the full potential of your Beats over-ear headphones. Let's get started!
Step 1: Charging Your Beats Headphones
Before you begin the process of connecting your Beats over-ear headphones, it’s essential to ensure that they are adequately charged. Most Beats over-ear headphones come with a built-in rechargeable battery that requires periodic charging to keep them ready for use. Here’s how to charge your Beats headphones:
- Locate the charging port: Depending on the model of your Beats headphones, the charging port may be located on the ear cup or along the headband. Look for a small, discreetly placed port designed for the charging cable.
- Use the provided charging cable: Beats headphones typically come with a USB charging cable that is compatible with most standard USB power sources. Connect the smaller end of the cable to the charging port on your headphones.
- Connect to a power source: Once the charging cable is securely connected to your headphones, plug the other end into a USB power source, such as a computer, laptop, USB wall adapter, or portable power bank.
- Monitor the charging status: While your headphones are charging, you may notice a light indicator near the charging port. This light will typically change color or blink to indicate the charging status. Refer to your headphones’ user manual for specific details on interpreting the charging indicator.
- Allow for sufficient charging time: Depending on the current battery level and the charging source’s power output, it may take a few hours to fully charge your Beats headphones. Be sure to leave them connected until the charging indicator signals that the process is complete.
By ensuring that your Beats over-ear headphones are adequately charged, you’ll be ready to proceed with the next steps of connecting them to your preferred device. A fully charged battery will allow you to enjoy uninterrupted listening sessions without the inconvenience of a low battery interrupting your audio experience.
Step 2: Turning On Your Beats Headphones
Once your Beats over-ear headphones are adequately charged, the next step is to power them on. The process may vary slightly depending on the specific model of your headphones, but the following general steps will guide you through turning on your Beats headphones:
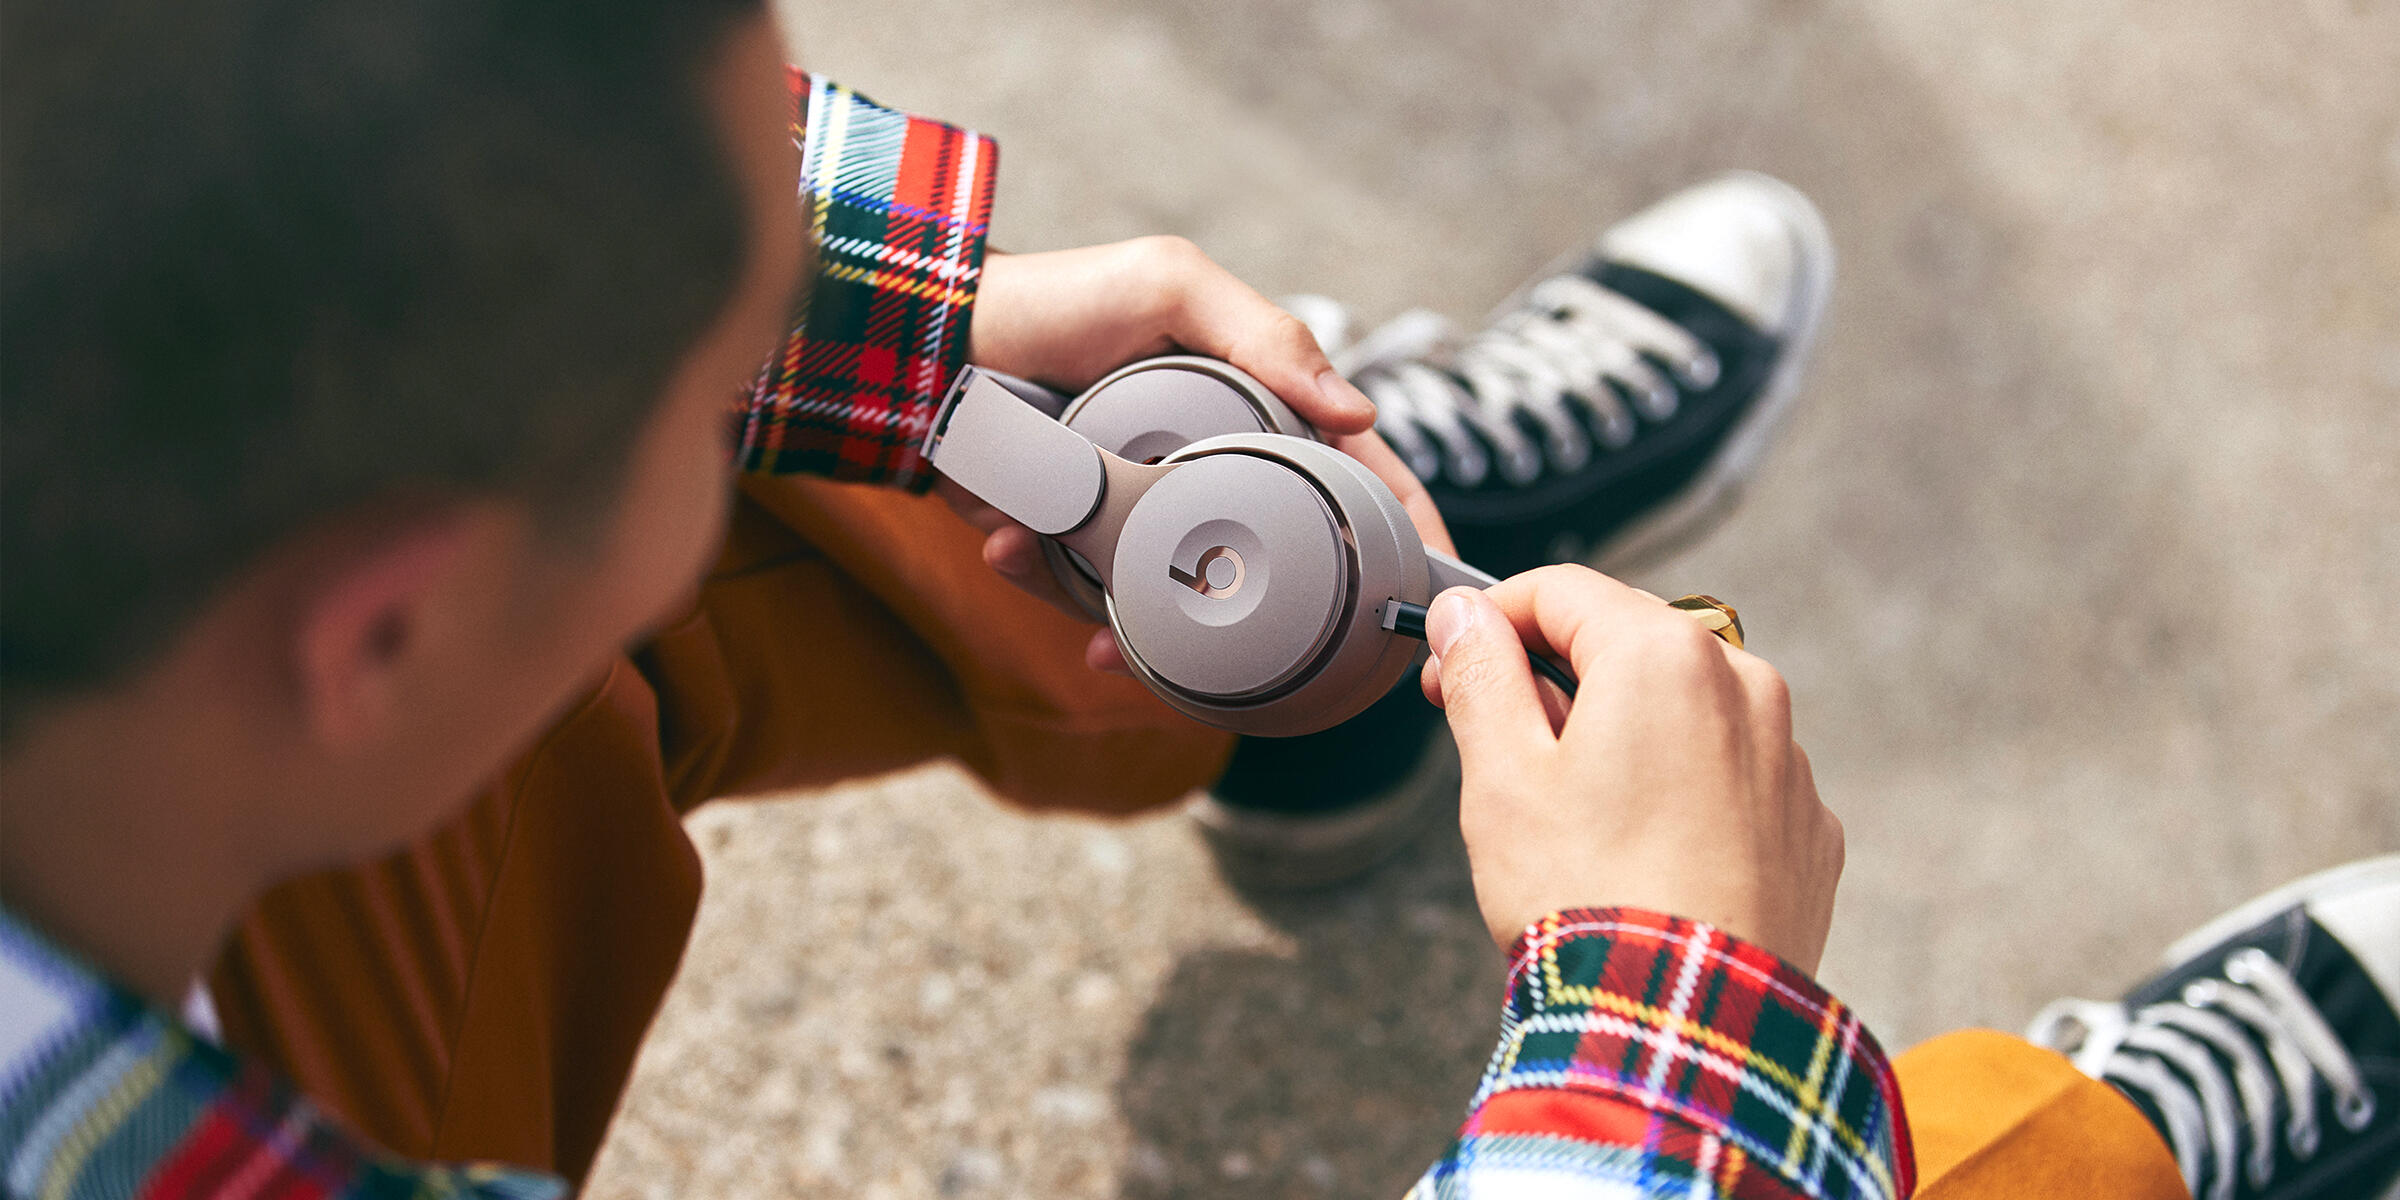
- Locate the power button: Most Beats over-ear headphones feature a power button that also serves other functions, such as pairing and controlling playback. The power button is typically located on one of the ear cups or along the headband.
- Press and hold the power button: To turn on your headphones, press and hold the power button for a few seconds. You may see a light indicator or hear an audible cue, signaling that your headphones are powering on.
- Listen for the power-on sound: Many Beats headphones emit a distinctive sound when they are powered on, indicating that they are ready to be paired with a device. This sound may vary depending on the model but is generally a helpful cue that your headphones are operational.
- Check for power indicator lights: Some Beats headphones feature power indicator lights that provide visual feedback when the headphones are powered on. These lights may be located near the power button or elsewhere on the headphones.
Once your Beats headphones are powered on, they are ready to be paired with your preferred device. The process of turning on your headphones is straightforward and sets the stage for seamless connectivity with your smartphone, tablet, laptop, or other compatible devices. With your headphones powered on, you’re one step closer to enjoying your favorite music, podcasts, and more in stunning audio quality.
Step 3: Pairing Your Beats Headphones with a Device
Now that your Beats over-ear headphones are charged and powered on, it’s time to pair them with your device. Whether you’re using a smartphone, tablet, laptop, or any other Bluetooth-enabled device, the pairing process is relatively straightforward. Follow these general steps to pair your Beats headphones with your preferred device:
- Activate Bluetooth on your device: Access the settings or control panel on your device to enable Bluetooth connectivity. This step may vary depending on the operating system and device model, but it typically involves locating the Bluetooth settings and turning it on.
- Put your Beats headphones in pairing mode: Most Beats headphones feature a dedicated pairing mode that allows them to be discovered by nearby Bluetooth devices. Refer to your headphones’ user manual for specific instructions on activating pairing mode, as the process may differ slightly between models.
- Locate your Beats headphones on the device: Once your headphones are in pairing mode, your device will scan for nearby Bluetooth devices. Look for your Beats headphones in the list of available devices and select them to initiate the pairing process.
- Confirm the pairing request: After selecting your Beats headphones on your device, you may be prompted to confirm the pairing request. This step ensures that your headphones and device establish a secure and reliable connection.
- Wait for the pairing confirmation: Once the pairing process is initiated, your device will establish a connection with your Beats headphones. You may receive a confirmation message or audible cue indicating that the pairing is successful.
After successfully pairing your Beats headphones with your device, you’re ready to enjoy wireless audio streaming and hands-free convenience. Whether you’re listening to music, engaging in a phone call, or immersing yourself in your favorite podcasts, your Beats headphones will deliver exceptional sound quality without the tangle of cords or cables.
By following these simple steps, you can effortlessly pair your Beats headphones with a wide range of devices, allowing you to seamlessly transition between different sources of audio content. The wireless connectivity offered by Bluetooth pairing enhances the versatility and portability of your Beats headphones, enabling you to enjoy your audio experiences with freedom and flexibility.
Step 4: Adjusting Settings on Your Device
Once your Beats headphones are successfully paired with your device, it’s essential to optimize the audio settings to ensure an immersive and personalized listening experience. Whether you’re using a smartphone, tablet, laptop, or any other compatible device, adjusting the audio settings can enhance the sound quality and tailor the audio output to your preferences. Here are some key settings to consider:
- Equalizer settings: Many devices offer built-in equalizer settings that allow you to adjust the audio frequency response to suit different music genres or personal preferences. Explore the equalizer settings on your device to fine-tune the bass, treble, and overall sound profile to your liking.
- Volume and playback controls: Familiarize yourself with the volume and playback controls available on your device. Whether it’s adjusting the volume, skipping tracks, or managing playback settings, understanding these controls will enhance your overall user experience.
- Bluetooth settings: Check the Bluetooth settings on your device to ensure that your Beats headphones are recognized and connected. In some cases, you may have the option to rename your connected headphones for easier identification in the future.
- Notification and call settings: If you’ll be using your Beats headphones for phone calls or receiving notifications, review the relevant settings on your device to customize how notifications and calls are handled while your headphones are connected.
- App-specific audio settings: If you frequently use specific music or audio streaming apps, explore the audio settings within those apps to optimize the audio output for your Beats headphones. Some apps offer advanced audio customization options that can further enhance your listening experience.
By taking the time to adjust these settings on your device, you can maximize the potential of your Beats headphones and tailor the audio experience to your preferences. Whether you prefer deep, resonant bass for your favorite tracks or a balanced, neutral sound for podcasts and audiobooks, customizing the audio settings will allow you to enjoy your content in the best possible way.
Additionally, familiarizing yourself with the various controls and settings on your device will empower you to make the most of your wireless audio experience. By optimizing the audio settings and exploring the available customization options, you’ll be able to enjoy the full range of capabilities offered by your Beats headphones and your connected device.
Step 5: Troubleshooting Common Connection Issues
While connecting your Beats headphones to a device is typically a seamless process, occasional connection issues may arise. Understanding how to troubleshoot common connectivity issues will ensure that you can quickly address any challenges that may impact the pairing or performance of your headphones. Here are some common connection issues and troubleshooting steps:
- Interference and signal dropout: If you experience intermittent signal dropout or audio interruptions, consider the proximity of your device to your Beats headphones. Ensure that there are no obstructions or interference-causing objects between your headphones and the connected device. Additionally, moving away from sources of wireless interference, such as other Bluetooth devices or Wi-Fi routers, may improve connectivity.
- Low battery or power issues: If your Beats headphones repeatedly disconnect or exhibit erratic behavior, check the battery level to ensure that they are adequately charged. Low battery levels can impact the stability of the Bluetooth connection and may result in unexpected disconnections. Recharge your headphones as needed to maintain a reliable connection.
- Device compatibility and software updates: Verify that your device is compatible with your Beats headphones and that both devices are running the latest software and firmware updates. Compatibility issues or outdated software can lead to connectivity problems. Updating your device’s operating system and your headphones’ firmware, if applicable, can resolve many compatibility-related issues.
- Resetting and re-pairing: If persistent connection issues arise, consider resetting your Beats headphones and re-pairing them with your device. Refer to your headphones’ user manual for instructions on performing a reset, which can often resolve connectivity problems by clearing any stored pairing data and restoring the headphones to their default state.
- Environmental factors: Be mindful of environmental factors that may impact Bluetooth connectivity, such as metal barriers, dense walls, or other electronic devices emitting strong signals. Adjusting the positioning of your device and headphones or relocating to a different area may mitigate the impact of environmental interference.
By familiarizing yourself with these troubleshooting steps, you can swiftly address common connection issues and maintain a seamless audio experience with your Beats headphones. Troubleshooting connectivity challenges empowers you to quickly identify and resolve potential obstacles, ensuring that you can enjoy uninterrupted wireless audio streaming and hands-free convenience.
Should you encounter persistent connection issues that cannot be resolved through troubleshooting, consider reaching out to the customer support resources provided by Beats or the manufacturer of your device. Professional support can offer further guidance and assistance in resolving complex connectivity issues, allowing you to fully leverage the capabilities of your Beats headphones.
Conclusion
Congratulations! By following the steps outlined in this guide, you’ve successfully connected your Beats over-ear headphones to your preferred device, unlocking a world of premium audio experiences. From charging your headphones to troubleshooting common connection issues, you’ve gained the knowledge and skills needed to make the most of your Beats headphones.
With your headphones charged, powered on, and seamlessly paired with your device, you’re now equipped to enjoy your favorite music, podcasts, and more with exceptional sound quality and wireless convenience. The process of connecting your Beats headphones has not only provided you with the ability to immerse yourself in rich, immersive sound but has also empowered you to troubleshoot and optimize your wireless audio experience.
As you embark on your audio journey with your Beats headphones, consider exploring the diverse range of content available to you, from music and podcasts to audiobooks and immersive soundscapes. The versatility and portability of your wireless headphones offer the freedom to enjoy your audio experiences in various settings, whether you’re on the go, at home, or in the office.
Remember to periodically check the battery level of your headphones and ensure that they are charged for uninterrupted listening sessions. Additionally, familiarize yourself with the audio settings on your device to tailor the sound profile to your preferences and make the most of your wireless audio experience.
Should you encounter any future connectivity challenges, the troubleshooting steps provided in this guide will serve as a valuable resource, enabling you to swiftly address common connection issues and maintain a seamless audio experience with your Beats headphones.
By connecting your Beats headphones, you’ve unlocked the potential for countless hours of audio enjoyment, allowing you to immerse yourself in the sounds that inspire, motivate, and entertain you. Embrace the freedom and quality of wireless audio, and let your Beats headphones elevate your listening experiences to new heights.