Introduction
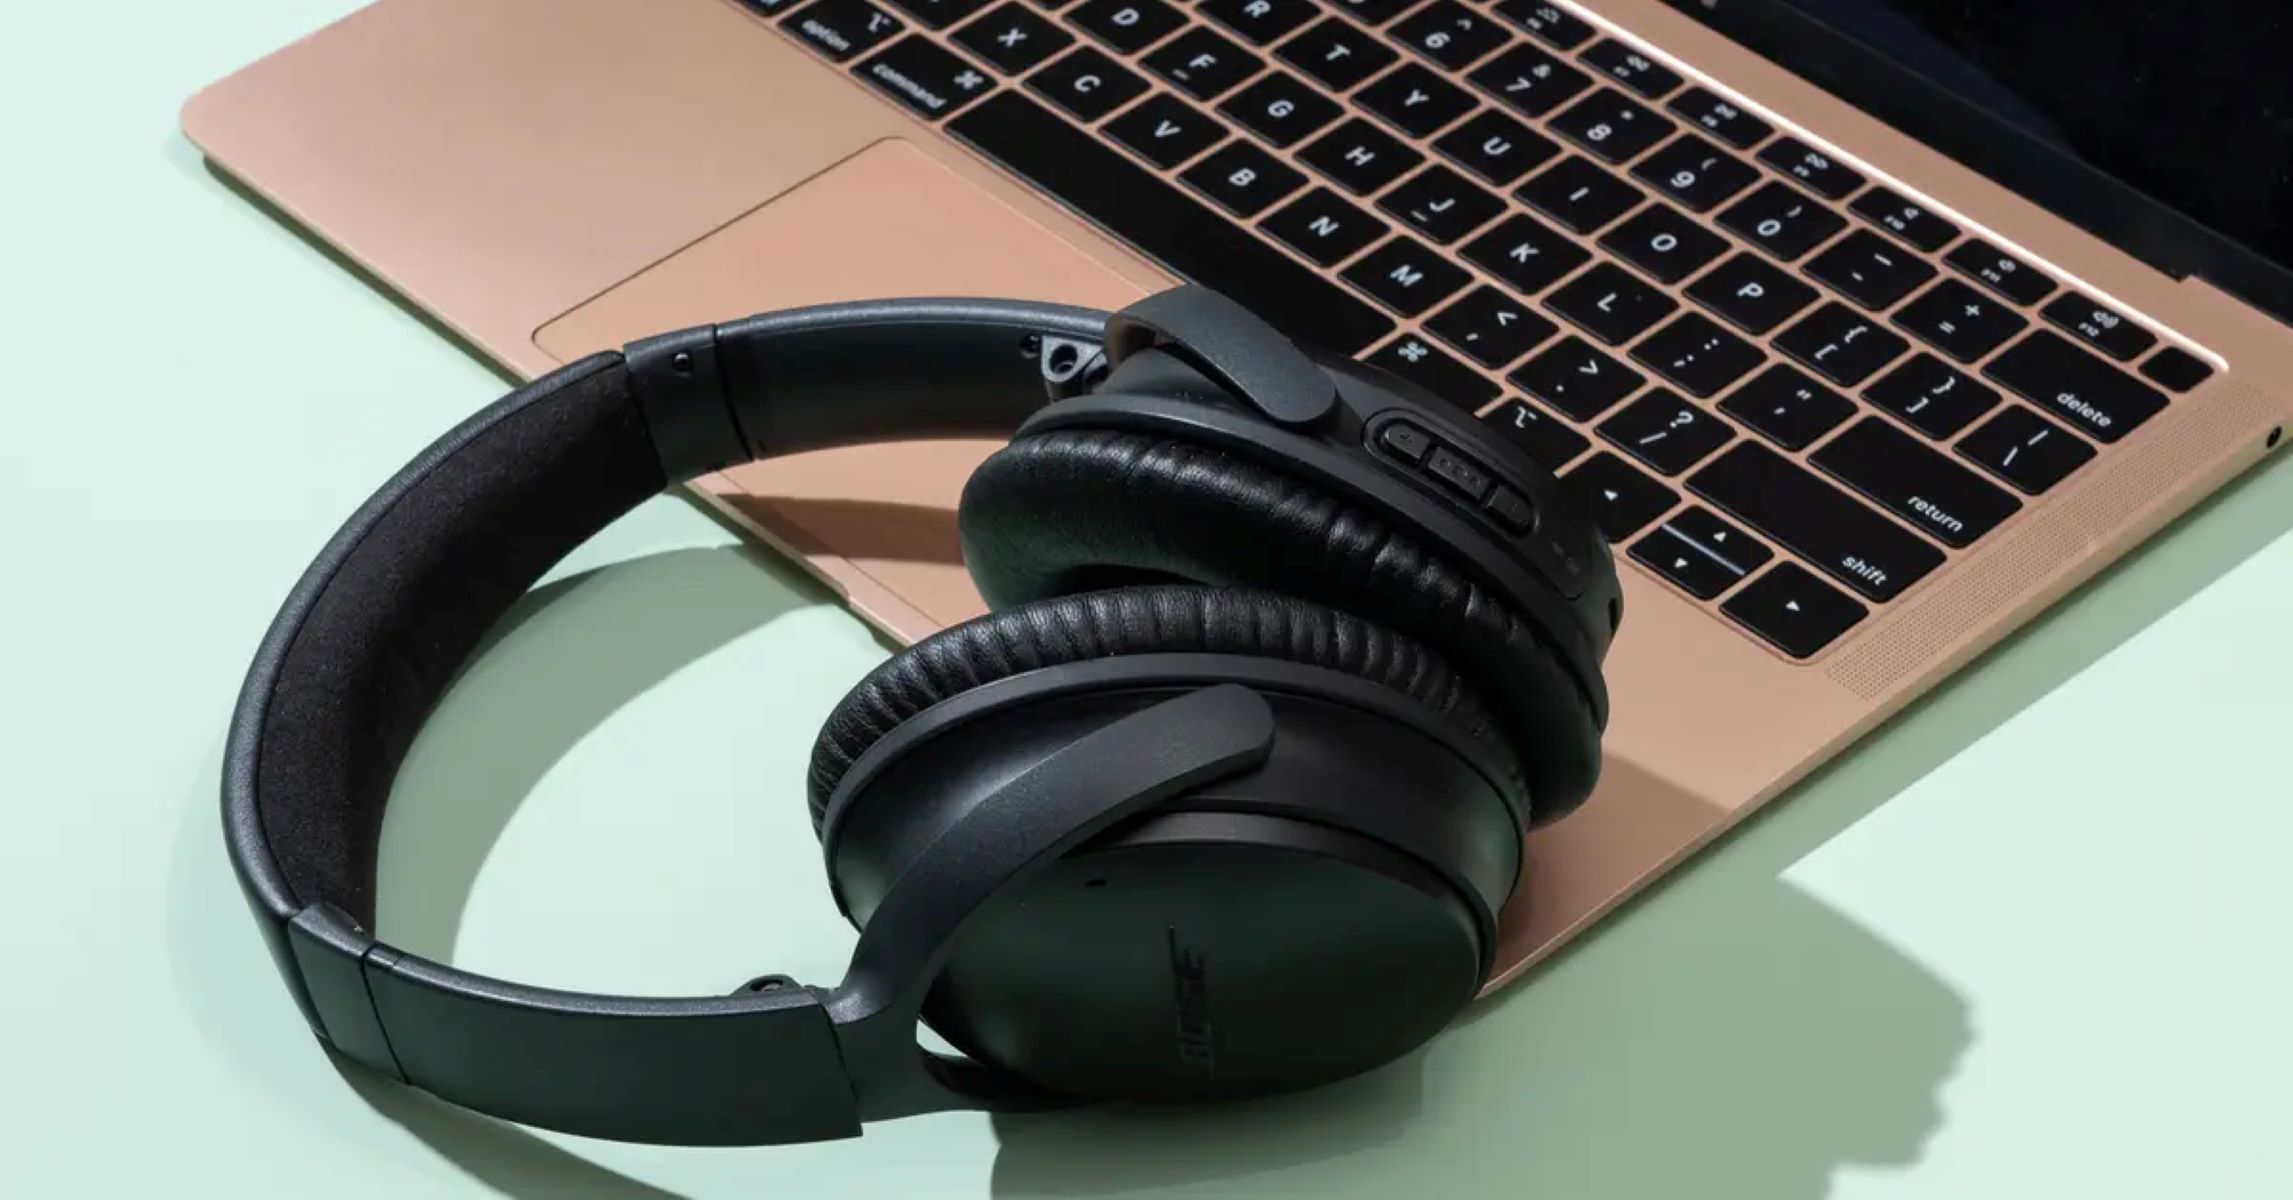
Welcome to this guide on how to connect wireless headphones to your laptop. With the increasing popularity of wireless headphones, it’s important to know how to easily and quickly connect them to your laptop for a seamless audio experience. Whether you’re using Bluetooth-enabled headphones or a wireless transmitter, we’ve got you covered with step-by-step instructions.
Gone are the days of tangled wires and limited mobility. Wireless headphones offer the freedom to move around while enjoying your favorite music, podcasts, or movies without being tethered to your laptop by a cord. However, the process of connecting wireless headphones to a laptop can sometimes be confusing for those who are unfamiliar with the technology.
Fortunately, connecting wireless headphones to a laptop doesn’t require any advanced technical knowledge. With just a few simple steps, you’ll be able to enjoy wireless audio in no time. In this guide, we will walk you through the process, highlighting the key steps and providing helpful tips to ensure a successful connection.
Before you begin, it’s important to note that the specific steps may vary slightly depending on the make and model of your laptop and headphones. However, the general principles remain the same. So, without further ado, let’s dive into the steps to connect your wireless headphones to your laptop!
Step 1: Check Compatibility
The first step in connecting wireless headphones to your laptop is to ensure compatibility between the two devices. Not all laptops and wireless headphones are compatible with each other, so it’s essential to check for compatibility before proceeding.
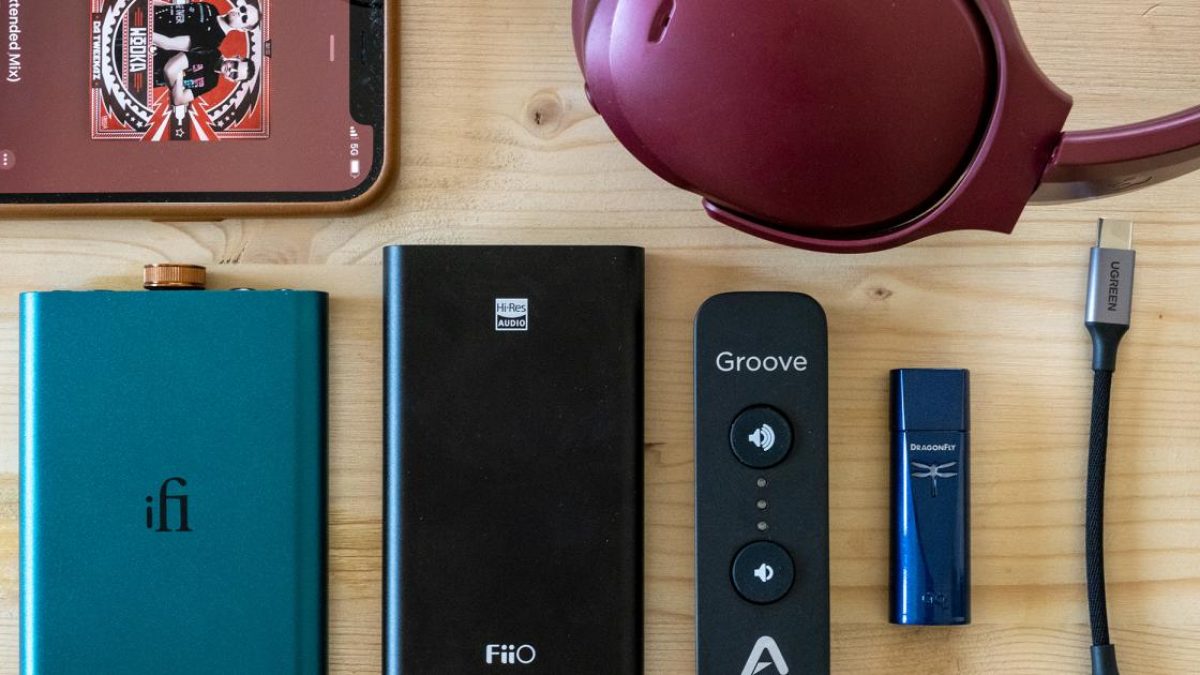
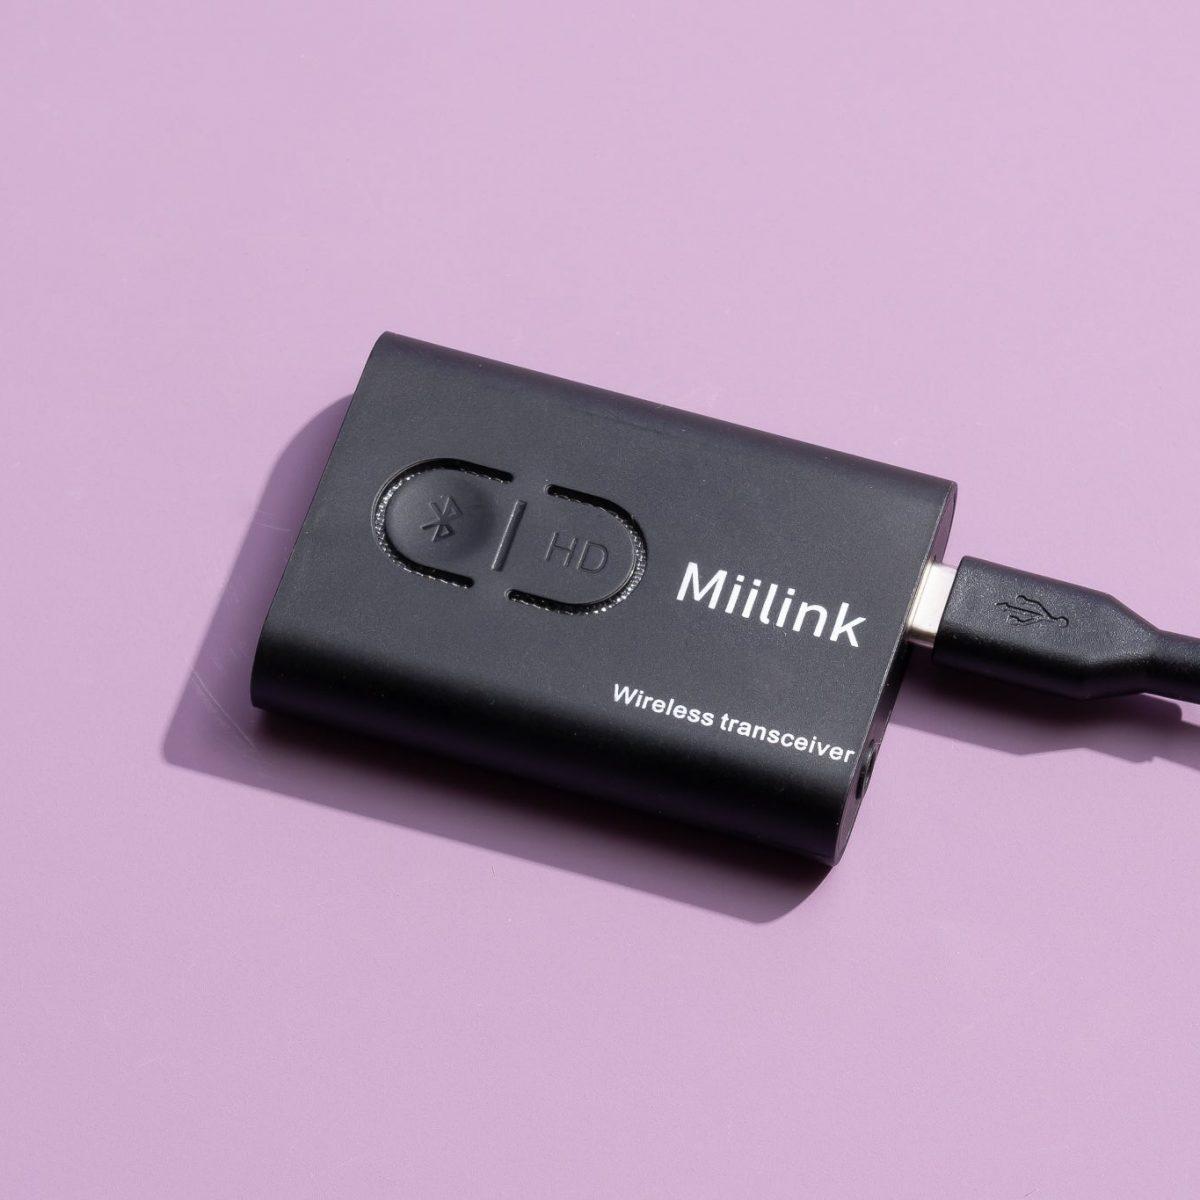
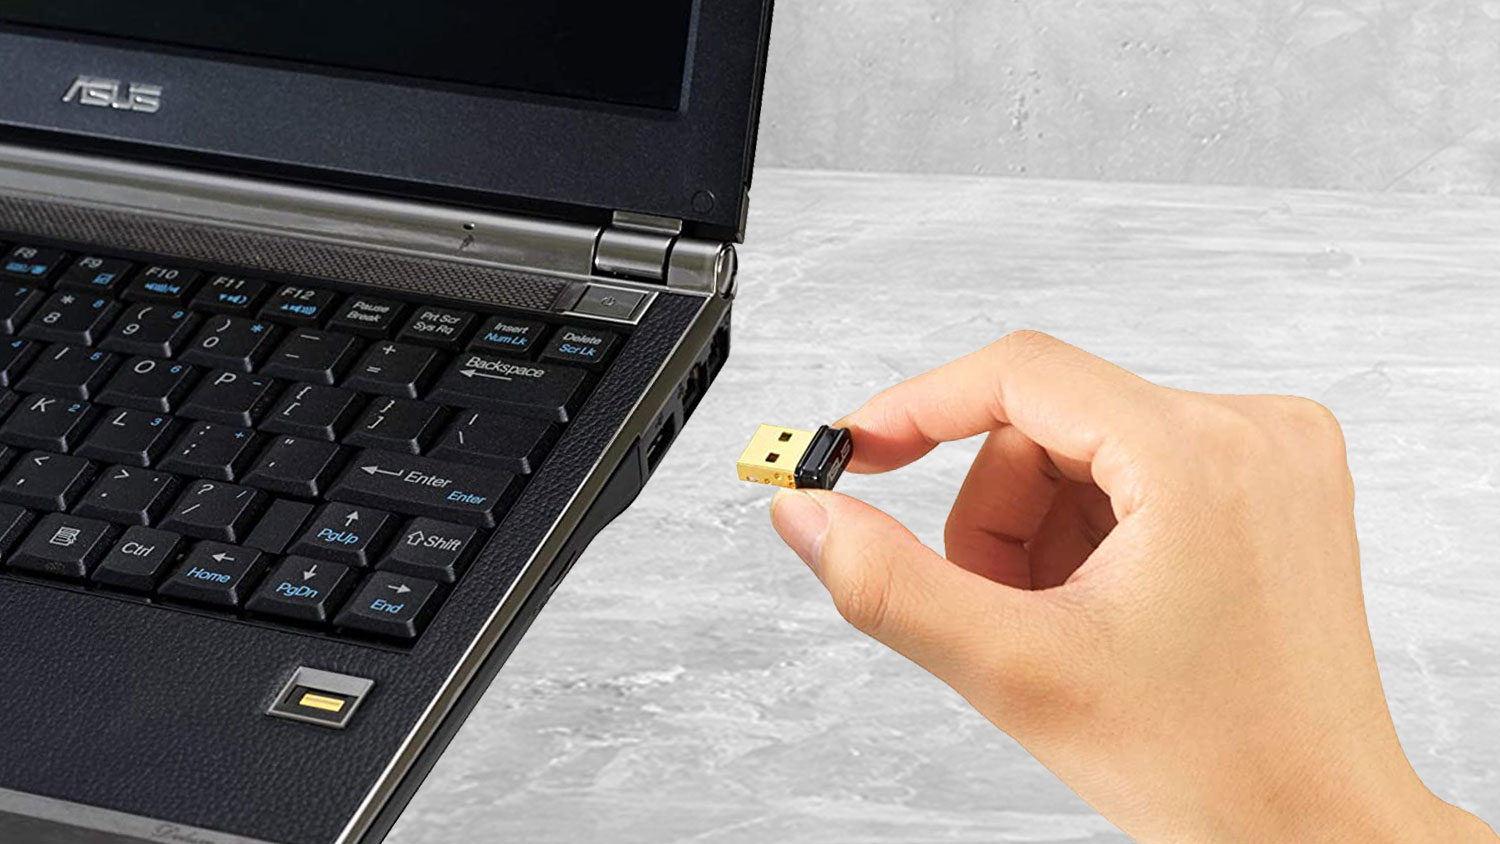
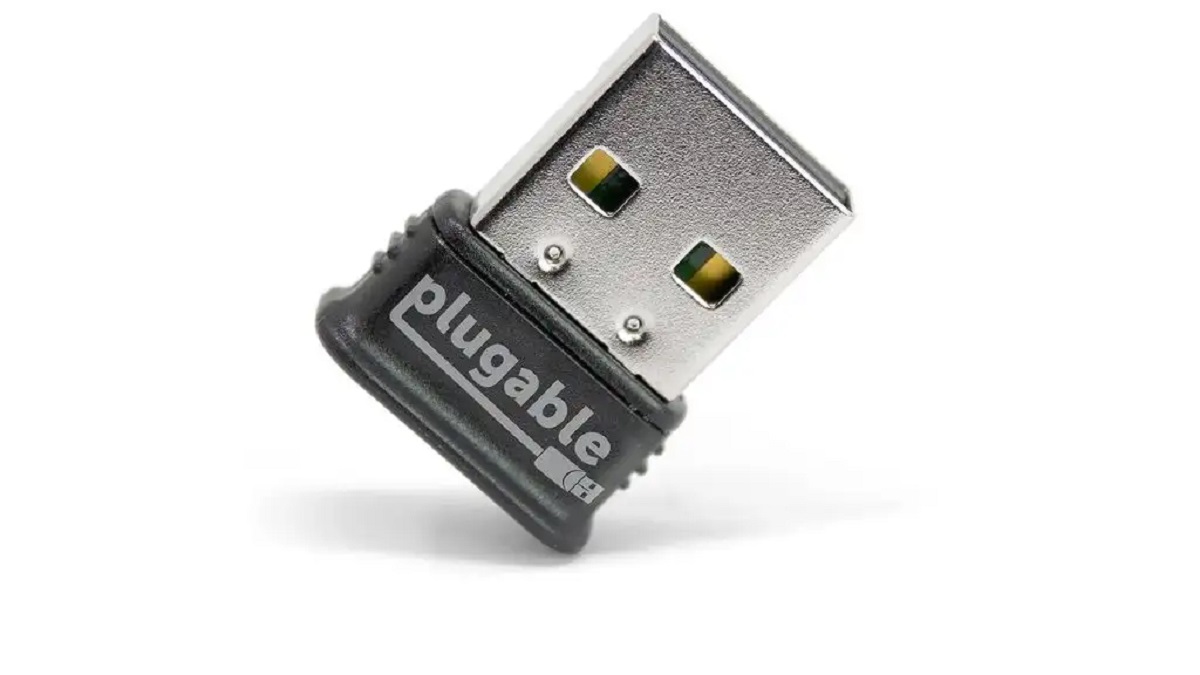
Start by checking whether your laptop has built-in Bluetooth capabilities. Bluetooth is the most common technology used to connect wireless headphones to devices. To determine if your laptop has Bluetooth, look for the Bluetooth symbol on the keyboard or check the device specifications in the user manual. If your laptop doesn’t have Bluetooth capabilities, you may need to use a wireless transmitter that plugs into the audio jack or USB port.
Next, make sure your wireless headphones are compatible with your laptop or the wireless transmitter you plan to use. Check the headphone’s user manual or the manufacturer’s website for information on supported devices and connectivity options. Some wireless headphones are only compatible with specific operating systems or Bluetooth versions, so it’s crucial to verify compatibility to avoid any frustration later on.
Additionally, ensure that both your laptop and headphones are fully charged or have an adequate power source. Some wireless headphones can’t establish a stable connection with low battery levels, so it’s best to ensure they are sufficiently charged or connected to a power source before attempting to connect them to your laptop.
By checking compatibility and ensuring that both your laptop and wireless headphones are compatible with each other, you can move on to the next steps confidently. Let’s proceed to step 2, where we’ll guide you in turning on Bluetooth on your laptop.
Step 2: Turn On Bluetooth on Your Laptop
To connect your wireless headphones to your laptop, you need to make sure that Bluetooth is enabled on your laptop. Bluetooth allows devices to wirelessly communicate with each other, making it essential for connecting Bluetooth-enabled headphones.
The process of turning on Bluetooth may vary slightly depending on your laptop’s operating system. Here’s a general guide to enable Bluetooth:
- For Windows laptops:
- Click on the “Start” menu and open the “Settings” app.
- Select the “Devices” option.
- In the left menu, choose “Bluetooth & other devices”.
- Toggle the Bluetooth switch to the “On” position if it’s not already enabled.
- For macOS laptops:
- Click on the Apple menu and go to “System Preferences”.
- Select the “Bluetooth” option.
- Make sure the Bluetooth box is checked to enable it.
- For Linux laptops:
- The process may vary depending on the Linux distribution you are using. Look for the Bluetooth icon in the system tray or search for Bluetooth settings in the system settings menu.
- Toggle the Bluetooth switch to enable it.
Once Bluetooth is enabled on your laptop, you’re ready to move on to the next step: activating pairing mode on your wireless headphones.
Step 3: Activate Pairing Mode on Your Wireless Headphones
In order for your laptop to recognize and connect to your wireless headphones, you’ll need to activate the pairing mode on your headphones. Pairing mode allows your headphones to be discoverable by other Bluetooth devices, such as your laptop.
The process of activating pairing mode may vary depending on the specific make and model of your wireless headphones. Here’s a general guide to activating pairing mode:
- Refer to your headphone’s user manual: The user manual will provide you with specific instructions on how to activate pairing mode for your particular headphones. It may involve holding down a specific button or combination of buttons for a certain period of time.
- Check for LED indicators: Some wireless headphones have LED lights that indicate when they are in pairing mode. Consult the user manual or look for flashing or steady lights to determine if the pairing mode is activated.
- Use the power button: For certain headphones, you can activate pairing mode by simply pressing and holding the power button for a few seconds. This will typically initiate pairing mode and allow your laptop to detect the headphones.
It’s important to note that the time window for activating pairing mode may vary. Some headphones may remain in pairing mode indefinitely until a device is connected, while others may automatically exit pairing mode after a set period of time. If you’re having trouble activating pairing mode, refer to the user manual or contact the manufacturer for assistance.
Once your headphones are in pairing mode, it’s time to proceed to the next step: connecting your wireless headphones to your laptop.
Step 4: Connect Your Wireless Headphones to Your Laptop
Now that Bluetooth is enabled on your laptop and your wireless headphones are in pairing mode, it’s time to connect them. Follow these steps to connect your wireless headphones to your laptop:
- Navigate to the Bluetooth settings on your laptop: Go to the Bluetooth settings page on your laptop. The exact location of this setting may vary depending on your operating system.
- Scan for devices: Click on the “Scan” button or a similar option to let your laptop search for available Bluetooth devices in the vicinity.
- Select your headphones: Once your laptop detects your wireless headphones, they should appear in the list of available devices. Click on the name or icon of your headphones to start the pairing process.
- Pair the devices: Your laptop will prompt you to confirm the pairing request. Click “Pair” or “Connect” to establish the connection between your laptop and wireless headphones.
During the pairing process, your laptop may display a passcode or PIN that you need to enter on your wireless headphones. Follow the on-screen instructions to enter the code, if required. Once the devices are successfully paired, you will receive a confirmation message on your laptop.
It’s important to note that the pairing process may take a few seconds or minutes, depending on the devices. Be patient and wait for the connection to establish. Once you see the confirmation message, your wireless headphones are successfully connected to your laptop.
At this stage, you’re almost ready to start using your wireless headphones with your laptop. However, we recommend completing one final step: testing your headphones to ensure everything is working correctly. Let’s move on to step 5!
Step 5: Test Your Headphones
After successfully connecting your wireless headphones to your laptop, it’s important to test them to ensure that the audio is working correctly. Here are a few steps you can follow to test your headphones:
- Play a piece of audio: Open a music app, video, or any media that produces sound on your laptop. Start playing the audio to test whether the sound is coming through your wireless headphones.
- Adjust the volume: Use the volume controls on your headphones or laptop to adjust the audio level to your desired preference. Make sure it’s loud enough to hear but not too loud that it becomes uncomfortable.
- Check for any connection issues: Pay attention to any disruptions or interruptions in the audio playback. If the sound quality is poor or keeps cutting in and out, it may indicate a weak Bluetooth connection. In such cases, try moving closer to your laptop or removing any obstructions that may interfere with the signal.
- Test different media: Try playing audio from different sources, such as music, videos, or online streaming services. This will help ensure that your headphones are working properly across different platforms.
If you encounter any issues during the testing phase, such as no sound or poor audio quality, try the following troubleshooting steps:
- Make sure your headphones are charged: If the battery level is low, it may affect the audio quality or cause the headphones to disconnect. Charge your headphones if needed.
- Restart your laptop: Sometimes, a simple restart can resolve connectivity issues. Restart your laptop and try connecting your headphones again.
- Update drivers and firmware: Check for any available updates for your laptop’s Bluetooth drivers and your wireless headphones’ firmware. Keeping them up to date can potentially fix compatibility issues.
- Reset the connection: If all else fails, you can try unpairing your headphones from your laptop and repeating the connection process from step 4. This can help reset the pairing and establish a stable connection.
By testing your wireless headphones and addressing any issues that arise, you can ensure a smooth and enjoyable audio experience while using them with your laptop.
With that, you have successfully connected and tested your wireless headphones with your laptop. Enjoy the convenience and freedom of wireless audio as you continue to use your laptop for work or entertainment purposes!
Conclusion
Connecting wireless headphones to your laptop opens up a world of convenience and freedom, allowing you to enjoy your favorite audio content without the hassle of tangled wires. By following the steps outlined in this guide, you can easily connect your wireless headphones to your laptop and enhance your audio experience.
In the beginning, it’s crucial to check the compatibility between your laptop and the wireless headphones. Ensure that your laptop has built-in Bluetooth capabilities or that you have a wireless transmitter that is compatible with your headphones. Verifying the power source and charging level of your headphones is also essential for a stable connection.
Next, you’ll need to turn on the Bluetooth on your laptop. This straightforward step varies slightly depending on your operating system, but accessing the Bluetooth settings and enabling it should be relatively simple.
Activating pairing mode on your wireless headphones is the next crucial step. Follow the instructions provided in your headphone’s user manual to enter pairing mode successfully. Pay attention to LED indicators or utilize the power button to activate the mode.
Once your headphones are in pairing mode, you can proceed to connect them to your laptop. Utilize the Bluetooth settings on your laptop to scan for available devices and select your headphones from the list. Follow any prompts or enter any passcodes that may appear to complete the pairing process.
Finally, test your headphones to ensure everything is working correctly. Play audio, adjust the volume, and check for any connection issues or disruptions. If you encounter any problems, try troubleshooting steps such as charging the headphones, restarting your laptop, or updating drivers and firmware.
By following these steps, you can successfully connect wireless headphones to your laptop and enjoy the convenience of wireless audio. Whether you’re working, streaming your favorite shows, or simply listening to music, the wireless connection between your headphones and laptop will enhance your overall experience.
Now that you have completed this guide, you are ready to embark on your journey of wireless audio with your laptop. Enjoy the freedom of movement, improved comfort, and high-quality sound that wireless headphones provide!