Introduction
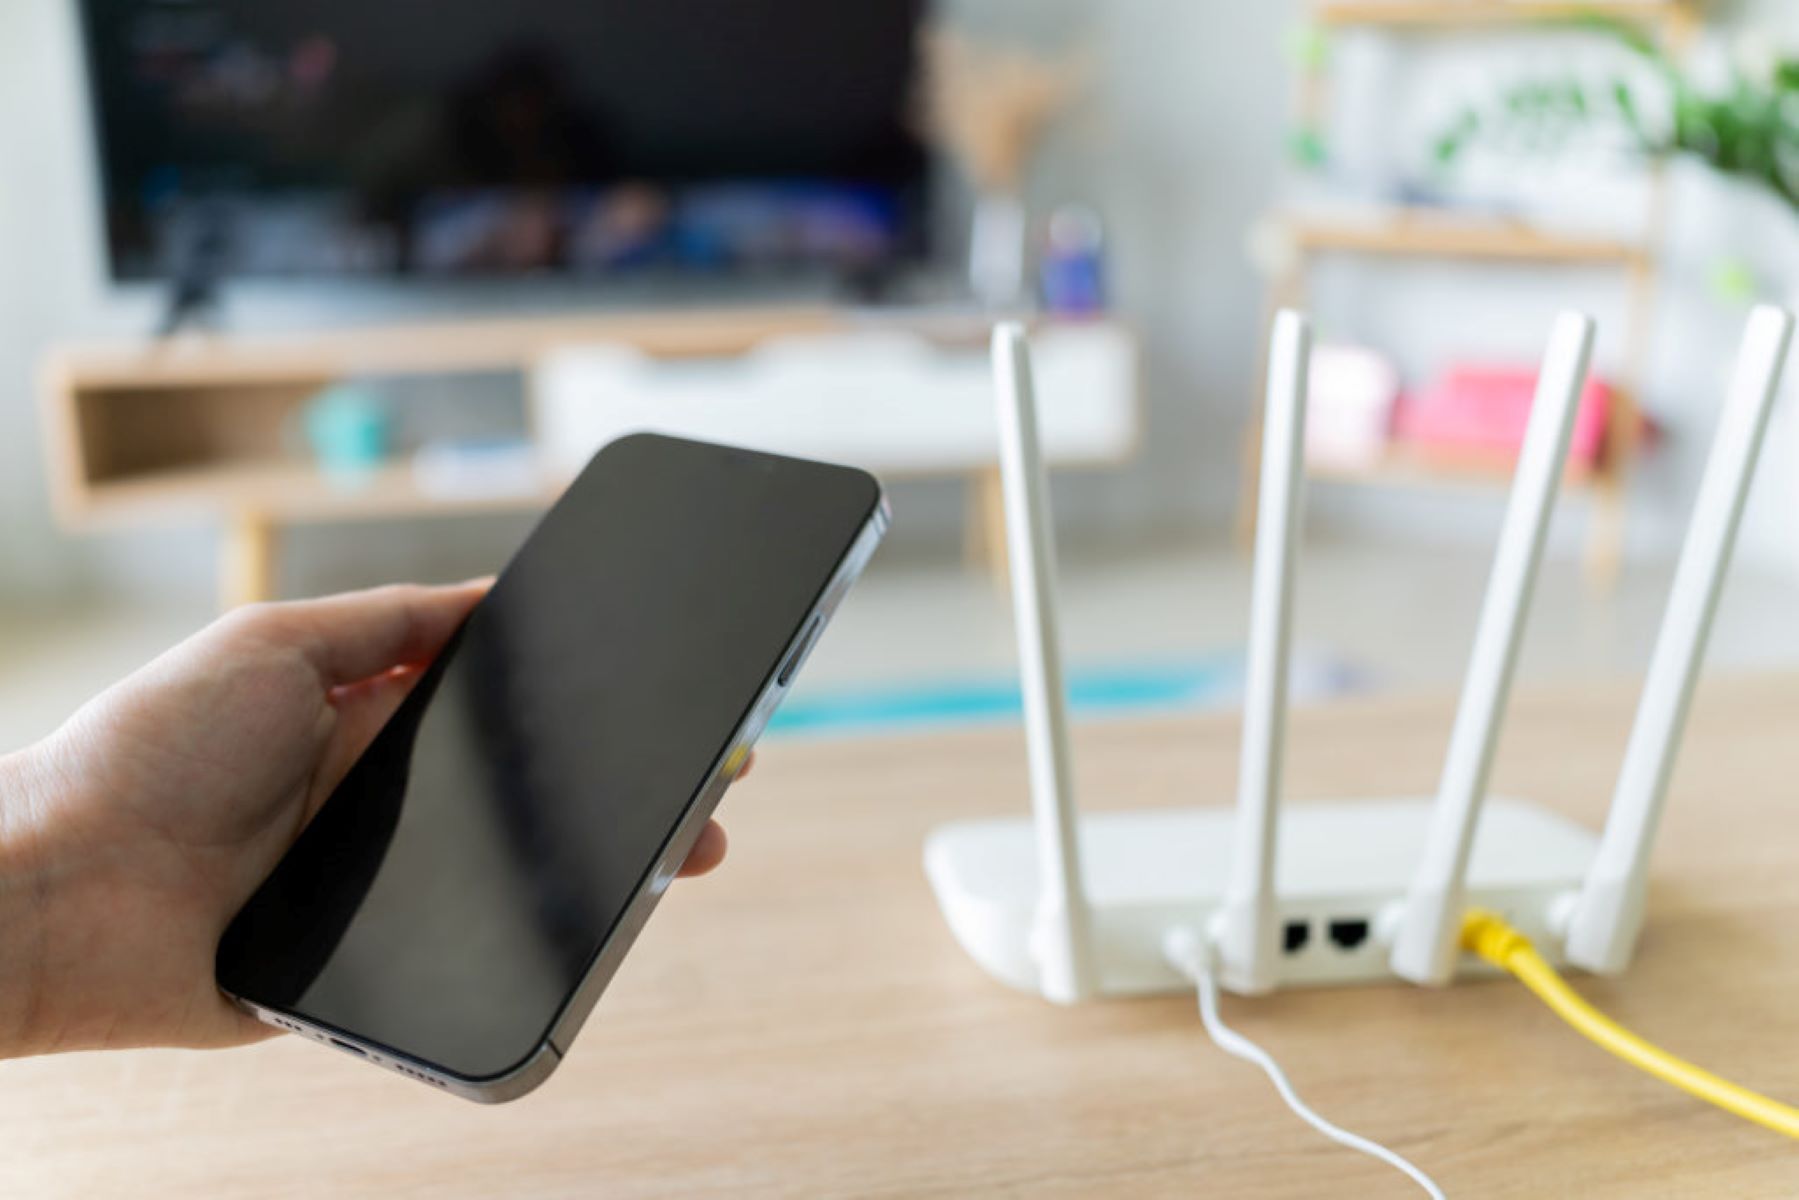
Welcome to our guide on how to connect a phone to Ethernet. In today’s digital age, having a stable and reliable internet connection is crucial for staying connected and productive. While most devices, such as laptops and tablets, come equipped with wireless connectivity options, you may find yourself in situations where using an Ethernet connection is preferred or necessary.
Connecting your phone to Ethernet offers several benefits, including improved internet speed, increased security, and stability. Whether you’re working from home, streaming content, or simply looking for a more reliable connection, this guide will walk you through the steps to connect your phone to Ethernet.
In this article, we will provide a step-by-step guide, discuss the required equipment, and address common troubleshooting issues that may arise during the process. So, grab your phone and let’s get started on maximizing your internet experience with a wired connection.
Before diving into the details, it’s important to note that connecting your phone to Ethernet may vary depending on the device and operating system you are using. In this guide, we will provide general instructions that can be implemented on most smartphones. However, we recommend referring to your phone’s user manual or the manufacturer’s website for device-specific instructions if needed.
Now, let’s explore the benefits of connecting your phone to Ethernet and discover how it can improve your internet experience.
Benefits of connecting a phone to Ethernet
Connecting your phone to Ethernet offers several advantages over relying solely on a wireless connection. While Wi-Fi is convenient and widely available, there are instances where Ethernet proves to be a better option. Let’s explore some of the key benefits of connecting your phone to Ethernet:
- Improved internet speed: One of the primary advantages of using Ethernet is the enhanced internet speed it provides. Unlike wireless connections, Ethernet offers a direct and more stable connection to your network, resulting in faster data transfer speeds. This can greatly benefit activities such as video streaming, online gaming, and downloading large files.
- Increased security: Wired connections are generally considered more secure than wireless networks. When you connect your phone to Ethernet, you eliminate the risk of unauthorized users accessing your network. This is particularly important when dealing with sensitive information, such as online banking or confidential work documents.
- Stability and reliability: Wi-Fi connections can be susceptible to interference from other devices or physical obstacles like walls, leading to inconsistent signal strength. In contrast, Ethernet connections offer a more reliable and stable connection, minimizing the chances of signal drops or interruptions. This can be especially beneficial during important video calls or when working on time-sensitive tasks.
- Reduced latency and lag: For gamers and enthusiasts of online multiplayer games, connecting your phone to Ethernet can significantly reduce latency and lag. Wired connections have lower latency compared to wireless connections, resulting in quicker responses and smoother gameplay.
- Connection flexibility: Ethernet connections allow you to connect your phone to a range of devices, such as routers, switches, or network extenders. This flexibility enables you to customize and optimize your network setup according to your specific needs.
Overall, connecting your phone to Ethernet offers improved speed, enhanced security, stability, reduced latency, and connection flexibility. These benefits make it a worthwhile option, particularly when you require a fast and reliable internet connection for work, entertainment, or any other online activities.
Step-by-step guide to connect a phone to Ethernet
Now that we’ve explored the benefits of connecting your phone to Ethernet, let’s dive into the step-by-step process of how to do it. Follow these instructions to successfully connect your phone to Ethernet:
- Check your phone’s compatibility: Ensure that your phone supports Ethernet connection. Most modern smartphones have built-in Ethernet capabilities, but it’s always a good idea to double-check your phone’s specifications or user manual.
- Gather the necessary equipment: To connect your phone to Ethernet, you will need the following equipment:
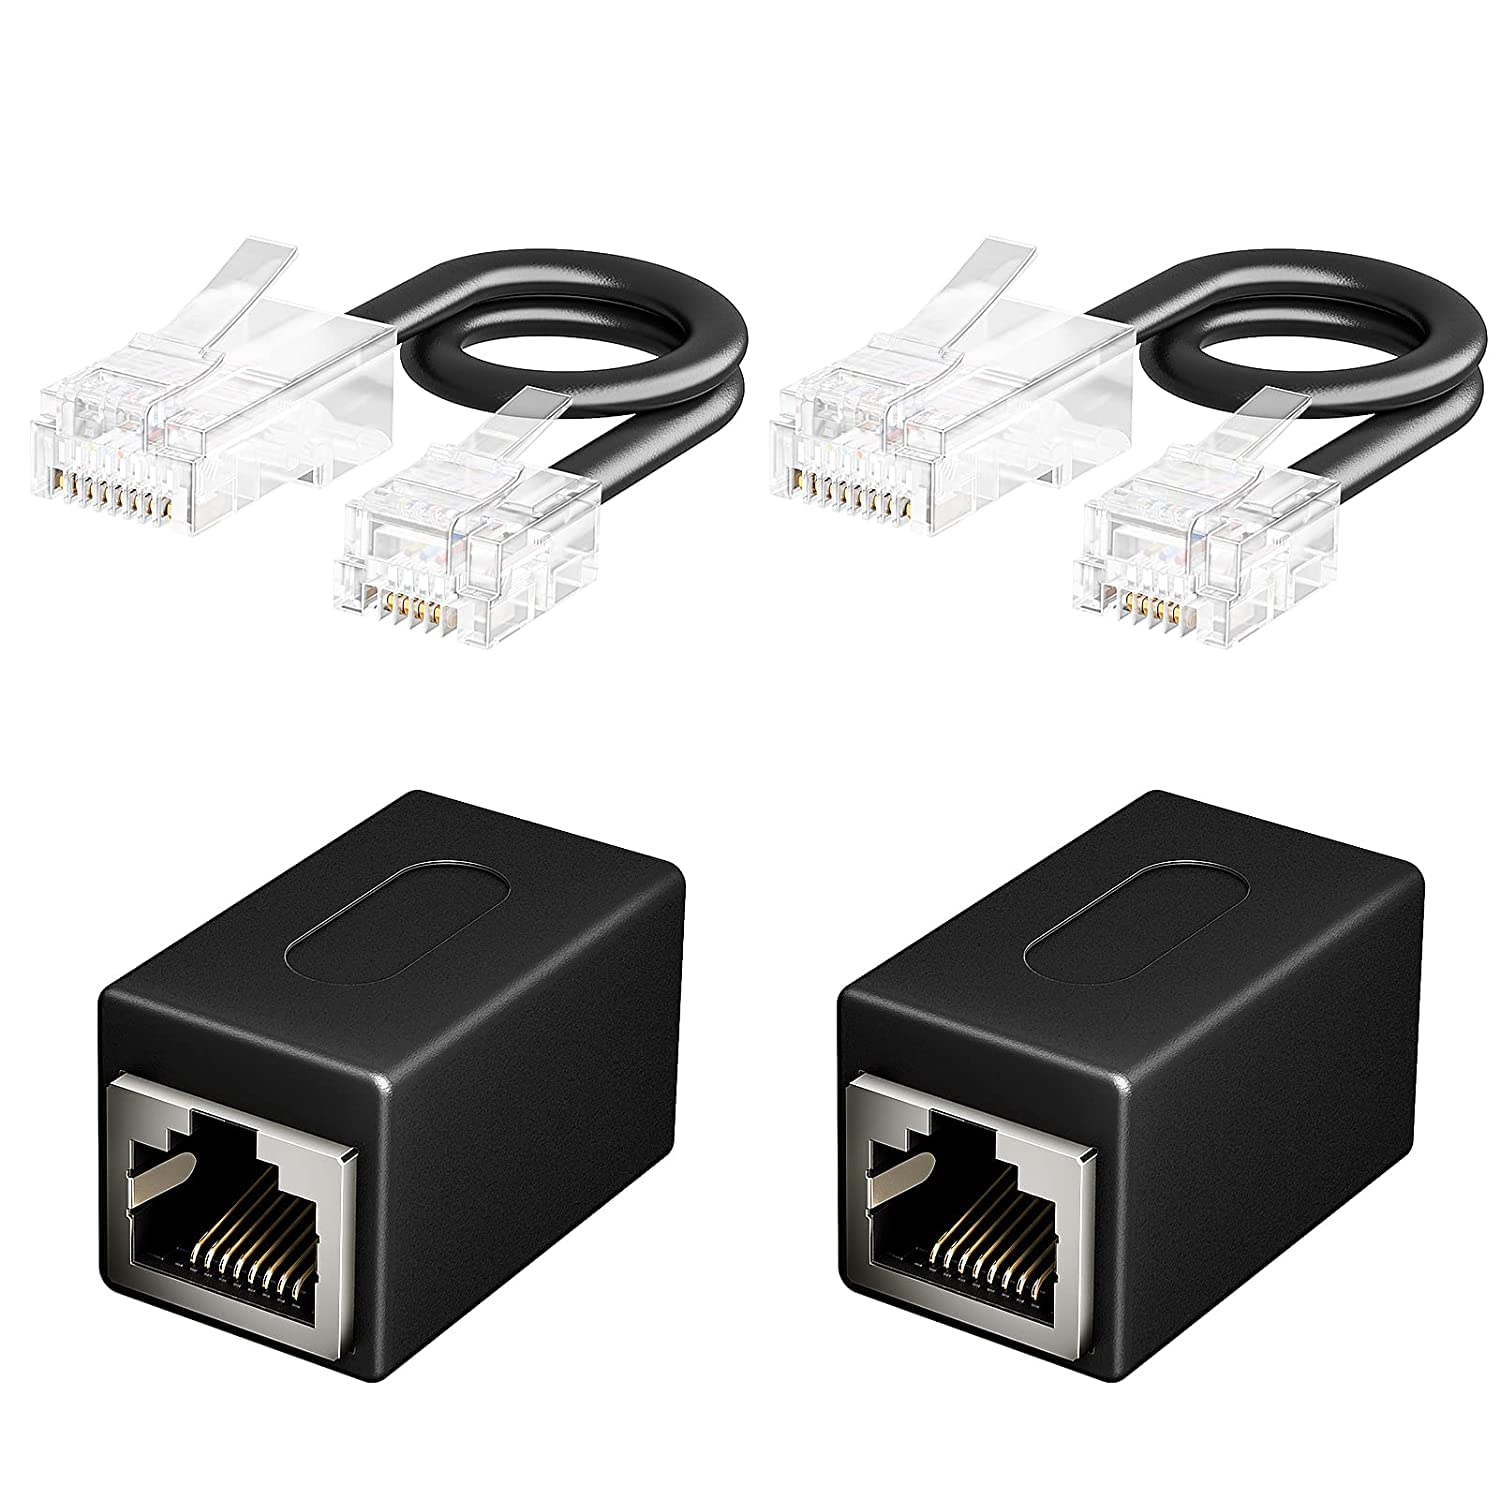
- Ethernet cable: Obtain a suitable Ethernet cable that is compatible with your phone and the network equipment you’ll be connecting to.
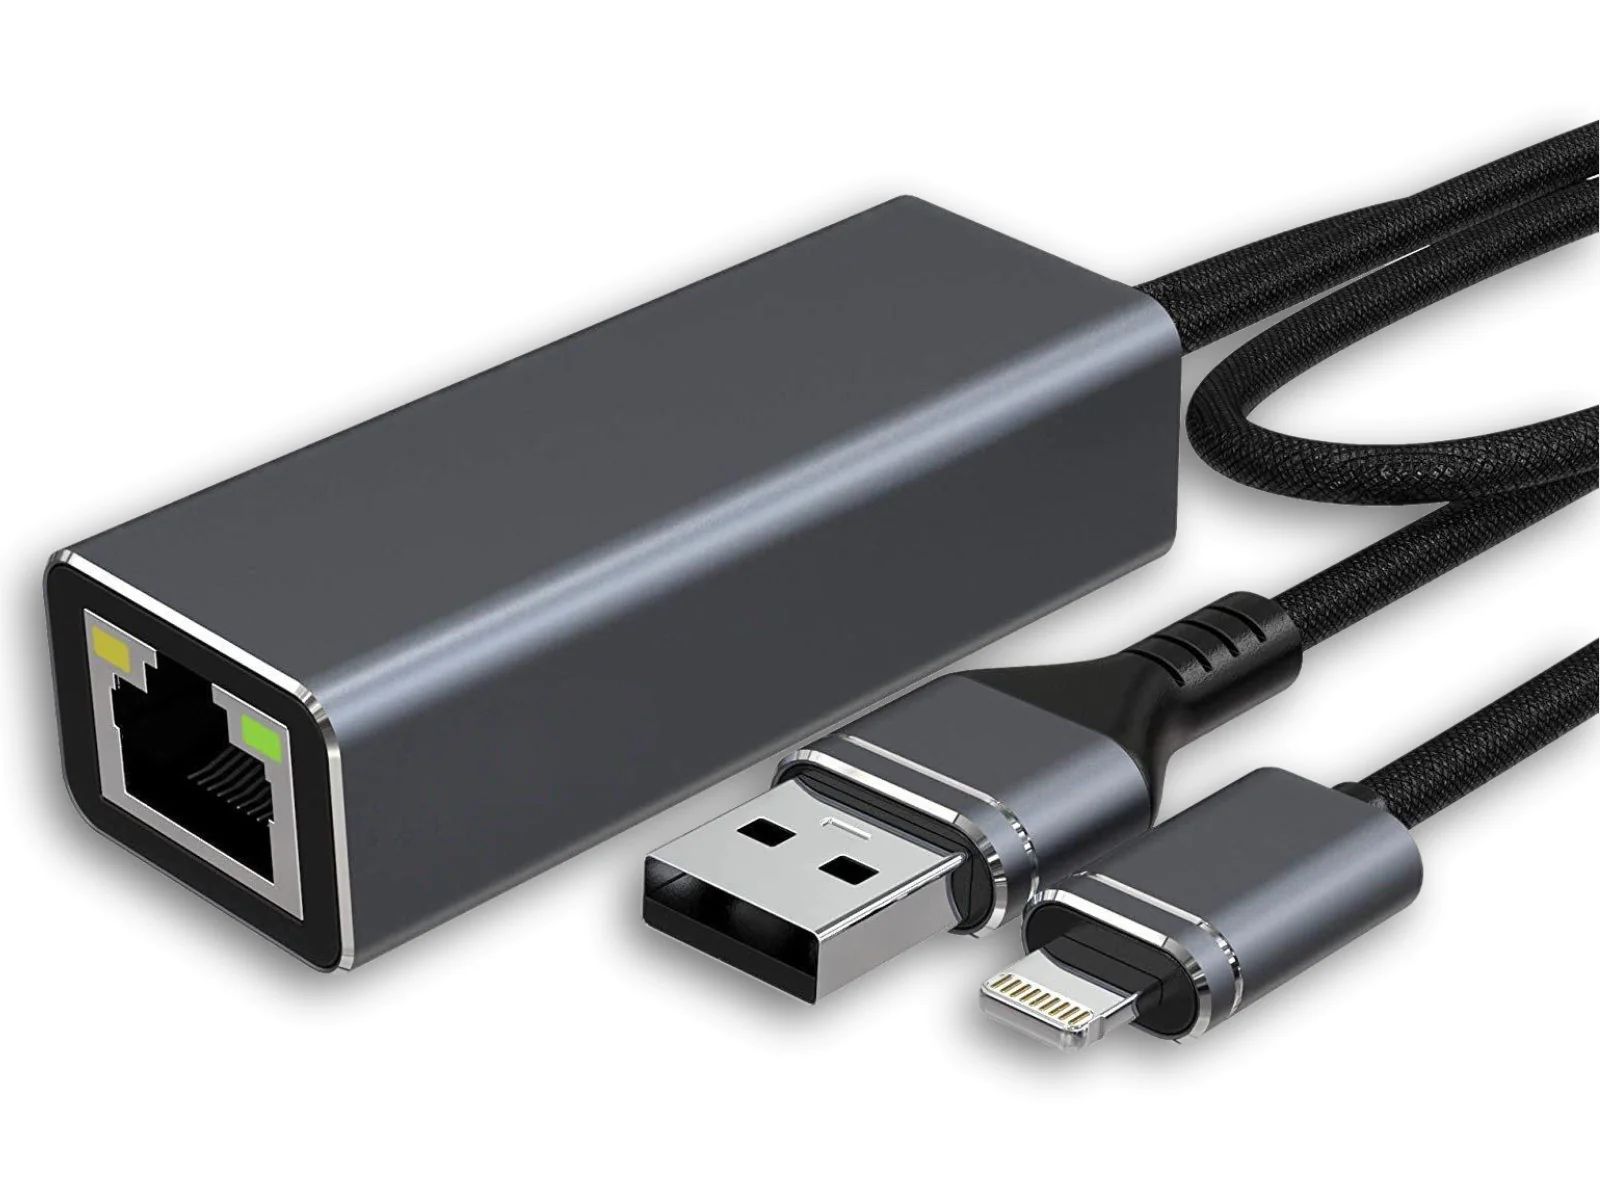
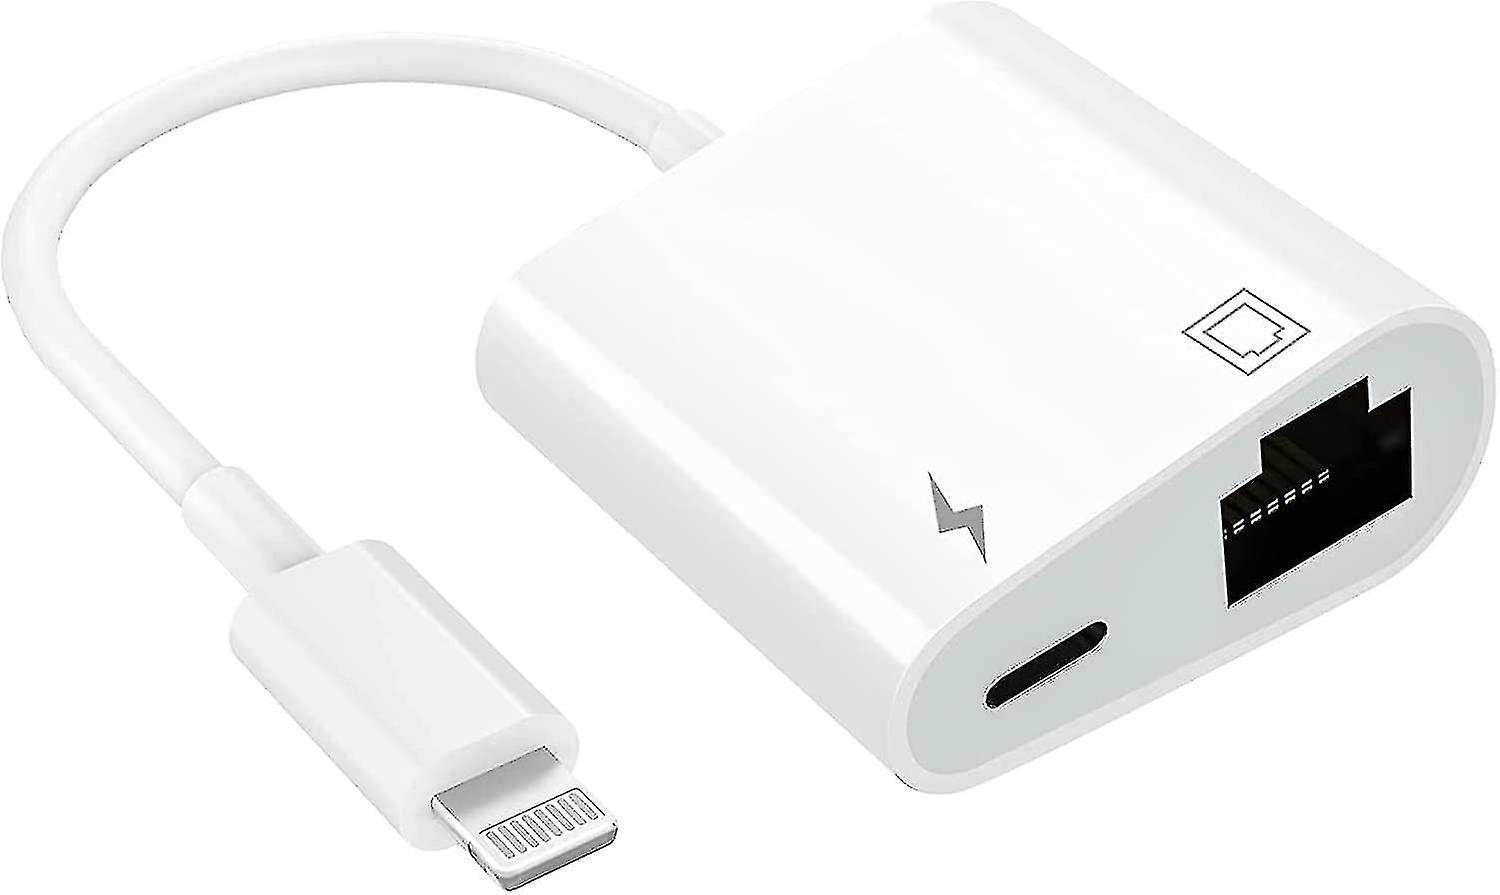
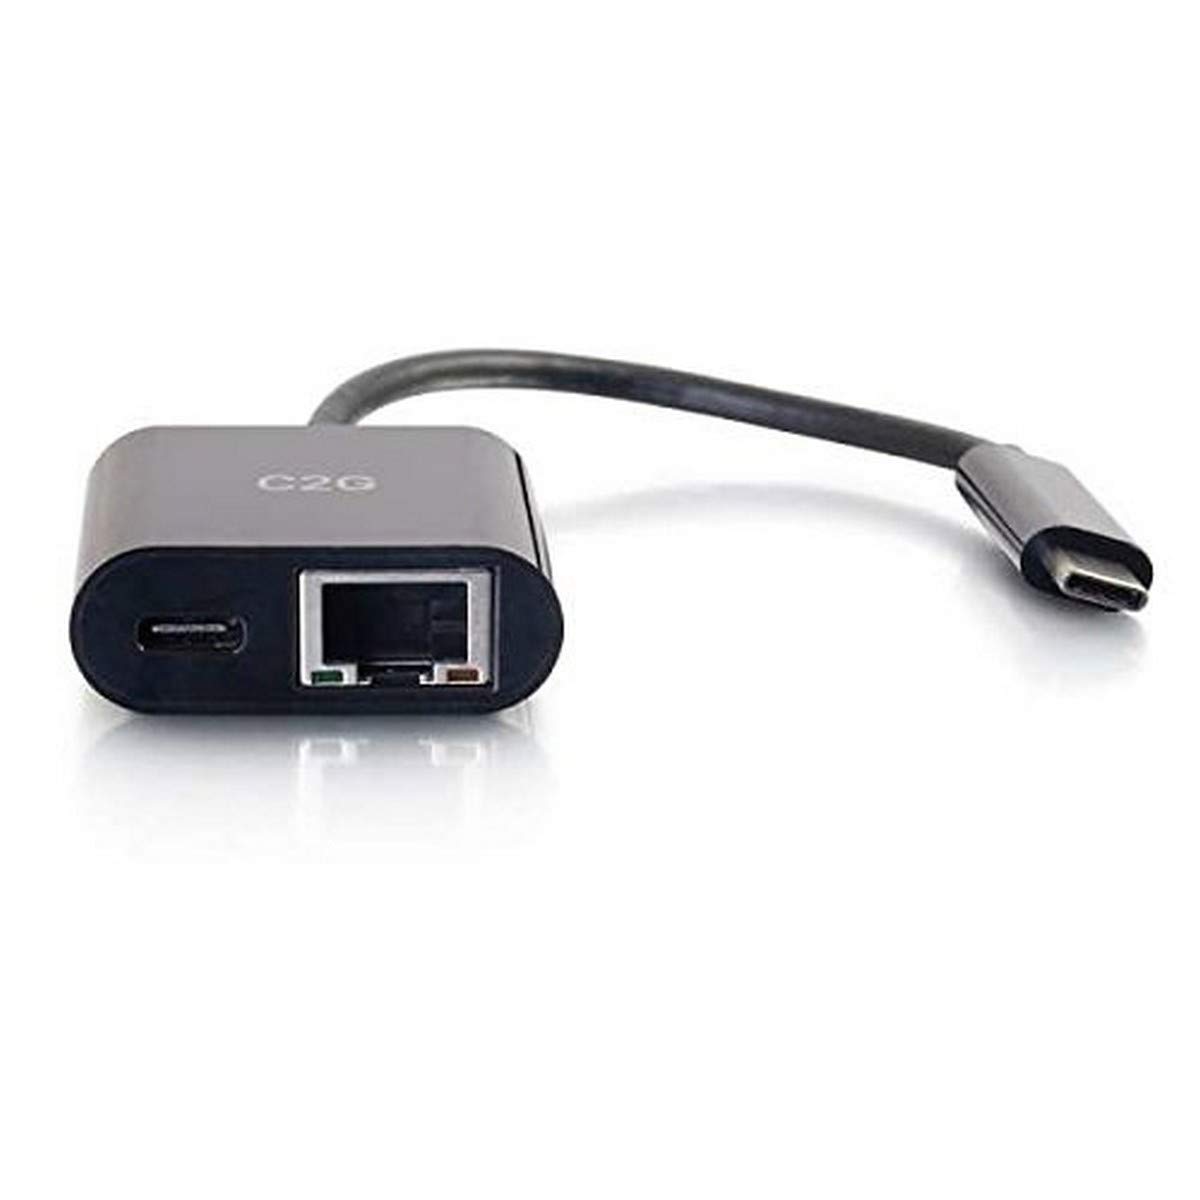
- Ethernet adapter (optional): Depending on your phone, you may require an Ethernet adapter that enables the connection between the Ethernet cable and your phone’s port.
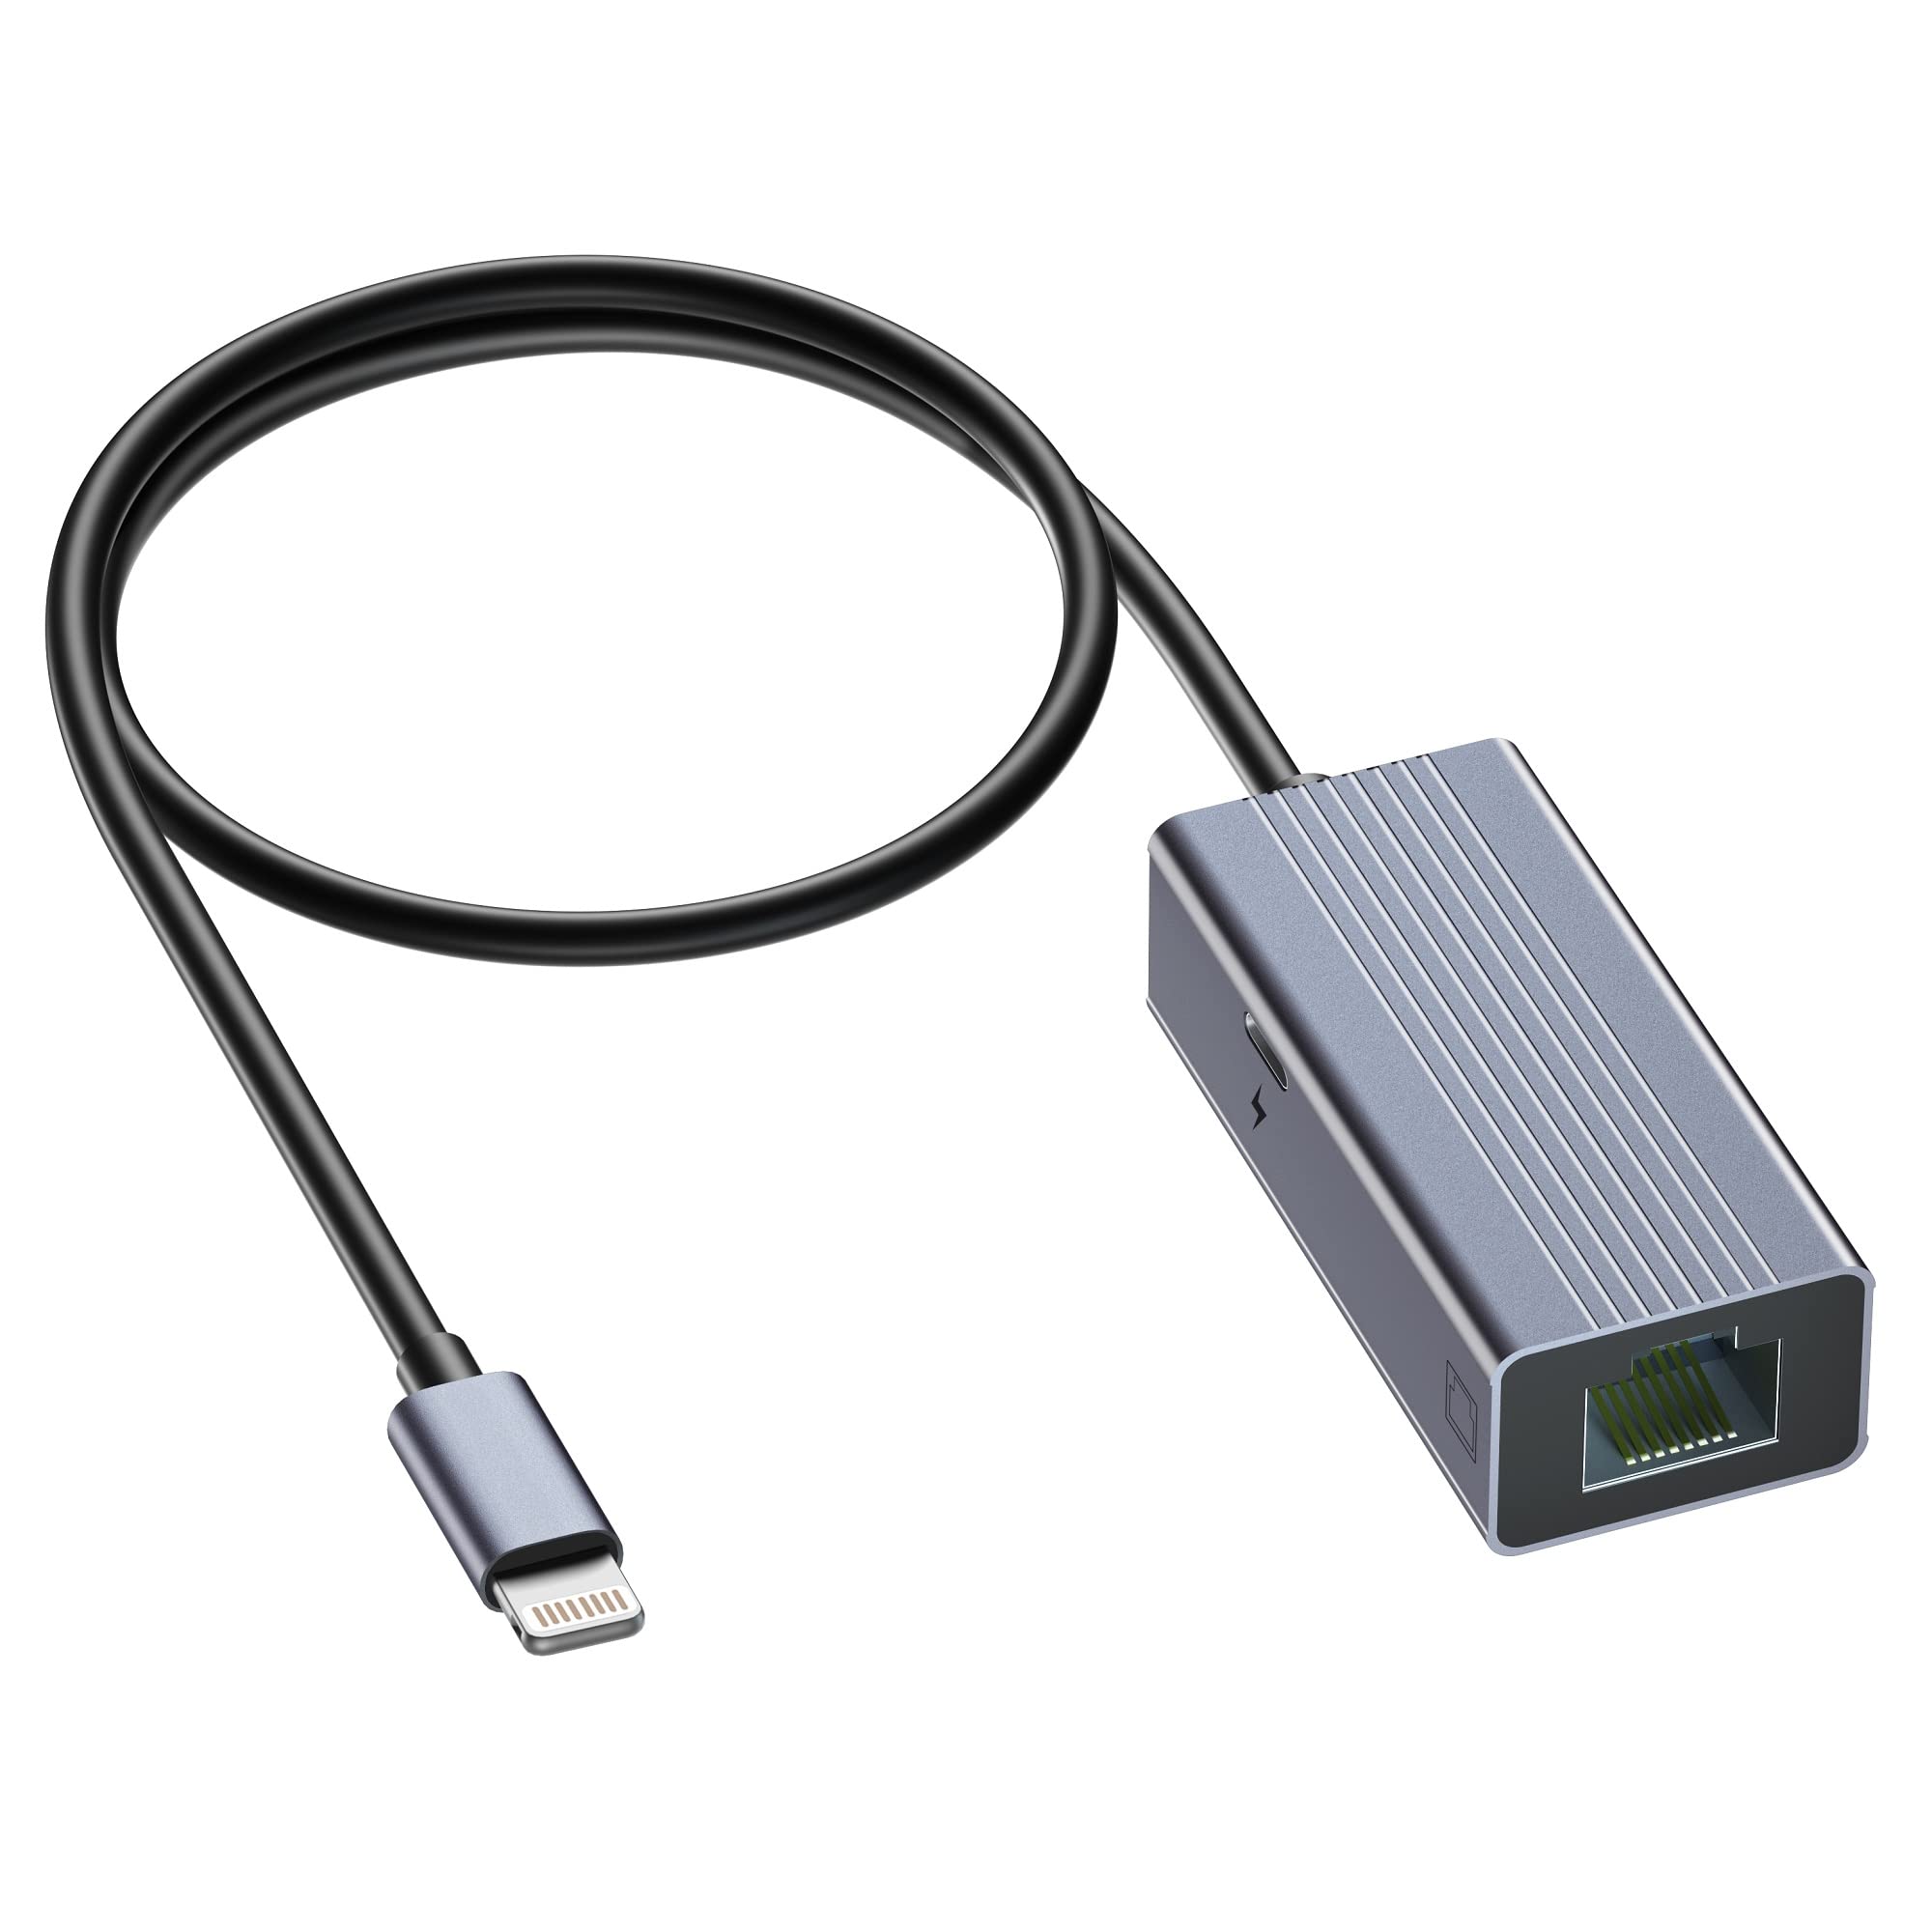
- Connect the Ethernet cable to your phone: If your phone has a built-in Ethernet port, simply plug one end of the Ethernet cable into your phone’s Ethernet port. If your phone does not have a built-in Ethernet port, connect the Ethernet adapter to your phone’s charging port or USB-C port first, and then connect one end of the Ethernet cable to the adapter.
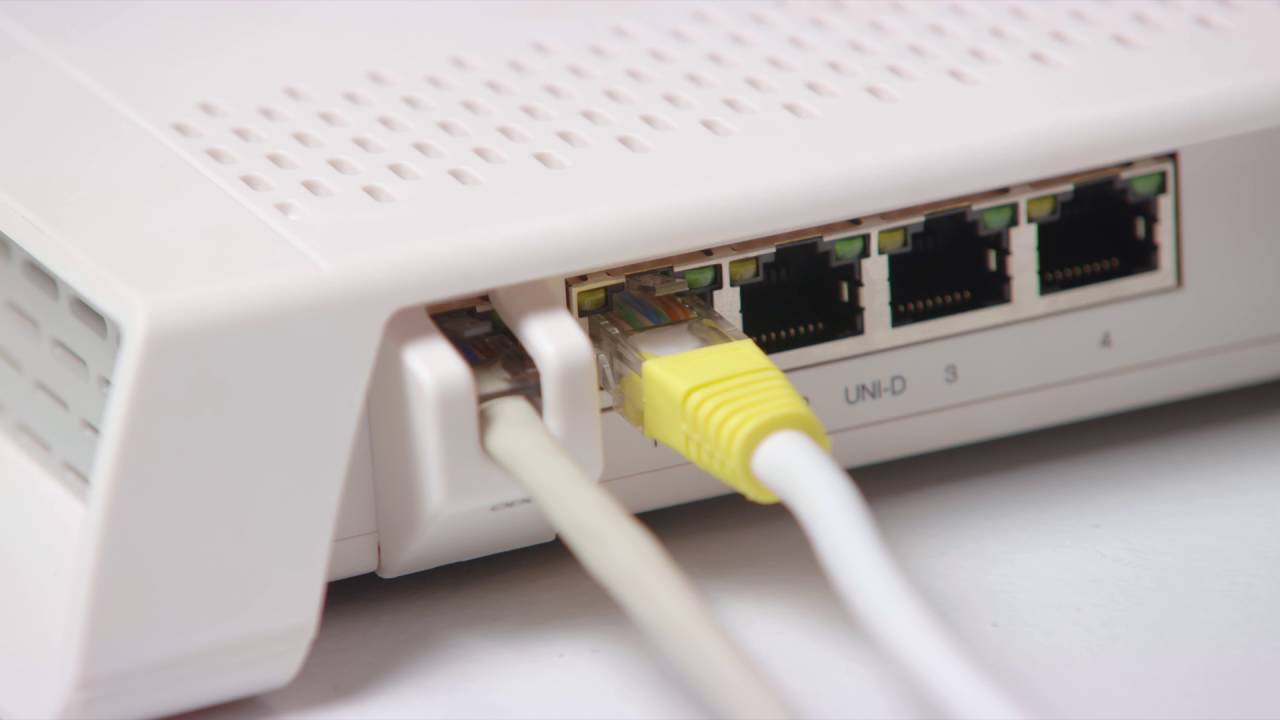
- Connect the other end of the Ethernet cable: Take the other end of the Ethernet cable and plug it into an available Ethernet port on your router, modem, or network switch. Ensure the connection is secure.
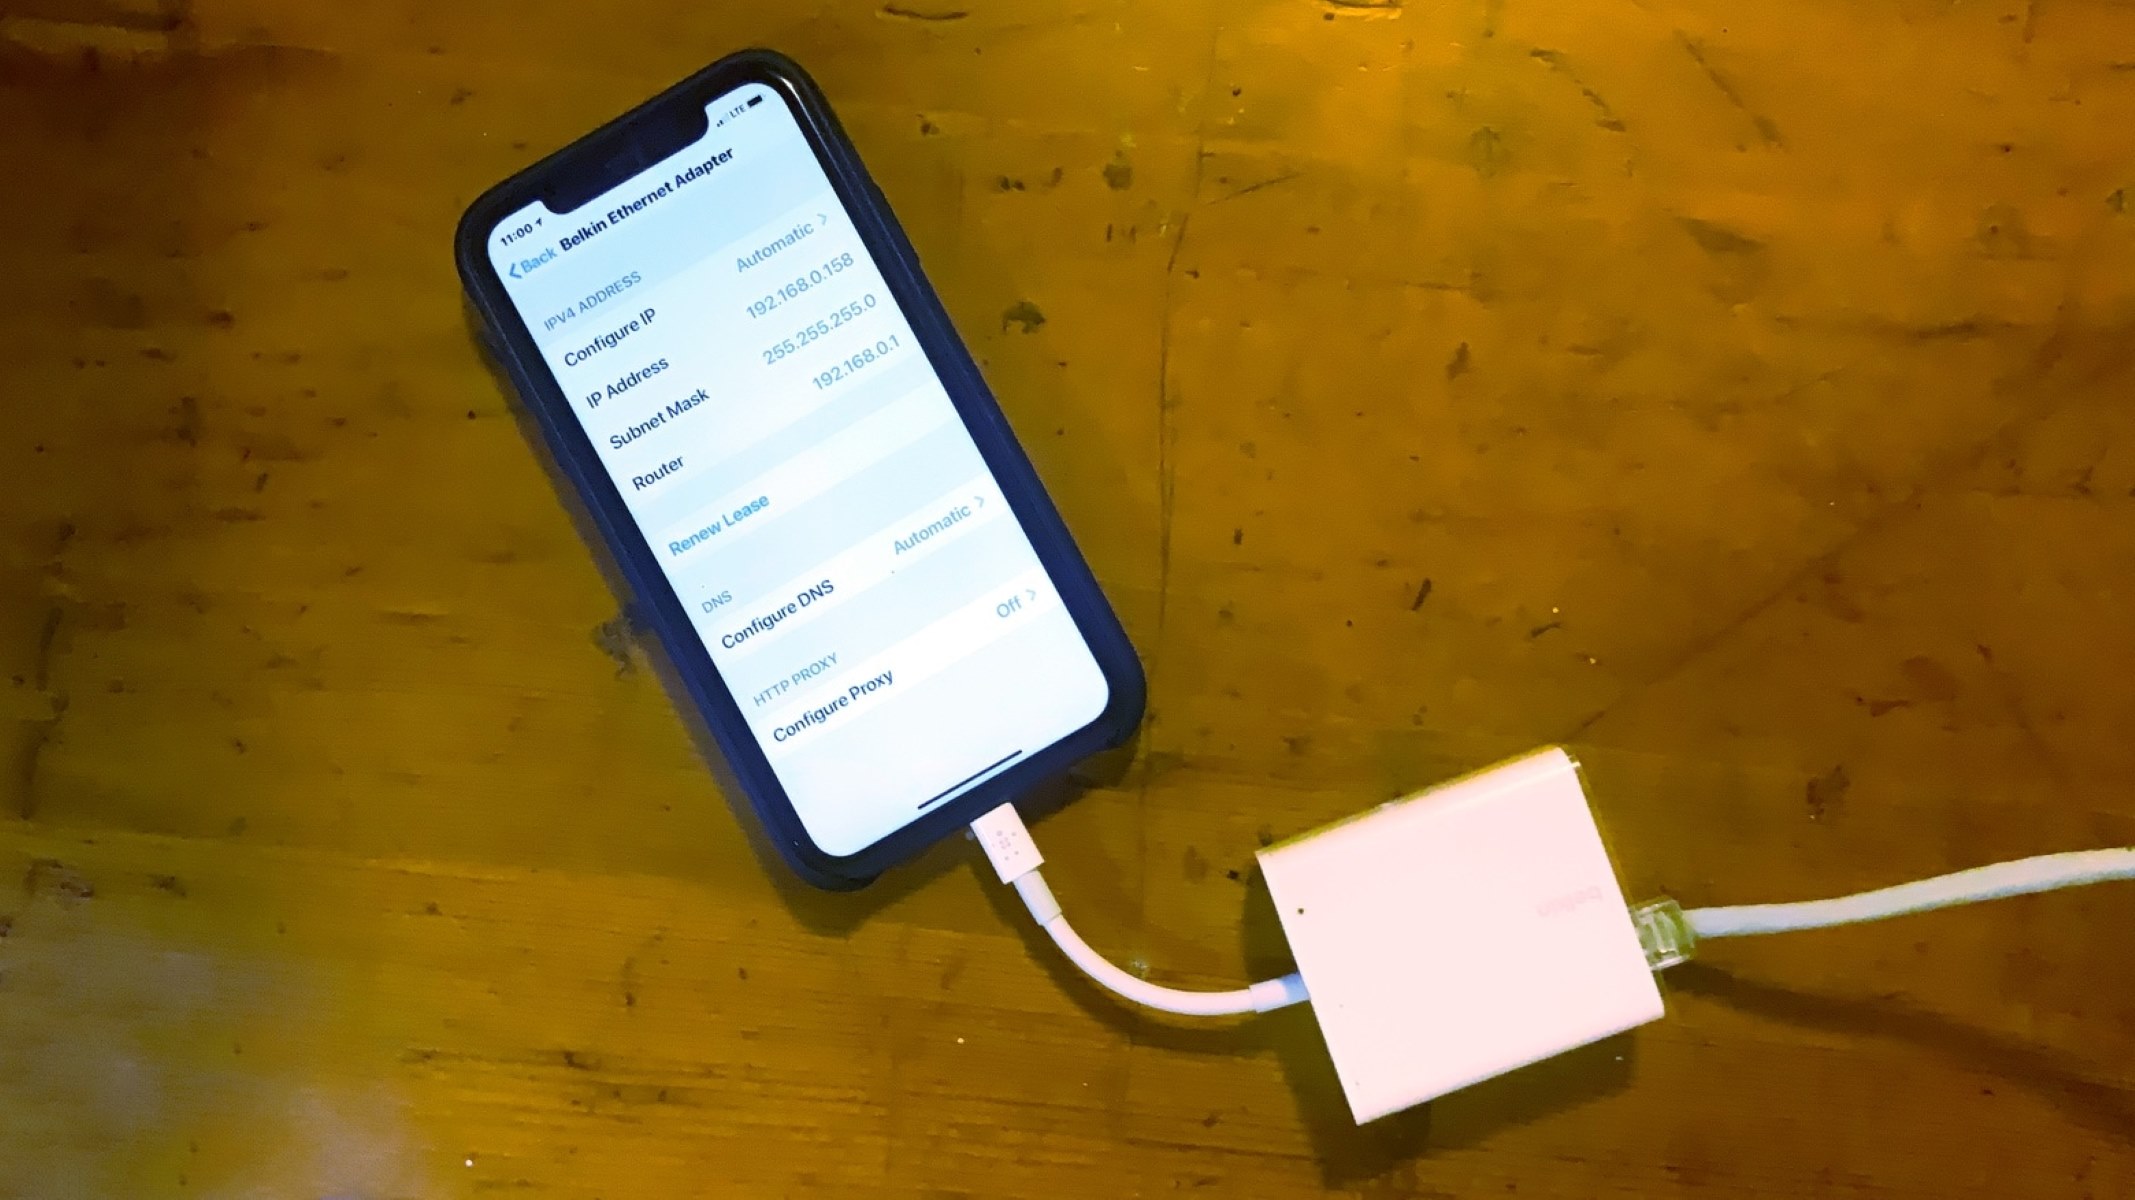
- Configure Ethernet settings on your phone: Once you have physically connected your phone to the Ethernet network, you may need to configure the Ethernet settings on your phone. Go to your phone’s settings and locate the network settings options. Look for Ethernet or Wired Connection settings and enable the connection. Depending on your phone’s operating system, you may need to select DHCP (Dynamic Host Configuration Protocol) or manually enter IP addresses and DNS settings provided by your network administrator or internet service provider.
- Test the connection: Once the settings are configured, you can test the connection by opening a web browser or any other app that requires internet access on your phone. If the connection is successful, you should be able to browse the internet and use online services as you normally would.
That’s it! You’ve successfully connected your phone to Ethernet. Enjoy the benefits of a fast and reliable wired connection for your smartphone.
Required equipment for connecting a phone to Ethernet
Before you can connect your phone to Ethernet, there are a few essential pieces of equipment you will need. Having the right equipment ensures a seamless and successful connection. Here is the list of equipment required:
- Ethernet cable: The most crucial item you will need is an Ethernet cable. It is important to choose a cable that is compatible with both your phone and the network equipment you will be connecting to. Ethernet cables come in different categories, such as Cat5e, Cat6, or Cat6a, with each offering varying speeds and bandwidth. Select a cable that suits your specific requirements.
- Ethernet adapter (optional): If your phone does not have a built-in Ethernet port, you will need an Ethernet adapter. This adapter acts as a bridge between the Ethernet cable and your phone’s charging port or USB-C port. The adapter allows you to connect the Ethernet cable to your phone and establish a wired connection.
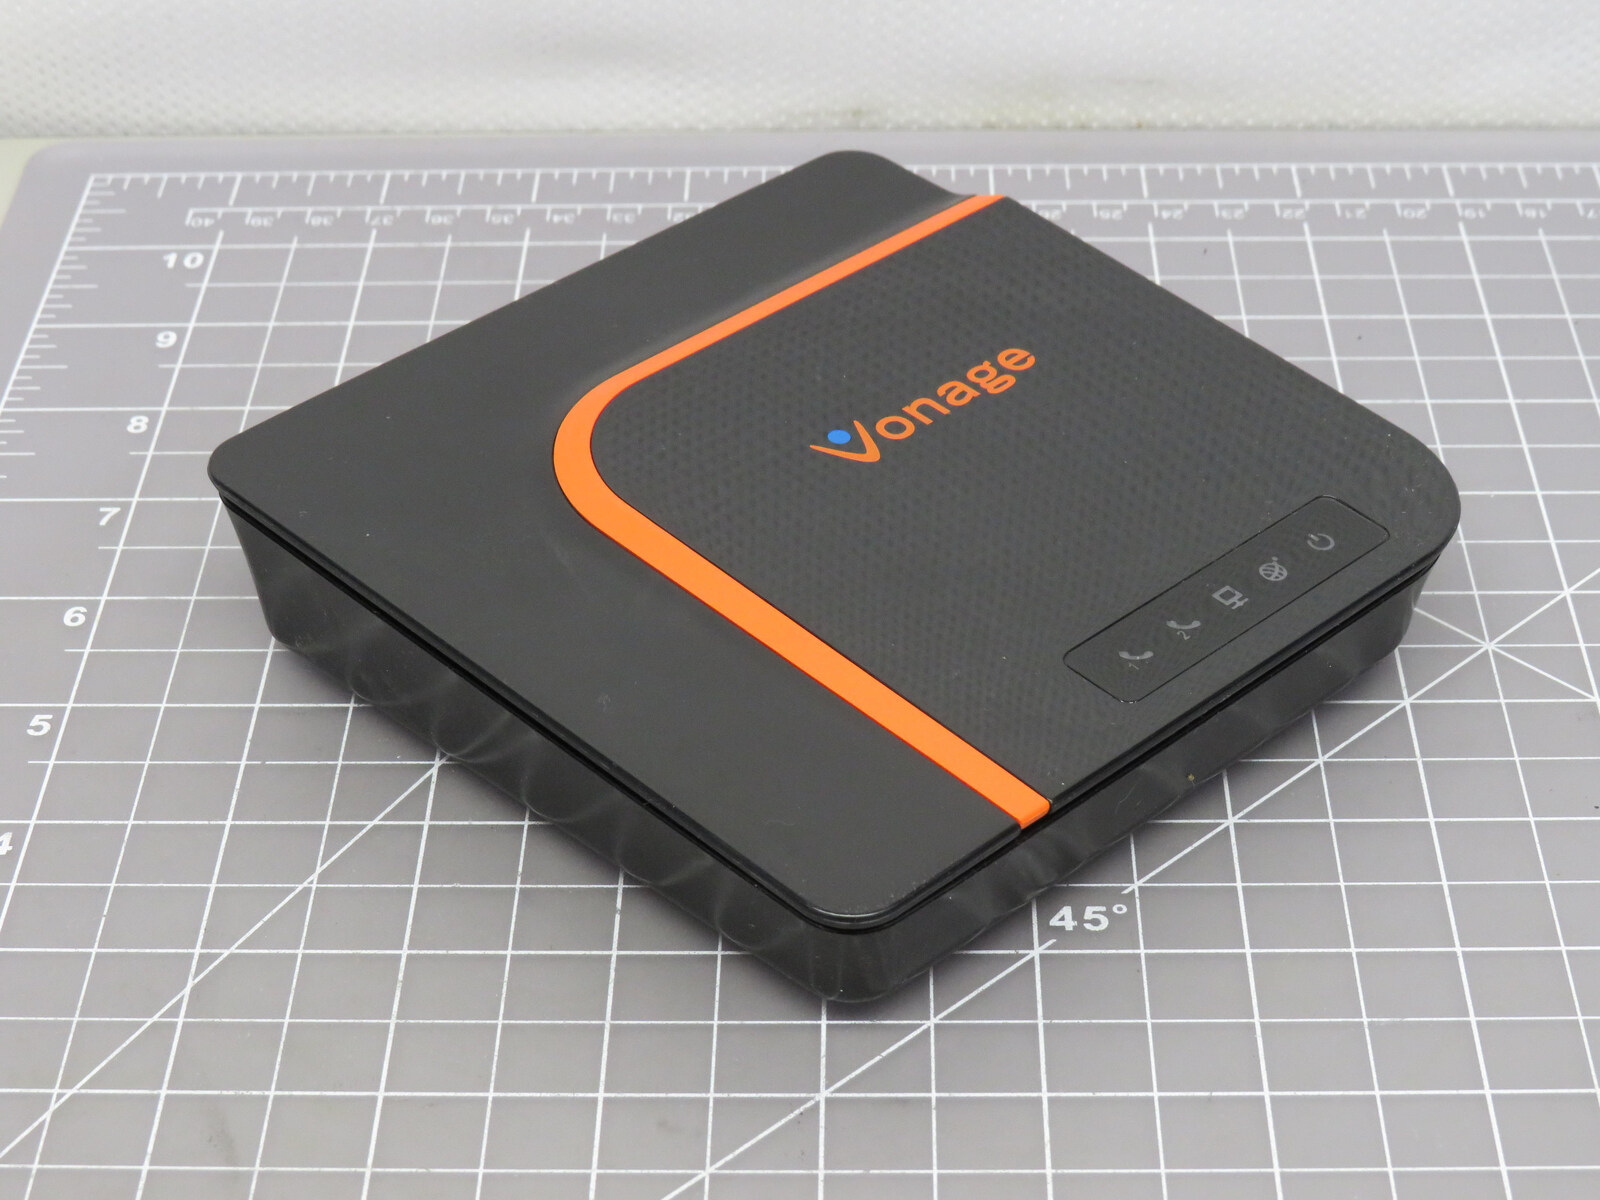
- Router, modem, or network switch: To establish an Ethernet connection, you will need a functional router, modem, or network switch. These devices serve as the central hub of your network, allowing multiple devices to connect and communicate. Ensure that your router, modem, or network switch has an available Ethernet port to connect your phone.
When purchasing an Ethernet cable and adapter, it is advisable to choose reputable brands and quality products to ensure a reliable and durable connection. Look for cables and adapters that are built to withstand wear and tear and offer good connectivity performance.
Before buying an Ethernet cable, consider the length you need. Measure the distance between your phone and the router, ensuring that the cable is long enough to reach without being excessively long, which can cause signal degradation. It is recommended to choose a cable length that provides flexibility while maintaining signal integrity.
If you are unsure about the compatibility of the Ethernet cable or adapter with your specific phone model or network equipment, consult the manufacturer’s guidelines or seek assistance from their customer support.
By ensuring you have the necessary equipment, namely an Ethernet cable and adapter (if required) and a functional router, modem, or network switch, you will be ready to connect your phone to Ethernet and enjoy the benefits of a wired connection.
Configuring Ethernet settings on your phone
After physically connecting your phone to Ethernet, you may need to configure the Ethernet settings on your phone to establish a proper network connection. The process of configuring Ethernet settings may vary slightly depending on your phone’s operating system, but the general steps are as follows:
- Open the Settings app: Locate and open the Settings app on your phone. It is typically represented by a gear or cog icon.
- Select Network & Internet or Connections: Look for the Network & Internet or Connections option in the settings. Tap on it to access the network-related settings for your phone.
- Find the Ethernet settings: Within the Network & Internet or Connections menu, you should see an Ethernet or Wired Connection option. Tap on it to access the Ethernet settings.
- Enable Ethernet connection: Toggle the Ethernet connection switch to “On” or “Enable”. This allows your phone to use the connected Ethernet cable for network access.
- Select the network type: Depending on your network setup, you may need to choose the appropriate network type. If your network uses DHCP (Dynamic Host Configuration Protocol), select “DHCP” to allow your phone to obtain IP addresses and network settings automatically. If you need to manually configure IP addresses and DNS settings, choose the “Static” or “Manual” option and enter the provided information.
- Save the settings: Once you have configured the Ethernet settings, save the changes by tapping on the “Save” or “Apply” button. Your phone will now use the Ethernet connection as the primary network connection.
It’s important to note that the exact terminology and location of the Ethernet settings may differ depending on your phone’s manufacturer and operating system version. If you encounter any difficulties or need more specific instructions, refer to your phone’s user manual or the manufacturer’s support website.
After configuring the Ethernet settings, your phone should now be able to connect to the internet using the wired Ethernet connection. Test the connection by launching a web browser or any app that requires internet access. If you can browse websites or access online services without any issues, then you have successfully configured the Ethernet settings on your phone.
Remember, if you change your network setup or move your phone to a different Ethernet connection, you may need to reconfigure the Ethernet settings accordingly. Keeping your Ethernet settings up to date ensures a smooth and reliable network connection for your phone.
Troubleshooting common issues when connecting a phone to Ethernet
While connecting your phone to Ethernet is generally a straightforward process, you may encounter certain issues that can hinder the connection. Here are some common problems that users may face when connecting a phone to Ethernet and troubleshooting steps to resolve them:
- No internet connection: If you have connected your phone to Ethernet but are not getting an internet connection, firstly ensure that the Ethernet cable is securely plugged into both your phone and the router/modem. If the connection is secure, try restarting your phone and the network equipment. If the issue persists, check the Ethernet cable for damages or try using a different cable to eliminate any cable-related issues.
- Slow internet speed: If your phone is connected to Ethernet but experiencing slow internet speed, there could be a few factors at play. First, check the speed of your internet connection and compare it to your internet service provider’s subscribed speed. If the speed is significantly lower, contact your internet service provider for assistance. Additionally, check if any background apps or downloads are consuming a significant amount of bandwidth on your phone and close or pause them if necessary. Finally, ensure that your phone’s Ethernet settings are configured correctly.
- Compatibility issues: Some phones may not have built-in support for Ethernet connections, and in such cases, an Ethernet adapter is required. If you are using an Ethernet adapter and facing compatibility issues, ensure that the adapter is compatible with your phone model and operating system version. Check for any firmware updates for the adapter or contact the adapter manufacturer for further support.
- IP address conflicts: If you are manually setting the IP addresses and encountering connection issues, there may be an IP address conflict within your network. Ensure that each device connected to the network has a unique IP address. Consider switching to DHCP (Dynamic Host Configuration Protocol) to allow your phone to obtain IP addresses automatically from the network.
- Router or network configuration issues: Verify that your router or network switch is functioning properly and has the necessary configurations to support Ethernet connections. Consult the router’s user manual or contact the manufacturer’s support for guidance on setting up and configuring the router for Ethernet connections.
If you have tried these troubleshooting steps and are still experiencing issues when connecting your phone to Ethernet, it is recommended to seek technical support from your phone manufacturer, network administrator, or internet service provider. They will be able to provide specific guidance based on your phone model and network setup, ensuring a smooth and successful connection.
By troubleshooting and addressing these common issues, you can overcome connectivity challenges and enjoy the benefits of a reliable Ethernet connection on your phone.
Conclusion
Connecting your phone to Ethernet can greatly enhance your internet experience by offering improved speed, stability, and security. In this guide, we have walked you through the process of connecting your phone to Ethernet, exploring the benefits, required equipment, configuring Ethernet settings, and troubleshooting common issues that may arise.
By following the step-by-step guide, you can easily connect your phone to Ethernet and take advantage of the faster and more reliable internet connection it provides. Remember to check your phone’s compatibility, gather the necessary equipment such as an Ethernet cable and adapter, and configure the Ethernet settings on your phone to establish a successful connection.
Connecting your phone to Ethernet offers several benefits, including improved internet speed, increased security, stability, reduced latency, and connection flexibility. Whether you’re working from home, streaming content, or gaming, a wired Ethernet connection can enhance your productivity, entertainment, and overall online experience.
If you encounter any difficulties or issues during the setup or configuration, refer to your phone’s user manual or contact the manufacturer’s support for assistance. Additionally, reach out to your network administrator or internet service provider for specific guidance related to your network setup.
Now that you have the knowledge and tools to connect your phone to Ethernet, go ahead and enjoy the benefits of a fast and reliable wired connection. Say goodbye to slow Wi-Fi and experience the seamless internet connectivity that Ethernet provides.