Introduction
Connecting your Vonage device to a wireless router can bring a new level of convenience and flexibility to your home phone service. With this setup, you can make and receive calls using your traditional telephone handset while enjoying the freedom of a wireless network. Whether you’re upgrading your existing Vonage service or setting it up for the first time, this guide will walk you through the simple steps to connect your Vonage device to your wireless router.
Before we dive into the steps, it’s essential to ensure that you have all the necessary equipment and a basic understanding of how the Vonage device and the wireless router work. This will make the setup process smoother and help you troubleshoot any issues that may arise along the way.
In this guide, we’ll assume that you already have an active Vonage service subscription and a compatible Vonage device. Additionally, you’ll need a wireless router with available Ethernet ports and an active internet connection. If you’re unsure about any of these requirements, reach out to Vonage customer support or refer to the user manual for your specific devices.
With that said, let’s get started on connecting your Vonage device to your wireless router. By the end of this guide, you’ll be ready to make and receive calls wirelessly, making your Vonage experience even more convenient and enjoyable.
Step 1: Gather the necessary equipment
Before you start connecting your Vonage device to your wireless router, it’s important to gather all the required equipment. By having everything ready, you can streamline the setup process and avoid any unnecessary delays. Here’s a list of the essential equipment you’ll need:
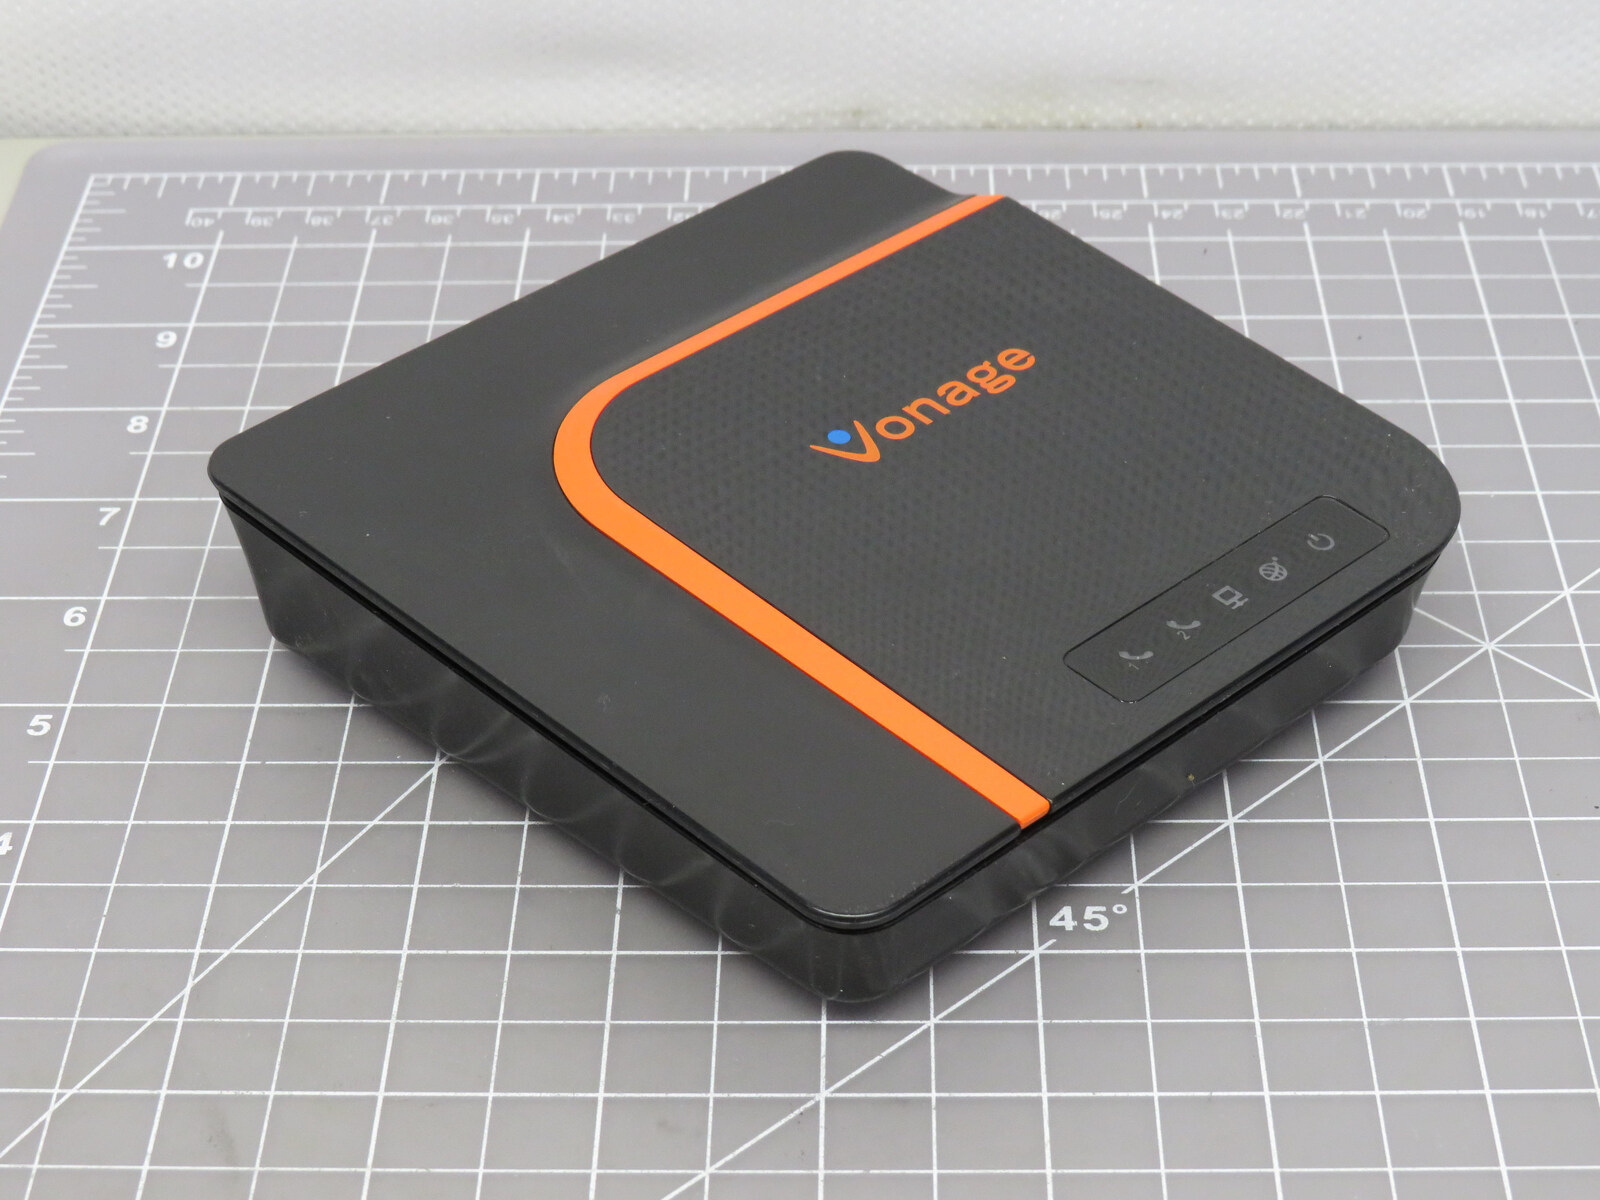
- Vonage device: Make sure you have the Vonage device provided by your service provider. This device serves as the bridge between your traditional telephone handset and the internet.
- Power adapter: Locate the power adapter that came with your Vonage device. This adapter is used to supply power to the device.
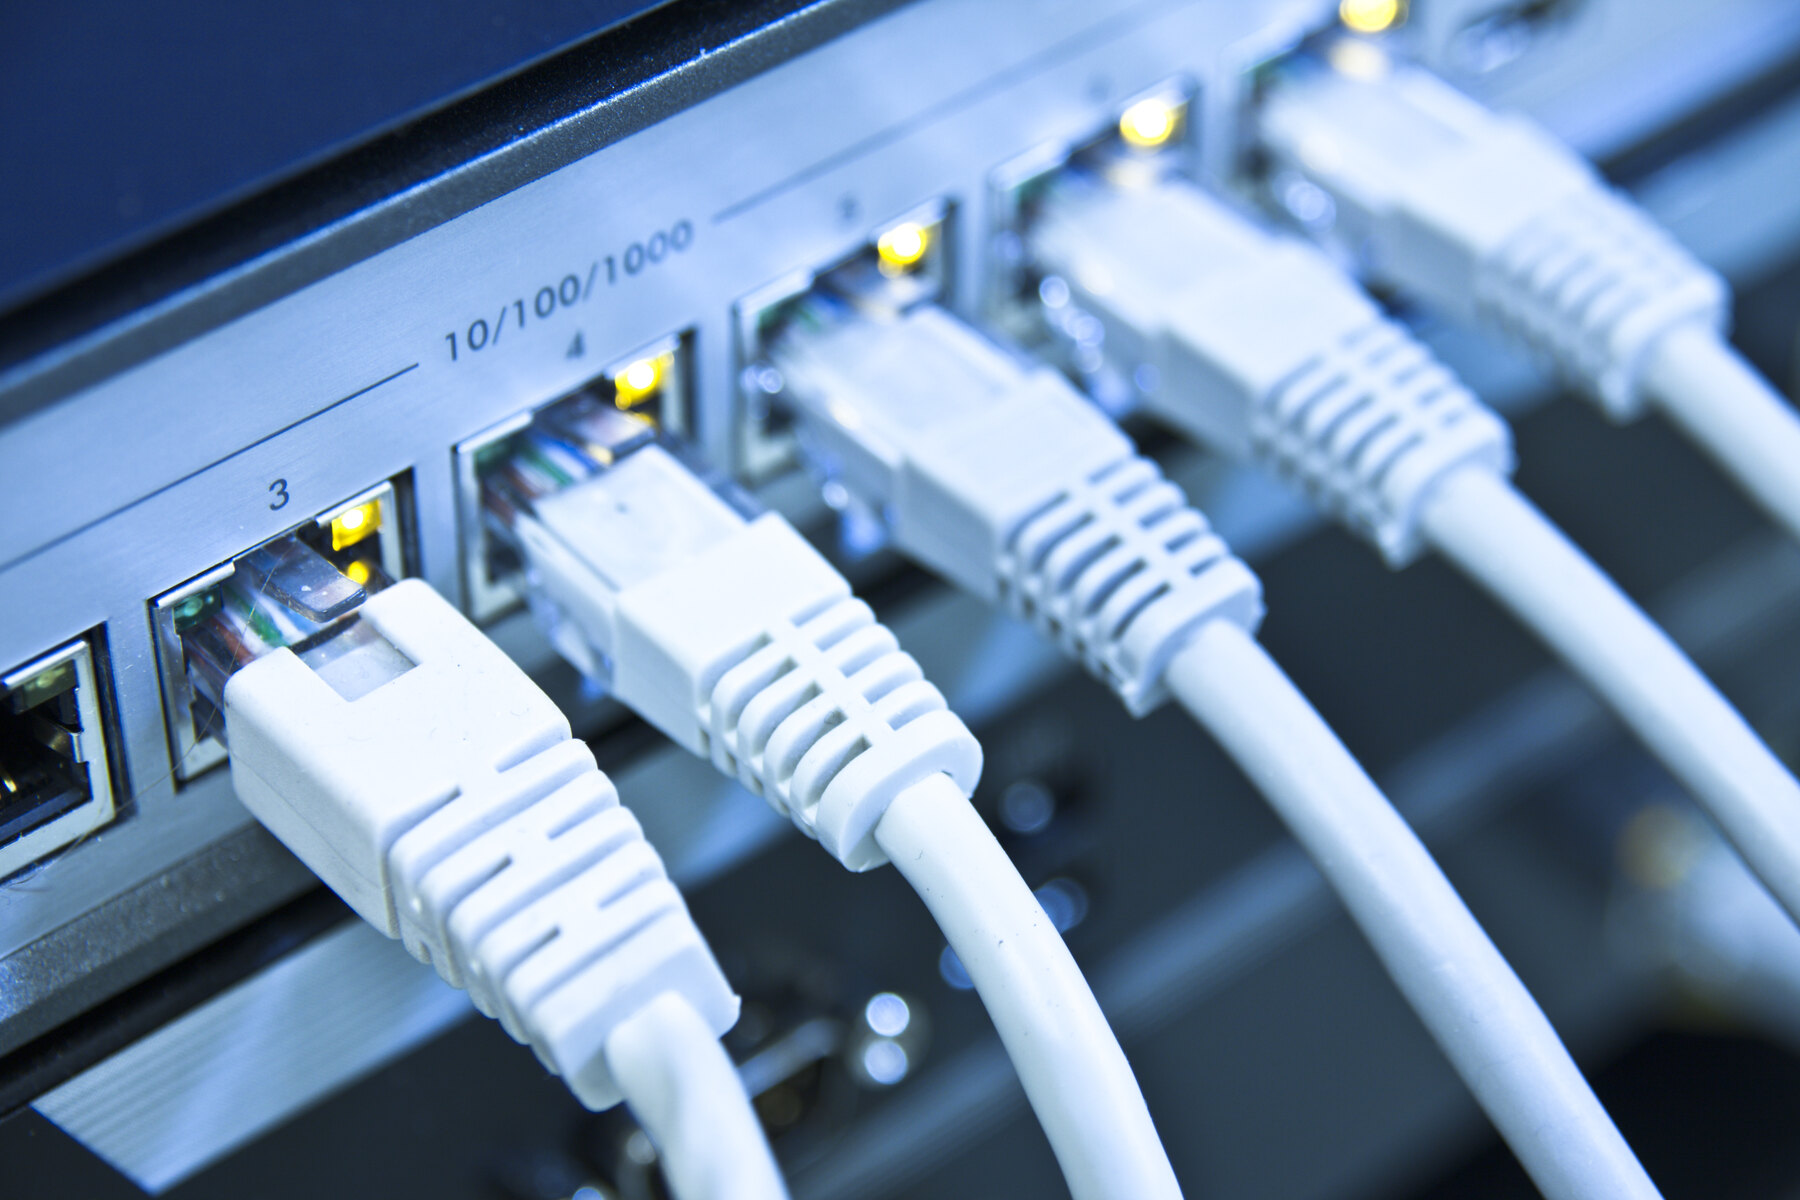
- Ethernet cable: Find an Ethernet cable long enough to connect your Vonage device to your wireless router.
- Telephone handset: Ensure you have a compatible telephone handset that you want to use with your Vonage service.
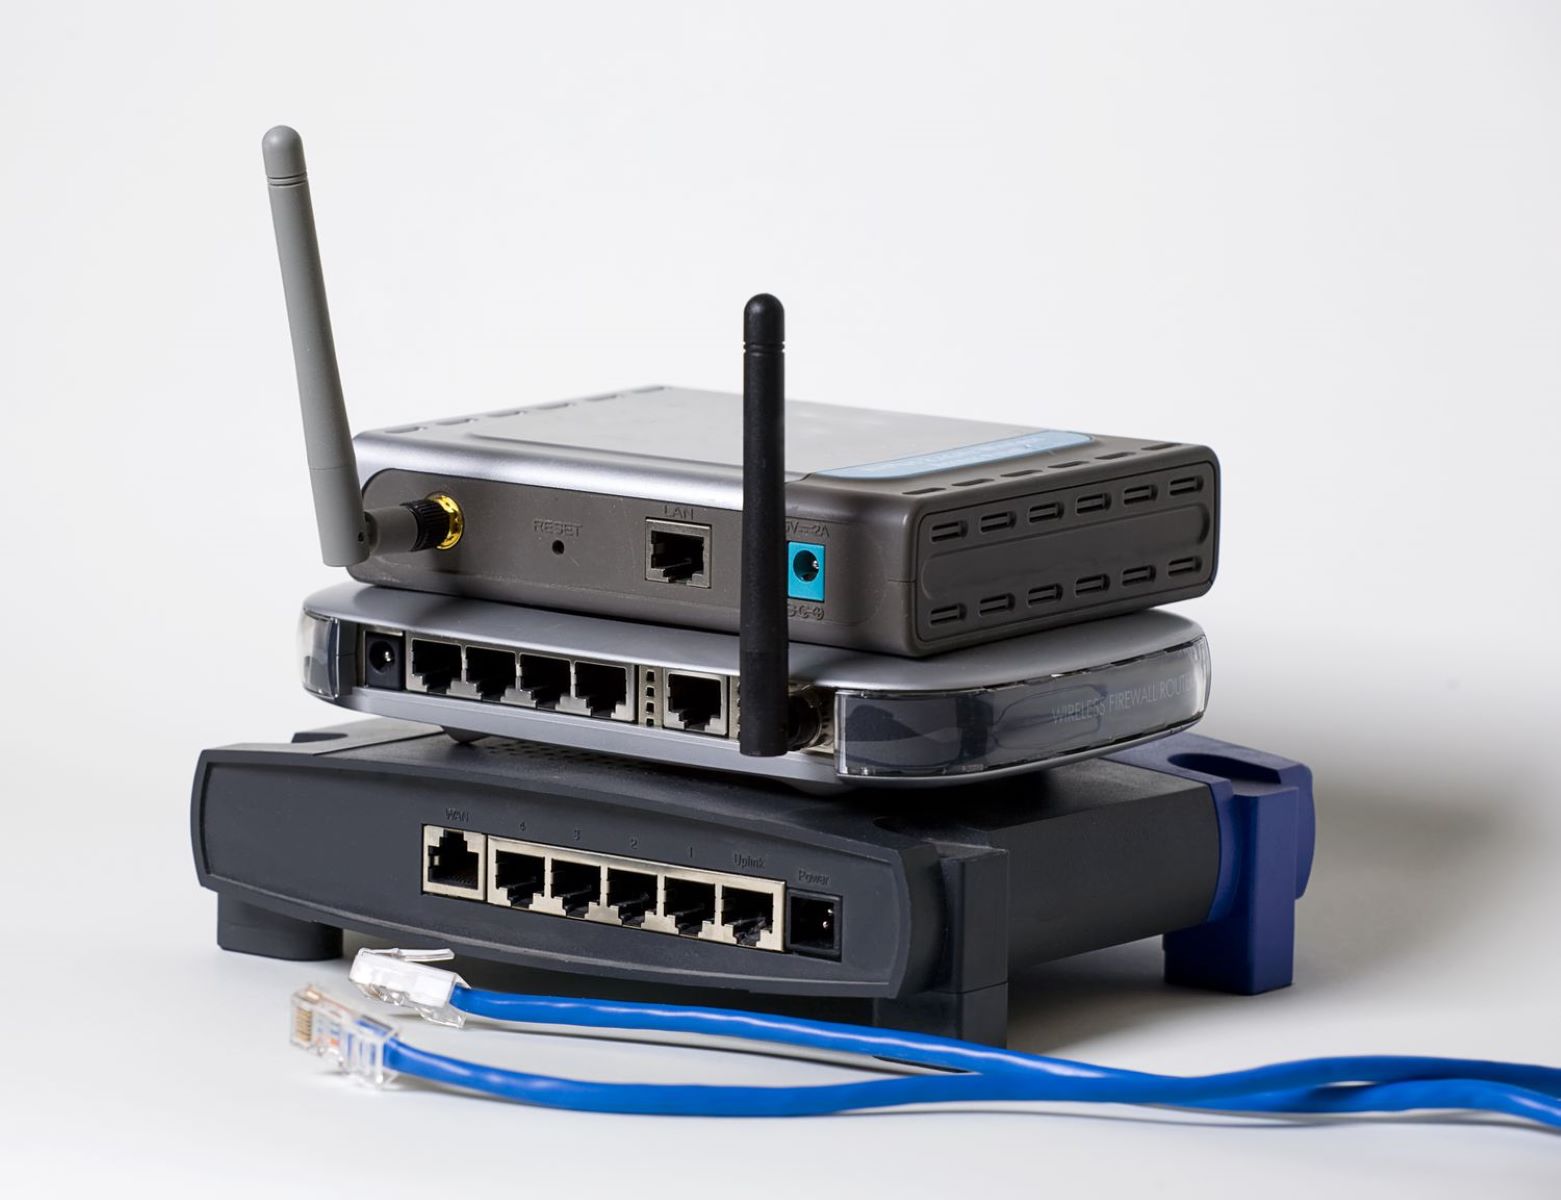
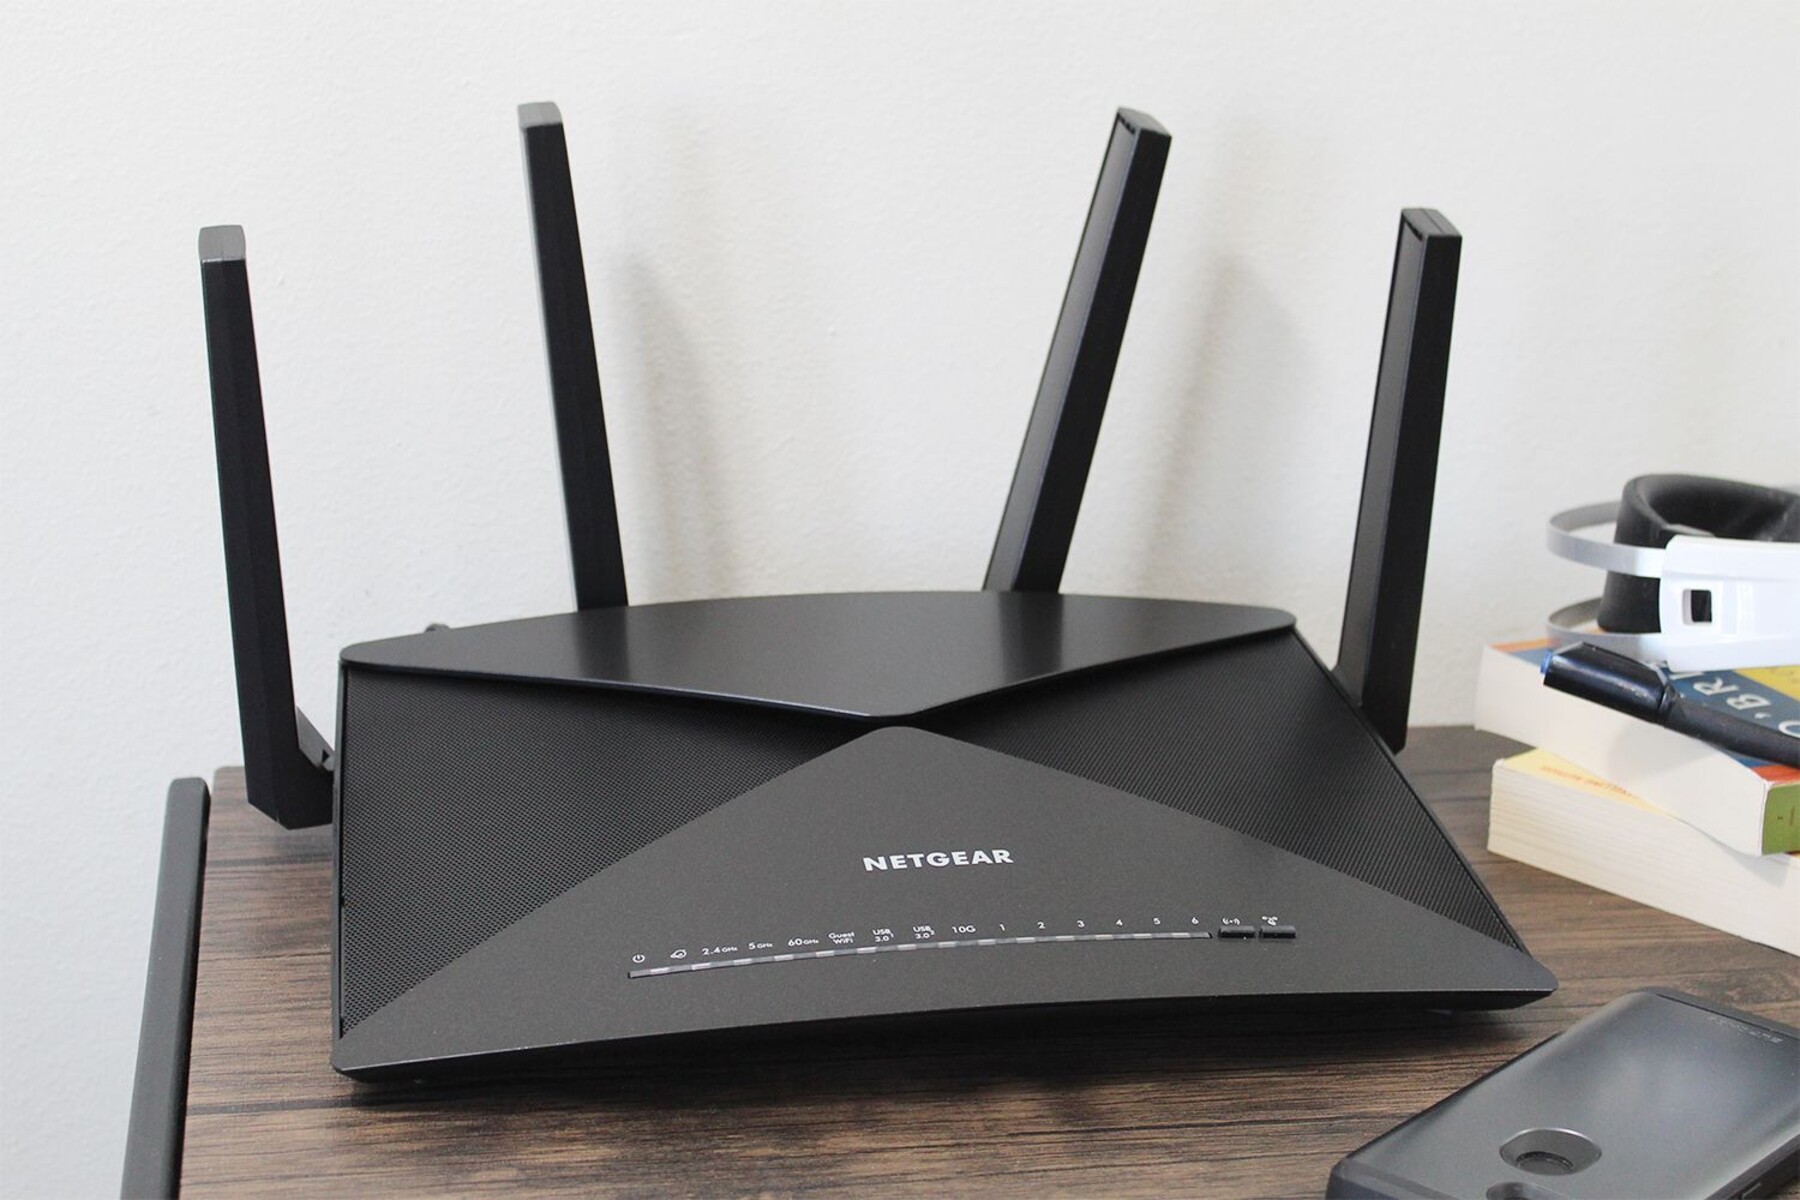
- Wireless router: Make sure you already have a wireless router with available Ethernet ports. This will be used to connect your Vonage device to the internet.
- Internet connection: Verify that you have an active internet connection. The Vonage device will rely on your internet connection to make and receive calls.
Once you have confirmed that you have all the necessary equipment, you’re ready to move on to the next step: connecting the Vonage device to the power source. Gathering the equipment beforehand speeds up the setup process and ensures a smooth transition to the next steps.
Step 2: Connect the Vonage device to the power source
Now that you have gathered all the necessary equipment, it’s time to connect your Vonage device to the power source. This step ensures that your Vonage device has the required power supply to function properly. Follow these simple steps to complete this connection:
- Locate the power adapter that came with your Vonage device.
- Connect one end of the power adapter to the power input port on your Vonage device.
- Plug the other end of the power adapter into a nearby power outlet.
- Ensure that the power source is stable and the device is securely connected.
Once the Vonage device is connected to the power source, you should see the device power on and the relevant indicator lights illuminate. This indicates that the device is receiving power and ready for the next step. If you encounter any issues during this step, double-check that the power adapter is securely connected and the power outlet is functioning correctly.
With the Vonage device powered on, you can proceed to the next step: connecting the Vonage device to your wireless router. This connection is crucial for establishing a link between the Vonage device and the internet, allowing you to make and receive calls wirelessly.
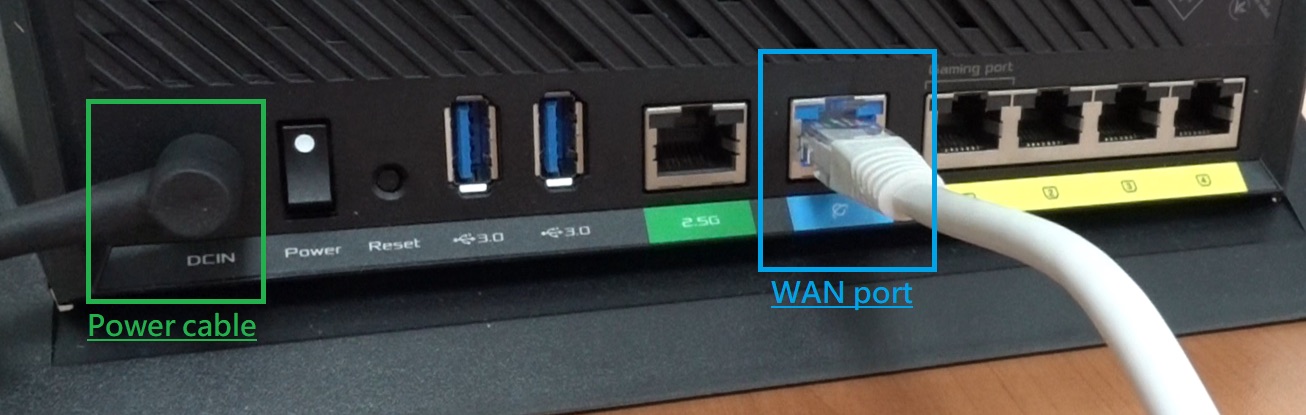
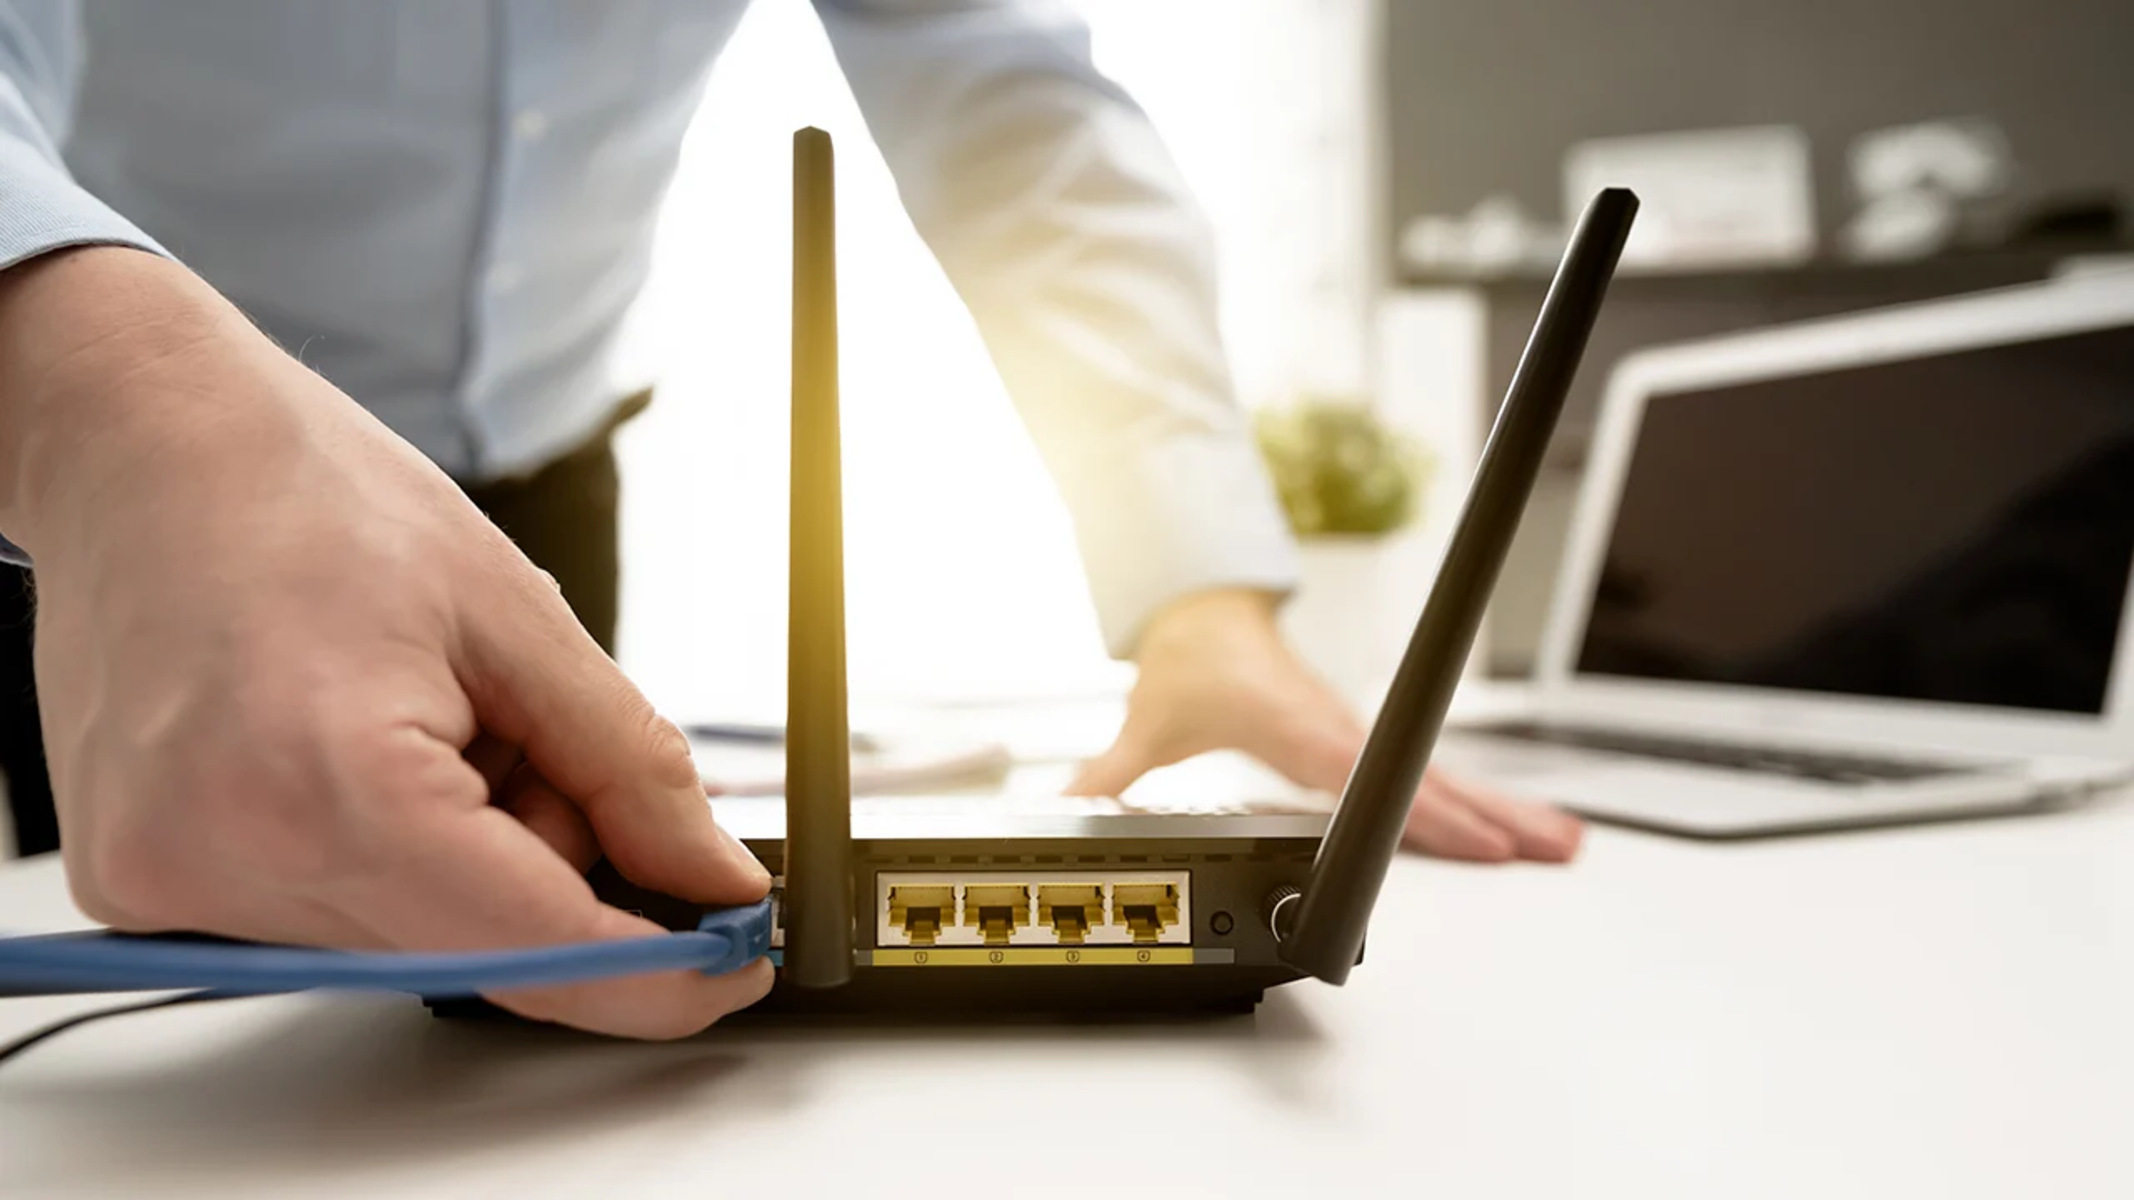
Step 3: Connect the Vonage device to the wireless router
After connecting the Vonage device to the power source, the next step is to establish a connection between the Vonage device and your wireless router. This connection allows the Vonage device to access the internet and enable your home phone service. Follow these steps to connect the Vonage device to your wireless router:
- Locate an available Ethernet port on your wireless router.
- Take the Ethernet cable and insert one end into the Ethernet port on the Vonage device.
- Insert the other end of the Ethernet cable into the available Ethernet port on your wireless router.
- Ensure that the Ethernet cable is securely connected to both devices.
Once the Vonage device is successfully connected to the wireless router, the corresponding indicator light on both devices should illuminate, indicating a proper connection. This connection establishes the link between your Vonage device and the internet through your wireless router.
It’s important to note that if your wireless router has multiple Ethernet ports, you can choose any available port to connect the Vonage device. However, if all the ports are occupied, you may need to disconnect one of the devices or consider using an Ethernet switch to expand the number of available ports.
With the Vonage device now connected to the wireless router, you’re almost ready to start using your wireless home phone service. The next step involves configuring the Vonage device settings to ensure seamless communication. Let’s move on to the next step to complete the setup process.
Step 4: Configure the Vonage device settings
With your Vonage device connected to the wireless router, it’s time to configure the device settings to ensure smooth and efficient communication. Follow these steps to complete the configuration process:
- Locate the IP address of your Vonage device. You can usually find this information on the back or bottom of the device or in the user manual.
- Open a web browser on your computer or mobile device and enter the Vonage device IP address into the address bar.
- You will be directed to the Vonage configuration page. Here, you may be prompted to create a username and password for accessing the device settings. Follow the provided instructions to set up your credentials.
- Once logged in, navigate through the configuration page to customize your Vonage device settings. This may include setting up your caller ID, voicemail, call forwarding, and other features according to your preferences.
- Ensure that you save the changes you make in the configuration page before exiting.
It’s important to note that the configuration process may vary depending on the model and firmware version of your Vonage device. Therefore, refer to the user manual or contact Vonage customer support if you encounter any difficulties during this step.
After configuring the Vonage device settings, give it a few moments to update its configuration and establish a connection with the Vonage service. This process may take a short while, but once completed, you’ll be ready to test the connection and make any necessary adjustments.
Now that the Vonage device settings are configured, it’s time to move on to the final step of the setup process: testing the connection and making any required adjustments.
Step 5: Test the connection and make necessary adjustments
Now that you have connected and configured your Vonage device, it’s essential to test the connection and ensure everything is working smoothly. Follow these steps to test the connection and make any necessary adjustments:
- Pick up your telephone handset and listen for a dial tone. If you hear the dial tone, it means that the Vonage device is successfully connected to the wireless router, and your home phone service is active.
- Make a test call to a friend or family member to ensure that you’re able to make and receive calls without any issues. Test both incoming and outgoing calls to ensure the quality of the call remains consistent.
- Check for any call quality issues such as static, echo, or dropped calls. If you encounter any problems, first check your internet connection and make sure it is stable and strong.
- If you’re experiencing call quality issues, consider adjusting the location of your wireless router or the Vonage device to minimize interference from other electronic devices that may affect the signal strength.
- Consult the Vonage support resources or contact customer support if you’re experiencing persistent call quality issues. They can provide further assistance and troubleshooting steps.
During the testing phase, it’s crucial to pay attention to call quality and ensure that your Vonage device is functioning as expected. If you encounter any issues or notice subpar call quality, don’t hesitate to take the necessary steps to troubleshoot and resolve them.
By testing the connection and making any necessary adjustments, you can ensure that your Vonage device is fully functional and ready to provide you with reliable and efficient home phone service over your wireless network.
Conclusion
Congratulations! You have successfully connected your Vonage device to your wireless router, allowing you to enjoy the convenience and flexibility of a wireless home phone service. By following the steps outlined in this guide, you have learned how to gather the necessary equipment, connect the Vonage device to the power source, establish a connection to the wireless router, and configure the device settings.
Once everything is set up and configured, it’s important to test the connection and make any necessary adjustments. This ensures that your home phone service is functioning optimally, with clear and reliable call quality. In the event of any call quality issues, don’t hesitate to troubleshoot and seek support from Vonage customer service.
With your Vonage device connected to your wireless router, you now have the freedom to make and receive calls wirelessly from your traditional telephone handset. Say goodbye to the limitations of a wired phone connection and enjoy the convenience of using your home phone service anywhere within your wireless network range.
If you encounter any difficulties during the setup process or have further questions, feel free to consult the Vonage user manual, reach out to their customer support, or refer to their online resources. They are always ready to assist you and ensure that you have a seamless and satisfactory experience with your Vonage home phone service.
Thank you for using this guide, and we hope that your Vonage device and wireless router connection enhances your home phone experience. Enjoy the convenience, flexibility, and clear communication that a wireless home phone service offers!