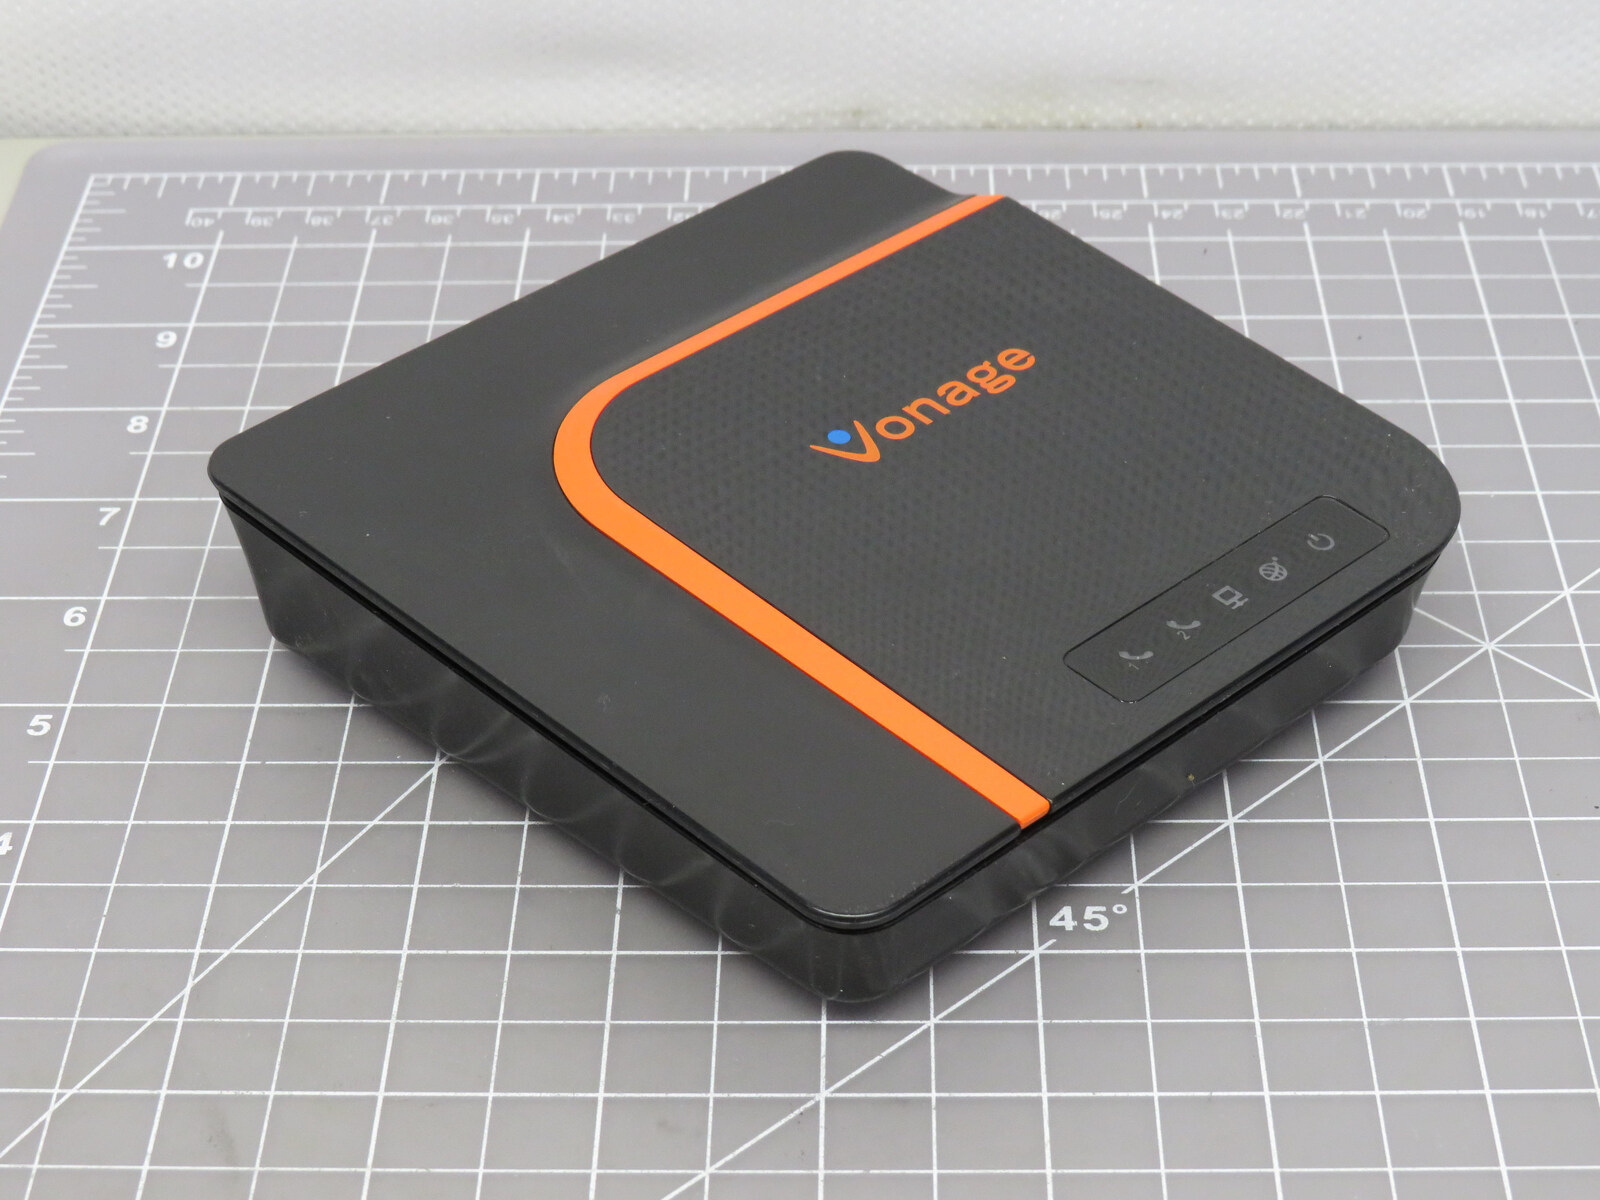
To connect a landline phone to a wireless router, you need an Analog Telephone Adapter (ATA) to convert the analog signal from your phone into digital data your router can transmit. This allows you to use your existing analog telephone with a Voice over Internet Protocol (VoIP) service, giving you the freedom to place your phone anywhere within your Wi-Fi range while often reducing your monthly phone bill.
What you need to connect a landline phone to a wireless router
The essential missing component is the ATA, which acts as a bridge between your old-school phone and your modern network. Beyond that, you will need your analog landline telephone, a wireless router with an available LAN port, an Ethernet cable to connect the ATA to the router, an RJ11 telephone cable to connect your phone to the ATA, and the power adapters for the ATA and your phone if required. Having all these items ready before you start makes the process straightforward.
Step 1: Connect the ATA to your wireless router
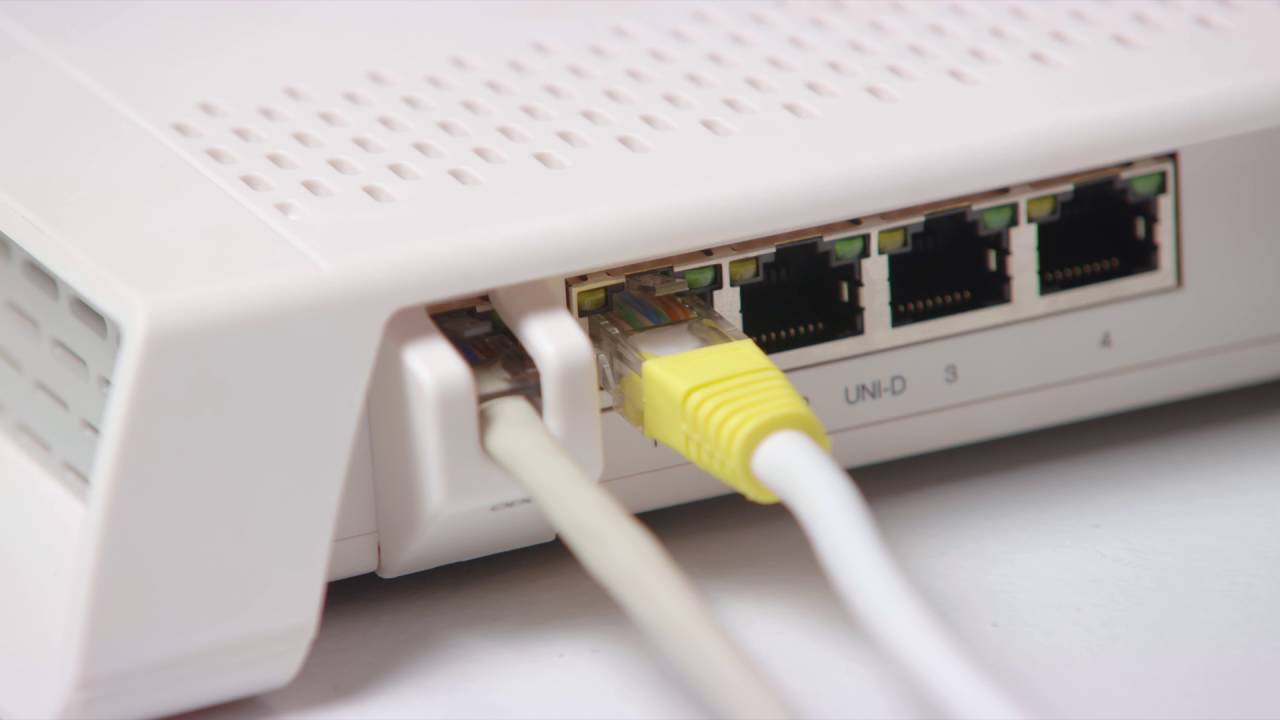
Take your Ethernet cable and plug one end into the Ethernet port on your ATA. Plug the other end into an available LAN port on your wireless router. This creates a direct data path between the ATA and your network. Wired Ethernet connections are generally recommended over Wi-Fi for VoIP to minimize interference and latency issues, so this physical link is the most reliable foundation for your setup.
Step 2: Connect your landline phone to the ATA
Use a standard RJ11 telephone cable to connect your analog landline phone to the port labeled "PHONE" or "PHONE 1" on the ATA. This is a simple plug-and-play connection. A critical safety warning: never connect an ATA to a powered phone jack from a traditional landline, as the voltage can damage the ATA. Ensure the phone jack you are using is inactive or disconnected from the wall.
Step 3: Power on and boot the ATA
Plug the ATA into a power source using its included power adapter. The device will take about two to three minutes to fully boot. During this time, you will see the LEDs on the ATA blink. Wait until the LEDs are illuminated and not blinking before proceeding. If your phone's screen indicates a firmware update, do not power-cycle the phone to avoid corrupting the firmware; let the update complete naturally.
Step 4: Configure your VoIP service on the ATA
To make calls, you must register your phone number with a VoIP provider. Access the ATA's web interface by typing its IP address into a browser, or follow the setup instructions provided by your VoIP service. Enter the SIP credentials (username, password, and server address) given to you by your provider. Save the settings and restart the device if prompted. This step is what makes your phone line work over the internet, and it gives you the benefit of lower costs and advanced features like voicemail and call forwarding.
Step 5: Test your landline phone connection
Pick up the receiver and listen for a dial tone. If you hear one, your phone is registered and ready. Make a test call to a friend or a voicemail system to verify the audio quality. Ask someone to call your wireless number to confirm you can receive calls as well. If everything works, you have successfully connected your landline phone to your wireless router.
\nRelated reading: How To Connect Vonage Device To Wireless Router and How To Make A Phone Call From My Tablet.