Introduction
Welcome to this guide on how to clone Mac OS to an SSD. If you are looking to improve the speed and performance of your Mac, upgrading to a solid-state drive (SSD) is a great option. Cloning your existing Mac OS to the new SSD will allow you to transfer all your data, applications, and settings seamlessly, saving you time and effort.
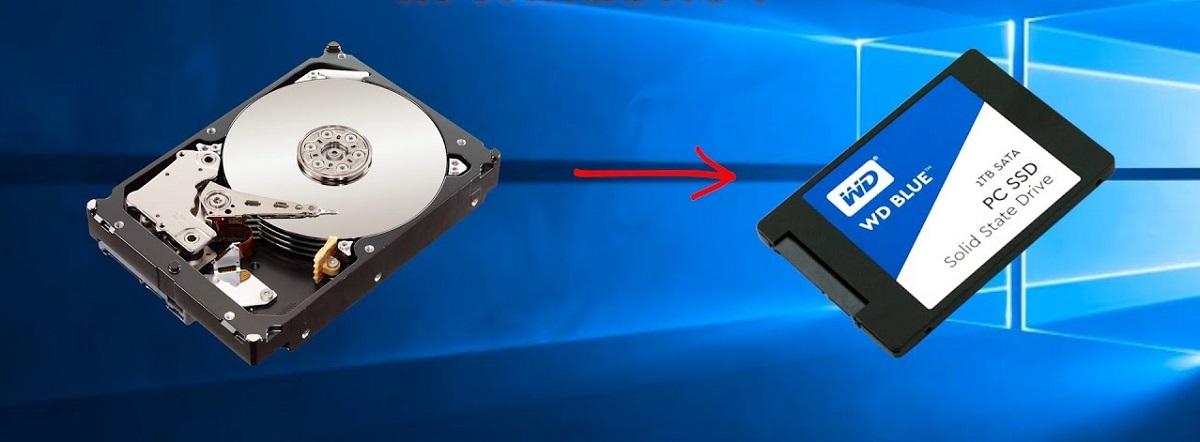
By upgrading to an SSD, you can experience faster boot times, quicker application launches, and overall improved system performance. Additionally, SSDs are more durable and reliable than traditional hard disk drives (HDDs), making them a wise investment for the long run.
Before we dive into the cloning process, there are a few things to consider. You will need to ensure you have the appropriate SSD for your Mac model, create a backup of your data, and create a bootable installation drive. Additionally, it’s important to familiarize yourself with the BIOS settings of your Mac to configure the new SSD properly.
This guide will take you through each step of the cloning process, providing detailed instructions and tips along the way. It is important to note that cloning Mac OS to an SSD requires some technical knowledge, so if you are not comfortable with performing these steps, it is recommended to seek assistance from a professional or consult Apple Support.
Now, let’s get started on upgrading your Mac to an SSD by cloning your existing Mac OS! Remember, with the right SSD and the proper steps, you can enjoy a faster and more efficient Mac experience.
Choosing the Right SSD
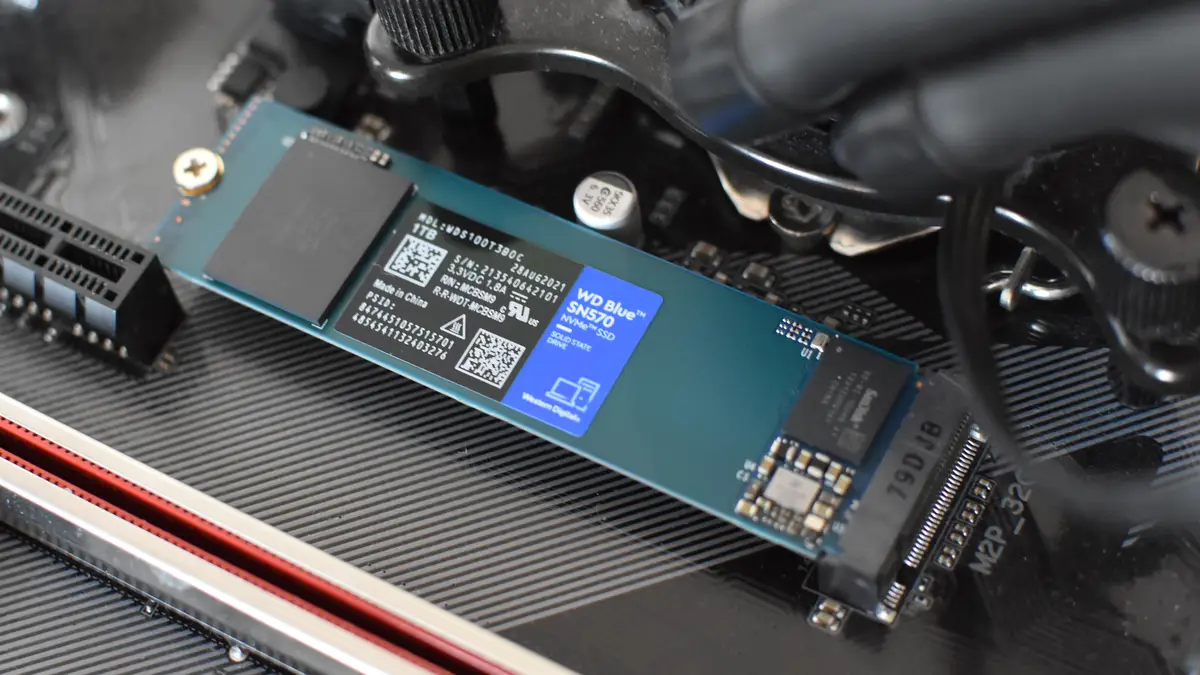
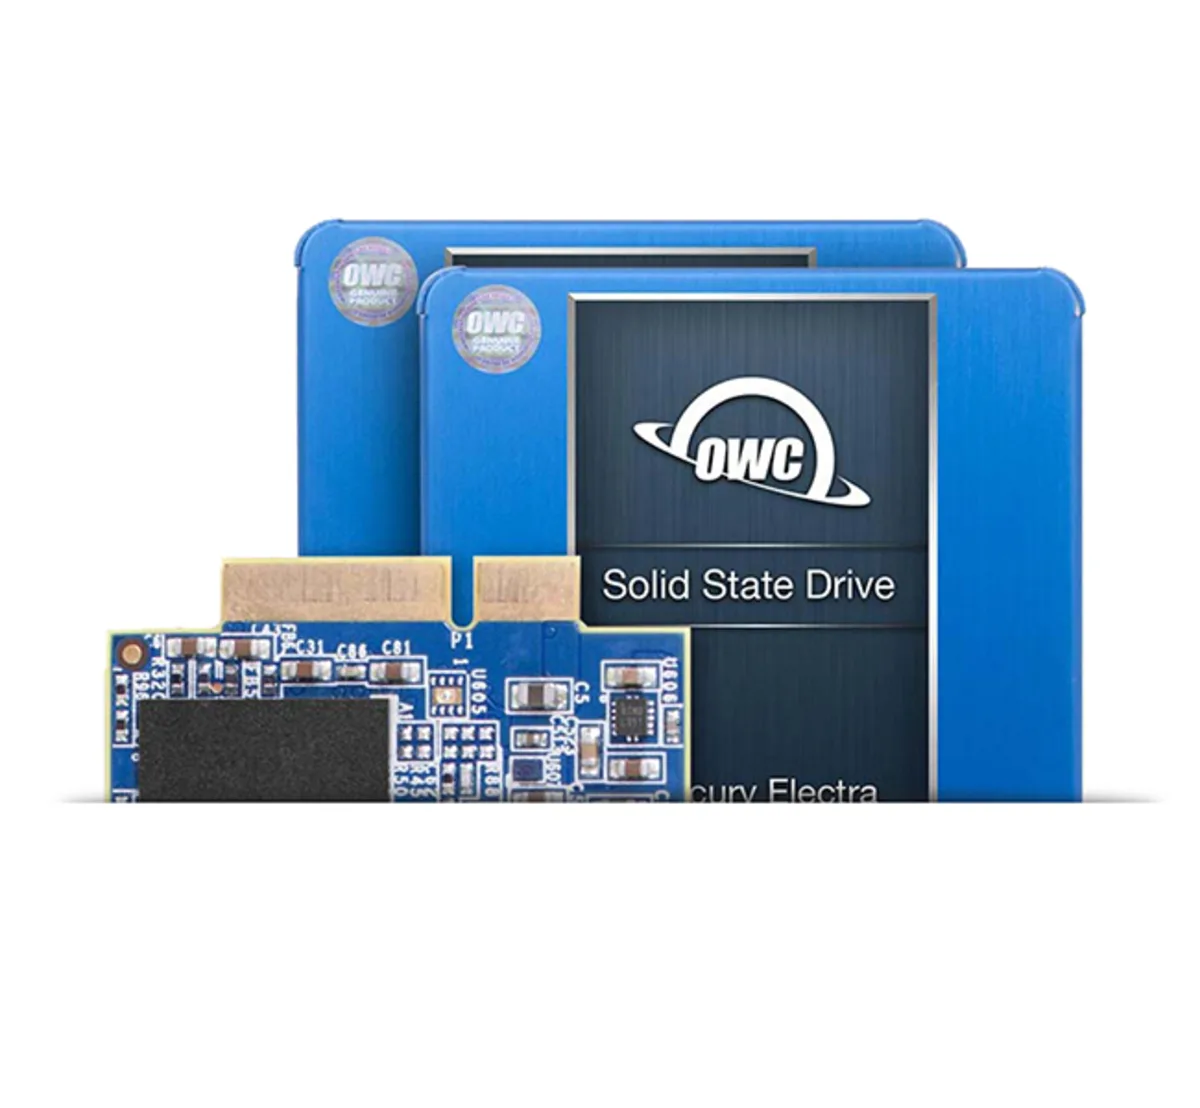
When it comes to choosing the right SSD for your Mac, there are a few factors to consider. The compatibility, capacity, and performance of the SSD are crucial in ensuring a successful cloning process and optimal performance afterward.
Firstly, it’s essential to check the compatibility of the SSD with your Mac model. Consult the official documentation or the manufacturer’s website to verify the compatibility. Different Mac models may have specific requirements or limitations when it comes to storage upgrades, so it’s important to choose an SSD that is explicitly compatible with your Mac.
Next, evaluate the capacity of the SSD based on your storage needs. Consider the amount of data you currently have on your Mac and any future storage requirements. It’s recommended to choose an SSD with a capacity that exceeds your current needs to allow for future growth and ensure ample space for your files and applications.
Finally, pay attention to the performance specifications of the SSD. Look for SSDs with fast read and write speeds, as this can significantly improve the speed and responsiveness of your Mac. Additionally, consider SSDs with advanced features like TRIM support, which enhances the longevity and performance of the drive over time.
Popular SSD brands that are known for their compatibility and performance include Samsung, Crucial, WD, and Kingston. Take the time to read reviews and compare different models to find the one that best suits your needs and budget.
Remember, choosing the right SSD is crucial to ensure a smooth cloning process and optimal performance afterward. Taking the time to research and invest in a high-quality SSD will pay off in the long run by providing you with a faster and more reliable Mac experience.
Preparing Your Mac for Cloning
Before you begin the cloning process, it’s important to prepare your Mac to ensure a smooth and successful transfer to the new SSD. Here are some essential steps to follow:
1. Update macOS: Make sure your Mac is running the latest version of macOS. This will ensure compatibility with the SSD and provide the latest features and security patches.
2. Clean up your Mac: Take the time to declutter your Mac by deleting unnecessary files, emptying the trash, and removing any unused applications. This will reduce the amount of data that needs to be cloned and free up storage space on the new SSD.
3. Disable FileVault: If you have FileVault enabled, it’s recommended to disable it before starting the cloning process. FileVault encrypts the data on your Mac, which can complicate the cloning process. Disable FileVault by going to System Preferences, selecting Security & Privacy, and clicking on the FileVault tab. Turn off FileVault if it is enabled.
4. Disable Time Machine: If Time Machine is enabled, temporarily disable it to prevent any interference during the cloning process. Go to System Preferences, select Time Machine, and turn off the “Back Up Automatically” option.
5. Uninstall incompatible software: If you have any software that is not compatible with the latest version of macOS or the new SSD, uninstall it to prevent any conflicts or errors during the cloning process. Check the software’s official website or contact the developer for compatibility information.
6. Disconnect external devices: Disconnect any external devices such as USB drives, external hard drives, and peripherals from your Mac. This will help avoid any issues during the cloning process and ensure a smooth transfer of data to the new SSD.
7. Restart your Mac: Before proceeding with the cloning process, restart your Mac to ensure that any pending updates or system changes are applied. This will help create a stable environment for the cloning process.
By following these steps, you will prepare your Mac for a seamless and successful cloning process. Take the time to complete these preparations to avoid any complications and ensure a smooth transition to the new SSD.
Backing Up Your Data
Before proceeding with the cloning process, it is crucial to back up your data to prevent any potential loss or damage during the transfer. Here are some steps to follow to ensure your data is safely backed up:
1. Time Machine Backup: If you have been using Time Machine to back up your Mac, this is the simplest and most convenient way to create a backup. Connect an external storage device, such as an external hard drive, to your Mac and let Time Machine create a full backup of your system.
2. Manual Backup: If you don’t use Time Machine or prefer a manual backup method, you can manually copy important files and folders to an external storage device. This includes documents, photos, videos, music, and any other important files that you don’t want to risk losing.
3. Cloud Backup: Consider using cloud-based backup services like iCloud, Google Drive, or Dropbox to securely store your important files. These services offer reliable cloud storage options that can be accessed from anywhere, providing an additional layer of protection for your data.
4. Verify Backup: Once the backup is complete, it’s essential to verify the integrity of the backup. Double-check that all your important files and data are successfully backed up and accessible. This extra step ensures that you have a reliable backup in case anything goes wrong during the cloning process.
Remember, backing up your data is a crucial step before cloning your Mac OS to the new SSD. It provides peace of mind and safeguards your important files and documents. Don’t skip this step, as it can save you from potential data loss and frustration.
Creating a Bootable Installation Drive
In order to clone your Mac OS to the new SSD, you will need to create a bootable installation drive. This will allow you to boot your Mac from the drive and initiate the cloning process. Here’s how you can create a bootable installation drive:
1. Prepare a USB drive: Get a USB drive with sufficient storage capacity. It’s recommended to use a USB 3.0 drive for faster data transfer speeds.
2. Download macOS: Download the macOS installer from the App Store. Make sure you are downloading the correct version that matches your current macOS version.
3. Format the USB drive: Connect the USB drive to your Mac and open Disk Utility. Select the USB drive from the list of available drives and click on the “Erase” button. Choose the format as “Mac OS Extended (Journaled)” and give it a name.
4. Create a bootable installer: Open Terminal and enter the following command:
sudo /Applications/Install\ macOS\ [macOS version].app/Contents/Resources/createinstallmedia –volume /Volumes/[USB drive name] –nointeraction
Replace ‘[macOS version]’ with the actual macOS version you downloaded, and ‘[USB drive name]’ with the name you gave to your USB drive. Press Enter and wait for the process to complete.
5. Verify the bootable installer: Once the process is finished, close Terminal and eject the USB drive. To verify the bootable installer, restart your Mac while holding down the Option (Alt) key. The bootable installer should appear as an option to boot from.
6. Store the USB drive safely: Keep the bootable installation drive in a safe place as you will need it to clone Mac OS to the new SSD. Protect it from physical damage and ensure it is easily accessible when needed.
Creating a bootable installation drive is a crucial step in the cloning process. It allows you to boot your Mac from the USB drive and initiate the OS cloning process. Take your time to follow the steps carefully to ensure a successful creation of the bootable installation drive.
Cloning Mac OS to SSD
Now that you have prepared your Mac and created a bootable installation drive, it’s time to clone your Mac OS to the new SSD. Follow these steps to initiate the cloning process:
1. Shut down your Mac: Make sure your Mac is turned off before proceeding with the cloning process.
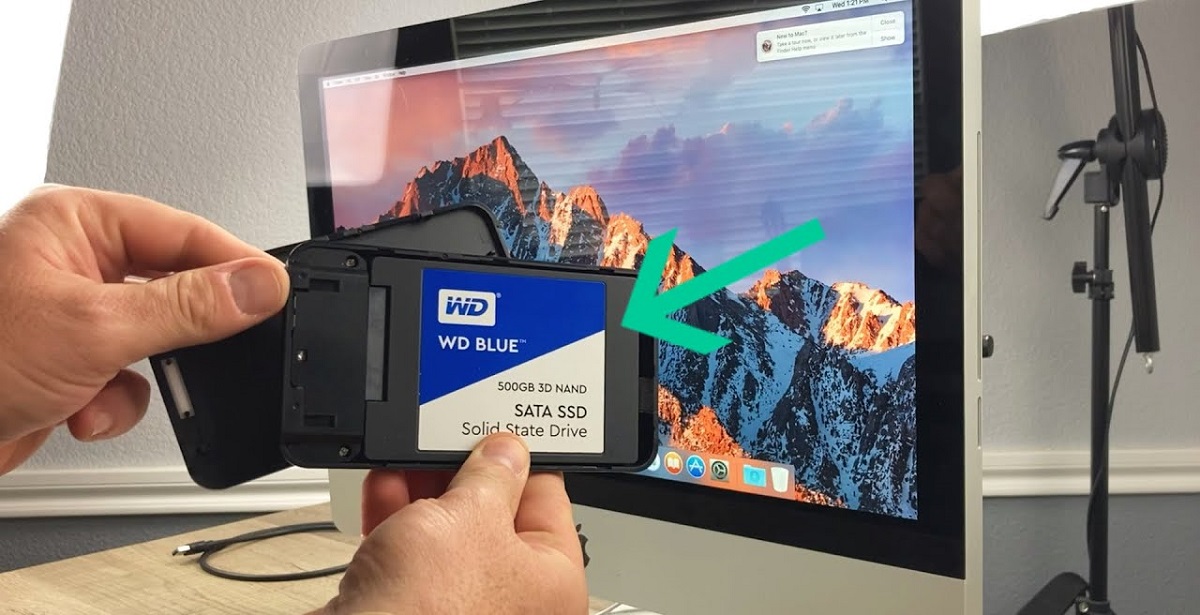
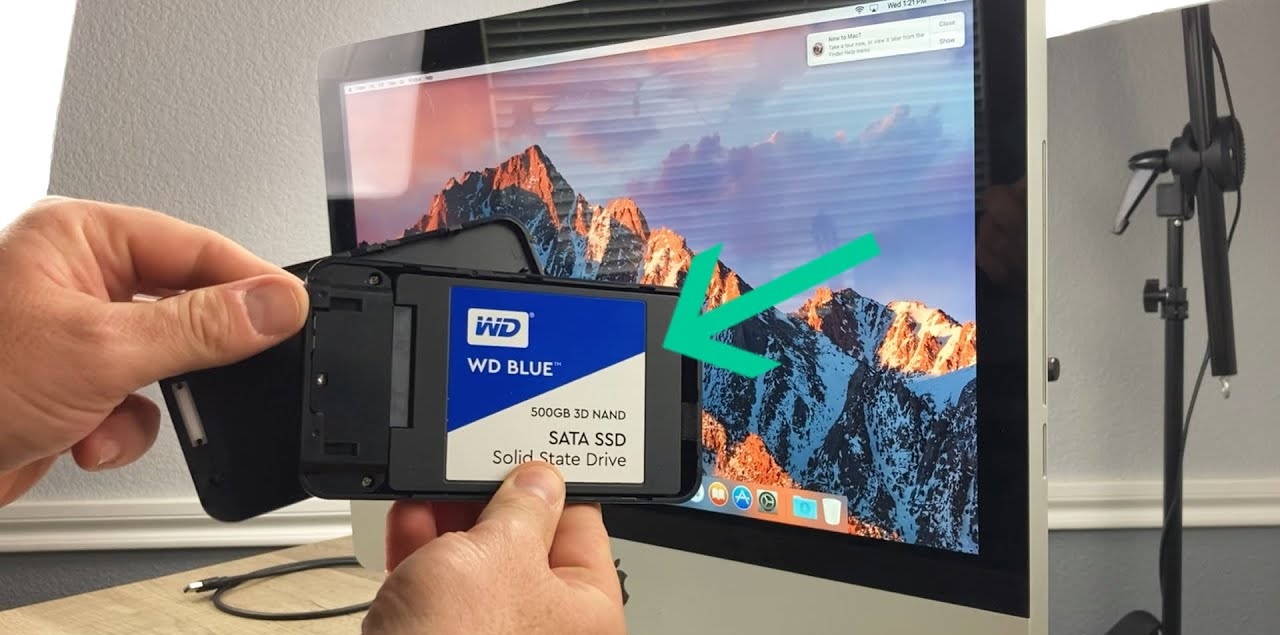
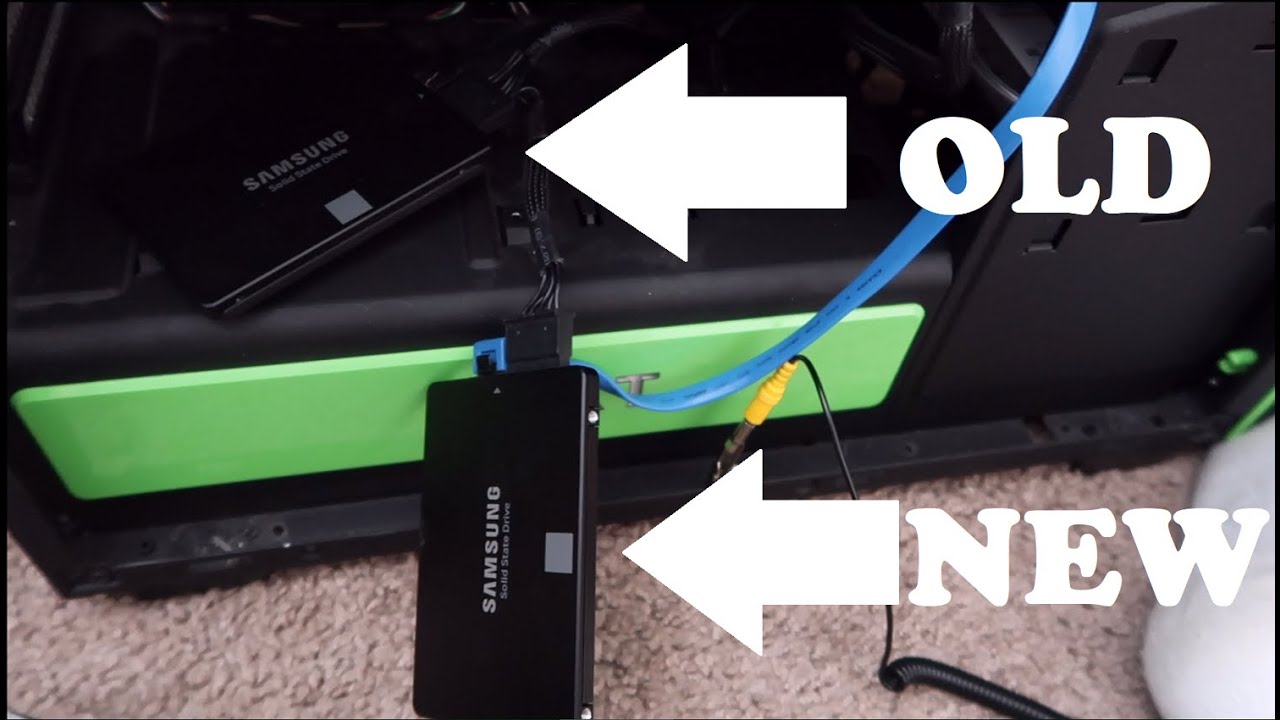
2. Connect the SSD: Connect the new SSD to your Mac using an external enclosure or adapter. Make sure it is properly connected and recognized by your Mac.
3. Boot from the installation drive: Insert the bootable installation drive you created earlier into a USB port. Start your Mac and hold down the Option (Alt) key. Select the bootable installer from the menu.
4. Open Disk Utility: Once the macOS Utilities window appears, select Disk Utility and click Continue.
5. Select the source drive: In the Disk Utility window, select your current Mac OS drive as the source drive. It should be listed under Internal.
6. Select the destination drive: Select the new SSD as the destination drive. It should be listed under External or under the name you gave it in Disk Utility.
7. Start the cloning process: Click on the “Restore” tab in Disk Utility. Drag the source drive to the Source field and the destination drive to the Destination field. Confirm that the drives are correct, as the cloning process will erase all data on the destination drive. Click on the Restore button to start the cloning process.
8. Wait for the cloning to complete: The cloning process may take some time, depending on the size of your Mac OS drive. Make sure not to interrupt the process and let it complete.
9. Verify the cloned drive: Once the cloning process is finished, close Disk Utility and verify that the cloned drive has been successfully created. The new SSD should now contain an exact copy of your Mac OS.
By following these steps, you can successfully clone your Mac OS to the new SSD. This ensures that all your data, applications, and settings are transferred to the new drive, allowing for a seamless transition to the faster and more efficient SSD.
Verify the Cloned Drive
After cloning your Mac OS to the new SSD, it is essential to verify that the cloning process was successful. Verifying the cloned drive ensures that all your data has been accurately transferred and that the new SSD is ready to be installed and used. Here’s how you can verify the cloned drive:
1. Restart your Mac: Start by restarting your Mac to ensure that any changes made during the cloning process are applied.
2. Boot from the cloned drive: Hold down the Option (Alt) key while your Mac is restarting. From the startup menu, select the cloned drive, which should be labeled with the name you assigned to it during the cloning process.
3. Test functionality: Once your Mac boots from the cloned drive, navigate through your system, open various applications, and access your files to ensure everything is functioning correctly. Pay attention to any error messages, crashes, or missing files that may indicate an issue with the cloned drive.
4. Verify data integrity: Compare the data on the cloned drive with your original Mac OS drive to ensure that all files, folders, and settings have been accurately transferred. Open documents, photos, videos, and other files to verify their integrity and accessibility.
5. Run Disk Utility: Open Disk Utility from the Utilities folder in the Applications folder. Select the cloned drive and click on the First Aid button to run a verification process on the drive. This will check for any errors or issues that may have occurred during the cloning process.
6. Perform a test restore: As an additional precaution, you can perform a test restore of a selected file or folder from your backup to the cloned drive. This will confirm that the restored data is intact and can be accessed without any issues.
7. Backup verification: If applicable, ensure that your backup software recognizes the cloned drive and can successfully create backups to it. This will provide an extra layer of security for your data moving forward.
By following these steps, you can verify the cloned drive and ensure that it is a faithful reproduction of your original Mac OS drive. Taking the time to verify the cloned drive gives you confidence in its reliability and allows you to proceed with the final step of installing the new SSD into your Mac.
Installing the Cloned SSD
Now that you have successfully verified the cloned drive and ensured its integrity, it’s time to install the cloned SSD into your Mac. Follow these steps to complete the installation process:
1. Shut down your Mac: Ensure your Mac is turned off before proceeding with the installation.
2. Open your Mac: Depending on your Mac model, you may need specific tools to open the case. Refer to your Mac’s user manual or search online for instructions on how to open your particular model.
3. Locate the old drive: Locate the current Mac OS drive in your Mac. It is typically a small rectangular storage device connected to the logic board with either a cable or a connector.
4. Disconnect the old drive: Carefully disconnect the cables or remove the connector securing the old drive. Make a note of the connector type and orientation to ensure proper connection of the new SSD.
5. Connect the cloned SSD: Attach the cloned SSD in the same manner as you removed the old drive. Ensure a secure connection and properly align the connectors or cables.
6. Close your Mac: Carefully close your Mac’s case, ensuring that all the connections are secure and the case is properly aligned. Fasten any screws or locks that hold the case together.
7. Power on your Mac: Once everything is securely in place, power on your Mac to boot up from the newly installed cloned SSD.
8. Verify the new SSD: Upon booting, navigate through your system, open applications, and access your files to ensure that everything is functioning as expected. Check for any errors, crashes, or missing files that may indicate an issue with the new SSD.
9. Erase the old Mac OS drive (optional): If you have decided to keep the old drive, you can erase it or repurpose it for additional storage. However, make sure you have verified the integrity of the cloned SSD and have verified that all files and settings have been successfully transferred before proceeding with the erasure.
By following these steps, you can successfully install the cloned SSD into your Mac, replacing the old Mac OS drive. This will allow you to benefit from the improved speed and performance of the new SSD, giving your Mac a significant boost.
Configuring the BIOS
After installing the cloned SSD into your Mac, you may need to configure the BIOS settings to ensure that your system recognizes and properly utilizes the new SSD. Here’s how you can configure the BIOS:
1. Restart your Mac: Start by restarting your Mac to access the BIOS settings. Hold down the Option (Alt) key while your Mac is restarting.
2. Access the BIOS: From the startup menu, select the System Setup or BIOS option, which may vary depending on your Mac model.
3. Navigate to the Boot menu: In the BIOS settings, navigate to the Boot menu or a similar section.
4. Set the new SSD as the boot device: Locate the boot device priority or boot order settings. Set the cloned SSD as the primary boot device, ensuring that it is prioritized over any other drives.
5. Save and exit: Once you have made the necessary changes, save the settings and exit the BIOS. Your Mac will then restart with the new BIOS configuration.
6. Verify the bootup: Allow your Mac to boot up, and check if it successfully starts up from the cloned SSD. Ensure that your system recognizes the new SSD as the main boot device.
7. Test functionality: Navigate through your system, open applications, and access your files to ensure that everything is functioning properly. Check for any errors or issues that may have arisen due to the new BIOS configuration.
8. Adjust additional settings (optional): Depending on your specific needs and preferences, you may need to adjust other BIOS settings, such as enabling AHCI mode or configuring power management options. Consult the documentation for your specific Mac model or seek guidance from Apple Support for any additional configuration steps.
Configuring the BIOS correctly is essential to ensure that your Mac recognizes and effectively utilizes the new cloned SSD. By following these steps, you can optimize the BIOS settings and maximize the performance of your Mac with the newly installed SSD.
Troubleshooting Common Issues
While cloning Mac OS to a new SSD is a relatively straightforward process, there are some common issues that may arise. If you encounter any of these issues, here are some troubleshooting steps you can take:
1. Incompatible SSD: Ensure that the SSD you have chosen is compatible with your Mac. Check the specifications and compatibility guidelines provided by the manufacturer. If the SSD is not compatible, you may need to consider a different model or seek assistance from the manufacturer or Apple Support.
2. Unrecognized SSD: If your Mac does not recognize the newly installed SSD, double-check the connections to ensure they are secure. If the issue persists, try resetting the System Management Controller (SMC) on your Mac. Refer to Apple Support for the specific steps to reset the SMC for your Mac model.
3. Cloning errors: If you encounter errors during the cloning process, ensure that your source drive is in good condition with no errors or bad sectors. Running a disk repair utility, such as Disk Utility or a third-party tool, can help identify and fix any issues with the source drive before attempting another cloning process.
4. Slow performance: If you notice slower performance after cloning to the new SSD, check if TRIM support is enabled. TRIM helps maintain SSD performance over time. Open Terminal and enter the command “sudo trimforce enable” to enable TRIM support. Restart your Mac and monitor the performance to see if it improves.
5. Boot issues: If your Mac is not booting properly from the new SSD, ensure that the BIOS settings are configured correctly, with the cloned SSD set as the primary boot device. Double-check the boot order and make any necessary adjustments in the BIOS settings.
6. Data corruption: If you experience data corruption or file transfer issues, ensure that you have a reliable backup of your data before attempting the cloning process again. Consider using a different cloning software or seeking professional assistance to ensure a successful and error-free transfer of your data.
7. Seek professional help: If you are experiencing persistent issues or are uncomfortable troubleshooting on your own, it is recommended to seek professional help. Apple Support or an authorized service provider can assist you in diagnosing and resolving any issues with the cloning process or the new SSD installation.
Keep in mind that troubleshooting steps may vary depending on your specific Mac model and the SSD you are using. It is important to consult documentation, online resources, or seek professional assistance when encountering any issues during the process.
Conclusion
Congratulations! You have successfully completed the process of cloning Mac OS to an SSD. By upgrading to an SSD, you have improved the speed, performance, and overall efficiency of your Mac.
Throughout this guide, we discussed crucial steps to ensure a smooth and successful cloning process. We covered topics such as choosing the right SSD, preparing your Mac for cloning, backing up your data, creating a bootable installation drive, cloning Mac OS to the SSD, verifying the cloned drive, installing the cloned SSD, configuring the BIOS, and troubleshooting common issues that may arise.
Cloning your Mac OS to an SSD can be a technical process, but with the right knowledge and careful execution, you can achieve great results. The improved performance and faster boot times that come with an SSD will enhance your overall Mac experience and productivity.
Remember, it is crucial to follow the recommended precautions, such as backing up your data and verifying the cloned drive, to avoid any potential data loss or complications during the process. Additionally, seeking professional assistance is always an option if you are unsure or encounter persistent issues.
We hope this guide has been helpful in guiding you through the process of cloning Mac OS to an SSD. Enjoy the speed and performance that your newly upgraded Mac now offers!


