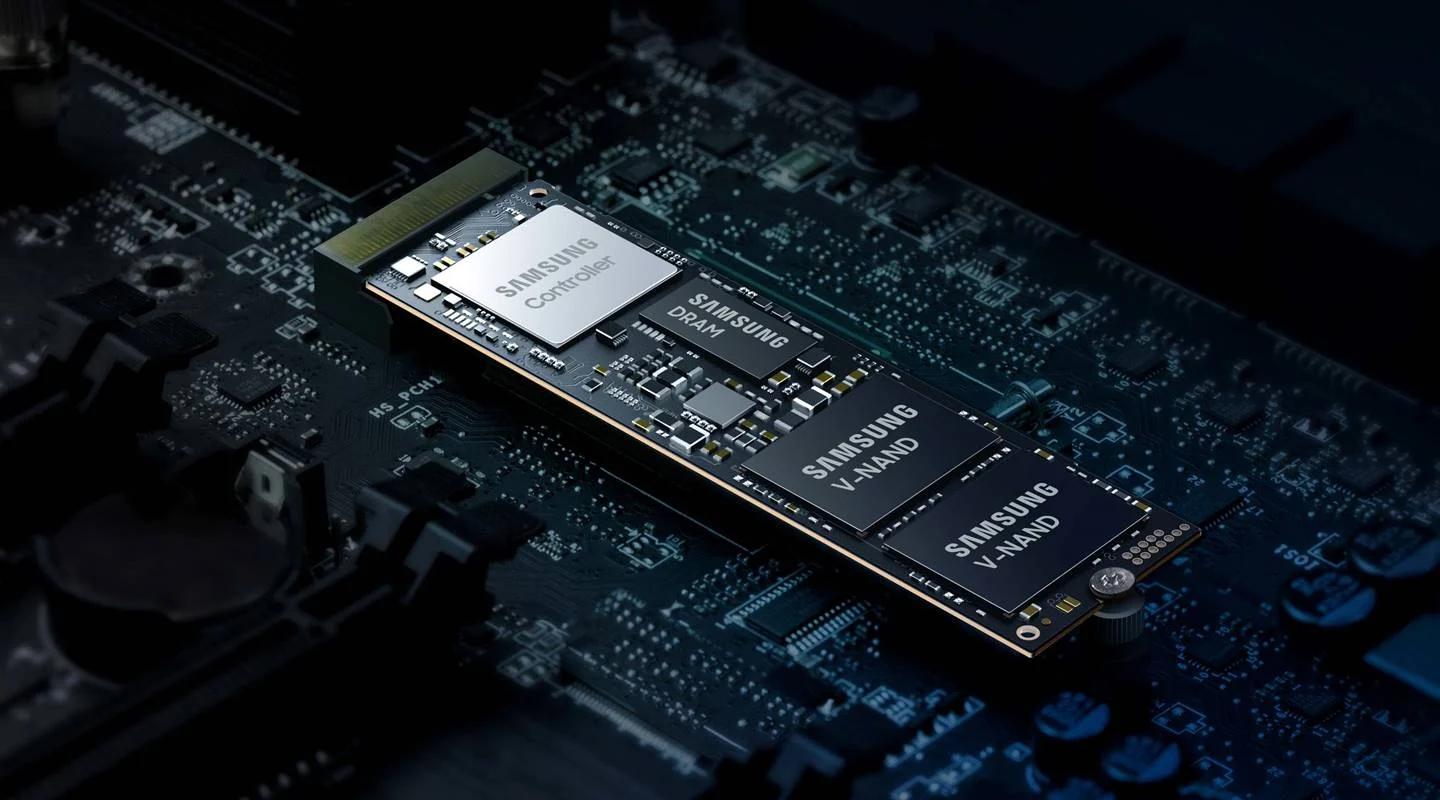
Introduction
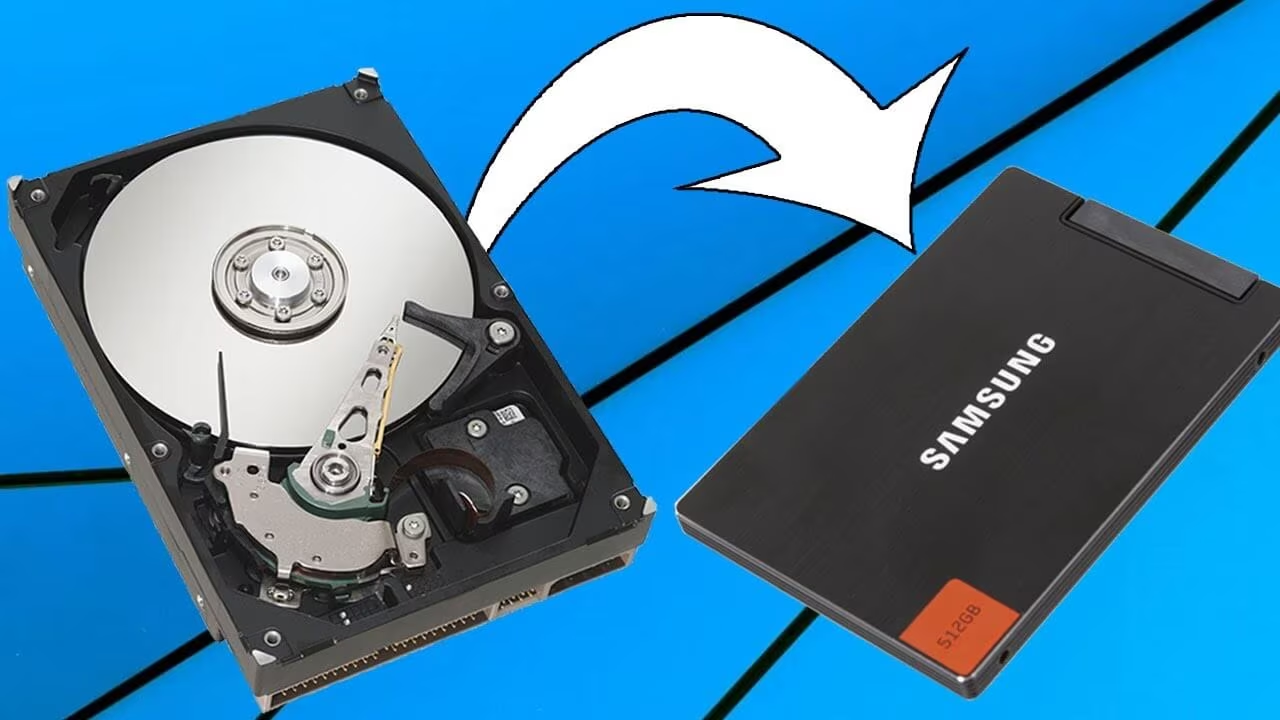
Cloning your M.2 SSD is a convenient and efficient way to transfer all your data and settings from one drive to another. Whether you’re upgrading to a larger capacity SSD or replacing a damaged drive, cloning ensures that you don’t lose any valuable data or have to reinstall your operating system and applications from scratch.
In this article, we will discuss the reasons why you might want to clone your M.2 SSD and provide you with a detailed step-by-step guide on how to go about it. Additionally, we’ll explore different options for cloning, including using cloning software, a SATA to USB adapter, a docking station, or an external SSD enclosure.
Cloning your M.2 SSD can save you a significant amount of time and effort compared to manually transferring files or reinstalling everything. It allows you to seamlessly transfer your existing setup, including your operating system, applications, and personal files, to a new drive without any hassle.
Furthermore, cloning is a great solution if you’re planning to upgrade your M.2 SSD to a larger capacity. Instead of having to reinstall all your programs and transfer files manually, cloning enables you to migrate everything to the new drive with just a few simple steps.
Not only does this save you the headache of manually copying over data, but it also ensures that all your settings, configurations, and customizations are preserved.
Regardless of your technical expertise, cloning an M.2 SSD is a straightforward process that can be accomplished with basic tools and minimal effort. So, without further ado, let’s dive into the detailed guide on how to clone your M.2 SSD.
Why Clone M.2 SSD?
There are several compelling reasons why you might want to clone your M.2 SSD instead of manually transferring files or reinstalling your operating system. Let’s explore some of the key advantages of cloning:
- Time-saving: Cloning your M.2 SSD is a time-efficient method to transfer all your data and settings to a new drive. It eliminates the need to manually copy files and reinstall applications, saving you precious hours or even days of work.
- Data preservation: When you clone your M.2 SSD, you ensure that none of your valuable data is lost in the process. Everything, including your operating system, programs, and personal files, will be seamlessly copied to the new drive, preserving all your important information.
- Easy migration: If you’re planning to upgrade to a larger capacity M.2 SSD, cloning is the simplest way to migrate your existing setup. By cloning, you can effortlessly transfer everything to the new drive, including your applications, configurations, and customizations, without the need for tedious manual transfers.
- System continuity: When you clone your M.2 SSD, you ensure that your new drive is an exact replica of the old one. This means that all your settings, preferences, and customizations will be preserved, allowing for a seamless transition with minimal disruptions to your workflow.
- Cost-effective: Cloning your M.2 SSD can potentially save you money compared to purchasing new software licenses or reinstalling programs. With cloning, you retain your existing software installations and licenses, eliminating the need for additional expenses.
- Peace of mind: Cloning provides peace of mind knowing that your data is safely backed up on a new drive. In the event of a drive failure or other technical issues, you can easily swap the cloned drive and continue working without any significant interruptions.
Overall, cloning your M.2 SSD offers a range of benefits, from saving time and effort to ensuring data integrity and preserving your system setup. Now that we understand the advantages of cloning, let’s dive into the step-by-step guide on how to clone an M.2 SSD.
Things you’ll need
Before you start the process of cloning your M.2 SSD, there are a few essential things you’ll need to ensure a smooth and successful clone. Here’s a list of the items you’ll need:
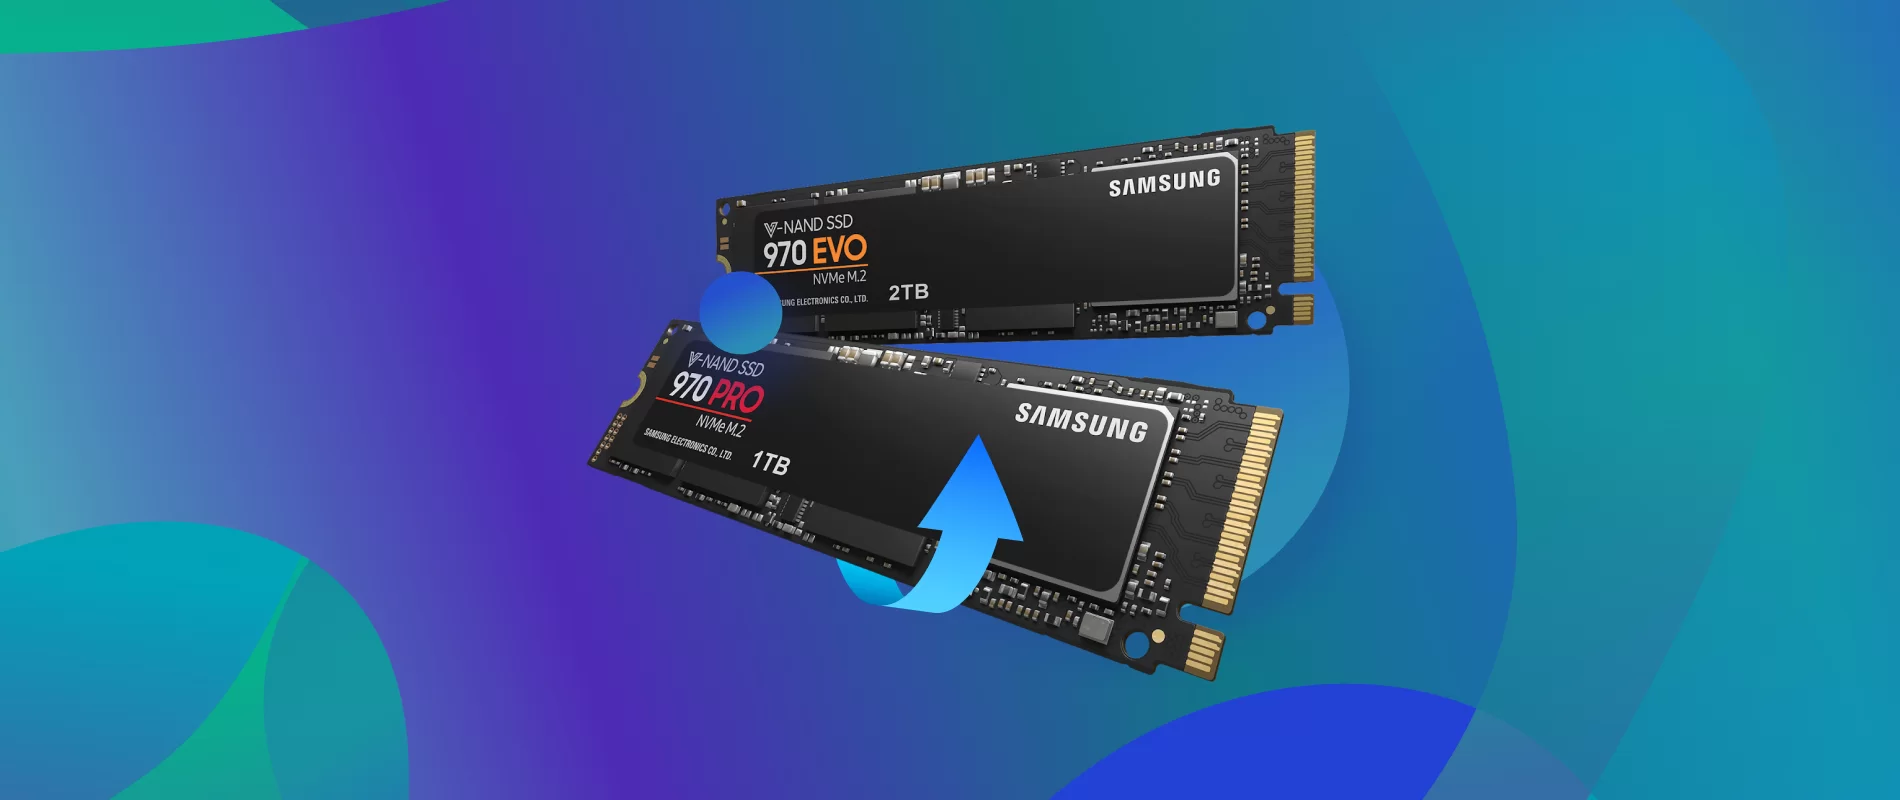
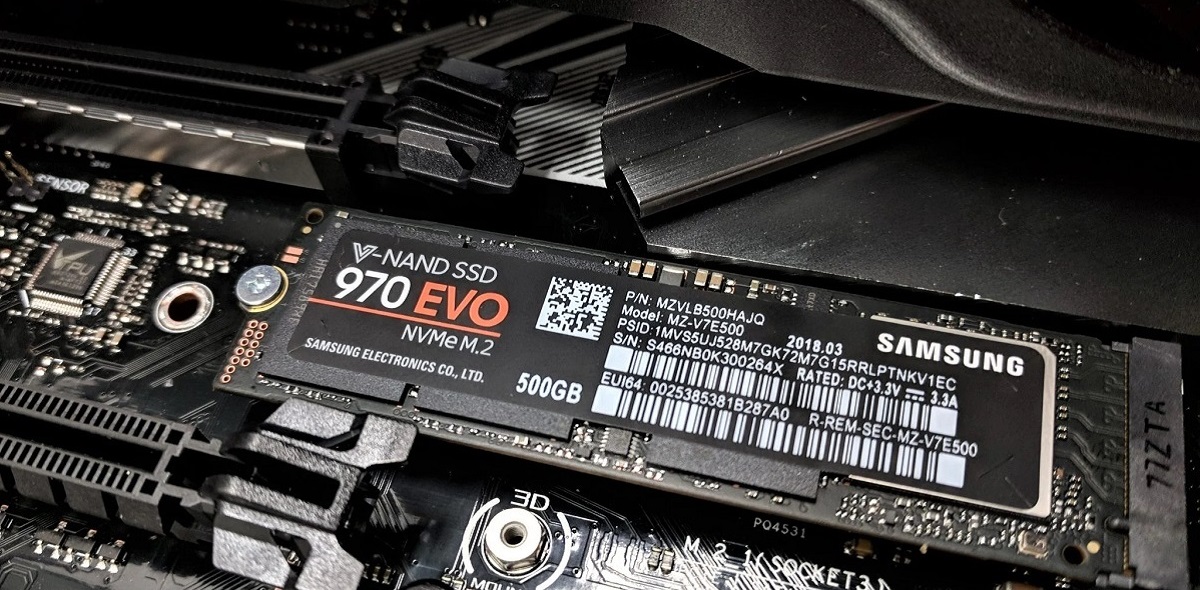
- Target M.2 SSD: This is the new SSD that you’ll be cloning your existing drive to. Make sure you have a compatible M.2 SSD and check the specifications to ensure it meets your storage requirements.
- Source M.2 SSD: This is the drive you currently have installed and want to clone. Verify that the source M.2 SSD is functioning properly and has enough free space to accommodate all the data being cloned.
- Cloning software: Depending on the method you choose, you may need cloning software to facilitate the cloning process. There are various reputable cloning software options available, such as Clonezilla, EaseUS Todo Backup, and Macrium Reflect.
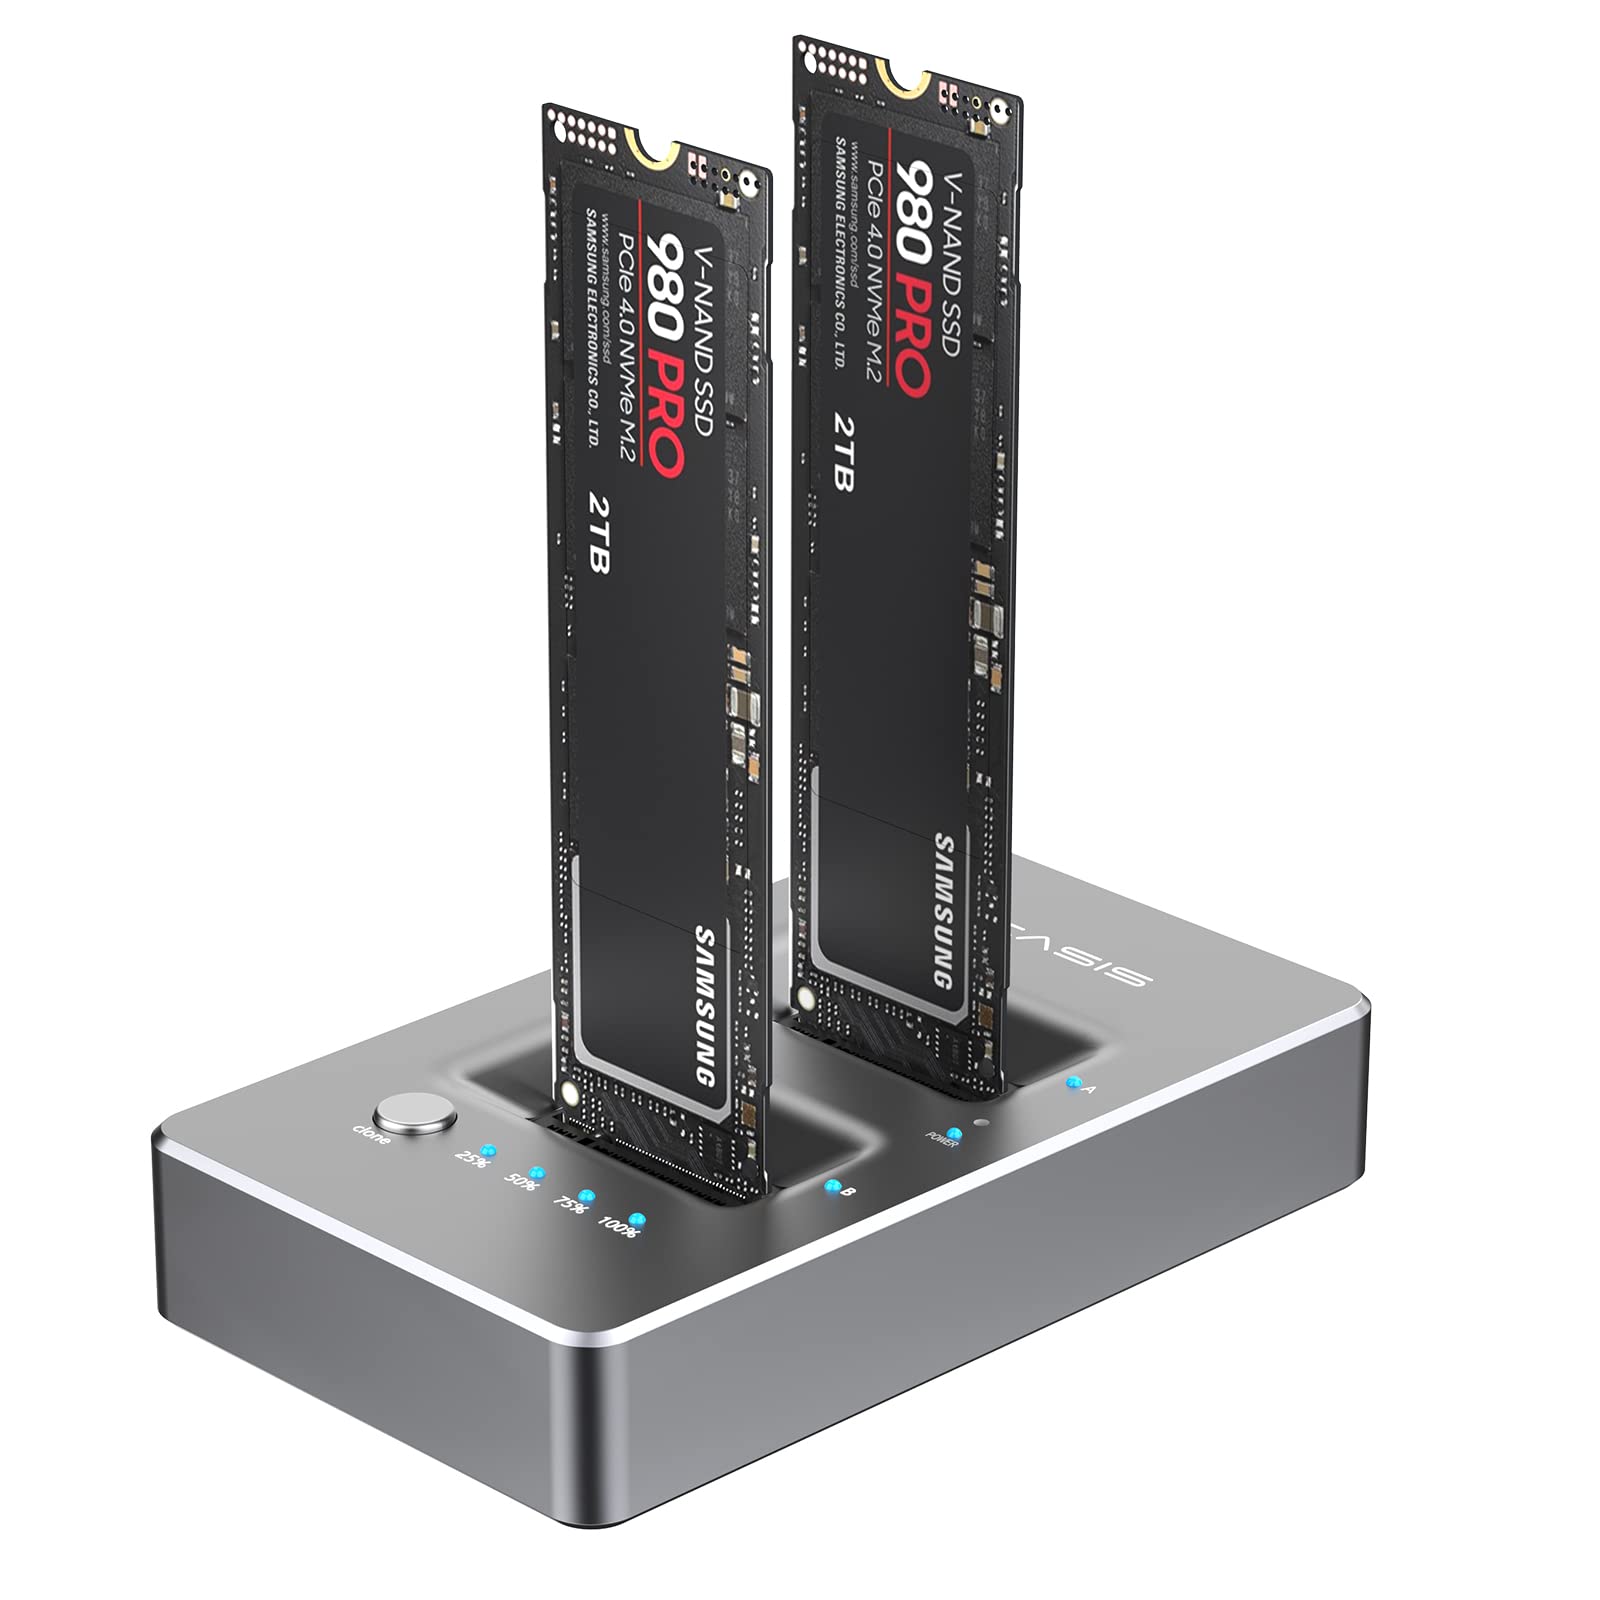
- USB adapter or docking station: If you’re using a method that involves connecting the M.2 SSD externally, you’ll need a USB adapter or a docking station. Ensure it supports the M.2 form factor of your SSD and has the necessary connectivity options (e.g., USB-A or USB-C).
- External SSD enclosure (optional): If you plan to use an external SSD enclosure, make sure it is compatible with the M.2 form factor and has the appropriate interface (e.g., USB 3.0 or Thunderbolt) to connect to your computer.
- Screwdriver (if applicable): In some cases, you may need a small screwdriver to remove or install the M.2 SSD. Check the instructions for your specific laptop or motherboard to determine if this is necessary.
- Computer: You’ll need a computer that has the necessary ports and connections to interface with the M.2 SSD. Ensure your computer supports M.2 drives and has the required connectors (SATA or NVMe) to connect the drives for the cloning process.
- Backup of important data: It’s always a good idea to back up any important data from your source SSD before initiating the cloning process. This ensures that you have an extra layer of protection in case of any unforeseen issues during the cloning process.
By gathering these essential items, you’ll be well-equipped to proceed with the cloning of your M.2 SSD. Make sure to thoroughly read the instructions and specifications of your chosen method to ensure compatibility and a successful cloning experience.
Step-by-step guide to clone M.2 SSD
Cloning your M.2 SSD requires following a series of step-by-step instructions to ensure a successful transfer of data. Here’s a comprehensive guide to help you through the process:
- Prepare: Begin by gathering all the necessary equipment mentioned earlier, including the target M.2 SSD, source M.2 SSD, cloning software, USB adapter, or docking station.
- Backup: It is always recommended to back up any important data from your source M.2 SSD before proceeding with the cloning process. This ensures that you have a secondary copy of your data in case anything goes wrong during the process.
- Connect: If you’re using a USB adapter or docking station, connect your source M.2 SSD to your computer using the appropriate cables. Ensure that the M.2 SSD is securely attached and recognized by your computer.
- Open cloning software: Launch the cloning software of your choice on your computer. Once opened, select the option to clone a disk or drive, usually found under the “Clone” or “Disk Clone” section of the software interface.
- Select source and target drives: In the cloning software, you’ll be prompted to select the source M.2 SSD (the one you want to clone) and the target M.2 SSD (where you want to clone your data to). Double-check that you’ve chosen the correct drives before proceeding.
- Configure cloning settings: Depending on the software you’re using, you may have options to configure the cloning settings. These include selecting a cloning method (sector-by-sector or intelligent clone), resizing partitions, or excluding certain files or folders from the clone. Review and adjust the settings according to your preferences.
- Start the cloning process: Once you’ve confirmed the source and target drives and adjusted the cloning settings, initiate the cloning process by clicking on the “Start” or “Clone” button in the software. The cloning software will begin copying the data from the source M.2 SSD to the target M.2 SSD. This process may take some time, depending on the size of the data being cloned.
- Monitor progress and complete: During the cloning process, keep an eye on the progress bar or status indicator provided by the software. It will give you an estimate of the remaining time. Once the cloning process is complete, you’ll receive a notification informing you of the successful transfer of data.
- Verify the clone: After the cloning process is finished, verify that the target M.2 SSD contains all the data from the source drive. You can do this by comparing file sizes, checking the partition layout, or opening files to ensure they are accessible and intact.
- Disconnect and test: If you used a USB adapter or docking station, safely disconnect the target M.2 SSD from your computer. Then, if applicable, install the target M.2 SSD into your computer or device. Power on your computer and test the new SSD to ensure it’s functioning correctly and that all your files and settings are present.
Following these step-by-step instructions will enable you to clone your M.2 SSD seamlessly and efficiently. Remember to refer to the user manual or specific documentation provided by the cloning software for additional guidance, as the interface and steps may vary slightly between different software applications.
Option 1: Using cloning software
One of the most common and convenient methods to clone an M.2 SSD is by using cloning software. There are several reliable and user-friendly software options available that can streamline the cloning process. Here’s a step-by-step guide to cloning your M.2 SSD using cloning software:
- Choose cloning software: Select a reputable cloning software that suits your needs. Popular options include Clonezilla, EaseUS Todo Backup, and Macrium Reflect. Download and install the software on your computer.
- Connect the source and target M.2 SSDs: Ensure your source M.2 SSD is connected to your computer. If needed, use a USB adapter or docking station to connect the target M.2 SSD externally.
- Launch the cloning software: Open the cloning software you installed earlier.
- Select the source and target drives: In the cloning software, choose the source M.2 SSD (the one you want to clone) and the target M.2 SSD (where you want to clone the data). Verify that you have selected the correct drives.
- Configure cloning options: Depending on the software, you may have options to customize the cloning process. You can usually choose between sector-by-sector cloning or intelligent cloning, resize partitions, or exclude specific files or folders from the clone. Adjust the settings as necessary.
- Start the cloning process: Initiate the cloning process by clicking on the “Start” or “Clone” button in the software. The software will begin cloning the data from the source M.2 SSD to the target M.2 SSD.
- Monitor progress: Keep an eye on the progress bar or status indicator provided by the software. It will give you an estimate of the remaining time for the cloning process to complete.
- Complete the cloning process: Once the cloning process finishes, you’ll receive a notification confirming the successful transfer of data.
- Verify the clone: After the cloning process, ensure that the data is successfully transferred to the target M.2 SSD. Verify the file sizes, check the partition layout, and open files to confirm their accessibility and integrity.
- Disconnect and test: If you used a USB adapter or docking station, safely disconnect the target M.2 SSD from your computer. Then, if applicable, install the target M.2 SSD into your computer or device. Power on your system and test the cloned SSD to ensure it’s functioning properly with all the cloned data and settings in place.
Using cloning software provides an efficient and user-friendly approach to clone your M.2 SSD. It simplifies the process and helps ensure that all your data and settings are seamlessly transferred to the new drive. Remember to consult the documentation provided by your chosen software for specific instructions tailored to the application you’re using.
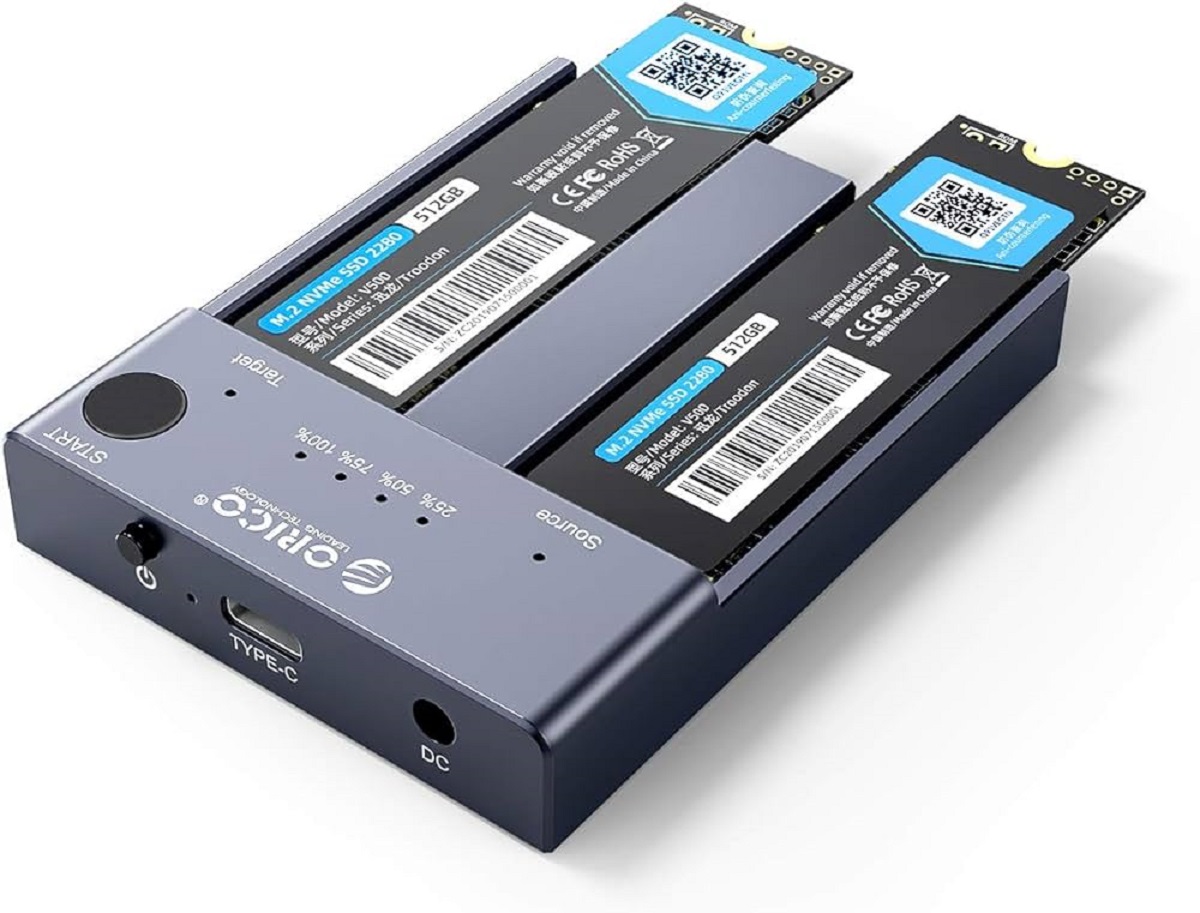
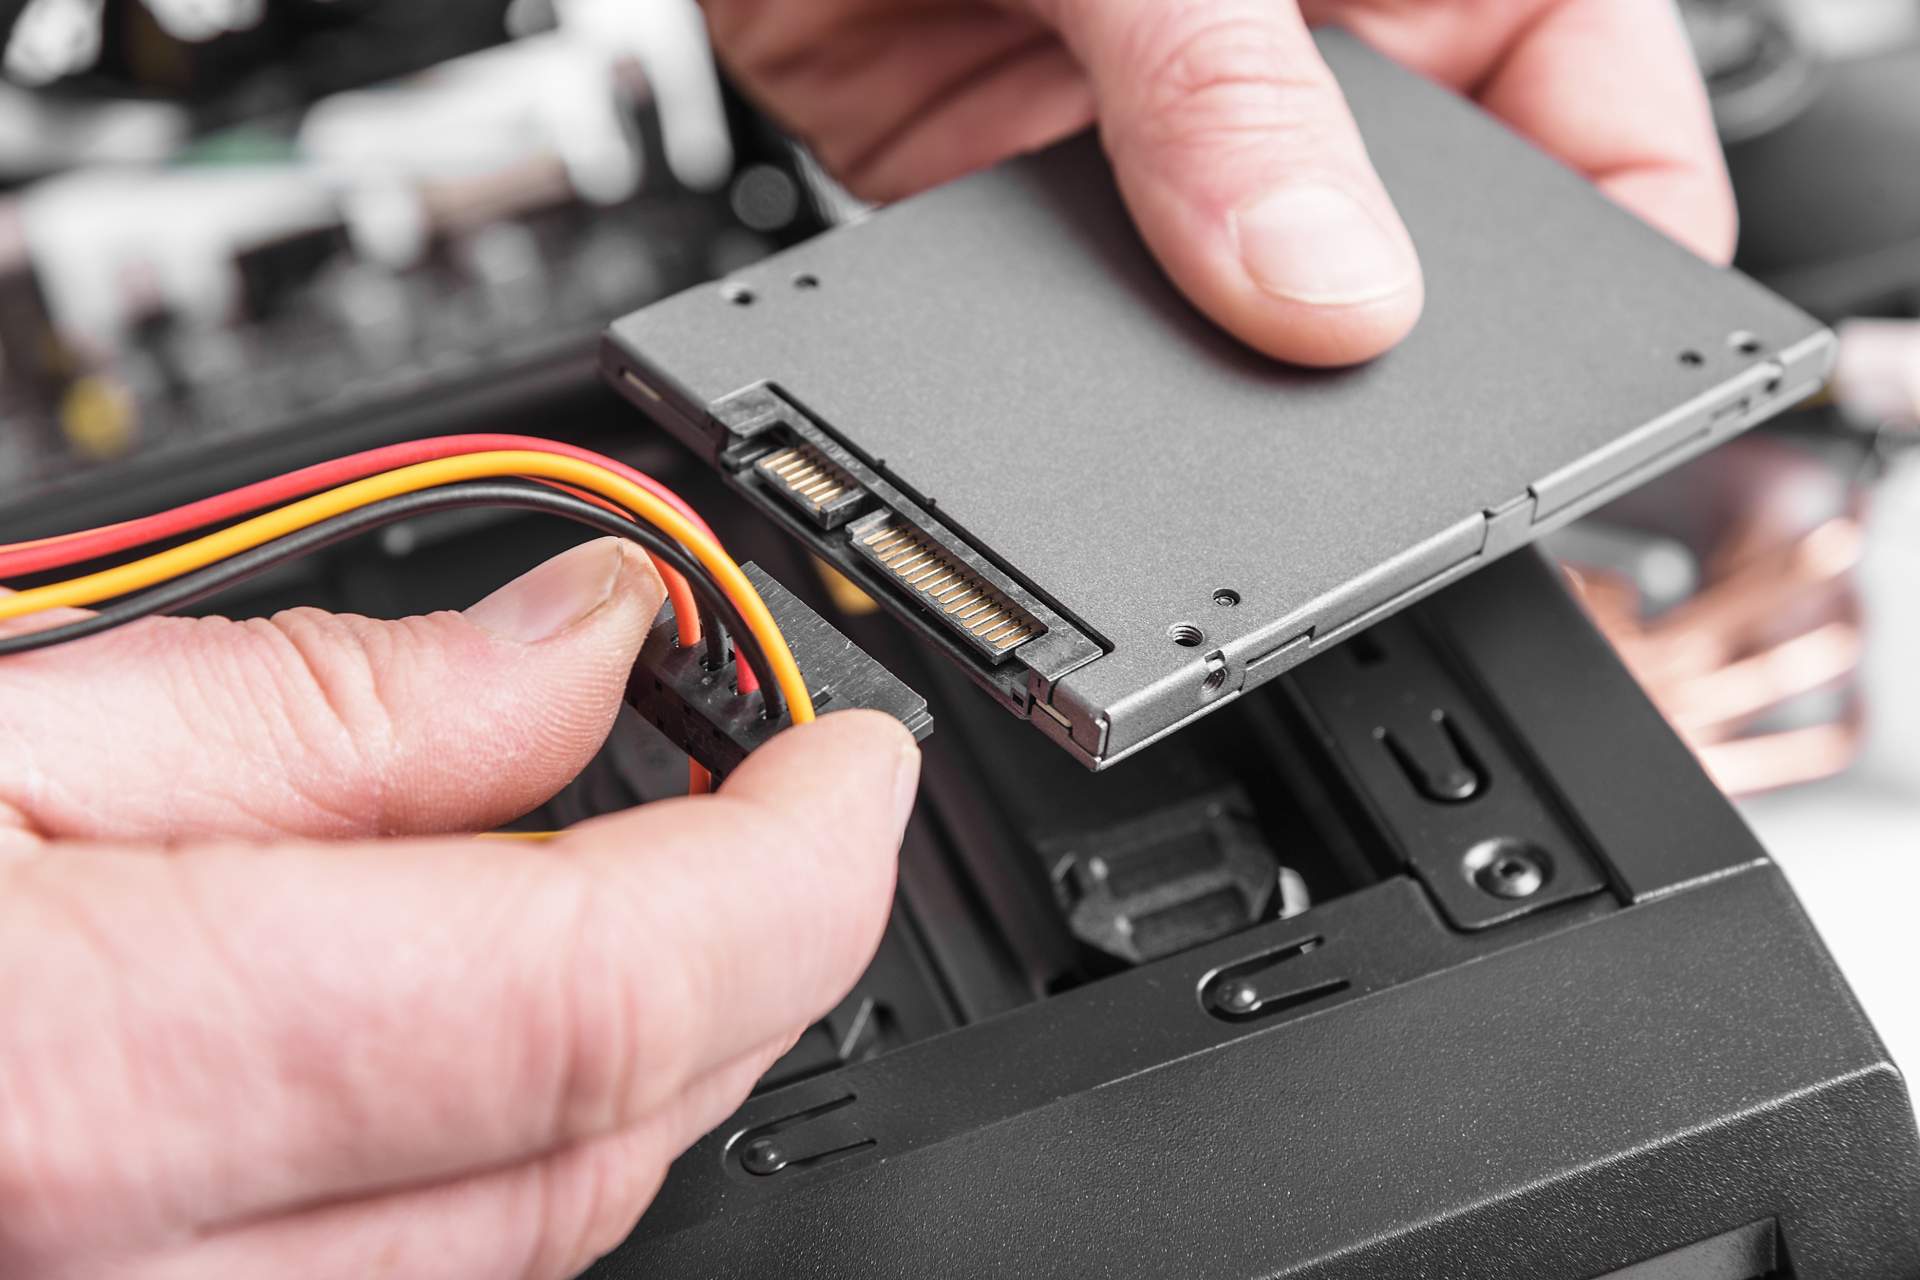
Option 2: Using a SATA to USB adapter
Another method for cloning your M.2 SSD is by using a SATA to USB adapter. This method involves connecting the source M.2 SSD to your computer externally via the adapter and using cloning software to facilitate the cloning process. Here’s a step-by-step guide on how to clone your M.2 SSD using a SATA to USB adapter:
- Obtain a SATA to USB adapter: Purchase a SATA to USB adapter that supports the M.2 form factor of your SSD. Ensure that it has the appropriate connectivity options (USB-A or USB-C) to connect to your computer.
- Connect the source M.2 SSD to the adapter: Attach the source M.2 SSD to the SATA to USB adapter. Insert the SSD into the appropriate slot and secure it in place if necessary.
- Connect the adapter to your computer: Plug the SATA to USB adapter into an available USB port on your computer.
- Install and open cloning software: If you haven’t already, download and install cloning software that suits your needs. Open the software on your computer.
- Select source and target drives: In the cloning software, choose the source M.2 SSD (connected via the SATA to USB adapter) as the drive you want to clone. Select the target M.2 SSD (typically installed internally in your computer) where you want to clone the data.
- Configure cloning settings: Adjust the cloning settings as necessary. This may include selecting the cloning method, resizing partitions, or excluding certain files or folders from the clone.
- Initiate the cloning process: Start the cloning process by clicking on the “Start” or “Clone” button in the software. The software will begin cloning the data from the source M.2 SSD to the target M.2 SSD.
- Monitor the progress: Keep an eye on the progress bar or status indicator provided by the software. It will give you an estimate of the remaining time for the cloning process to complete.
- Complete the cloning process: Once the cloning process finishes, you’ll receive a notification confirming the successful transfer of data.
- Disconnect the adapter: Safely disconnect the SATA to USB adapter from your computer.
- Install the target M.2 SSD: If applicable, install the target M.2 SSD into your computer or device, replacing the old drive.
- Power on and test the new SSD: Power on your computer and ensure that the new SSD is functioning correctly. Test the drive to verify that all the cloned data and settings are intact.
Using a SATA to USB adapter offers a practical and accessible method for cloning your M.2 SSD. It allows for external connectivity, simplifying the process and preserving the integrity of your data and settings. Remember to consult the documentation provided with your cloning software for specific instructions tailored to the software you’re using.
Option 3: Using a docking station
Using a docking station is another effective method to clone your M.2 SSD. A docking station provides a convenient and straightforward way to connect your SSD externally to your computer, enabling easy data transfer. Here’s a step-by-step guide on how to clone your M.2 SSD using a docking station:
- Acquire a docking station: Purchase a docking station that supports the M.2 form factor of your SSD. Ensure that it has the appropriate connectivity options, such as USB or Thunderbolt, to connect to your computer.
- Connect the source M.2 SSD to the docking station: Insert the source M.2 SSD into the docking station’s M.2 slot, making sure it is firmly connected.
- Connect the docking station to your computer: Connect the docking station to your computer using the provided USB or Thunderbolt cable. Ensure that the docking station is securely plugged in and recognized by your computer.
- Install and launch cloning software: Download and install cloning software that suits your needs. Open the software. Ensure that it detects both the source M.2 SSD (connected via the docking station) and the target M.2 SSD (typically installed internally in your computer).
- Configure cloning settings: Adjust the cloning settings as necessary, such as selecting the cloning method and resizing partitions according to your requirements.
- Begin the cloning process: Initiate the cloning process by clicking on the “Start” or “Clone” button in the software. The cloning software will start copying the data from the source M.2 SSD to the target M.2 SSD.
- Monitor the progress: Keep an eye on the progress bar or status indicator provided by the software. This will give you an estimate of the remaining time for the cloning process to complete.
- Complete the cloning process: Once the cloning process finishes, you’ll receive a notification confirming the successful transfer of data.
- Disconnect the docking station: Safely disconnect the docking station from your computer.
- Install the target M.2 SSD: If applicable, install the target M.2 SSD into your computer or device, replacing the old drive.
- Power on and test the new SSD: Power on your computer and ensure that the new SSD is functioning correctly. Test the drive to verify that all the cloned data and settings are intact.
Using a docking station provides a convenient solution for cloning your M.2 SSD. It simplifies the process and ensures data integrity while allowing for easy transferability. Remember to consult the documentation provided with your cloning software and the docking station for specific instructions tailored to your setup.
Option 4: Using an external SSD enclosure
Using an external SSD enclosure is a versatile and efficient method for cloning your M.2 SSD. With an external enclosure, you can easily connect and clone your source SSD before transferring it to another device. Here’s a step-by-step guide on how to clone your M.2 SSD using an external SSD enclosure:
- Purchase an external SSD enclosure: Select an external SSD enclosure that supports the M.2 form factor of your SSD and has the appropriate interface, such as USB 3.0 or Thunderbolt.
- Prepare the enclosure: Follow the manufacturer’s instructions to open the enclosure and prepare it for installing the source M.2 SSD. Some enclosures may require screwing the SSD into place, while others have an internal slot for easy installation.
- Install the source M.2 SSD into the enclosure: Carefully insert the source M.2 SSD into the enclosure, following the manufacturer’s instructions. Ensure that it is firmly and securely attached.
- Connect the enclosure to your computer: Using the provided USB or Thunderbolt cable, connect the external SSD enclosure to your computer. Make sure it is plugged in securely and recognized by your computer.
- Install and open cloning software: Download and install a reputable cloning software that suits your needs. Open the software and ensure that it detects both the source M.2 SSD (connected via the enclosure) and the target M.2 SSD (typically installed internally in your computer).
- Configure cloning settings: Adjust the cloning settings as necessary, such as selecting the cloning method and resizing partitions to meet your requirements.
- Start the cloning process: Initiate the cloning process by clicking on the “Start” or “Clone” button in the software. The software will begin cloning the data from the source M.2 SSD to the target M.2 SSD.
- Monitor the progress: Keep an eye on the progress bar or status indicator provided by the software. It will give you an estimate of the remaining time for the cloning process to complete.
- Complete the cloning process: Once the cloning process finishes, you’ll receive a notification confirming the successful transfer of data.
- Disconnect the external SSD enclosure: Safely disconnect the external SSD enclosure from your computer.
- Install the target M.2 SSD: If applicable, install the target M.2 SSD into your computer or device, replacing the old drive.
- Power on and test the new SSD: Power on your computer and ensure that the new SSD is functioning correctly. Test the drive to verify that all the cloned data and settings are intact.
Using an external SSD enclosure provides versatility and ease of use for cloning your M.2 SSD. It allows you to easily connect and clone your source SSD before transferring it to a new device. Remember to consult the documentation provided with your cloning software and the external SSD enclosure for detailed instructions specific to your setup.
Tips and Troubleshooting
While cloning your M.2 SSD is generally a straightforward process, there are some tips and troubleshooting techniques that can help ensure a smooth experience. Here are some useful tips to keep in mind:
- Double-check compatibility: Before starting the cloning process, verify that the target SSD, cloning software, and any additional equipment you’re using (such as adapters or enclosures) are all compatible with the M.2 form factor and interface of your source SSD.
- Back up your data: Prior to cloning, create a backup of any important data on your source SSD. This extra precaution provides an additional layer of protection in case something goes wrong during the cloning process.
- Ensure sufficient storage space: Make sure that the target SSD has enough free space to accommodate all the data from the source SSD. It’s recommended to have a target SSD with a larger capacity than the source SSD to avoid any issues with insufficient space.
- Disconnect unnecessary drives: To avoid any confusion or potential data mishaps, disconnect any other drives that are not involved in the cloning process. This ensures that the cloning software is only working with the intended source and target SSDs.
- Be patient during the cloning process: The cloning process can take some time, depending on the size of the data being transferred. It’s important to be patient and avoid interrupting the process to ensure a successful clone.
- Check for firmware updates: Before initiating the cloning process, ensure that the firmware of your target SSD and any other involved devices (such as docking stations or enclosures) is up to date. This can help prevent compatibility issues and ensure optimal performance.
- Test the cloned SSD: After completion, test the cloned SSD by verifying the data, accessing files and applications, and performing general system tasks. This ensures that the cloning process was successful and that the new SSD is functioning properly.
If you encounter any issues during the cloning process, here are a few troubleshooting steps you can try:
- Verify connections: Double-check that all cables and connectors are securely plugged in and that the source and target SSDs are properly seated in their respective slots, adapters, or enclosures.
- Restart the process: If the cloning process encounters errors or stalls, try restarting it from scratch. Sometimes, a fresh start can resolve any temporary issues or glitches.
- Update cloning software: Ensure that you are using the latest version of the cloning software. Check for any updates or patches that may address known issues or improve compatibility.
- Seek manufacturer support: If all else fails, consult the documentation or reach out to the manufacturer for technical support. They can provide specific troubleshooting steps or guidance based on your particular setup.
Following these tips and troubleshooting techniques will help ensure a successful cloning experience and minimize any potential issues. Remember, patience and thoroughness are key when cloning your M.2 SSD to ensure a seamless transition to your new drive.
Conclusion
Cloning your M.2 SSD provides a convenient and efficient way to transfer all your data, settings, and applications from one drive to another. Whether you’re upgrading to a larger capacity SSD or replacing a faulty drive, cloning ensures a seamless transition without the need to reinstall your operating system or software. In this article, we explored various options for cloning your M.2 SSD, including using cloning software, a SATA to USB adapter, a docking station, or an external SSD enclosure.
Each method has its advantages, and the choice ultimately depends on your specific requirements and available equipment. Using cloning software offers flexibility and ease of use, while a SATA to USB adapter provides a direct and straightforward connection for data transfer. A docking station allows for convenient external connectivity, and an external SSD enclosure offers versatility for easy setup and transferability.
Throughout the cloning process, it’s important to follow the step-by-step instructions provided by your chosen method and ensure compatibility between the source and target SSDs. Taking precautionary measures, such as backing up your data and verifying compatibility, can help mitigate potential issues.
Additionally, we shared some tips and troubleshooting techniques to ensure a smooth cloning experience. Remember to double-check compatibility, be patient during the cloning process, and test the cloned SSD to verify its successful transfer.
By cloning your M.2 SSD, you can save time, preserve data integrity, and effectively migrate your system to a new drive. Whether you’re a tech enthusiast or a casual computer user, the cloning process is accessible and achievable with the right tools and guidance.
So, seize the opportunity to upgrade your M.2 SSD or replace a faulty drive by cloning your valuable data and settings with confidence and ease.