Introduction
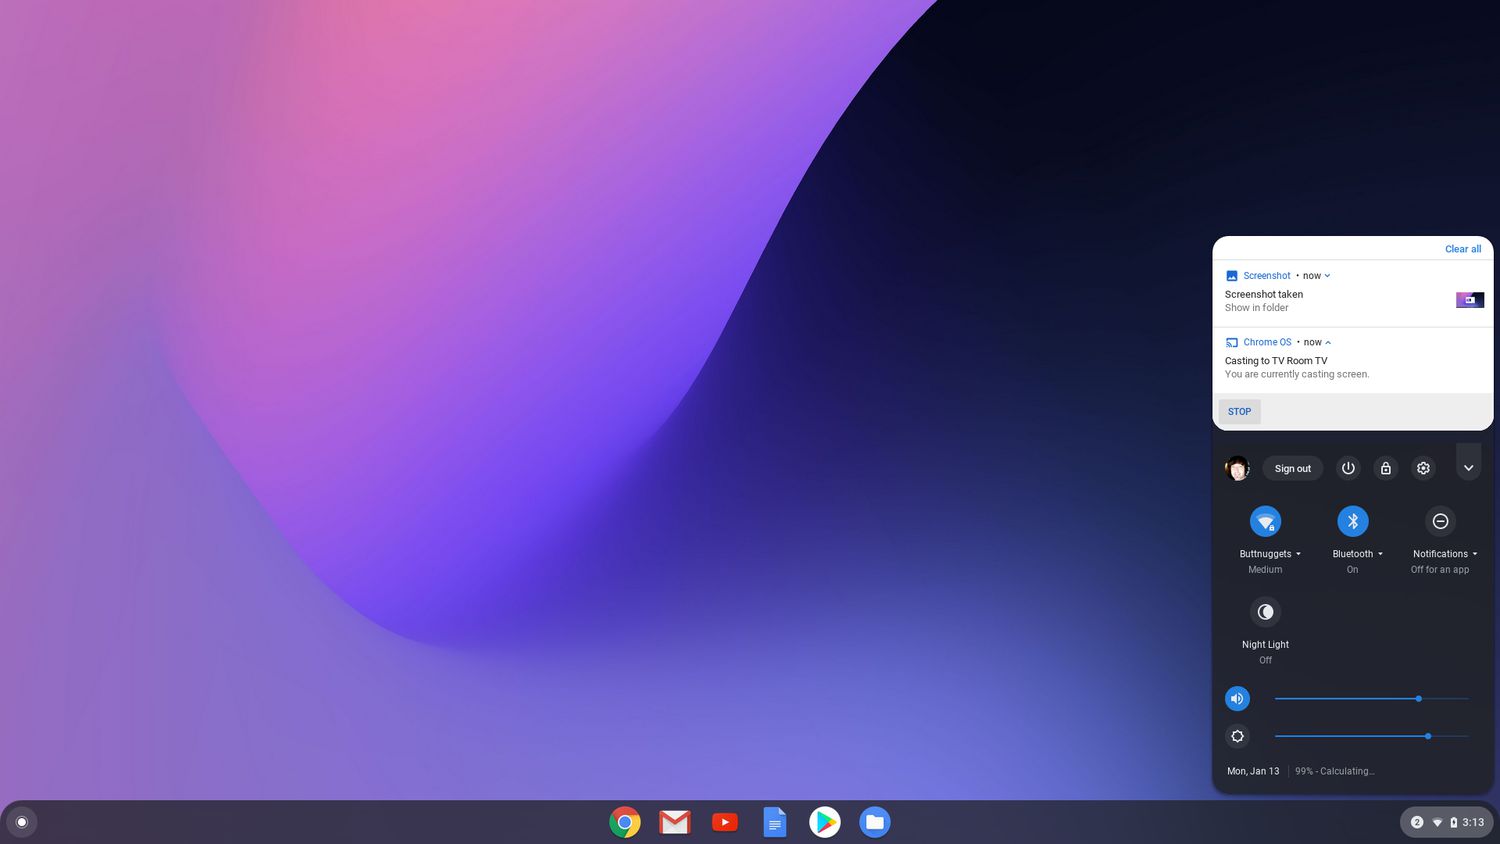
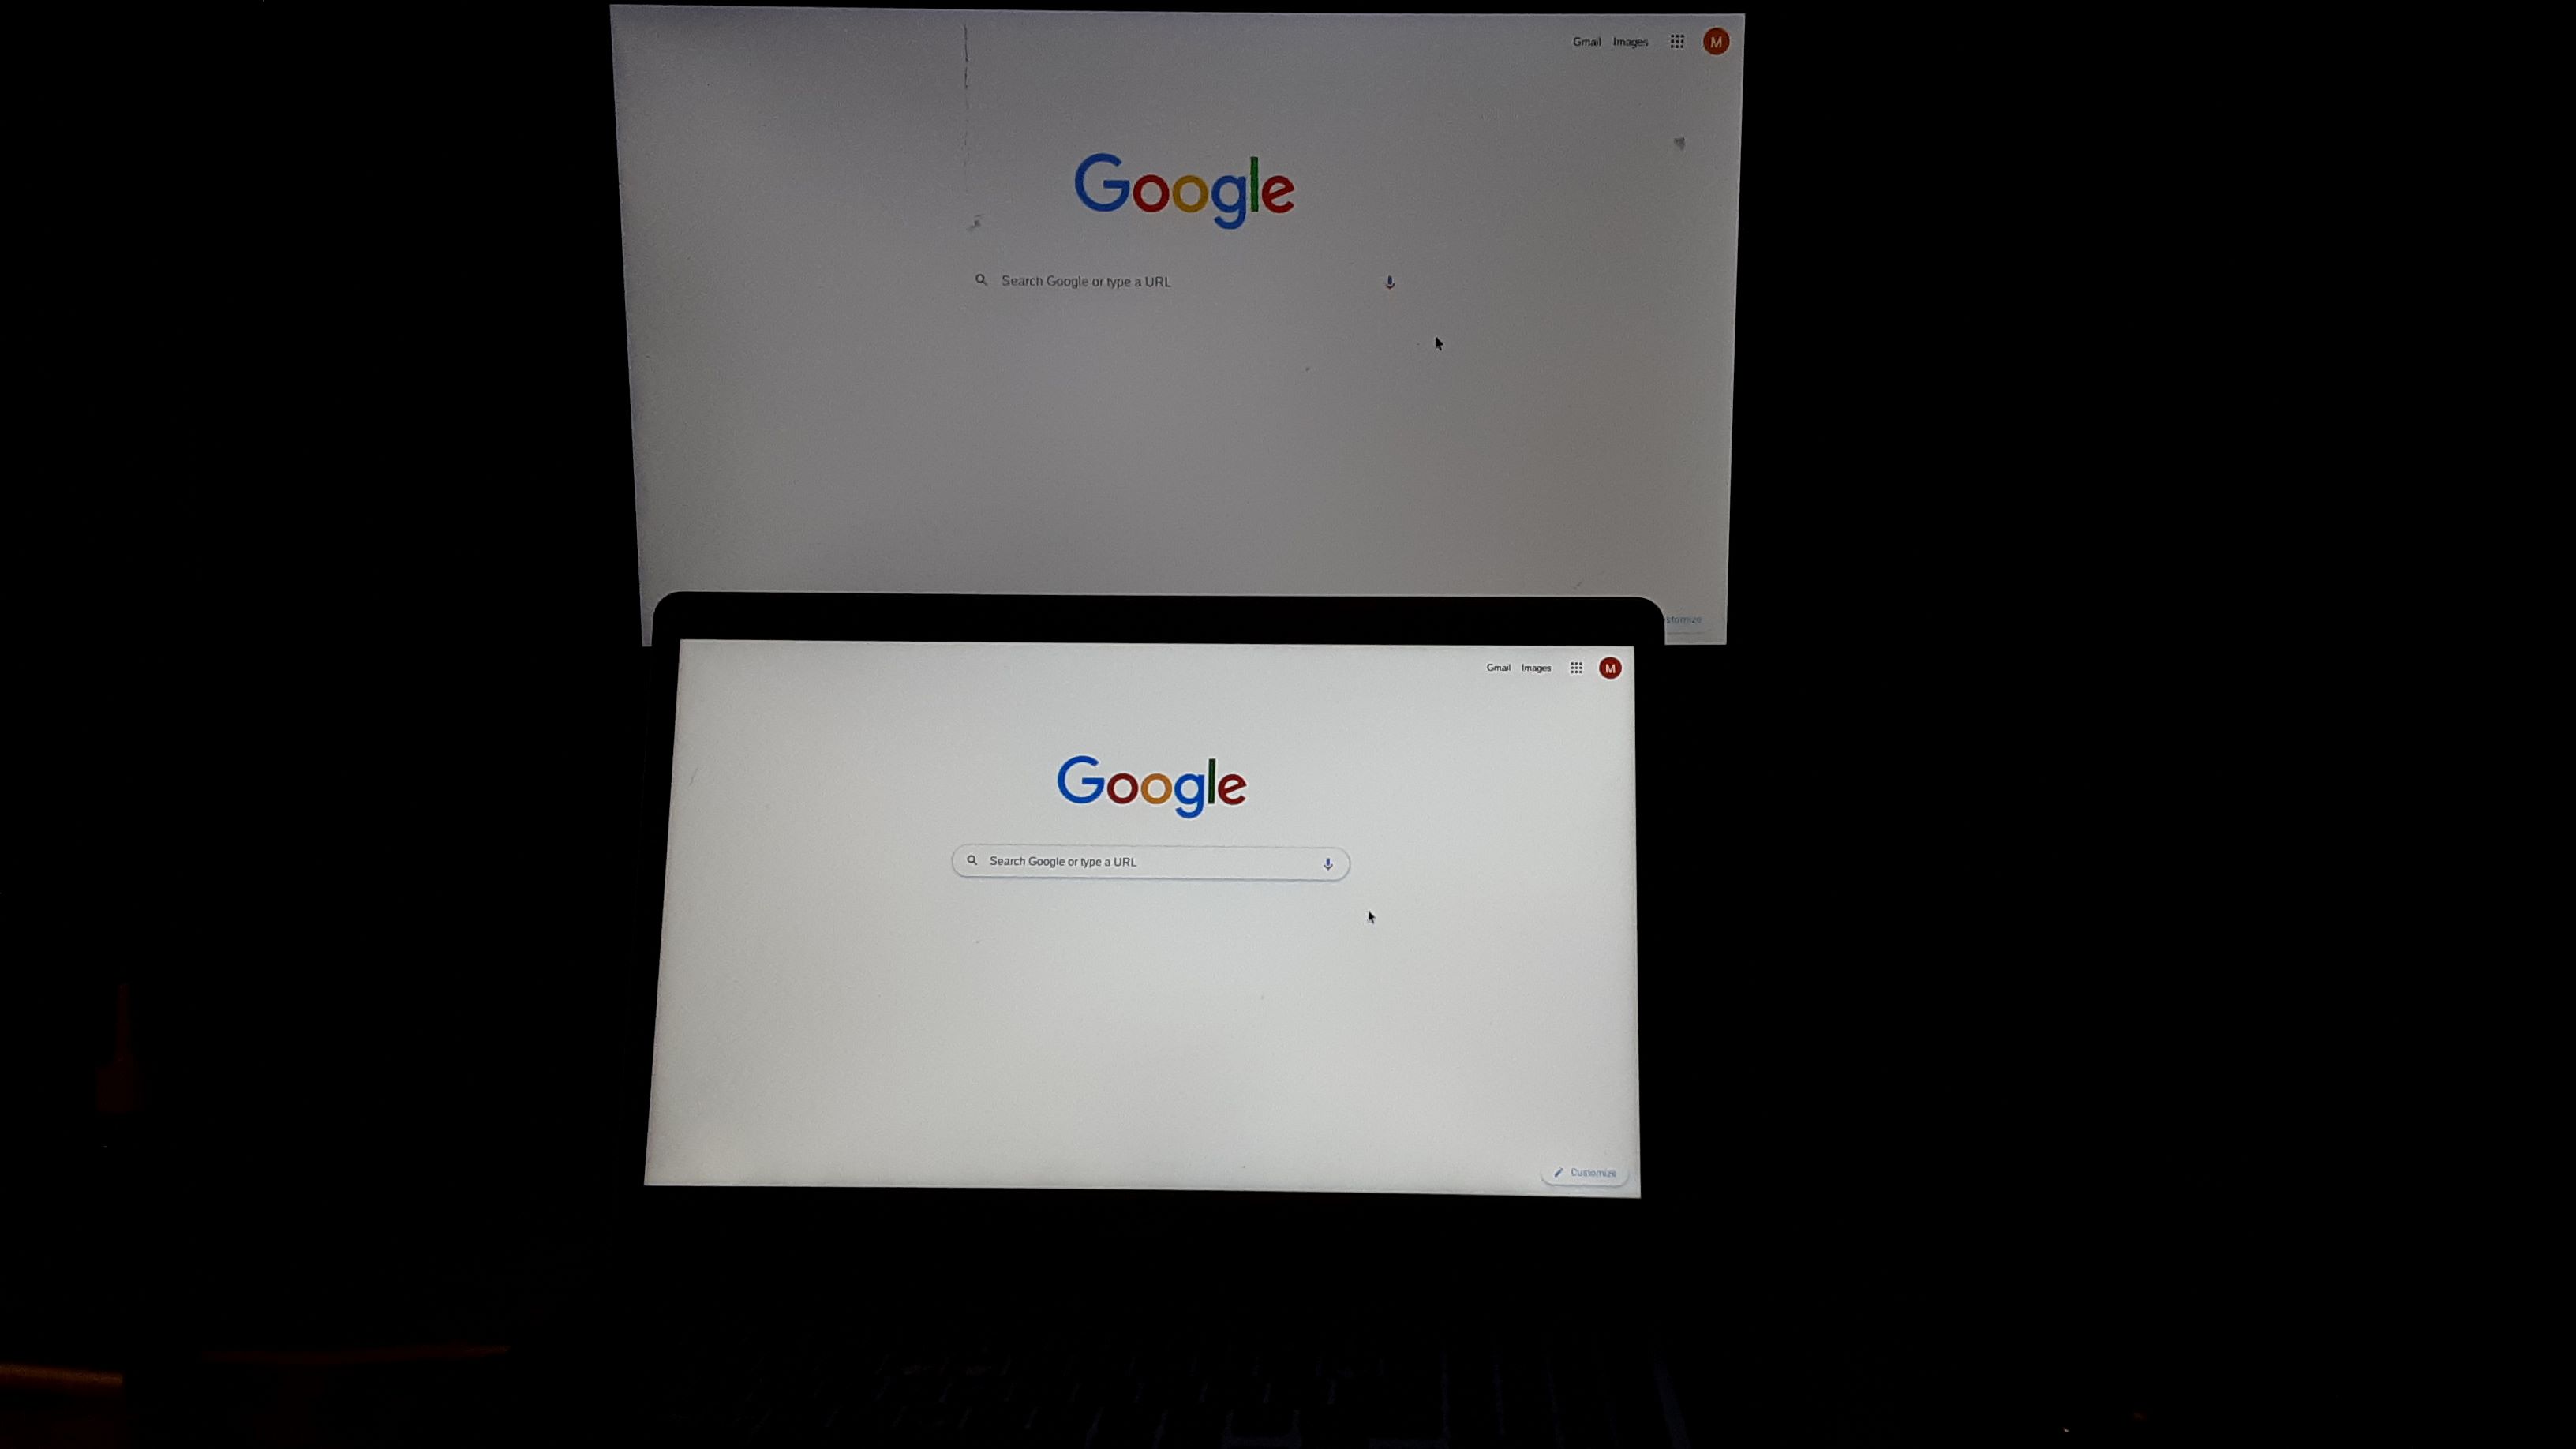
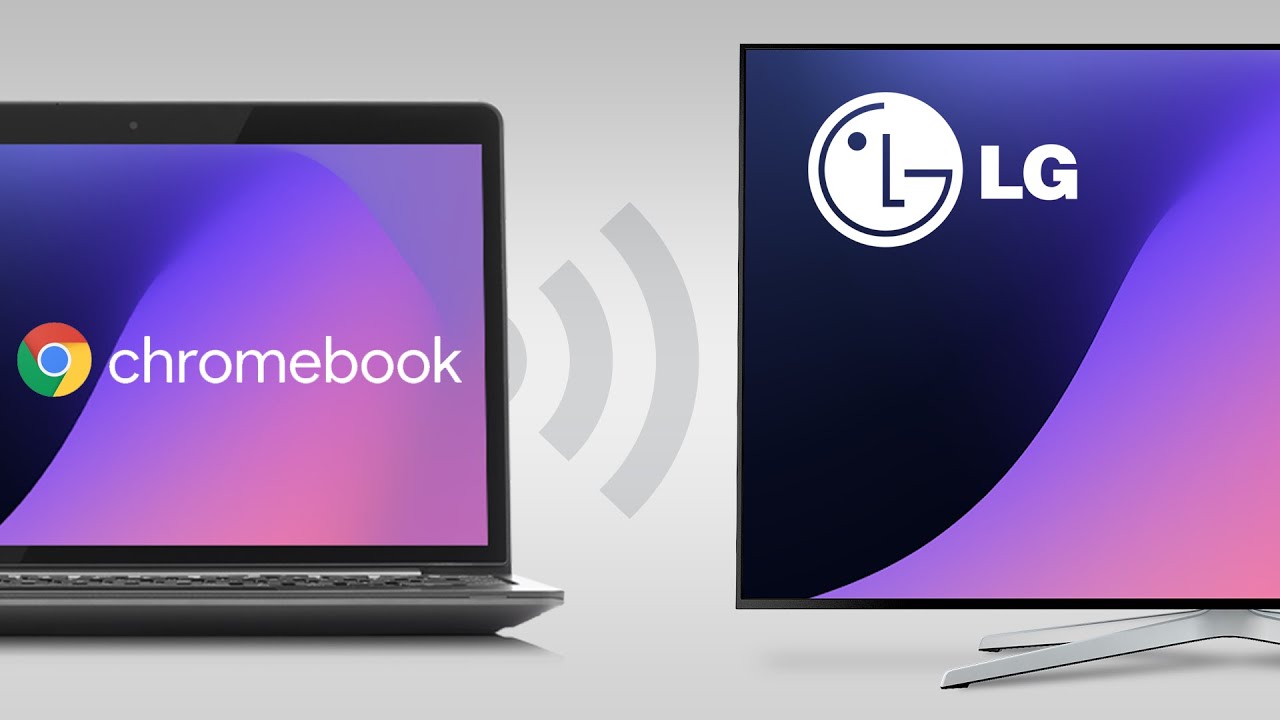
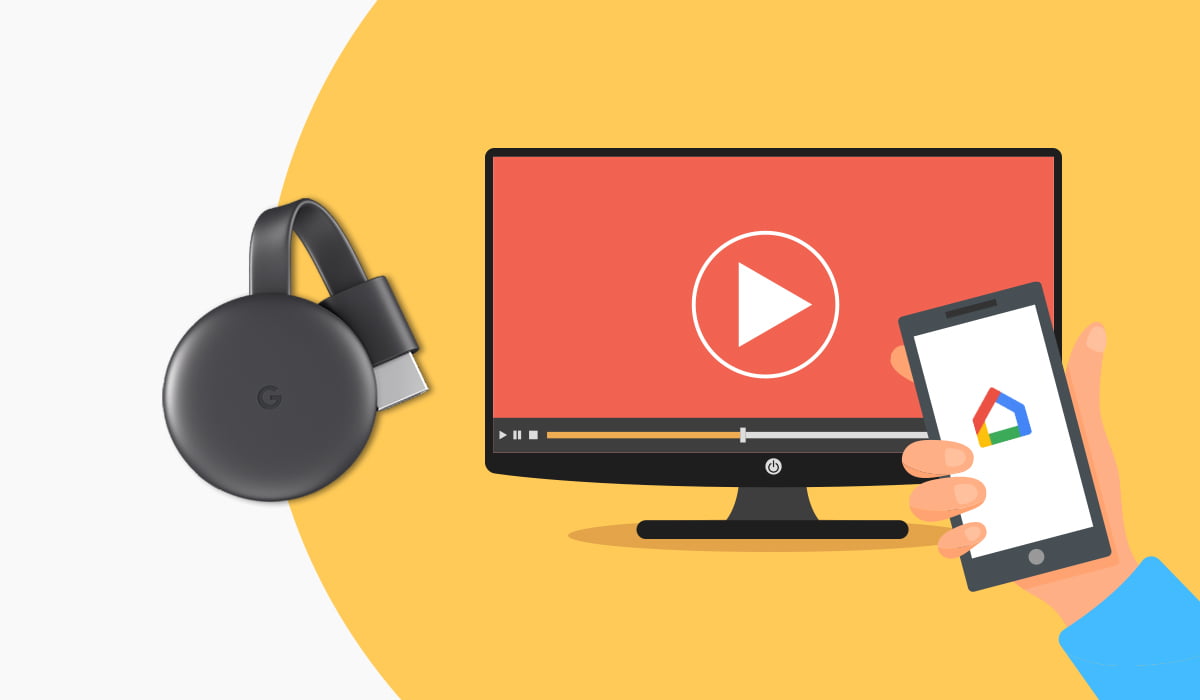
Welcome to the world of Chromecast on Chromebook! If you’re the proud owner of a Chromebook and a Chromecast device, get ready to unlock a whole new level of entertainment and convenience. Chromecast allows you to stream your favorite movies, TV shows, videos, and music from your Chromebook directly to your TV, turning it into a smart entertainment hub. In this guide, we’ll walk you through the process of setting up and using Chromecast on your Chromebook.
Chromecast is a small device that plugs into your TV’s HDMI port, enabling you to cast media from your Chromebook and other compatible devices. With just a few simple steps, you can enjoy a seamless streaming experience, whether you want to binge-watch your favorite series, share a slideshow of your latest vacation photos, or groove to your favorite tunes.
Setting up Chromecast on your Chromebook is a breeze. Once everything is set up, you can easily cast media from the Chrome browser on your Chromebook or from various apps. You can even adjust Chromecast settings to customize your viewing experience.
Now, let’s get started on your journey to becoming a Chromecast expert. Follow the steps outlined in this guide, and you’ll be casting like a pro in no time!
Step 1: Setting up your Chromebook
Before you can start casting from your Chromebook to Chromecast, you’ll need to ensure that your Chromebook is set up properly. Follow these simple steps to get started:
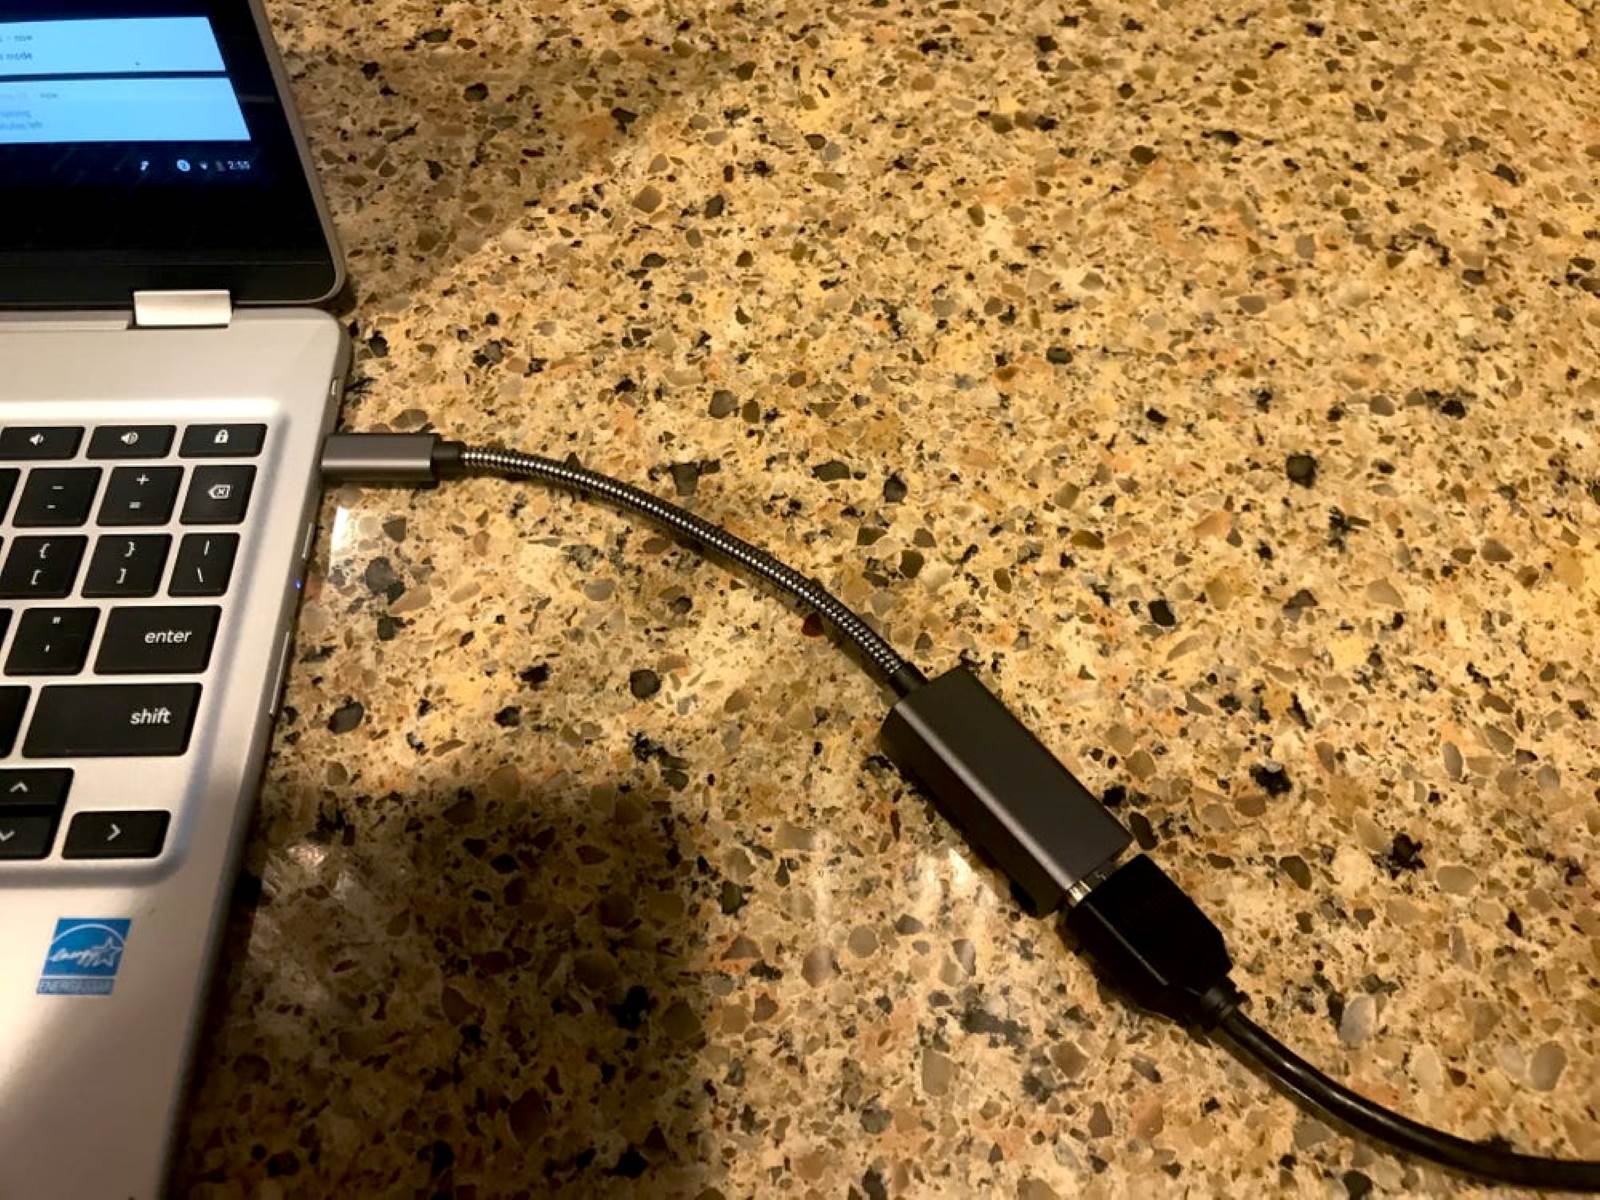
- Make sure your Chromebook is connected to a stable Wi-Fi network. Chromecast requires a strong internet connection for smooth streaming.
- Open the Chrome browser on your Chromebook. This is where you’ll control your Chromecast device.
- Click on the three-dot menu icon in the top-right corner of the browser window, then select “Cast” from the dropdown menu. This will open the casting menu.
- In the casting menu, click on “Sources” and select “Cast tab” or “Cast desktop,” depending on your preference. “Cast tab” will only stream the contents of the active browser tab, while “Cast desktop” will mirror your entire desktop.
- Next, click on the Chromecast device you want to connect to. If you have multiple Chromecast devices, make sure you select the correct one.
- Your Chromebook will now establish a connection to the Chromecast. Once the connection is successful, you’ll see a confirmation message.
That’s it! Your Chromebook is now ready to cast to your Chromecast device. In the next step, we’ll explore different ways to cast from your Chromebook’s Chrome browser. So, let’s move on to step 2.
Step 2: Connecting your Chromebook to your Chromecast
Now that your Chromebook is set up, it’s time to establish a connection with your Chromecast device. Follow these steps to connect your Chromebook to Chromecast:
- Ensure that your Chromecast and Chromebook are on the same Wi-Fi network. This is essential for them to communicate with each other.
- Open the Chrome browser on your Chromebook.
- Click on the three-dot menu icon in the top-right corner of the browser window, then select “Cast” from the dropdown menu. The casting menu will appear.
- In the casting menu, click on “Sources” and select “Cast tab” or “Cast desktop,” depending on your preference. Choose “Cast tab” if you want to stream the contents of a specific browser tab, or “Cast desktop” to mirror your entire desktop.
- Select your Chromecast device from the list of available devices. Make sure to choose the correct one if you have multiple Chromecast devices.
- Once you’ve selected your Chromecast device, the connection will be established, and you’ll see the selected tab or desktop mirrored on your TV screen.
Now that your Chromebook is connected to your Chromecast, you’re ready to start casting your favorite content. In the next step, we’ll walk you through the process of casting media from your Chromebook’s Chrome browser. So, let’s move on to step 3.
Step 3: Casting from your Chromebook’s Chrome browser
Once your Chromebook is connected to your Chromecast, you can start casting media from the Chrome browser. Follow these steps to cast from your Chromebook’s Chrome browser:
- Open the Chrome browser on your Chromebook.
- Navigate to the website or web page that you want to cast. It could be a video streaming platform, a photo gallery, or any other website with media content.
- Click on the three-dot menu icon in the top-right corner of the browser window.
- Select “Cast” from the dropdown menu.
- In the casting menu, choose the tab or desktop you want to cast. You can also adjust the volume, fullscreen settings, and other options from this menu.
- Select your Chromecast device from the list of available devices.
- The content from the selected tab or desktop will now be displayed on your TV screen through the Chromecast.
- You can control the playback and other settings from your Chromebook’s Chrome browser while the content is being cast.
Enjoy watching your favorite videos, movies, or browsing the web on the big screen with the convenience of your Chromebook and Chromecast combination! In the next step, we’ll explore how to cast media from apps on your Chromebook. So, let’s move on to step 4.
Step 4: Casting media from apps on your Chromebook
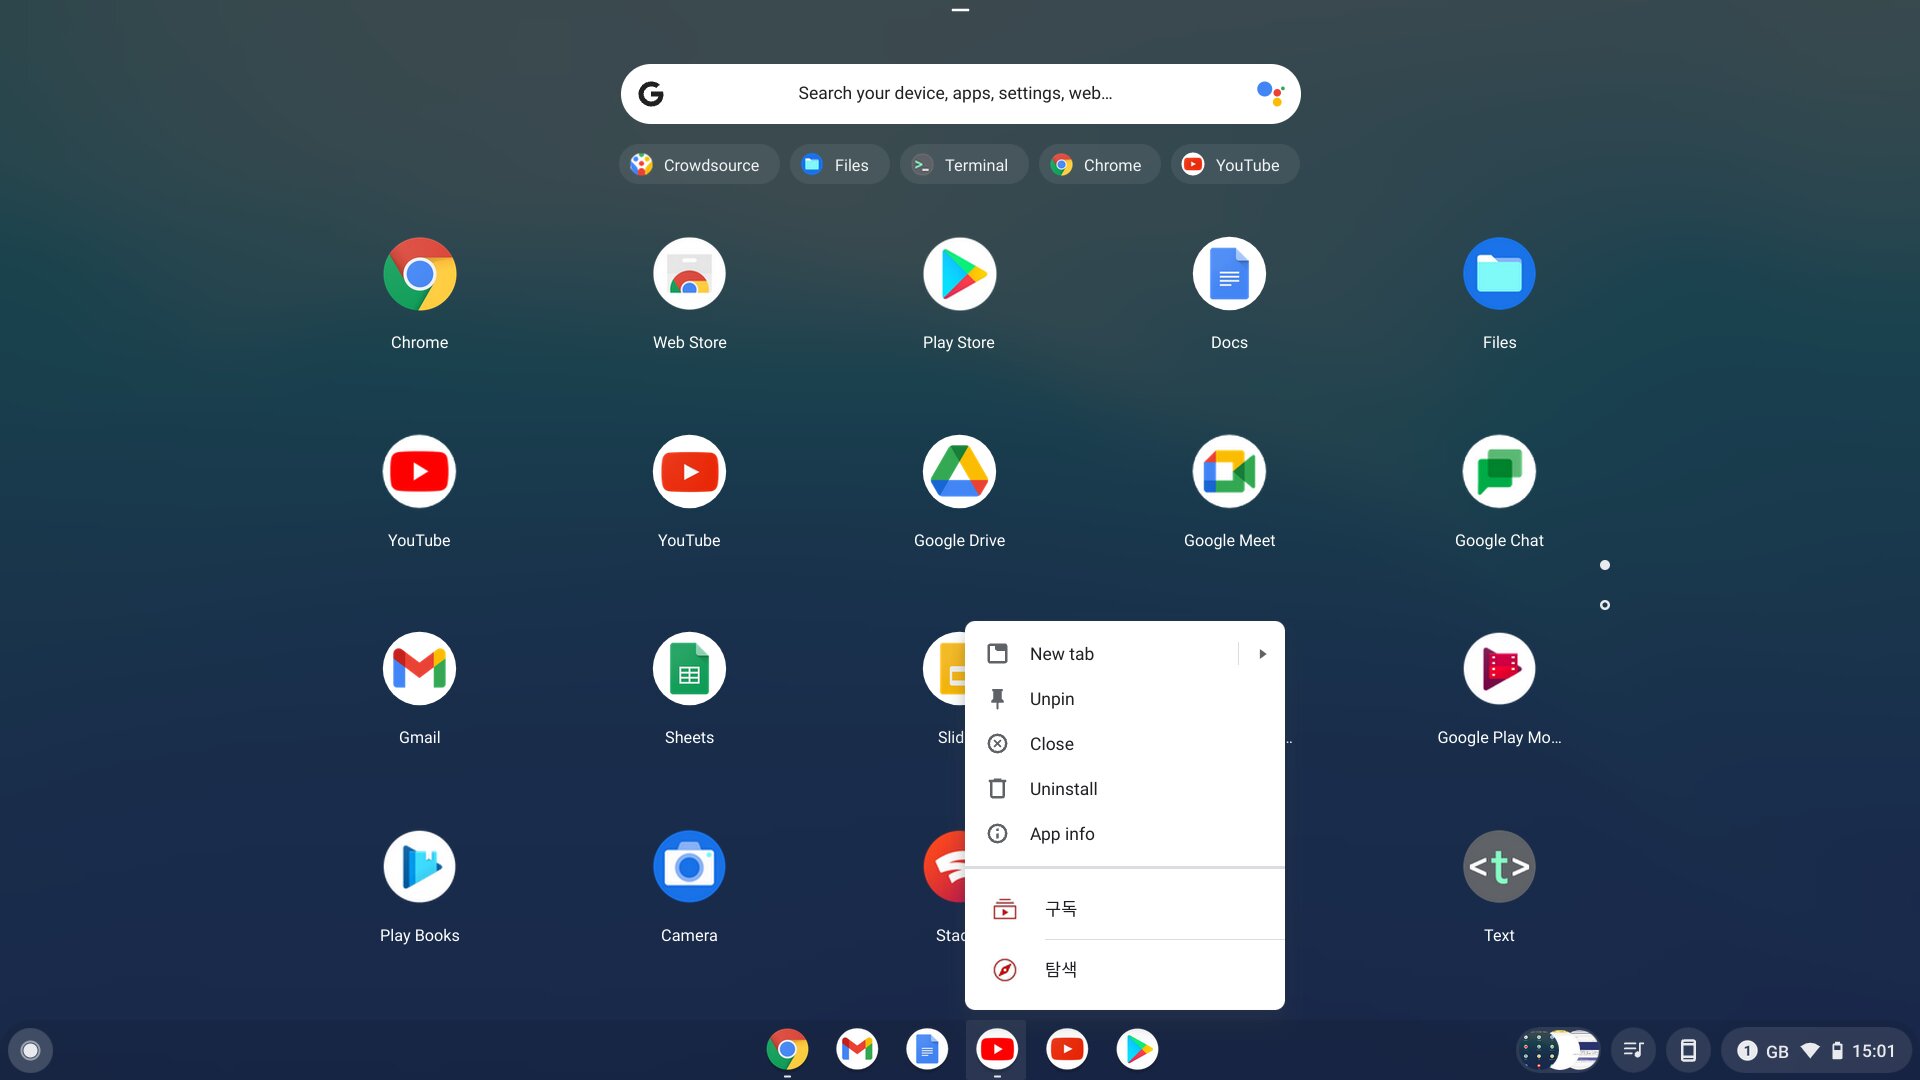
In addition to casting from the Chrome browser, you can also cast media from various apps on your Chromebook. Many popular apps, such as Netflix, YouTube, Spotify, and more, have built-in casting functionality. Follow these steps to cast media from apps on your Chromebook:
- Launch the app on your Chromebook that you want to cast media from.
- Find the media you want to cast, such as a video, playlist, or song.
- Look for the casting icon within the app. It usually resembles a small rectangle with wireless signals emanating from it.
- Click on the casting icon to open the casting menu.
- Select your Chromecast device from the list of available devices.
- The media will now start playing on your TV screen via Chromecast, while you can control playback and other settings from your Chromebook.
- Enjoy streaming your favorite content directly from the apps on your Chromebook to your TV.
With the ability to cast media from various apps, you’ll have a wide range of entertainment options at your fingertips. In the next step, we’ll delve into adjusting Chromecast settings on your Chromebook to enhance your casting experience. So, let’s move on to step 5.
Step 5: Adjusting Chromecast settings on your Chromebook
To ensure the best casting experience, you can customize and adjust Chromecast settings on your Chromebook. Here’s how you can do it:
- Open the Chrome browser on your Chromebook.
- Click on the three-dot menu icon in the top-right corner of the browser window.
- Select “Cast” from the dropdown menu.
- In the casting menu, click on the settings gear icon next to the name of your Chromecast device.
- A settings window will pop up, allowing you to make adjustments.
- Here are some of the settings you can customize:
- Media Volume: Adjust the volume specifically for your Chromecast device.
- Backdrop: Choose what content is displayed on your TV when there’s no active cast.
- Guest Mode: Enable or disable guest mode, which allows others to cast to your Chromecast without being connected to your Wi-Fi network.
- Notification Cast: Decide if you want to receive notifications on your Chromebook when others cast to your Chromecast.
- Offer Guest Mode on this device: Toggle this setting on or off to control whether your Chromebook can offer guest mode to other devices.
- Make the desired adjustments to your Chromecast settings.
- Once you’re done, click on the “Close” button to save your changes.
By fine-tuning these settings, you can optimize your casting experience according to your preferences. Now that you’re familiar with adjusting Chromecast settings, you’re equipped to enjoy a personalized casting experience on your Chromebook.
Conclusion
Congratulations! You’ve successfully learned how to set up and use Chromecast on your Chromebook. With the power of Chromecast, you can now effortlessly stream your favorite content from your Chromebook to your TV, expanding your entertainment possibilities.
In this guide, we walked you through the process of setting up your Chromebook, connecting it to your Chromecast device, and casting media from both the Chrome browser and various apps. You also learned how to customize Chromecast settings to enhance your casting experience.
Whether you want to enjoy movies, TV shows, videos, or music, Chromecast on Chromebook provides a seamless streaming experience. Sit back, relax, and indulge in the amazing world of entertainment right from your Chromebook onto the big screen.
Now that you’re armed with the knowledge of Chromecast on Chromebook, it’s time to explore the endless possibilities of casting your favorite content. So grab your Chromebook, fire up the Chrome browser or your favorite apps, and start casting away!


