Introduction
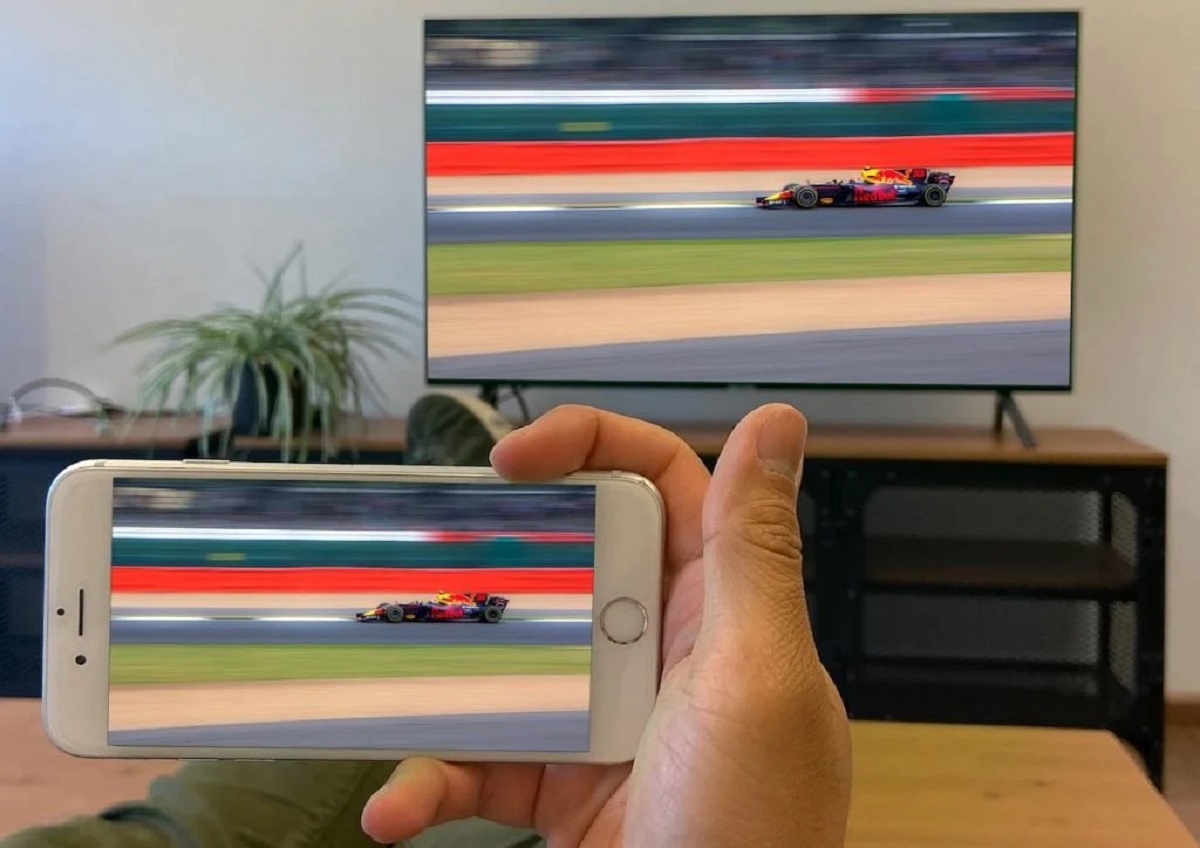
Do you want to enjoy your favorite movies or presentations on a bigger screen? Well, project your laptop to the TV wirelessly! This convenient feature allows you to cast the display of your laptop to a television without the hassle of cables.
Whether you want to showcase a slideshow, stream videos, or play games with friends, projecting your laptop to the TV can enhance your viewing experience. However, before you dive into the world of wireless projection, it’s important to check for compatibility and set up the necessary devices.
In this step-by-step guide, we will walk you through the process of wirelessly projecting your laptop to the TV using different methods. Regardless of whether you have a Windows laptop, a Macbook, or a Chromebook, you can find a suitable solution to suit your needs.
Before we dive in, let’s take a moment to check that your laptop and TV are compatible with wireless projection.
Step 1: Check for Compatibility
Before you start projecting your laptop to the TV wirelessly, it’s important to ensure that both your laptop and TV support this feature. Here are a few things you should check:
- Operating System Compatibility: Determine if your laptop’s operating system supports wireless screen projection. For Windows laptops, make sure you have Windows 8 or later. Macbooks should have macOS 10.11 or later, and Chromebooks should have Chrome OS Version 79 or above.
- Hardware Requirements: Verify that your laptop has the necessary hardware capabilities for wireless projection. Most modern laptops have built-in Wi-Fi and graphics cards that support screen mirroring. If you have an older laptop, you may need to check if it supports Miracast, Chromecast, or AirPlay.
- TV Compatibility: Ensure that your television is compatible with wireless projection. Look for features like Miracast support, Chromecast built-in, or AirPlay compatibility depending on the method you choose. Consult your TV’s user manual or visit the manufacturer’s website for more information on its wireless projection capabilities.
If your laptop or TV doesn’t meet the compatibility requirements for wireless projection, you may need to consider alternative methods like using an HDMI cable or investing in a wireless display adapter.
Once you have confirmed that both your laptop and TV are compatible, you can proceed to the next step and set up your devices for wireless projection.
Step 2: Set Up Your TV and Laptop
Now that you have confirmed the compatibility of your laptop and TV, it’s time to set up both devices for wireless projection. Follow these steps:
- Position your TV: Choose a suitable location for your TV where it’s visible and easily accessible. Make sure there’s enough space around it to connect any necessary cables.
- Connect your TV to a power source: Plug in the power cord of your TV and ensure it’s properly connected to a power outlet.
- Turn on your TV: Press the power button on your TV or use the remote control to turn it on.
- Position your laptop: Place your laptop near the TV and ensure it’s within the range of your Wi-Fi network.
- Connect your laptop to a power source: Plug in your laptop and make sure it’s connected to a power outlet. This will prevent any interruptions due to low battery during the wireless projection.
- Turn on your laptop: Press the power button on your laptop and wait for it to boot up.
- Connect your laptop to the same Wi-Fi network as your TV: Open the settings on your laptop and navigate to the Wi-Fi settings. Connect to the same Wi-Fi network that your TV is connected to. This will ensure a stable connection during the wireless projection.
Once you have completed these steps, your laptop and TV will be ready for wireless projection. In the next step, we will explore how to enable screen mirroring on your laptop.
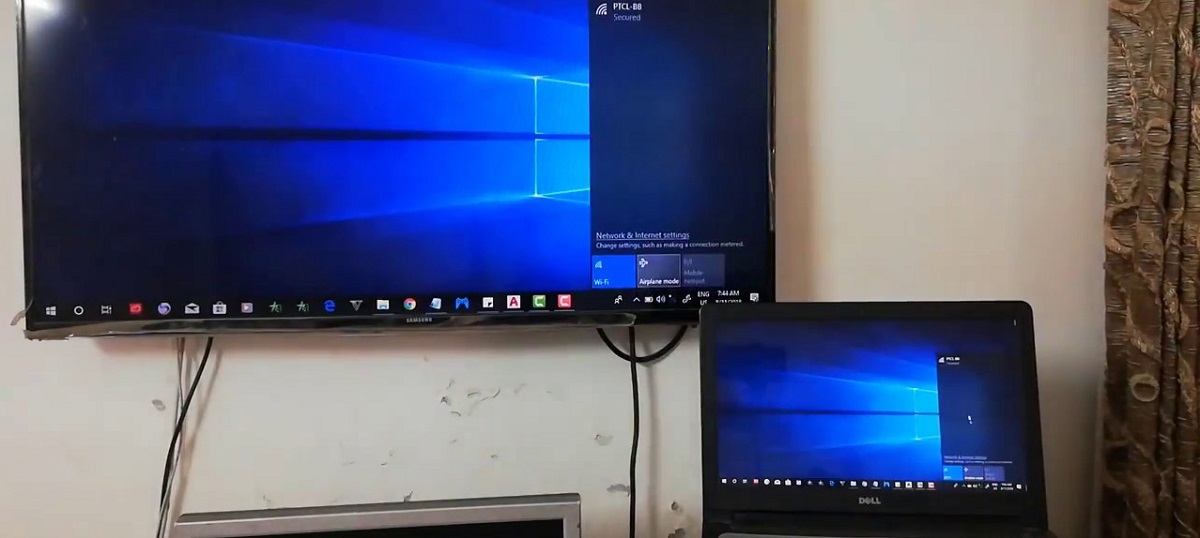
Step 3: Connect Your Laptop and TV to the Same Wi-Fi Network
In order to wirelessly project your laptop’s screen to your TV, it is crucial that both devices are connected to the same Wi-Fi network. Follow these steps to ensure a seamless connection:
- Open the Wi-Fi settings on your laptop: Depending on your laptop’s operating system, you can usually access the Wi-Fi settings by clicking on the network icon located in the taskbar or system tray. Look for the Wi-Fi symbol and click on it to open the settings.
- Scan for available Wi-Fi networks: Once in the Wi-Fi settings, click on the “Scan” or “Refresh” button to search for available Wi-Fi networks.
- Select the Wi-Fi network: From the list of available networks, select the Wi-Fi network that your TV is connected to. This is usually the network name (SSID) that you use to connect other devices in your home.
- Enter the Wi-Fi password: If your Wi-Fi network is secured with a password, you will be prompted to enter the password. Type in the password correctly to establish a connection to the Wi-Fi network.
- Wait for the connection to be established: Once you have entered the password, your laptop will attempt to connect to the selected Wi-Fi network. Wait for a few moments for the connection to be established.
- Verify the connection: Once connected, you should see a notification or a checkmark indicating that your laptop is now connected to the Wi-Fi network.
By ensuring that both your laptop and TV are connected to the same Wi-Fi network, you are laying the foundation for a successful wireless projection. In the next step, we will explore how to enable screen mirroring on your laptop.
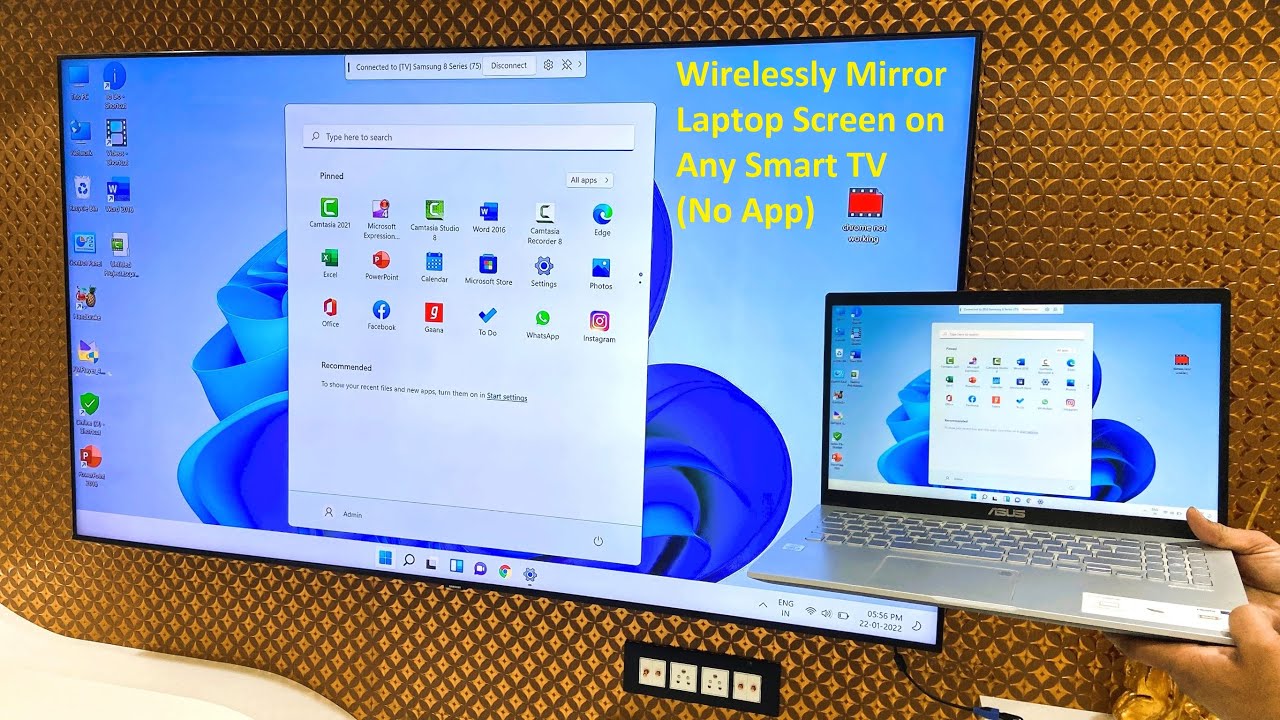
Step 4: Enable Screen Mirroring on Your Laptop
Now that your laptop and TV are connected to the same Wi-Fi network, it’s time to enable screen mirroring on your laptop. Screen mirroring allows you to replicate your laptop’s display on the TV wirelessly. The exact steps may vary depending on your laptop’s operating system, but here are the general instructions:
- Open the display settings on your laptop: On Windows laptops, right-click on the desktop and select “Display settings” from the context menu. On Macbooks, open the Apple menu and select “System Preferences,” then click on “Displays.” Chromebooks may have a dedicated display settings option in the settings menu.
- Find the screen mirroring or projection option: Look for an option that allows you to enable screen mirroring or projection. It may be labeled as “Connect to a wireless display” on Windows, or “AirPlay Display” on Macbooks.
- Click on the screen mirroring option: Once you locate the screen mirroring option, click on it to open the screen mirroring settings.
- Choose your TV from the list of available devices: Your laptop will scan for nearby devices that support screen mirroring. Select your TV from the list of available devices to initiate the connection.
- Wait for the connection to be established: Your laptop will establish a wireless connection with your TV. It may take a few moments for the connection to be established, so be patient.
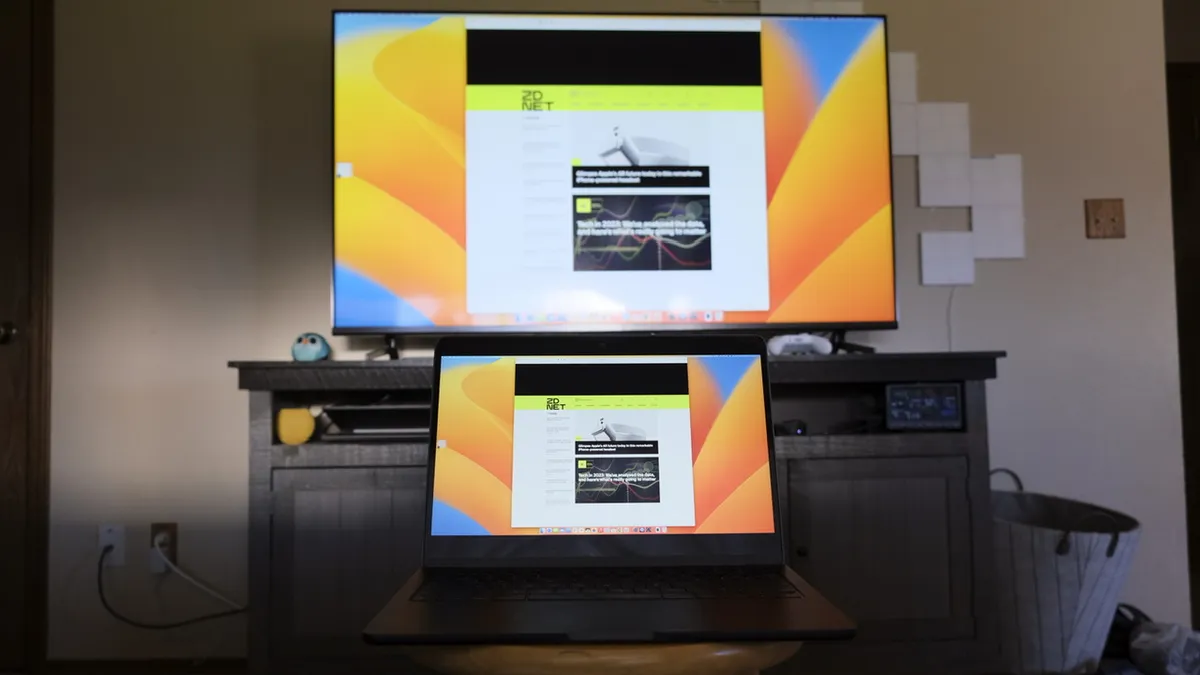
- Verify the screen mirroring connection: Once the connection is established, you should see your laptop’s display mirrored on the TV screen. Anything you do on your laptop will be replicated on the TV in real-time.
With screen mirroring enabled, you are now ready to project your laptop to the TV wirelessly. In the following steps, we will explore different methods for projecting your laptop to the TV using popular technologies like Miracast, Chromecast, and AirPlay.
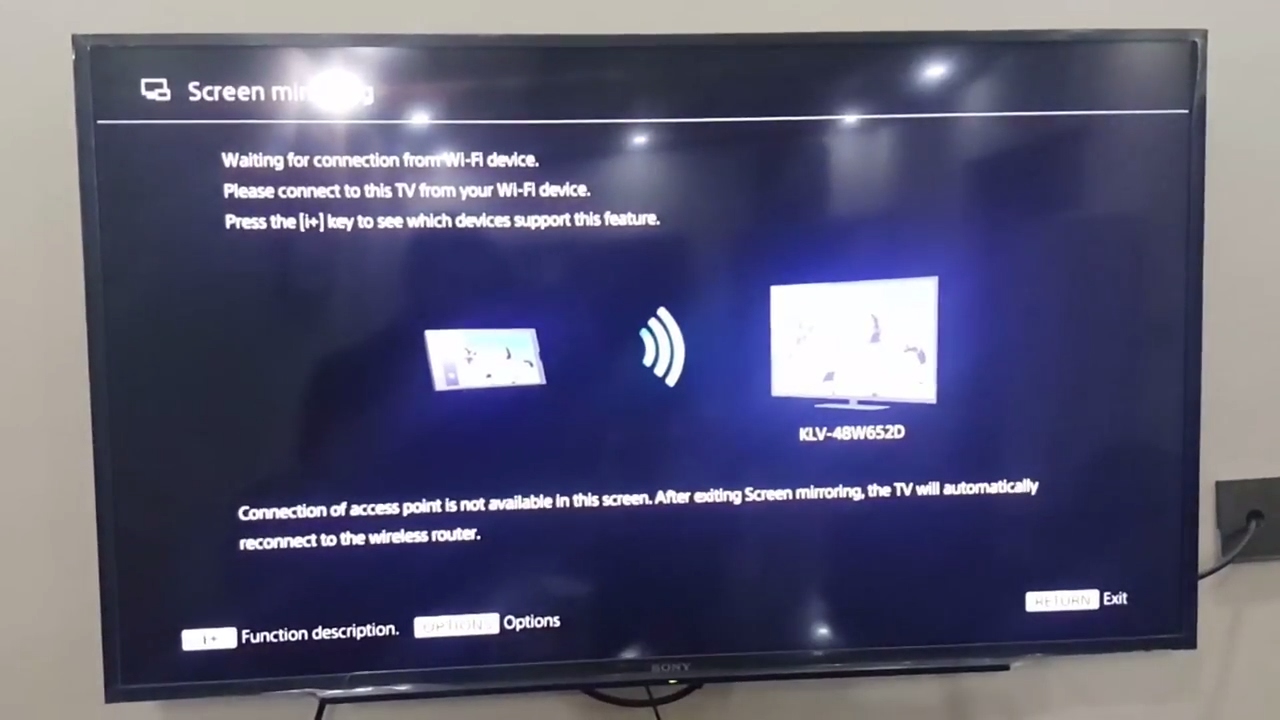
Step 5: Project Laptop to TV Using Miracast
If your laptop supports Miracast, you can easily project your screen to the TV without the need for any additional hardware. Follow these steps to project your laptop to the TV using Miracast:
- Ensure that both your laptop and TV support Miracast: Check your laptop’s specifications or consult the manufacturer’s website to confirm that it has Miracast support. Additionally, make sure your TV is Miracast-compatible. Most modern smart TVs support Miracast.
- Open the Action Center on your Windows laptop: On Windows laptops, click on the “Action Center” icon in the taskbar or press the “Windows key + A” to open it.
- Click on the “Connect” button: In the Action Center, look for the “Connect” button. Click on it to open the Connect menu.
- Select your TV from the list of available devices: The Connect menu will display a list of available devices. Look for your TV and click on it to initiate the connection.
- Wait for the connection to be established: Your laptop will establish a connection with the TV using Miracast. It may take a few moments for the connection to be established.
- Verify the Miracast connection: Once the connection is established, your laptop’s screen will be projected onto the TV. You can now enjoy your laptop’s content on the big screen.
With Miracast, you can wirelessly project your laptop to the TV without the need for cables or additional hardware. However, if your laptop doesn’t support Miracast, don’t worry. There are other methods, like using Chromecast or AirPlay, that you can explore to achieve the same result.
Step 6: Project Laptop to TV Using Chromecast
If you have a Chromecast device connected to your TV, you can use it to wirelessly project your laptop’s screen. Follow these steps to project your laptop to the TV using Chromecast:
- Ensure that your laptop and Chromecast are connected to the same Wi-Fi network: Both devices need to be on the same network for Chromecast to work.
- Install the Google Chrome browser: If you don’t have it already, download and install the Google Chrome browser on your laptop.
- Open the Chrome browser and install the Google Cast extension: Open the Chrome browser and go to the Chrome Web Store. Search for the “Google Cast” extension and click on “Add to Chrome” to install it.
- Click on the “Google Cast” extension icon: Once installed, you will see the Google Cast icon in the top-right corner of the Chrome browser. Click on it to open the Cast menu.
- Select your Chromecast device from the list of available devices: The Cast menu will display a list of available devices. Look for your Chromecast device and click on it to initiate the connection.
- Choose “Cast desktop” or “Cast tab” to start casting: In the Cast menu, choose whether you want to cast your entire desktop or just a specific tab in the Chrome browser.
- Verify the Chromecast connection: Your laptop’s screen will now be mirrored on the TV via Chromecast. You can now enjoy your laptop’s content on the bigger screen.
Using Chromecast allows you to wirelessly project your laptop’s screen to the TV with ease. If you don’t have a Chromecast device, don’t worry. There are alternative methods, like using Miracast or AirPlay, that you can explore to achieve wireless projection.
Step 7: Project Laptop to TV Using AirPlay
If you have an Apple laptop and an Apple TV, you can leverage the power of AirPlay to wirelessly project your laptop’s screen to the TV. Here’s how you can do it:
- Ensure that both your laptop and Apple TV are connected to the same Wi-Fi network: To use AirPlay, both devices must be connected to the same network.
- Open the “Display” settings on your Apple laptop: Click on the Apple menu at the top-left corner of the screen, then select “System Preferences” followed by “Displays.”
- Select the “AirPlay Display” option: In the Displays settings, you should see an option labeled “AirPlay Display.” Click on it to open the AirPlay settings.
- Choose your Apple TV from the list of available devices: The AirPlay settings will display a list of available devices. Look for your Apple TV and select it to establish the connection.
- Enable Mirroring: Once connected, enable the “Mirroring” option to start mirroring your laptop’s screen on the TV.
- Verify the AirPlay connection: Your laptop’s screen will now be mirrored on the TV using AirPlay. You can now enjoy your laptop’s content on the larger screen.
AirPlay provides a seamless wireless solution for projecting your Apple laptop’s screen to the TV. If you don’t have an Apple TV, don’t worry. There are alternative methods, like using Miracast or Chromecast, that you can explore to achieve wireless projection.
Conclusion
Wirelessly projecting your laptop to the TV can bring your favorite content to life and enhance your viewing experience. Whether you have a Windows laptop, a Macbook, or a Chromebook, there are various methods available to achieve wireless projection.
In this guide, we covered the steps to project your laptop to the TV using different technologies such as Miracast, Chromecast, and AirPlay. Before beginning, it’s important to ensure compatibility between your laptop and TV, as well as connecting both devices to the same Wi-Fi network.
If your laptop supports Miracast, you can utilize this feature to seamlessly mirror your screen on the TV without the need for additional hardware. For those with Chromecast, you can use the Google Chrome browser and the Google Cast extension to cast your laptop’s screen to the TV.
If you own an Apple laptop and have an Apple TV, AirPlay provides a convenient method for wirelessly projecting your laptop’s screen to the TV.
Remember, each method has its own requirements and may vary depending on your specific devices’ capabilities. It’s important to follow the instructions specific to your laptop’s operating system and the technology you are using.
With the multitude of options available, you can easily enjoy your favorite movies, presentations, or even games on the big screen by wirelessly projecting your laptop to the TV. So, go ahead and get started with the method that suits your needs, and elevate your entertainment and productivity to a whole new level.