Introduction
Wireless headphones have become increasingly popular, offering the convenience of listening to audio without being tethered by cables. If you want to enjoy the immersive sound experience of your favorite movies or TV shows without disturbing others, connecting wireless headphones to your TV is a great solution. Not only does it provide you with the freedom to move around without compromising audio quality, but it also allows you to have a personalized listening experience.
However, figuring out how to connect wireless headphones to your TV can be a bit confusing, especially if you’re not familiar with the process. That’s why we’ve created this guide to walk you through the step-by-step process of connecting your wireless headphones to your TV.
In this guide, we’ll cover the following steps:
- Check the compatibility of your TV
- Choose the right type of wireless headphones
- Set up the Bluetooth connection
- Pair the headphones with your TV
- Adjust the audio settings on your TV
- Test the connection and enjoy your wireless headphones!
By following these steps, you’ll be able to connect wireless headphones to your TV and enjoy a seamless audio experience. So, let’s get started with the first step: checking the compatibility of your TV.
Step 1: Check the compatibility of your TV
Before you start connecting your wireless headphones to your TV, it’s essential to ensure that your TV supports the necessary features for wireless audio transmission. Here’s what you need to check:
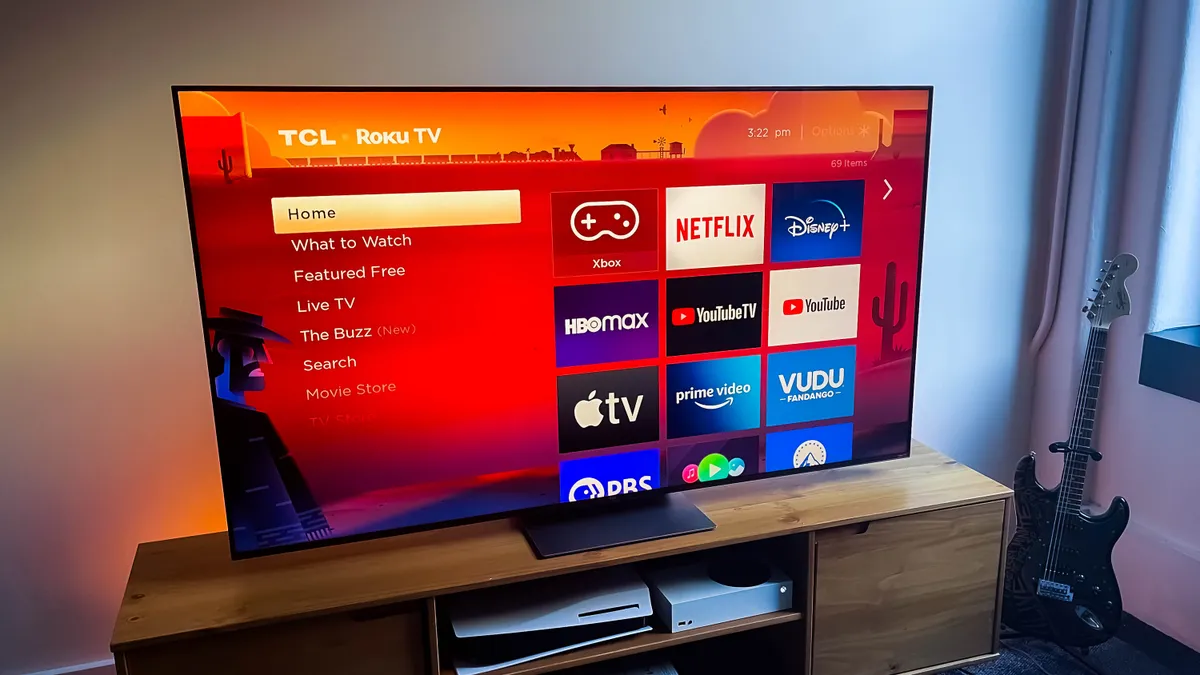
Bluetooth compatibility: Most modern TVs come equipped with Bluetooth capabilities, allowing you to connect your wireless headphones directly to the TV. However, it’s important to verify if your TV has Bluetooth functionality. Consult the user manual or check the specifications of your TV model online to confirm its compatibility with Bluetooth.
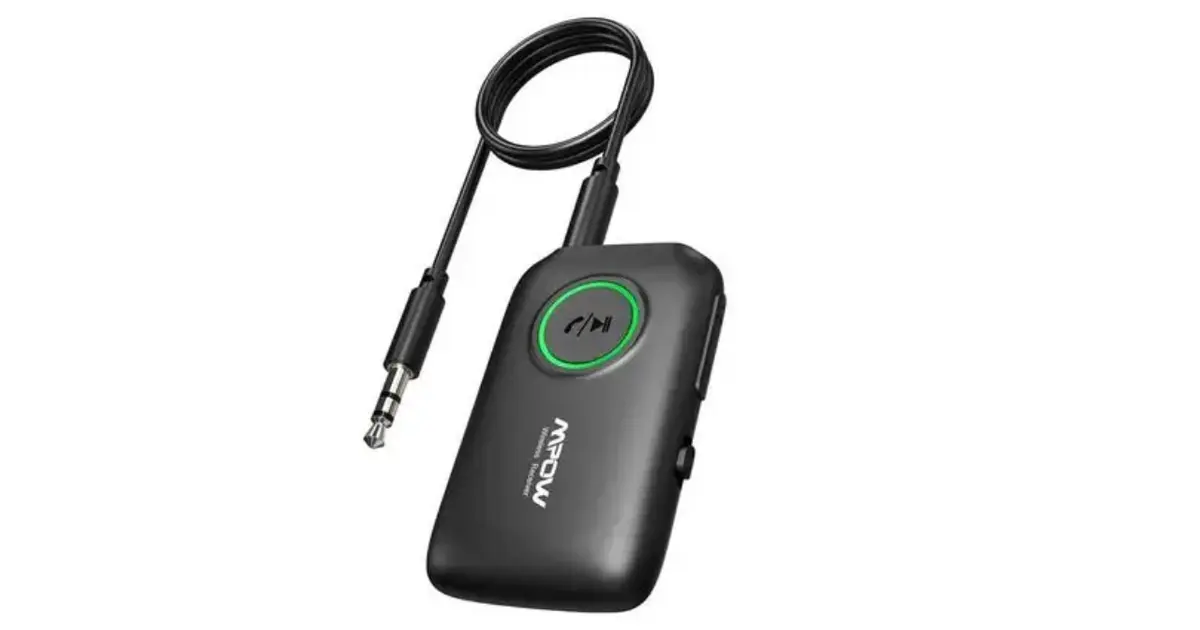
Audio output options: In case your TV doesn’t have Bluetooth, you can look for alternative audio output options. Check if your TV has a headphone jack or RCA audio output ports. These options can be used to connect a Bluetooth transmitter, which can then pair with your wireless headphones.
Sound settings: Additionally, ensure that your TV has the necessary sound settings to route the audio to the desired output. Look for settings like “Audio Output” or “Sound Output” in your TV’s menu and select the appropriate option for outputting sound to headphones or external speakers.
Checking the compatibility of your TV is crucial to ensure that you can successfully connect wireless headphones. If you’re unsure about any of these features, refer to the user manual or contact the manufacturer’s support for assistance. Once you’ve confirmed the compatibility, you can move on to the next step of choosing the right type of wireless headphones.
Step 2: Choose the right type of wireless headphones
When it comes to choosing wireless headphones for your TV, there are a few factors to consider to ensure compatibility and optimum performance. Here’s what you need to keep in mind:
Wireless technology: There are different types of wireless technologies used for headphones, such as Bluetooth, RF (Radio Frequency), and IR (Infrared). Bluetooth headphones are the most common and versatile option, as they can connect to a wide range of devices, including TVs. RF headphones offer a longer range and can be a good choice if you need to move around freely. IR headphones, on the other hand, require a direct line of sight with the transmitter and are less common for TV use.
Audio quality: Look for headphones that offer high-quality audio reproduction and a balanced sound profile. Check for specifications such as frequency response and driver size to ensure a rich and immersive audio experience.
Comfort: Since you’ll be wearing the headphones for extended periods while enjoying your favorite shows or movies, comfort is crucial. Look for headphones with adjustable headbands, cushioned ear cups, and lightweight designs for a comfortable and secure fit.
Battery life: Consider the battery life of the headphones, especially if you plan on using them for long periods without the need for frequent charging. Look for headphones with longer battery life, or opt for models that come with a charging dock for convenience.
Additional features: Some wireless headphones come with additional features like active noise cancellation, which can help enhance your audio experience by reducing background noise. Explore the various features available and choose the ones that align with your preferences and requirements.
By considering these factors, you can choose the right type of wireless headphones that will provide you with the best audio experience while connecting seamlessly to your TV. Once you’ve selected your headphones, it’s time to move on to the next step: setting up the Bluetooth connection.
Step 3: Set up the Bluetooth connection
Setting up the Bluetooth connection between your TV and wireless headphones is relatively straightforward, but the process may vary depending on your TV model. Follow these general steps to establish the Bluetooth connection:
- Turn on your wireless headphones and put them in pairing mode. Consult your headphones’ user manual if you’re unsure how to do this.
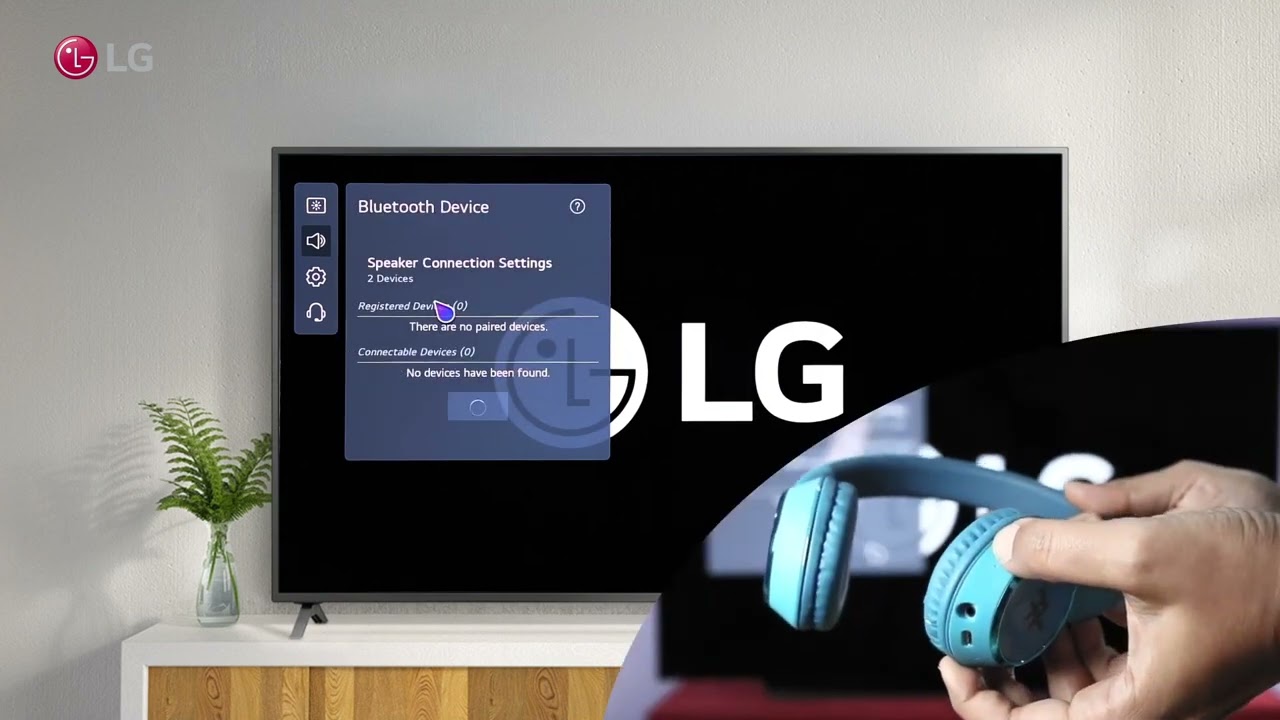
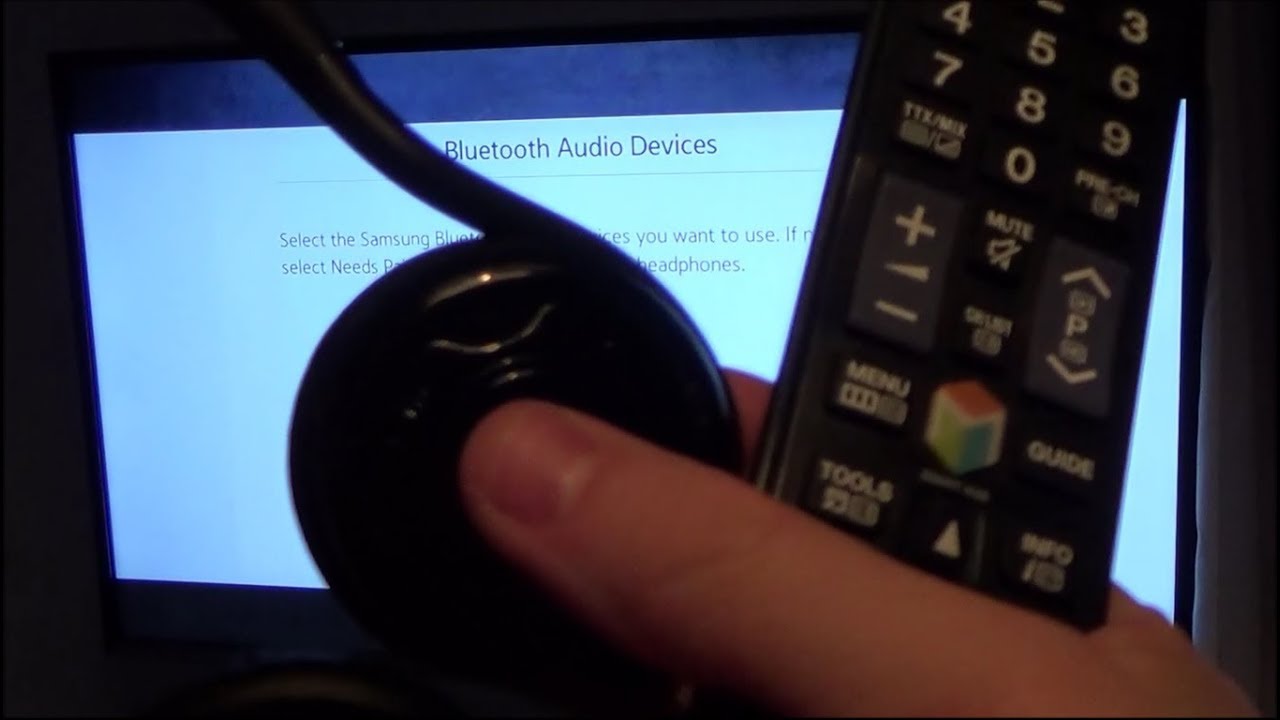
- On your TV, navigate to the Bluetooth settings. This can usually be found in the “Settings” or “Connections” menu.
- Enable Bluetooth on your TV and wait for it to search for available devices.
- On your TV, select the name of your wireless headphones from the list of available devices.
- If prompted, enter the PIN code for your headphones. This can usually be found in the user manual or on the headphone’s packaging.
- Once the pairing is successful, you’ll receive a confirmation message on your TV screen.
It’s essential to note that not all TVs support Bluetooth connectivity. If your TV lacks built-in Bluetooth, you can still connect wireless headphones by using an external Bluetooth transmitter. Connect the transmitter to your TV’s audio output port, pair it with your headphones, and follow the same steps mentioned above. Just ensure that the Bluetooth transmitter you choose is compatible with your TV model.
In some cases, you may encounter specific setup instructions or limitations based on your TV’s brand or model. If you’re unsure about the exact steps for your TV, refer to the user manual or the manufacturer’s support website for detailed instructions. Once the Bluetooth connection is successfully established, you can proceed to the next step of pairing the headphones with your TV.
Step 4: Pair the headphones with your TV
After setting up the Bluetooth connection between your TV and wireless headphones, it’s time to pair them together. The pairing process may differ based on your headphones and TV model, but here’s a general guideline:
- Ensure that both your TV and headphones are turned on and within a close range.
- On your TV, navigate to the Bluetooth settings and access the list of paired devices.
- Locate the name of your wireless headphones in the list and select it to initiate the pairing process.
- Follow any on-screen instructions or prompts that may appear on your TV display.
- Once the pairing is complete, you’ll receive a confirmation message on your TV screen or hear a tone in your headphones indicating successful connection.
It’s worth noting that some headphones support multi-point pairing, allowing you to connect them to multiple devices simultaneously. If you’ve previously paired your headphones with another device, make sure to disconnect them from that device before attempting to pair them with your TV.
If you encounter any difficulties during the pairing process or the headphones fail to connect consistently, try the following troubleshooting steps:
- Ensure that your headphones are adequately charged.
- Reset the Bluetooth settings on both your TV and headphones and repeat the pairing process.
- Verify that your headphones are compatible with your TV model.
- Update the firmware of your headphones and TV, if applicable, to the latest versions.
If you’re still unable to pair your headphones with your TV, refer to the user manual or contact the manufacturer’s support for further assistance.
Once the headphones are successfully paired with your TV, you’re ready to move on to the next step: adjusting the audio settings on your TV to optimize the audio experience.
Step 5: Adjust the audio settings on your TV
After successfully pairing your wireless headphones with your TV, it’s important to ensure that the audio settings on your TV are adjusted correctly to optimize your listening experience. Here are some key settings to consider:
Volume control: Check if the volume control on your TV remote or the headphone volume control is functioning properly. Make sure the volume is at a comfortable level before proceeding.
Audio output mode: Navigate to the audio settings on your TV and select the appropriate output mode. Choose options like “Headphones” or “Bluetooth Audio” to route the audio to your wireless headphones instead of the built-in TV speakers.
Sound mode: Explore the different sound modes available on your TV and select the one that suits your preferences. Whether it’s a movie mode for immersive audio or a dialogue mode for clearer speech, adjust the sound mode according to your preferences.
Equalizer settings: Some TVs offer equalizer settings that allow you to fine-tune the audio output. Experiment with these settings to customize the sound quality based on your preferences. Adjust the bass, treble, and other frequencies to achieve the desired audio balance.
Audio delay settings: In some cases, you may experience a slight delay in audio when using wireless headphones. This can be distracting, especially when watching videos. To address this, look for an audio delay or lip-sync setting in your TV’s audio settings. Adjust the delay until you get synchronized audio and video playback.
Other audio enhancements: Explore any additional audio enhancement features your TV may offer, such as virtual surround sound or dialogue enhancement. These features can further enhance your audio experience when using wireless headphones.
It’s important to note that the audio settings may vary depending on your TV model and brand. If you’re unsure about any specific settings or options, refer to your TV’s user manual or consult the manufacturer’s support for guidance.
Once you’ve adjusted the audio settings to your liking, you’re ready for the final step: testing the connection and enjoying your wireless headphones!
Step 6: Test the connection and enjoy your wireless headphones!
Now that you’ve completed all the necessary steps to connect wireless headphones to your TV, it’s time to put everything to the test and enjoy your audio experience. Here’s what you need to do:
- Put on your wireless headphones and ensure they are properly fitted and comfortable.
- Play a video or audio content on your TV to test the connection.
- Listen carefully through your headphones to ensure you’re receiving clear and high-quality audio.
- Adjust the volume using the headphone volume control or the TV’s remote control.
- Pay attention to any audio delays or synchronization issues. If you notice any, go back to the audio settings and adjust the delay settings until the audio is properly synced.
- Take some time to explore different types of content, such as movies, TV shows, music, or games, to experience the full range of your wireless headphones’ capabilities.
During the testing phase, make sure to pay attention to the audio quality, comfort, and overall performance of your wireless headphones. If you encounter any issues or if the connection seems unstable, review the previous steps to ensure everything is set up correctly.
Remember, each TV and headphone model may have unique features and settings, so it’s essential to familiarize yourself with their user manuals for specific instructions and troubleshooting tips.
Once you’re satisfied with the audio experience, sit back, relax, and enjoy the freedom of wireless sound as you immerse yourself in your favorite shows, movies, or music, without disturbing others around you.
Congratulations! You have successfully connected and tested your wireless headphones with your TV. Now, all that’s left to do is sit back, relax, and enjoy the seamless and immersive audio experience that wireless headphones provide.