Introduction
Welcome to the world of computer temperature monitoring! If you are a Windows 7 user and concerned about the health of your CPU, you’ve come to the right place. Monitoring your CPU temperature is crucial to ensure optimal performance and avoid heat-related issues that can potentially harm your computer.
Windows 7 provides various methods to check the CPU temperature, allowing you to keep a close eye on the temperature levels and take necessary measures to prevent any potential problems. In this guide, we will explore different methods that you can use to check your CPU temperature in Windows 7.
Before we dive into the methods, it’s important to note that monitoring your CPU temperature can be done through third-party software. These programs provide real-time temperature updates and additional features to help you optimize your computer’s performance. However, we will focus on built-in methods that are readily available in Windows 7, requiring no additional installations.
Monitoring your CPU temperature can be beneficial for several reasons. Firstly, it allows you to identify any potential overheating issues before they cause severe damage. Overheating can lead to system instability, unexpected shutdowns, and even permanent hardware damage. By regularly monitoring the CPU temperature, you can take preventive measures like improving airflow in your computer or adjusting fan speeds to maintain the optimum temperature.
Secondly, monitoring the CPU temperature can help you identify any performance-related issues. High CPU temperatures can result in reduced performance and slow down your system. By keeping an eye on the temperature levels, you can make informed decisions regarding resource-intensive tasks, such as gaming or video editing, to ensure that your CPU’s thermal limits are not exceeded.
Now that we understand the importance of monitoring your CPU temperature, let’s explore the different methods available in Windows 7 to check your CPU temperature. Whether you prefer using the built-in Task Manager or third-party tools, you’ll find a suitable method to help you keep your CPU cool and your system running smoothly.
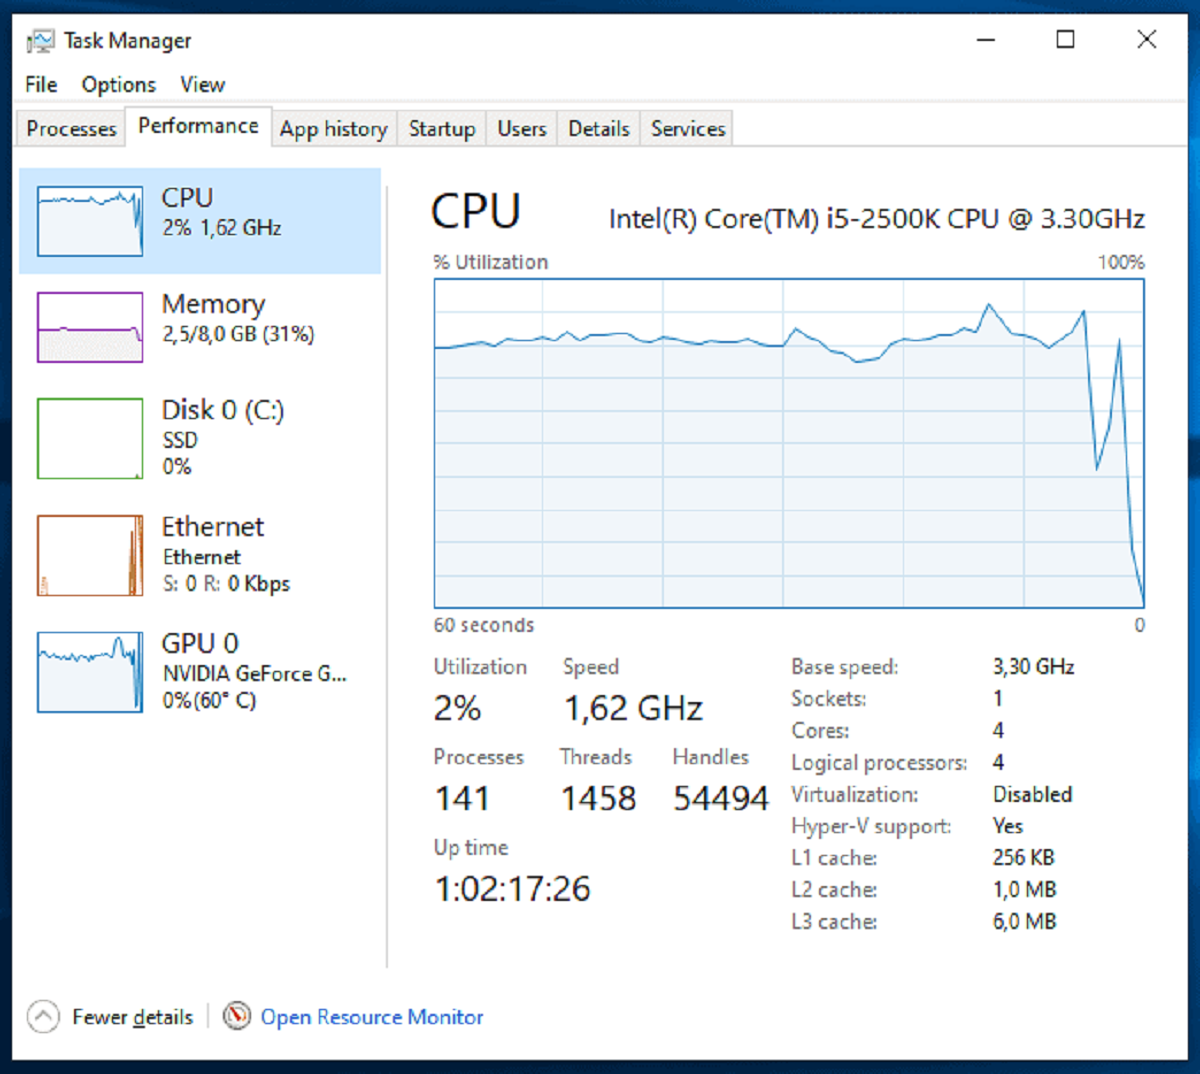
Method 1: Using Task Manager
The Task Manager is a built-in utility in Windows 7 that allows you to monitor various aspects of your computer, including the CPU temperature. Although it doesn’t provide real-time temperature updates, it can still give you a rough idea of your CPU’s temperature.
To check the CPU temperature using Task Manager, follow these steps:
- Right-click on the Taskbar and select “Task Manager” from the context menu. Alternatively, you can press “Ctrl + Shift + Esc” on your keyboard.
- In the Task Manager window, click on the “Performance” tab.
- Under the “Performance” tab, you will see various performance graphs. Look for the “CPU” section.
- In the CPU section, you will find the graph displaying your CPU usage. Below the graph, you will see a numerical value indicating the current CPU usage percentage. Right-click on the graph and select “Change graph to” -> “Logical processors” -> “CPU Temperature”.
- The CPU temperature will now be displayed in the graph section.
It’s important to note that Task Manager provides a general estimation of the CPU temperature and may not be as accurate as dedicated monitoring software. Additionally, this method only works if your CPU supports temperature monitoring through the BIOS. If your CPU does not support this feature, you may not see the temperature graph.
Though not the most precise method, using Task Manager can give you a basic idea of your CPU’s temperature. If you notice consistently high temperatures or sudden spikes in CPU usage, it may indicate that your CPU is running too hot and needs further investigation.
Method 2: Using Core Temp
If you’re looking for more accurate and detailed CPU temperature monitoring, Core Temp is a popular third-party software that provides real-time temperature updates and additional features. It is a lightweight, easy-to-use program that is compatible with Windows 7 and is widely trusted by tech enthusiasts.
To check the CPU temperature using Core Temp, follow these steps:
- Download and install Core Temp from the official website (https://www.alcpu.com/CoreTemp/).
- Launch Core Temp after installation.
- You will see a compact window displaying all the CPU cores along with their respective temperatures.
- The “Distance to TJ Max” value indicates the temperature difference between the current temperature and the maximum operating temperature of your CPU. The lower this value, the hotter your CPU is running.
- Additionally, Core Temp provides other useful information such as core utilization, voltage, and CPU frequency.
Core Temp also offers customization options, allowing you to adjust the temperature units, choose a different skin, or set up notifications for temperature thresholds.
One of the advantages of using Core Temp is its ability to provide temperature information for each individual CPU core. This allows for a more detailed understanding of your CPU’s temperature distribution and can help identify potential cooling issues.
Remember, while Core Temp is highly accurate, it is important to understand the safe temperature range for your specific CPU model. You can find this information on the manufacturer’s website or in the CPU’s datasheet. If you notice consistently high temperatures exceeding the recommended limits, it may be necessary to take steps to improve your computer’s cooling, such as cleaning dust from the fans or applying new thermal paste.
Using Core Temp is an excellent way to monitor your CPU temperature in real-time and ensure that your system stays within a safe temperature range, maximizing performance and preventing potential damage.
Method 3: Using Speccy
Speccy is another popular third-party software that provides detailed information about your computer’s hardware, including the CPU temperature. Developed by Piriform, the same company behind CCleaner, Speccy offers a user-friendly interface and real-time temperature monitoring.
To check the CPU temperature using Speccy, follow these steps:
- Download and install Speccy from the official website (https://www.ccleaner.com/speccy).
- Once installed, launch Speccy.
- In the main interface, you will find various categories on the left-hand side. Click on the “CPU” option.
- On the right-hand side, you will see detailed information about your CPU, including its temperature.
- Additionally, Speccy provides information about other hardware components such as GPU, RAM, motherboard, and more.
Speccy also offers the option to save a snapshot of your system’s hardware information, making it handy for future reference or if you need to share the information with others for troubleshooting purposes.
One of the notable features of Speccy is its ability to provide historical temperature data. By enabling the “Enable Monitoring” option in the “View” menu, Speccy can continuously monitor and log the temperature of your CPU over time. This can be helpful in identifying temperature patterns and spotting any irregularities or sudden temperature spikes.
Speccy is a powerful tool for monitoring the CPU temperature and gathering detailed information about your computer’s hardware. With its intuitive interface and real-time temperature updates, it is a great choice for Windows 7 users who want a comprehensive overview of their system’s performance.
Method 4: Using HWMonitor
HWMonitor is a reliable and widely-used third-party software that provides accurate and real-time monitoring of your CPU temperature and other hardware components. Developed by CPUID, HWMonitor offers a simple and user-friendly interface, making it accessible for Windows 7 users.
To check the CPU temperature using HWMonitor, follow these steps:
- Download and install HWMonitor from the official website (https://www.cpuid.com/softwares/hwmonitor.html).
- Launch HWMonitor after installation.
- In the main interface, you will see a list of various hardware components along with their respective temperature readings.
- Scroll down to find the CPU section and observe the temperature values.
- HWMonitor provides temperature information for each individual CPU core, allowing you to monitor the temperature distribution across cores.
Additionally, HWMonitor displays other useful information such as fan speeds, voltages, and power consumption, giving you a comprehensive overview of your system’s performance.
One of the advantages of using HWMonitor is its ability to detect and display the temperatures and sensor values from various sensors on your motherboard. This includes CPU temperature, GPU temperature, and even temperatures of other components such as hard drives or SSDs if supported by your motherboard.
HWMonitor also allows you to customize the temperature units, choose different skins, and export monitoring data for further analysis or troubleshooting purposes.
With its accurate and real-time temperature monitoring capabilities, HWMonitor is an excellent choice for Windows 7 users who want to keep a close eye on their CPU temperature and overall system health.
Method 5: Using Open Hardware Monitor
If you are looking for an open-source solution to monitor your CPU temperature in Windows 7, Open Hardware Monitor is a great choice. It is a lightweight and free software that provides real-time monitoring of various hardware components, including the CPU temperature.
To check the CPU temperature using Open Hardware Monitor, follow these steps:
- Download and install Open Hardware Monitor from the official website (https://openhardwaremonitor.org/).
- Launch Open Hardware Monitor after installation.
- In the main interface, you will see a list of different sensors displaying temperature readings for various hardware components.
- Scroll down or use the search function to find the CPU section.
- Expand the CPU section to view the temperature readings of each individual CPU core as well as other relevant information.
Open Hardware Monitor also provides other useful information such as fan speeds, voltages, and utilization percentages for different hardware components. This can help you get a comprehensive understanding of your system’s performance and health.
One of the notable features of Open Hardware Monitor is its ability to log and export monitoring data. You can enable the logging feature in the Options menu to record temperature and other sensor data over time. This can be useful for analyzing temperature trends or sharing data with technical support if needed.
Another advantage of using Open Hardware Monitor is its compatibility with a wide range of hardware, making it suitable for various computer setups.
Overall, Open Hardware Monitor is a reliable and open-source choice for monitoring your CPU temperature in Windows 7. With its real-time monitoring capabilities and additional features, you can ensure that your CPU operates within a safe temperature range to maintain optimal performance and durability.
Conclusion
Monitoring the CPU temperature is essential for maintaining the optimal performance and longevity of your Windows 7 computer. By keeping an eye on the temperature levels, you can take necessary measures to prevent overheating and potential hardware damage.
In this article, we explored five different methods to check the CPU temperature in Windows 7. We started with the built-in Task Manager, which provides a basic estimation of CPU temperature, although it may not be as accurate as dedicated monitoring software. Then, we discussed third-party software options, such as Core Temp, Speccy, HWMonitor, and Open Hardware Monitor, which offer real-time temperature updates and additional features for detailed monitoring.
Each method has its advantages, and the choice depends on your preferences and needs. Task Manager is a convenient built-in option, while Core Temp, Speccy, HWMonitor, and Open Hardware Monitor provide more accurate and detailed temperature monitoring along with additional hardware information.
Remember to regularly monitor your CPU temperature, especially during resource-intensive tasks, to ensure that it stays within a safe temperature range. If you notice consistently high temperatures or sudden spikes, it may indicate a cooling problem that needs to be addressed, such as cleaning your computer’s fans or improving airflow.
With the information and methods provided in this article, you can now confidently monitor your CPU temperature in Windows 7 and take necessary precautions to maintain a cool and efficient system. Stay proactive in monitoring your CPU temperature to ensure optimal performance and a longer lifespan for your computer.