Introduction
As a Windows 11 user, it’s important to keep an eye on your CPU temperature to ensure that your computer is performing optimally and to prevent any potential issues caused by overheating. The CPU, or Central Processing Unit, is essentially the brain of your computer, handling all the calculations and operations required to run applications and processes.
When a CPU operates at high temperatures for prolonged periods, it can lead to performance degradation, system instability, and even hardware damage. Hence, regularly checking your CPU temperature is crucial for maintaining the health and performance of your PC.
In this article, we will explore various methods to check the CPU temperature on Windows 11. Whether you’re a tech enthusiast wanting to monitor your system’s temperature or troubleshooting potential cooling issues, we’ve got you covered!
It’s important to note that Windows 11 doesn’t have a built-in tool for monitoring CPU temperature. Therefore, we will rely on alternative methods, including using the Task Manager, accessing the BIOS/UEFI, and utilizing third-party software.
So, without further ado, let’s dive into the various methods that will enable you to check your CPU temperature on Windows 11!
Why is Checking CPU Temp Important?
Monitoring your CPU temperature is critical for several reasons. Let’s explore why it is important to regularly check the temperature of your CPU on Windows 11:
- Preventing Overheating: The CPU generates heat while functioning, and if it gets too hot, it can lead to thermal throttling, reduced performance, or even system crashes. By checking the CPU temperature, you can address any potential cooling issues before they cause significant damage to your system.
- Extending Hardware Lifespan: Excessively high temperatures can degrade the lifespan of your CPU and other components in your computer. By monitoring and maintaining optimal temperatures, you can extend the longevity and reliability of your hardware investment.
- Boosting Performance: CPUs perform better at lower temperatures. When your CPU runs too hot, it can throttle its performance to prevent overheating. By monitoring and regulating temperatures, you can ensure that your CPU is operating at its full potential and enjoying smooth, efficient performance.
- Identifying Cooling Issues: Monitoring your CPU temperature allows you to identify any cooling-related problems, such as malfunctioning fans, inadequate airflow, or improper heatsink installation. Identifying and addressing these issues promptly can prevent further damage and ensure optimal cooling for your CPU.
- Overclocking: If you are into overclocking your CPU for enhanced performance, monitoring its temperature becomes even more crucial. Overclocking can significantly increase the heat output of your CPU, and keeping an eye on the temperatures will help you ensure stability and prevent damage.
Overall, checking your CPU temperature regularly provides insight into the health and performance of your system. It allows you to take proactive measures to prevent overheating, optimize performance, extend hardware lifespan, and identify any cooling-related issues.
Now that we understand the importance of monitoring CPU temperature, let’s explore the different methods that Windows 11 users can employ to check their CPU temperature.
Method 1: Using the Task Manager
Windows 11’s Task Manager offers a quick and convenient way to check your CPU temperature. Here’s how you can do it:
- Right-click on the taskbar and select “Task Manager” from the context menu.
- In the Task Manager window, click on the “More details” option if you see a simplified view.
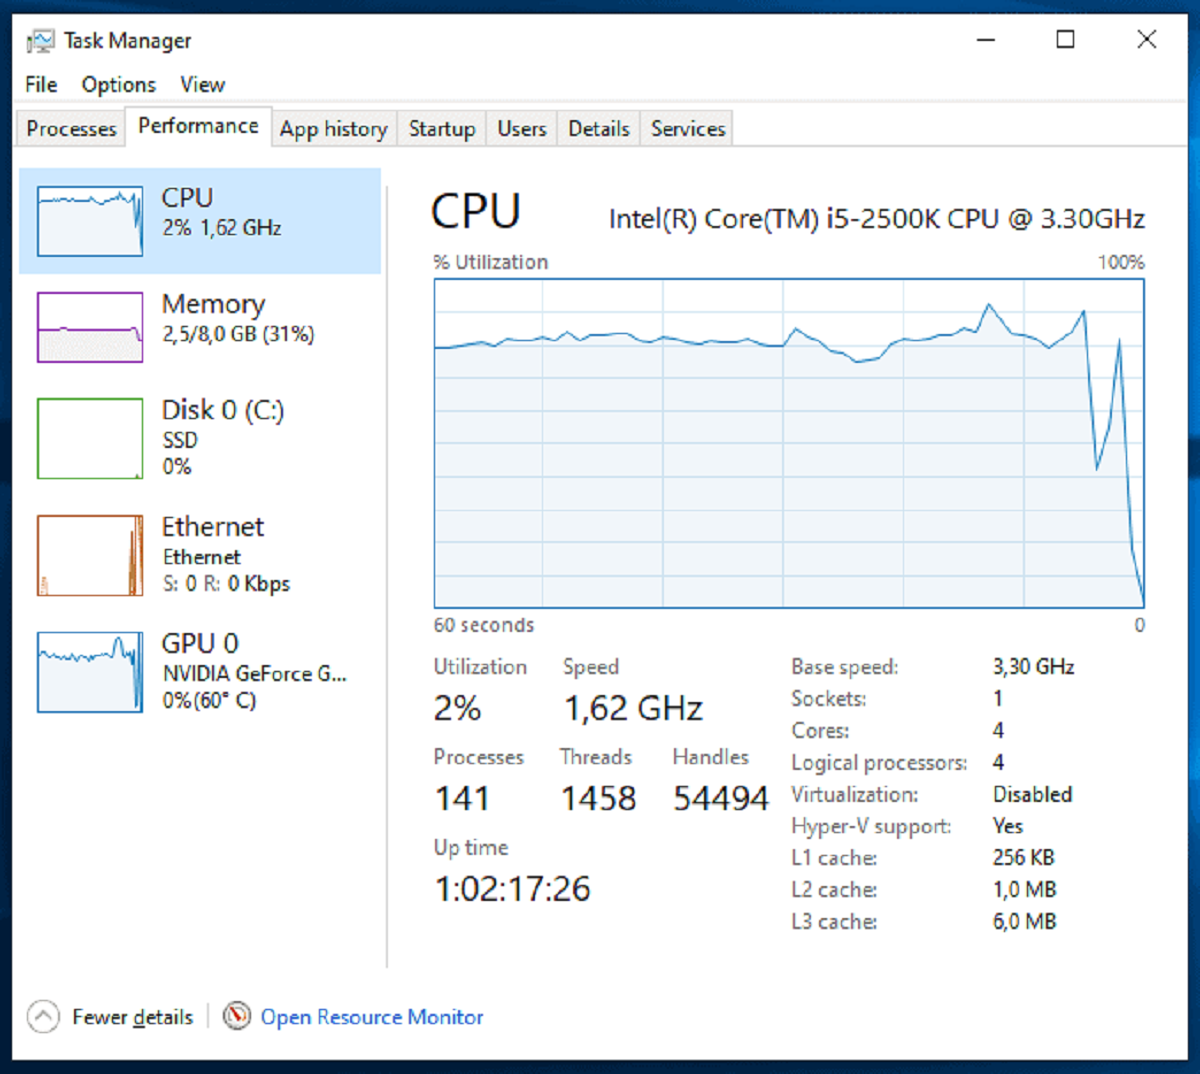
- Click on the “Performance” tab at the top of the Task Manager window.
- In the left pane, select “CPU” to display detailed information about your CPU.
- Look for the “Temperature” value under the CPU section. Note that not all CPUs report temperature data in the Task Manager, so this option may not be available for all systems.
By following these steps, you can quickly check your CPU temperature without the need for any additional software.
It’s important to note that the temperature displayed in the Task Manager may not be as accurate as readings obtained through other methods. The accuracy depends on various factors, including the CPU and its monitoring capabilities. Therefore, if you require precise and detailed temperature readings, it is recommended to explore other methods outlined in this article.
Now that you know how to check your CPU temperature using the Task Manager, let’s move on to the next method: accessing the BIOS/UEFI.
Method 2: Using the BIOS/UEFI
Another way to check your CPU temperature on Windows 11 is by accessing the BIOS/UEFI settings. Here’s how you can do it:
- Restart your computer and enter the BIOS/UEFI by pressing the designated key during the boot-up process. The key to access the BIOS/UEFI may vary depending on your computer’s manufacturer. It is usually one of the function keys (F1, F2, etc.) or the Delete key.
- Navigate through the BIOS/UEFI menus using your keyboard.
- Look for options related to hardware monitoring, system health, or CPU temperature. The location and naming of these options may differ depending on the motherboard and BIOS version.
- Once you find the CPU temperature option, you can view the current temperature directly on the BIOS/UEFI screen.
- Take note of the CPU temperature and any additional information provided by the BIOS/UEFI.
Using the BIOS/UEFI to check CPU temperature provides more accurate readings, as it directly accesses the temperature sensors on your CPU. However, this method requires entering the BIOS/UEFI settings, which may not be as convenient as using other software-based solutions.
Remember to exit the BIOS/UEFI without making any changes to avoid any unintended modifications to your system’s settings.
Now that you know how to check CPU temperature using the BIOS/UEFI, let’s explore another method: utilizing third-party software.
Method 3: Using Third-Party Software
If you prefer a more user-friendly and feature-rich solution for checking CPU temperature on Windows 11, you can turn to third-party software. There are several reliable applications available that can provide accurate real-time temperature readings. Here’s how you can use third-party software to check your CPU temperature:
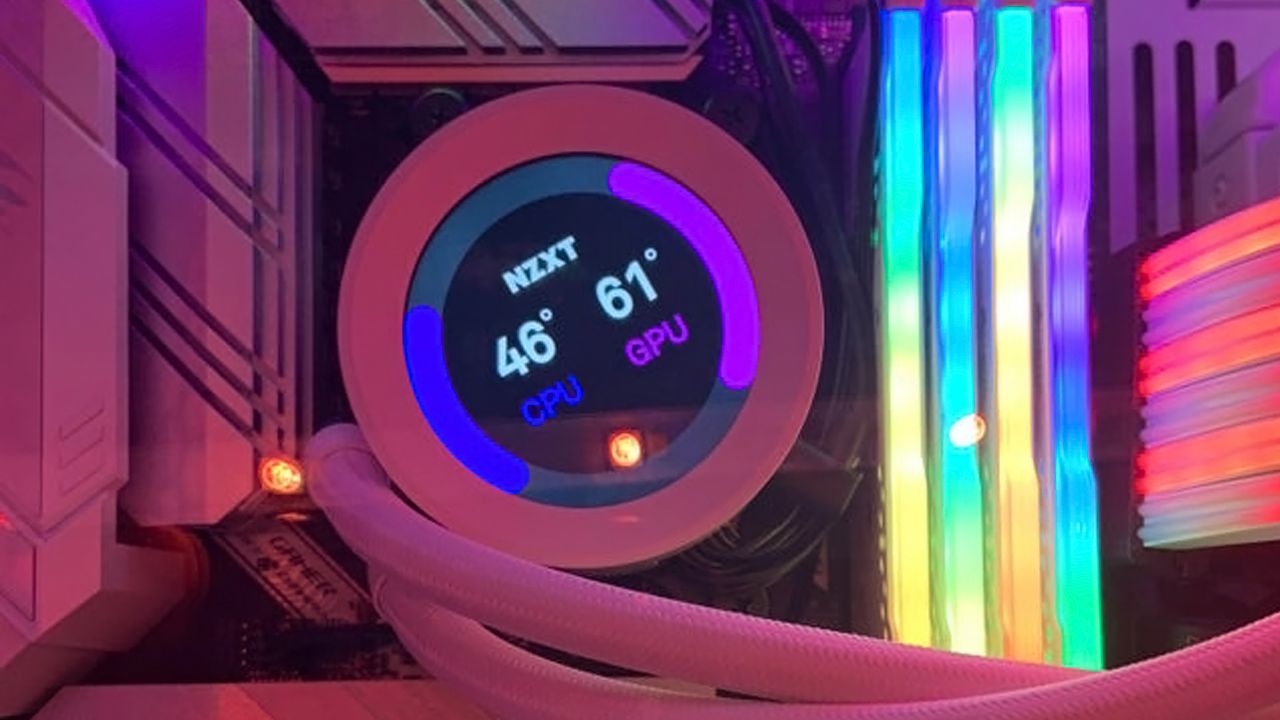
- Research and choose a reputable CPU monitoring software. Some popular options include Core Temp, HWMonitor, Open Hardware Monitor, and NZXT CAM.
- Visit the official website of the chosen software and download the latest version compatible with Windows 11.
- Install the software by following the provided instructions.
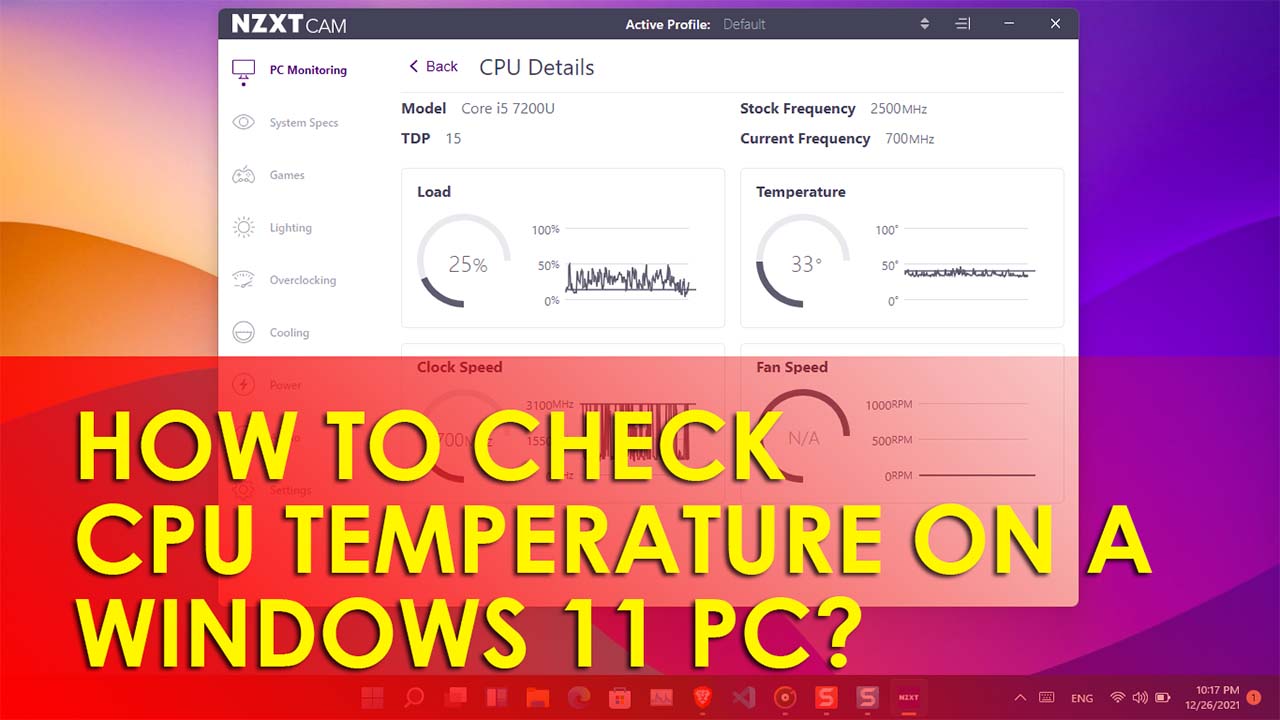
- Launch the software, and it will start displaying various hardware information, including the CPU temperature.
- Take note of the CPU temperature reading and any additional information or features provided by the software.
Using third-party software allows you to obtain accurate and detailed CPU temperature readings, along with additional features like system monitoring, fan control, and detailed hardware information. These applications often provide customizable display options and notifications to alert you to critical temperature levels.
It’s important to download CPU monitoring software from trusted sources to ensure data privacy and system security. Be cautious of downloading software from unfamiliar or suspicious websites.
Now that you know how to use third-party software to check your CPU temperature on Windows 11, let’s conclude the methods discussed in this article.
Conclusion
Monitoring your CPU temperature is crucial for maintaining the overall health and performance of your Windows 11 computer. By regularly checking the CPU temperature, you can prevent overheating, extend the lifespan of your hardware, optimize performance, and identify any cooling-related issues.
In this article, we explored three different methods to check CPU temperature on Windows 11:
- Using the Task Manager: This built-in Windows 11 utility provides a basic overview of your CPU temperature, although it may not be as accurate as other methods.
- Accessing the BIOS/UEFI: By entering the BIOS or UEFI settings, you can directly view the CPU temperature, providing more accurate readings.
- Utilizing Third-Party Software: Installing reputable CPU monitoring software offers detailed, real-time temperature readings along with additional features for system monitoring and fan control.
Each method has its advantages and disadvantages, and you can choose the one that suits your preferences and needs the best.
Remember, CPU temperature readings may vary based on various factors, including CPU model, cooling setup, and system workload. It’s important to consider temperature thresholds recommended by CPU manufacturers and to take appropriate cooling measures if necessary.
Whether you’re a tech enthusiast, a gamer, or simply a regular user, keeping an eye on your CPU temperature will help ensure smooth and stable performance on your Windows 11 system.
So, pick the method that works best for you, and start monitoring your CPU temperature today!