Introduction
Welcome to this step-by-step guide on how to change your user name in Windows 10. Your user name is the name that appears on your Windows account and is used to identify you when logging in or performing various actions on your computer. Whether you want to update your user name due to personal preference or for security reasons, Windows 10 makes it easy to make this change.
Changing your user name is a simple process that can be done by accessing the Control Panel and making the necessary adjustments. In this article, we will walk you through the steps to change your user name in Windows 10, ensuring a smooth transition and providing you with a fresh digital identity.
Please note that changing your user name will not affect any of your files, documents, or installed applications. It will only update the name displayed on your Windows account and certain system-related folders.
Before we get started, it’s always a good idea to create a backup of your important files, just in case. Now, let’s dive into the steps to change your user name in Windows 10.
Step 1: Access the Control Panel
The first step to changing your user name in Windows 10 is to access the Control Panel. The Control Panel is a centralized hub that allows you to customize various settings on your computer. Here’s how to do it:
- Click on the Start button located at the bottom left corner of your screen.
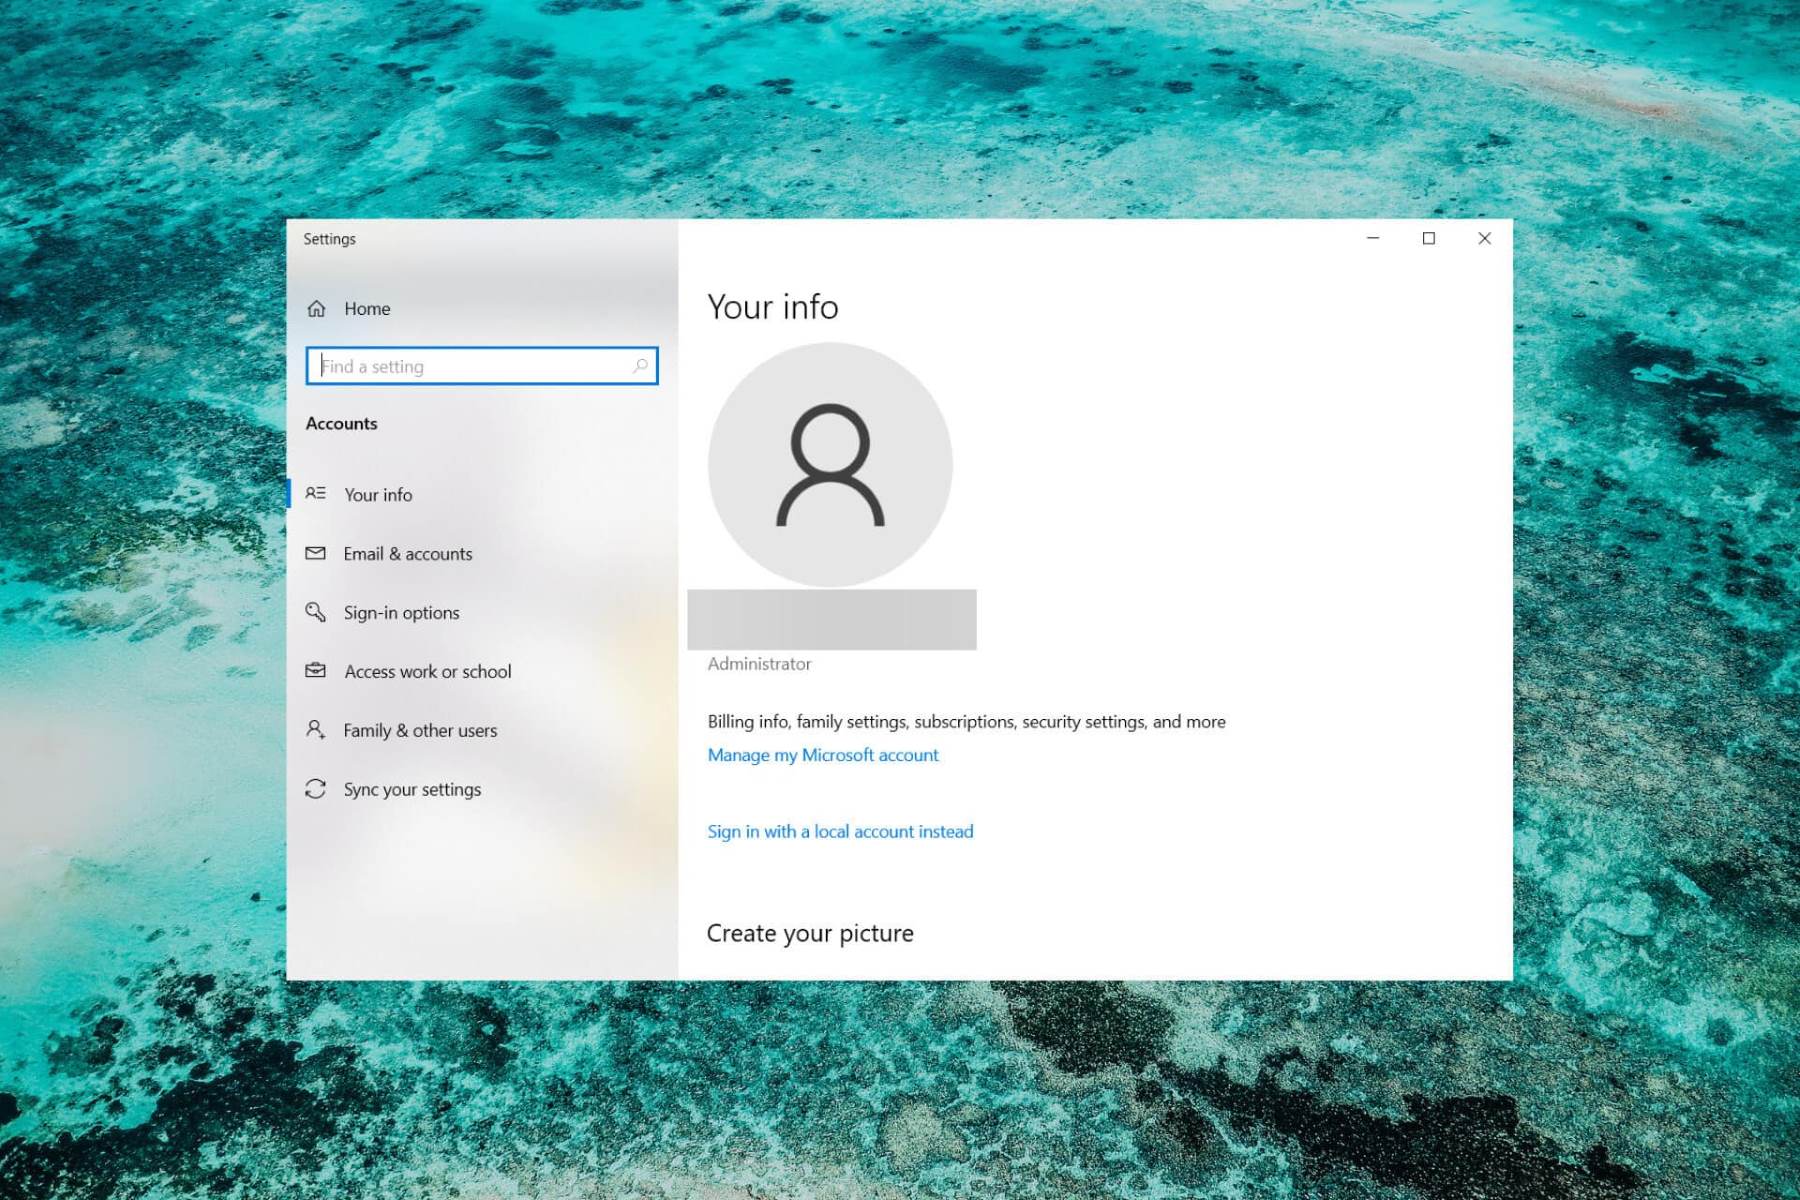
- In the Start menu, locate the “Settings” icon and click on it. It resembles a gear cogwheel.
- Once the Settings window opens, navigate to the “System” category.
- In the System settings, click on the “About” tab located on the left-hand side.
- Scroll down until you find the “Related settings” section and click on the “System info” link.
- Now, the System window will open, displaying various system-related information.
- In the System window, locate the “Advanced system settings” option on the left-hand side and click on it.
- A new window titled “System Properties” will appear. Make sure you are on the “Computer Name” tab.
- Click on the “Change” button located halfway down the window.
By following these steps, you have successfully accessed the Control Panel and are ready to move on to the next step of changing your user name in Windows 10.
Step 2: Change the User Name
Now that you have accessed the Control Panel, it’s time to change your user name in Windows 10. Here’s how to do it:
- In the “System Properties” window, you will see a section titled “Computer description.” Below that, you will find your current user name. Click on the “Change” button next to it.
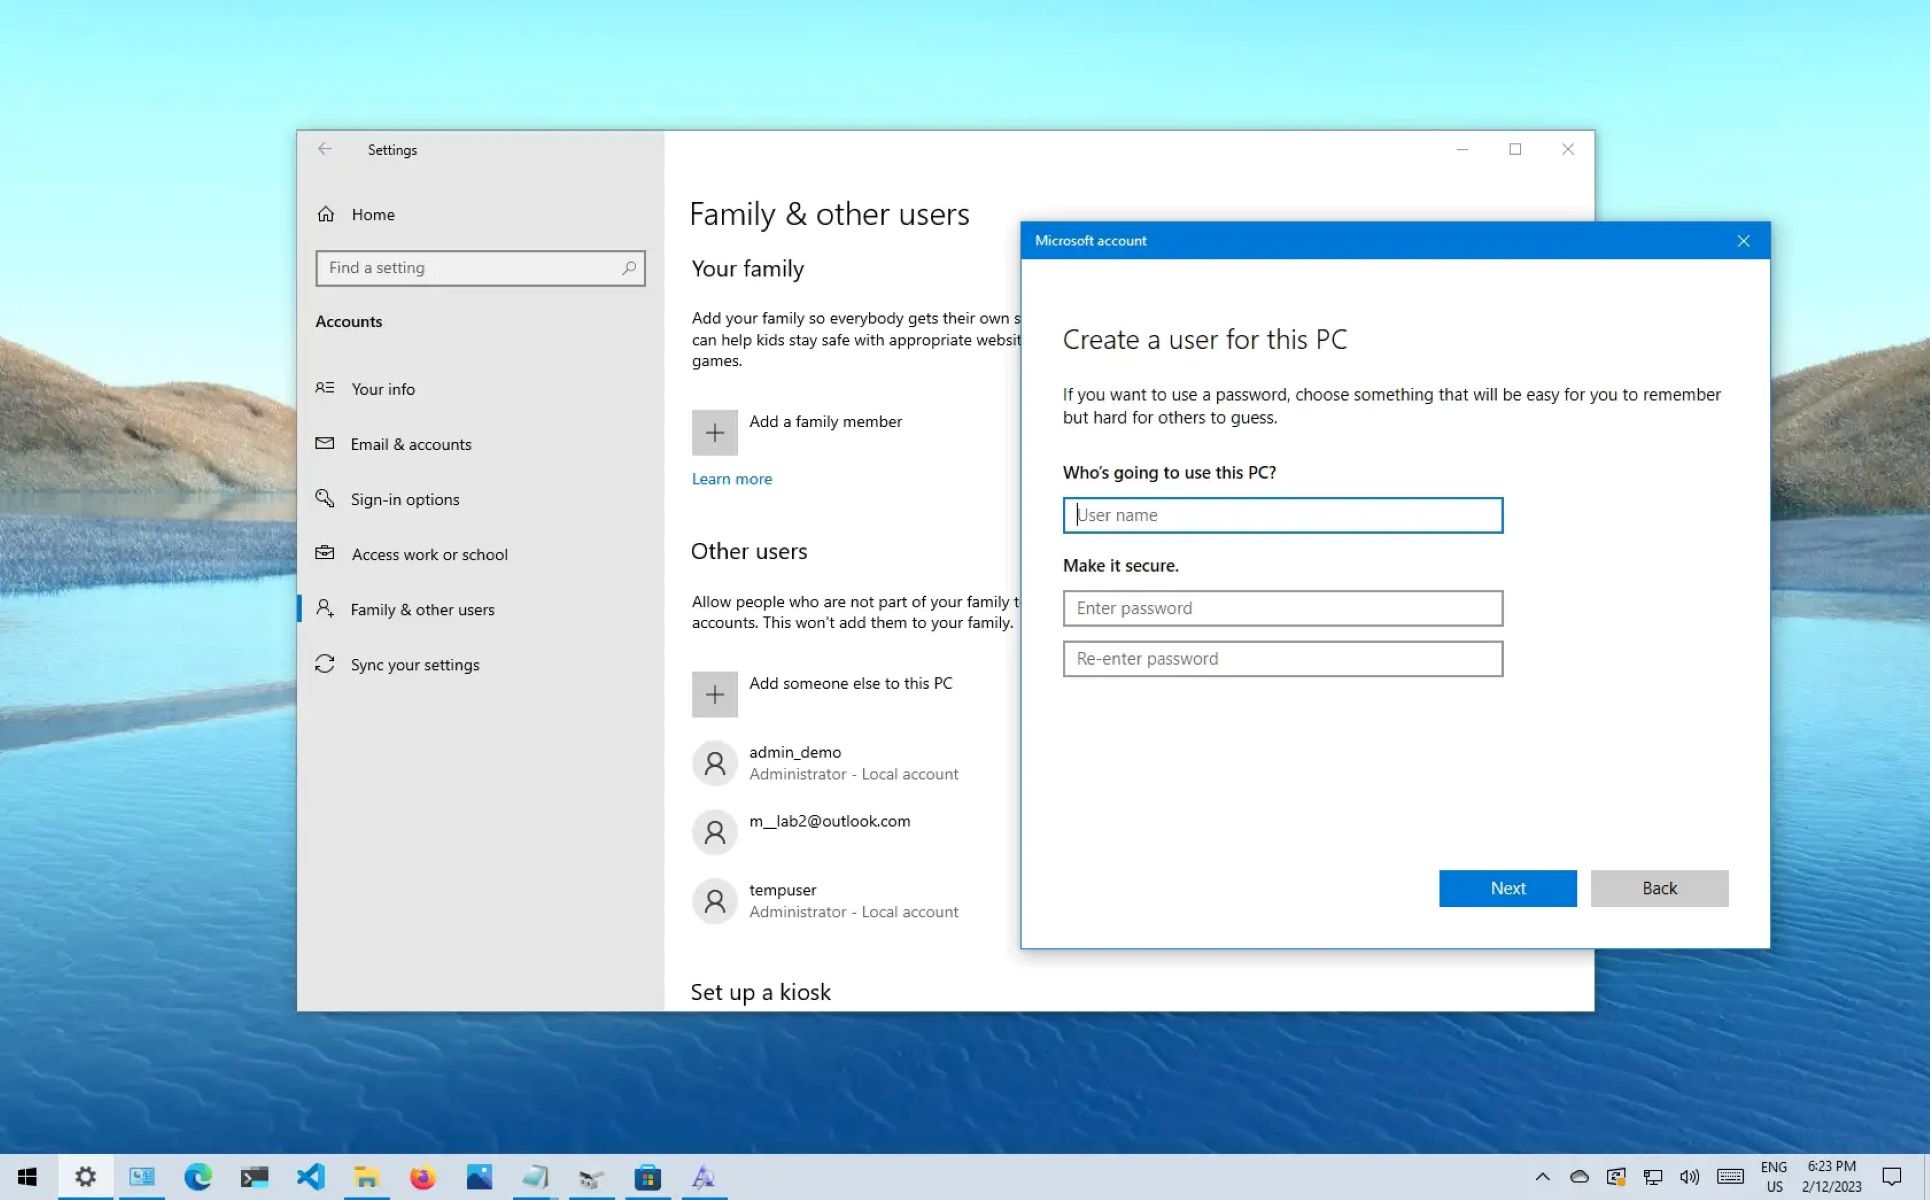
- A new window titled “User Accounts” will open, displaying your current user name.
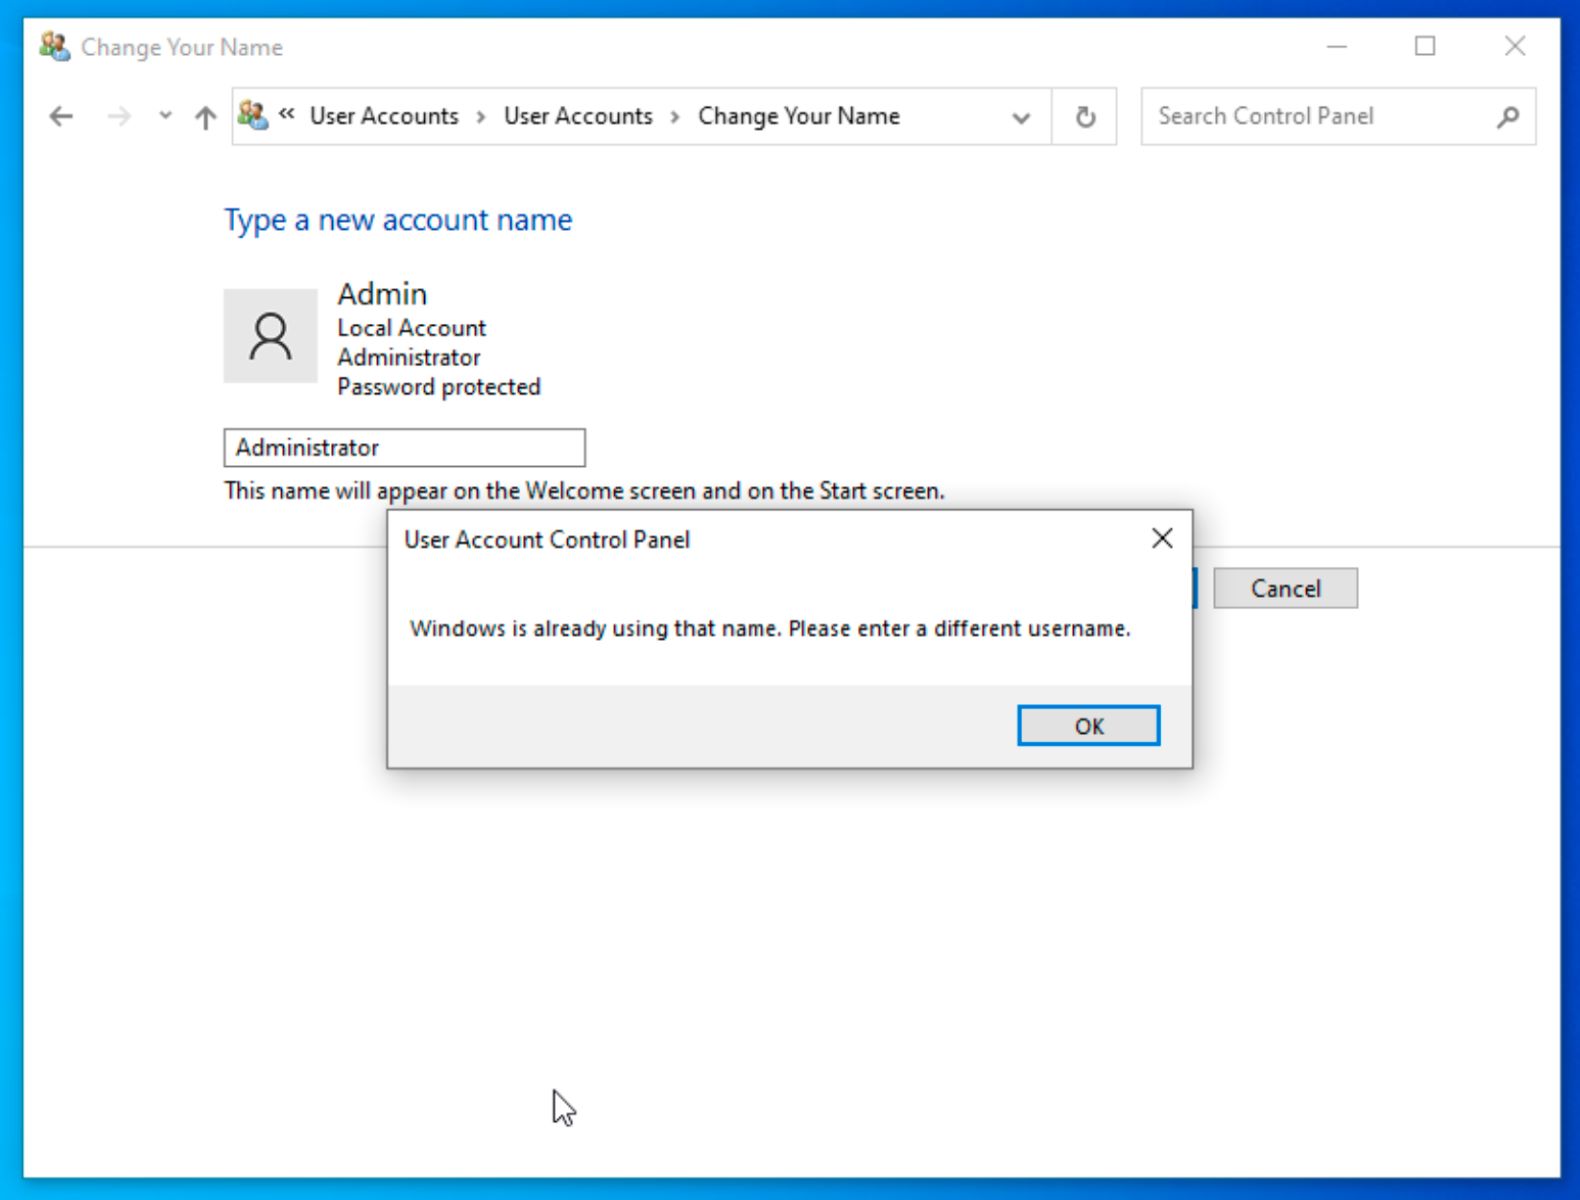
- In the User Accounts window, you will find an option to “Change your account name.” Click on it.
- Enter the new desired user name in the provided field. Please note that there are a few restrictions on the user name, such as not containing any special characters or being the same as an existing user.
- After entering the new user name, click on the “Change Name” or “Apply” button to save the changes.
- If prompted, you may need to enter your Windows account password to confirm the changes.
- Once you have successfully changed the user name, you will see a confirmation message. Click on “OK” to close the User Accounts window.
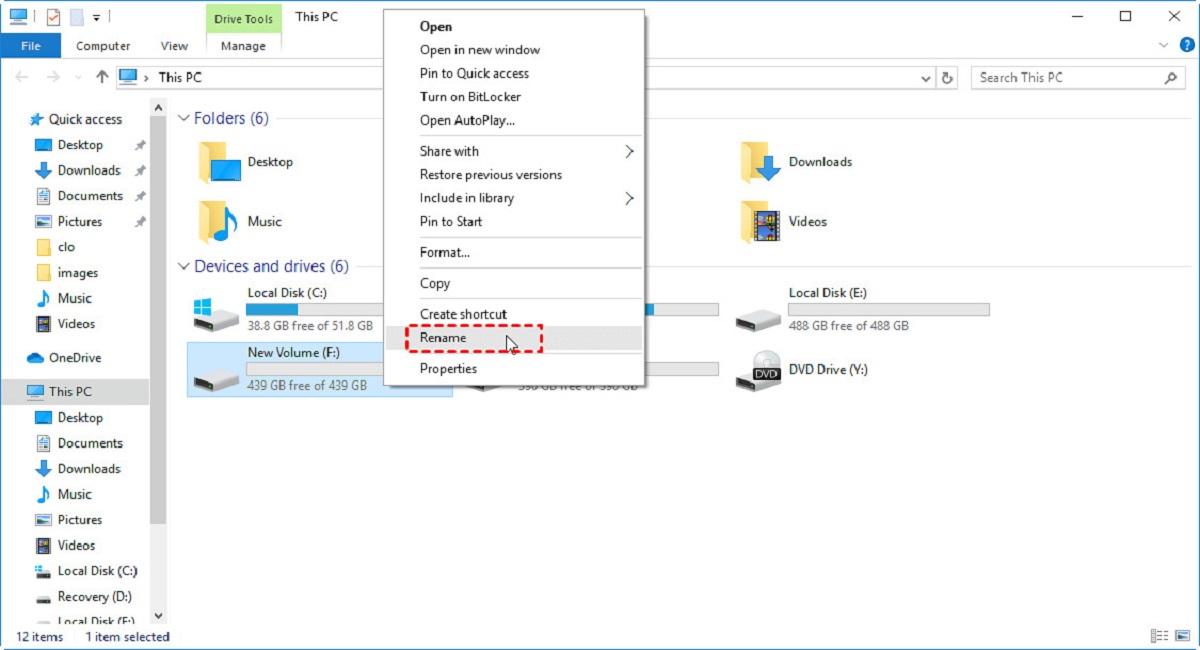
It’s important to note that changing your user name will not affect your user profile folder located in the C:\Users directory. The folder name will remain the same, even after changing your user name.
Congratulations! You have completed the process of changing your user name in Windows 10. However, the changes will only take effect after you sign out and sign back in to your Windows account.
Step 3: Apply the Changes
After changing your user name in Windows 10, it’s important to apply the changes to ensure that your new user name is reflected across the system. Here’s what you need to do:
- Click on the Start button located at the bottom left corner of your screen.
- Click on your user profile icon or the user name displayed in the Start menu.
- In the dropdown menu that appears, click on the “Sign out” or “Sign out/Change user” option.
- You will be signed out of your Windows account and taken to the login screen.
- On the login screen, enter your new user name and password to sign back in to your Windows account.
Once you’ve followed these steps and successfully signed back in with your new user name, you will notice that your updated user name is now displayed in the system. This change will be visible in various areas such as the Start menu, File Explorer, and any other places where your user name is shown.
It’s worth noting that some applications and services may require you to update the user name within their settings as well. For example, if you use a Microsoft Office suite, you may need to update the user name within the Office applications.
Make sure to check the settings of any third-party applications or services you use and update the user name accordingly to ensure a seamless experience.
That’s it! You have successfully applied the changes to your user name in Windows 10 and are now ready to enjoy your updated digital identity.
Conclusion
Changing your user name in Windows 10 can be done easily through the Control Panel. By following the steps outlined in this guide, you can update your user name to reflect your personal preference or for security reasons.
Remember that changing your user name will only affect how your name is displayed on your Windows account and system-related folders. It will not impact your files, documents, or installed applications.
After accessing the Control Panel, you can change your user name in the User Accounts settings. Simply enter the new desired user name, save the changes, and sign out and sign back in to apply the updates.
It’s important to also consider updating the user name in any third-party applications or services that you use on your computer to ensure a consistent experience across all platforms.
With the ability to change your user name, you can customize your Windows 10 experience to reflect your identity and preferences. Whether you’re updating your user name for personal reasons or to maintain security, the process outlined in this guide makes it quick and straightforward.
Now that you know how to change your user name in Windows 10, go ahead and give it a try to enjoy a fresh digital identity on your computer.