Introduction
Welcome to the world of technology where devices are interconnected and communication happens at the speed of light. Whether you are troubleshooting network issues, setting up a printer, or accessing a remote server, knowing your IP address is crucial. An IP address is a unique numerical identifier assigned to each device connected to a network. It allows devices to communicate with each other and enables data transmission over the internet.
If you are using a Windows 10 operating system, finding your IP address is a simple task. In this article, we will explore various methods to help you identify your IP address on Windows 10. We will walk you through the steps using the Command Prompt, Control Panel, and the Settings App. Additionally, we will also discuss using third-party IP address finder tools.
Knowing your IP address can be beneficial in many scenarios. You can use it to troubleshoot network issues, set up port forwarding, access your devices remotely, or even improve your online gaming experience. So, without further ado, let’s dive into the different methods of finding your IP address on Windows 10.
Method 1: Using the Command Prompt
The Command Prompt is a powerful command-line tool built into the Windows operating system. It allows you to execute various commands to perform tasks and access system information. Finding your IP address using the Command Prompt is a quick and straightforward process.
Here are the steps to find your IP address using the Command Prompt:
- Open the Command Prompt by pressing the Windows key and typing “Command Prompt” in the search bar. Click on the Command Prompt app to open it.
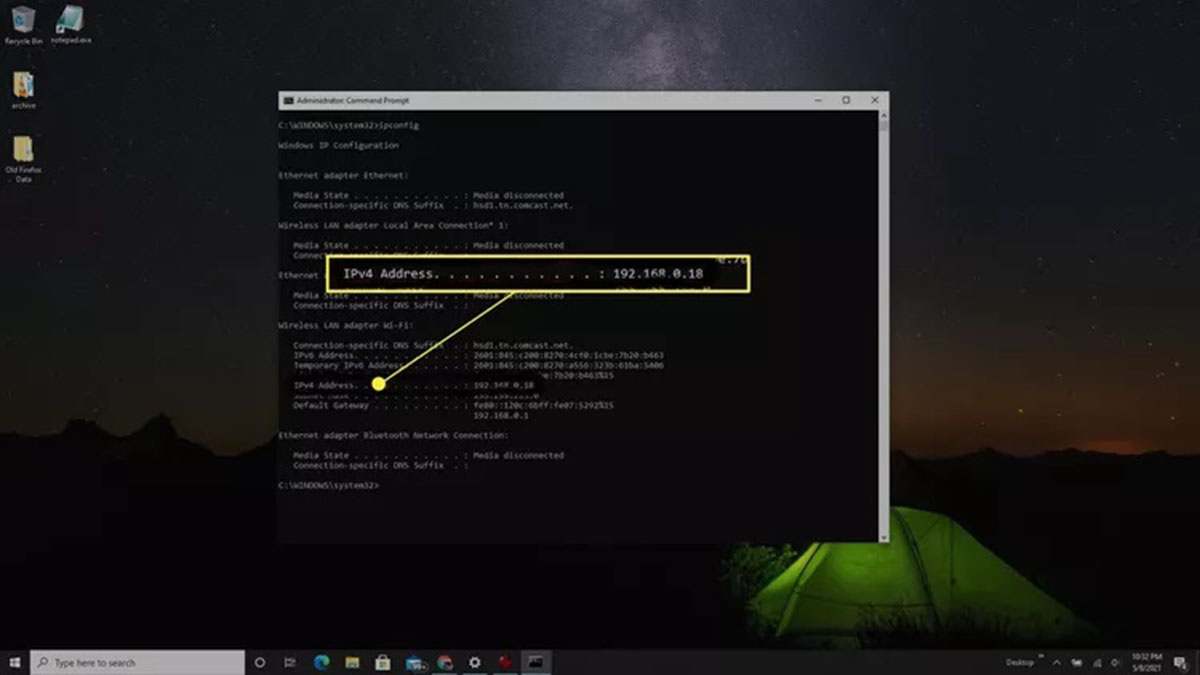
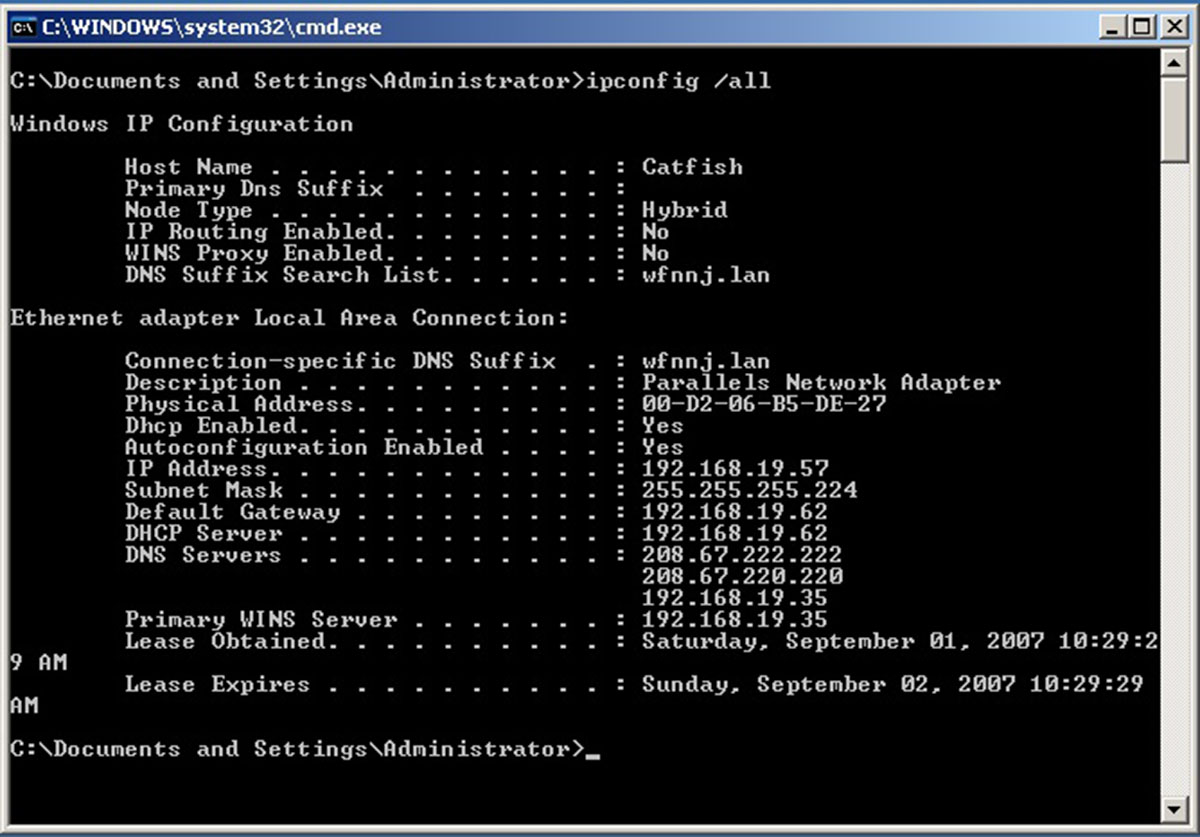
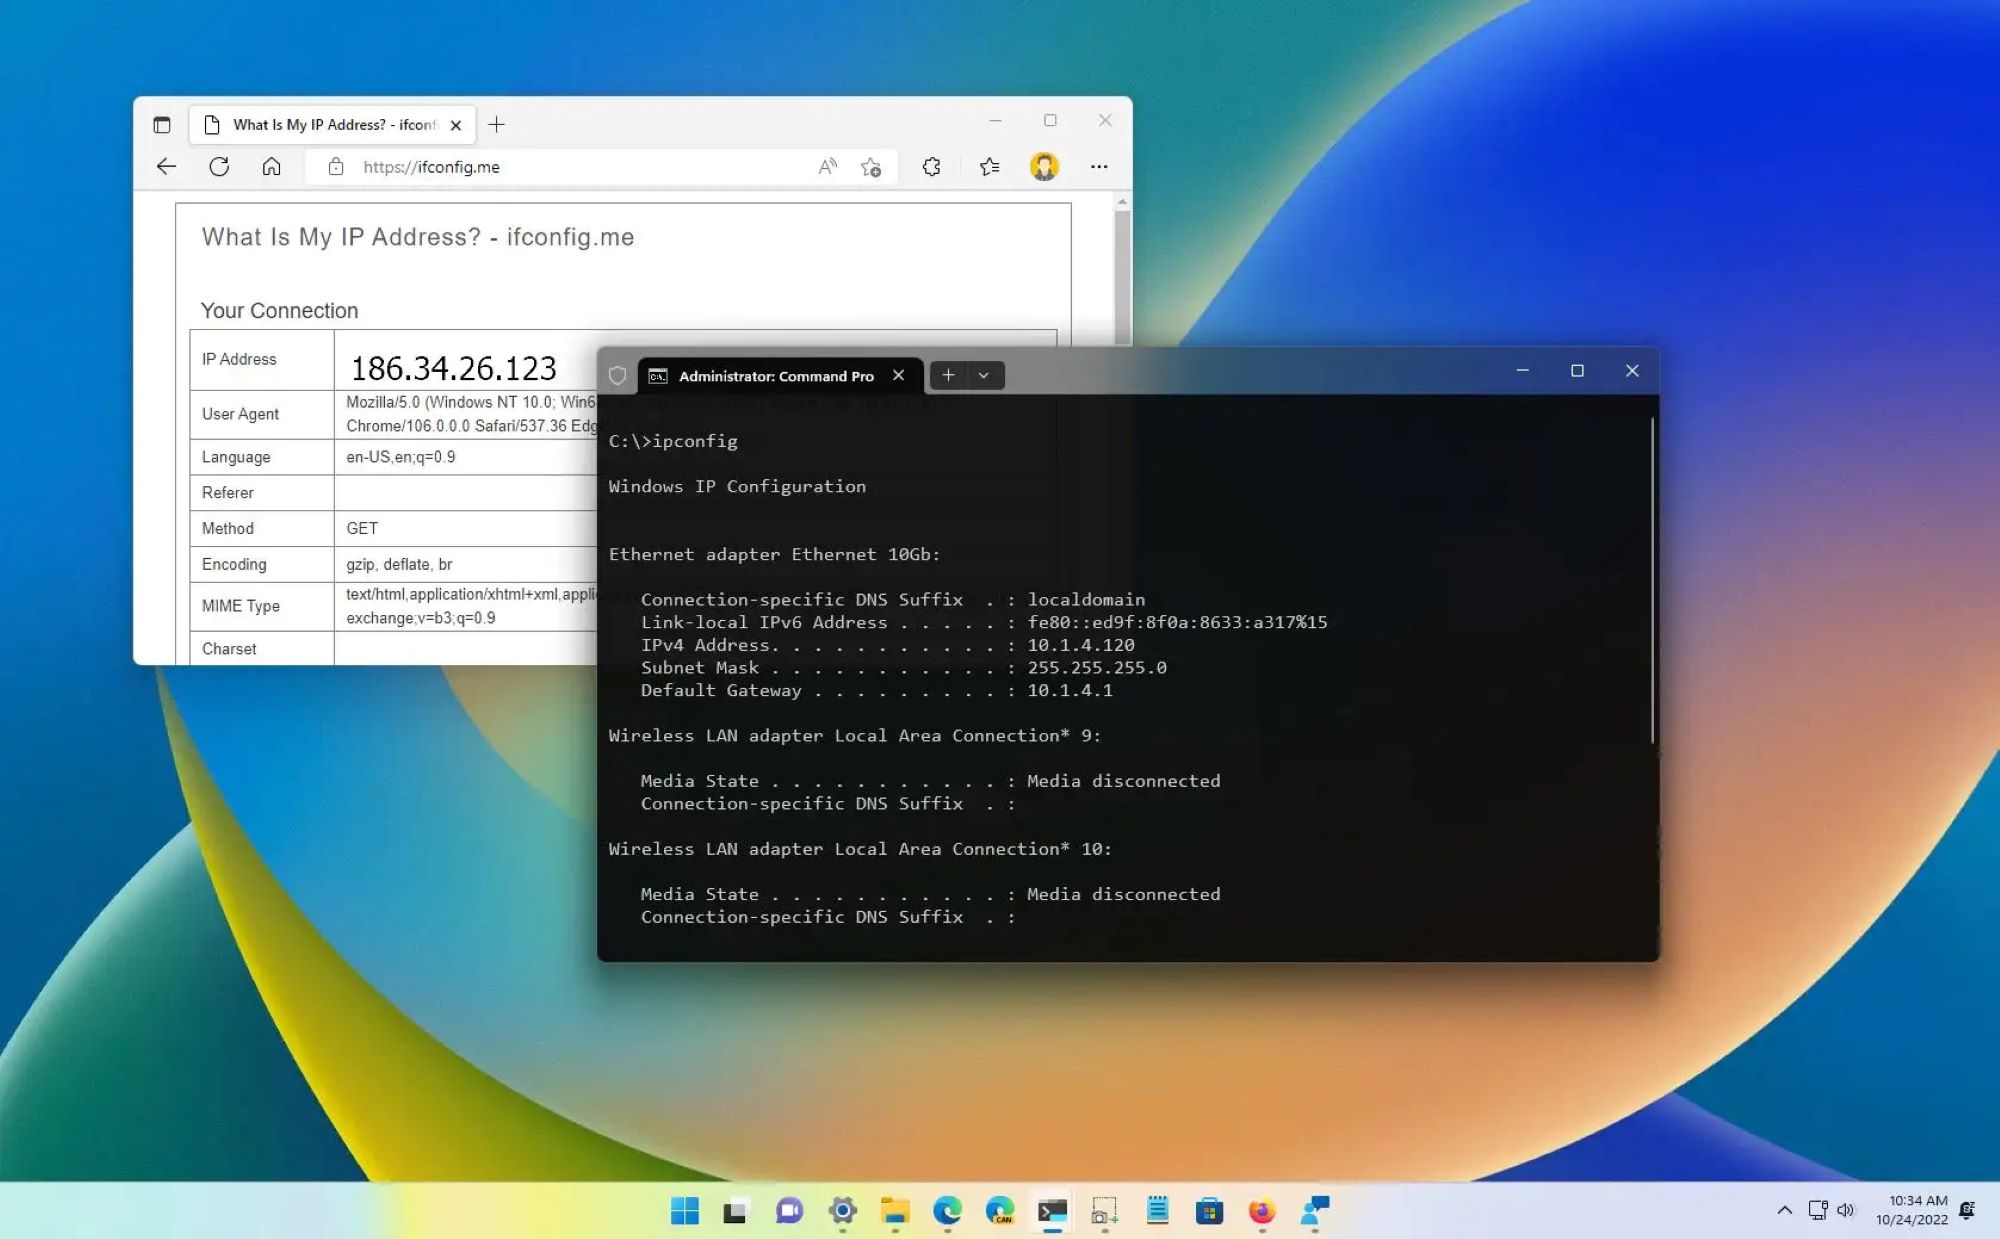
- Once the Command Prompt is open, type “ipconfig” and press Enter. This command displays detailed information about your network connection.
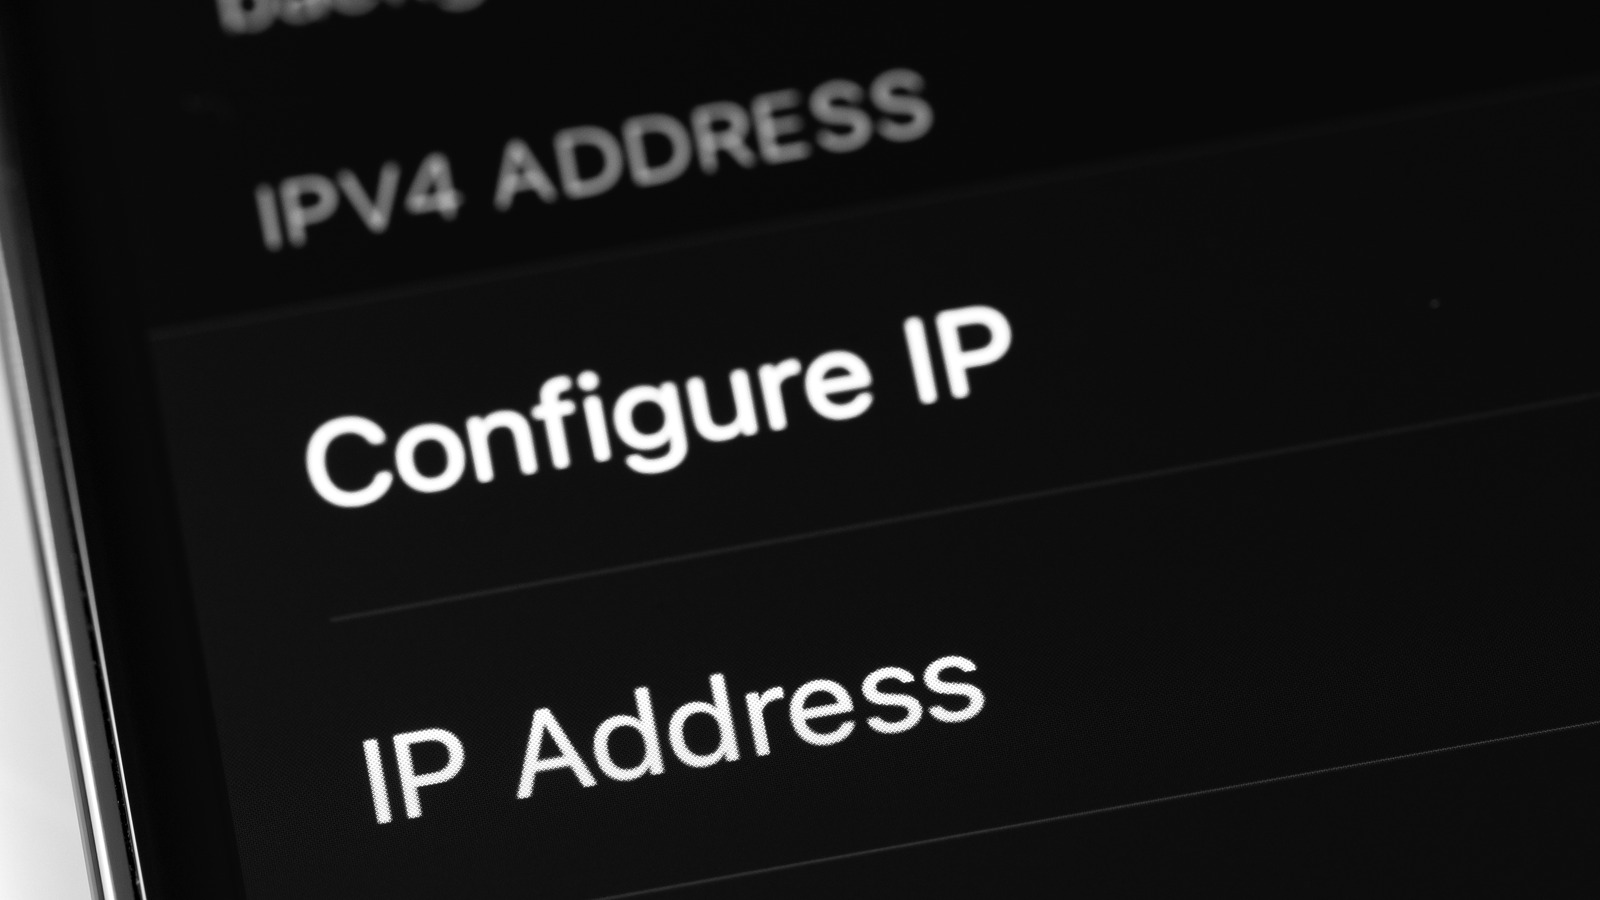
- Scroll through the list of information and look for the “IPv4 Address” or “IPv6 Address” under your network adapter. Your IP address will be listed next to it.
- Note that there may be multiple network adapters listed, especially if you have both wired and wireless connections. Make sure to locate the IP address associated with the network you are currently using.
That’s it! You have successfully found your IP address using the Command Prompt. You can now use this information for various networking purposes or any other tasks that require your IP address.
Using the Command Prompt is a convenient method, especially if you are familiar with command-line tools. However, if you prefer a more user-friendly approach, you can try using the Control Panel or the Settings App to find your IP address on Windows 10. Continue reading to learn about these alternative methods.
Method 2: Using the Control Panel
If you are not comfortable using command-line tools like the Command Prompt, you can also find your IP address using the Control Panel in Windows 10. The Control Panel provides a graphical user interface that allows you to access and manage various system settings, including network information.
Follow these steps to find your IP address using the Control Panel:
- Press the Windows key + R on your keyboard to open the Run dialog box.
- Type “control” and press Enter. This will open the Control Panel.
- In the Control Panel window, change the view mode to “Large icons” or “Small icons” for easier navigation.
- Locate and click on the “Network and Sharing Center” option. This will open a new window displaying network-related information.
- Under the “View your active networks” section, you will find the name of your current network. Click on it.
- In the new window that opens, click on the “Details” button. This will display detailed network information, including your IP address.
- Look for the “IPv4 Address” or “IPv6 Address” field. Your IP address will be listed next to it.
That’s it! You have successfully found your IP address using the Control Panel. The Control Panel provides a user-friendly interface, making it easy for anyone to access their network information.
Continue reading to learn about an alternative method using the Settings App to find your IP address on Windows 10.
Method 3: Using the Settings App
If you prefer a more modern and streamlined approach, you can find your IP address using the Settings App in Windows 10. The Settings App provides a centralized hub for managing various system settings and configurations, including network-related information.
Here’s how to find your IP address using the Settings App:
- Open the Start menu by clicking on the Windows icon in the bottom-left corner of the screen.
- Click on the “Settings” icon, which resembles a gear.
- In the Settings window, click on the “Network & Internet” option.
- In the left sidebar, click on “Status”. This will display network-related information on the right side of the window.
- Scroll down and click on the “Properties” link under the “Properties” section.
- Scroll down again, and under the “IP settings” section, you will find your IP address listed next to “IPv4 address” or “IPv6 address”.
Voila! You have successfully found your IP address using the Settings App. The Settings App provides a modern and intuitive interface, making it easy to access your network information without any technical knowledge.
Now that you know how to find your IP address using the Command Prompt, Control Panel, and the Settings App, you have multiple options to choose from based on your preference and comfort level. However, if you are looking for a more automated and convenient solution, you can explore using third-party IP address finder tools, as discussed in the next section.
Method 4: Using a Third-Party IP Address Finder
If you prefer a more automated approach or want additional features and functionality, you can use third-party IP address finder tools to find your IP address on Windows 10. These tools are designed specifically for locating IP addresses and often provide more detailed information about your network configuration.
Here are a few popular third-party IP address finder tools that you can consider:
- WhatIsMyIPAddress.com: This website offers a simple and straightforward way to find your IP address. Simply visit the website and it will display your IP address on the homepage.
- IPconfig: IPconfig is a command-line tool developed by Microsoft that provides more detailed information about your IP address and network configuration. You can download and run this tool from the Microsoft website.
- Advanced IP Scanner: Advanced IP Scanner is a powerful network scanning tool that not only helps you find your IP address but also allows you to scan your network for connected devices, open ports, and more. It can be downloaded and installed from the official website.
Using third-party IP address finder tools can be beneficial if you need additional information about your network or if you prefer a more user-friendly interface. These tools often provide more detailed network reports and can be useful for troubleshooting network issues or optimizing your network setup.
Remember to exercise caution when using third-party tools and make sure to download them from trusted sources to ensure the safety and security of your system.
With these various methods at your disposal, you can easily find your IP address on Windows 10. Whether you choose to use the Command Prompt, Control Panel, Settings App, or a third-party IP address finder, you now have the knowledge to locate this essential piece of information.
Conclusion
Knowing your IP address on Windows 10 is crucial for various networking tasks, troubleshooting, and accessing remote devices. In this article, we explored four different methods to help you find your IP address on Windows 10:
- Using the Command Prompt: A quick and straightforward method using command-line tools.
- Using the Control Panel: A user-friendly approach through the graphical interface of the Control Panel.
- Using the Settings App: A modern and streamlined method within the Windows 10 Settings App.
- Using a Third-Party IP Address Finder: An automated and feature-rich solution with additional functionality.
Depending on your preference and comfort level with command-line tools, graphical interfaces, or third-party applications, you can choose the method that suits you best. Each method has its own advantages and can provide you with the necessary information about your IP address.
Remember that your IP address is a crucial piece of information for networking, connecting to devices, and troubleshooting network issues. It is essential to keep it private and secure, especially when accessing the internet. Be cautious when using third-party IP address finder tools and always download them from trusted sources.
Now that you have the knowledge and tools to find your IP address on Windows 10, you can confidently navigate the world of networking and technology. Utilize your IP address effectively for troubleshooting, optimizing network configurations, or accessing remote devices with ease.
So go ahead, explore the different methods, and discover your IP address on Windows 10. Keep this valuable information at your fingertips and leverage it to enhance your networking capabilities.