Introduction
Netflix has revolutionized the way we consume entertainment, offering a vast library of TV shows and movies that can be accessed instantly from the comfort of our own homes. One of the key features that makes Netflix an accessible platform for a global audience is its support for multiple languages and subtitles. Subtitles allow viewers to enjoy content in their preferred language and provide accessibility for those who are hearing impaired.
While Netflix offers subtitles in various languages for most of its content, there may be times when you want to change the default subtitles or customize them to your liking. Whether it’s to improve readability, adjust the font size, or simply switch to a different language, knowing how to change subtitles in Netflix can greatly enhance your viewing experience.
In this guide, we will walk you through the process of changing subtitles in Netflix, using both the built-in settings and third-party applications. Whether you’re watching Netflix on your computer, mobile device, or streaming device, we’ve got you covered.
Why Change Subtitles in Netflix
There are several reasons why you may want to change the subtitles in Netflix. Let’s explore some of the main motivations for customizing your subtitles:
- Language Preferences: While Netflix provides subtitles in multiple languages for their content, the default subtitle language might not be your preferred choice. Changing the subtitles allows you to enjoy the content in a language you are more comfortable with or trying to learn.
- Improved Understanding: Sometimes, the default subtitles may not accurately convey the nuances of the dialogue or the meaning behind certain phrases. By customizing the subtitles, you can ensure a better understanding of the content and fully immerse yourself in the story.
- Accessibility: Subtitles are vital for individuals who are deaf or hard of hearing. Changing the subtitle settings allows those viewers to access and enjoy the content seamlessly. Additionally, subtitles can be helpful for people learning a new language or for those who prefer reading the dialogue while watching.
- Visual Preferences: The default subtitle appearance may not be visually pleasing to everyone. Changing the font, size, color, background, or position of the subtitles can enhance the viewing experience and make it more comfortable for you.
- Clear and Legible Subtitles: Some viewers might struggle with reading the default subtitles due to factors like font size, font type, or insufficient contrast. Customizing the subtitles can make them more readable, ensuring that you don’t miss any important information or dialogue.
By taking advantage of the options to change subtitles in Netflix, you can tailor your viewing experience to suit your individual needs and preferences. Ready to learn how? Let’s walk through the steps for changing subtitles in Netflix on your chosen device.
Step 1: Choosing a Device
Before you can change the subtitles in Netflix, you first need to select the device you’ll be using to access the streaming service. Netflix can be accessed on a wide range of devices, including computers, smartphones, tablets, smart TVs, gaming consoles, and streaming devices like Roku or Chromecast.
Consider the following factors when choosing your device:
- User Interface: Each device may have a different user interface, and the steps to change subtitles may vary slightly. It’s important to choose a device that you are comfortable navigating.
- Screen Size and Quality: If you prefer watching Netflix on a large screen or want to enjoy high-definition content, options like smart TVs or gaming consoles may be the best choice. However, if you prefer the convenience of mobility, a smartphone or tablet might be more suitable.
- Compatibility with Subtitle Customization Options: Some devices offer additional features or third-party apps that allow for more extensive subtitle customization. If you have specific requirements or preferences for customizing the subtitles, research whether your chosen device supports those options.
- Accessibility Features: If you have specific accessibility needs, such as voice control or audio descriptions, consider choosing a device that supports these features.
Once you’ve decided on the device, you’re ready to move on to the next step of changing the subtitles in Netflix, which is accessing your Netflix account settings.
Step 2: Accessing Netflix Account Settings
Once you have chosen the device you’ll be using to access Netflix, the next step is to access your Netflix account settings. Here’s how you can do it:
- Launch the Netflix app or open the Netflix website on your chosen device.
- Sign in to your Netflix account using your email address and password.
- Once you’re signed in, look for the profile icon in the top right corner of the screen. Click or tap on it.
- A dropdown menu will appear. From the menu, select “Account” or a similar option that takes you to your account settings.
- You’ll be redirected to the account settings page, where you can manage various aspects of your Netflix account, including subtitle settings.
Note that the exact steps to access the account settings may vary slightly depending on the device and the version of the Netflix app you’re using. However, the profile icon, usually located in the top right corner, is a common way to access the account settings.
Now that you have successfully accessed your Netflix account settings, let’s move on to the next step: selecting your preferred subtitle language.
Step 3: Selecting the Preferred Language
Now that you are in your Netflix account settings, it’s time to select your preferred subtitle language. Here’s how you can do it:
- Scroll down the account settings page until you find the section labeled “Profile & Parental Controls” or a similar option.
- Within this section, locate the option for “Language” or “Subtitle Language”. Click or tap on it to access the language settings.
- You will be presented with a list of available languages for the subtitles. Look for your preferred language and select it from the list.
- Once you have selected your preferred language, the changes will be saved automatically. You can now exit the account settings page and start enjoying content with the new subtitle language.
Keep in mind that selecting a new subtitle language will apply to all the profiles on your Netflix account. If you have multiple profiles and want to change the subtitle language for a specific profile, you may need to switch to that profile first before accessing the account settings.
Changing the subtitle language through the account settings ensures that all the content you watch on Netflix will have the selected language as the default subtitle option. However, if you want to further customize the appearance of the subtitles, the next step will guide you on how to do so.
Step 4: Customizing Subtitle Appearance
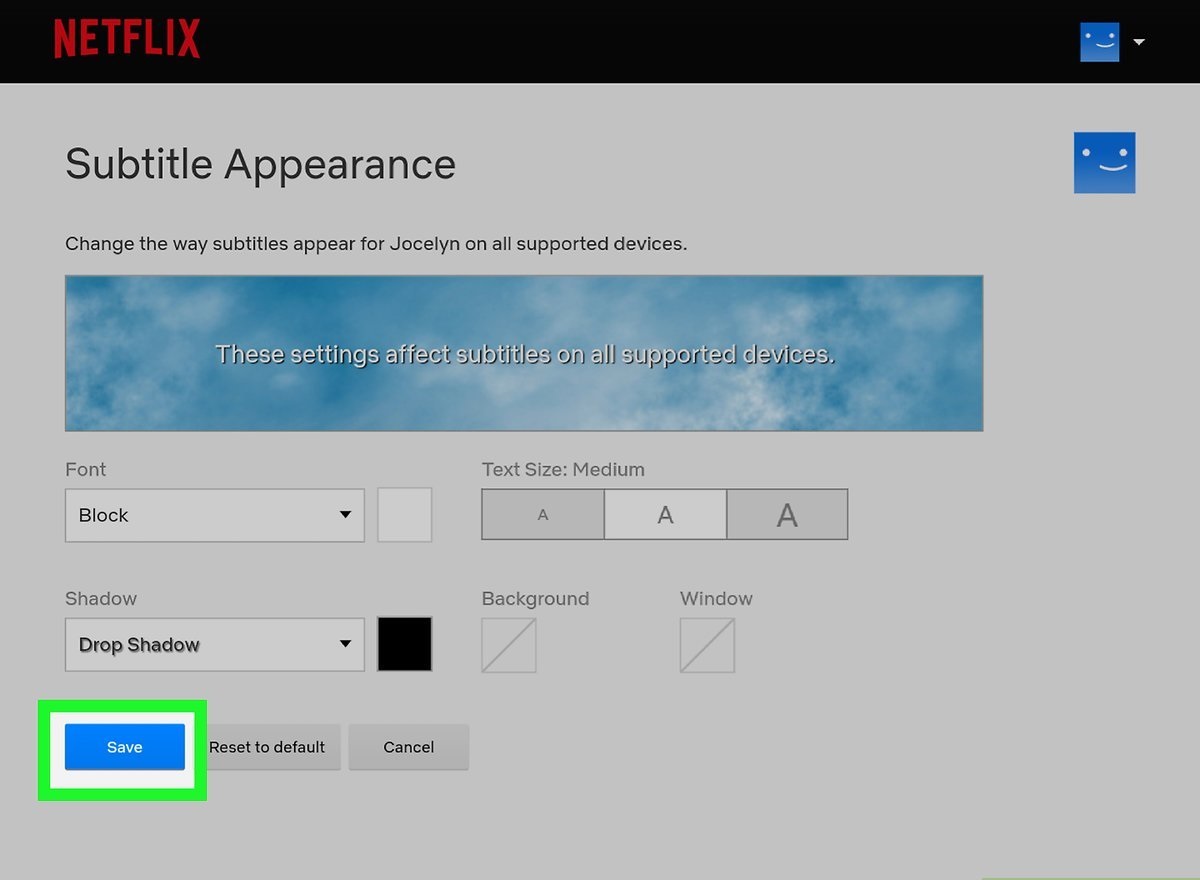
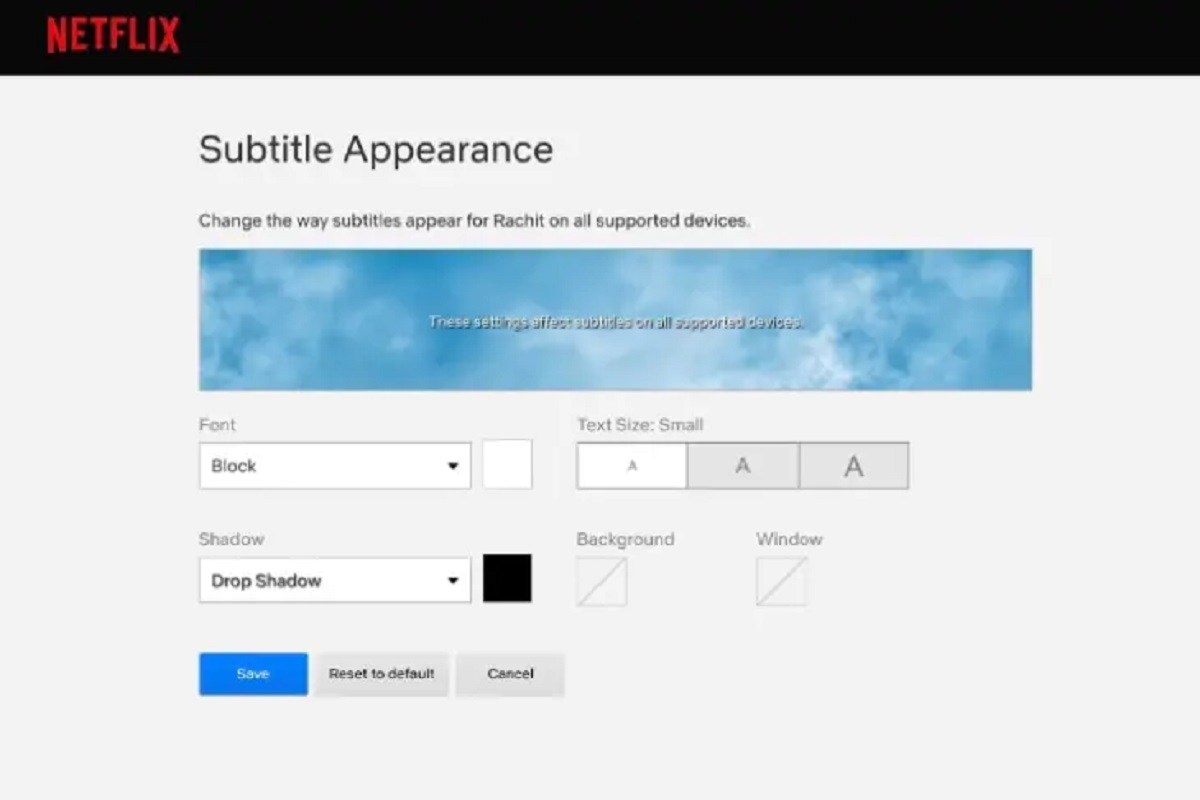
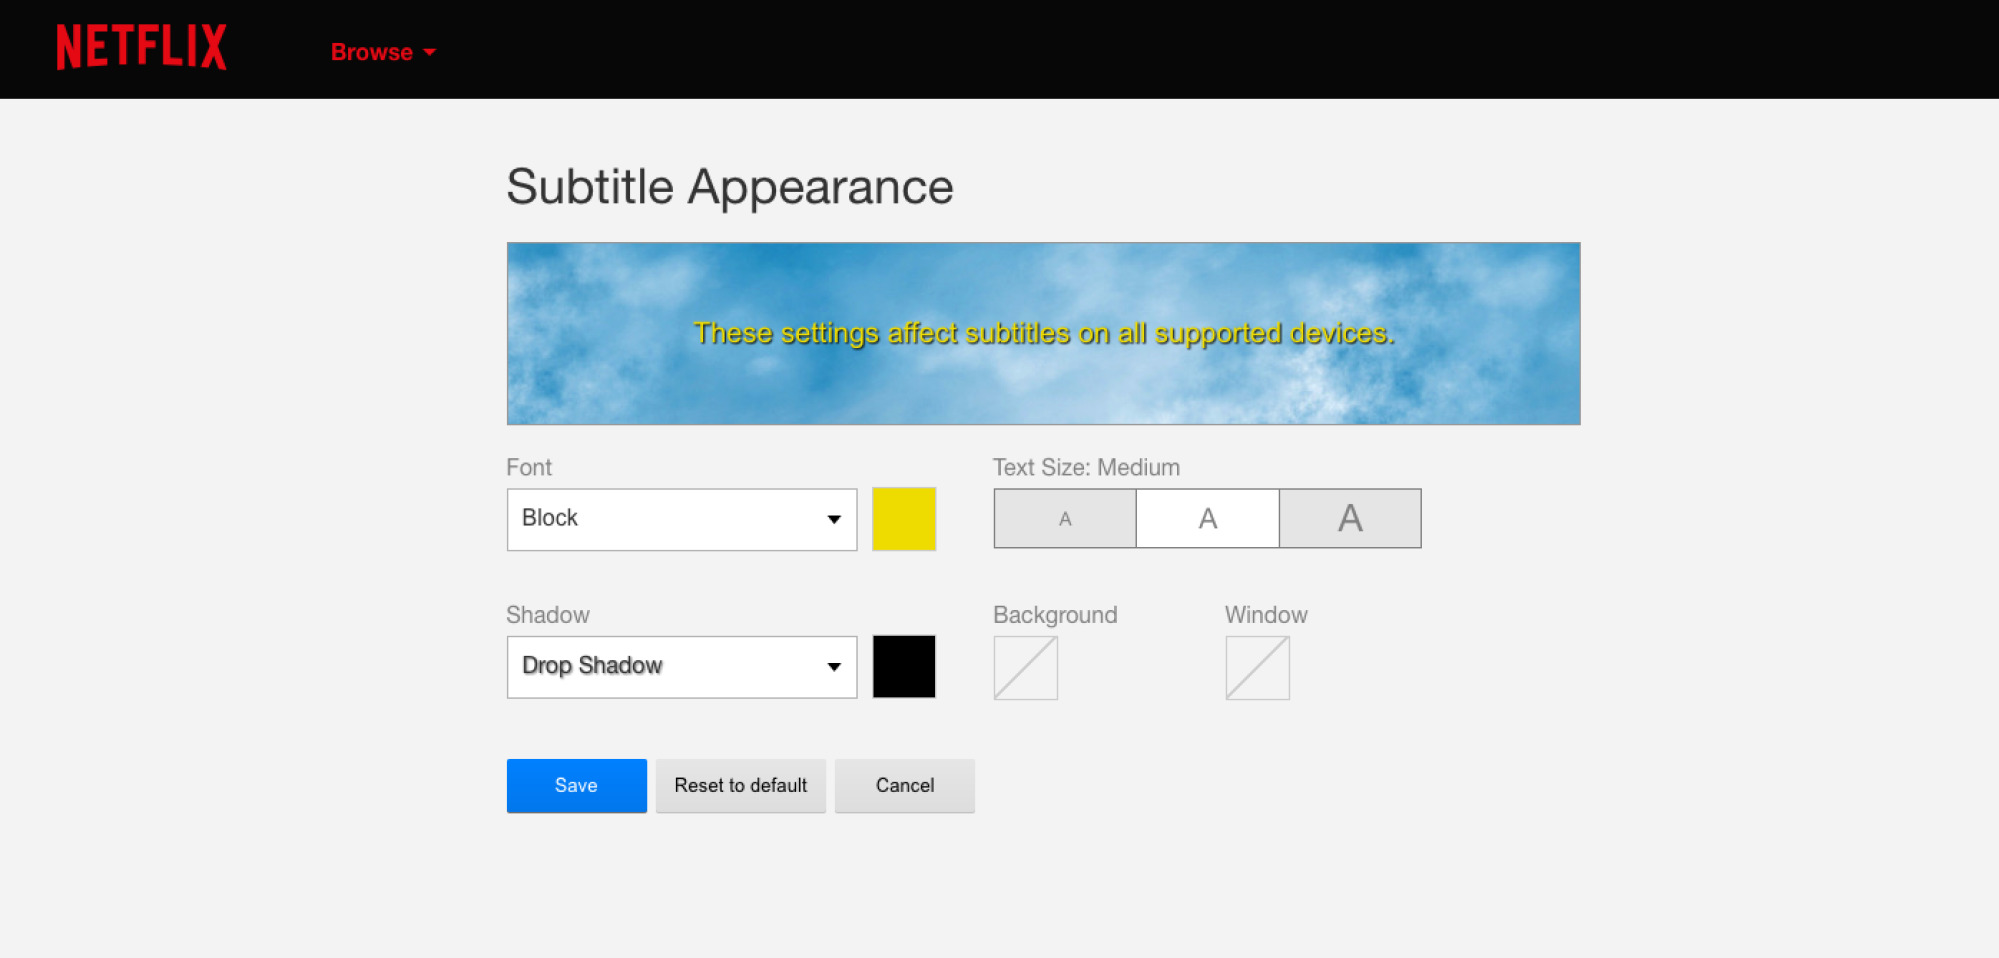
Netflix provides options to customize the appearance of subtitles to suit your preferences. Here’s how you can customize the subtitle appearance:
- Open the Netflix app or website on your chosen device and sign in to your account.
- Find a TV show or movie to watch. Once you have selected a title, click or tap on it to start playing.
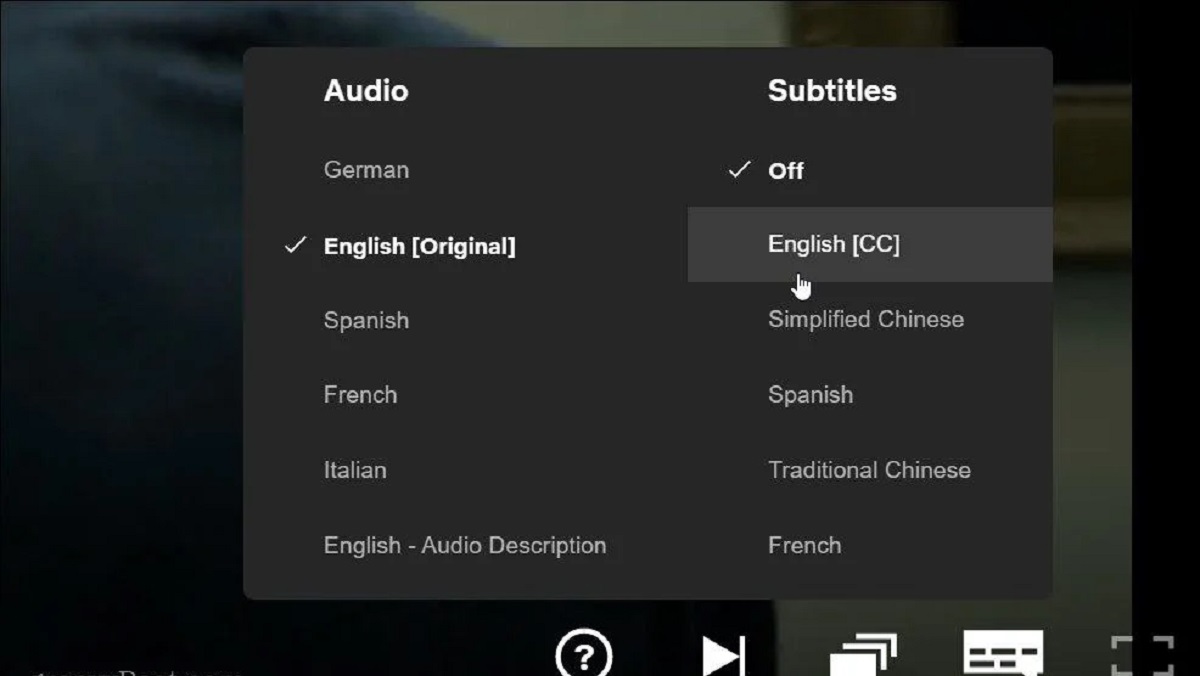
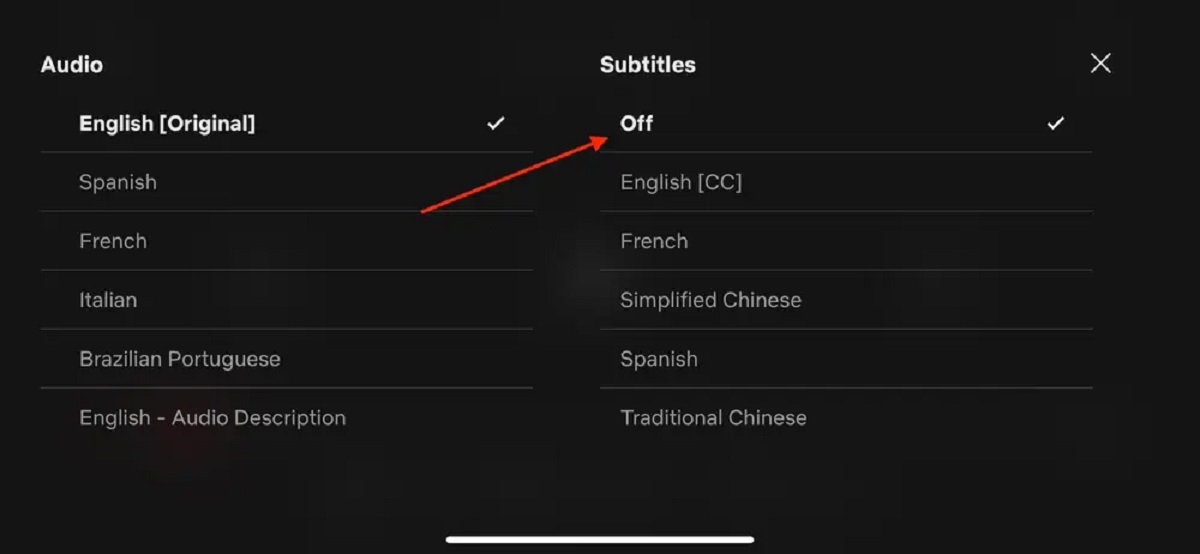
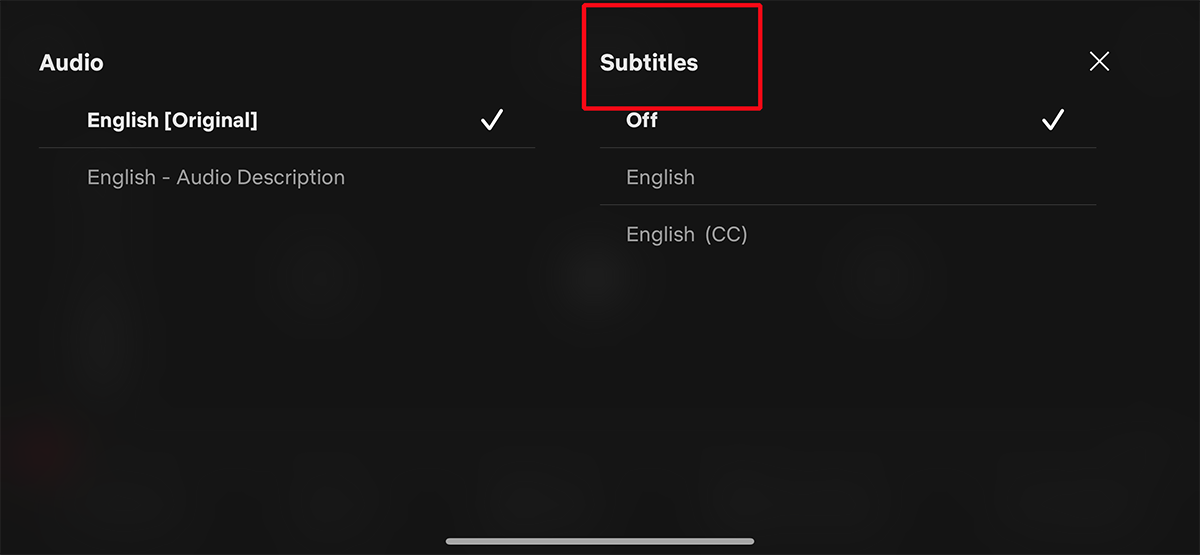
- While the content is playing, locate the subtitle icon, which is usually represented as a speech bubble. Click or tap on it to access the subtitle settings.
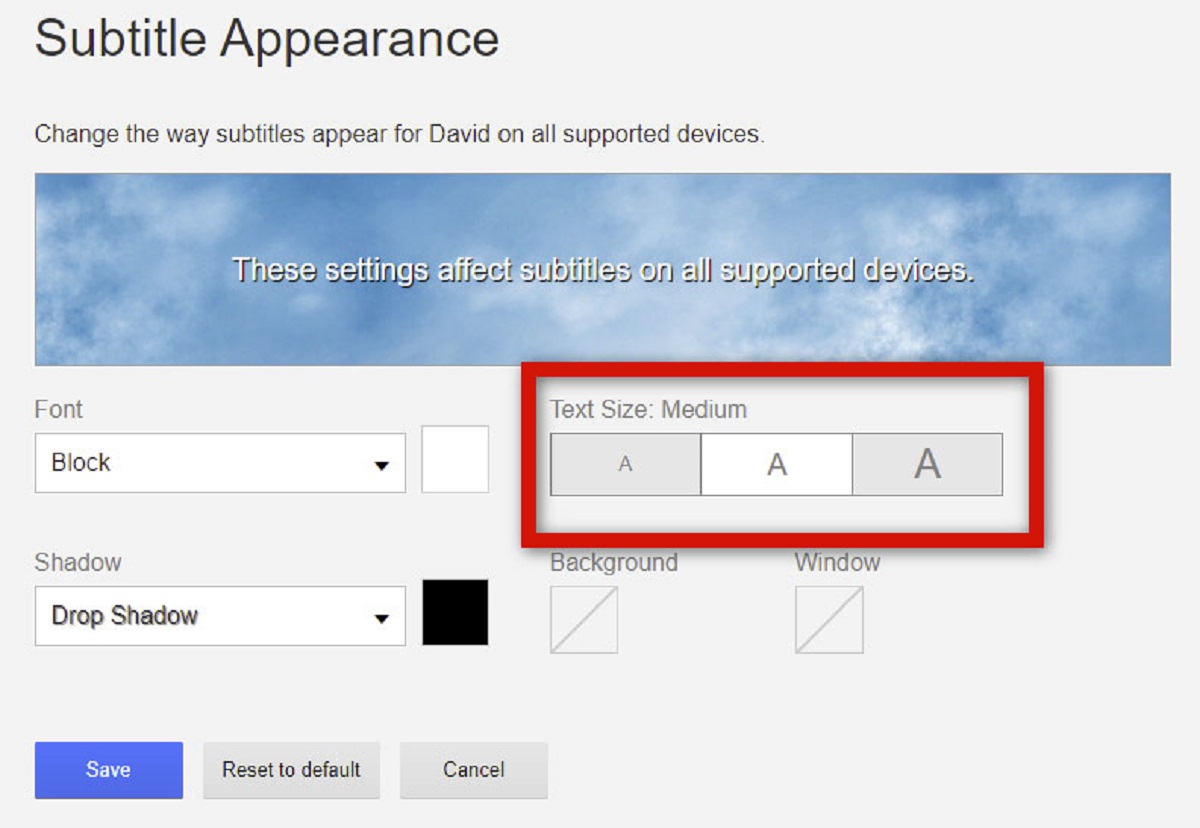
- A menu will appear with various subtitle options. Depending on the device you’re using, you may see options to change the font, size, color, and background of the subtitles.
- Use the available options to customize the subtitle appearance according to your preferences. You can experiment with different fonts, sizes, colors, and backgrounds until you find the perfect look.
- As you make changes, the subtitles will update in real-time, allowing you to see the effect on the content you’re currently watching.
- Once you’re satisfied with the customized subtitle appearance, simply close the settings menu. The changes you made will be saved and applied to future content you watch on Netflix.
It’s worth noting that the availability of subtitle customization options may vary depending on the device and the version of the Netflix app you’re using. Some devices may offer more advanced customization features, such as the ability to change the subtitle position or add a drop shadow.
By customizing the subtitle appearance, you can enhance your viewing experience and make the subtitles more visually appealing and readable. Now that you know how to change the subtitle appearance, let’s explore an alternative method using third-party extensions or apps in the next step.
Step 5: Using Third-Party Extensions or Apps
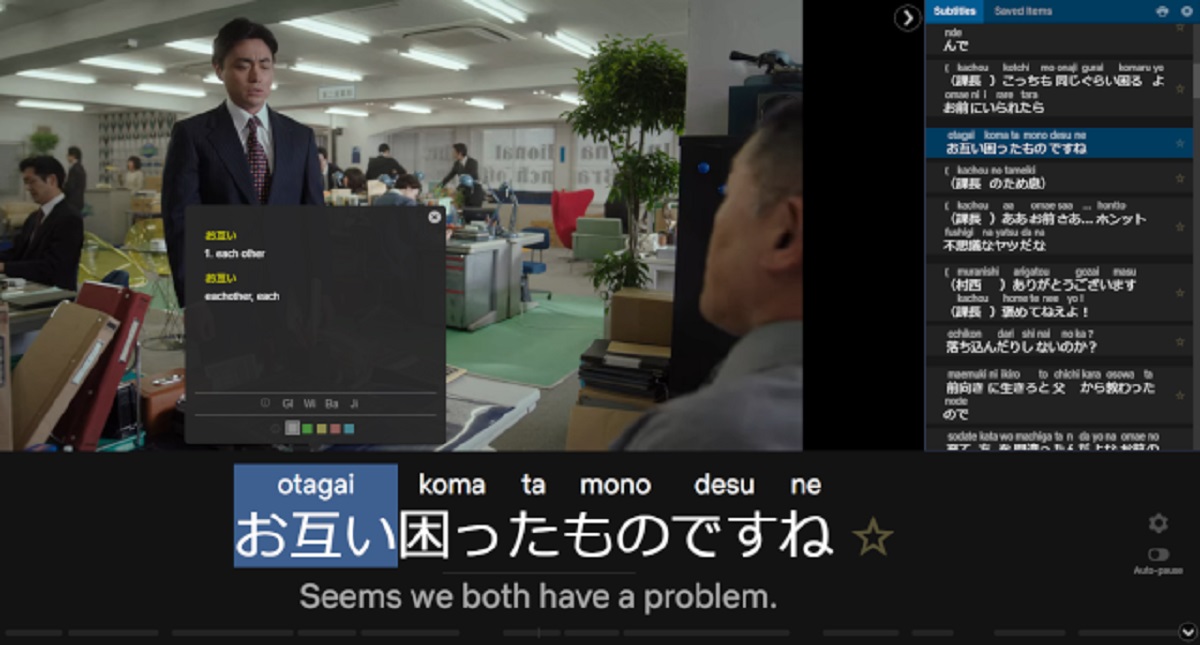
In addition to the built-in subtitle customization options, you can also utilize third-party extensions or apps to further enhance your subtitle experience on Netflix. Here’s how you can use third-party extensions or apps:
- Identify the browser or device you’re using to access Netflix. Depending on your device, there may be specific extensions or apps available for subtitle customization.
- Search for reputable third-party extensions or apps that offer subtitle customization for Netflix. Look for options that are compatible with your browser or device.
- Install the chosen extension or app according to the instructions provided. Once installed, make sure it is enabled or activated for use.
- Launch Netflix and sign in to your account.
- Depending on the extension or app, you may find additional subtitle customization options within the interface. Explore the settings available and make adjustments to the subtitle appearance as desired.
- Test the changes by playing a TV show or movie on Netflix. The customized subtitles should now be displayed according to the settings you applied through the third-party extension or app.
- If you encounter any issues or decide to revert to default settings, you can easily disable or uninstall the third-party extension or app. Follow the provided instructions to do so.
Using third-party extensions or apps can provide more advanced customization options and flexibility when it comes to subtitles on Netflix. It’s important to research and choose reliable extensions or apps from trusted sources to ensure a safe and secure experience.
Remember that third-party extensions or apps may have compatibility limitations, and updates to the Netflix platform could affect their functionality. Therefore, it’s a good idea to regularly check for updates or alternative solutions as needed.
Now that you have explored various methods for changing subtitles in Netflix, you can enjoy your favorite shows and movies with subtitles tailored to your preferences. Whether you choose to use the built-in settings or third-party extensions, subtitles can enhance your viewing experience and make Netflix more accessible and enjoyable.
Conclusion
Changing subtitles in Netflix allows you to make the most out of your viewing experience. Whether you want to watch content in your preferred language, improve understanding, or customize the subtitle appearance, Netflix provides various tools and options to cater to your needs.
In this guide, we covered the step-by-step process of changing subtitles in Netflix. We began by selecting a device that suits your preferences and navigating to the Netflix account settings. From there, we explored how to select your preferred subtitle language and customize the appearance of subtitles.
Additionally, we discussed the option of using third-party extensions or apps to further enhance the subtitle experience on Netflix. These tools can offer more advanced customization options and flexibility, allowing you to personalize your subtitle settings to match your preferences.
Remember to choose reputable extensions or apps from trusted sources and keep them updated for optimal performance.
By taking advantage of the subtitle customization options available in Netflix, you can enjoy your favorite shows and movies in a way that is most comfortable and accessible to you. So sit back, relax, and immerse yourself in the world of entertainment on Netflix, now with subtitles tailored just for you.


