Introduction
Welcome to this guide on how to change your Samsung account email. Your Samsung account is a crucial component of your device’s functionality, allowing you to access various Samsung services and features. Changing your account email may be necessary when you want to update your contact information or enhance your account security.
It’s important to note that changing your Samsung account email will affect how you sign in to your device, as well as any associated Samsung services and apps. Therefore, it’s recommended to follow the steps carefully to ensure a smooth transition to your new email address.
In this article, we will walk you through the process step-by-step, providing clear instructions on how to change your Samsung account email. Whether you’re using a Samsung smartphone, tablet, or other device, the process should be similar across different models.
Before we begin, make sure you have the following items ready:
- Your current Samsung account email and password.
- The email address you want to change it to.
- Access to the email account you want to change it to.
Once you have everything prepared, let’s dive into the step-by-step process to change your Samsung account email and ensure a seamless transition to your new address.
Step 1: Sign in to your Samsung account
The first step to changing your Samsung account email is to sign in to your account using your current email and password. Here’s how you can do it:
- On your Samsung device, open the Settings app. You can usually find it on the home screen or in the app drawer.
- Scroll down and select “Accounts and backup.”
- Tap on “Accounts” or “Cloud and accounts” depending on your device model.
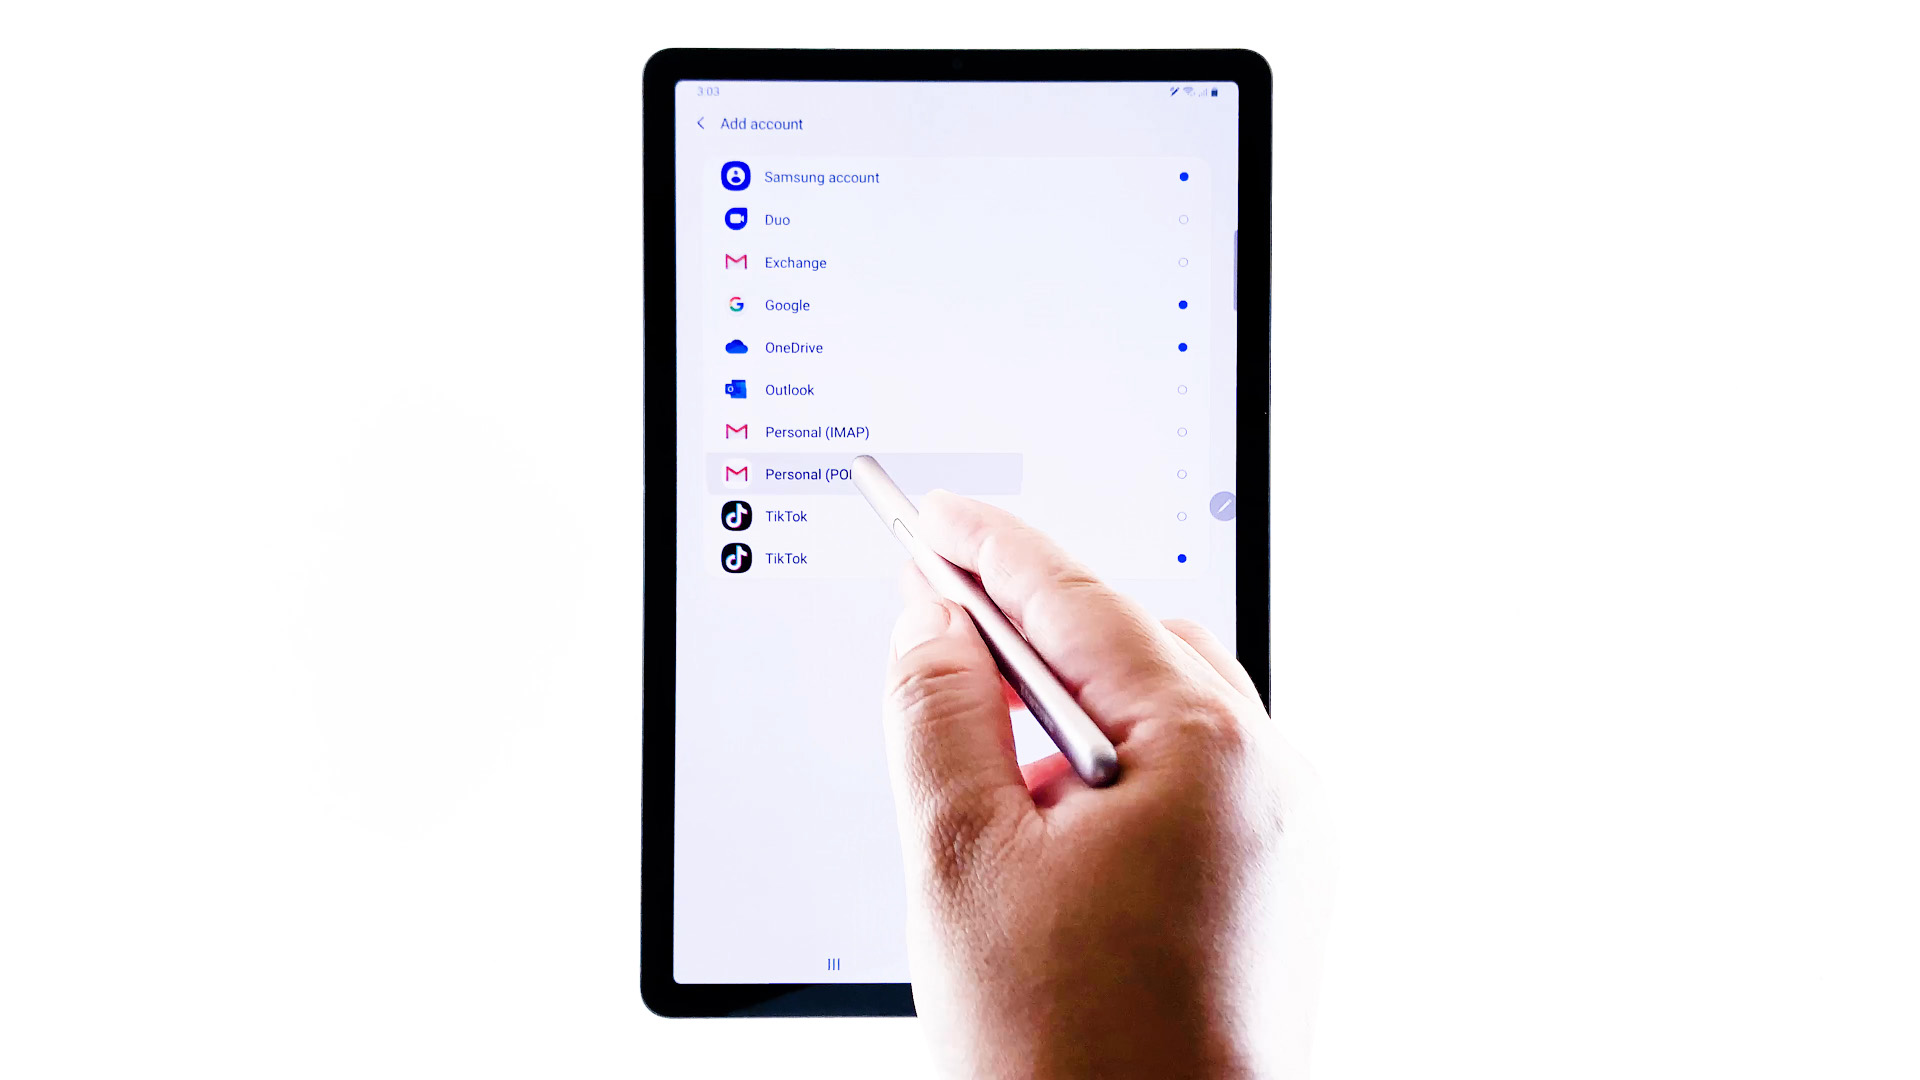
- Look for the “Samsung account” option and tap on it. If prompted, enter your device password or pattern to proceed.
- In the Samsung account section, you will see your current email address displayed. Tap on it to proceed.
- Enter your current password when prompted and tap “Sign in.”
Once you have successfully signed in to your Samsung account, you are ready to proceed with changing your email address. Make sure you have a stable internet connection throughout the process to ensure a smooth experience.
Step 2: Navigate to your account settings
After signing in to your Samsung account, the next step is to navigate to your account settings. This is where you will find the option to update your email address. Follow these steps:
- From the main “Accounts” or “Cloud and accounts” page, scroll down and look for the “Samsung account” section.
- Tap on “Samsung account” to access the account settings.
- In the account settings, look for the option labeled “Profile.” Tap on it to proceed.
- On the Profile page, you will see various account-related options. Look for the “Change email” or “Edit email” option and tap on it.
By reaching the account settings and locating the “Change email” or “Edit email” option, you are one step closer to updating your Samsung account email. Let’s move on to the next step where you can proceed with entering your new email address.
Step 3: Update email address
Once you have accessed the “Change email” or “Edit email” option in your Samsung account settings, it’s time to update your email address. Follow these steps to proceed:
- In the email update page, you will be prompted to enter your new email address. Carefully type in the email address you want to associate with your Samsung account.
- Double-check the email address you entered to ensure it is correct. Any mistakes may result in issues with accessing your account.
- After confirming the accuracy of the new email address, tap on the “Next” or “Confirm” button to proceed with the email update.
At this stage, it’s important to ensure that the new email address you entered is valid and accessible. Make sure you have access to the email account and can receive emails before proceeding. This is crucial to verify your new email address and complete the update process.
Once you have successfully entered your new email address and confirmed it, you are ready to move on to the next step, which involves verifying the new email address associated with your Samsung account.
Step 4: Verify new email
After updating your email address in your Samsung account settings, it’s essential to verify your new email. Verifying your new email ensures that you have ownership and access to the email address associated with your account. Here’s how you can verify your new email:
- Check your inbox of the new email address you entered in the previous step. Look for an email from Samsung with the subject line similar to “Verify your email address.”
- Open the email and locate the verification link or button provided. It is usually a clickable link or a button labeled “Verify email” or similar.
- Click on the verification link or button in the email.
- You will be directed to a verification page in your web browser.
- On the verification page, you may be prompted to sign in to your Samsung account once again to complete the verification process.
- Follow the on-screen instructions to complete the email verification. This may involve entering your password or confirming your account details.
Once you have successfully completed the email verification process, your new email address will be officially associated with your Samsung account. You can proceed to the final step, which involves logging in to your account using your new email address.
Step 5: Login with new email
Now that you have successfully verified your new email address, the final step is to log in to your Samsung account using your new email. Follow these steps to access your account with the updated email:
- On your Samsung device, open the Settings app.
- Navigate to the “Accounts and backup” or “Cloud and accounts” section.
- Tap on “Accounts” or “Samsung account.”
- Find the option to sign in using your Samsung account. Depending on your device, it may be labelled “Sign in” or “Login.”
- Enter your new email address and password in the appropriate fields.
- Tap on the “Sign in” or “Login” button to proceed.
By logging in using your new email address, you will have full access to your Samsung account and all associated services and features. Ensure that you have a stable internet connection during the login process for a smooth experience.
Congratulations! You have successfully changed your Samsung account email and can now enjoy all the benefits of your updated account information. Remember to use your new email address for any future login attempts and to update your contact information with any relevant Samsung services or apps.
Conclusion
Changing your Samsung account email is a straightforward process that allows you to update your contact information and enhance the security of your account. By following the steps outlined in this guide, you can successfully change your email address and have it associated with your Samsung account.
Remember to sign in to your Samsung account, navigate to your account settings, update your email address, verify the new email, and login using the new email. It’s important to double-check the accuracy of the new email address and ensure that you have access to the inbox for verification purposes.
By changing your Samsung account email, you can ensure that all communication and notifications related to your Samsung services and devices are sent to the right address. Keep in mind that your new email address will also be used for future login attempts and contact updates.
If you encounter any issues during the process or have any questions, it’s recommended to reach out to Samsung support or refer to their official documentation for further assistance.
We hope this guide has been helpful in guiding you through the steps to change your Samsung account email. Enjoy your updated account and make the most out of your Samsung devices and services!