Introduction
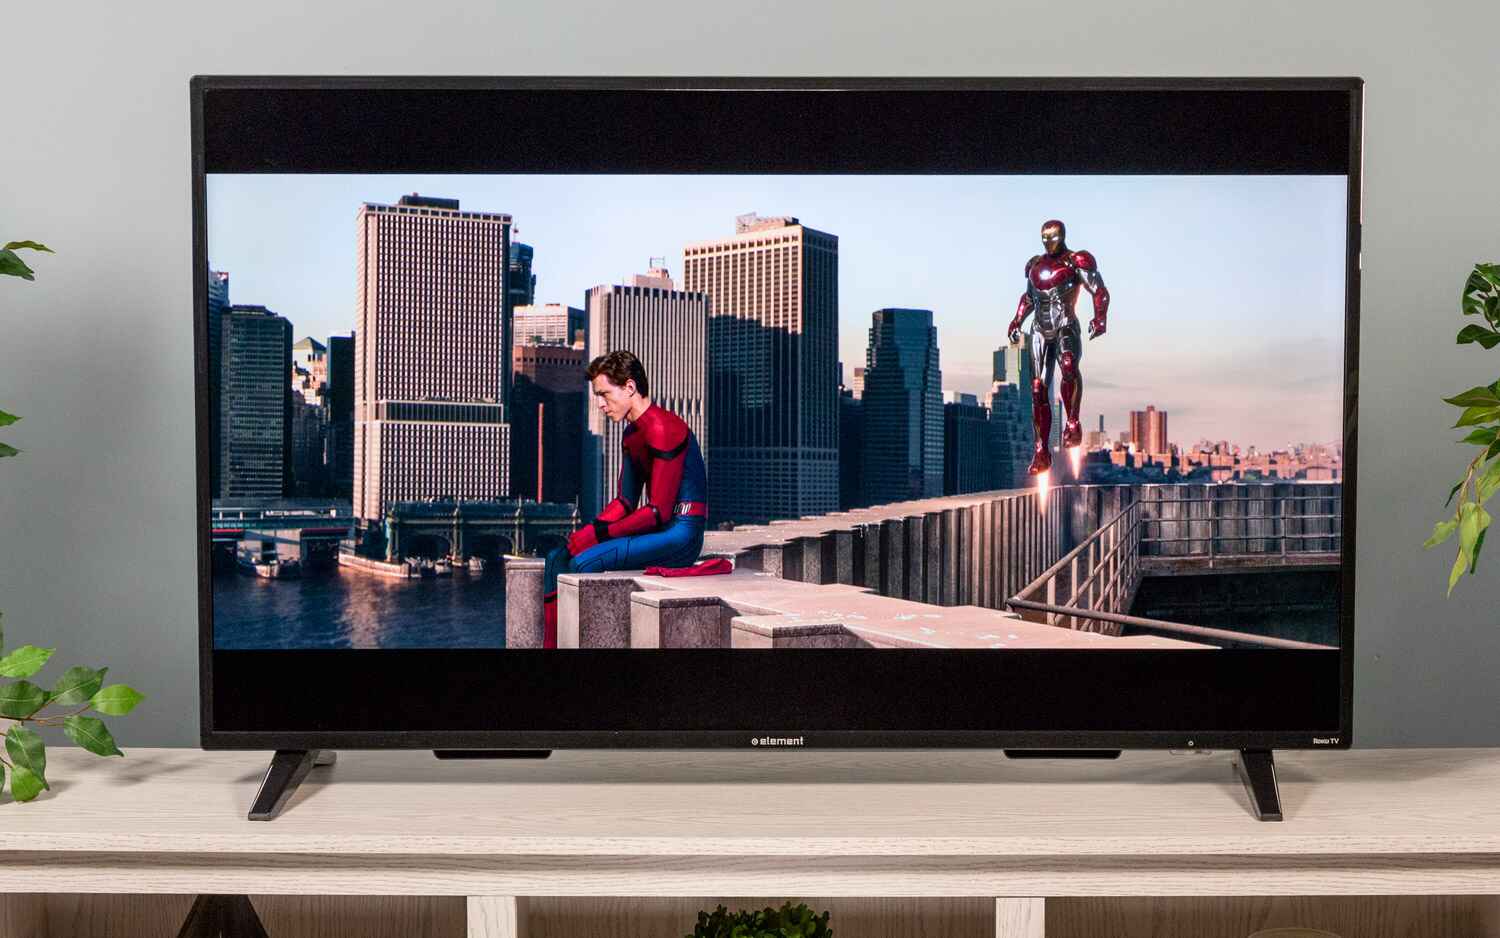
Welcome to the world of Roku devices, where endless streaming possibilities await. With its user-friendly interface and wide variety of content available, Roku has become a popular choice for streaming entertainment. One important aspect of setting up your Roku device is connecting it to your TV using an HDMI (High-Definition Multimedia Interface) cable.
In this guide, we will walk you through the process of changing the HDMI connection on your Roku device. Whether you need to switch to a different HDMI port on your TV or upgrade to a higher-quality HDMI cable, we’ve got you covered.
Understanding how to change the HDMI on your Roku device is crucial for ensuring a seamless streaming experience. HDMI allows for the transmission of high-quality audio and video signals, providing you with clear and crisp content. By following the steps outlined in this guide, you’ll be able to easily make the necessary changes and continue enjoying your favorite movies, TV shows, and more on your Roku device.
Before we dive into the specifics of changing the HDMI connection, let’s take a closer look at why you might need to change the HDMI on your Roku device in the first place. Whether you have a new TV, want to switch ports for better connectivity, or require an upgrade to a higher-quality HDMI cable, understanding the reasons behind the change will help you determine the best course of action.
Understanding HDMI ports on Roku devices
Before we proceed with changing the HDMI on your Roku device, it’s important to understand the role and significance of HDMI ports. HDMI ports are the primary means of connecting your Roku device to your TV, enabling the transmission of audio and video signals.
Roku devices generally come equipped with one or more HDMI ports, allowing you to connect to different TVs or devices. The HDMI ports on Roku devices support different versions of HDMI, such as HDMI 1.4 and HDMI 2.0. Understanding the HDMI version can be helpful when choosing compatible cables and devices, as the version determines the supported resolutions, refresh rates, and other features.
HDMI ports on Roku devices transmit both audio and video signals, eliminating the need for separate audio and video connections. This single cable solution provides convenience while delivering high-quality multimedia content.
Additionally, HDMI ports on Roku devices support HDCP (High-bandwidth Digital Content Protection), a technology that ensures the secure transmission of copyrighted content. HDCP compliance is necessary for streaming services and media players, and Roku devices come with built-in support for this important feature.
When changing the HDMI connection on your Roku device, it’s important to consider the capabilities of your TV as well. Older TVs may have limited HDMI inputs or may not support newer HDMI standards. Checking your TV’s compatibility will ensure that you can make the necessary adjustments without encountering any issues.
Now that we have a clear understanding of HDMI ports on Roku devices, let’s explore the reasons why you might need to change the HDMI on your Roku device. Understanding these reasons will help you determine the necessary steps to take for a smooth transition.
Reasons to change HDMI on Roku
There are several reasons why you might need to change the HDMI on your Roku device. Let’s explore some common scenarios where changing the HDMI connection becomes necessary:
1. Upgrading to a higher-quality HDMI cable: If you’ve been using a standard HDMI cable and want to enhance your viewing experience, upgrading to a higher-quality HDMI cable can make a noticeable difference. Premium cables offer better signal transmission, improved durability, and support for higher video resolutions and audio formats.
2. Switching to a different HDMI port on your TV: Sometimes, certain HDMI ports on your TV can have better compatibility or offer additional features. If you’re experiencing issues with the current HDMI port, such as audio or video glitches, switching to a different HDMI port can help resolve the problem.
3. Connecting to a new TV: If you’ve recently purchased a new TV, you’ll need to change the HDMI connection on your Roku device to ensure compatibility. Different TV models may have different HDMI specifications, so it’s important to connect your Roku device to the appropriate HDMI port on the new TV.
4. Troubleshooting HDMI-related issues: If you’re encountering issues with the HDMI connection, such as no signal, distorted audio/video, or intermittent connectivity, changing the HDMI connection can help identify and resolve the problem. Sometimes, simply reconnecting the HDMI cable or switching ports can fix these issues.
5. Expanding your entertainment setup: If you’re adding new devices to your entertainment system, such as a soundbar or gaming console, you may need to rearrange the HDMI connections to accommodate the new equipment. Changing the HDMI connection on your Roku device will ensure proper integration with the rest of your setup.
By considering these reasons, you can determine whether changing the HDMI on your Roku device is necessary and take the appropriate steps to optimize your streaming experience. Next, let’s move on to checking the compatibility of your Roku device with your TV before making any changes.
Checking the compatibility of your Roku device
Before you proceed with changing the HDMI on your Roku device, it’s important to check the compatibility between your Roku device and your TV. This step will help ensure that you can make the necessary changes without encountering any compatibility issues.
Here are the key factors to consider when checking the compatibility:
1. HDMI version: Verify the HDMI version supported by your Roku device and your TV. This information can usually be found in the device specifications or user manual. Ensure that both devices support the same HDMI version to avoid any compatibility problems.
2. Resolutions and refresh rates: Determine the maximum resolutions and refresh rates supported by your Roku device and your TV. Make sure these specifications align with each other, as this will ensure that you can take full advantage of the capabilities of both devices.
3. HDCP compliance: Check if your TV supports HDCP (High-bandwidth Digital Content Protection), as Roku devices require HDCP to stream copyrighted content from various streaming services. Most modern TVs are HDCP compliant, but it’s always a good idea to verify this to avoid any playback issues.
4. Audio formats: If you plan on connecting your Roku device to a soundbar or home theater system, ensure that both your Roku device and your TV support the same audio formats. This will ensure seamless audio playback without any compatibility problems.
5. Ports and connectivity: Consider the number of HDMI ports available on your TV and determine if there is an available HDMI port for connecting your Roku device. If you’re planning to connect multiple devices, make sure you have enough HDMI ports on your TV to accommodate all the devices.
By thoroughly checking the compatibility between your Roku device and your TV, you can avoid any potential issues when changing the HDMI connection. Once you’ve confirmed compatibility, you’re ready to proceed with the physical steps of changing the HDMI on your Roku device.
Finding the HDMI port on your Roku device
Locating the HDMI port on your Roku device is the first step in changing the HDMI connection. The HDMI port is where you will connect the HDMI cable from your Roku device to your TV. Follow these steps to find the HDMI port:
1. Identify the type of Roku device you have: Roku devices come in various models, such as Roku Streaming Stick, Roku Ultra, Roku Express, and more. The placement of the HDMI port may vary depending on the model, so it’s important to identify your specific model.
2. Examine the sides or back of your Roku device: Carefully inspect the sides or back of your Roku device to locate the HDMI port. Look for a small rectangular port labeled “HDMI” or with the HDMI logo. Some Roku devices may have multiple HDMI ports if they offer additional features like Ethernet or USB connectivity.
3. Ensure proper ventilation: While searching for the HDMI port, make sure to consider proper ventilation for your Roku device. Avoid placing the device in an enclosed space or covering the HDMI ports, as this can potentially affect its performance or cause overheating issues.
4. Note the HDMI port number: If your Roku device has multiple HDMI ports, take note of the HDMI port number where your current HDMI cable is connected. This information will be helpful when reconnecting the new HDMI cable to the appropriate port.
Once you have located the HDMI port on your Roku device and made note of the port number, you’re ready to proceed with changing the physical connection by disconnecting the current HDMI cable and connecting the new one. Ensure that your Roku device and TV are powered off before making any changes.
In the next section, we will guide you through the process of identifying the HDMI input on your TV, which will allow you to connect the other end of the HDMI cable.
Identifying the HDMI input on your TV
To change the HDMI connection on your Roku device, you need to identify the HDMI input on your TV. The HDMI input is where you will connect the other end of the HDMI cable from your Roku device. Follow these steps to identify the correct HDMI input:
1. Examine the sides or back of your TV: Carefully inspect the sides or back of your TV to locate the HDMI inputs. Typically, modern TVs have multiple HDMI inputs, usually labeled as HDMI 1, HDMI 2, and so on. Look for the HDMI input that corresponds to the HDMI port number where your Roku device will be connected.
2. Check the labels or user manual: If the HDMI inputs are not clearly labeled on your TV, refer to the TV’s user manual for guidance. The user manual should have diagrams or descriptions that indicate the location of the HDMI inputs.
3. Use the TV’s remote control or on-screen menu: Some TVs have an on-screen menu or a dedicated button on the remote control that allows you to cycle through the available input sources. Use this feature to locate the HDMI input where your Roku device will be connected. You may need to select the corresponding HDMI input to activate it.
4. Consider additional features or markings: In some cases, certain HDMI inputs on your TV may have additional features. For example, HDMI inputs with ARC (Audio Return Channel) functionality may be labeled differently or have unique symbols. If you plan to connect your Roku device to a specific HDMI input that offers additional capabilities, pay attention to any markings or descriptions associated with that input.
Once you have identified the correct HDMI input on your TV, you can proceed with the physical steps of changing the HDMI connection. In the next section, we will guide you through disconnecting the current HDMI cable from your Roku device.
Disconnecting the current HDMI cable
Before you can change the HDMI connection on your Roku device, you need to disconnect the current HDMI cable. Follow these steps to safely disconnect the cable:
1. Ensure your Roku device and TV are powered off: Before making any changes, it’s important to power off both your Roku device and your TV. This will prevent any potential damage or interference during the disconnection process.
2. Locate the current HDMI cable: Find the HDMI cable that is currently connected to your Roku device. It should be connected to the HDMI port you identified earlier.
3. Firmly grasp the HDMI cable connector: Firmly hold the HDMI cable connector, not the cable itself, and gently pull it straight out from the HDMI port. Avoid applying excessive force or pulling at an angle as this may damage the cable or the port.
4. Store the current HDMI cable properly: Once the cable is disconnected, consider storing it in a safe and organized manner. This will help prevent any damage or tangling that could occur if the cable is left loose or exposed.
5. Inspect the HDMI cable and port: Take a moment to inspect both the HDMI cable and the HDMI port on your Roku device. Look for any signs of damage, such as bent pins or frayed cables. If you notice any issues, it may be necessary to replace the cable or seek professional assistance.
By following these steps, you can safely disconnect the current HDMI cable from your Roku device. Now that the cable is disconnected, you’re ready to connect the new HDMI cable and establish the new HDMI connection. In the next section, we will guide you through the process of connecting a new HDMI cable to your Roku device.
Connecting a new HDMI cable to your Roku device
Now that you have disconnected the current HDMI cable from your Roku device, it’s time to connect a new HDMI cable to establish the new HDMI connection. Follow these steps to ensure a proper and secure connection:
1. Select a high-quality HDMI cable: Choose a new HDMI cable that is appropriate for your setup. Consider the length and any specific features you may need, such as support for 4K resolution or HDR (High Dynamic Range) content. It’s generally recommended to use a high-speed HDMI cable, as it provides better bandwidth for high-quality audio and video transmission.
2. Locate the HDMI port on your Roku device: Refer back to the HDMI port on your Roku device that you identified earlier. Align the HDMI connector of the new cable with the HDMI port, making sure the pins are aligned properly.
3. Insert the HDMI cable into the HDMI port: Gently insert the HDMI connector into the HDMI port on your Roku device. Ensure that the connector is inserted fully and securely to establish a reliable connection. Avoid applying excessive force or bending the cable during the insertion process.
4. Secure the cable connection: Once the HDMI cable is inserted into the HDMI port, gently push the cable connector towards the device to secure the connection. You should feel a slight click or resistance, indicating that the cable is securely attached.
5. Organize the HDMI cable: To maintain a tidy setup, consider using cable management solutions to organize and secure the HDMI cable along with any other cables connected to your Roku device. This will help prevent tangling and ensure a clean and organized entertainment area.
By following these steps, you can successfully connect a new HDMI cable to your Roku device. With the HDMI cable securely connected, you’re now ready to establish the connection with your TV by connecting the other end of the HDMI cable. In the next section, we will guide you through this process.
Connecting the other end of the HDMI cable to your TV
Now that you have successfully connected the HDMI cable to your Roku device, it’s time to establish the connection with your TV. By following these steps, you can ensure a proper and secure connection:
1. Locate the HDMI input on your TV: Refer to the HDMI input that you identified on your TV earlier. It should be labeled as HDMI 1, HDMI 2, or similar. Make sure you have easy access to this HDMI input.
2. Align the HDMI connector of the cable: Take the other end of the HDMI cable and align the HDMI connector with the HDMI input on your TV. Ensure that the pins on the connector are aligned properly with the corresponding holes in the HDMI input.
3. Insert the HDMI cable into the HDMI input: Gently insert the HDMI connector into the HDMI input on your TV. Apply light pressure and push the connector in until it is fully inserted. Be careful not to force the connection, as this can cause damage to the cable or the HDMI input.
4. Secure the cable connection: Once the HDMI cable is inserted into the HDMI input, gently push the cable connector towards the TV to secure the connection. This will ensure that the cable is securely attached and will minimize the chances of accidental disconnection.
5. Power on your Roku device and your TV: After securing the HDMI cable connection, power on your Roku device and your TV. Use the power button on each device or the remote control to turn them on. Wait for both devices to fully boot up.
6. Select the correct HDMI input on your TV: Using your TV remote control, navigate through the input/source options and select the corresponding HDMI input where your Roku device is connected. This will allow the TV to recognize and display the content from your Roku device.
By following these steps, you can successfully connect the other end of the HDMI cable to your TV. With the HDMI connection established, you’re now ready to enjoy your favorite movies, TV shows, and more on your Roku device. However, before you start streaming, it’s essential to ensure that the correct HDMI input is selected on your TV.
Powering on your Roku device and TV
After successfully connecting the HDMI cable to your Roku device and TV, it’s time to power them on. Follow these steps to ensure both devices are powered on correctly:
1. Locate the power button on your Roku device: Look for the power button on your Roku device. It is typically located on the front or back of the device. Press the power button to turn on your Roku device.
2. Check the power source: Make sure your Roku device is connected to a power source, either through a power outlet or a USB port, depending on the model. Ensure that the power cable is securely plugged in and that there are no loose connections.
3. Locate the power button on your TV: If your TV has a separate power button, locate it. The power button is usually located on the front or side panel of the TV. Press the power button to turn on your TV.
4. Use your remote control: Alternatively, you can use the remote control that came with your Roku device or your TV to power on both devices. Look for the power button on either remote and press it to turn on your Roku device and TV simultaneously.
5. Wait for the devices to boot up: Give your Roku device and TV a few moments to fully boot up. During this time, you may see the Roku logo or a loading screen on your TV as the Roku device initializes.
6. Adjust the TV settings (if necessary): If your TV has different picture or audio settings, adjust them according to your preference. You can access these settings through the TV’s menu using the remote control.
By following these steps, you can ensure that both your Roku device and TV are powered on correctly. Once both devices are booted up and ready to go, it’s time to select the correct HDMI input on your TV to start enjoying the content from your Roku device.
Selecting the correct HDMI input on your TV
Now that your Roku device and TV are powered on, it’s important to select the correct HDMI input on your TV to ensure that you can view the content from your Roku device. Follow these steps to select the correct HDMI input:
1. Grab your TV remote control: Locate the remote control that came with your TV. It should have dedicated buttons or a menu option for selecting the input/source.
2. Look for the input/source button: On your TV remote control, find the input/source button. It is usually labeled as “Input,” “Source,” or a similar term. This button allows you to cycle through the available input sources on your TV.
3. Press the input/source button: Press the input/source button on your TV remote control to open the input/source menu on your TV screen. This menu will display a list of available input sources.
4. Navigate to the HDMI input: Use the arrow keys or direction buttons on your TV remote control to navigate through the input/source menu. Look for the HDMI input corresponding to the HDMI port where your Roku device is connected.
5. Select the HDMI input: Once you have highlighted the correct HDMI input, press the enter or select button on your TV remote control to choose that input. The TV screen should switch to display the content from your Roku device.
6. Ensure the correct input is displayed: Confirm that the correct input is displayed on your TV screen. You should see the home screen of your Roku device or any other content that you had previously selected.
By following these steps, you can select the correct HDMI input on your TV and start enjoying the content from your Roku device. If at any point you don’t see the expected content, double-check the HDMI connection, ensure that both your Roku device and TV are powered on, and repeat the steps to select the correct HDMI input.
Testing the connection and troubleshooting common issues
Once you have selected the correct HDMI input on your TV, it’s essential to test the connection and troubleshoot any potential issues that may arise. Follow these steps to ensure a smooth and reliable connection:
1. Ensure a stable internet connection: Streaming content through your Roku device requires a stable internet connection. Check that your Roku device is connected to your home network and that the Wi-Fi signal is strong. If you experience any connectivity issues, try restarting your router or moving the Roku device closer to the Wi-Fi router.
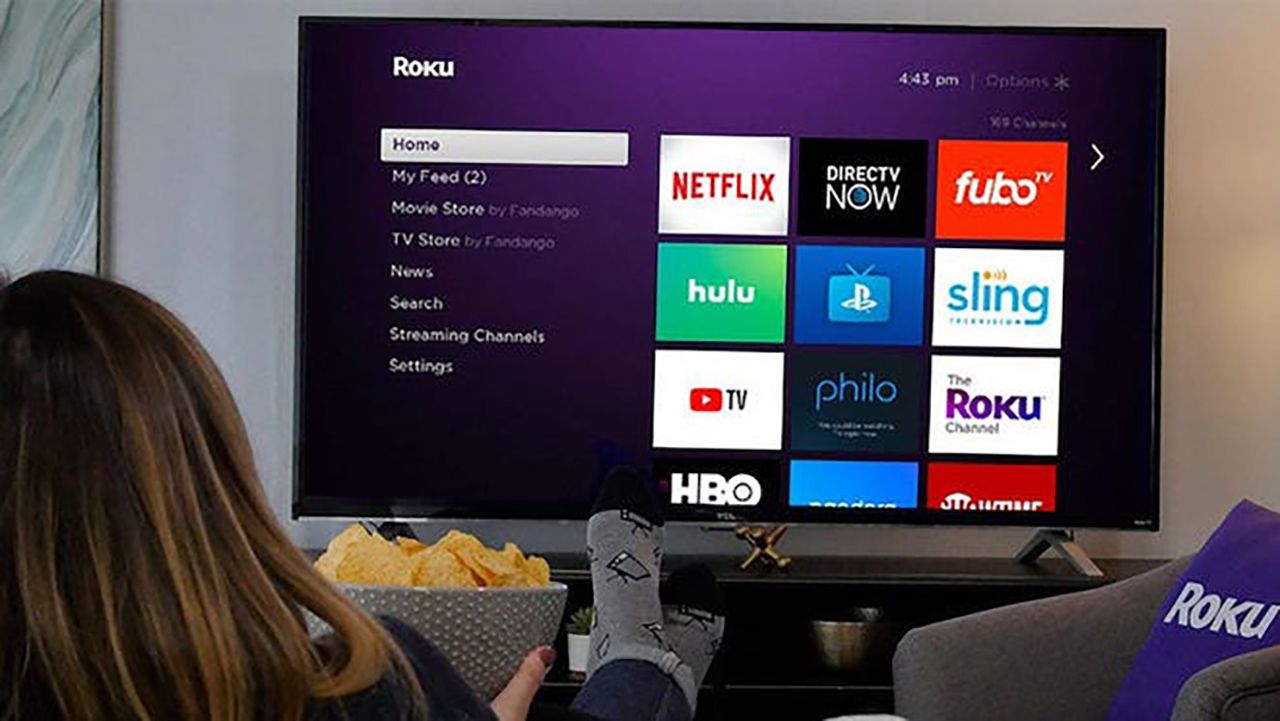
2. Navigate through the Roku interface: Use your Roku remote control to navigate through the Roku interface and explore the available content. Ensure that the interface is responsive and that you can access various channels and apps without any delays or interruptions.
3. Play a video or audio: Select a video or audio content to play through your Roku device. Make sure that the playback starts smoothly and that there are no interruptions or buffering issues. Pay attention to the audio and video quality to ensure they meet your expectations.
4. Check for audio and video syncing issues: Sometimes, there may be a slight delay between the audio and video when streaming content. If you notice any syncing issues, navigate to the Roku settings and look for an audio sync adjustment option. Use this feature to fine-tune the audio and video synchronization.
5. Troubleshoot common issues: If you encounter any issues during the testing process, try the following troubleshooting steps:
– Check the HDMI connections: Make sure that both ends of the HDMI cable are securely connected to your Roku device and TV.
– Restart your Roku device: Unplug the power cable from your Roku device, wait for a few seconds, and then plug it back in. This can help resolve minor technical glitches.
– Update the Roku firmware: Go to the Roku settings and check for any available firmware updates. Install any updates to ensure that your Roku device has the latest features and bug fixes.
– Adjust picture settings: If you notice any issues with the picture quality, such as oversaturation or blurry images, navigate to the TV settings and adjust the picture settings accordingly.
– Reset the Roku device: As a last resort, you can reset the Roku device to factory settings. However, keep in mind that this will erase all your settings and preferences, so make sure to back up any important data before performing a reset.
By testing the connection and troubleshooting common issues, you can ensure that your Roku device is functioning properly and that you have a seamless streaming experience. If the issues persist or if you encounter any other specific technical problems, refer to the Roku support documentation or contact their customer support for further assistance.
Conclusion
Changing the HDMI connection on your Roku device may seem like a daunting task, but with the right knowledge and steps, it can be a simple process. By following the instructions outlined in this guide, you can successfully change the HDMI on your Roku device and ensure a seamless streaming experience.
We started by understanding HDMI ports on Roku devices and the importance of HDMI for transmitting high-quality audio and video signals. We then discussed the various reasons why you might need to change the HDMI on your Roku device, such as upgrading to a higher-quality cable or switching to a different HDMI port on your TV.
Next, we guided you through the process of checking the compatibility between your Roku device and your TV. Checking HDMI versions, resolutions, and audio format compatibility is crucial to ensure a smooth and optimal connection.
We then provided step-by-step instructions for finding the HDMI port on your Roku device and identifying the corresponding HDMI input on your TV. Once you had successfully located these, we walked you through the process of disconnecting the current HDMI cable and connecting a new one.
After connecting the HDMI cable, we guided you in powering on your Roku device and TV, selecting the correct HDMI input, and testing the connection. We also provided troubleshooting steps for common issues that may arise, helping you resolve any potential problems.
By following these instructions, you are now ready to enjoy seamless streaming on your Roku device. Remember to always verify compatibility, double-check connections, and troubleshoot any issues that may arise. With a properly connected HDMI cable, you can experience high-quality audio and video content from your Roku device on your TV.
Whether you’re upgrading your setup, troubleshooting issues, or simply looking to enhance your streaming experience, knowing how to change the HDMI on your Roku device is an essential skill. Now go ahead, sit back, and enjoy your favorite movies, TV shows, and more on your Roku device!