Introduction
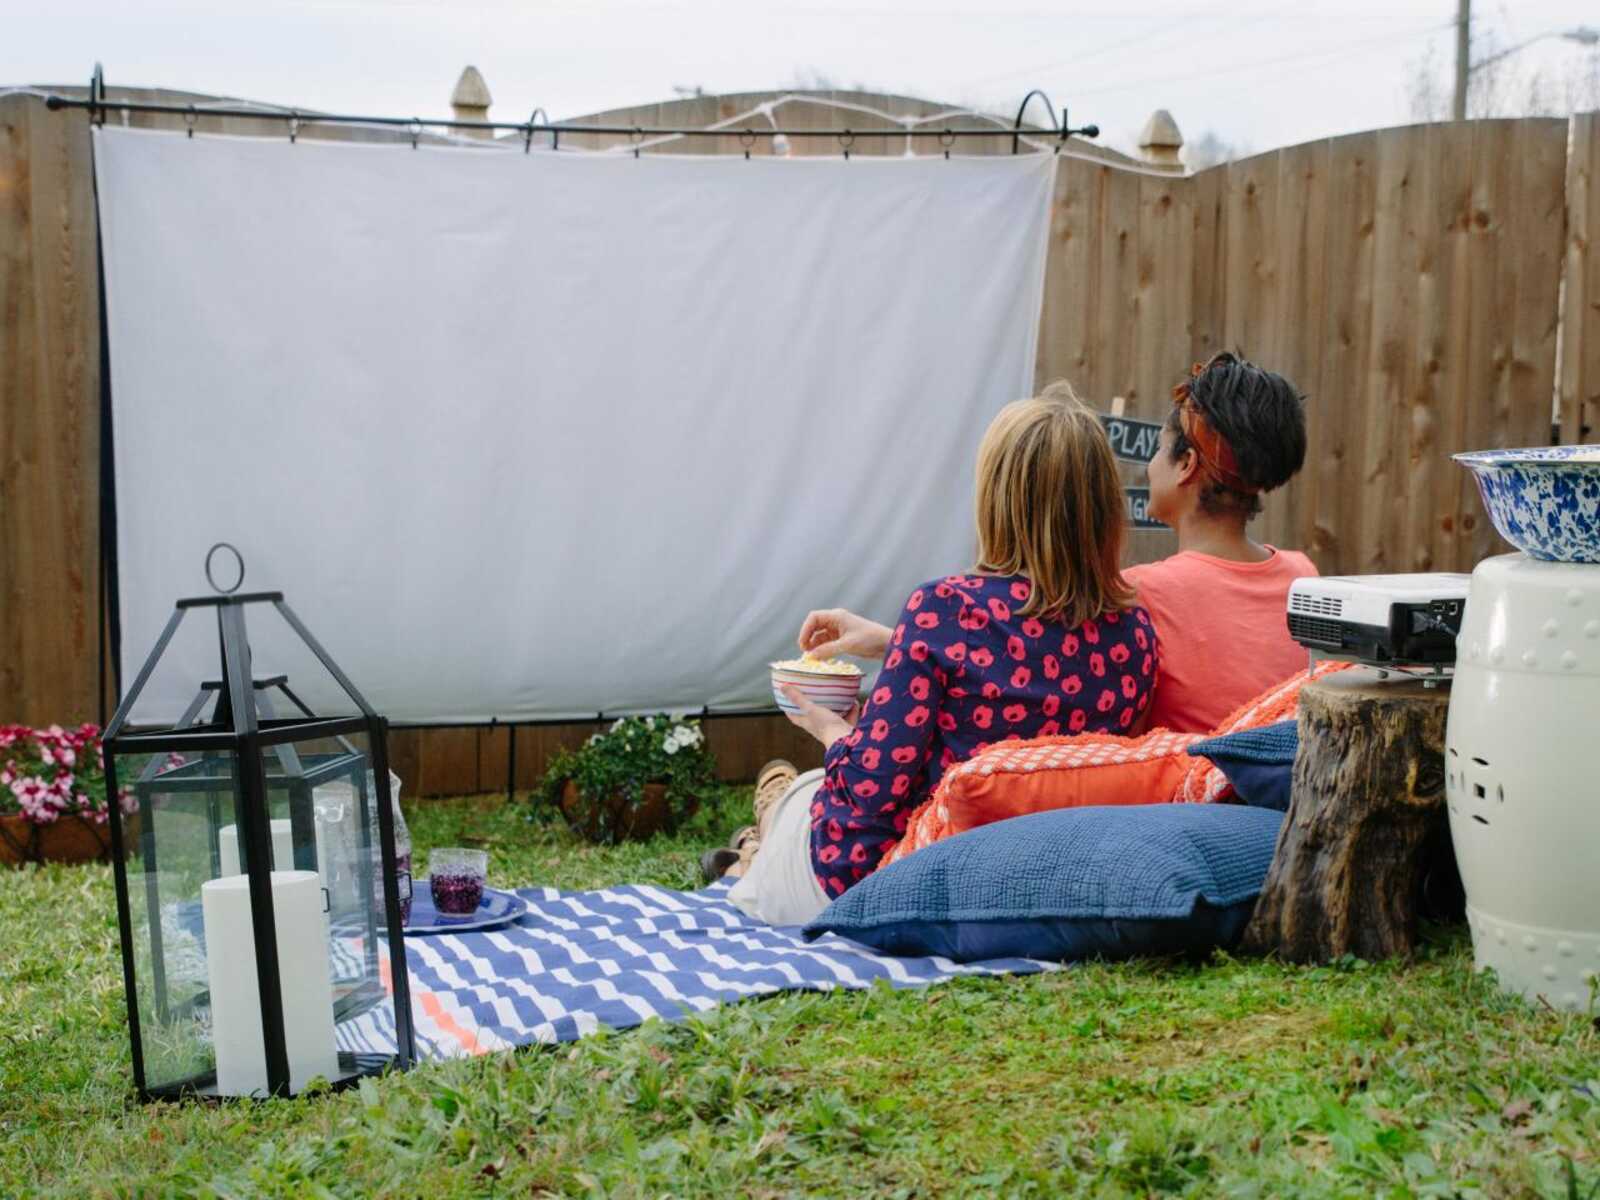
Gather around, movie lovers and DIY enthusiasts! Are you looking to bring the ultimate cinema experience into the comfort of your own home? Look no further than building your very own projector screen frame. With a little bit of creativity and some simple materials, you can transform any room into a private theater.
Creating a projector screen frame is a fantastic weekend project that can save you money while giving you the flexibility to customize the size and shape of your screen. Whether you want to watch your favorite films, play video games, or showcase presentations, a well-built projector screen frame will elevate your viewing experience.
In this article, we will guide you through the step-by-step process of building a projector screen frame. We will cover everything from measuring and cutting the frame pieces to securely attaching the screen fabric. So, grab your tools and let’s get started on this exciting journey!
Before we dive into the nitty-gritty details, let’s quickly go over the materials you will need for this project. Don’t worry, you won’t need any specialized or expensive tools. In fact, most of the items can be found at your local hardware store or online:
Materials Needed
Before you embark on your projector screen frame project, make sure you have all the necessary materials at hand. Here’s a list of the items you’ll need:
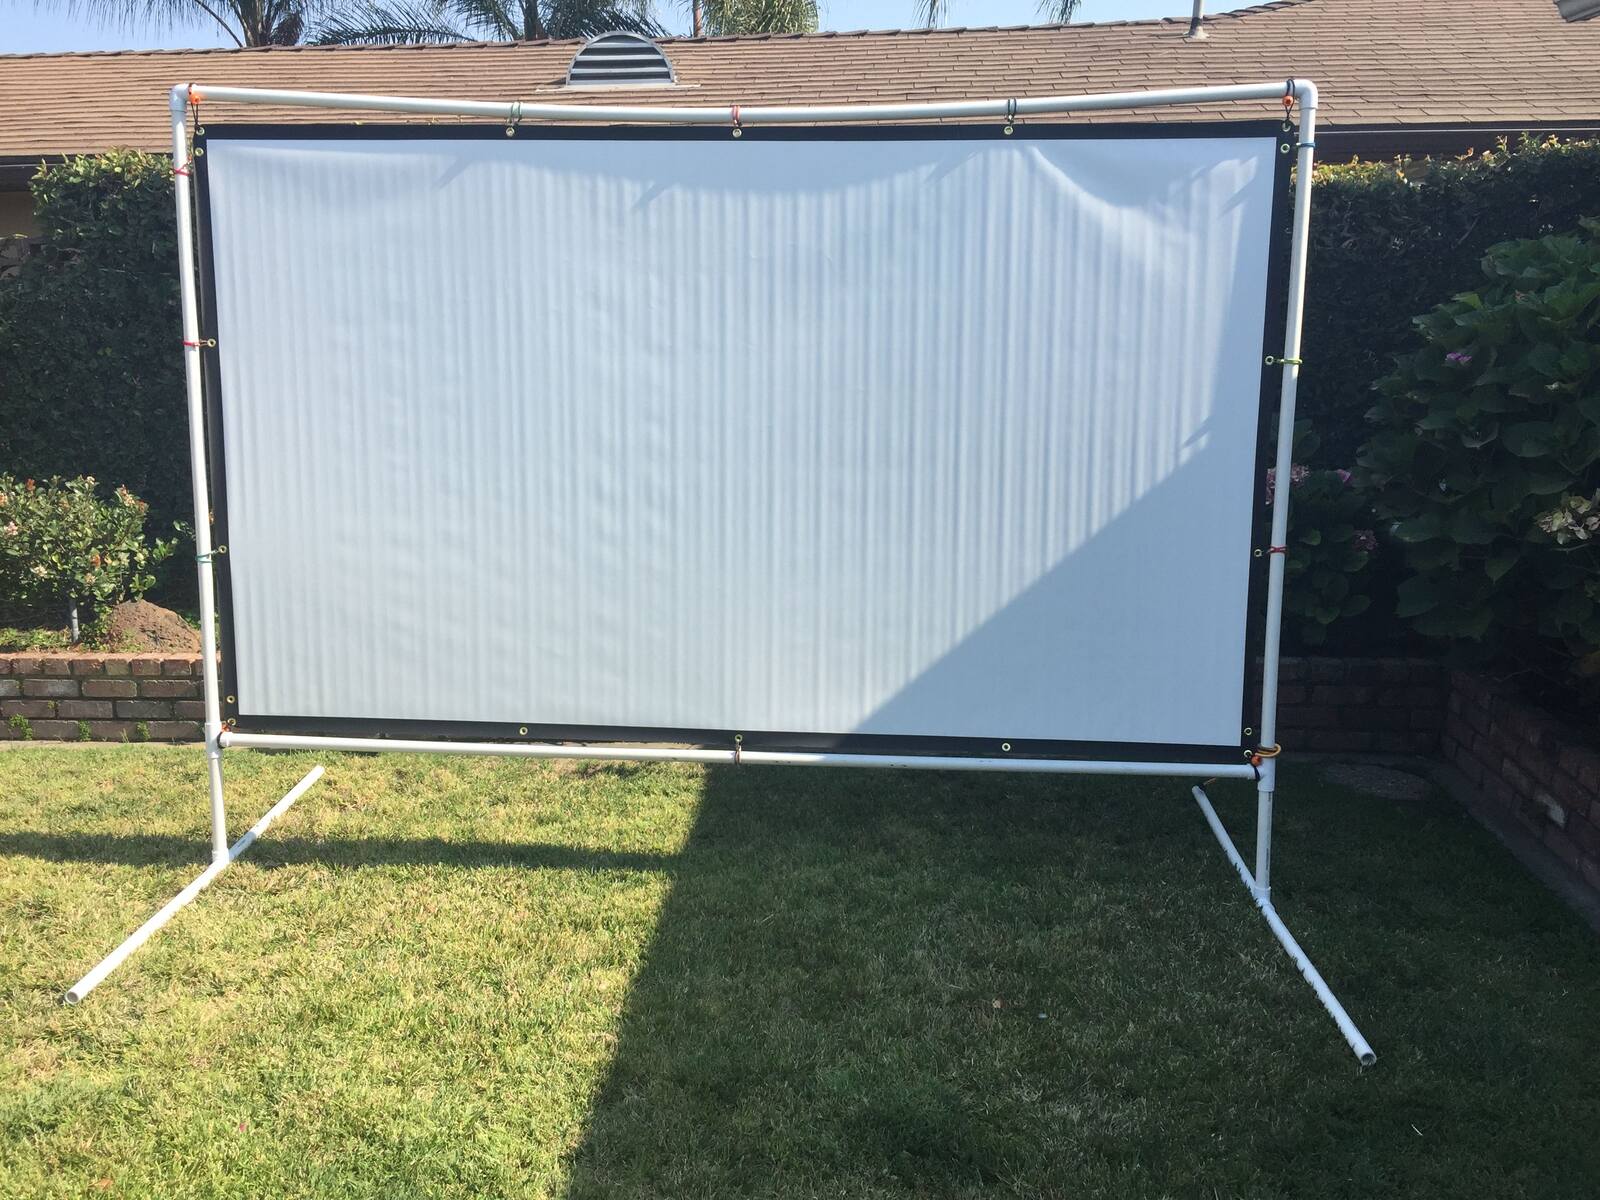
- 1. PVC pipes or wooden boards: These will form the frame of the projector screen. PVC pipes are lightweight and easy to work with, while wooden boards provide a sturdier option.
- 2. Miter saw or hand saw: A miter saw is ideal for cutting PVC pipes or wooden boards with precision. If you don’t have access to a miter saw, a hand saw will do the job as well.
- 3. Measuring tape: Accurate measurements are essential for ensuring your screen frame fits perfectly. A measuring tape will be your best friend during this project.
- 4. Screen fabric: This is the surface on which the projected image will be displayed. Look for screen fabric specifically designed for projectors, as it provides optimal light reflection.
- 5. Staple gun: A staple gun will be used to attach the screen fabric to the frame. Make sure it’s capable of securely fastening the fabric without damaging it.
- 6. Screws or PVC connectors: These will help you assemble the frame. If you’re using PVC pipes, PVC connectors will allow you to easily join the sections together.
- 7. Level: To ensure your screen frame is straight and level, a small bubble level will come in handy.
- 8. Drill: If you’re using wooden boards, a drill will be needed to create pilot holes for the screws.
- 9. Sandpaper: If you’re working with wooden boards, sandpaper will help smoothen any rough edges and ensure a seamless finish.
- 10. Optional accessories: Depending on your preference, you may also need wall brackets, eye hooks, or hanging wires to mount and secure the screen frame.
Now that you have all the necessary materials, it’s time to proceed to the next step: measuring and marking the frame. Let’s get started!
Step 1: Measure and Mark
The first step in building your projector screen frame is to measure and mark the dimensions for your desired screen size. The size will depend on the available space in your room and your personal preferences.
Start by determining the aspect ratio of your projector. Common aspect ratios include 16:9 for widescreen content and 4:3 for standard definition. Once you have the aspect ratio, you can calculate the dimensions of your screen. For example, if you want a 100-inch diagonal screen with a 16:9 aspect ratio, the width would be approximately 87 inches and the height around 49 inches.
Next, measure and mark the dimensions on your PVC pipes or wooden boards. Use a measuring tape and a pencil to ensure accurate markings. Double-check your measurements to avoid any mistakes.
If you’re using PVC pipes, mark the desired lengths on each pipe. Ensure that the markings are evenly spaced so that the frame will be balanced when assembled. If you’re using wooden boards, measure and mark the lengths on each board, and remember to account for the width of the boards when calculating the final dimensions.
Pro tip: It’s a good idea to label each piece of your frame with corresponding markings to avoid confusion during the assembly process.
Once you have marked all the necessary dimensions on your materials, you’re ready to move on to the next step: cutting the frame pieces. Keep in mind that accuracy is crucial at this stage to ensure a precise fit.
Note: Safety should always be a priority when using saws or any cutting tools. Follow all safety precautions and wear appropriate protective gear.
Now that you have successfully measured and marked your frame, let’s move on to cutting the pieces in step 2.
Step 2: Cut the Frame Pieces
Now that you have measured and marked the dimensions of your projector screen frame, it’s time to cut the frame pieces. The accuracy of your cuts will directly affect the final outcome, so it’s important to take your time and be precise.
If you are using PVC pipes for your frame, you will need a miter saw or a hand saw with a PVC blade. Place the marked PVC pipes securely on a workbench or sawhorses and position them so that they can be cut easily and safely.
Align the blade of the saw with the marked line on the PVC pipe and slowly cut through the pipe using a steady back-and-forth motion. Take care to maintain a straight and even cut throughout the process.
If you are working with wooden boards, a miter saw or a hand saw with a fine-toothed blade will also be suitable. Secure the marked wooden boards firmly on a workbench or sawhorses and align the blade of the saw with the marked line. Slowly and steadily cut through the wood, ensuring a straight and smooth cut.
After cutting each piece of the frame, use sandpaper to smooth any rough edges or splinters. This will not only create a more professional finish but also prevent any accidental injuries while handling the frame.
Once all the frame pieces have been cut and sanded, it’s crucial to double-check their measurements. Ensure that all the pieces are the correct lengths and match your intended screen dimensions.
Remember, precise and accurate cuts are essential for a snug and secure frame assembly. Take your time to ensure that each piece is cut to the correct size and shape.
With your frame pieces accurately cut and prepared, you’re ready to move on to the next step: assembling the frame.
Step 3: Assemble the Frame
Now that you have your frame pieces cut to the correct dimensions, it’s time to assemble the projector screen frame. This step is where your project really starts taking shape, so let’s get started!
If you’re using PVC pipes, begin by joining the pieces together using PVC connectors. Insert the ends of the pipes into the connectors and ensure they fit tightly. Use a rubber mallet or a hammer to gently tap the connectors, if needed, to secure the connection.
For wooden frames, you will need screws and a drill. Lay out the frame pieces in the desired configuration, such as a rectangle or square. Align the corners and clamp them together to hold them in place. Pre-drill pilot holes at the corners where the frame pieces meet to prevent the wood from splitting. Then, screw in the screws through the pilot holes to secure the frame pieces together.
Once the frame is assembled, use a level to check that it is straight and square. Adjust the frame as necessary to ensure that all sides are level and the corners are at right angles.
Pro tip: If you’re looking for a more portable or collapsible frame, you can use corner brackets or hinges to make it easier to disassemble and transport.
After confirming the stability and alignment of your frame, take a moment to admire your handiwork. You now have a solid and sturdy structure for your projector screen.
With the frame assembled, it’s time to move on to the next step: attaching the screen fabric. This will transform your frame into a functional projector screen that is ready for use.
Step 4: Attach the Screen Fabric
With the projector screen frame assembled, it’s time to attach the screen fabric. This step is crucial as it will determine the quality of your projected image, so let’s dive in!
Start by laying your screen fabric flat on a clean and smooth surface. Ensure that there are no wrinkles or creases in the fabric to achieve a taut and seamless projection surface.
If you’re using a stretchable screen fabric, carefully stretch it across the frame, starting from one side. Use a staple gun to secure the fabric to the frame, ensuring that it is tight and evenly stretched. Begin stapling from the center and work your way outwards, spacing the staples a few inches apart.
If you’re working with a non-stretchable screen fabric, you’ll need to fold the edges of the fabric over the frame. Place the fabric over the frame, allowing a few extra inches of fabric on each side. Fold the excess fabric over the edges of the frame and use a staple gun to secure it in place. Make sure to keep the fabric taut and smooth as you staple.
Pro tip: To achieve a professional and clean finish, trim any excess fabric neatly and carefully along the edges of the frame using a pair of sharp scissors or a utility knife.
As you staple the fabric, periodically check the tension to ensure it remains even across the entire surface of the frame. This will help prevent any distortions or waves when projecting images onto the screen.
Once you have finished attaching the screen fabric to the frame, give it a gentle tug to check for any loose areas. If you notice any sagging or areas that need tightening, carefully remove the staples and adjust the fabric. Then, re-staple to secure it in place.
With the screen fabric securely attached, step back and admire your work! You now have a professionally constructed projector screen frame ready to display your favorite movies, games, or presentations.
Next up, we will cover how to securely secure the screen fabric, ensuring a long-lasting and durable projector screen. Let’s move on to step 5!
Step 5: Securing the Screen Fabric
Now that you have attached the screen fabric to your projector screen frame, it’s important to ensure that it is securely held in place. This step will prevent any potential sagging or shifting of the fabric, ensuring a smooth and stable projection surface. Let’s dive into how to securely secure the screen fabric!
If you’re using a stretchable screen fabric, one effective method to secure it is by using tensioning devices. These can be in the form of bungee cords, elastic ropes, or spring-loaded tension rods. Attach the tensioning devices to the edges of the frame, stretching and securing the screen fabric in place. This will help to maintain a tight and wrinkle-free surface.
If your screen fabric doesn’t stretch, you can use adhesive hook and loop fasteners, such as Velcro strips. Apply one side of the Velcro strips to the back of the frame, along the edges, and the corresponding side to the fabric itself. Press the fabric firmly against the frame, ensuring that the Velcro strips securely attach to each other. This method provides a strong bond while allowing for easy removal and reattachment of the fabric if needed.
Another option for securing the screen fabric is by using a border frame. This involves adding an additional frame around the edges of the main screen frame. Attach the fabric to the main frame as previously described and then position the border frame around it. Secure the border frame to the main frame using screws or adhesive, ensuring that the fabric remains taut within the enclosed space.
Whichever method you choose, it’s important to regularly check the tension and tightness of the screen fabric. Over time, the fabric may loosen, so periodic adjustments and re-tightening may be necessary to maintain optimal screen performance.
Pro tip: If you’re planning on using your projector screen outdoors or in a particularly windy environment, consider adding additional reinforcements to prevent the fabric from being blown around. This can include using additional hooks, stakes, or weights to keep the screen secure and steady.
With the screen fabric securely fastened and the necessary precautions in place, you’re one step closer to enjoying a high-quality projection experience. Now, let’s move on to the final step: mounting the screen frame!
Step 6: Mounting the Screen Frame
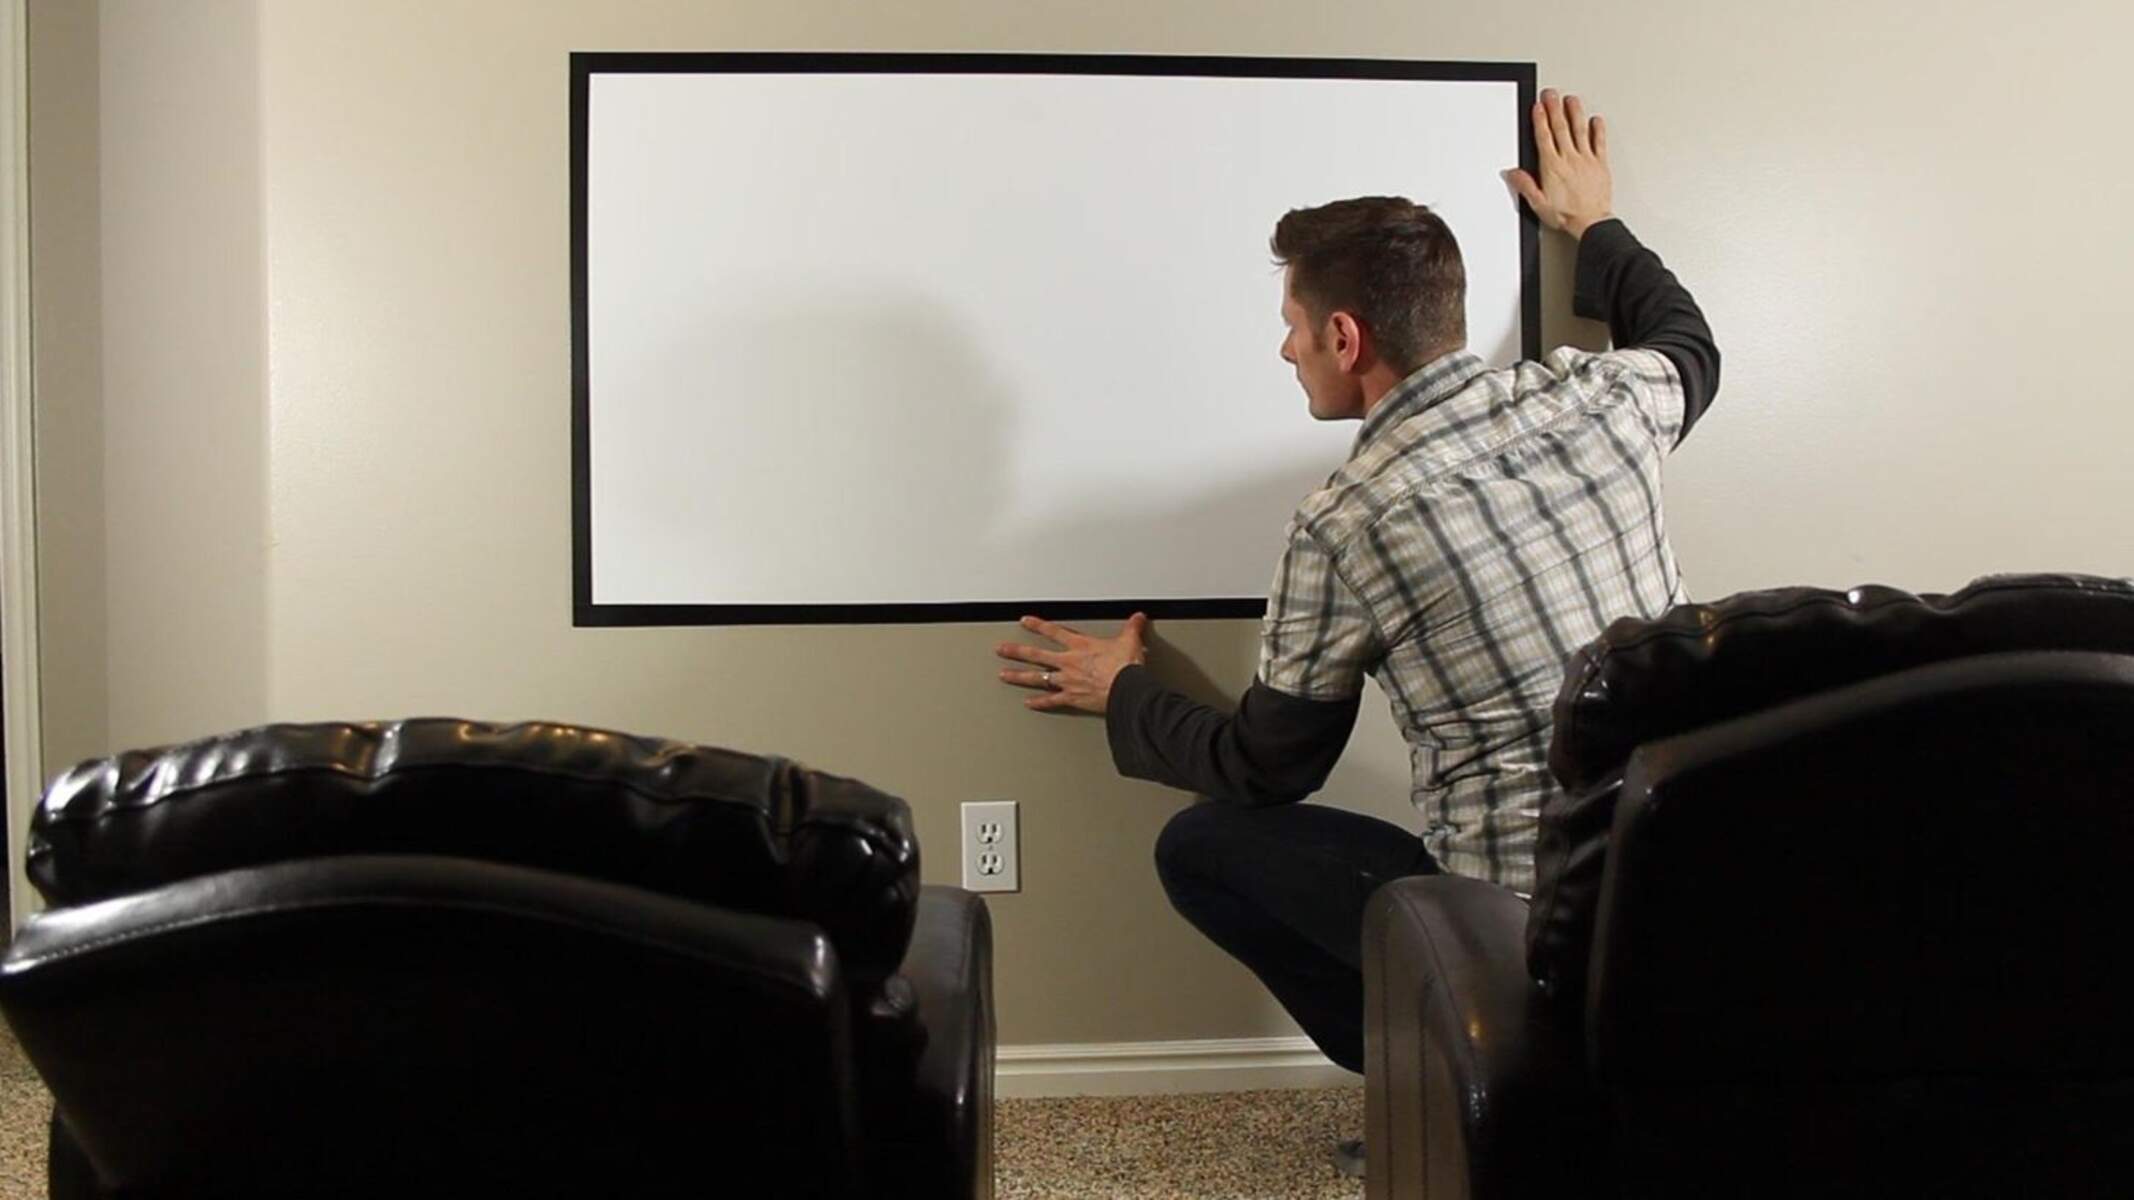
With your projector screen frame constructed and the screen fabric securely attached, it’s time to mount the frame in its designated location. Proper mounting ensures stability and optimal viewing angles for the best projection experience. Let’s go through the steps on how to mount the screen frame.
First, determine the ideal location for your projector screen. Consider factors such as wall space, room layout, and viewing distance. Once you have found the perfect spot, mark the desired mounting points on the wall or ceiling.
If your screen frame is lightweight and small, you can use wall brackets or hooks to hang it on the wall. Attach the wall brackets or hooks securely to the marked points, ensuring they are level and evenly spaced. Then, carefully hang the frame on the brackets or hooks, making sure it aligns properly.
For larger screens or if you prefer a more permanent installation, consider using mounting brackets or a wall mount. These provide a sturdier and more secure option. Follow the manufacturer’s instructions to mount the brackets or wall mount to the wall or ceiling. Once the brackets or wall mount are securely fixed, lift the screen frame and attach it to the brackets or wall mount, ensuring it is level and aligned correctly.
Pro tip: If you are mounting the screen frame on a wall, it’s a good idea to locate the wall studs for added stability. Use a stud finder to locate the studs behind the wall and attach the mounting brackets or wall mount to them for a stronger and more secure installation.
Once the screen frame is mounted, step back and check the alignment and levelness. Make any necessary adjustments to ensure that the frame is straight and properly positioned for optimal viewing.
Finally, consider any necessary wiring or cable management. If you plan to connect your projector to other devices or need power outlets nearby, plan ahead and ensure that all necessary cables are appropriately placed and hidden to create a neat and organized setup.
With the screen frame securely mounted, you can now sit back, relax, and enjoy your favorite movies or presentations on your very own DIY projector screen.
Congratulations! You’ve successfully completed all the steps to build and mount your projector screen frame. Now it’s time to make some popcorn, dim the lights, and immerse yourself in a truly cinematic experience!
Conclusion
Congratulations on completing the construction and mounting of your very own projector screen frame! By following the step-by-step process outlined in this guide, you have created a custom-made screen that will elevate your viewing experience to new heights.
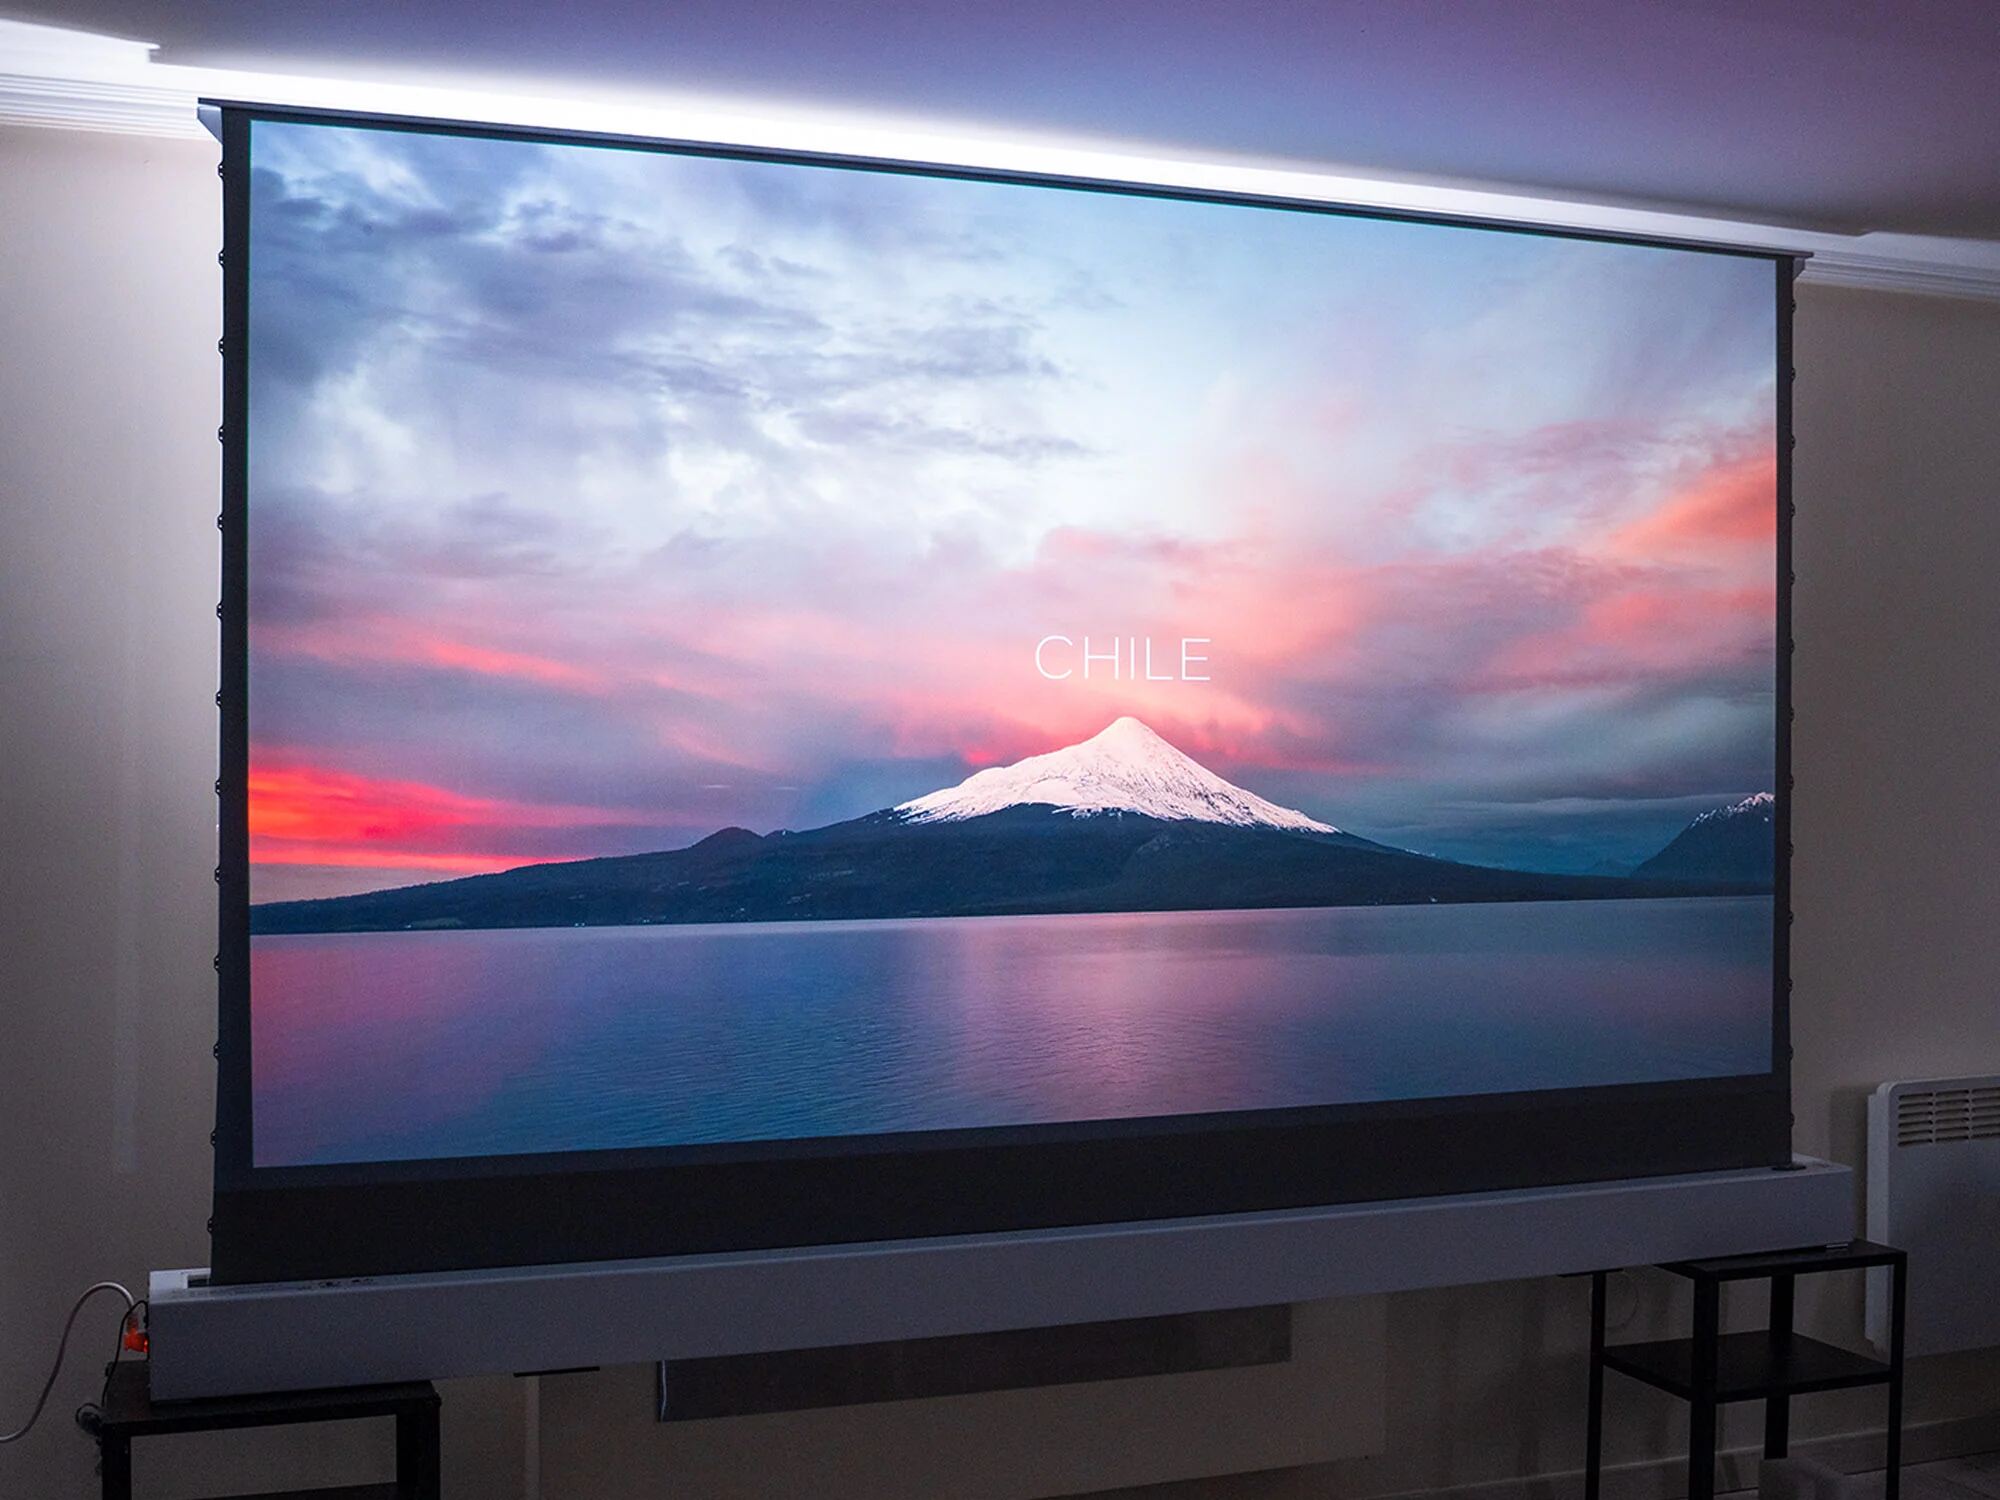
Building a projector screen frame allows you to have full control over the size, shape, and materials used. Whether you’re a movie buff, a gaming enthusiast, or a professional presenter, having a high-quality projector screen will enhance your visual content and create a more immersive and engaging experience.
Remember, accuracy is key when measuring, cutting, and assembling the frame. Take your time and ensure each step is performed with precision for the best results. Securely attaching the screen fabric and properly mounting the frame will provide stability and ensure the screen remains taut and in position.
Now that you have your projector screen frame set up, it’s time to grab your favorite movies, games, or presentation materials, and enjoy the immersive viewing experience right in the comfort of your own home or office.
Feel free to explore additional customization options such as adding a black border, installing surround sound speakers, or incorporating ambient lighting to create a truly cinematic atmosphere.
Remember, your DIY projector screen frame is a testament to your creativity and craftsmanship. Share your creation with friends and family, and inspire others to embark on their own DIY projects.
We hope this guide has been helpful in guiding you through the process of building and mounting a projector screen frame. Enjoy your newly constructed screen and have fun bringing your favorite movies, games, and presentations to life!