Introduction
Introduction
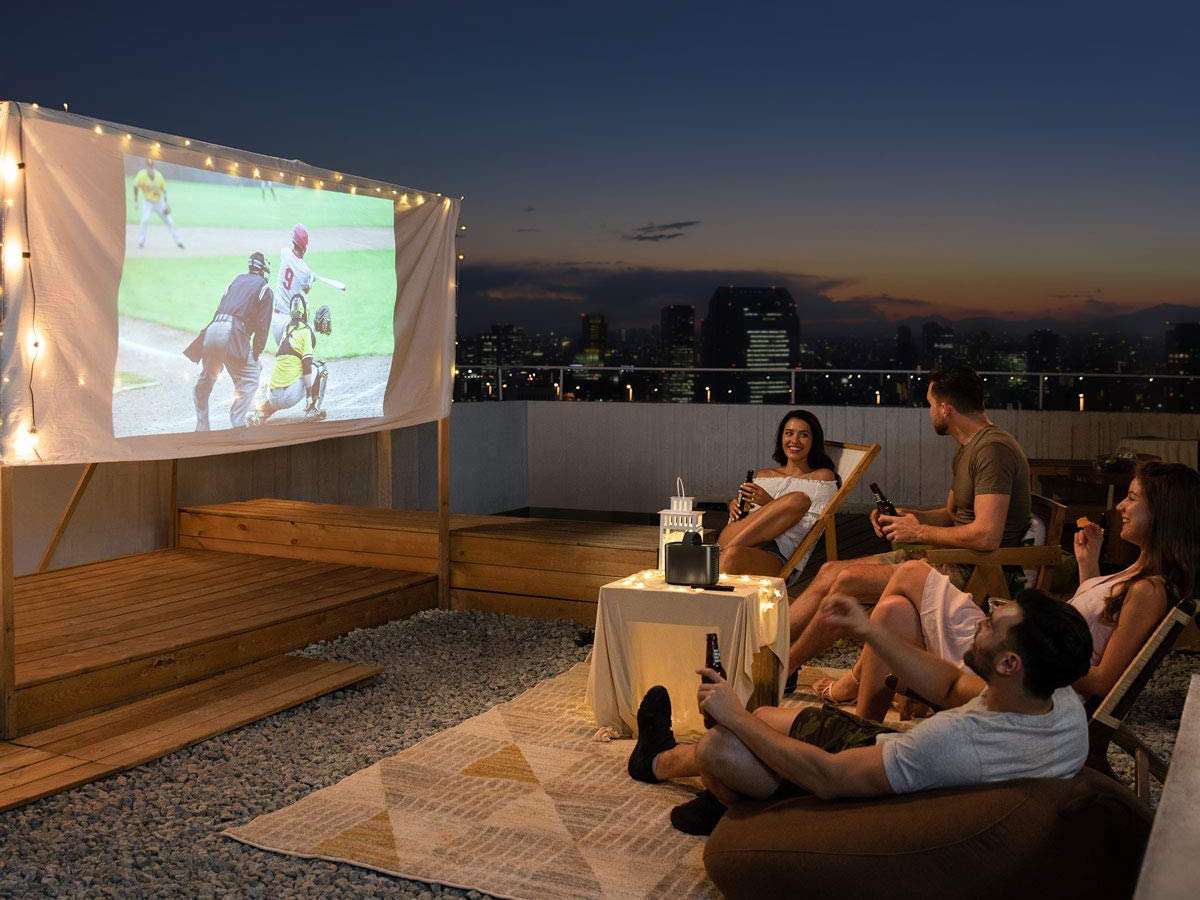
Setting up a portable projector screen frame can significantly enhance your movie nights, presentations, or outdoor events. Whether you're a movie enthusiast, a professional presenter, or someone who loves hosting outdoor gatherings, having a portable projector screen frame at your disposal can elevate your experiences. In this guide, we'll walk you through the process of creating your own portable projector screen frame using readily available materials and simple tools. With a few easy steps, you can have a versatile and convenient screen frame that can be set up anywhere, indoors or outdoors.
Creating your own portable projector screen frame not only offers cost savings but also allows for customization to suit your specific needs. You can tailor the size of the screen to accommodate different viewing environments, and the portability ensures that you can enjoy your favorite movies or deliver impactful presentations wherever you go. Additionally, this DIY project provides an opportunity to unleash your creativity and craftsmanship, resulting in a sense of accomplishment and pride in the finished product.
So, gather your materials and let's embark on this exciting journey to construct a portable projector screen frame that will undoubtedly elevate your entertainment and presentation experiences. Let's get started!
Materials Needed
Before diving into the construction process, it’s essential to gather all the necessary materials and tools. Here’s a comprehensive list of items you’ll need to create your portable projector screen frame:
- PVC pipes: These will serve as the primary framework for the screen. The size and quantity will depend on the desired dimensions of your screen.
- PVC connectors: These fittings will be used to join the PVC pipes, allowing you to create a sturdy frame.
- Screen material: Opt for a durable, wrinkle-resistant fabric that provides excellent projection quality. The dimensions should correspond to the size of the frame you intend to build.
- Scissors or a cutting tool: You’ll need these to trim the screen material to fit the frame accurately.
- Measuring tape: Essential for obtaining precise dimensions for cutting the PVC pipes and screen material.
- Marker or pencil: Use this to mark the cutting points on the PVC pipes and screen material.
- Rubber mallet or hammer: This will come in handy for securing the PVC connectors onto the pipes.
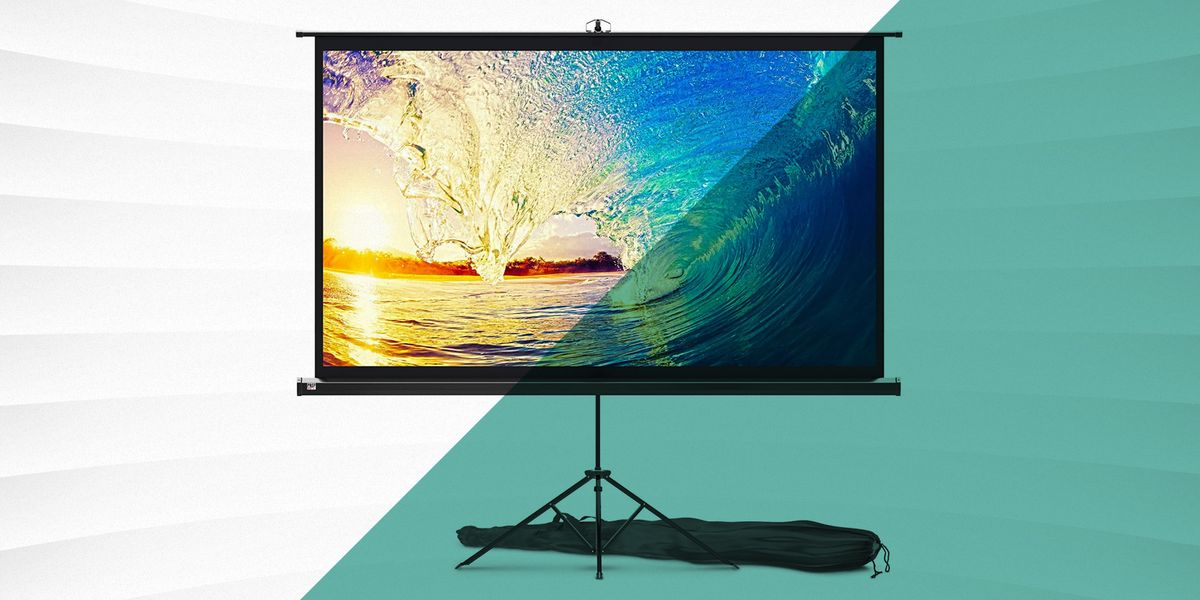
- Support stands or stakes: Depending on your intended use (indoor or outdoor), you’ll need stands or stakes to support the screen frame.
- Optional: Decorative elements, such as paint or fabric for customizing the frame’s appearance.
By ensuring that you have all these materials at your disposal, you’ll be well-prepared to proceed with constructing your portable projector screen frame. Now that you have everything you need, let’s move on to the step-by-step process of assembling the frame.
Step 1: Measure and Cut the PVC Pipes
Before assembling the frame, it’s crucial to accurately measure and cut the PVC pipes to the required lengths. Here’s a systematic guide to help you through this initial phase:
- Determine the Dimensions: Begin by deciding on the overall size of your projector screen. Consider the space where you intend to use the screen and ensure that the dimensions are suitable for your viewing needs.
- Measure and Mark: Use a measuring tape to mark the precise lengths on the PVC pipes according to the chosen dimensions. Double-check the measurements to ensure accuracy.
- Cut the PVC Pipes: Employ a PVC pipe cutter or a hacksaw to cut the pipes along the marked points. It’s essential to maintain straight cuts to facilitate seamless assembly.
- Verify the Fit: After cutting the pipes, confirm that they align correctly to form the intended frame size. This step ensures that any adjustments can be made before proceeding to the assembly stage.
By meticulously measuring and cutting the PVC pipes, you lay the groundwork for a well-constructed projector screen frame. This meticulous approach will contribute to the stability and overall aesthetic appeal of the finished product. With the pipes prepared, you’re now ready to progress to the next phase: assembling the PVC frame.
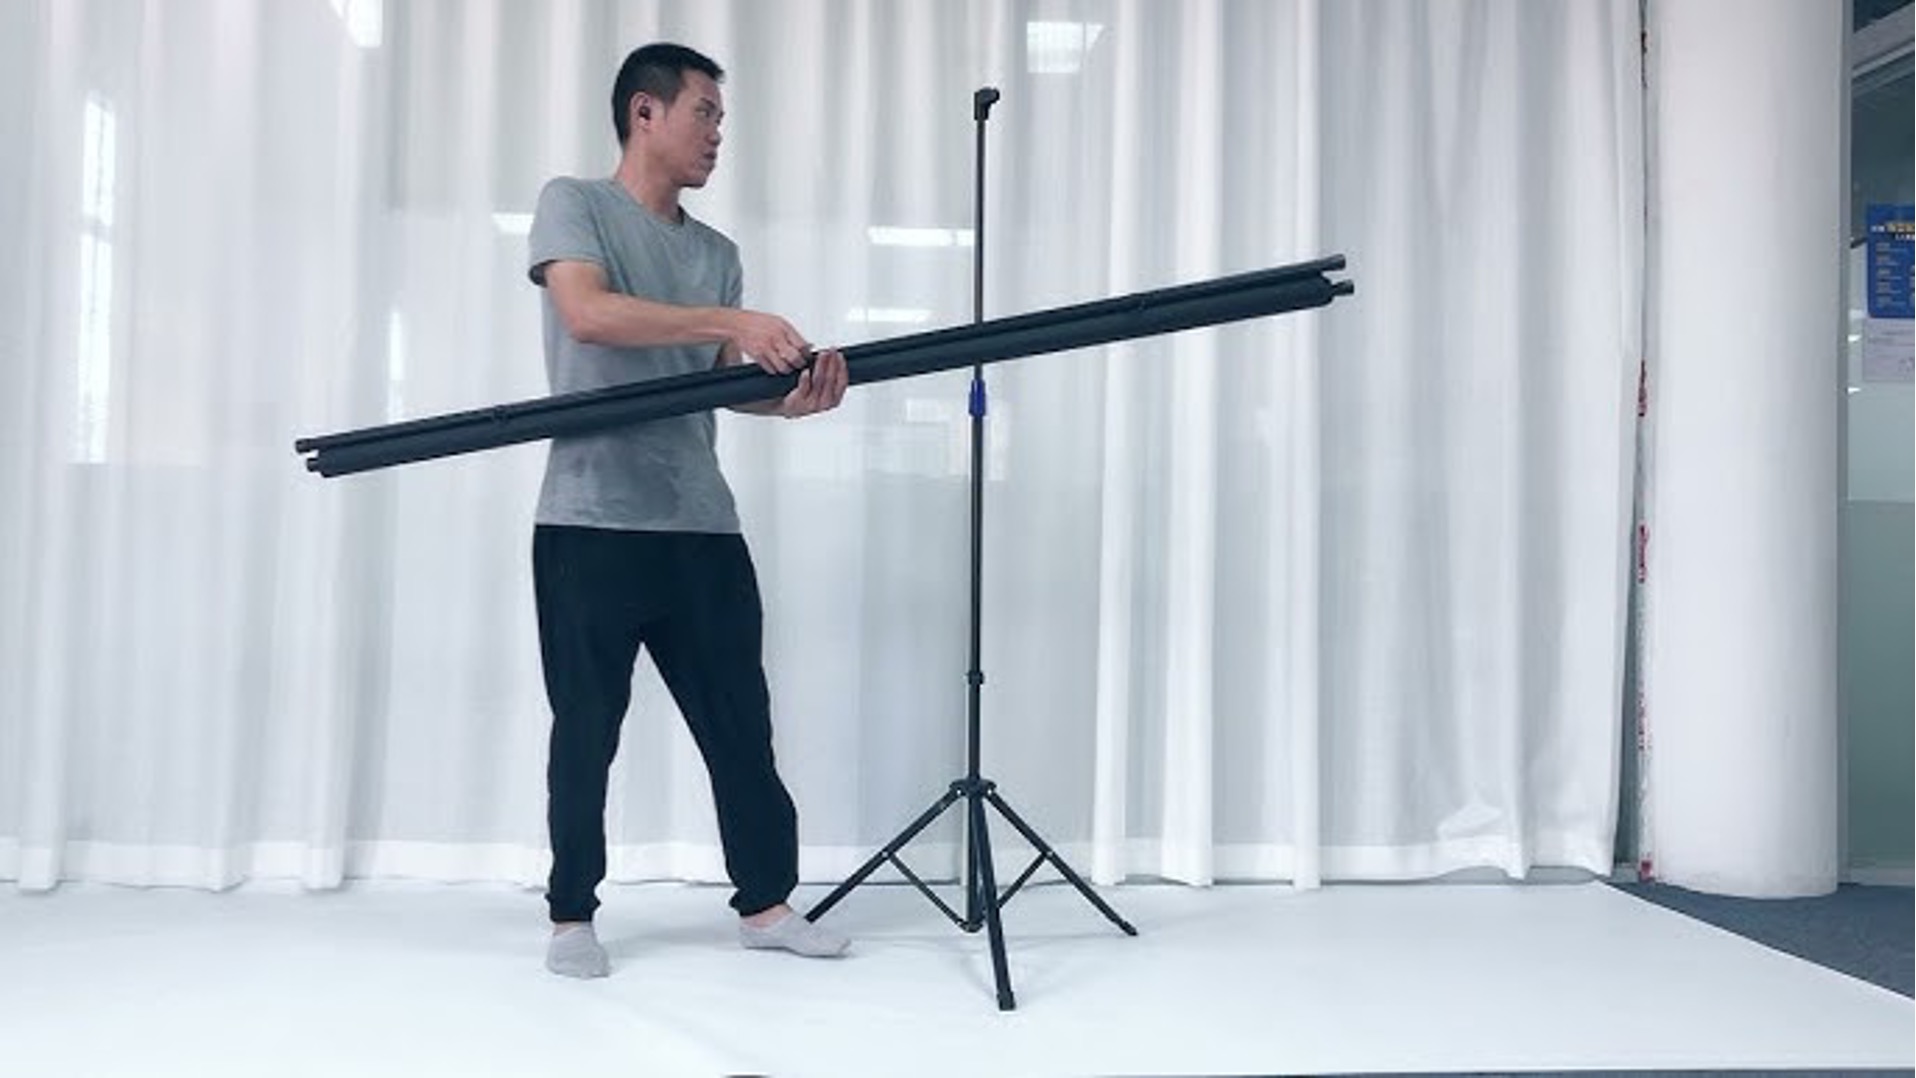
Step 2: Assemble the PVC Frame
Now that the PVC pipes have been accurately measured and cut, it’s time to proceed with assembling the frame for your portable projector screen. Follow these steps to effectively construct the PVC frame:
- Connect the PVC Pipes: Begin by joining the cut PVC pipes using the appropriate PVC connectors. Ensure that the connectors are securely attached to the pipes, creating a stable and rigid frame structure.
- Form the Rectangular Frame: Assemble the PVC pipes and connectors to create a rectangular outline that matches the dimensions of your desired screen size. Pay close attention to the alignment and angles to achieve a symmetrical frame.
- Reinforce the Joints: To enhance the stability of the frame, tap the connectors gently with a rubber mallet or hammer. This action will ensure that the joints are firmly secured, minimizing the risk of the frame coming apart during use.
- Double-Check the Structure: Once the frame is assembled, inspect the connections and overall stability. Confirm that the frame is level and that all joints are secure, making any necessary adjustments as required.
By following these steps, you’ll create a robust PVC frame that forms the foundation of your portable projector screen. The careful assembly of the frame is crucial in ensuring that the screen remains taut and stable, providing an optimal surface for projection. With the PVC frame successfully constructed, you’re now prepared to move on to the next phase: attaching the screen material.
Step 3: Attach the Screen Material
With the PVC frame assembled, the next crucial step is to affix the screen material to create the actual surface for projection. Follow these steps to effectively attach the screen material to the frame:
- Prepare the Screen: Lay the screen material flat on a clean, spacious area, ensuring that it is free from wrinkles or creases. This preparatory step is essential for achieving a smooth and visually appealing projection surface.
- Position the Frame and Material: Place the PVC frame on top of the screen material, ensuring that the material extends beyond the frame’s edges. This overlap will facilitate the secure attachment of the screen material to the frame.
- Secure the Material: Starting from one side, use clips or clamps to fasten the screen material to the PVC frame. Work your way around the entire perimeter, gradually pulling the material taut as you secure it in place.
- Trim Excess Material: Once the screen material is securely attached to the frame, carefully trim any excess material along the edges. This step ensures a neat and professional finish while eliminating any unnecessary bulk.
- Inspect the Tautness: After securing the screen material, examine the surface to ensure that it is uniformly taut across the frame. Adjust the tension as needed to eliminate any sagging or unevenness.
By following these steps, you’ll effectively attach the screen material to the PVC frame, creating a high-quality projection surface. The meticulous execution of this phase is crucial in ensuring optimal projection clarity and a visually pleasing display. With the screen material securely in place, you’re now ready to proceed to the final step: adding stability and support to the portable projector screen frame.
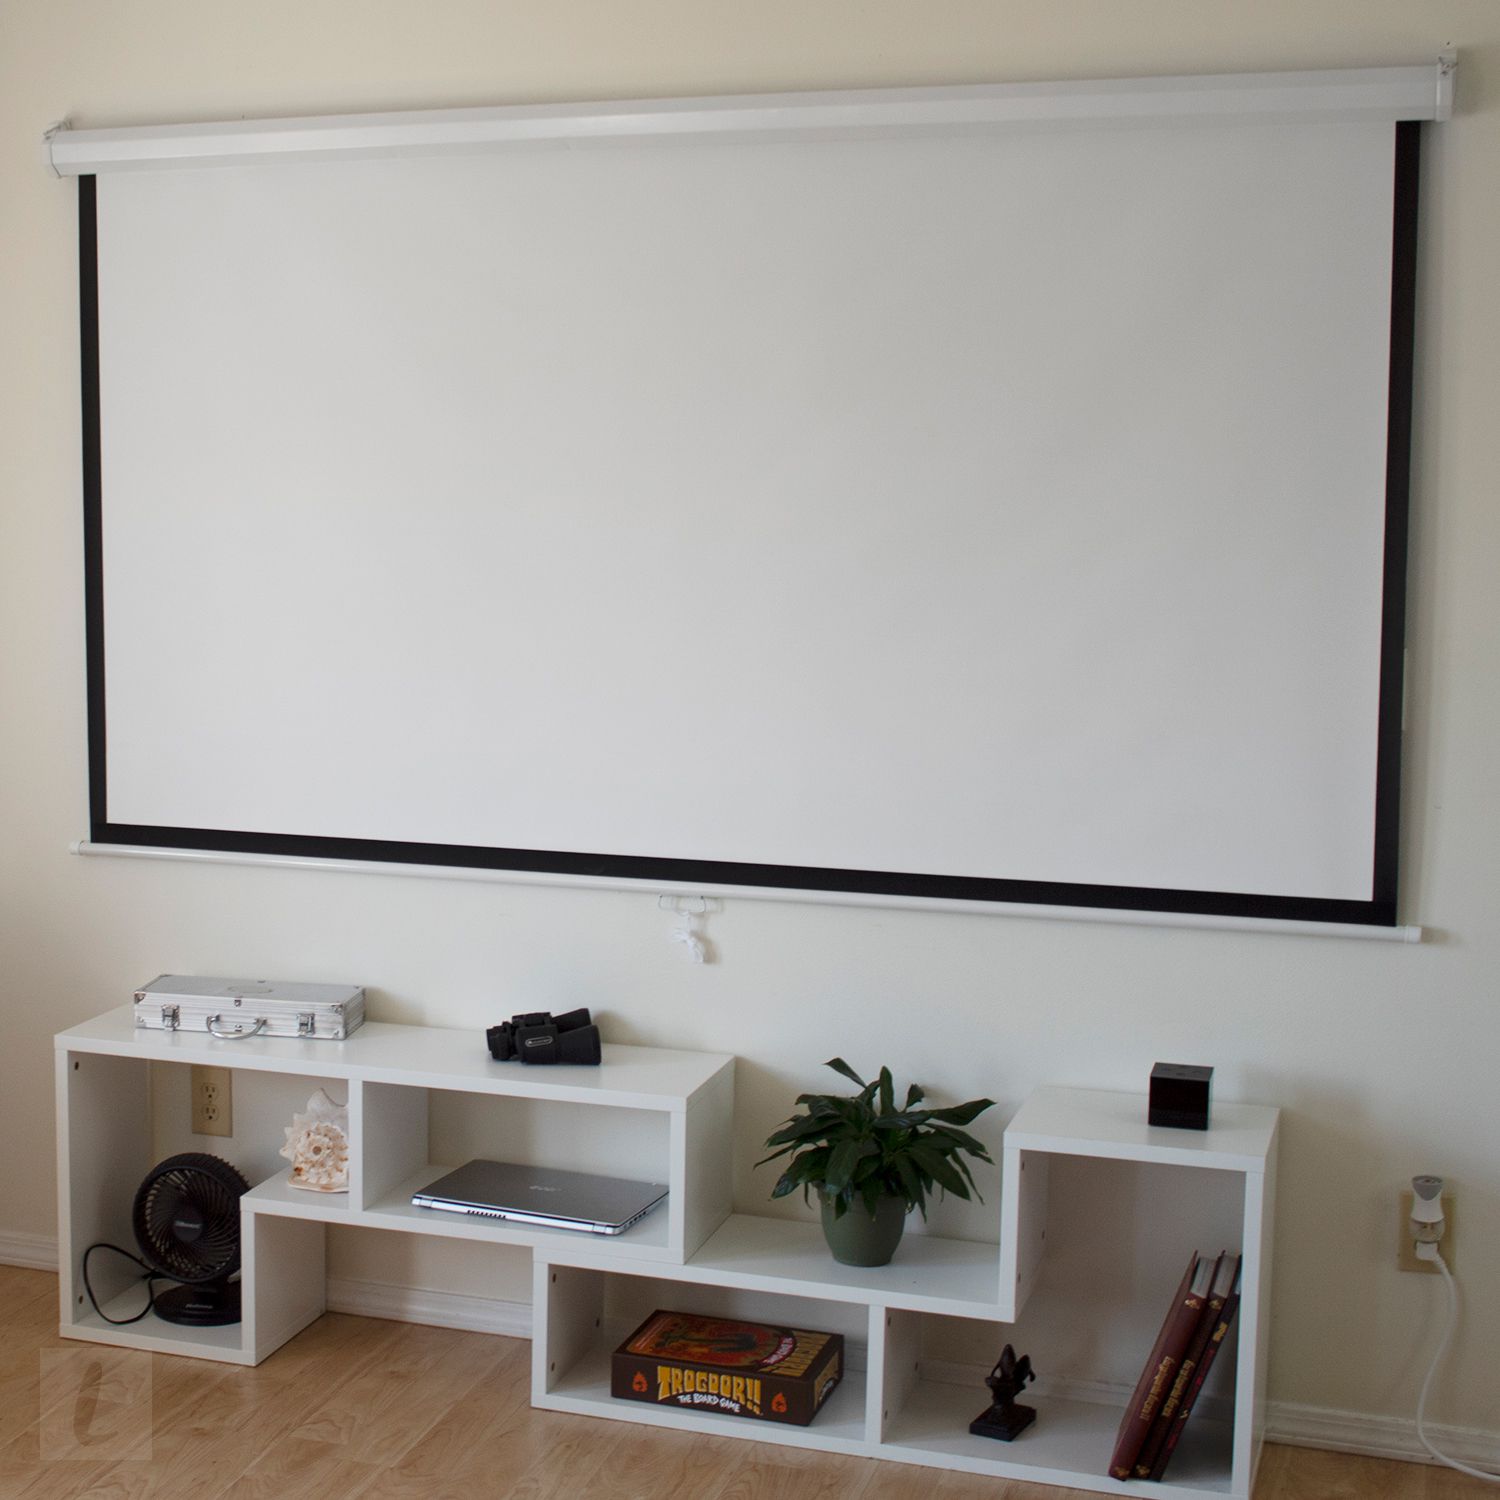
Step 4: Add Stability and Support
As the final phase of constructing your portable projector screen frame, adding stability and support is essential for ensuring that the screen remains steady and functional in various environments. Follow these steps to enhance the stability and support of your projector screen:
- Install Support Stands or Stakes: Depending on whether you intend to use the projector screen indoors or outdoors, set up support stands or stakes to reinforce the frame. Position the stands at strategic points along the frame’s edges to prevent tipping or movement during use.
- Adjust and Level: Ensure that the support stands are adjusted to achieve a level and stable positioning for the screen frame. This step is crucial for maintaining a consistent viewing experience without any unwanted shifts or tilting.
- Test the Stability: Apply gentle pressure to the frame and observe its stability. Make any necessary adjustments to the support stands or stakes to eliminate wobbling or instability.
- Optional Customization: If desired, consider adding decorative elements or embellishments to the frame to personalize its appearance. This step allows you to infuse your creativity and style into the projector screen frame.
By following these steps, you’ll ensure that your portable projector screen frame is equipped with the necessary stability and support to deliver an exceptional viewing experience. The careful placement of support stands or stakes, coupled with attention to leveling, will contribute to the overall functionality and reliability of the screen frame. With stability and support in place, your portable projector screen frame is ready to be utilized for immersive movie nights, engaging presentations, or outdoor events.
Conclusion
Congratulations! By following the step-by-step guide outlined above, you’ve successfully constructed a versatile and portable projector screen frame. This DIY project not only offers a cost-effective alternative to purchasing a pre-made screen but also provides the flexibility to customize the dimensions and design according to your specific preferences. As a result, you now have a reliable and convenient solution for enjoying high-quality projections in various settings.
Embracing the process of measuring and cutting PVC pipes, assembling the frame, attaching the screen material, and adding stability and support has empowered you to create a functional and visually impressive projector screen. The attention to detail and precision employed throughout the construction process has culminated in a durable and professional-looking frame that is well-suited for a wide range of applications.
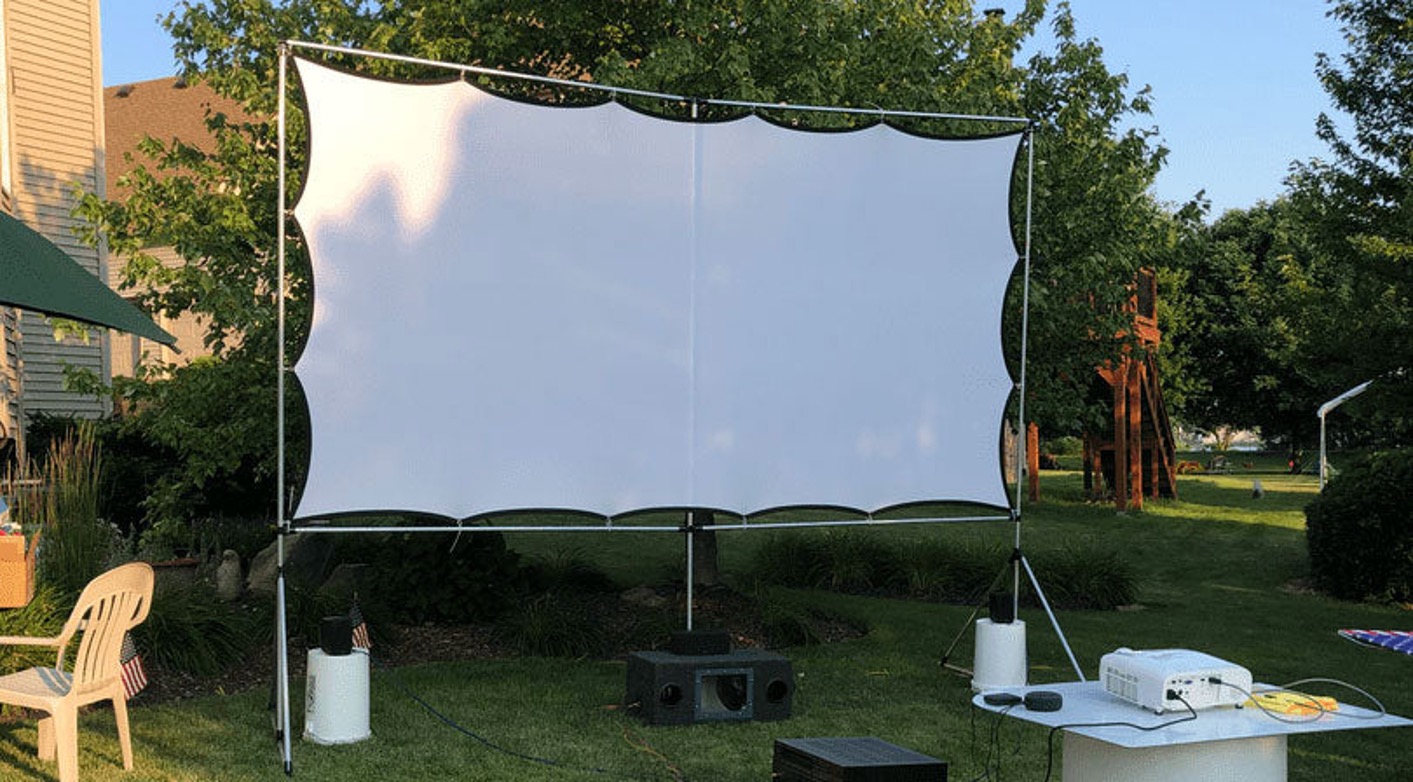
Whether you plan to use the projector screen for movie nights in the backyard, professional presentations, or community events, the portable nature of the frame allows for seamless setup and transportation. Additionally, the ability to customize the screen material opens up opportunities for personalized branding, artistic expression, or thematic embellishments, adding a unique touch to your projection setup.
As you embark on utilizing your newly constructed portable projector screen frame, consider the myriad of possibilities it presents. From creating captivating outdoor movie experiences to delivering impactful visual presentations, your DIY projector screen is poised to elevate your entertainment and communication endeavors.
With the knowledge and skills gained from this project, you’re now equipped to adapt and expand upon the foundational concepts to further customize and enhance your projector screen in the future. Whether it’s incorporating advanced projection technologies or experimenting with innovative materials, the journey of DIY projector screen construction has opened the door to ongoing creativity and exploration in the realm of visual display solutions.
So, gather your favorite movies, prepare your engaging presentations, and embark on a journey of immersive visuals and impactful storytelling with your newly constructed portable projector screen frame. Your dedication to craftsmanship and ingenuity has resulted in a valuable addition to your entertainment and communication repertoire.