Introduction
Setting up a portable projector screen can significantly enhance your movie nights, presentations, or gaming experiences. Whether you're hosting an outdoor movie night, delivering a business presentation, or simply seeking a larger display for your favorite video games, a portable projector screen offers versatility and convenience. With its easy setup and portability, you can transform any space into a captivating viewing area. In this guide, we'll walk you through the step-by-step process of setting up a portable projector screen, from choosing the right location to connecting it to your projector and ensuring a seamless viewing experience.
A portable projector screen is an excellent addition to your entertainment arsenal, as it allows you to create a cinematic experience virtually anywhere. Whether you're in your backyard, a conference room, or a classroom, a portable screen provides a blank canvas for your visual content. By following the instructions in this guide, you can ensure that your setup process is smooth and efficient, allowing you to enjoy high-quality projections without the need for a permanent installation.
The beauty of a portable projector screen lies in its adaptability. You can easily transport it from one location to another, making it an ideal solution for professionals who frequently conduct presentations or individuals who enjoy hosting outdoor movie nights. Furthermore, the setup process is straightforward, requiring minimal time and effort to assemble and connect to your projector. By the end of this guide, you'll have the knowledge and confidence to set up your portable projector screen with ease, ensuring that your viewing or presentation experience is nothing short of exceptional.
Choosing the Right Location
Before diving into the setup process, it’s crucial to select an appropriate location for your portable projector screen. The chosen space should accommodate the screen’s dimensions and provide an optimal viewing experience for your audience. Consider the following factors when choosing the location:
- Space: Assess the available space to ensure that it can comfortably accommodate the screen’s size. Whether you’re setting up indoors or outdoors, the area should have sufficient room for the screen to be fully extended without any obstructions.
- Lighting Conditions: Take note of the lighting conditions in the chosen location. For indoor setups, consider the placement of windows and overhead lights, as excessive ambient light can diminish the quality of the projected image. If you’re outdoors, aim to set up the screen in a shaded area to minimize glare and ensure a clearer display.
- Accessibility: Accessibility is key, especially if you anticipate frequent setup and takedown of the screen. Choose a location that allows for easy transportation of the screen and ensures that cables can be connected to power sources and the projector without difficulty.
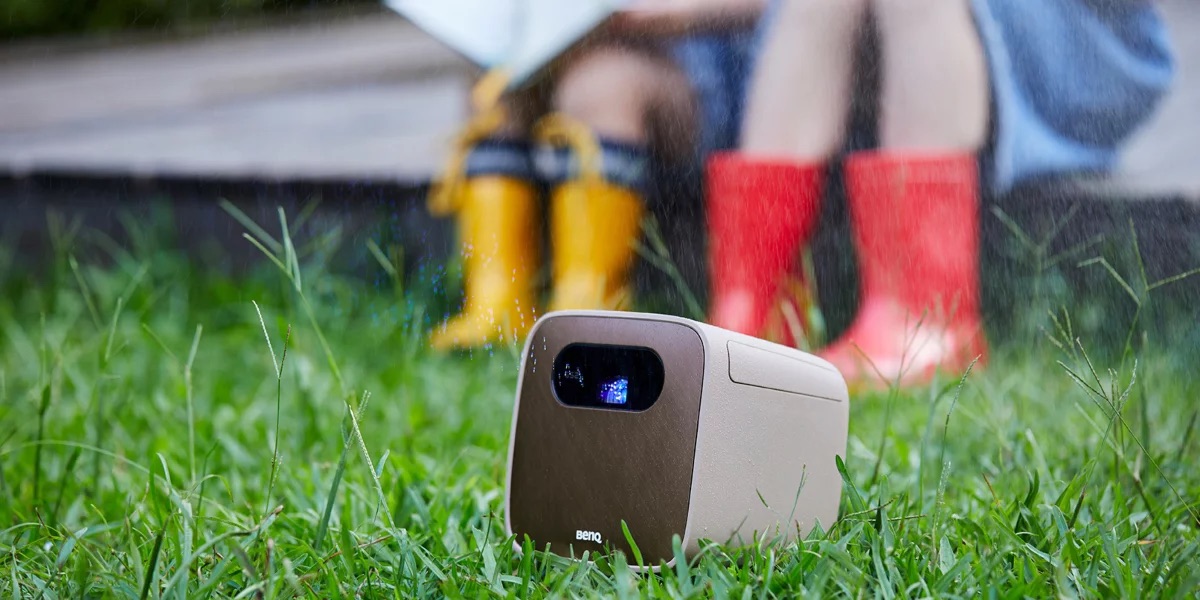
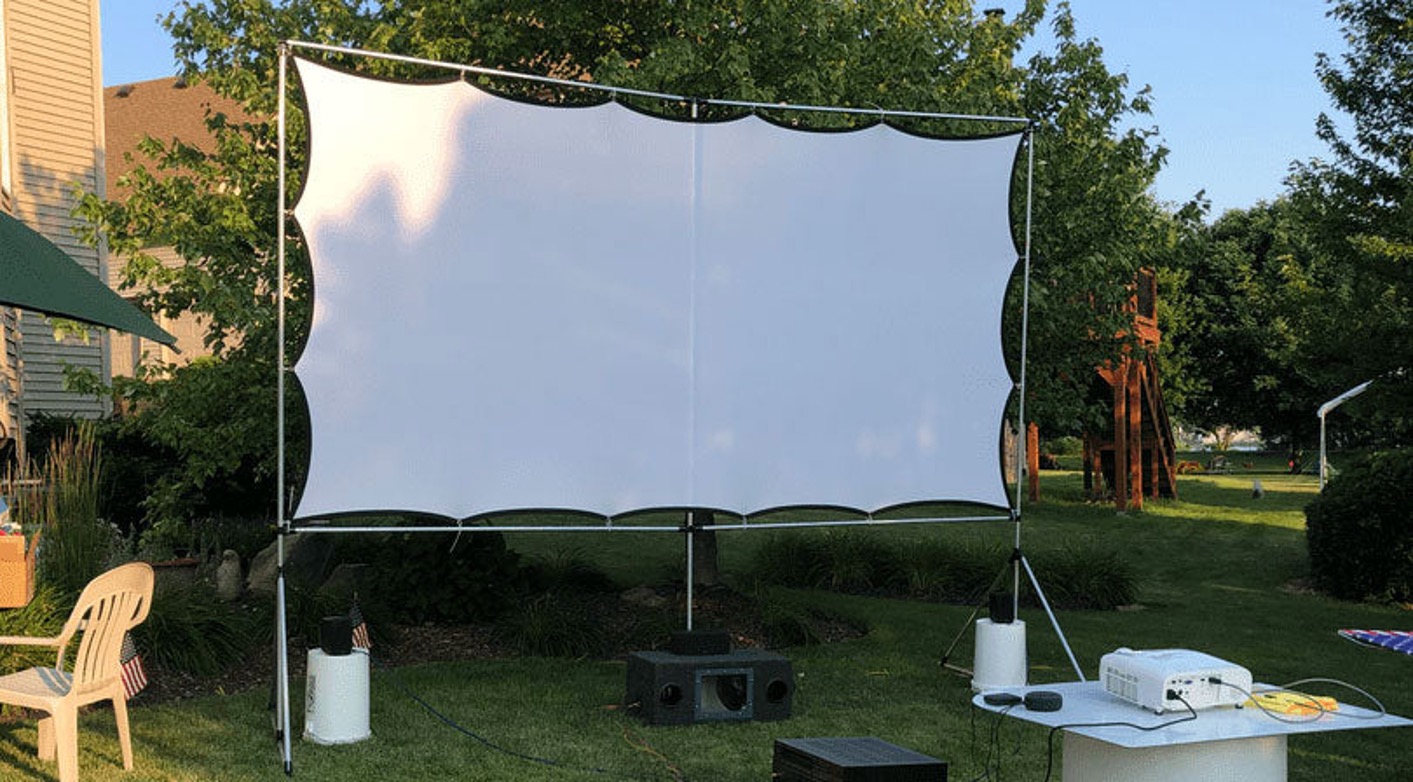
When selecting an outdoor location, such as a backyard or a park, factor in the natural surroundings. Opt for a spot with minimal background movement or distractions to maintain the audience’s focus on the projected content. Additionally, consider the positioning of the screen in relation to the audience seating to provide an unobstructed view for everyone.
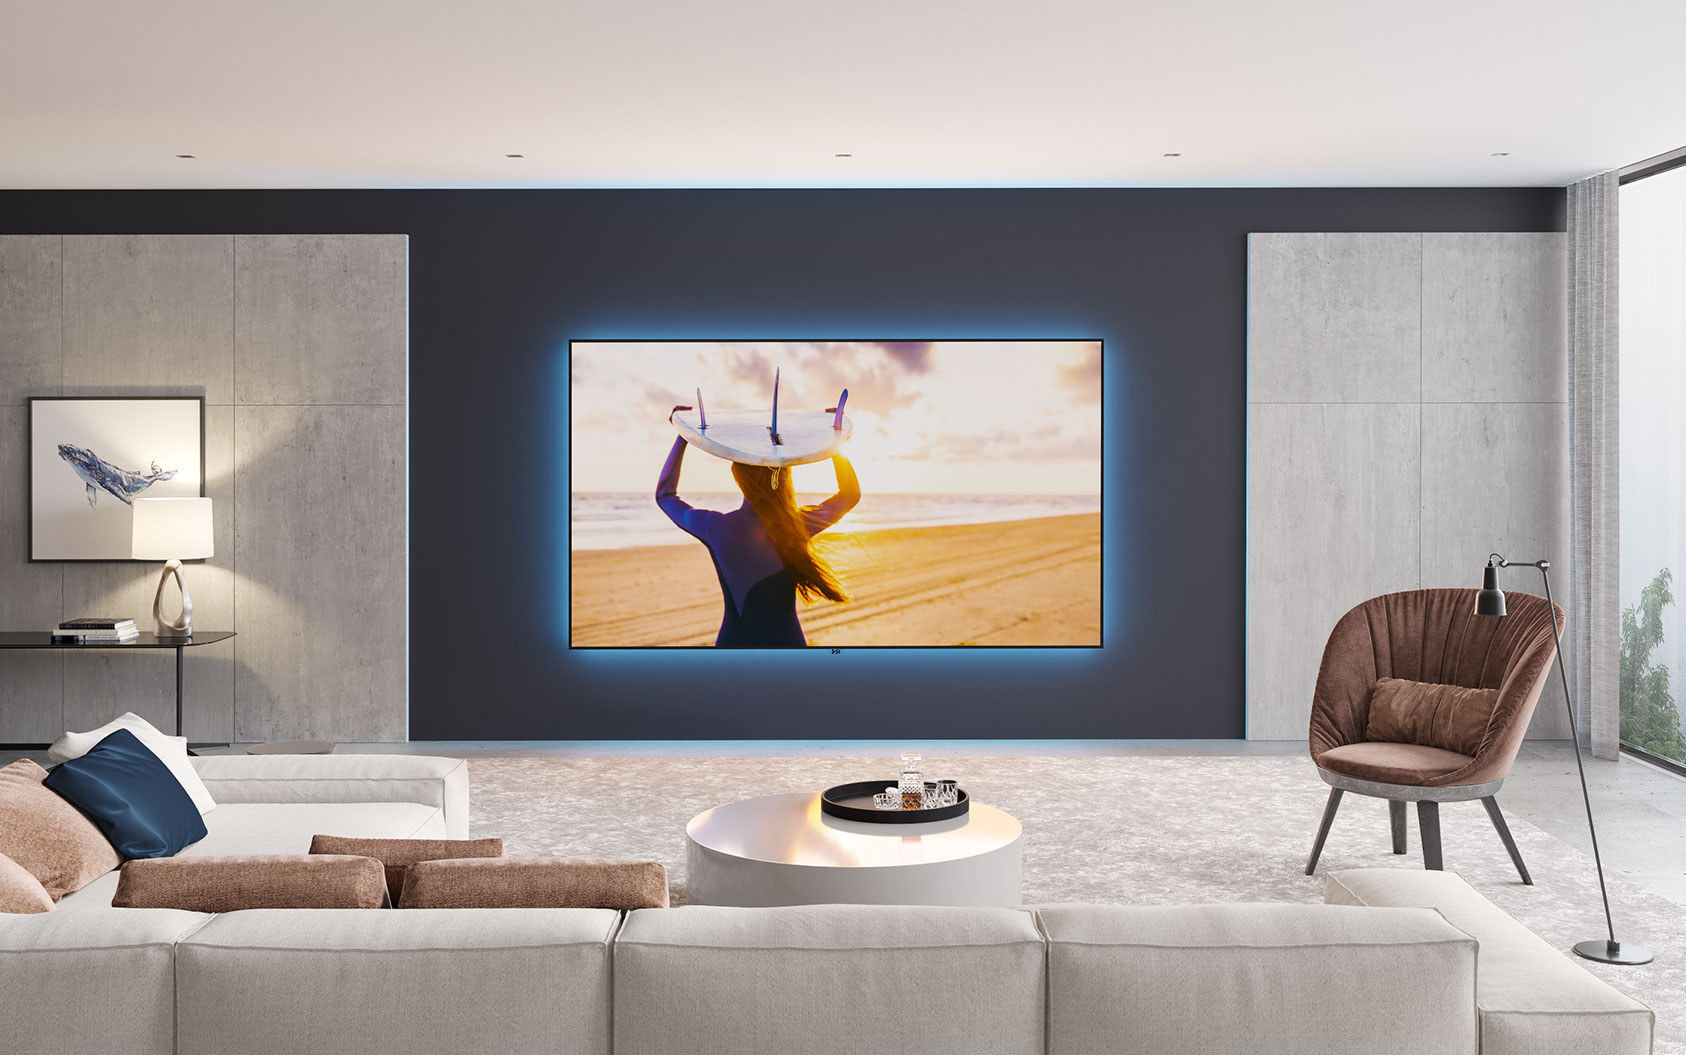
For indoor setups, such as in a conference room or classroom, take into account the layout of the space and the seating arrangement. The screen should be positioned at an optimal height and angle to ensure that all viewers have a clear line of sight. Additionally, verify the availability of power outlets and ensure that the projector can be positioned within a suitable distance from the screen.
By carefully considering these factors, you can select the perfect location for your portable projector screen, setting the stage for an immersive and enjoyable viewing experience.
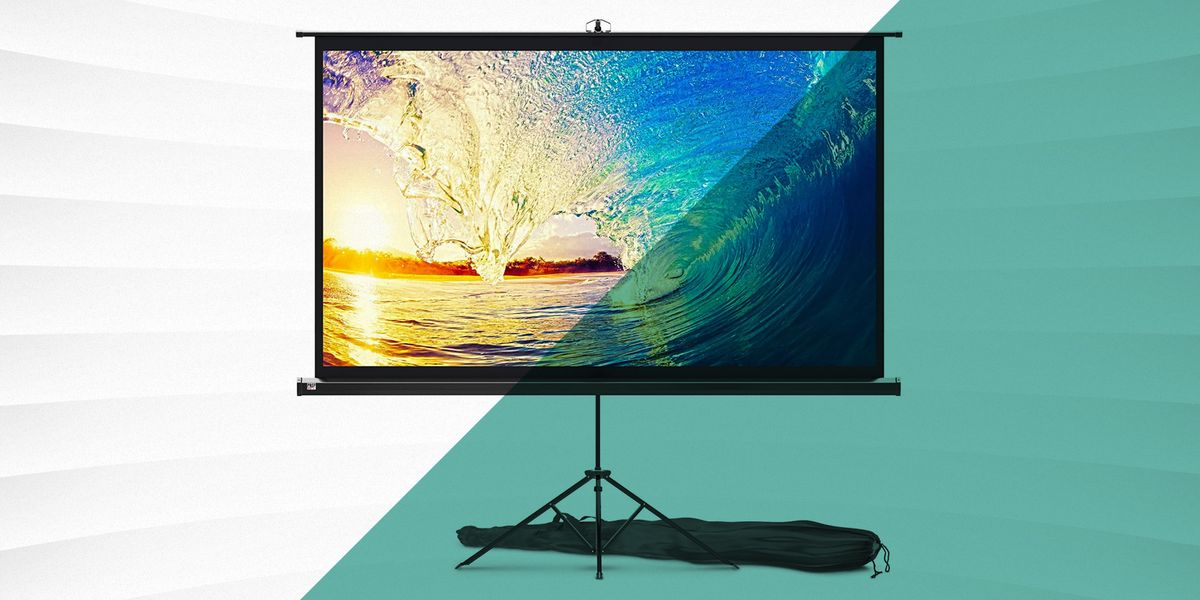
Unpacking and Assembling the Screen
Upon acquiring a portable projector screen, the initial step involves unpacking the components and preparing for the assembly process. Most portable screens are designed for quick and straightforward setup, allowing you to transform any space into a projection area within minutes. Here’s a step-by-step guide to unpacking and assembling your portable projector screen:
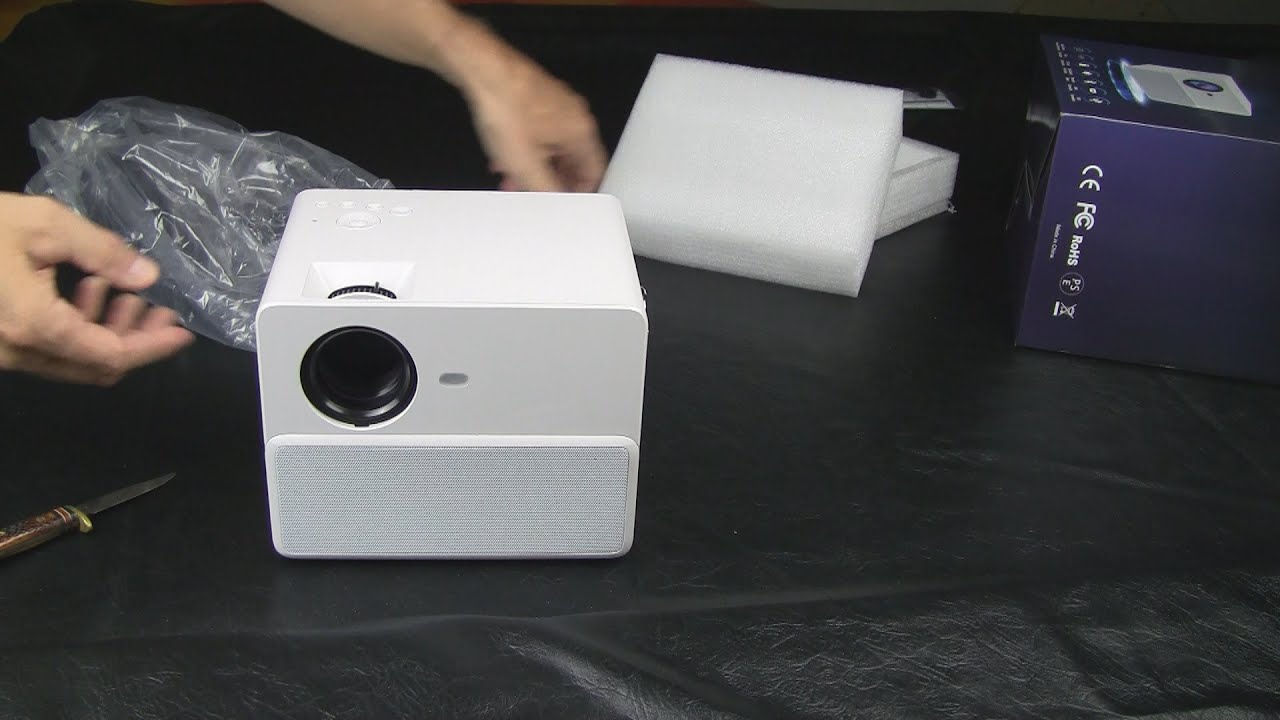
- Unboxing: Carefully unpack the screen from its packaging, ensuring that all components, including the screen fabric, frame, and support structure, are present and undamaged. Check for any included instructions or assembly guidelines to familiarize yourself with the components.
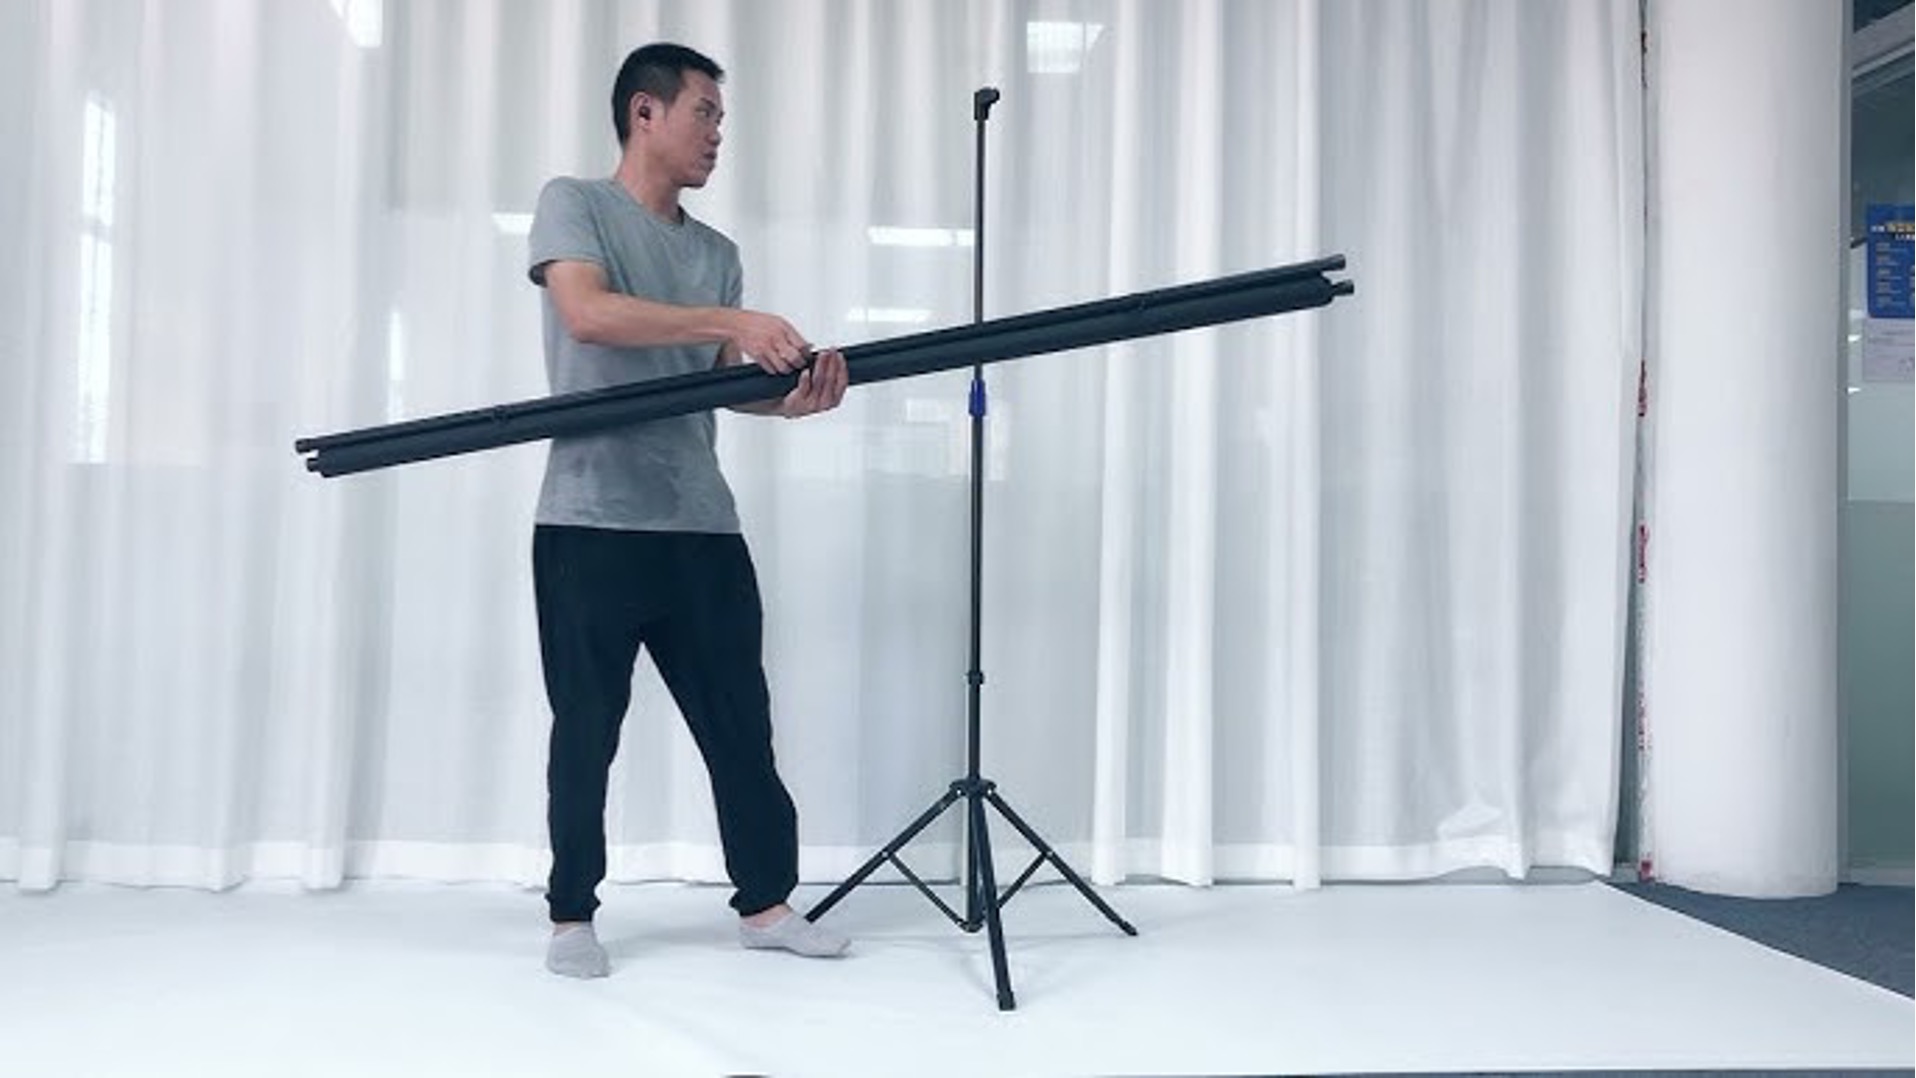
- Frame Assembly: Begin by assembling the frame of the screen according to the manufacturer’s instructions. This typically involves connecting the frame segments or extending the frame to its full size, depending on the design of the portable screen.
- Screen Attachment: Once the frame is assembled, attach the screen fabric to the frame as per the provided guidelines. This may involve securing the screen using snaps, hooks, or other attachment mechanisms, ensuring that the fabric is taut and free of wrinkles for optimal display quality.
- Stabilization: If the portable screen includes stabilization features, such as support legs or adjustable feet, deploy them to ensure the screen is stable and securely positioned. Stabilization is particularly important for outdoor setups where wind or uneven ground may affect the screen’s stability.
During the assembly process, it’s essential to handle the screen and its components with care to prevent any damage or distortion to the screen fabric. Additionally, refer to the manufacturer’s guidelines for any specific recommendations or precautions related to the assembly and handling of the portable projector screen.
By following these assembly steps, you can swiftly and effectively set up your portable projector screen, preparing it for the next phase of the installation process.
Adjusting the Screen Height
Once the portable projector screen is assembled, the next crucial step is to adjust its height to achieve an optimal viewing experience. Proper screen height adjustment ensures that the projected content is clearly visible and that the audience can comfortably enjoy the presentation or entertainment. Here’s how to adjust the screen height effectively:
- Consider Seating Arrangement: Take into account the seating arrangement of your audience or viewers. The screen should be positioned at a height that allows everyone to have an unobstructed view of the projected content. If the screen is too low, individuals seated toward the back may have difficulty seeing the entire display.
- Eye-Level Alignment: Ideally, the center of the screen should align with the average eye level of the audience. This ensures that viewers can comfortably watch the content without straining their necks or adjusting their seating positions. Adjust the screen’s height accordingly, keeping this alignment in mind.
- Stability and Support: Ensure that the screen’s support structure, whether it’s a freestanding frame or a wall-mounted bracket, is securely positioned and capable of maintaining the desired height. Stability is essential to prevent the screen from shifting or swaying during use, especially in outdoor environments where wind or other external factors may impact the screen’s stability.
- Testing the View: Before finalizing the screen height, conduct a visual test by projecting a test image or content onto the screen. This allows you to assess the clarity and visibility of the projected content from various vantage points, ensuring that the screen height accommodates the entire audience.
When adjusting the screen height, it’s important to strike a balance between maximizing visibility for the audience and maintaining the structural integrity and stability of the screen. Additionally, consider any specific guidelines provided by the screen’s manufacturer regarding recommended viewing heights and optimal screen positioning.
By carefully adjusting the screen height, you can create an immersive and inclusive viewing experience, setting the stage for a seamless and captivating presentation or entertainment session.
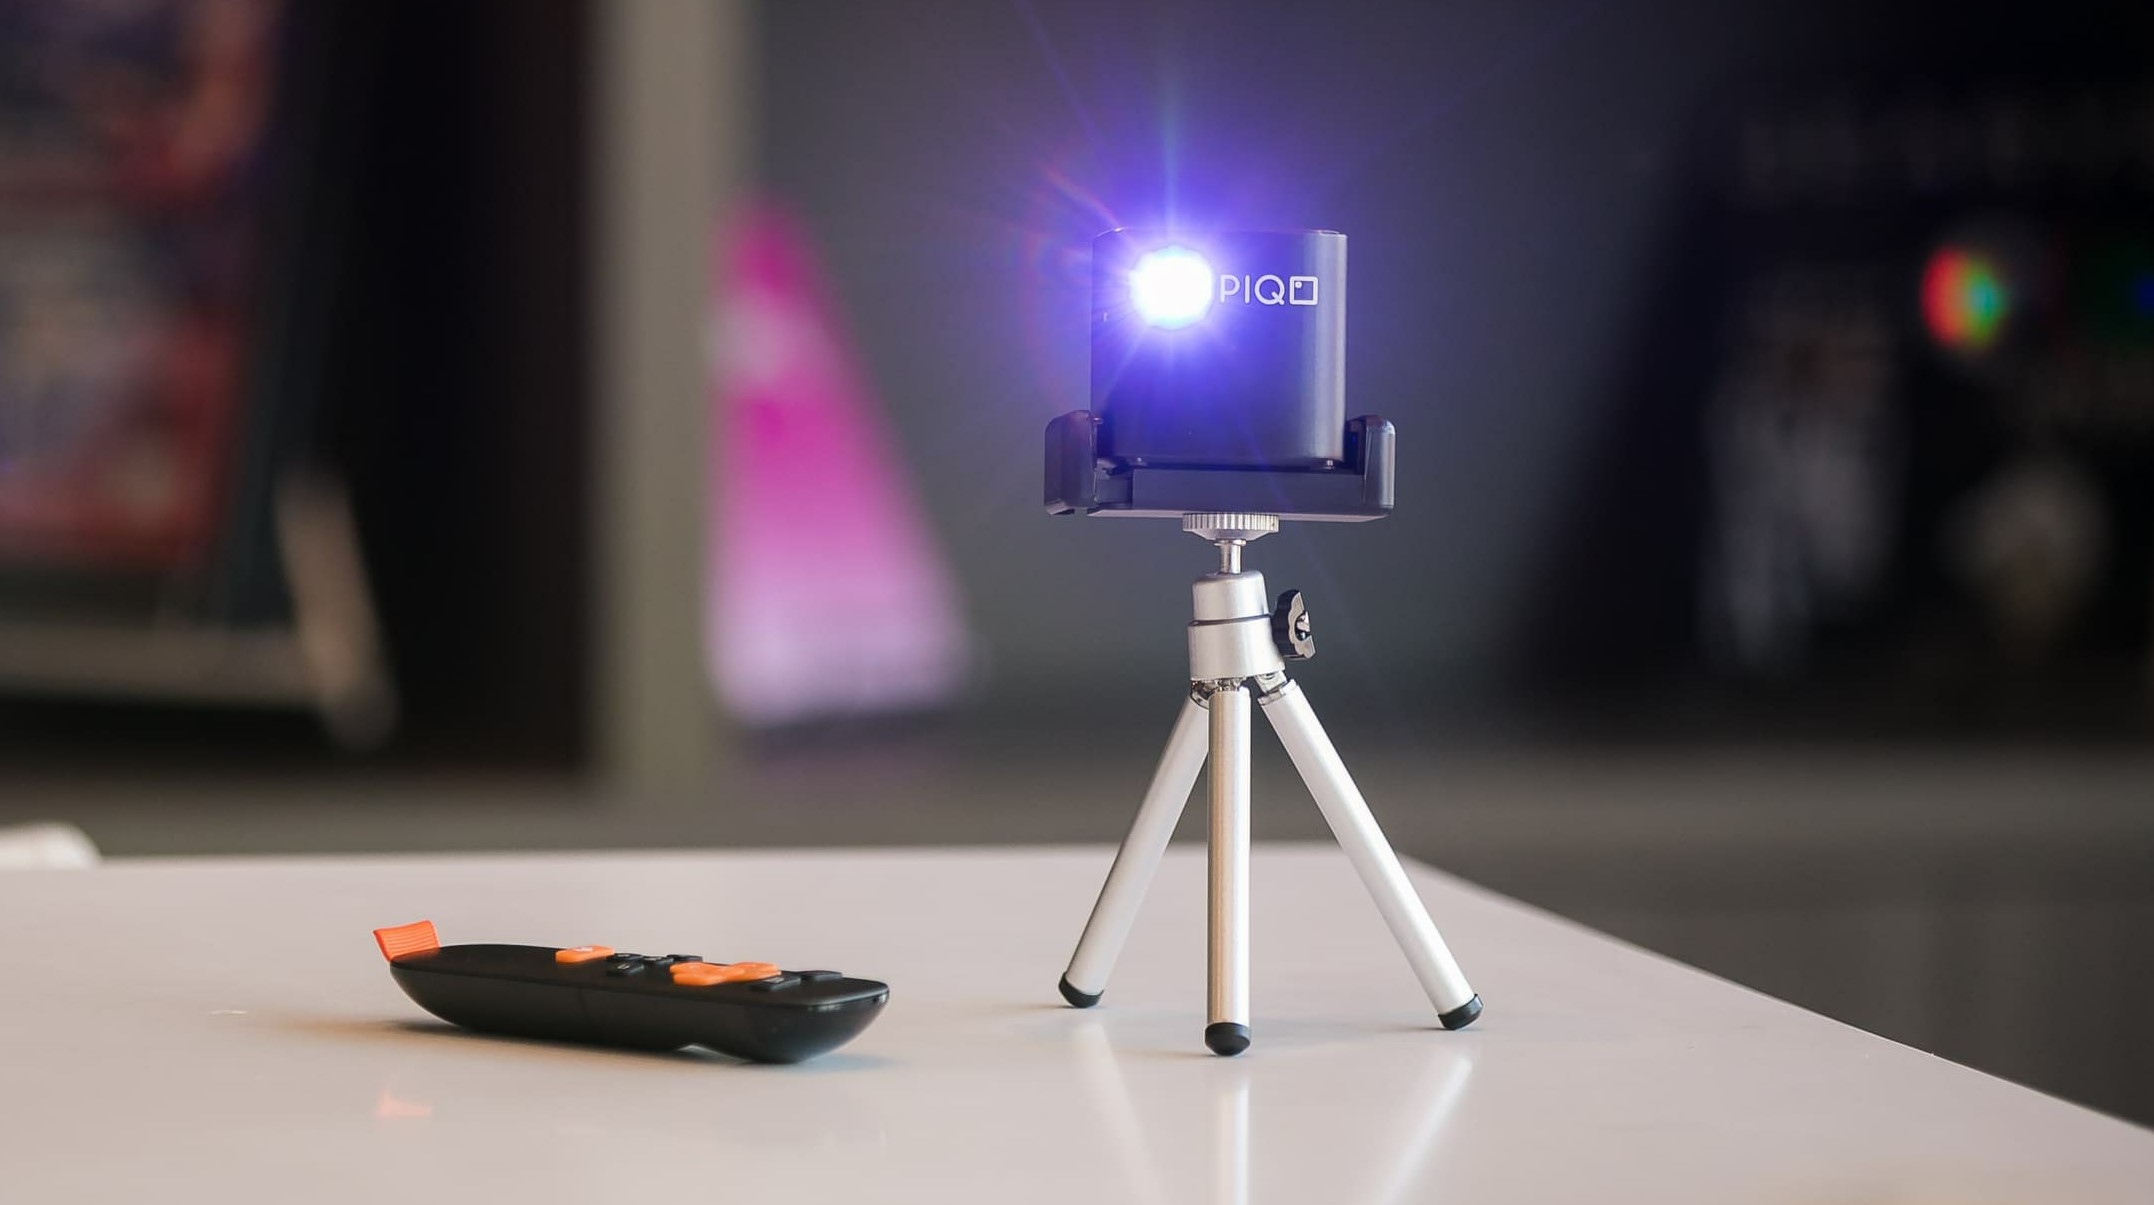
Connecting the Screen to a Projector
With the portable projector screen properly positioned and adjusted, the next step is to connect it to your projector, enabling the seamless display of your desired content. The connection process involves ensuring that the projector is compatible with the screen and establishing a stable and reliable link between the two devices. Here’s a comprehensive guide to connecting the screen to a projector:
- Positioning the Projector: Place the projector at an appropriate distance from the screen, taking into account the desired image size and clarity. Refer to the projector’s user manual for guidance on the optimal throw distance and positioning relative to the screen.
- Connecting Cables: Utilize the appropriate cables to establish a connection between the projector and the screen. This typically involves using an HDMI, VGA, or other compatible cable to transmit the video signal from the projector to the screen. Ensure that the cables are securely connected to both the projector’s output port and the screen’s input port.
- Powering On the Projector: Power on the projector and configure its display settings to ensure compatibility with the screen’s aspect ratio and resolution. Adjust the projector’s settings as needed to optimize the projected image for the screen’s dimensions and display properties.
- Testing the Projection: Initiate a test projection to verify that the content is accurately displayed on the screen. This allows you to assess the clarity, color accuracy, and overall quality of the projected image, making any necessary adjustments to the projector’s settings or the screen’s positioning.
During the connection process, it’s important to handle the cables and devices with care to prevent any damage or disconnection that may interrupt the projection. Additionally, consult the user manuals for both the projector and the screen to ensure that you are following the recommended connection procedures and settings adjustments.
By successfully connecting the screen to your projector, you can unleash the full potential of your portable projection setup, delivering stunning visuals and immersive experiences for your audience or viewers.
Testing the Setup
Before commencing your presentation, movie screening, or visual content display, it’s essential to thoroughly test the setup of your portable projector screen and ensure that everything is functioning as intended. Testing the setup allows you to address any potential issues or adjustments before your audience arrives, guaranteeing a seamless and impressive viewing experience. Here’s a comprehensive approach to testing your portable projector screen setup:
- Image Alignment and Clarity: Project a test image or content onto the screen and assess the alignment and clarity of the projection. Ensure that the image is centered on the screen and free from distortion or blurriness, making any necessary adjustments to the projector’s positioning or focus settings.
- Color and Brightness: Evaluate the color accuracy and brightness of the projected image. Adjust the projector’s display settings to achieve vibrant and well-balanced colors, taking into account the ambient lighting conditions in the viewing area.
- Audio Integration (if applicable): If your setup includes audio components, such as external speakers or a sound system, test the audio output to confirm that it complements the visual presentation. Adjust the audio levels and settings to achieve optimal sound quality and ensure that the audio enhances the overall viewing experience.
- Interaction with Content: Interact with the projected content, such as navigating through presentation slides, playing video clips, or accessing multimedia elements. Verify that the screen accurately displays the content and that all interactive features function as intended, providing a seamless user experience.
During the testing phase, take note of any technical issues, such as connectivity disruptions, image distortion, or audio irregularities, and address them promptly. Additionally, engage with the setup from the perspective of your audience, ensuring that the viewing experience meets your expectations and delivers the desired impact.
By thoroughly testing the setup of your portable projector screen, you can fine-tune the display and audio elements, rectify any potential issues, and proceed with confidence, knowing that your audience will be treated to a captivating and flawlessly executed visual presentation or entertainment experience.
Conclusion
Setting up a portable projector screen is a rewarding endeavor that opens up a world of possibilities for immersive entertainment, impactful presentations, and engaging visual experiences. By carefully selecting the right location, assembling the screen, adjusting its height, connecting it to a projector, and thoroughly testing the setup, you can ensure that your portable projection system delivers outstanding performance and captivates your audience.
Portable projector screens offer unparalleled flexibility, allowing you to create captivating visual displays in diverse settings, from outdoor venues to indoor environments. The ease of setup and the adaptability of portable screens make them indispensable for movie nights, business presentations, educational sessions, and various other applications where high-quality visual projection is paramount.
As you embark on your journey of setting up a portable projector screen, remember to consider the unique characteristics of your chosen location, the preferences of your audience, and the technical specifications of your equipment. Attention to detail, careful adjustments, and thorough testing will ensure that your setup meets and exceeds your expectations, leaving a lasting impression on your viewers or attendees.
With the knowledge and insights gained from this guide, you are well-equipped to embark on your portable projector screen setup with confidence and expertise. Embrace the versatility and convenience of portable projection technology, and let your creativity and vision come to life on the big screen, wherever your adventures take you.