Introduction
Welcome to the exciting world of drone building! Drones have become incredibly popular in recent years, with applications ranging from aerial photography to delivery services. If you’re interested in learning how to build your own drone, you’ve come to the right place. In this article, we’ll guide you through the process of building a drone using Arduino, a versatile open-source electronics platform.
Arduino is a popular choice for DIY drone enthusiasts due to its ease of use, affordability, and vast community support. It provides a platform for programming and controlling various components of the drone, such as motors, sensors, and communication devices. By leveraging Arduino’s capabilities, you can customize your drone’s functionality and create a unique flying experience.
Before we dive into the details of building a drone with Arduino, let’s take a moment to understand what exactly a drone is. In simple terms, a drone is an unmanned aerial vehicle (UAV) that can be remotely controlled or operate autonomously. Drones are equipped with various sensors, GPS modules, cameras, and other components that enable them to fly, capture aerial footage, and perform specific tasks.
Building a drone from scratch using Arduino can be a rewarding and educational experience. By doing so, you’ll not only gain a deep understanding of the technology behind drones but also have the freedom to customize and upgrade your drone based on your specific requirements.
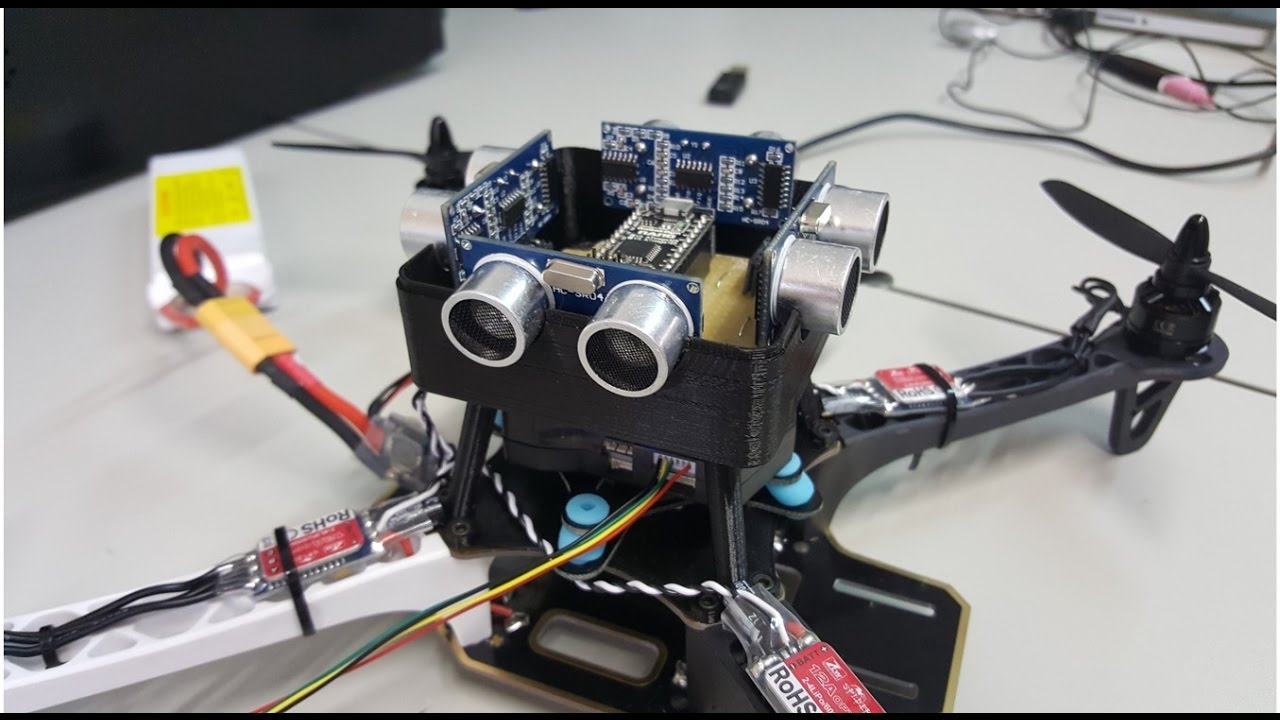
The components required to build a drone vary depending on the specific design and features you want to incorporate. However, in general, you will need a frame, motors, electronic speed controllers (ESCs), a flight controller, a radio transmitter and receiver, and of course, an Arduino board. These components work together to give your drone the ability to fly, stabilize itself in the air, and respond to your commands.
In the following sections, we’ll walk you through the step-by-step process of assembling your drone, connecting the components, and programming it using Arduino. We’ll also provide tips for testing and troubleshooting common issues that may arise during the build. Whether you’re a beginner or an experienced DIY enthusiast, this guide will give you the knowledge and confidence to embark on your drone-building journey.
So, let’s get started and build your very own drone with Arduino!
What is Arduino?
Arduino is an open-source electronics platform that consists of hardware and software components. It was developed in the early 2000s with the aim of providing an accessible and affordable platform for artists, designers, hobbyists, and anyone interested in creating interactive projects.
At its core, Arduino is a programmable microcontroller board that can read inputs from various sensors, process the data, and control different types of outputs, such as motors, LEDs, and displays. The board itself is based on a microcontroller, typically from the Atmel AVR family, which acts as the brain of the Arduino system.
One of the key features of Arduino is its simplicity. The programming language used to write code for Arduino is based on a simplified version of C/C++, making it easy for beginners to learn and understand. The Arduino software, also known as the Integrated Development Environment (IDE), provides a user-friendly interface for writing, compiling, and uploading code to the Arduino board.
Arduino boards come in different shapes and sizes, each with its own set of capabilities. The most common Arduino board is the Arduino Uno, which features digital and analog input/output pins, onboard USB connectivity, and a power jack. Other Arduino boards, such as the Arduino Mega and Arduino Nano, offer additional functionality and expandability.
One of the reasons why Arduino has gained such popularity is its strong community support. The Arduino community is a vibrant and active network of makers, developers, and educators who freely share their knowledge, code, and projects. This wealth of resources makes it easy for beginners to get started with Arduino and find solutions to any challenges they may encounter.
With Arduino, the possibilities are virtually endless. You can use Arduino to build robots, home automation systems, wearable devices, and of course, drones. By combining Arduino with other electronic components and modules, you can create complex and interactive projects that respond to the world around them.
In the context of drone building, Arduino provides a versatile platform for controlling and integrating various components of the drone, such as motors, sensors, GPS modules, and communication devices. The flexibility and ease of programming make Arduino an ideal choice for DIY drone enthusiasts who want to have full control over their creations.
Now that you have an understanding of what Arduino is and the role it plays in drone building, let’s explore the world of drones further in the next section.
What is a Drone?
A drone, also known as an unmanned aerial vehicle (UAV), is an aircraft that operates without a human pilot on board. Drones can be remotely controlled by an operator or operate autonomously using pre-programmed instructions or artificial intelligence algorithms. They have gained immense popularity in recent years due to their versatile applications in various industries.
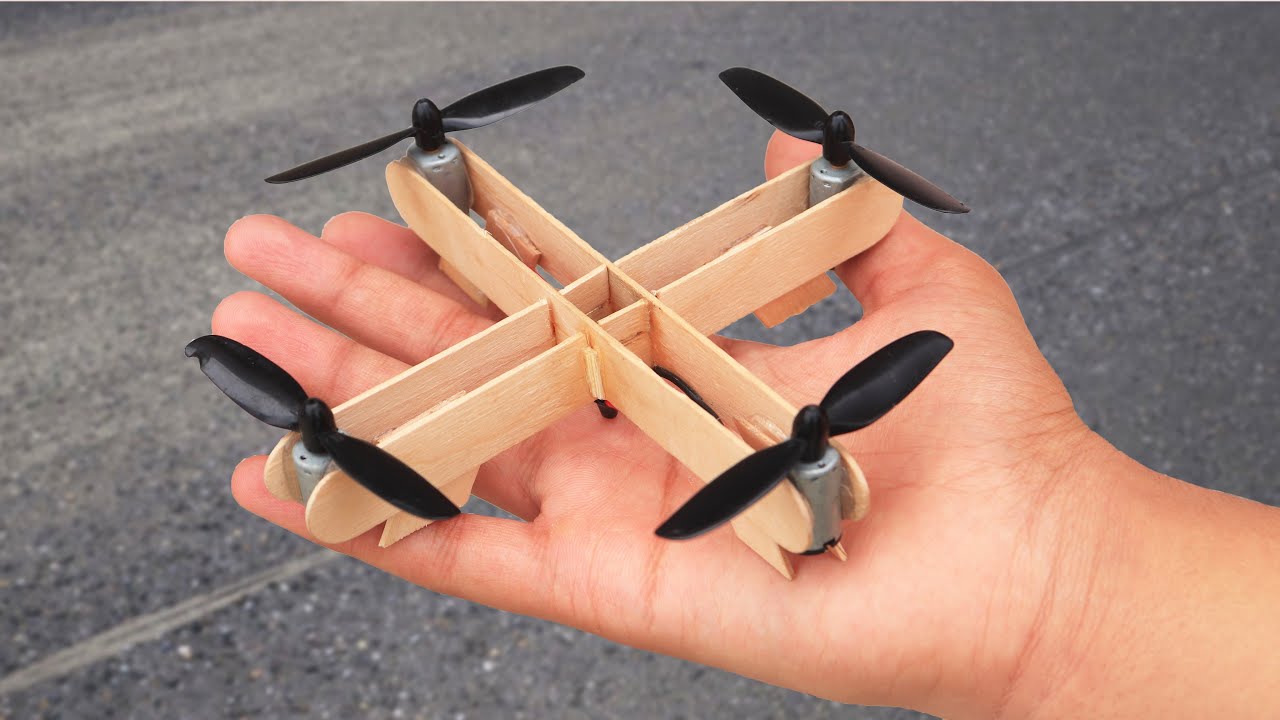
One of the defining characteristics of drones is their ability to fly. They are equipped with rotors or propellers that generate lift and allow them to hover, ascend, descend, and move in different directions. Drones can come in various sizes, ranging from tiny micro-drones that fit in the palm of your hand to larger commercial drones capable of carrying heavy payloads.
Drones are equipped with a wide range of sensors, GPS modules, cameras, and other electronic components that enable them to perform specific tasks. These components provide drones with capabilities such as object detection and avoidance, precise navigation, aerial photography and videography, and even delivery services. Drones have revolutionized industries like filmmaking, agriculture, construction, and logistics, among others.
There are different types of drones, each designed for specific purposes. Quadcopters are the most common type of drone, equipped with four rotors arranged in a square formation. Hexacopters and octocopters have six and eight rotors, respectively, providing increased stability and lifting capacity. Fixed-wing drones resemble traditional airplanes and are designed for longer-range flights and efficient battery usage.
One of the key advantages of drones is their ability to access areas that are difficult or dangerous for humans to reach. They can be used for aerial surveillance, search and rescue operations, environmental monitoring, and disaster response. Drones have also transformed the world of aerial photography and videography, allowing photographers and cinematographers to capture stunning aerial shots with ease.
As technology advances, drones are becoming smarter and more autonomous. They can now perform tasks such as following a subject, mapping an area, and even recognizing objects and people. Autonomous drones have the potential to revolutionize industries like delivery, where drones can transport packages from one location to another efficiently and with minimal human intervention.
While drones offer tremendous benefits and opportunities, it’s important to remember that their operation must be done responsibly and in accordance with local regulations. Many countries have specific laws and regulations concerning drone use, including registration, flight restrictions, and privacy considerations. It’s crucial for drone operators to educate themselves about these regulations and fly their drones safely and responsibly.
Now that we have a better understanding of what a drone is and the wide range of applications it has, let’s explore why building a drone with Arduino can be a thrilling and rewarding endeavor.
Why Build a Drone with Arduino?
Building a drone with Arduino offers numerous benefits and exciting opportunities for DIY enthusiasts and electronics hobbyists. Here are some compelling reasons to embark on the drone-building journey using Arduino:
1. Customization: Building your own drone allows you to customize its design, features, and functionality according to your specific needs and preferences. Arduino provides a versatile platform that enables you to integrate various components and sensors, control flight behavior, and customize the drone’s behavior and response.
2. Learning Experience: Building a drone with Arduino provides a valuable learning experience in electronics, programming, and aerodynamics. You’ll gain a deeper understanding of how drones work, from assembling the components to programming the flight controller. This hands-on approach helps to enhance your skills and knowledge in STEM fields.
3. Affordability: DIY drone building can be a cost-effective alternative to purchasing a ready-to-fly commercial drone. By sourcing the individual components and assembling them yourself, you can potentially save money while still achieving the performance and functionality you desire.
4. Community Support: Arduino has a vast and active community of makers and developers who freely share their knowledge, code, and projects. This strong community support provides access to a wealth of resources, tutorials, and troubleshooting tips. Whether you’re a beginner or an experienced enthusiast, you can find guidance and inspiration from the Arduino community.
5. Flexibility and Expandability: Arduino is known for its flexibility and expandability, allowing you to add new functionality and upgrade your drone over time. You can integrate additional sensors, cameras, communication modules, or even experiment with advanced features like autonomous flight and mission planning.
6. Fun and Creativity: Building and flying your own drone is a fun and creative way to express your passion for technology. You can explore new aerial perspectives through aerial photography and videography, experiment with different flight patterns, and share your creations with others.
7. Career Opportunities: The knowledge and skills acquired through building a drone with Arduino can open doors to various career opportunities. The field of drone technology and unmanned aerial systems is rapidly growing, with applications in industries such as agriculture, film and media, surveying and mapping, and even delivery services.
With these compelling reasons, it’s clear that building a drone with Arduino offers a unique and rewarding experience. Now let’s move on to the next section, where we’ll discuss the components needed to build your own drone with Arduino.
Components Needed to Build a Drone with Arduino
To build a drone with Arduino, you will need several components that work together to create a functioning and controllable aerial vehicle. While the specific components may vary depending on the drone’s design and features, here are the essential components you’ll generally need:
1. Frame: The frame is the structure that holds all the components together. It provides stability and protection for the internal components. Drone frames come in various materials, such as carbon fiber, aluminum, or plastic, and in different configurations, such as quadcopters, hexacopters, or octocopters.
2. Motors: Motors are responsible for generating the thrust that allows the drone to lift off and maneuver in the air. For multirotor drones, brushless motors are commonly used due to their efficiency and power. The number and size of motors depend on the drone’s configuration and payload capacity.
3. Electronic Speed Controllers (ESCs): ESCs are electronic devices that control the speed and direction of the motors. They receive signals from the flight controller and adjust the power supplied to each motor, enabling precise control of the drone’s movement.
4. Flight Controller: The flight controller is the brain of the drone. It receives input from various sensors, such as gyroscopes, accelerometers, and magnetometers, and uses this data to stabilize the drone in the air. Arduino boards, combined with flight controller software, can be used as an effective flight controller for the drone.
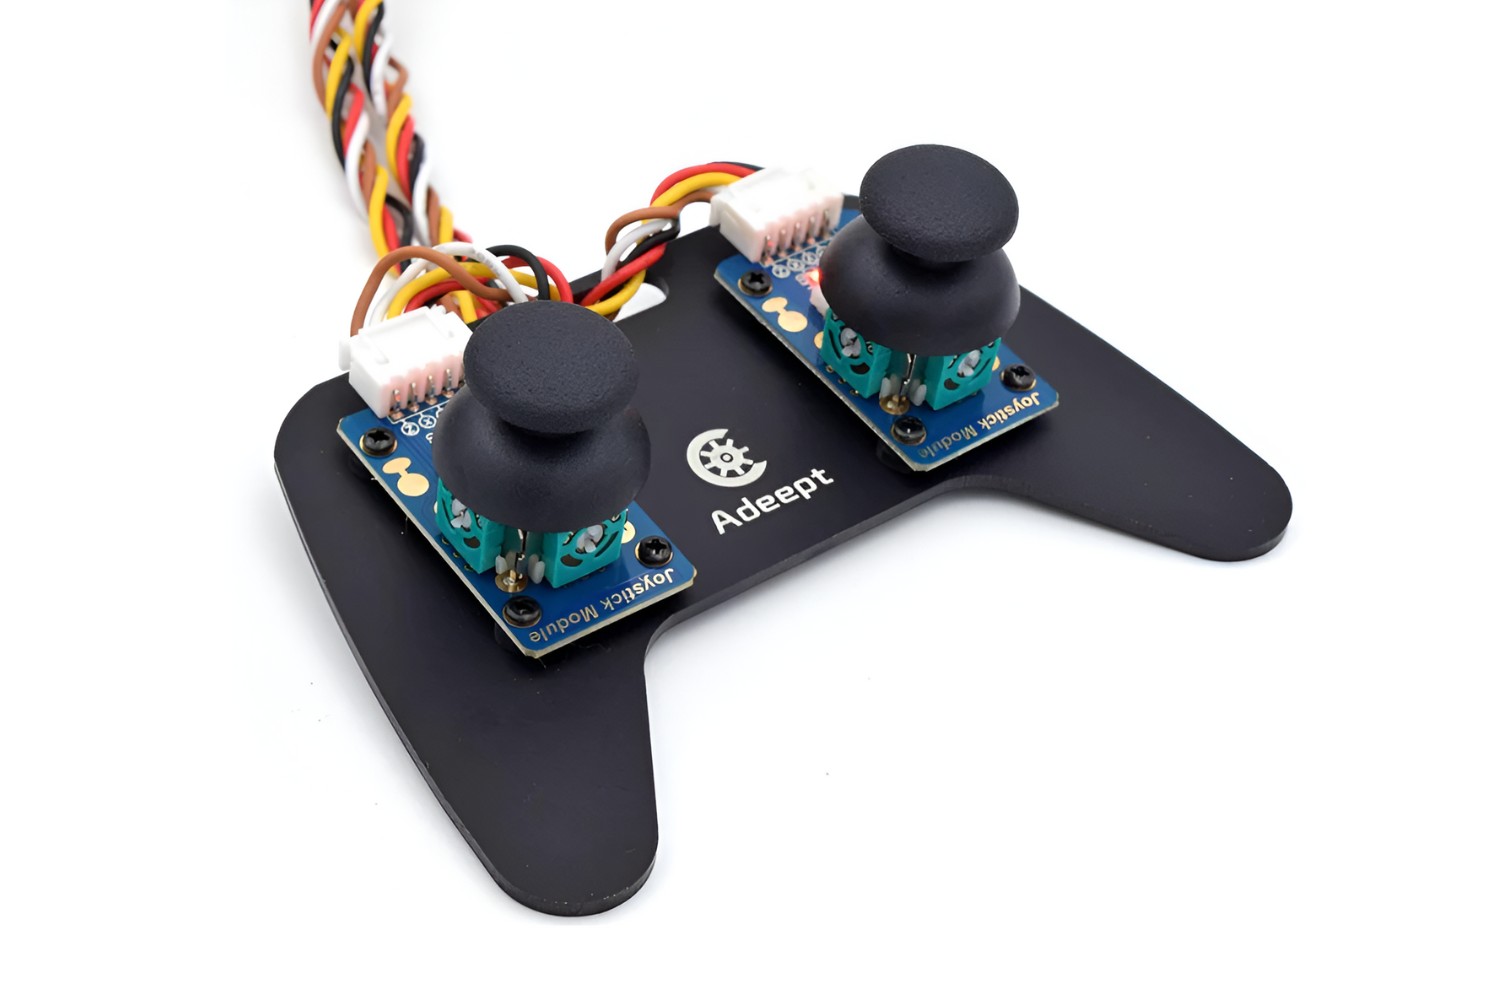
5. Radio Transmitter and Receiver: A radio transmitter and receiver system is used to control the drone remotely. The transmitter is held by the operator and sends commands to the drone, while the receiver is connected to the flight controller and receives these commands, enabling the drone to respond accordingly.
6. Power Distribution System: The power distribution system ensures that the various components of the drone receive the required power. It includes components such as power distribution boards and voltage regulators to regulate and distribute power evenly to the motors, flight controller, and other electronic devices.
7. Battery: A high-capacity lithium polymer (LiPo) battery is used to power the drone. The battery’s capacity and voltage depend on the size of the drone and its flight duration requirements. It’s essential to choose a battery that can provide enough power to lift the drone and run all the components efficiently.
8. Propellers: Propellers convert the rotational motion of the motors into thrust, propelling the drone through the air. The size and pitch of the propellers need to be matched with the motor’s specifications to ensure optimal performance and efficiency.
9. Arduino Board: Of course, building a drone with Arduino requires an Arduino board. Arduino boards, such as the Arduino Uno or Arduino Nano, provide the platform for programming and controlling the drone’s various components. They offer digital and analog input/output pins, communication interfaces, and compatibility with a wide range of sensors and modules.
In addition to these essential components, you may also consider adding optional components such as GPS modules for precise navigation, cameras for aerial photography or FPV (First Person View) systems for real-time video streaming. The exact components you choose will depend on your specific requirements and the desired functionality of your drone.
Now that we have a clear understanding of the essential components for building a drone, let’s move on to the step-by-step process of assembling and configuring these components to create your very own drone with Arduino.
Step 1: Assembling the Frame
In the first step of building your drone with Arduino, you’ll need to assemble the frame. The frame provides the structure and stability for mounting the components and plays a crucial role in determining the drone’s overall durability and performance.
Here are the general steps to follow when assembling the frame:
1. Identify the Frame Components: Take a close look at the frame kit you have and identify all the individual components. This may include arms, plates, brackets, and screws. Familiarize yourself with the different parts and their intended positions in the frame.
2. Attach the Arms: Begin by attaching the arms to the main body of the frame. Depending on the type of frame you have, this may involve aligning the arms and securing them in place using screws or other fastening mechanisms. Ensure that the arms are firmly attached and symmetrically positioned.
3. Install the Frame Plates: Once the arms are secured, install the frame plates or brackets onto the arms. These plates provide additional support and rigidity to the frame. Use the provided screws or fasteners to attach the plates firmly to the arms.
4. Mount the Flight Controller: This is a good time to mount the flight controller to the frame. The flight controller serves as the “brain” of your drone and will typically be mounted in the center of the frame. Secure the flight controller using nylon standoffs or vibration-dampening mounts to minimize vibrations that could affect its performance.
5. Organize and Secure Wiring: As you assemble the frame, it’s important to organize and secure the wiring. Use zip ties or electrical tape to bundle the wires together neatly, preventing them from getting entangled or interfering with the drone’s moving parts. Ensure that the wiring is routed away from the propellers to avoid any potential damage or interference.
6. Double-Check Connections: Before moving on to the next step, double-check that all the frame components are securely attached and aligned correctly. Ensure that the flight controller is firmly mounted and that all wiring connections are secure.
By following these steps, you’ll have successfully assembled the frame of your drone. Remember to refer to the specific instructions provided with your frame kit, as the assembly process may vary depending on the frame’s design and manufacturer.
Now that the frame is in place, we can proceed to the next step: wiring the motors and electronic speed controllers (ESCs) to enable the drone’s propulsion and control. So let’s move on to step 2!
Step 2: Wiring the Motors and ESCs
In step 2 of building your drone with Arduino, we will focus on wiring the motors and electronic speed controllers (ESCs). This step is crucial as it enables the drone to generate thrust and maneuver through the air.
Here’s a step-by-step guide to help you wire the motors and ESCs:
1. Identify the Motor and ESC Connections: Take a closer look at your motor and ESC components and identify the necessary connections. Typically, motors have three wires, while ESCs have several wires, including the power input, signal wire, and ground connection.
2. Connect the Motor Wires to the ESCs: Start by connecting each motor wire to its respective ESC. Match the wires based on their color coding; for example, a motor wire with black, red, and blue wires should be connected to the ESC wires with matching colors. Secure the connections by soldering or using bullet connectors.
3. Connect the ESCs to the Flight Controller: Now, wire each ESC to the flight controller. Locate the ESC signal pins on the flight controller, usually labeled with “M” or “Motor” followed by a number. Connect the signal wire from each ESC to the corresponding motor pin on the flight controller, ensuring the correct order (e.g., motor 1 connects to the signal pin labeled “M1”).
4. Power the ESCs: Connect the power input wires from each ESC to the designated power distribution point. This is typically a battery connection or a designated power pad on the flight controller. Ensure that the polarity is correct to avoid damaging the components.
5. Verify the Motor Spin Direction: Before proceeding, it’s crucial to verify that each motor spins in the correct direction. Using the flight controller software, perform a motor test to check the motor spin direction. If any motor spins in the wrong direction, simply swap any two of the three motor wires connected to the ESC.
6. Secure and Organize Wiring: As you wire the motors and ESCs, it’s important to keep the wiring organized and secure. Use zip ties or adhesive mounts to bundle and fasten the wires, preventing them from interfering with moving parts or getting tangled. This will help maintain a clean and professional-looking build.
Note: It’s crucial to follow the manufacturer’s instructions and understand the wiring diagram specific to your flight controller and ESCs, as different models may have slight variations in their wiring configuration.
Once you have successfully wired the motors and ESCs, you have completed a vital step in building your drone. The next step, step 3, involves adding the flight controller to enable the drone’s stabilization and control. Let’s move on to the next exciting phase of our drone-building process!
Step 3: Adding the Flight Controller
In step 3 of building your drone with Arduino, we will focus on adding the flight controller. The flight controller is the brain of the drone that processes sensor data and controls the drone’s stability and flight behavior.
Here’s a step-by-step guide to help you add the flight controller:
1. Choose the Flight Controller: There are various flight controllers available in the market, with different capabilities and features. Select a flight controller that suits your needs and is compatible with Arduino. Examples include the popular APM (ArduPilot Mega) and Pixhawk flight controllers.
2. Mount the Flight Controller: Find a suitable location on your drone’s frame to mount the flight controller. Ensure that it is secured firmly and ideally mounted away from other electronic components and motors to minimize interference and vibrations. Consider using vibration-dampening mounts or foam pads to further isolate the flight controller from vibrations.
3. Connect the Flight Controller to Power: Power the flight controller by connecting it to the power source of your drone. Typically, this involves connecting the flight controller’s power input to the designated power distribution point, such as the battery connection or a power module.
4. Connect the Flight Controller to ESCs: Connect the ESCs, which control the drone’s motors, to the flight controller. This is usually done by connecting the signal wires from each ESC to the designated motor pins on the flight controller, following the wiring diagram provided by the flight controller manufacturer.
5. Connect the Flight Controller to Sensors: Depending on the flight controller and your drone’s configuration, you may need to connect various sensors such as gyroscopes, accelerometers, barometers, and magnetometers. These sensors provide crucial data to the flight controller, enabling it to stabilize the drone, maintain altitude, and control its orientation. Follow the manufacturer’s instructions to connect these sensors correctly.
6. Configure the Flight Controller: Once the hardware connections are made, you will need to configure the flight controller settings using the appropriate software. This typically involves connecting the flight controller to a computer using a USB cable and accessing the configuration software provided by the manufacturer or the open-source software specific to the flight controller. Set up the flight controller parameters, such as motor mixer, control rates, and flight modes, according to your drone’s design and your flying preferences.
Note: It’s important to consult the documentation and resources provided by the flight controller manufacturer to ensure proper installation and configuration of the flight controller. Each flight controller may have its own specific procedures and software requirements.
By completing this step, you have successfully added the flight controller to your drone. The flight controller will now play a vital role in stabilizing and controlling your drone during flight. In the next step, step 4, we will focus on connecting the radio transmitter and receiver to enable remote control of the drone. Let’s proceed to the next exciting phase of our drone-building journey!
Step 4: Connecting the Radio Transmitter and Receiver
In step 4 of building your drone with Arduino, we will focus on connecting the radio transmitter and receiver. The radio transmitter allows you to control your drone remotely, while the receiver receives the transmitted signals and relays them to the flight controller.
Here’s a step-by-step guide to help you connect the radio transmitter and receiver:
1. Choose a Compatible Transmitter and Receiver: Select a radio transmitter and receiver system that is compatible with your drone and flight controller. Ensure that the transmitter and receiver operate on the same frequency and have sufficient channels for your intended control needs.
2. Bind the Transmitter and Receiver: Follow the manufacturer’s instructions to bind the radio transmitter and receiver. This typically involves putting both devices into binding mode and initiating the binding process. Once successfully bound, the receiver should respond to commands from the transmitter.
3. Connect the Receiver to the Flight Controller: Locate the designated receiver connection port on your flight controller. This may be labeled “RC” or “Receiver.” Connect each channel from the receiver to its corresponding port on the flight controller, ensuring that the connections are secure and correctly assigned. Common channels include throttle, yaw, pitch, and roll, as well as auxiliary channels for additional functionality.
4. Configure the Flight Controller: Access the flight controller configuration software and navigate to the section related to the radio transmitter and receiver. Configure the flight controller to recognize the channels from the receiver and assign them to the appropriate flight control functions. This step enables the flight controller to interpret the radio input for control during flight.
5. Verify and Calibrate Control Inputs: Test the control inputs on your radio transmitter to ensure they correspond to the desired output on the flight control software. Verify that moving the control sticks or toggling switches on your radio transmitter results in the intended changes in the flight control settings. Perform calibration procedures as necessary to ensure accurate and responsive control of your drone.
Note: It’s important to consult the documentation and resources provided with your radio transmitter and flight controller to learn about specific instructions and features. Different systems may have slight variations in their setup and configuration.
By completing this step, you have successfully connected the radio transmitter and receiver, allowing for remote control of your drone. The next step, step 5, focuses on mounting and configuring the Arduino board, which will serve as the central control unit of your drone. Let’s move forward to the next exciting phase in our drone-building journey!
Step 5: Mounting and Configuring the Arduino
In step 5 of building your drone with Arduino, we will focus on mounting and configuring the Arduino board. The Arduino will serve as the central control unit for your drone, responsible for processing instructions and commands from various components.
Here’s a step-by-step guide to help you mount and configure the Arduino:
1. Select an Arduino Board: Choose an Arduino board that suits your needs and is compatible with your drone’s components. Popular options include the Arduino Uno, Arduino Nano, or Arduino Mega. Consider factors such as size, pin availability, and processing power when making your selection.
2. Mount the Arduino: Find a suitable location on your drone’s frame to mount the Arduino board. Ensure that it is securely fastened, ideally using nylon standoffs or mounting brackets, to prevent vibrations or external disturbances from affecting its performance. Also, make sure the Arduino is positioned away from any moving parts or components that may interfere with its operation.
3. Connect Components to the Arduino: Begin by connecting the necessary components, such as the flight controller, receiver, and ESCs, to the Arduino board. Reference the pinout diagram available for your specific Arduino board to identify the appropriate pins for each connection. Use jumper wires, connectors, or soldering to establish the connections between the Arduino and the components.
4. Power the Arduino: Connect the power source for the Arduino, typically from the flight controller or a dedicated power supply, to the Arduino’s power input. Ensure that the voltage supplied is within the operating range of the Arduino board. Double-check the polarity of the connections to avoid any potential damage.
5. Upload the Arduino Code: Write or obtain the Arduino code necessary for controlling your drone’s various functions. Use the Arduino IDE (Integrated Development Environment) to compile and upload the code to the Arduino board. Ensure that the code is properly written and configured for your specific drone setup, including the correct pin assignments and control logic.
6. Verify and Test: After uploading the code, verify that the Arduino board is functioning correctly by testing each aspect of the drone’s control. Ensure that the flight controller and other components respond appropriately to the commands sent from the Arduino board. Adjust the code or configurations as needed until the desired behavior is achieved.
Note: Proper code organization, utilizing functions, and modular programming can greatly simplify the development and maintenance of your Arduino code. It’s also beneficial to comment your code and add meaningful variable and function names to enhance readability and understanding.
By completing this step, you have successfully mounted and configured the Arduino board in your drone. The Arduino will now serve as the control center, orchestrating the communication and control between various components. In the next step, step 6, we will focus on programming the drone to execute specific instructions. Let’s proceed to the next phase of our drone-building journey!
Step 6: Programming the Drone
In step 6 of building your drone with Arduino, we will focus on programming the drone to execute specific instructions. Programming the drone allows you to define its behavior, flight modes, and autonomous functions.
Here’s a step-by-step guide to help you program the drone:
1. Define the Flight Modes: Determine the different flight modes you want your drone to have. Common flight modes include manual control, stabilization mode, altitude hold, GPS-based navigation, and return-to-home. Each mode will require specific programming to control the drone’s behavior accordingly.
2. Set Up the Development Environment: Install and set up the Arduino IDE (Integrated Development Environment) on your computer. This software provides a user-friendly interface for writing, compiling, and uploading code to the Arduino board. Ensure that you have the appropriate board drivers and libraries installed for your specific Arduino board and components.
3. Write the Code: Begin writing the code that will govern your drone’s behavior. Use the Arduino programming language, which is based on C/C++, to define the various functionalities and control algorithms. Write code to handle sensor data, control the motors and ESCs, and implement the desired flight modes and autonomous functions.
4. Test and Debug: Upload the code to the Arduino board and thoroughly test its functionality. Monitor the drone’s behavior and ensure that it responds correctly to your inputs or autonomously executes the desired actions. Debug any issues that arise by analyzing the code, checking connections, or adjusting variables and parameters as needed.
5. Refine and Optimize: As you gain more experience with the drone’s programming, you can refine and optimize the code to improve performance. Look for opportunities to streamline the code, eliminate redundant sections, and enhance the efficiency of algorithms or calculations. Optimization can lead to quicker response times, better stability, or longer flight times.
6. Iterate and Iterate: Drone programming is an iterative process. As you fly and test your drone, you may discover areas for improvement or new features you want to add. Continuously iterate on your code, making adjustments, enhancements, and additions based on your observations and goals for the drone’s performance and functionality.
Note: It’s essential to focus on safety during the programming process. Implement fail-safes and error-handling mechanisms to ensure the drone can handle unexpected situations. Additionally, adhere to local regulations and guidelines when programming autonomous functions, such as geofencing or altitude restrictions.
By completing this step, you will have programmed your drone to perform specific actions, respond to user inputs, and potentially execute autonomous functions. The next step, step 7, will focus on testing and troubleshooting your drone. Let’s move forward to the next exciting phase of our drone-building journey!
Step 7: Testing and Troubleshooting
In step 7 of building your drone with Arduino, we will focus on testing and troubleshooting your drone. This step is crucial to ensure that your drone is functioning as expected, responsive to controls, and stable during flight.
Here’s a step-by-step guide to help you test and troubleshoot your drone:
1. Pre-flight Check: Before each flight, conduct a thorough pre-flight check to ensure that all components are securely fastened, wiring connections are intact, and batteries are fully charged. Verify that the flight controller is correctly calibrated, GPS lock is achieved if applicable, and the drone’s stability and control inputs are responding as expected.
2. Perform Test Flights: Start with short and low-altitude test flights in a safe and open area, away from people, buildings, and obstacles. Gradually increase the flight duration and altitude as you gain confidence in your drone’s stability and control. Pay attention to the drone’s behavior, responsiveness, and any abnormal vibrations or occurrences during flight.
3. Monitor Sensor Readings: Use the flight controller software or additional monitoring tools to analyze sensor readings during flight. Ensure that the sensor data aligns with the drone’s actual movement and orientation. Troubleshoot any irregularities, such as inconsistent accelerometer or gyroscope readings, which may indicate calibration issues or faulty sensors.
4. Test Flight Modes: Activate and test each flight mode individually to verify that the drone behaves as expected in each mode. For example, test stabilization mode, altitude hold, and any autonomous functions you have programmed. Observe the drone’s reactions and adjust parameters or code as needed to achieve the desired behavior.
5. Monitor Battery Performance: Assess the performance of your drone’s battery during flight. Ensure that the battery voltage remains within acceptable limits and the flight time aligns with your expectations. Monitor and log battery consumption to establish a baseline and identify any significant deviations or potential battery issues.
6. Troubleshoot Issues: If you encounter any issues or unexpected behavior during testing, systematically troubleshoot the problem. Start by checking wiring connections, sensor calibration, and software configuration. Inspect and test individual components to identify any faulty or malfunctioning parts. Adjust code parameters or flight controller settings, if necessary, to optimize stability, control, or flight dynamics.
7. Iterate and Refine: As you continue to test and troubleshoot your drone, make note of any areas for improvement or enhancements. Implement iterations or modifications to your code, hardware, or flight parameters to address these areas. Test and retest to evaluate the effectiveness of your adjustments and ensure they align with your drone’s performance goals.
Note: Safety is of utmost importance during testing. Comply with local regulations, maintain a safe distance from people and property, and be prepared for any emergency situations. Maintain proper safety protocols, such as using propeller guards during initial testing, until you gain confidence in your drone’s stability and control.
By completing this final step, you will have thoroughly tested and troubleshooted your drone. Congratulations on building your own drone with Arduino! Now, you can enjoy the rewards of flying and exploring the capabilities of your creation.
Conclusion
Building a drone with Arduino is an exciting and rewarding journey that allows you to immerse yourself in the world of DIY electronics and aviation. Throughout the process, you have learned about Arduino, its capabilities, and how it serves as a versatile platform for drone building. You have explored the components needed to construct a drone, step-by-step guidance for assembling and configuring the drone, as well as programming it to perform specific functions.
By building your own drone, you have gained valuable knowledge and skills in electronics, programming, and aerodynamics. You have customized your drone’s design and functionality to match your specific requirements, whether it’s for aerial photography, exploration, or simply the joy of flying. The experience of constructing a drone from scratch has provided insights into the inner workings of this remarkable technology.
Throughout the building process, you have encountered challenges and opportunities for troubleshooting. Testing your drone and fine-tuning its performance has allowed you to enhance stability, flight time, and control. Your drone is now ready to soar into the sky, capturing breathtaking aerial footage or completing specific missions based on your programming.
Remember to fly your drone responsibly and adhere to local regulations and guidelines. Ensure you follow safety precautions, maintain a safe distance from people and property, and respect the privacy of others. Keep refining your drone’s capabilities and explore new possibilities in the world of autonomous flight, advanced control algorithms, and aerial applications.
Congratulations on successfully building your own drone with Arduino. Enjoy the thrill of flight and the countless possibilities that this technology has to offer. Fly high and continue to explore the boundaries of your creativity!


