Introduction
When it comes to sharing files with others, email remains one of the most convenient and widely used methods. If you’re looking to attach a folder to an email, you may find it a bit more challenging than attaching individual files. However, with the right approach, it can be a simple and straightforward process.
In this guide, we will walk you through the steps to successfully attach a folder to an email. Whether you are using a web-based email service like Gmail or Yahoo, or a desktop client such as Outlook or Thunderbird, the process will be similar.
Before we dive into the steps, it’s important to note that some email service providers have file size limitations for attachments. If the folder you’re trying to send is too large, you may need to compress it beforehand. Compressing the folder will reduce its file size, making it more manageable to attach and send via email.
Now that we have that covered, let’s get started with the steps to attach a folder to an email!
Step 1: Compress the folder
The first step in attaching a folder to an email is to compress it. Compressing a folder involves creating a compressed or zipped file that contains all the files and subfolders within the original folder. This compressed file not only reduces the overall size, but it also preserves the folder structure, making it easier for the recipient to navigate through the contents.
Here’s how you can compress a folder:
- Select the folder you want to compress by right-clicking on it.
- From the context menu, choose “Send to” and then “Compressed (zipped) folder”.
- A new compressed folder will be created in the same location, with the same name as the original folder.
It’s important to note that the steps for compressing a folder may vary slightly depending on your operating system. The above steps are applicable to Windows systems, but if you’re using a Mac, you can simply right-click on the folder and select “Compress” from the options.
Once you have successfully compressed the folder, you’re ready to move on to the next step of attaching it to an email. Compressing the folder not only helps to overcome file size limitations but also ensures that all the necessary files and folders are bundled together securely.
Step 2: Create a new email
Now that you have compressed the folder, it’s time to create a new email in your preferred email client. Whether you’re using a web-based service or a desktop application, the process is fairly similar.
Here’s how you can create a new email:
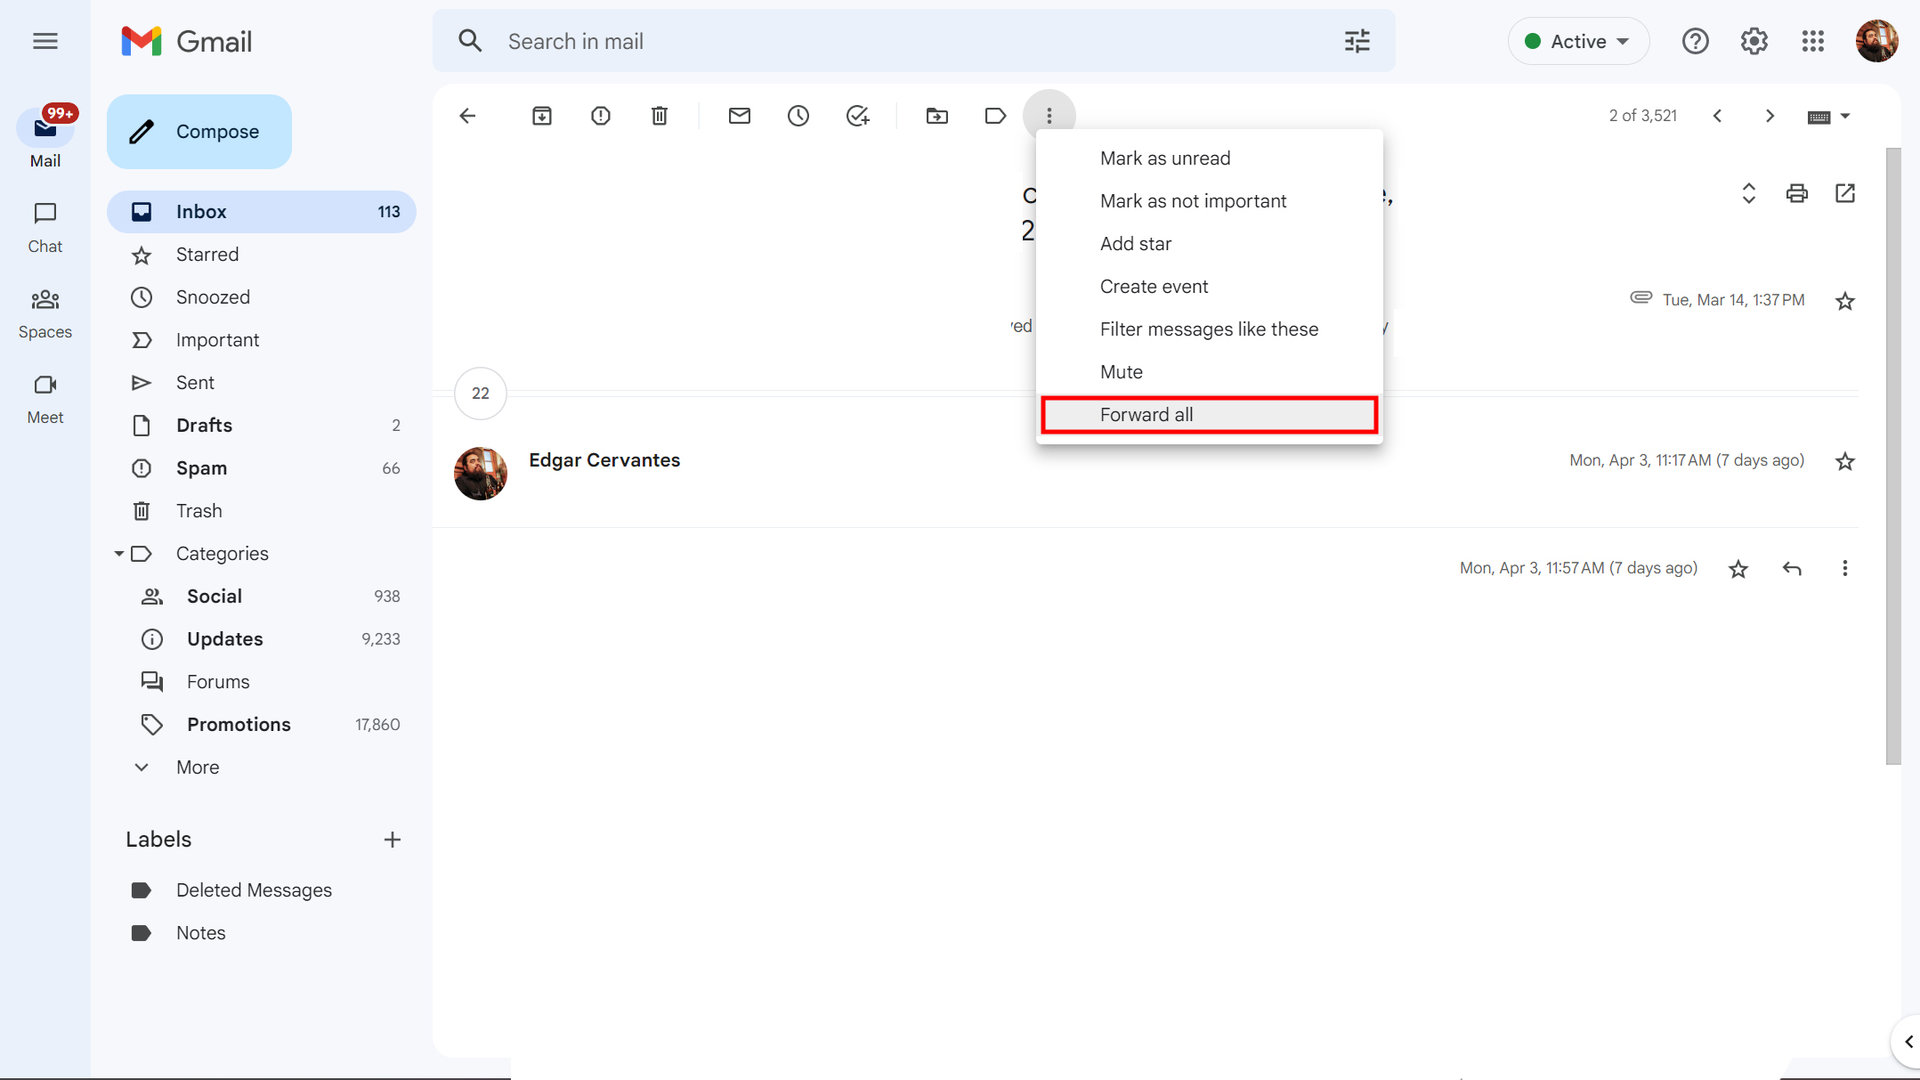
- Open your email client and click on the “Compose” or “New Email” button, usually located prominently on the interface.
- A new blank email window will open, ready for you to compose your message.
- Depending on your email client, you may need to specify the recipient’s email address in the “To” field. You can also add a subject line to give the email a concise title.
Creating a new email sets the stage for attaching the compressed folder and composing the message that will accompany it. It’s important to ensure that you have the correct email address of the recipient and include a clear subject line that indicates the content of the email.
After creating the new email, you can move on to the next step: attaching the compressed folder. This will allow you to include the entire folder as an attachment, making it easy for the recipient to extract and access the files within.
Step 3: Attach the compressed folder
With the new email window open, you’re now ready to attach the compressed folder to your email. The process for attaching files or folders may vary slightly depending on the email client you are using, but the general steps are as follows:
- Look for an attachment icon or a paperclip symbol within the email composition window. This is usually located near the top of the window and is labeled “Attach” or “Attach a file”.
- Click on the attachment icon to open the file selection dialog box.
- Navigate to the location where you saved the compressed folder and select it.
- Click the “Open” button to attach the folder to your email.
Once you’ve attached the compressed folder, you’ll typically see the file name displayed within the email composition window. You can double-check that the correct folder is attached and that there are no other miscellaneous files attached unintentionally.
It’s worth noting that some email clients may have restrictions on the maximum file size of attachments. If your compressed folder exceeds the size limit, you may need to explore alternative methods of file sharing, such as using cloud storage or a file transfer service.
After successfully attaching the compressed folder, you’re ready to verify the attachment and make any necessary adjustments before sending off the email.
Step 4: Verify the attachment
Before sending the email, it’s crucial to verify that the attached compressed folder is properly included. This step helps ensure that the recipient will receive the intended files and that nothing is missing or corrupted.
To verify the attachment, follow these steps:
- Take a look at the email composition window where you attached the folder. You should see the name of the compressed folder listed either below the subject line or within the body of the email. This confirms that the attachment has been successfully included.
- If your email client allows for it, you may be able to preview the attachment by clicking on it or selecting a “Preview” option. This will open a new window or pane where you can view the contents of the compressed folder without extracting it.
- If possible, you can also try opening the compressed folder on your computer to ensure that all the files and subfolders are intact. Simply right-click on the folder and select “Extract” or “Extract All” to view its contents.
By performing these verification checks, you can be confident that the attachment is correct and complete. It’s always better to double-check before sending the email, as it saves you and the recipient from potential confusion or frustration.
If you discover that the attachment is incorrect or missing, you can go back to the email composition window and repeat the attachment process. It’s important to ensure that the correct and updated version of the compressed folder is attached before sending the email.
Once you have verified the attachment and made any necessary adjustments, you’re ready to move on to the final step: writing and sending the email.
Step 5: Write and send the email
After successfully attaching and verifying the compressed folder, the final step is to write your message and send the email. This step allows you to provide any necessary context, instructions, or additional information related to the attached folder.
Follow these guidelines to write and send the email:
- Position your cursor in the body of the email composition window, below the attachment information.
- Compose a clear and concise message explaining the purpose of the email and any specific instructions related to the attached folder. You can provide a brief overview or highlight key points to help the recipient understand the contents and navigate the files efficiently.
- Review your message for any grammar or spelling errors, ensuring that it conveys your intended meaning accurately and professionally.
- Take a moment to proofread the email as a whole, including the subject line and any other details such as the recipient’s email address.
- Once you are satisfied with the content of the email, click the “Send” button to dispatch it to the recipient.
It’s important to note that sending the email may require an active internet connection. Make sure you have a stable internet connection before clicking the “Send” button to avoid any interruption in the process.
After sending the email, you may receive a confirmation notification or see the sent email in your “Sent” folder. This helps you keep track of your communication and ensures that the email has been successfully delivered.
Remember, if you need to send the same folder to multiple recipients, you can add their email addresses to the appropriate fields (such as “CC” or “BCC”) before sending the email.
With the email sent, you have accomplished the task of attaching a folder and sharing it with others through email. Your recipient can now access and extract the compressed folder, making it easy for them to explore the files and folders you have shared.
Conclusion
Attaching a folder to an email may initially seem like a daunting task, but by following the steps outlined in this guide, the process becomes much simpler. Compressing the folder, creating a new email, attaching the compressed folder, verifying the attachment, and finally, writing and sending the email, are the key steps to successfully sharing a folder via email.
By compressing the folder, you overcome file size limitations and ensure that all necessary files and subfolders are bundled together. Creating a new email provides a blank canvas for you to compose your message and specify the recipient’s email address. Attaching the compressed folder adds it as an attachment, making it easy for the recipient to access and extract the files. Verifying the attachment helps confirm that everything is included and intact before sending the email. Finally, writing and sending the email allows you to provide additional context and instructions, completing the process.
Remember to pay attention to the specific options and features of your email client, as they may have slight differences in the attachment process. Additionally, if the compressed folder exceeds the attachment size limit, you may need to explore alternative methods of file sharing like cloud storage or file transfer services.
By following these steps, you can confidently attach and share a folder through email with ease. This method allows you to conveniently share multiple files and maintain the organizational structure of the folder, ensuring that both you and the recipient can access and manage the files efficiently.
So, the next time you need to share a folder with others via email, simply follow this guide and simplify the process. Enjoy convenient and efficient file sharing through email!


