Introduction
Welcome to our comprehensive guide on how to scan documents to email! In today’s digital age, email has become an integral part of our personal and professional lives. Whether you need to send important documents to clients, colleagues, or friends, knowing how to scan and email them can save you time and effort.
Scanning documents allows you to convert physical papers into digital files, making them easily shareable through email. Whether it’s contracts, invoices, or important receipts, scanning documents not only helps reduce clutter but also ensures their safety and accessibility for future reference.
In this guide, we will walk you through the step-by-step process of scanning documents and sending them via email. We will provide you with detailed instructions to help you set up your scanner, prepare the document, scan it, save the file, compose the email, attach the scanned document, and finally, send the email.
By following this guide, you’ll be able to efficiently scan and email documents, eliminating the need for traditional fax machines or postal services. Additionally, you’ll reduce your environmental impact by minimizing paper usage.
Whether you’re a seasoned professional or a novice just starting to explore the world of digital document management, this guide is designed to assist you along the way. Let’s dive in and learn how to scan documents to email!
What You Will Need
Before you begin scanning your documents to email, there are a few essential items you will need to ensure a smooth and successful process. Here’s a list of what you will need:
- A scanner: You will need access to a scanner, either a standalone scanner or a multifunction printer/scanner/copier device. Make sure it is properly connected to your computer and functioning correctly.
- A computer or laptop: You will need a computer or laptop to connect and interact with the scanner. Ensure that it is powered on and has the necessary software installed, such as scanning software or drivers specific to your scanner.
- Internet connection: To send the scanned document via email, a stable internet connection is essential. Make sure you are connected to the internet before proceeding with the scanning and emailing process.
- Email account: You will need a valid email account to send the scanned documents. Ensure that you have a working email address and the necessary login credentials to access it.
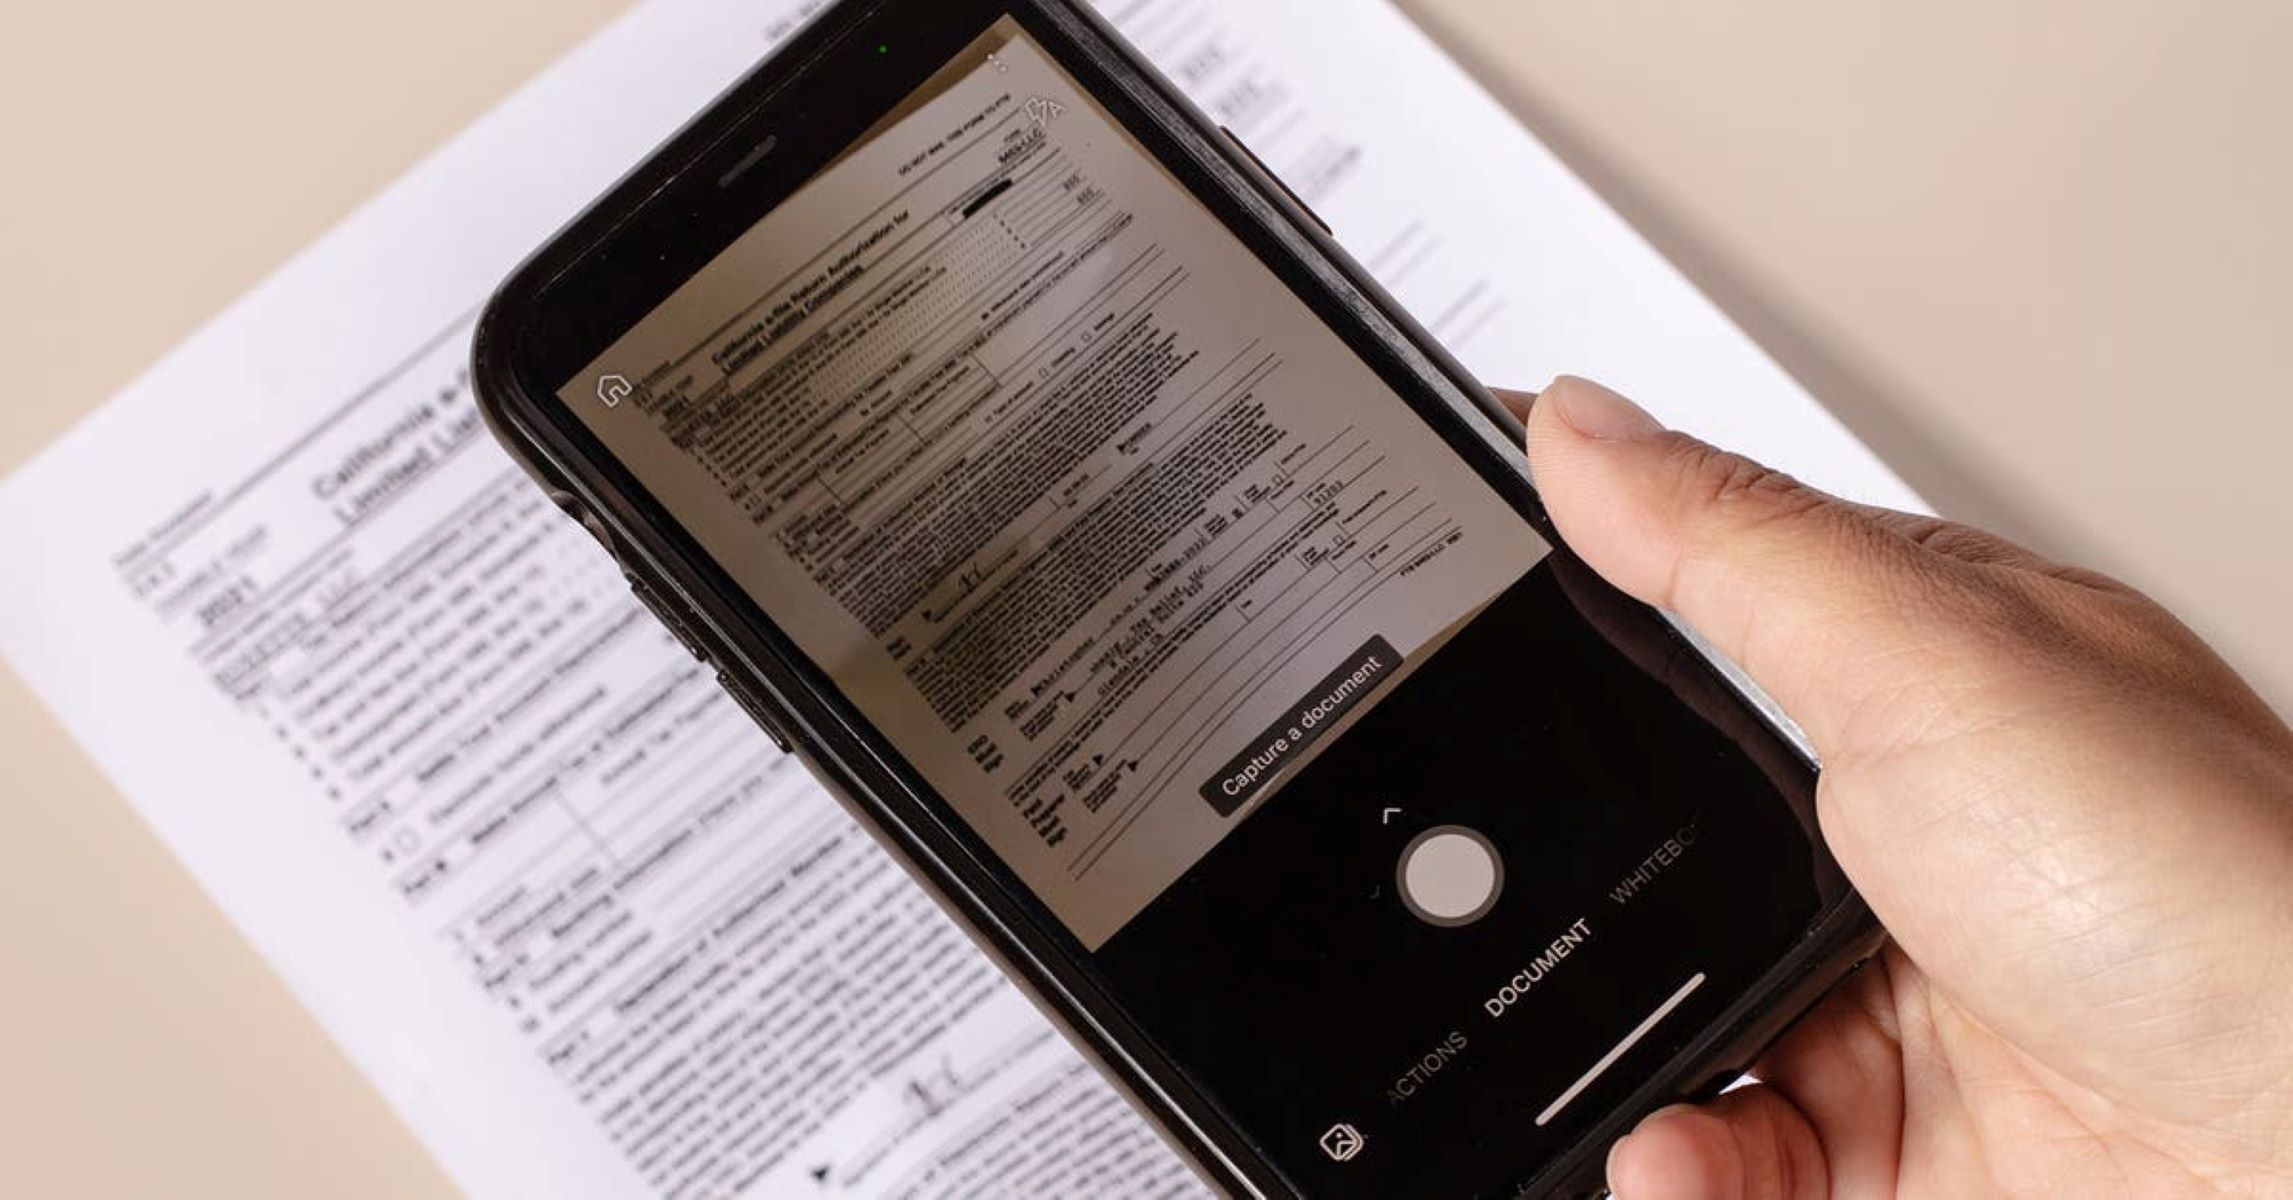
- Document to scan: Of course, you will need the physical document that you want to scan and email. This can be a paper document, a photograph, or any other material that you need to convert into a digital file.
Having these items ready and in place will ensure a seamless experience as you go through the steps of scanning documents to email. Make sure everything is set up correctly before starting the process to avoid any interruptions or issues along the way.
Step 1: Setting up Your Scanner
Before you can start scanning your documents, you need to ensure that your scanner is properly set up and connected to your computer. Follow these steps to set up your scanner:
- Ensure that your scanner is connected to a power source and turned on. Check that all cables are securely plugged in.
- If your scanner is a standalone device, connect it to your computer via a USB cable. If you are using a multifunction printer/scanner/copier, make sure it is connected to your computer through a wired or wireless network.
- Install the necessary software or drivers for your scanner. Most scanners come with a CD or DVD containing the required software, or you can visit the manufacturer’s website to download the latest drivers. Follow the installation instructions specific to your scanner model.
- Once the software is installed, restart your computer if necessary to complete the setup process.
- Test your scanner to ensure it is working correctly. Open the scanning software or application on your computer, place a test document on the scanner bed, and initiate a scanning process. Verify that the scanned image appears on your computer screen as expected.
- Adjust the scanner settings, if needed. Depending on your scanning software, you may have options to adjust the resolution, color settings, file format, or other parameters. Familiarize yourself with these settings to optimize the quality and file size of your scanned documents.
Once you have successfully set up your scanner and tested its functionality, you are ready to move on to the next step: preparing the document for scanning. Follow the subsequent steps in this guide to ensure a seamless scanning and emailing process.
Step 2: Preparing the Document
Before scanning your document, it’s important to properly prepare it to ensure the best possible results. Follow these steps to prepare your document for scanning:
- Remove any staples, paper clips, or sticky notes from the document. These objects can interfere with the scanning process and potentially cause damage to your scanner.
- Straighten any creases or folds in the document. Smooth out the pages to ensure that they lie as flat as possible on the scanner bed. This helps to avoid any unwanted shadows or distortions in the scanned image.
- If the document has multiple pages, arrange them in the correct order. Ensure that all pages are facing the same direction and are stacked neatly before placing them onto the scanner bed.
- Consider cleaning the scanner bed if necessary. Dust, dirt, or smudges on the scanner glass can affect the quality of the scanned document. Use a soft, lint-free cloth and a gentle glass cleaner to clean the scanner bed before proceeding.
- If your document is larger than the scanner bed, you may need to scan it in sections and join the scanned images together later using image editing software. Make sure to overlap the sections slightly for better alignment during the assembly process.
By taking the time to properly prepare your document for scanning, you can ensure that the resulting scanned image is of high quality and accurately represents the content of the original. Once you have prepared your document, you are ready to move on to the next step: scanning the document itself.
Step 3: Scanning the Document
Now that you have set up your scanner and prepared the document, it’s time to start scanning. Follow these steps to scan your document:
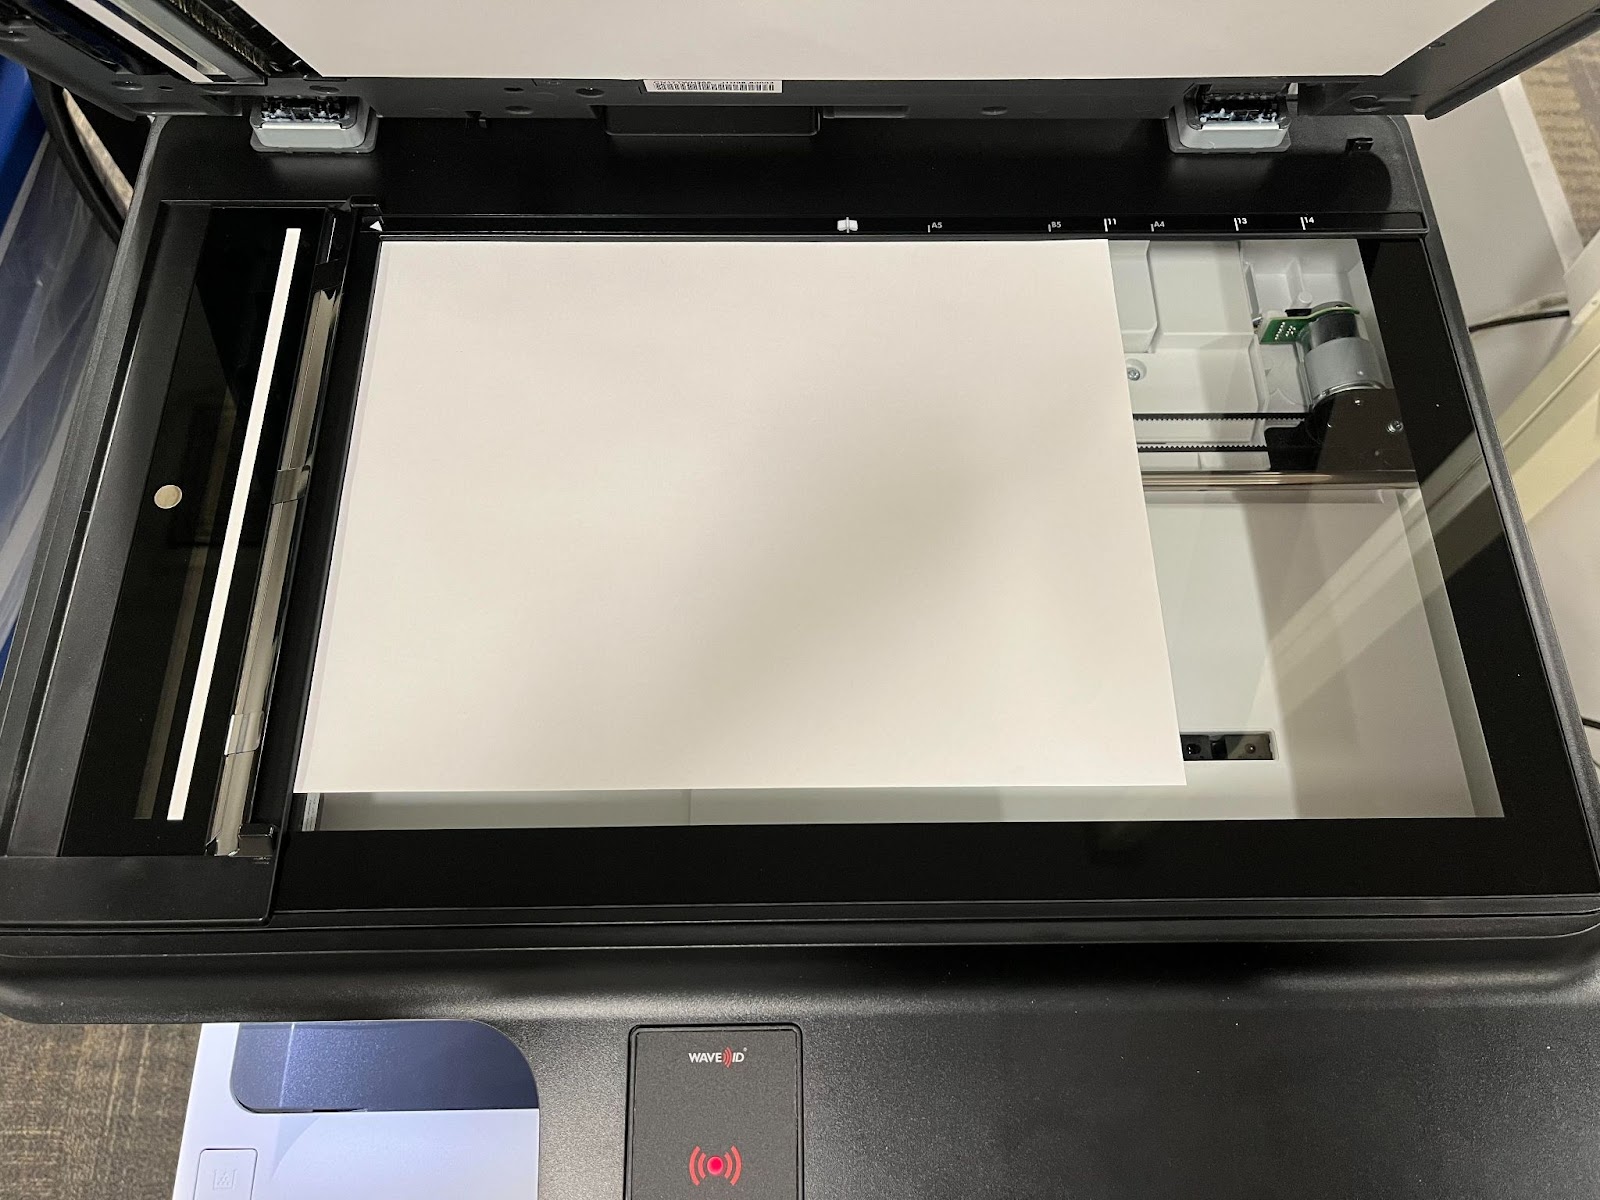
- Place your document face-down on the scanner bed. Make sure the edges of the document align with the edges of the scanner bed to ensure a straight scan.
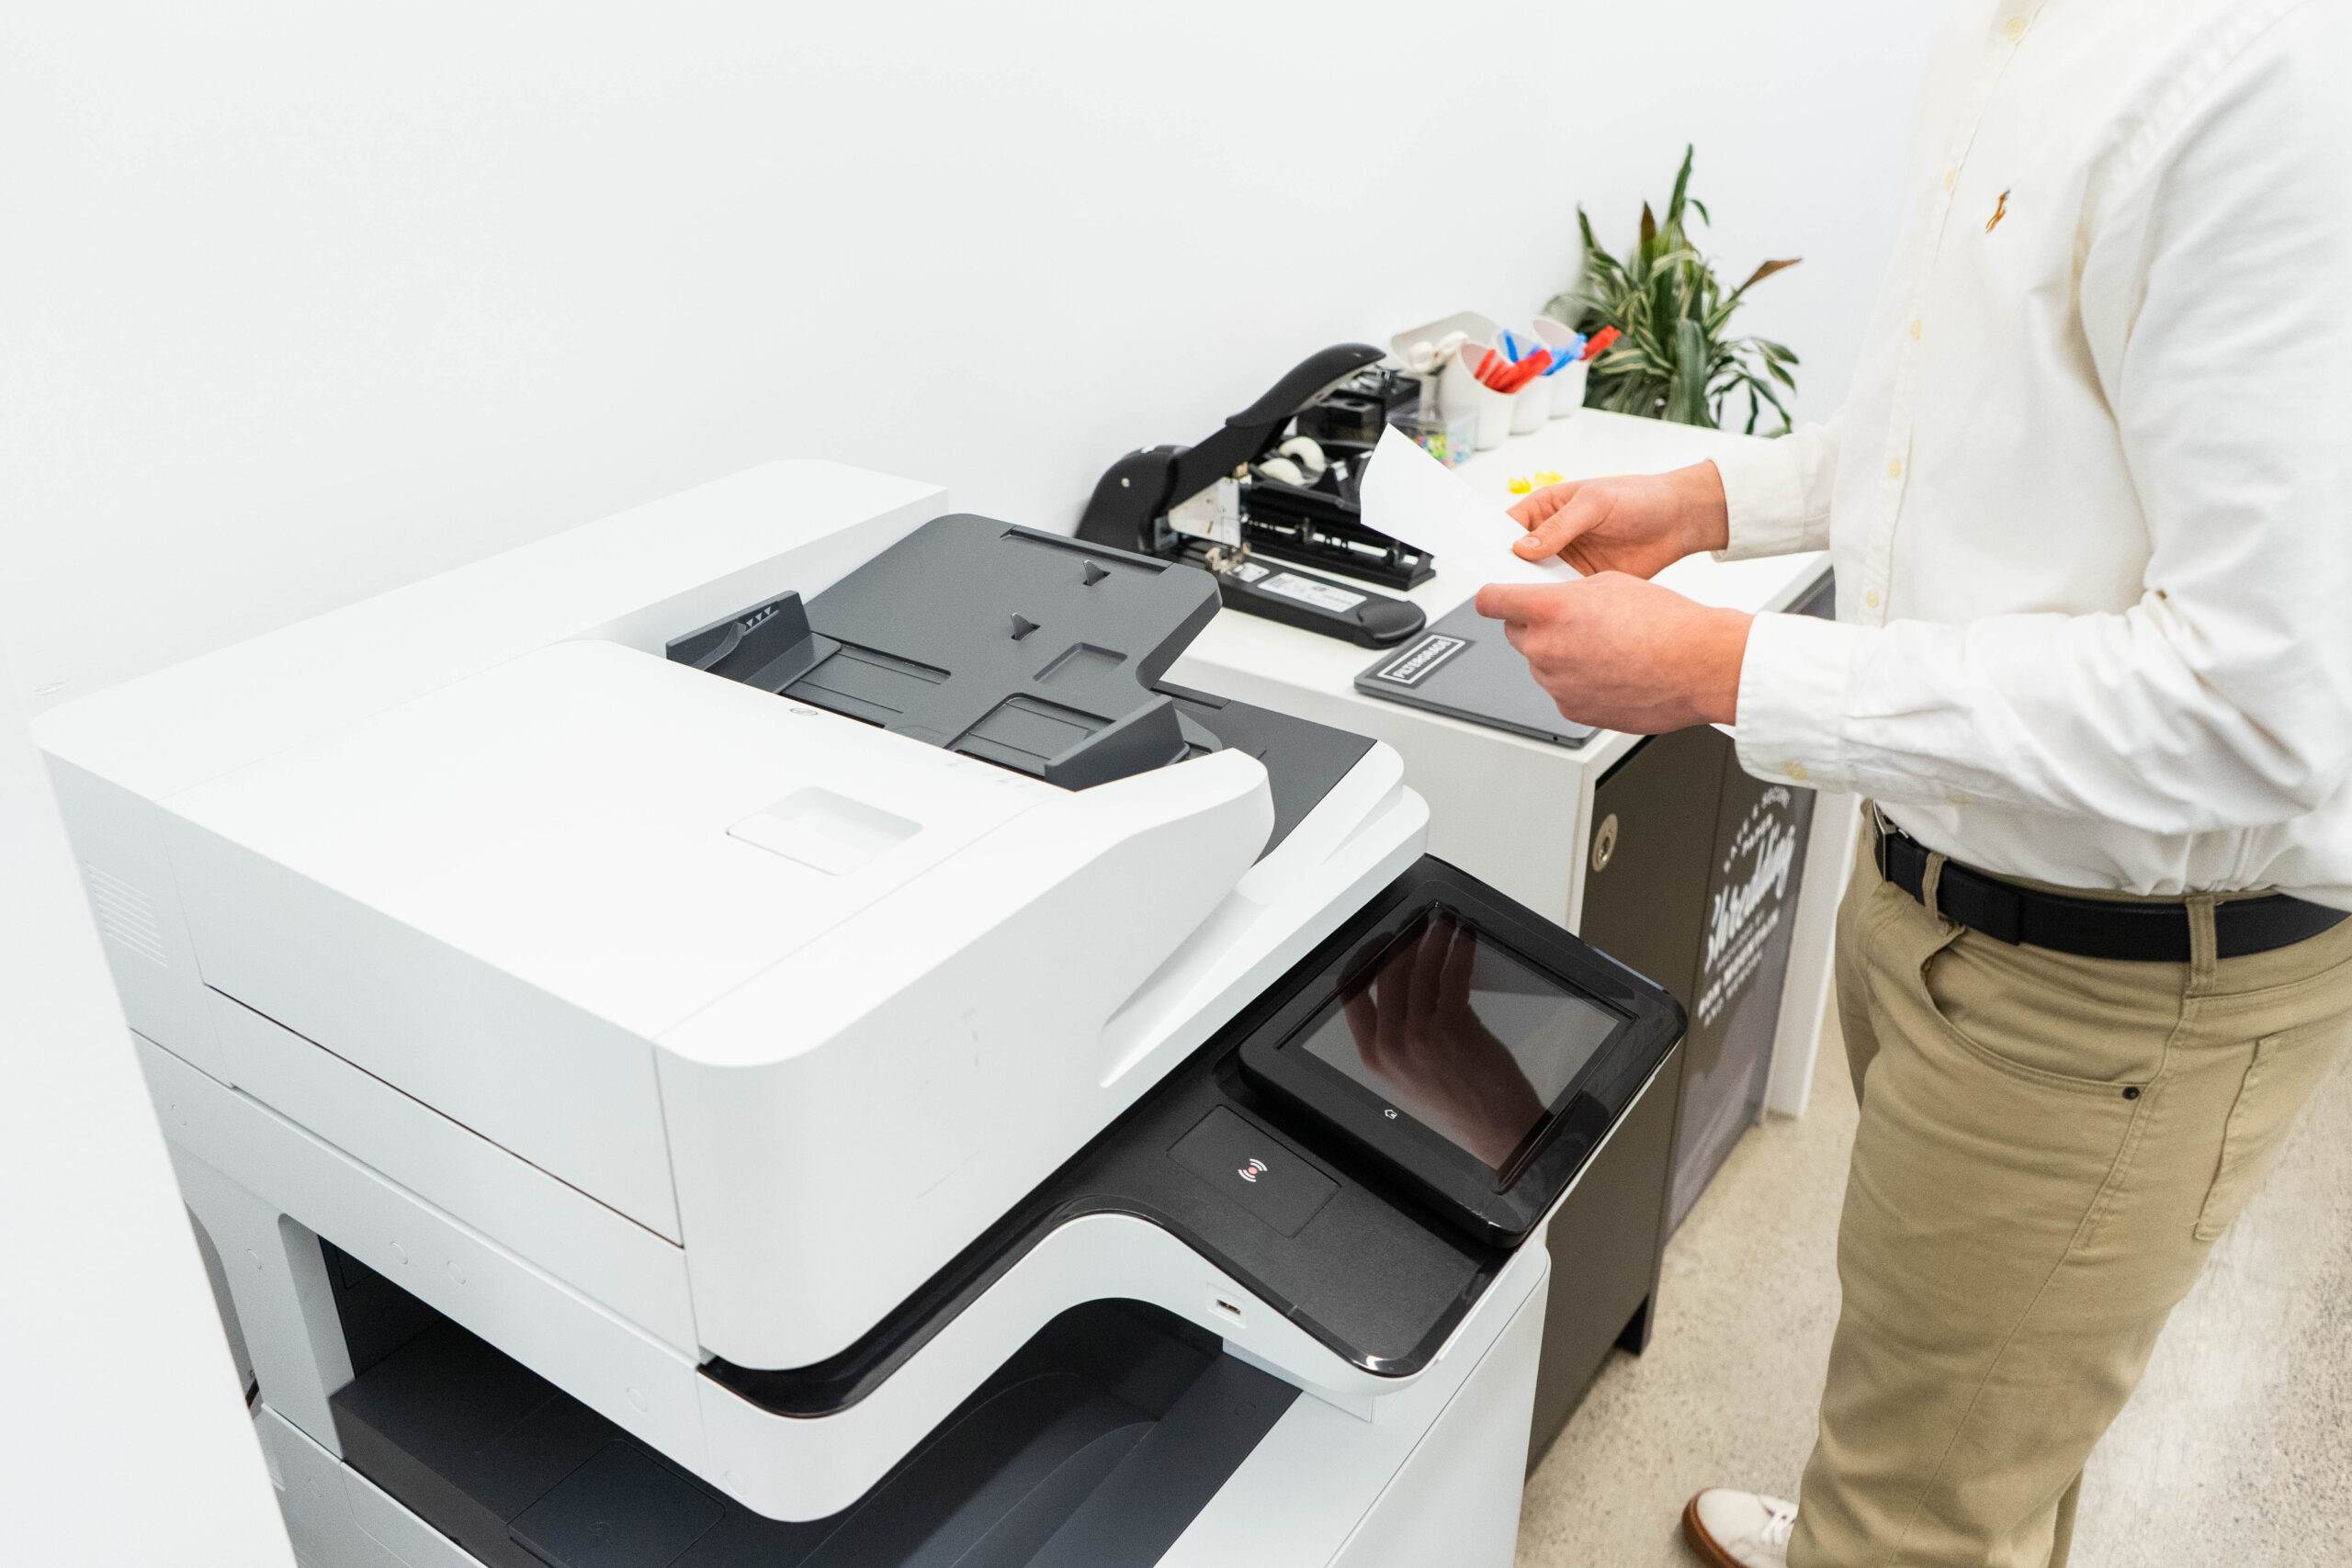
- Open the scanning software or application on your computer. If you’re using a multifunction printer, look for the scanning option on the printer’s control panel or interface.
- Select the appropriate settings for your scan. This includes the file format (such as PDF, JPEG, or TIFF), resolution (measured in dots per inch or DPI), color settings (black and white, grayscale, or color), and any other specific preferences you have.
- Preview the scan if your software allows it. This will give you a chance to see a preview of the scanned document and make any necessary adjustments to the settings. Pay attention to the alignment, clarity, and other aspects of the preview.
- Once you’re satisfied with the settings, initiate the scanning process. This may involve clicking a “Scan” button on your computer or pressing a scanning button on the scanner or printer.
- Depending on the size and complexity of the document, the scanning process may take a few seconds to a few minutes. Be patient and allow the scanner to complete the process without interruption.
- Repeat the scanning process if you have multiple pages to scan. Place each subsequent page on the scanner bed and follow the same steps to ensure a consistent scan for each page.
After completing the scanning process, you should have digital copies of your document(s) stored on your computer. Take a moment to review the scanned documents and make sure they appear as expected. If everything looks good, proceed to the next step: saving the scanned document.
Step 4: Saving the Document
Once you have scanned your document, it’s important to properly save it for future use. Follow these steps to save your scanned document:
- Before saving, review the scanned document to ensure it is clear, legible, and accurately represents the original document.
- Choose a destination folder on your computer where you want to save the scanned document. This can be a specific folder on your desktop or a dedicated folder within your document management system.
- Select an appropriate file name for the scanned document. Use a descriptive name that reflects the contents of the document to easily identify it in the future.
- Select the desired file format for the scanned document. Common options include PDF, JPEG, or TIFF. Consider the purpose of the document and the compatibility requirements of the recipient when choosing the file format.
- Adjust any additional settings or options available in the scanning software. This may include compression settings, resolution, or other preferences that affect the quality and file size of the saved document.
- Click on the “Save” or “Save As” button in the scanning software to save the document to your specified destination folder.
- Wait for the saving process to complete. The duration will depend on the size of the scanned document and the processing power of your computer.
Once the document is saved, take a moment to locate and open the saved file to verify that it can be accessed and viewed correctly. Ensure that the file is stored in a secure location and consider creating backups or implementing appropriate document management strategies for future reference.
With the document successfully saved, you’re now ready to proceed to the next step: composing the email to send the scanned document.
Step 5: Composing the Email
Once you have saved the scanned document, it’s time to compose the email in which you will attach and send the document. Follow these steps to compose your email:
- Open your preferred email client or webmail service, such as Outlook, Gmail, or Yahoo Mail.
- Click on the “Compose” or “New Email” button to create a new email message.
- Enter the recipient’s email address in the “To” field. If you have multiple recipients, separate their email addresses with commas.
- Enter a descriptive subject line that clearly indicates the content of the email and document. For example, “Scanned Document: [Document Name]”.
- Compose your email message. Provide any necessary information or instructions related to the scanned document in the body of the email. Be clear and concise in your communication.
- If needed, you can format the text of your email using options such as bold, italics, bullet points, or numbered lists. This can help make your email message more organized and easier to read.
- Review your email for any typos or errors. Ensure that the information is accurate and the message is professional.
Before proceeding to the next step, take a moment to double-check that you have included all the necessary information and provided clear instructions to the recipient regarding the attached scanned document. Once you are satisfied with your email, you can move on to the next step: attaching the scanned document.
Step 6: Attaching the Scanned Document
Now that you have composed your email, it’s time to attach the scanned document to your message. Follow these steps to attach the scanned document:
- In your email composition window, click on the “Attach” or “Paperclip” icon, typically located near the top of the window. This will open a file selection dialog box.
- Navigate to the folder where you saved the scanned document. Select the document by clicking on it, and then click on the “Open” button in the file selection dialog box.
- The scanned document will now be attached to your email. Depending on your email client or service, it may appear as a thumbnail, a file name, or a link within the email composition window.
- If needed, you can attach additional scanned documents by repeating the same process as necessary. Keep in mind any file size limits imposed by your email provider.
- Verify that the attached document(s) are accurately represented by checking the file names and extensions.
Once you have successfully attached the scanned document to your email, you can proceed to the final step: sending the email.
Before sending, take a moment to review your email once again. Ensure that all recipients are correct, the subject line accurately represents the content of the email, and the attached documents are the intended ones. Make any necessary adjustments or corrections before proceeding to the next step.
Step 7: Sending the Email
After composing the email and attaching the scanned document, it’s time to send your message. Follow these steps to send the email:
- Double-check the recipients, subject line, and attached documents to ensure everything is accurate and as intended.
- Click on the “Send” or “Send Email” button to initiate the sending process.
- Wait for the email to be sent. The time it takes to send will depend on factors such as the size of the email and the speed of your internet connection.
- Once the email has been sent, you may receive a confirmation message or a notification indicating that the email has been successfully delivered.
- Review the sent email in your “Sent” or “Sent Items” folder to verify that the scanned document is attached correctly and all other information is intact.
Once the email is sent, it’s a good practice to save a copy of the email with the attached scanned document in a designated folder on your computer or in your email client for future reference.
Congratulations! You have successfully scanned your document and sent it via email. By following these steps, you can streamline your document management process and easily share important information with others.
Remember, always double-check the accuracy of the recipient’s email address, as well as the content and attachments before sending any sensitive information. Taking a moment to review your email can help prevent any unnecessary mistakes or miscommunications.
Now that you’ve mastered the process of scanning documents to email, you can use this valuable knowledge to digitize and share important documents efficiently and conveniently.
Conclusion
Scanning documents to email is a valuable skill that can make your life easier by eliminating the need for physical copies and allowing for seamless digital communication. By following the step-by-step guide outlined in this article, you can scan and send documents with confidence and efficiency.
We started by introducing the importance of scanning documents and the benefits it offers in our digital age. We then discussed the essential items you will need, including a scanner, computer or laptop, internet connection, email account, and the document itself.
We then went through each step of the scanning and emailing process, ensuring that you are equipped with the necessary knowledge to set up your scanner, prepare the document, scan it accurately, save it in the appropriate format, compose the email, attach the scanned document, and send the email securely.
Remember to take care when setting up your scanner, properly preparing your documents, and adjusting the scanning settings to achieve the best results. Pay attention to naming conventions, save locations, and file formats when saving the scanned documents. And always double-check the recipient’s information and the content of your email before hitting the send button.
By following these guidelines, you can enhance your document management skills, improve efficiency, and contribute to a more environmentally friendly approach to information sharing.
Now, armed with this knowledge, you can confidently navigate the world of scanning documents to email, saving time, reducing clutter, and ensuring that your important documents are easily accessible and shareable.
So go ahead, put this guide into practice, and experience the convenience and benefits of scanning documents to email for yourself. Happy scanning!