Introduction
Welcome to the world of Roku TV, a convenient and versatile way to access your favorite streaming content on your television. Whether you’re a fan of binge-watching the latest TV shows, catching up on movies, or exploring a variety of entertainment channels, activating your Roku TV is the first step towards unlocking a world of endless entertainment options. In this article, we will guide you through the process of activating your Roku TV, from unboxing to customization.
Roku TV offers a user-friendly interface that allows you to seamlessly navigate and stream content from popular streaming services like Netflix, Hulu, Amazon Prime Video, and more. By following these simple steps, you’ll be able to set up and activate your Roku TV in no time.
Are you ready to embark on a streaming adventure? Let’s get started with the unboxing and setup process, as well as connecting your Roku TV to the internet. Get your popcorn ready, and let’s dive into the world of Roku TV!
Step 1: Unbox and set up your Roku TV
Before you can begin enjoying the endless streaming possibilities of Roku TV, you need to unbox and set up your device. Follow these simple steps to get your Roku TV up and running:
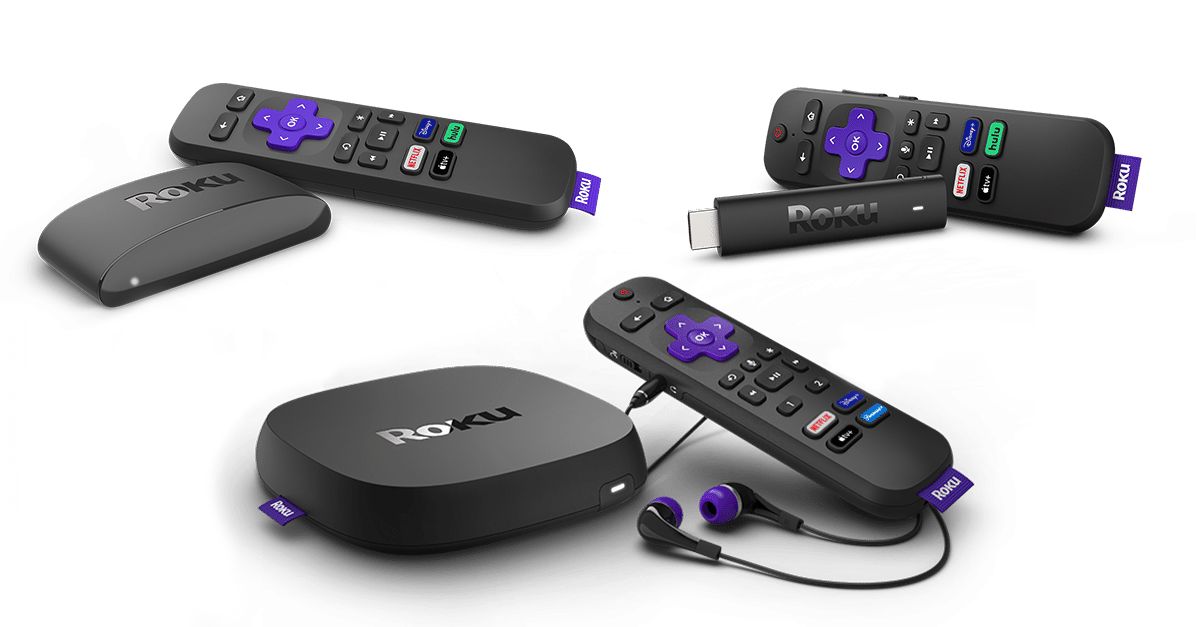
- Unbox your Roku TV: Carefully remove the Roku TV from its packaging, ensuring that you have all the necessary components, including the TV, remote control, power cord, and any additional accessories.
- Choose a suitable location: Select a location for your Roku TV that provides a clear view and easy access. Ensure there is enough space around the TV for proper ventilation and connections to other devices.
- Connect the power cord: Plug one end of the power cord into the back of your Roku TV and the other end into a power outlet. Make sure the TV is turned off before connecting the power cord.
- Turn on your Roku TV: Locate the power button on your Roku TV or the remote control and press it to power on the device. Follow any on-screen instructions if prompted.
- Select the language: Use the remote control to select your preferred language for the Roku TV interface. Navigate through the options using the arrow keys, and press the OK button to confirm your selection.
- Connect the TV to the internet: To access streaming content, you need to connect your Roku TV to the internet. Choose between a wired (Ethernet) or wireless (Wi-Fi) connection, depending on your preference and available network options.
- Complete the guided setup: Once connected to the internet, your Roku TV will automatically download and install the latest software updates. Follow the on-screen instructions to complete the guided setup process, including selecting your time zone and setting up your Roku account.
That’s it! You have successfully unboxed and set up your Roku TV. Now, it’s time to move on to the next step: connecting your Roku TV to the internet.
Step 2: Connect your Roku TV to the internet
In order to access a wide range of streaming content on your Roku TV, you need to connect it to the internet. Follow these steps to establish a wireless connection:
- Access the Settings menu: Using your Roku TV remote, press the Home button to navigate to the main screen. From there, scroll and select the “Settings” option.
- Select Network: Within the Settings menu, choose the “Network” option. Here, you will find different network setup options.
- Choose your network connection type: Select either “Wireless” or “Wired” depending on how you want to connect your Roku TV to the internet. For a wireless connection, select “Wireless” and proceed to the next step. For a wired connection, select “Wired” and connect your Roku TV to your router using an Ethernet cable.
- Select your Wi-Fi network: If you chose the wireless connection option, a list of available Wi-Fi networks will appear on the screen. Select your desired network from the list.
- Enter your Wi-Fi password: If your Wi-Fi network is password-protected, you will be prompted to enter the password using the on-screen keyboard. Use the remote control to navigate and select the appropriate characters.
- Establish the connection: Once you have entered the correct Wi-Fi password, select “Connect” to establish the connection between your Roku TV and the internet.
- Test the connection: After connecting to your Wi-Fi network, the Roku TV will automatically perform a connection test. Wait for the test to complete to verify that your Roku TV is successfully connected to the internet.
Great job! You have successfully connected your Roku TV to the internet. Now you can access a plethora of streaming content and explore the wide range of channels available on the Roku platform.
Step 3: Create a Roku account
In order to fully activate and customize your Roku TV, you need to create a Roku account. Follow these steps to create your account:
- Access the Roku home screen: Using your Roku TV remote, press the Home button to navigate to the main screen.
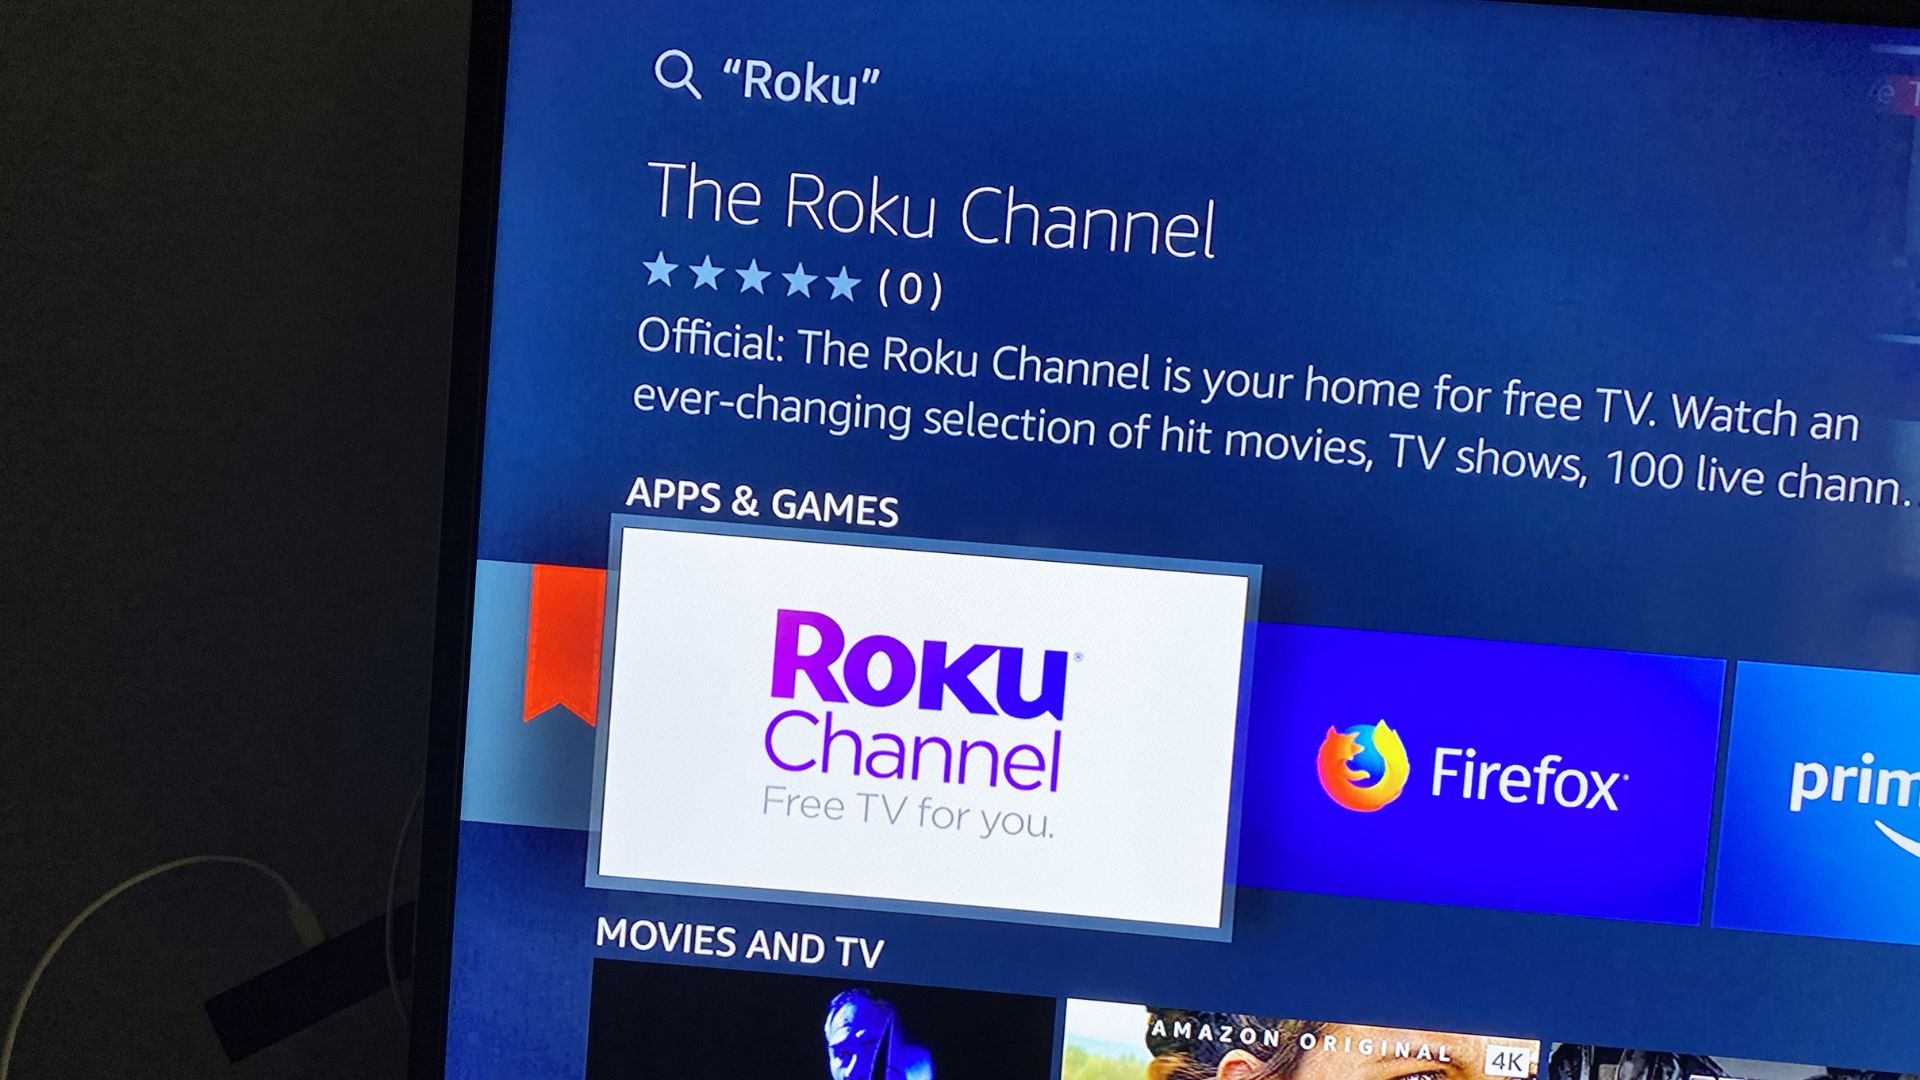
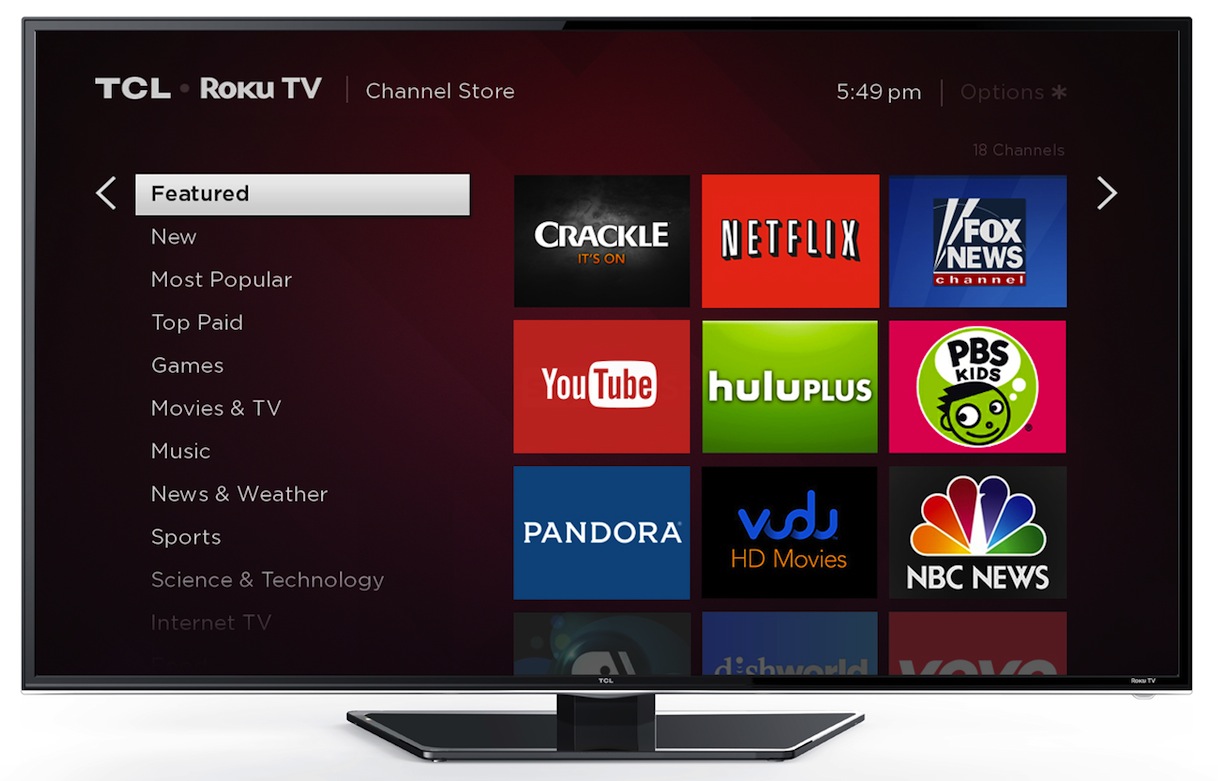
- Select the Roku Channel Store: Scroll and select the “Streaming Channels” option to access the Roku Channel Store.
- Choose a channel: Select any channel from the Roku Channel Store and click on “Add Channel” to begin the installation process.
- Sign in or create a Roku account: If you already have a Roku account, sign in using your credentials. If you do not have an existing account, select the “Create Account” option.
- Provide your personal information: Fill in the required information, including your name, email address, and a secure password. Make sure to choose a strong password to protect your account.
- Add payment information (optional): If you wish to make purchases or subscribe to premium channels, you have the option to add payment information. This step can be skipped if you only plan to access free content.
- Agree to the terms and conditions: Review and agree to the Roku terms of service and privacy policy.
- Complete the account creation process: After providing all the necessary information and agreeing to the terms, click on “Continue” to complete the creation of your Roku account.
Congratulations! You have successfully created a Roku account. Your account is now linked to your Roku device, and you can enjoy a personalized streaming experience tailored to your preferences.
Step 4: Activate your Roku TV
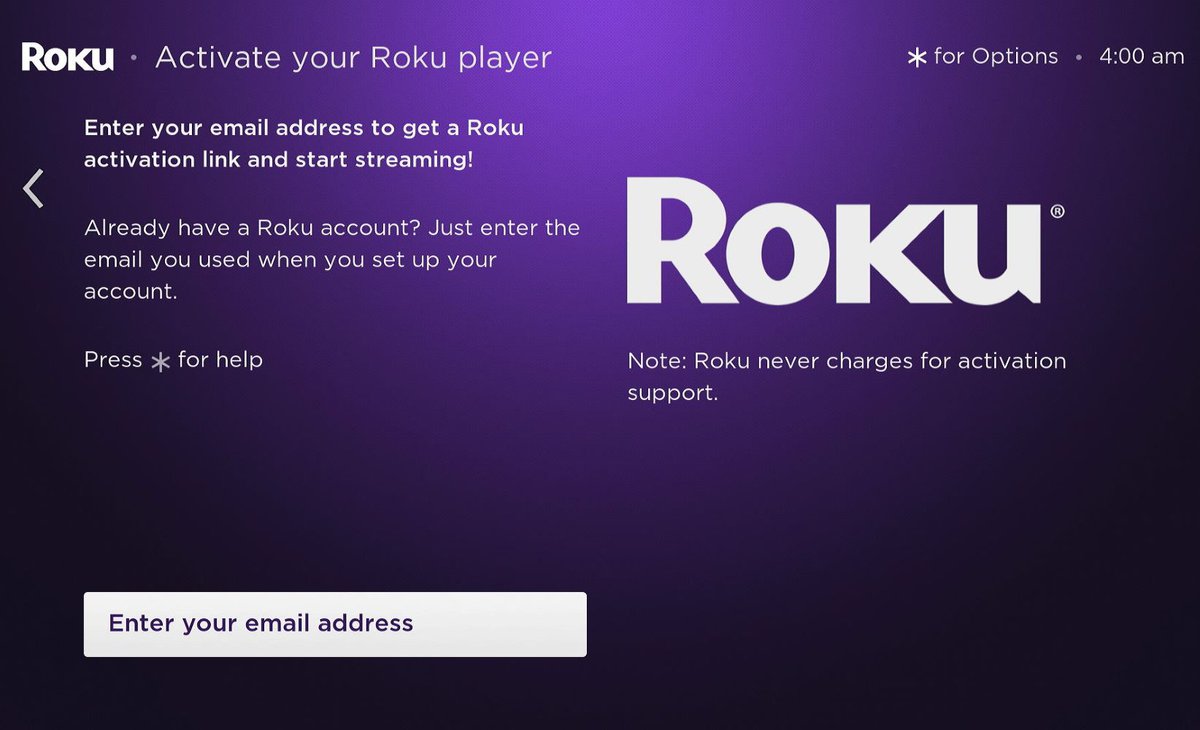
Now that you have set up your Roku TV, connected it to the internet, and created a Roku account, it’s time to activate your device and start streaming your favorite content. Follow these steps to activate your Roku TV:
- Go to the Roku activation website: Using a computer or mobile device, open a web browser and visit the official Roku activation website at https://my.roku.com/link.
- Enter the activation code: On your Roku TV, you will see an activation code displayed on the screen. Enter this code accurately into the corresponding field on the Roku activation website.
- Sign in to your Roku account: If you are not already signed in, you will be prompted to enter your Roku account credentials. Sign in using the same account you created earlier during the account setup process.
- Follow the on-screen instructions: After entering the activation code and signing in, follow the on-screen instructions to complete the activation process. This may include choosing a display theme, enabling automatic updates, and setting up any available features.
- Wait for the activation confirmation: Once you have successfully completed the activation process, your Roku TV will automatically update and display a confirmation message on the screen. This confirms that your device is now activated and ready to use.
That’s it! You have successfully activated your Roku TV. Now you can start exploring the vast collection of streaming channels and enjoy your favorite movies, TV shows, sports, and more at your fingertips.
Step 5: Customize your Roku TV settings
After activating your Roku TV, take some time to customize the settings according to your preferences. Here are a few key settings you can adjust:
- Display settings: Navigate to the Display settings to adjust the screen resolution, picture mode, brightness, and other visual settings to enhance your viewing experience.
- Audio settings: Explore the Audio settings to configure sound output options, including volume leveling, audio mode, and equalizer settings.
- Language and subtitles: Customize the language settings to choose your preferred display language for menus and text. You can also enable or disable subtitles and adjust their appearance.
- Screen saver: Personalize your Roku TV by selecting a screen saver. Choose from a variety of options or even use your own photos as a screen saver.
- Parental controls: Set up parental controls to restrict access to certain channels or content based on ratings. This helps ensure a safe and age-appropriate viewing experience for everyone in the household.
- Remote control settings: Explore the settings related to your remote control, including pairing options, button customization, and audio/video control settings.
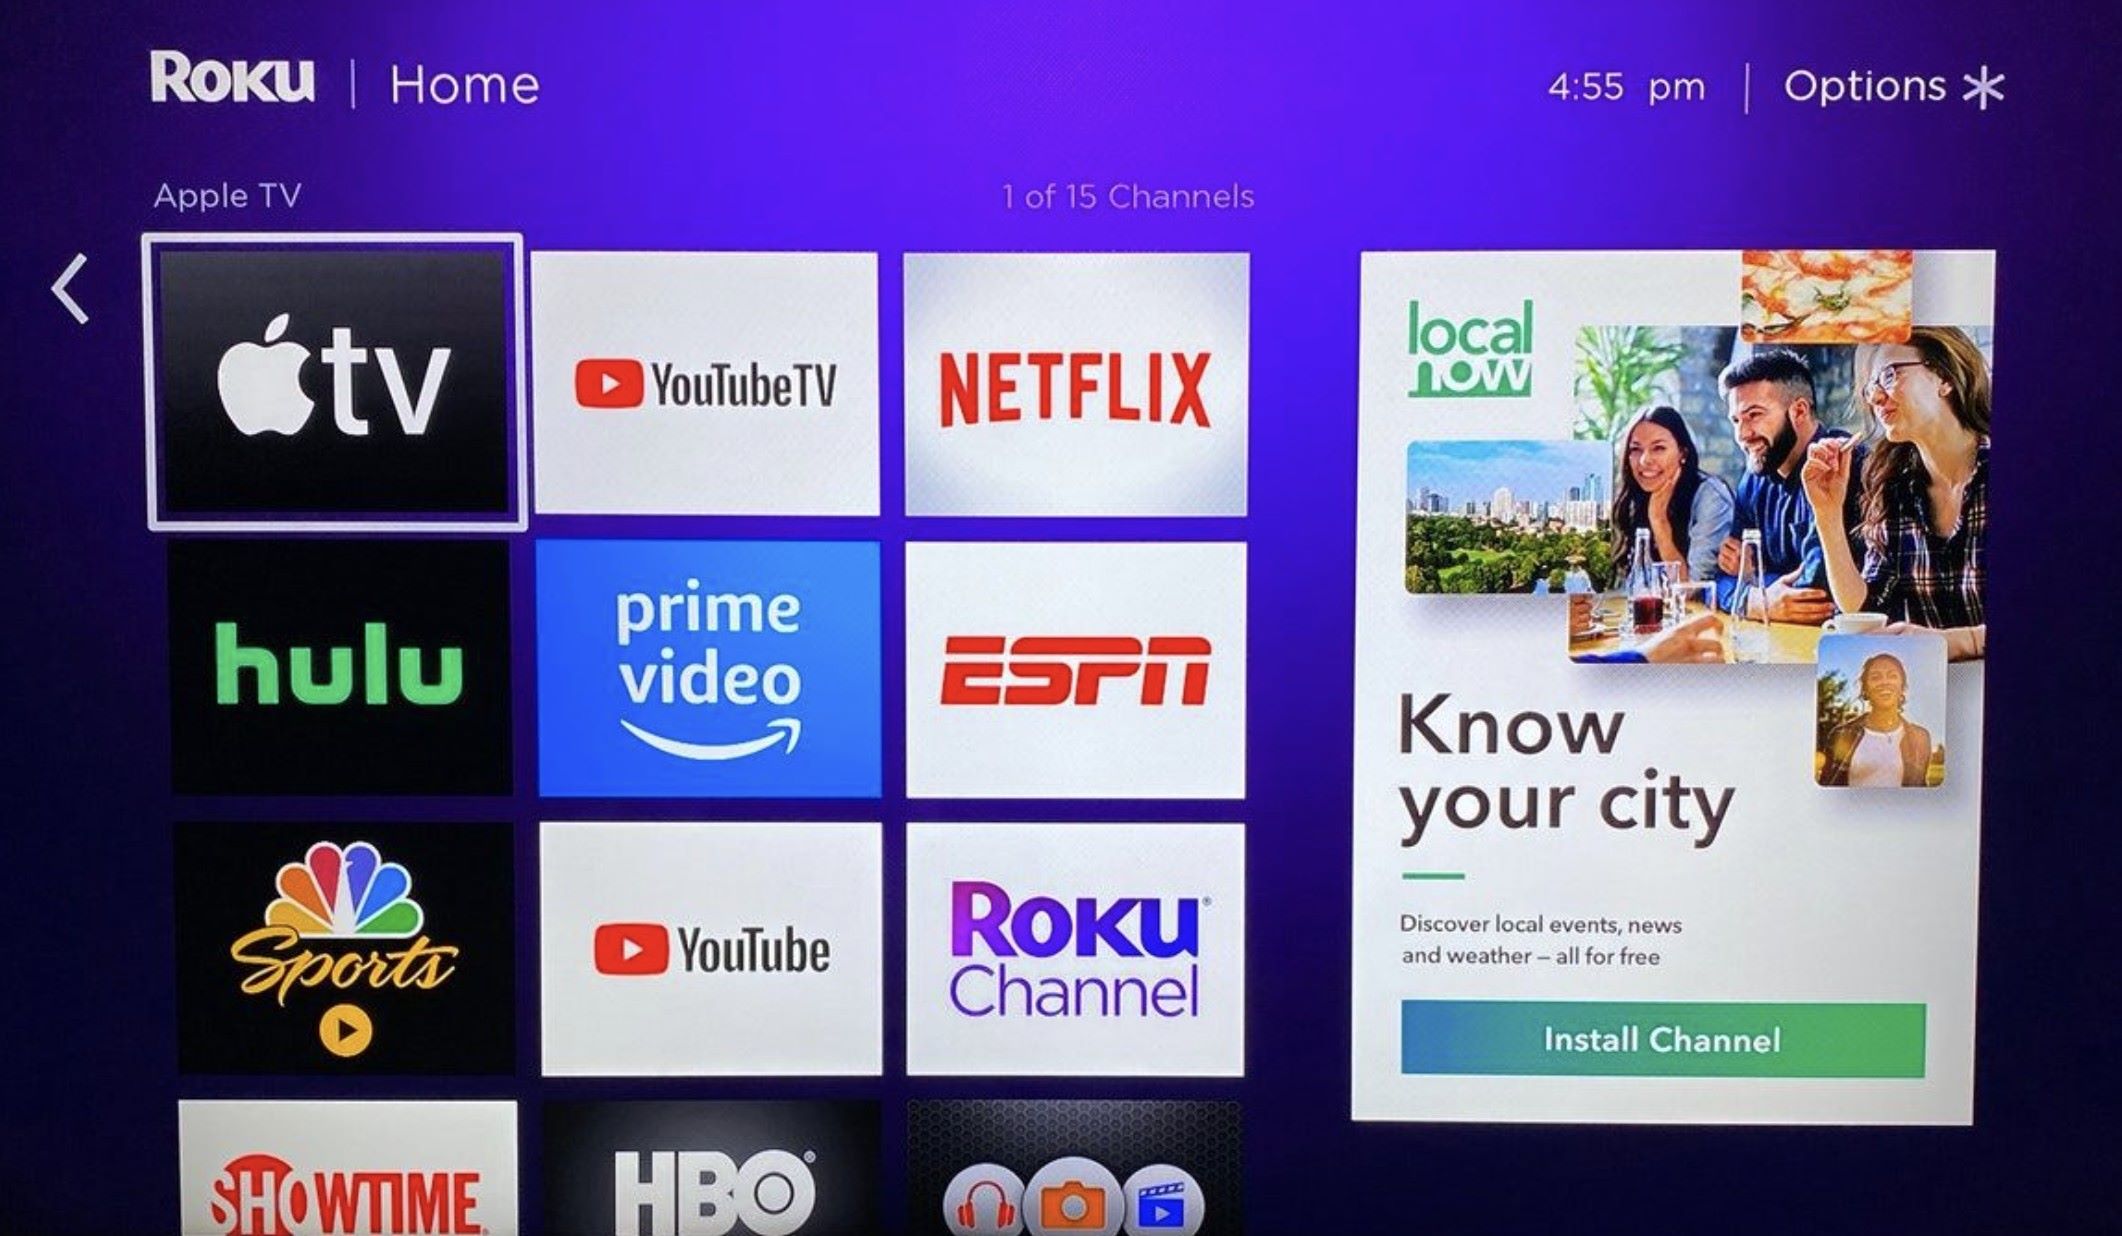
- Customize the Home screen: Arrange the icons on your Roku TV’s Home screen as per your preferences. Move your most frequently used channels to the top and remove or hide channels you don’t watch.
By taking the time to customize these settings, you can tailor your Roku TV experience to suit your individual needs and preferences. Experiment with different settings to find the optimal configuration that enhances your enjoyment of streaming content.
Step 6: Add streaming channels to your Roku TV
Once you’ve set up your Roku TV and customized the settings, it’s time to add streaming channels to expand your entertainment options. Follow these steps to add channels to your Roku TV:
- Go to the Roku Channel Store: Using your Roku TV remote, navigate to the Roku Channel Store by selecting “Streaming Channels” from the main menu.
- Browse or search for channels: Explore the Channel Store to discover a wide range of streaming channels available. You can browse through featured, popular, or new channels, or use the search function to find specific channels.
- Select and install the desired channel: When you find a channel you want to add, highlight it and press the OK button on your remote. Then, select “Add Channel” or “Install” to begin the installation process.
- Wait for the channel to be installed: Once you select “Add Channel” or “Install,” the Roku TV will download and install the channel. The installation progress will be displayed on the screen.
- Access the newly added channel: After the installation is complete, the channel will be added to your Roku TV’s Home screen. You can access it by scrolling through the channels or using the Home button on your remote.
- Repeat the process to add more channels: Follow the same process to add more channels to your Roku TV. There are thousands of channels available, including popular streaming services, niche channels, and free content.
By adding various streaming channels, you can enjoy a diverse range of content, including movies, TV shows, sports, news, and more. Customize your channel lineup to suit your interests and discover new and exciting content on your Roku TV.
Step 7: Mirror your mobile device to your Roku TV
One of the great features of Roku TV is the ability to mirror your mobile device’s screen onto your TV. This allows you to seamlessly share photos, videos, and other content from your phone or tablet. Follow these steps to mirror your mobile device to your Roku TV:
- Ensure that both your mobile device and Roku TV are connected to the same Wi-Fi network.
- On your Roku TV, go to the Home screen and select “Settings.”
- Scroll down and choose “System.”
- Select “Screen mirroring” and choose the option that enables screen mirroring.
- On your mobile device, enable screen mirroring. The steps to enable screen mirroring vary depending on the device and operating system you are using. Generally, you can find this option in the settings or control center of your device.
- Once screen mirroring is enabled on your mobile device, it will search for available devices. Select your Roku TV from the list of available devices.
- Follow any additional prompts or permissions on your mobile device to establish the connection.
- Your mobile device’s screen should now be mirrored onto your Roku TV. You can navigate your mobile device as usual, and the content will be displayed on your TV.
With screen mirroring, you can share photos and videos with friends and family, stream content from apps that do not have a dedicated Roku channel, and even play mobile games on a big screen. Enjoy the convenience of accessing your mobile device’s content on your Roku TV with just a few simple steps.
Step 8: Troubleshooting common issues
While setting up and using your Roku TV, you may encounter some common issues. Here are a few troubleshooting steps to help you address these issues:
- No video or audio: If you’re experiencing no video or audio, check the HDMI or other audio/video connections between your Roku TV and external devices. Ensure that the correct input source is selected on your TV.
- Slow or buffering streaming: If your streaming is slow or constantly buffering, try moving your Roku TV closer to your Wi-Fi router to improve the signal strength. You can also check for other devices on your network that may be consuming a significant amount of bandwidth.
- Remote control issues: If your remote control is not functioning properly, check the batteries and ensure they are correctly inserted. You can also try resetting the remote control by removing the batteries and reinserting them after a few seconds.
- Network connectivity issues: If your Roku TV is having trouble connecting to the internet, ensure that your Wi-Fi network is working properly. Restart your router, and if necessary, try connecting your Roku TV to a different network to troubleshoot any potential issues.
- App or channel not working: If a specific app or channel is not working, try removing and reinstalling it. Navigate to the app or channel on your Roku TV’s Home screen, press the asterisk (*) button on your remote, and select “Remove Channel.” Then, go to the Channel Store and reinstall the app or channel.
- System updates: Keep your Roku TV up to date by regularly checking for system updates. Go to “Settings,” select “System,” and then choose “System update” to manually check for any available updates.
If you encounter any other issues or are unable to resolve the problem using these troubleshooting steps, refer to the Roku support website or contact their customer support for further assistance. They have a comprehensive knowledge base and a helpful support team that can assist you with any challenges you may face.
Conclusion
Congratulations on successfully activating your Roku TV and entering the world of endless entertainment possibilities. Throughout this guide, we have walked you through the process of unboxing and setting up your Roku TV, connecting it to the internet, creating a Roku account, and activating the device. We also covered the importance of customizing your Roku TV’s settings, adding streaming channels, and utilizing the screen mirroring feature.
By following these steps, you have unlocked a world of streaming content, including movies, TV shows, sports, news, and more. Enjoy the convenience of accessing your favorite content on-demand, allowing you to binge-watch your favorite shows, explore new series, and discover new entertainment options.
Remember, if you encounter any issues or need further assistance, don’t hesitate to consult the Roku support website or reach out to their customer support team. They are dedicated to helping you resolve any challenges you may face and ensuring your Roku TV experience is smooth and enjoyable.
Now that your Roku TV is activated and fully customized, grab your snack of choice, sit back, and enjoy the incredible world of streaming content at your fingertips. Happy streaming!


