Introduction
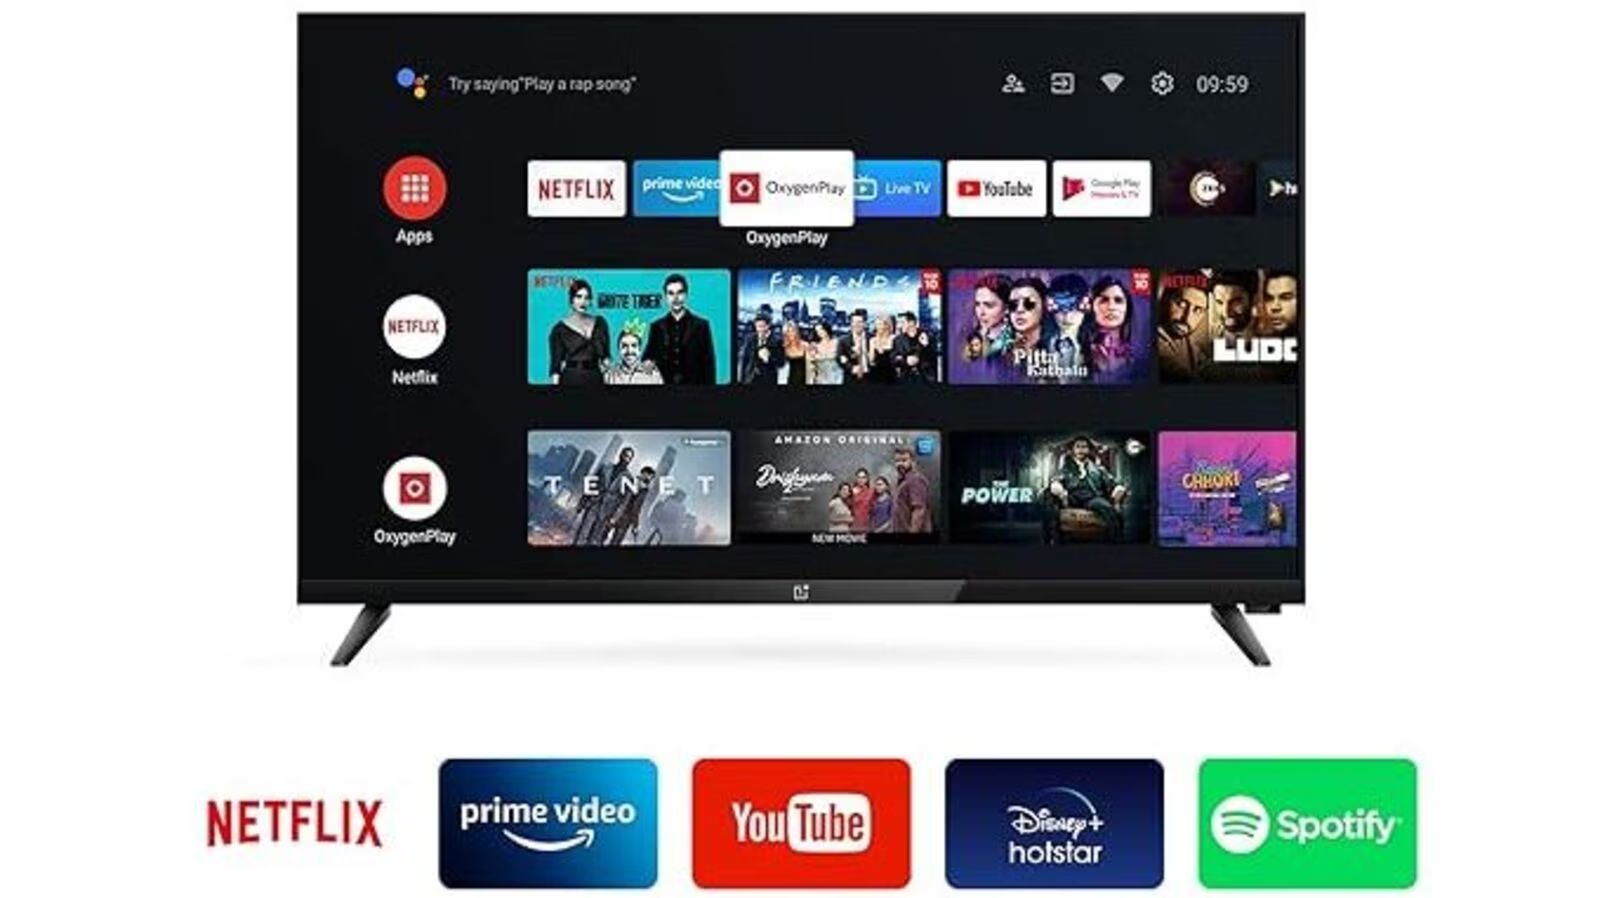
Welcome to the world of entertainment and streaming right from the comfort of your own living room! If you own a Samsung Smart TV and want to expand your viewing options, adding a Roku device is an excellent choice. Roku provides access to a wide range of streaming services, including popular platforms like Netflix, Hulu, and Amazon Prime Video, as well as thousands of other channels.
In this article, we will guide you through the process of adding Roku to your Samsung Smart TV. Whether you have a newer model or an older one, we’ve got you covered. By following a few simple steps, you can unlock a whole new world of entertainment possibilities.
Before we dive into the steps, it’s important to note that Roku devices offer different features and capabilities depending on the model. We recommend checking the compatibility of your Samsung Smart TV with the Roku device you plan to use. This will ensure a smooth setup process and optimal streaming experience.
Now, let’s get started and transform your Samsung Smart TV into a powerful streaming hub!
Step 1: Check the compatibility of your Samsung Smart TV
Before setting up a Roku device on your Samsung Smart TV, it’s essential to ensure compatibility between the two. Different Roku models may have specific requirements and compatibility restrictions with certain Samsung Smart TV models.
To check compatibility, start by identifying the model and year of your Samsung Smart TV. You can usually find this information on the back of the TV or by accessing the settings menu on the TV itself. If you’re unsure, consult the TV’s user manual or visit the Samsung support website for assistance.
Once you have the model and year information, visit the Roku website to determine which Roku devices are compatible with your Samsung Smart TV. Roku provides a detailed list of compatible models and outlines any specific requirements or limitations.
If your Samsung Smart TV is not compatible with any Roku device, don’t worry! There are alternative streaming devices available that may work with your TV. For example, you could consider an Amazon Fire TV Stick, Apple TV, or Google Chromecast.
If your Samsung Smart TV is compatible with a Roku device, you’re ready to move on to the next step. Keep in mind that the setup process may differ slightly depending on the specific Roku model you choose, but the core steps should remain relatively similar.
In the next section, we will guide you through connecting the Roku device to your Samsung Smart TV. Let’s dive in!
Step 2: Connect the Roku device to your Samsung Smart TV
Now that you have confirmed the compatibility of your Samsung Smart TV with a Roku device, it’s time to physically connect the two. This step involves establishing a connection between your Roku device and your TV’s HDMI port.
Here’s how to do it:
- Start by identifying the HDMI port on your Samsung Smart TV. Most TVs have multiple HDMI ports, typically located on the back or side panel. Remember the port number where you plan to connect your Roku.
- Locate the HDMI cable that came with your Roku device. This cable is essential for connecting the Roku to your TV.
- Insert one end of the HDMI cable into the HDMI port on the Roku device and the other end into the corresponding HDMI port on your Samsung Smart TV. Make sure to firmly secure the connections.
- Take note of the HDMI input your TV is set to. On your Samsung Smart TV’s remote, press the Input button and select the HDMI input corresponding to the port where your Roku device is connected.
- You should now see the Roku startup screen displayed on your Samsung Smart TV. If not, double-check the cable connections and ensure your TV is set to the correct HDMI input.
Once the Roku device is connected and properly displayed on your Samsung Smart TV, you can proceed to the next step of setting up the Roku device.
In the next section, we will guide you through the setup process, so you can start enjoying your favorite streaming services on your Samsung Smart TV via Roku. Let’s move on!
Step 3: Set up the Roku device on your Samsung Smart TV
With the Roku device connected to your Samsung Smart TV, it’s time to proceed with the setup process. This involves connecting the Roku device to your Wi-Fi network and completing the initial setup on your TV screen.
Follow these steps to set up your Roku device:
- Ensure that your Samsung Smart TV and Roku device are powered on.
- Select the language you prefer on the Roku startup screen using the Roku remote.
- Next, select your wireless network from the list of available networks. Use the remote to input your Wi-Fi password if prompted.
- Wait for the Roku device to connect to your Wi-Fi network. Once connected, it will prompt you to download the latest software updates. It’s essential to complete this step to ensure smooth functionality and access to the latest features.
- After the software update, your Roku device will restart, and you’ll be directed to sign in or create a Roku account. If you already have an account, sign in using your credentials. If not, follow the on-screen instructions to create a new Roku account.
- Once signed in, your Roku device will display a unique activation code on your Samsung Smart TV screen. Make a note of this code and proceed to the next step.
Great! You have now successfully set up your Roku device on your Samsung Smart TV. In the next step, we will guide you through the final activation process to fully utilize the Roku features.
Keep reading to complete the activation process and start enjoying a world of entertainment!
Step 4: Complete the Roku device activation process
After setting up the Roku device on your Samsung Smart TV, it’s time to activate it so that you can start streaming your favorite content. The activation process involves linking your Roku device to your Roku account using the activation code displayed on your TV screen.
Follow these steps to complete the Roku device activation:
- On a computer or mobile device, open a web browser and visit the Roku activation website: www.roku.com/activate.
- Sign in with your Roku account credentials. If you haven’t created a Roku account yet, you can create one during the activation process.
- Once signed in, you will be prompted to enter the unique activation code displayed on your Samsung Smart TV screen. Type in the code carefully to ensure accuracy.
- Click on the “Submit” or “Activate” button to proceed with the activation process.
- Wait for a few moments while the activation process is completed. During this time, your Roku device will automatically update its channels and features.
- Once the activation is complete, your Samsung Smart TV will display a success message, and you will be able to start exploring the Roku platform.
Congratulations! Your Roku device is now activated and ready to use on your Samsung Smart TV. In the next step, we will provide guidance on customizing your Roku channels and settings to tailor your streaming experience.
Keep reading to make your Roku experience truly personalized!
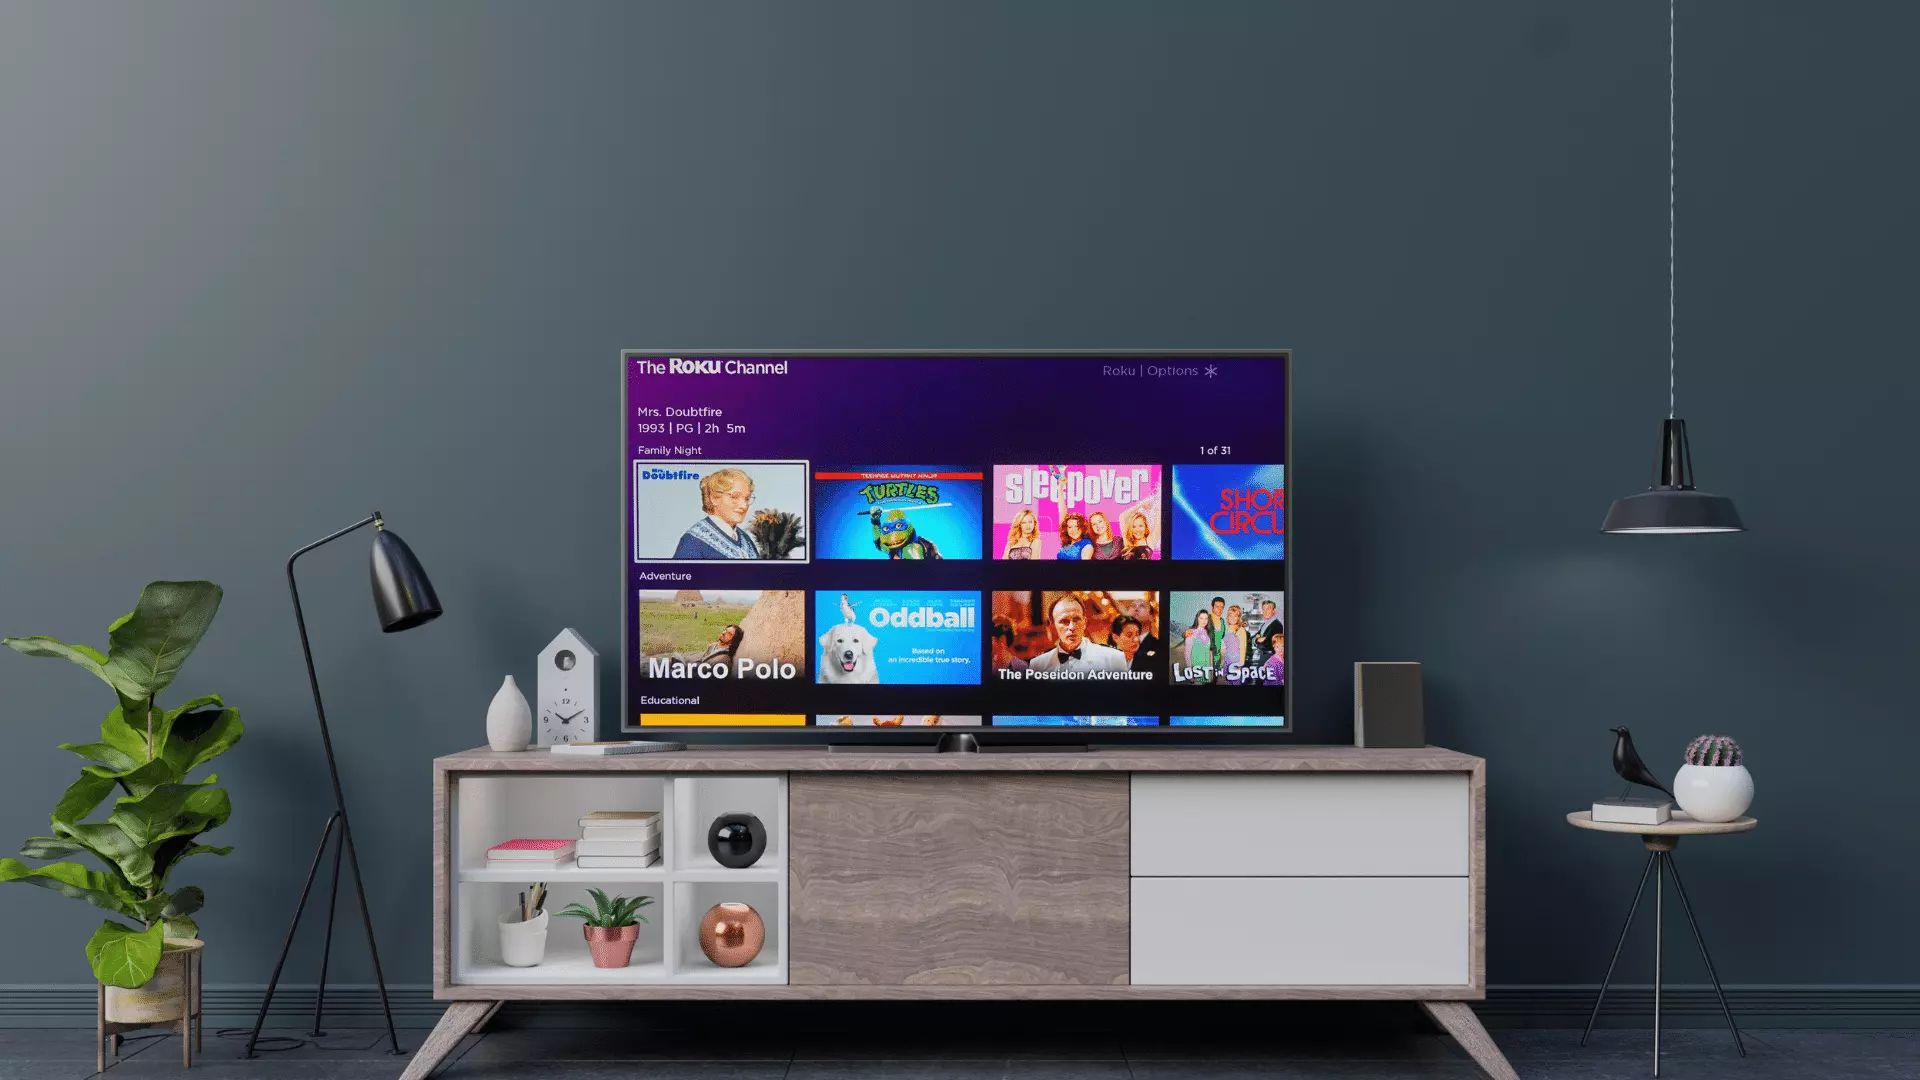
Step 5: Customize your Roku channels and settings
Now that your Roku device is activated on your Samsung Smart TV, it’s time to dive into the fun part – customizing your channels and settings to enhance your streaming experience. Roku offers a plethora of options to personalize your content and make it more tailored to your preferences.
Follow these steps to customize your Roku channels and settings:
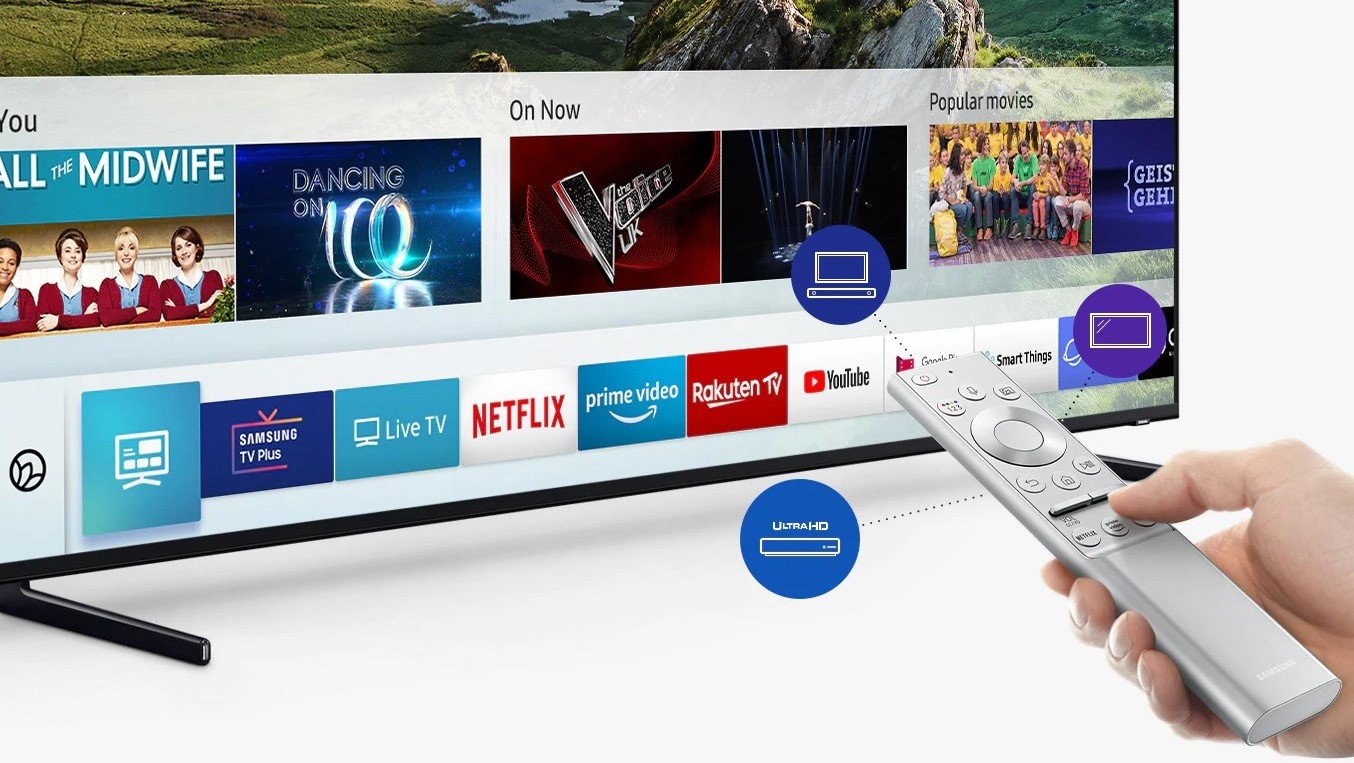
- On your Samsung Smart TV, navigate to the Roku home screen by pressing the Home button on your Roku remote.
- Using the Roku remote, scroll through the available channels and select the ones you’d like to add. You can search for specific channels or browse through different genres to discover new content.
- To rearrange the order of your channels, highlight the channel you want to move and press the Options button on your Roku remote. Select “Move Channel” and adjust its position accordingly. This allows you to prioritize your most-watched channels.
- For additional customization, you can further personalize your Roku settings. From the home screen, navigate to the “Settings” option and explore the various categories. Here, you can adjust display settings, audio preferences, network settings, and more.
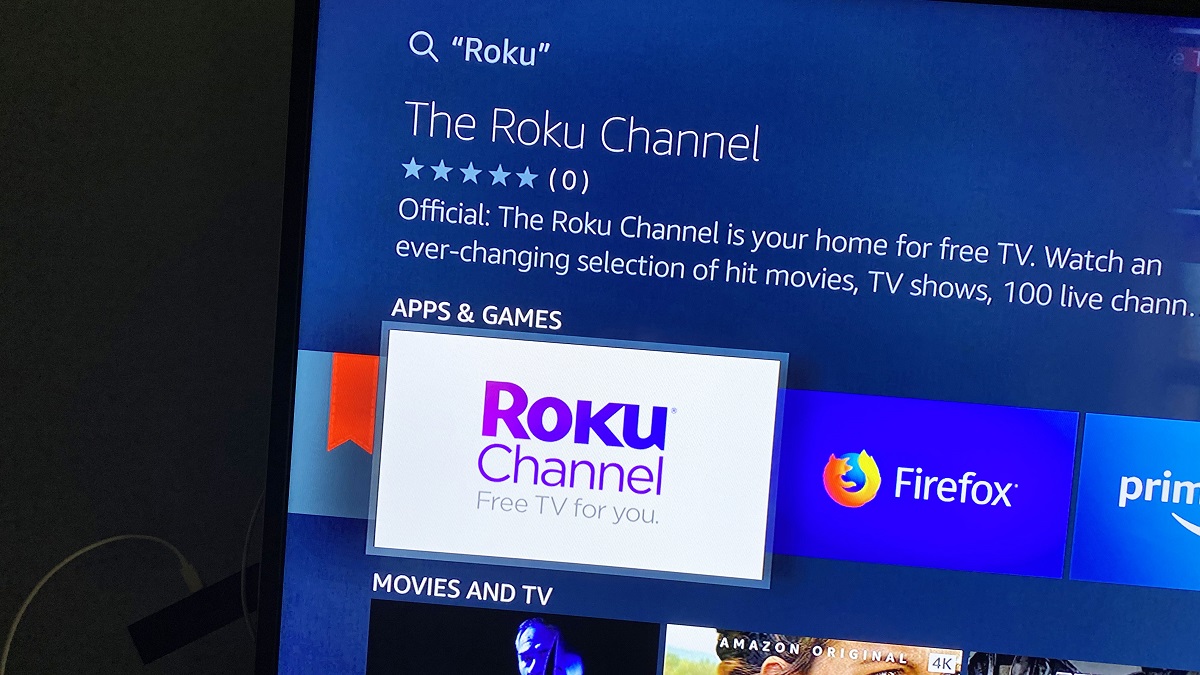
- One of the standout features of Roku is the ability to add private channels. These channels are not listed in the official Roku Channel Store but can be accessed using a unique code. To add a private channel, navigate to the Roku website and sign in to your account. Under the “My Account” section, select “Add a channel with a code” and enter the provided code.
- Lastly, take advantage of the Roku mobile app. Download the app to your smartphone or tablet and use it as a remote control for your Samsung Smart TV. The app also allows for voice search, making it easier to find your favorite shows or movies.
With these customization options, you can create a personalized streaming setup that caters specifically to your preferences. Take your time to explore the various features and channels available on Roku to make the most out of your Samsung Smart TV.
Now that you’ve completed the customization, you’re all set to enjoy endless hours of entertainment on your Roku-powered Samsung Smart TV. Sit back, relax, and stream away!
Conclusion
Adding a Roku device to your Samsung Smart TV opens up a world of streaming possibilities right at your fingertips. By following the steps outlined in this guide, you can seamlessly integrate Roku with your TV and enjoy a wide range of streaming services and channels.
We began by checking the compatibility of your Samsung Smart TV with a Roku device, ensuring that the two are compatible. Then, we walked you through the process of physically connecting the Roku device to your TV using an HDMI cable, allowing for a smooth and high-quality streaming experience.
Next, we guided you through the setup process, which included connecting your Roku device to your Wi-Fi network and completing the initial setup on your TV screen. We also covered the activation process, where you linked your Roku device to your Roku account using the activation code.
Finally, we explored the customization options available to you, allowing you to personalize your Roku channels and settings according to your preferences. From adding and rearranging channels to exploring private channels and utilizing the Roku mobile app, there are numerous ways to enhance your streaming experience.
Now that you’ve completed all the steps, it’s time to sit back, relax, and enjoy the world of entertainment that Roku brings to your Samsung Smart TV. From your favorite TV shows and movies to a wide range of streaming services, you have endless options at your disposal.
Remember to regularly check for software updates on your Roku device to ensure that you have access to the latest features and improvements. Additionally, don’t hesitate to explore new channels and discover new content to keep your streaming experience fresh and exciting.
Thank you for following our guide to add Roku to your Samsung Smart TV. We hope you have a fantastic streaming experience!