Introduction
With its advanced features, powerful camera, and long flight time, the DJI Mavic Air 2 has become a popular choice among drone enthusiasts. However, to enjoy uninterrupted flights and capture stunning aerial footage, it is essential to have a fully charged battery. Understanding how long it takes to charge the DJI Mavic Air 2 battery is crucial for efficient flight planning and photography sessions. In this article, we will explore the charging methods available for the DJI Mavic Air 2 battery and provide tips for optimizing its charging time.
For any drone pilot, having a reliable and fully charged battery is a top priority. It ensures a safe and enjoyable flying experience, allowing you to make the most of your DJI Mavic Air 2. While the battery life of the Mavic Air 2 is impressive, there will come a time when you need to recharge it.
Charging the DJI Mavic Air 2 battery is a straightforward process, but understanding the factors that affect the charging time can help you plan your flights better. In this article, we will delve into the different charging methods available, the estimated charging times, and provide you with valuable tips to ensure maximum efficiency when charging your DJI Mavic Air 2 battery.
So, whether you’re a professional photographer, a hobbyist, or a drone enthusiast seeking to explore the skies, understanding the charging process for the DJI Mavic Air 2 battery is crucial. Let’s dive into the details of how you can charge your battery efficiently and get back in the air in no time!
Charging the DJI Mavic Air 2 Battery
Before we delve into the details of how long it takes to charge the DJI Mavic Air 2 battery, let’s first understand the charging process itself. The DJI Mavic Air 2 battery is a removable LiPo (lithium polymer) battery that offers a capacity of 3500mAh. It features a built-in battery management system to ensure safe and efficient charging.
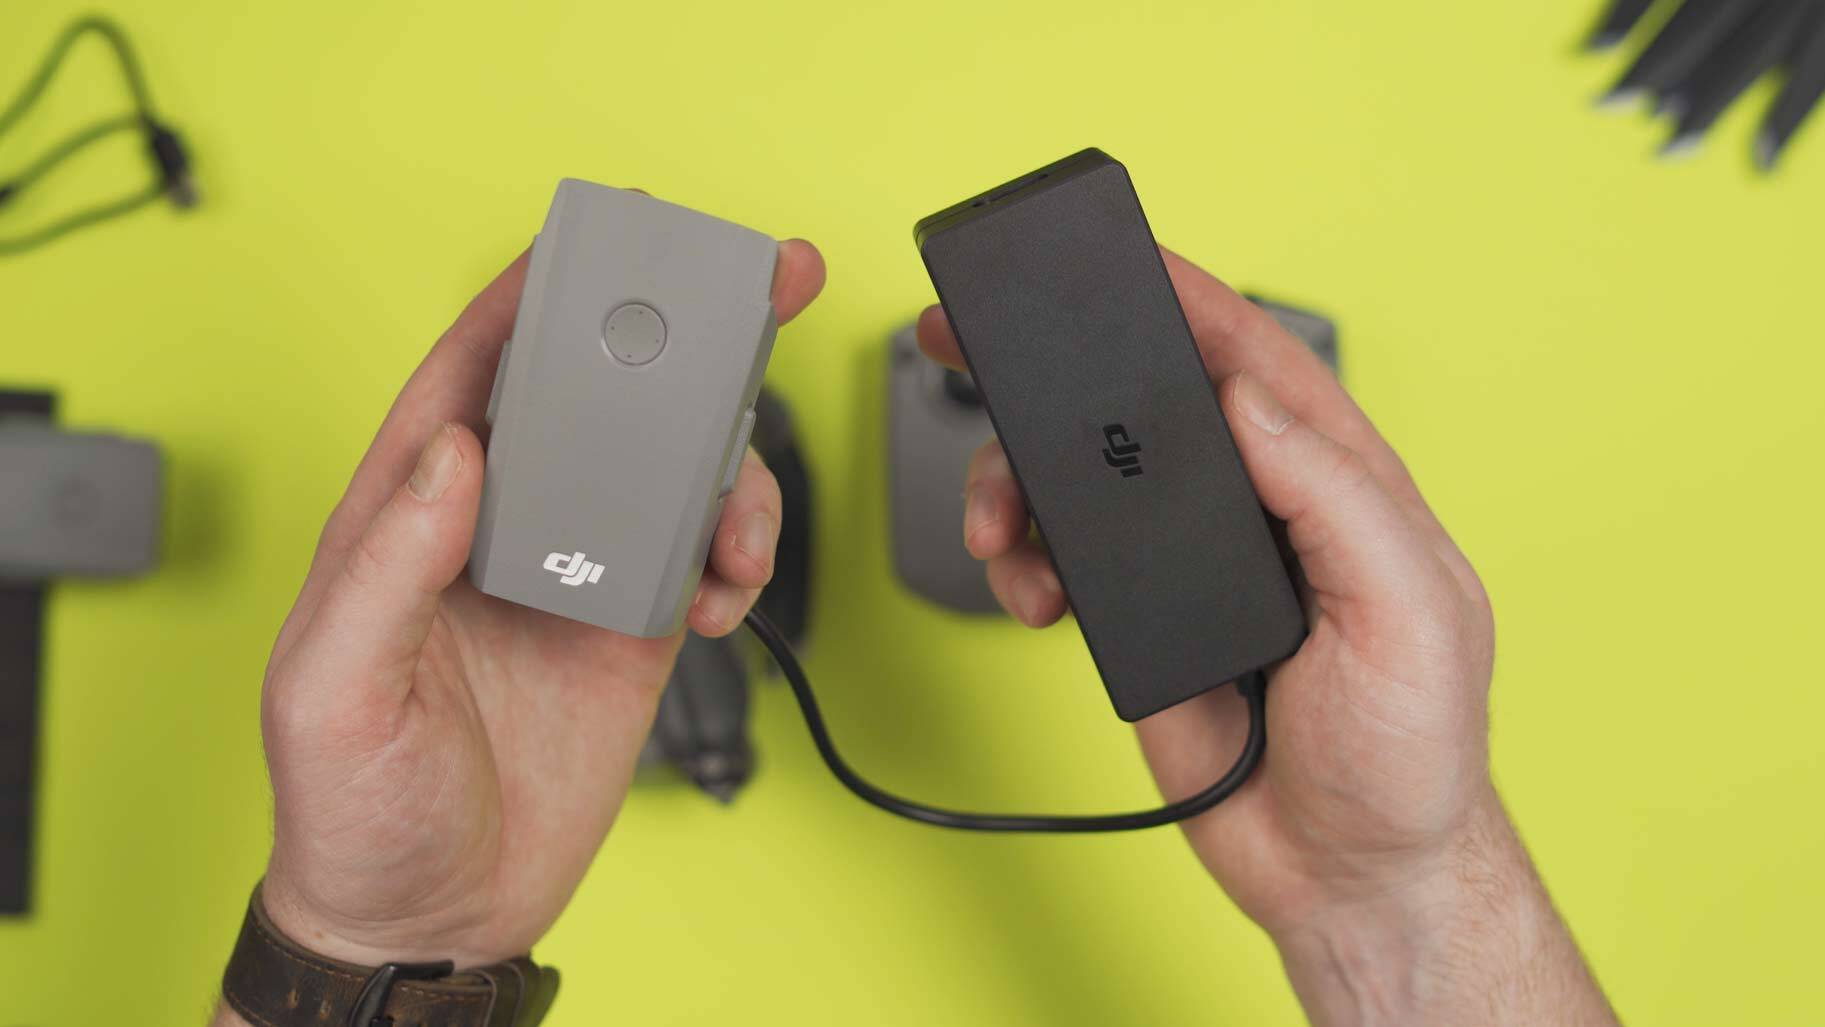
To charge the DJI Mavic Air 2 battery, you have two primary options: using the AC power adapter or a USB Type-C cable. Both methods have their advantages and can be used interchangeably based on your needs and preferences.
When using the AC power adapter, you can connect it to a power outlet using the included power cable. The power adapter provides a higher charging current, allowing for a faster charging time. This is the recommended method when you have access to a power outlet.
If you prefer a more portable option, you can charge the DJI Mavic Air 2 battery using a USB Type-C cable. This allows you to connect the battery to a power bank, a laptop, or any other device with a USB Type-C port. While the charging time might be slightly longer compared to using the AC power adapter, it offers greater flexibility and convenience, especially when you’re on the go.
Whether you choose to charge your DJI Mavic Air 2 battery using the AC power adapter or a USB Type-C cable, it is crucial to ensure that the charging source provides sufficient power output. DJI recommends using a power source with an output of 13.2V and 3.79A for optimal charging efficiency. Using a power source with an insufficient output may result in a slower charging time or even failure to charge the battery.
Now that we understand the available charging methods let’s move on to the next section, where we explore the estimated charging times for the DJI Mavic Air 2 battery and the factors that can affect the charging duration.
Understanding Battery Capacity and Charging Time
Before we dive into the specifics of charging time, it’s essential to understand the relationship between battery capacity and charging duration. The DJI Mavic Air 2 battery has a capacity of 3500mAh, which refers to the amount of charge it can store. The higher the battery capacity, the longer it will take to charge fully.
Charging time for the DJI Mavic Air 2 battery is influenced by various factors, including the available charging current and the battery’s state of charge. The charging current refers to the amount of electrical current flowing into the battery during the charging process. Ideally, a higher charging current will result in a shorter charging time.
The battery’s state of charge, on the other hand, refers to how much charge the battery already holds. When the battery is completely empty, it will require more time to charge compared to when it is partially discharged. However, it’s essential to note that lithium polymer batteries, like the one in the DJI Mavic Air 2, have built-in safety features that regulate the charging process, ensuring that the battery is charged safely and efficiently.
It’s important to remember that the advertised charging time provided by DJI is often an estimate, and the actual charging time may vary depending on the aforementioned factors. Additionally, the charging time can also be affected by the specific charging method you choose, the quality of the charging cable, and the ambient temperature.
In the next sections, we will explore the estimated charging times for the DJI Mavic Air 2 battery based on the available charging methods, as well as the factors that can impact the charging duration.
Recommended Charging Methods
When it comes to charging the DJI Mavic Air 2 battery, there are two main methods that are recommended by DJI: using the AC power adapter and a USB Type-C cable.
The AC power adapter method involves connecting the power adapter to a standard power outlet using the provided power cable. This method provides a higher charging current, allowing for a faster charging time. It is the preferred option when you have access to a power outlet and want to quickly replenish the battery’s charge. The AC power adapter also ensures a stable power supply, which can be beneficial for the longevity of the battery.
The USB Type-C cable method offers more flexibility and convenience, especially when you’re on the go. Simply connect the USB Type-C cable to the DJI Mavic Air 2 battery and the other end to a compatible power source, such as a power bank or a laptop with a USB Type-C port. While the charging time may be slightly longer compared to using the AC power adapter, this method allows you to charge your battery in various settings, making it ideal for outdoor expeditions or situations where a power outlet is not readily available.
It’s important to note that regardless of the charging method you choose, the charging source should have a sufficient power output to ensure efficient charging. DJI recommends using a power source with an output of 13.2V and 3.79A for optimal charging results. Using a power source with lower output may result in a slower charging time or even inability to charge the battery.
Choosing the right charging method depends on your specific needs and the situation you find yourself in. If you have access to a power outlet, the AC power adapter is the quickest and most efficient option. On the other hand, if you’re on the move or in a location without a power outlet, the USB Type-C cable method offers convenience and flexibility.
Next, let’s explore the estimated charging times for the DJI Mavic Air 2 battery using both the AC power adapter and the USB Type-C cable.
Charging the Battery using the AC Power Adapter
One of the recommended methods for charging the DJI Mavic Air 2 battery is using the AC power adapter. This method provides a higher charging current, allowing for a faster and more efficient charging process.
To charge the battery using the AC power adapter, simply connect the power adapter to a standard power outlet using the provided power cable. Then, connect the other end of the cable to the battery’s charging port. The charger will automatically detect the battery and initiate the charging process.
The AC power adapter provides a stable and reliable power supply, ensuring the battery is charged safely and efficiently. It is designed to deliver the optimal charging current for the DJI Mavic Air 2 battery, helping to reduce the charging time.
The estimated charging time for the DJI Mavic Air 2 battery using the AC power adapter is around 1 hour and 40 minutes. However, it’s important to note that the actual charging time may vary depending on various factors such as the battery’s state of charge, the ambient temperature, and the quality of the charging cable.
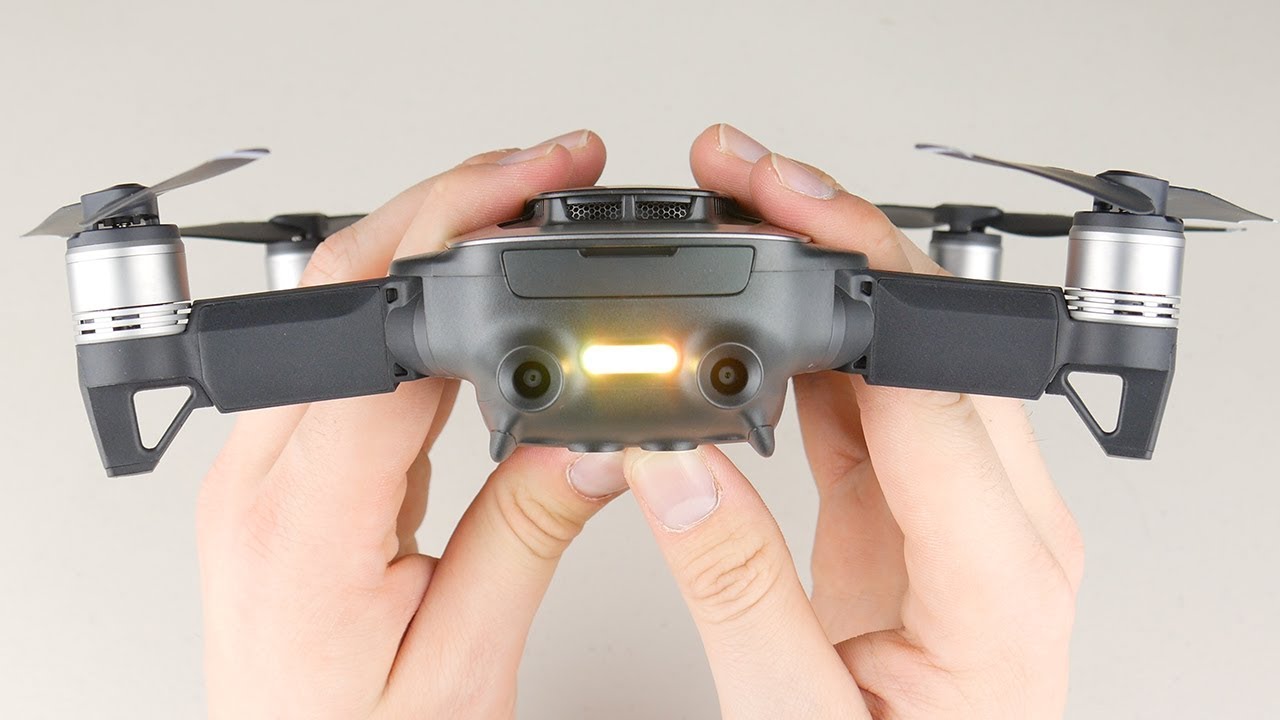
During the charging process, the battery’s LED lights will indicate the progress. When the battery is charging, the LED lights will flash slowly. Once the battery is fully charged, the LED lights will remain solid.
It’s recommended to charge the battery in a well-ventilated area and avoid covering it during the charging process. This helps dissipate heat and ensures a safe charging experience. Additionally, it’s advisable to use the original AC power adapter provided by DJI to guarantee compatibility and optimal charging performance.
Charging the DJI Mavic Air 2 battery using the AC power adapter is the quickest and most efficient method, especially when you have access to a power outlet. However, if you find yourself in a situation where a power outlet is not available, you can still charge the battery using a USB Type-C cable, which we will explore in the next section.
Charging the Battery using a USB Type-C Cable
If you’re on the go or in a location without a power outlet, you can still charge the DJI Mavic Air 2 battery using a USB Type-C cable. This method provides flexibility and convenience, allowing you to charge the battery using a portable power source like a power bank, laptop, or any other device with a USB Type-C port.
To charge the battery using a USB Type-C cable, simply connect one end of the cable to the battery’s charging port and the other end to a compatible power source. Ensure that the power source provides sufficient power output to facilitate efficient charging. While the charging time may be slightly longer compared to using the AC power adapter, this method offers greater flexibility, especially when you’re on the move.
When charging the DJI Mavic Air 2 battery with a USB Type-C cable, it’s important to note that the charging time can vary depending on various factors such as the quality of the cable, the battery’s state of charge, and the ambient temperature. Additionally, the charging current supplied by the USB power source may be lower compared to the AC power adapter, resulting in a longer charging time.
The estimated charging time for the DJI Mavic Air 2 battery using a USB Type-C cable is approximately 2 hours and 30 minutes. However, please keep in mind that this time is an estimate and can vary based on the factors mentioned earlier. It’s always a good practice to monitor the battery’s charging progress by checking the LED lights on the battery during the charging process.
Using a USB Type-C cable to charge the DJI Mavic Air 2 battery offers convenience and flexibility, making it ideal for outdoor adventures or situations where a power outlet is not readily available. It allows you to utilize a variety of power sources to recharge your battery, providing peace of mind for extended flight sessions.
Now that we’ve explored both the AC power adapter and USB Type-C cable charging methods, let’s move on to the next section, where we discuss factors that can affect the charging time of the DJI Mavic Air 2 battery.
Charging Time for the DJI Mavic Air 2 Battery
The charging time for the DJI Mavic Air 2 battery can vary depending on several factors. These factors include the charging method used, the battery’s state of charge, the ambient temperature, and the quality of the charging cable or power source.
When using the recommended AC power adapter, the estimated charging time for the DJI Mavic Air 2 battery is approximately 1 hour and 40 minutes. This method provides a higher charging current, resulting in a faster and more efficient charging process. The stable power supply from the AC power adapter ensures that the battery is charged safely and effectively.
On the other hand, charging the DJI Mavic Air 2 battery using a USB Type-C cable takes longer. The estimated charging time using this method is around 2 hours and 30 minutes. The charging current supplied by the USB power source may be lower compared to the AC power adapter, which contributes to the longer charging duration.
It’s important to note that these charging times are estimates provided by DJI and can vary depending on the battery’s state of charge. If the battery is partially discharged, it may take less time to charge compared to when it is completely empty.
Additionally, the ambient temperature can also affect the charging time. Extreme temperatures, whether too hot or too cold, can impact the battery’s charging efficiency. It’s advisable to charge the battery in a moderate temperature environment to achieve optimal charging results.
Lastly, the quality of the charging cable or power source can also influence the charging time. Using high-quality cables and power sources that meet the recommended specifications by DJI can help ensure a faster and more efficient charging process.
By understanding the estimated charging times and the factors that can affect them, you can plan your flights and photography sessions accordingly. It’s always a good practice to monitor the battery’s charging progress and ensure that it is fully charged before taking it on your next exciting drone adventure.
Next, we will share some valuable tips for efficiently charging the DJI Mavic Air 2 battery, helping you make the most of your drone flying experiences.
Factors that Affect Charging Time
The charging time for the DJI Mavic Air 2 battery can be influenced by various factors. Understanding these factors can help you optimize the charging process and ensure that your battery is ready for your next flight.
1. Battery’s State of Charge: The charging time can vary depending on whether the battery is completely empty or partially discharged. A fully depleted battery will generally take longer to charge compared to one that is only partially discharged.
2. Ambient Temperature: The ambient temperature can impact the charging time of the battery. Extreme temperatures, whether too hot or too cold, can affect the battery’s charging efficiency. It is recommended to charge the battery in a moderate temperature environment to achieve optimal charging results.
3. Charging Method: The chosen charging method, either using the AC power adapter or a USB Type-C cable, can affect the charging time. The AC power adapter provides a higher charging current, resulting in a faster charging process compared to the USB Type-C cable method, which may take longer due to a lower charging current.
4. Quality of Charging Cable or Power Source: The quality of the charging cable and power source can impact the charging time as well. It is advisable to use high-quality cables and power sources that meet the recommended specifications by DJI. This ensures a stable power supply and efficient charging.
5. Battery Management System: The DJI Mavic Air 2 battery has a built-in battery management system that regulates the charging process. This system ensures the battery is charged safely and efficiently. However, this system may also adjust the charging time based on factors like the battery’s condition and temperature to maintain optimal battery health.
By considering these factors, you can better estimate the charging time and plan accordingly. It’s important to monitor the battery’s charging progress and ensure that it is fully charged before each flight. This will help you maximize your flying time and capture amazing aerial footage with your DJI Mavic Air 2.
Now that we understand the factors that can affect the charging time let’s move on to the next section, where we will share some valuable tips for efficiently charging the DJI Mavic Air 2 battery.
Tips for Efficiently Charging the DJI Mavic Air 2 Battery
To ensure efficient charging and prolong the lifespan of your DJI Mavic Air 2 battery, consider the following tips:
1. Use the Original Accessories: Always use the original AC power adapter, USB Type-C cable, and charging accessories provided by DJI. These accessories are specifically designed for optimal compatibility and charging performance with the Mavic Air 2 battery.
2. Charge in a Moderate Temperature Environment: Extreme temperatures can impact the battery’s charging efficiency. It’s best to charge the battery in a moderate temperature environment, avoiding extremely hot or cold conditions.
3. Monitor Charging Progress and LED Lights: Keep an eye on the battery’s LED lights during the charging process. The LED lights indicate the battery’s charging progress – slow flashing during charging, solid lights when fully charged. This allows you to monitor the progress and ensure a complete charge before flight.
4. Avoid Charging While the Drone is Powered On: It’s generally recommended to charge the battery with the drone turned off. Charging the battery while the drone is powered on may interfere with the charging process and increase the overall charging time.
5. Allow Sufficient Cooling Time: After a flight or intense use, it’s beneficial to allow the battery to cool down before starting the charging process. This helps maintain optimal battery health and can enhance charging efficiency.
6. Keep Charging Area Well-Ventilated: Ensure that the area where you’re charging the battery is well-ventilated. Good air circulation helps dissipate heat generated during the charging process, promoting safer and more efficient charging.
7. Use a High-Quality Charging Cable: Opt for a high-quality USB Type-C cable that meets the recommended specifications. A reliable cable provides a stable connection and efficient power transfer, resulting in faster charging times.
8. Plan Ahead: If you have upcoming flights or photography sessions, plan and charge your batteries in advance. This allows ample time for a complete charge, so you’re prepared for uninterrupted flying or capturing stunning aerial footage.
By following these tips, you can ensure efficient charging of your DJI Mavic Air 2 battery, prolong its lifespan, and be ready for your next drone adventure with confidence.
Now that we’ve explored tips for efficient charging, let’s wrap up our discussion by summarizing the key points and highlights of charging the DJI Mavic Air 2 battery.
Conclusion
Charging the DJI Mavic Air 2 battery is essential to ensure uninterrupted flying and capture breathtaking aerial footage. We explored two primary charging methods: using the AC power adapter and a USB Type-C cable. The AC power adapter offers faster charging times, while the USB Type-C cable provides flexibility for charging on the go.
The estimated charging time for the DJI Mavic Air 2 battery using the AC power adapter is around 1 hour and 40 minutes, whereas the USB Type-C cable method takes approximately 2 hours and 30 minutes. However, it is important to consider factors such as the battery’s state of charge, ambient temperature, and the quality of the charging cable or power source, which can affect the actual charging time.
Factors that impact charging time include the battery’s state of charge, ambient temperature, chosen charging method, and the quality of the charging cable or power source. Understanding these factors can help optimize the charging process for efficient and safe charging.
By following tips like using original accessories, charging in a moderate temperature environment, monitoring the charging progress, and allowing sufficient cooling time, you can ensure efficient charging and prolong the lifespan of your DJI Mavic Air 2 battery.
Remember to plan ahead and charge your batteries in advance to have a fully charged battery for your upcoming flights and photography sessions. This way, you can make the most of your drone adventures and capture stunning aerial footage with ease.
So, whether you’re a professional aerial photographer, a passionate drone enthusiast, or simply enjoy exploring the skies, understanding how to efficiently charge your DJI Mavic Air 2 battery is crucial. By implementing the recommended charging methods and following the tips provided, you can optimize the charging process and enjoy uninterrupted flights and incredible aerial capture experiences!