Introduction
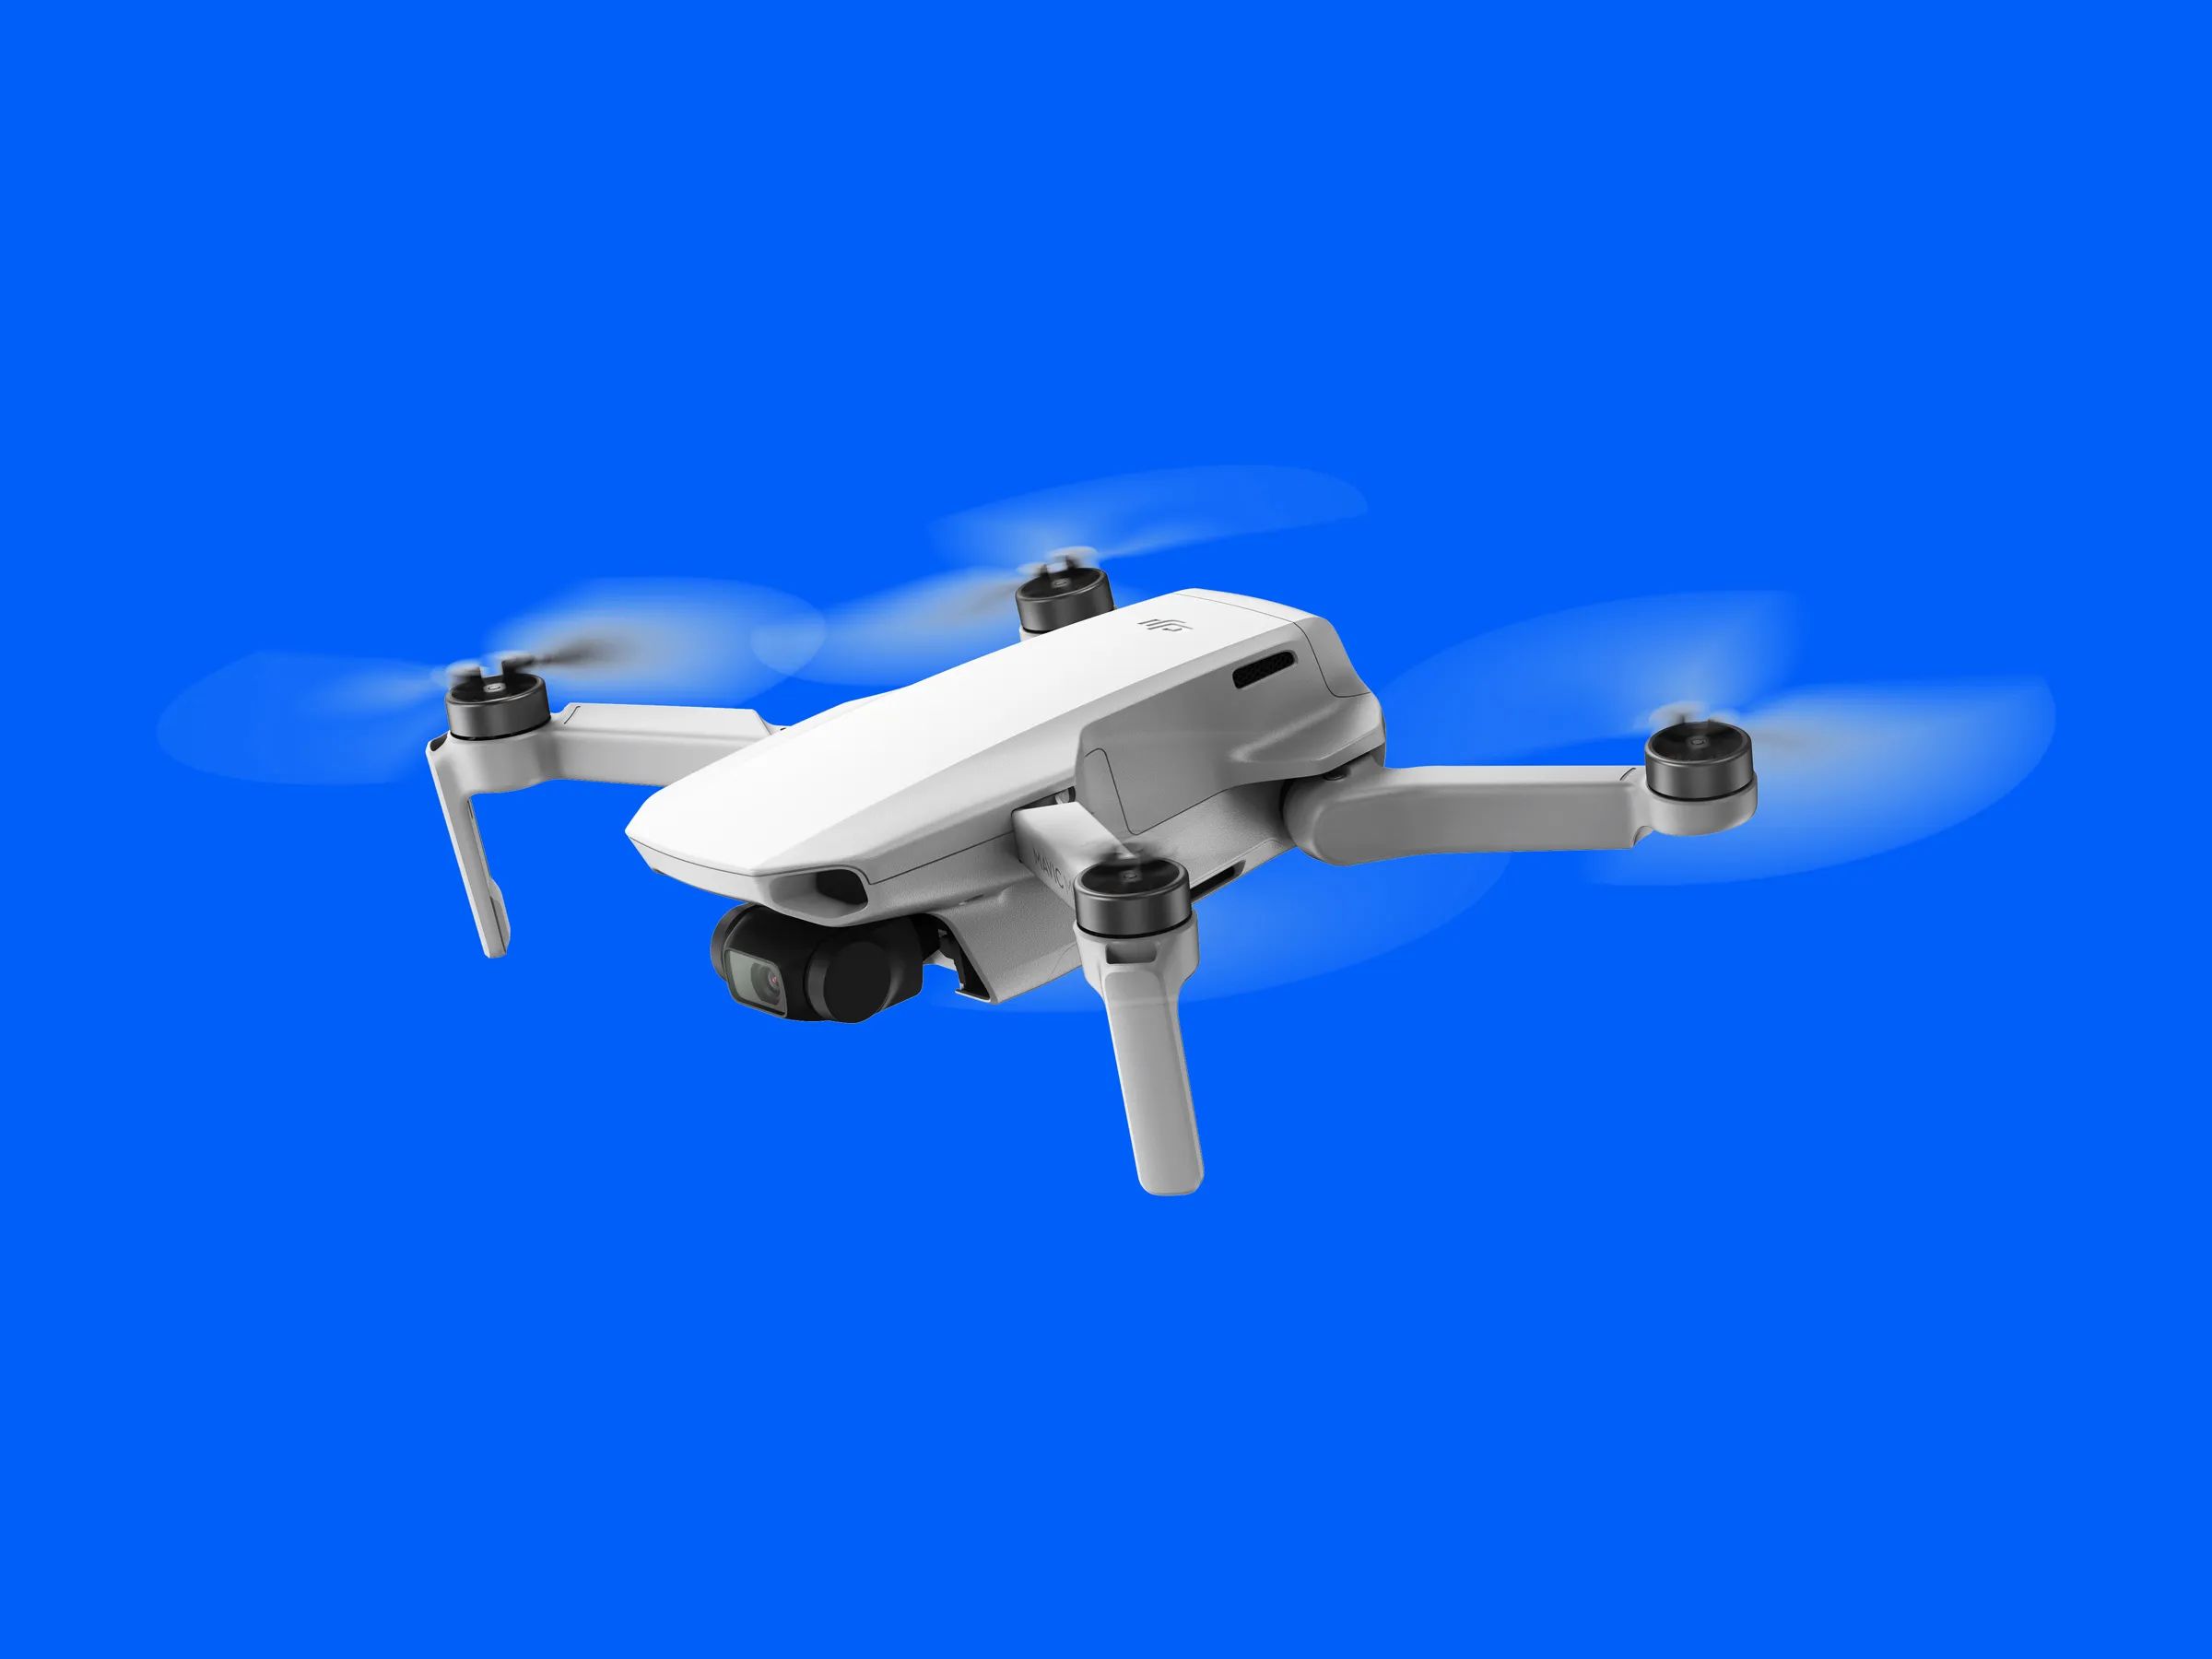
Are you ready to take your aerial photography and videography to the next level? With the DJI Mini 2, you can capture stunning shots with ease and creativity. One of the standout features of this compact drone is the Quick Shots mode, which allows you to effortlessly execute impressive aerial maneuvers and capture cinematic footage. Whether you’re a professional photographer or just a hobbyist, Quick Shots is a game-changer that will elevate your content to new heights.
In this guide, we will walk you through everything you need to know about using Quick Shots with the DJI Mini 2. From understanding the different Quick Shots modes to mastering the art of capturing the perfect shot, you’ll be equipped with the knowledge and skills to create jaw-dropping aerial content.
Before we dive into the details, it’s important to note that the DJI Mini 2 is an incredibly intelligent drone. It’s packed with advanced features and technology that ensures a smooth and safe flight experience. So whether you’re a seasoned drone pilot or a beginner, you can rest assured that the Mini 2 has got your back.
Now, let’s get ready to take off and explore the world of Quick Shots!
Quick Shots Overview
Quick Shots is a powerful feature of the DJI Mini 2 that allows you to create professional-grade aerial videos with just a few taps. With Quick Shots, you can execute complex flight maneuvers, such as tracking subjects, creating dynamic shots, and capturing epic aerial perspectives, all while keeping the drone in complete control.
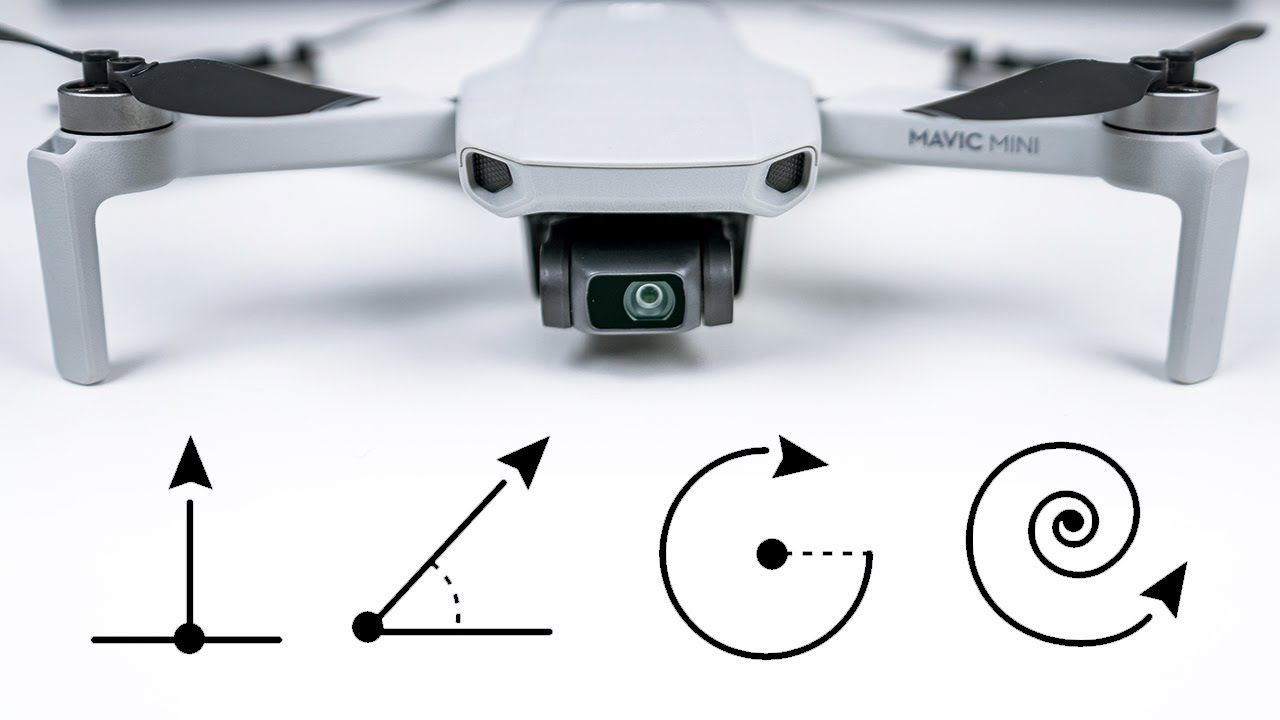
The Mini 2 offers five unique Quick Shots modes: Dronie, Rocket, Circle, Helix, and Boomerang. Each mode creates a different visual effect and adds that “wow” factor to your footage. Whether you want to capture a dramatic reveal, showcase the scale of a location, or create captivating visual loops, Quick Shots has got you covered.
Before you start using Quick Shots, it’s important to familiarize yourself with the different modes and their functionalities. Each mode is designed to add a specific dynamic element to your shots, giving you endless possibilities for creative storytelling.
Once you’ve chosen a Quick Shots mode, you simply need to set the flight path, select the subject you want to track (if applicable), and let the Mini 2 do the rest. The drone will automatically execute the designated flight path, capturing smooth and cinematic footage in the process.
To ensure safety, the DJI Mini 2 utilizes advanced obstacle detection and avoidance technology. This means that during Quick Shots, the drone will intelligently maneuver around obstacles, ensuring a safe flight and avoiding any unwanted collisions. This gives you peace of mind, allowing you to focus on getting those stunning shots without worrying about the drone’s path.
Now that you have a general understanding of Quick Shots, let’s delve into each mode in detail. We’ll explore how to use them effectively and provide some tips and tricks to help you capture breathtaking footage.
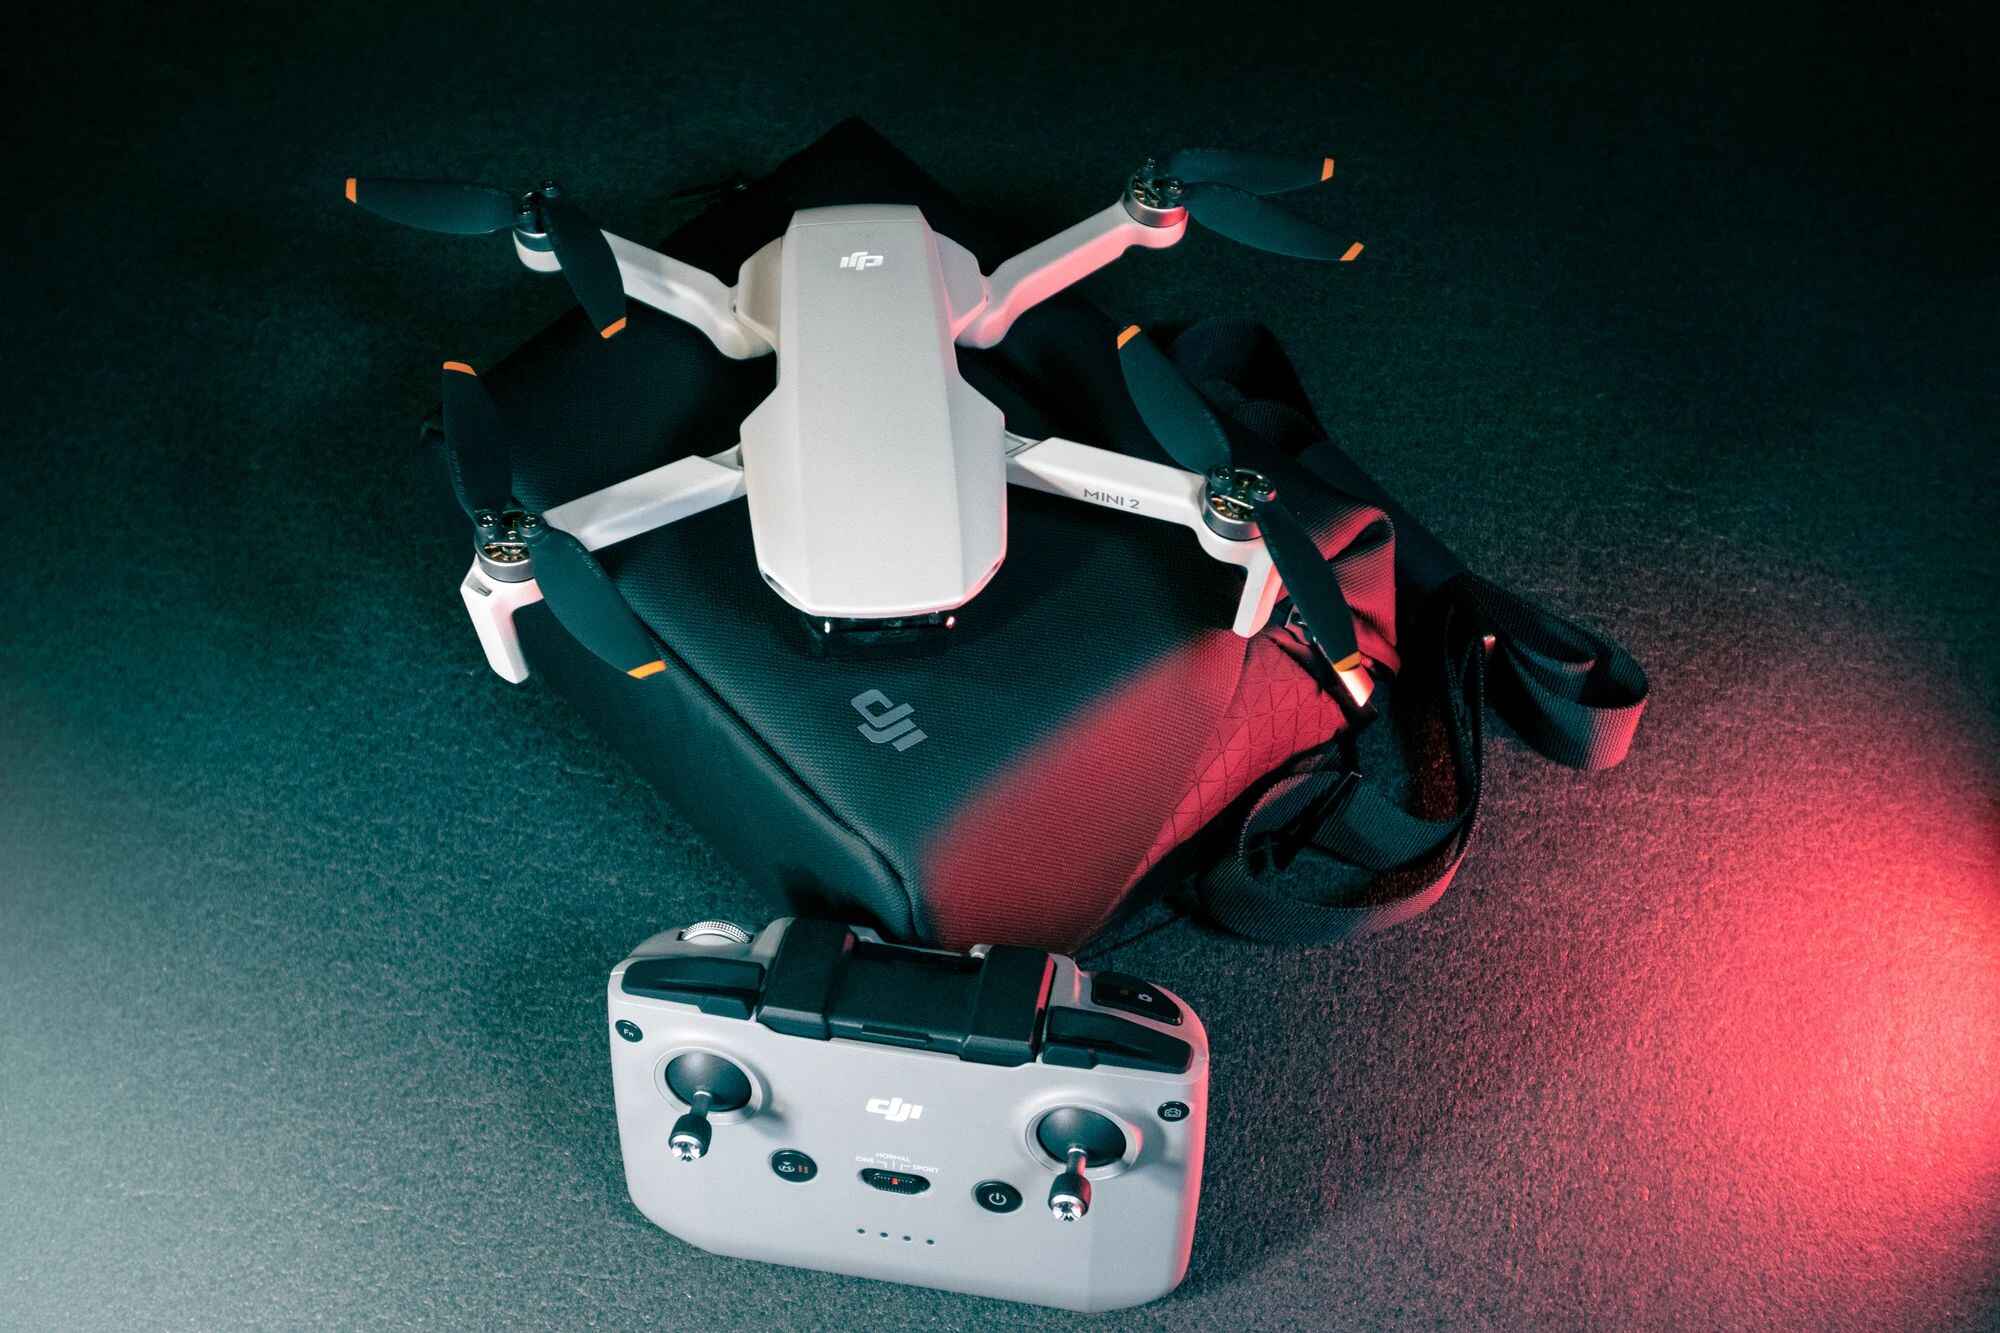
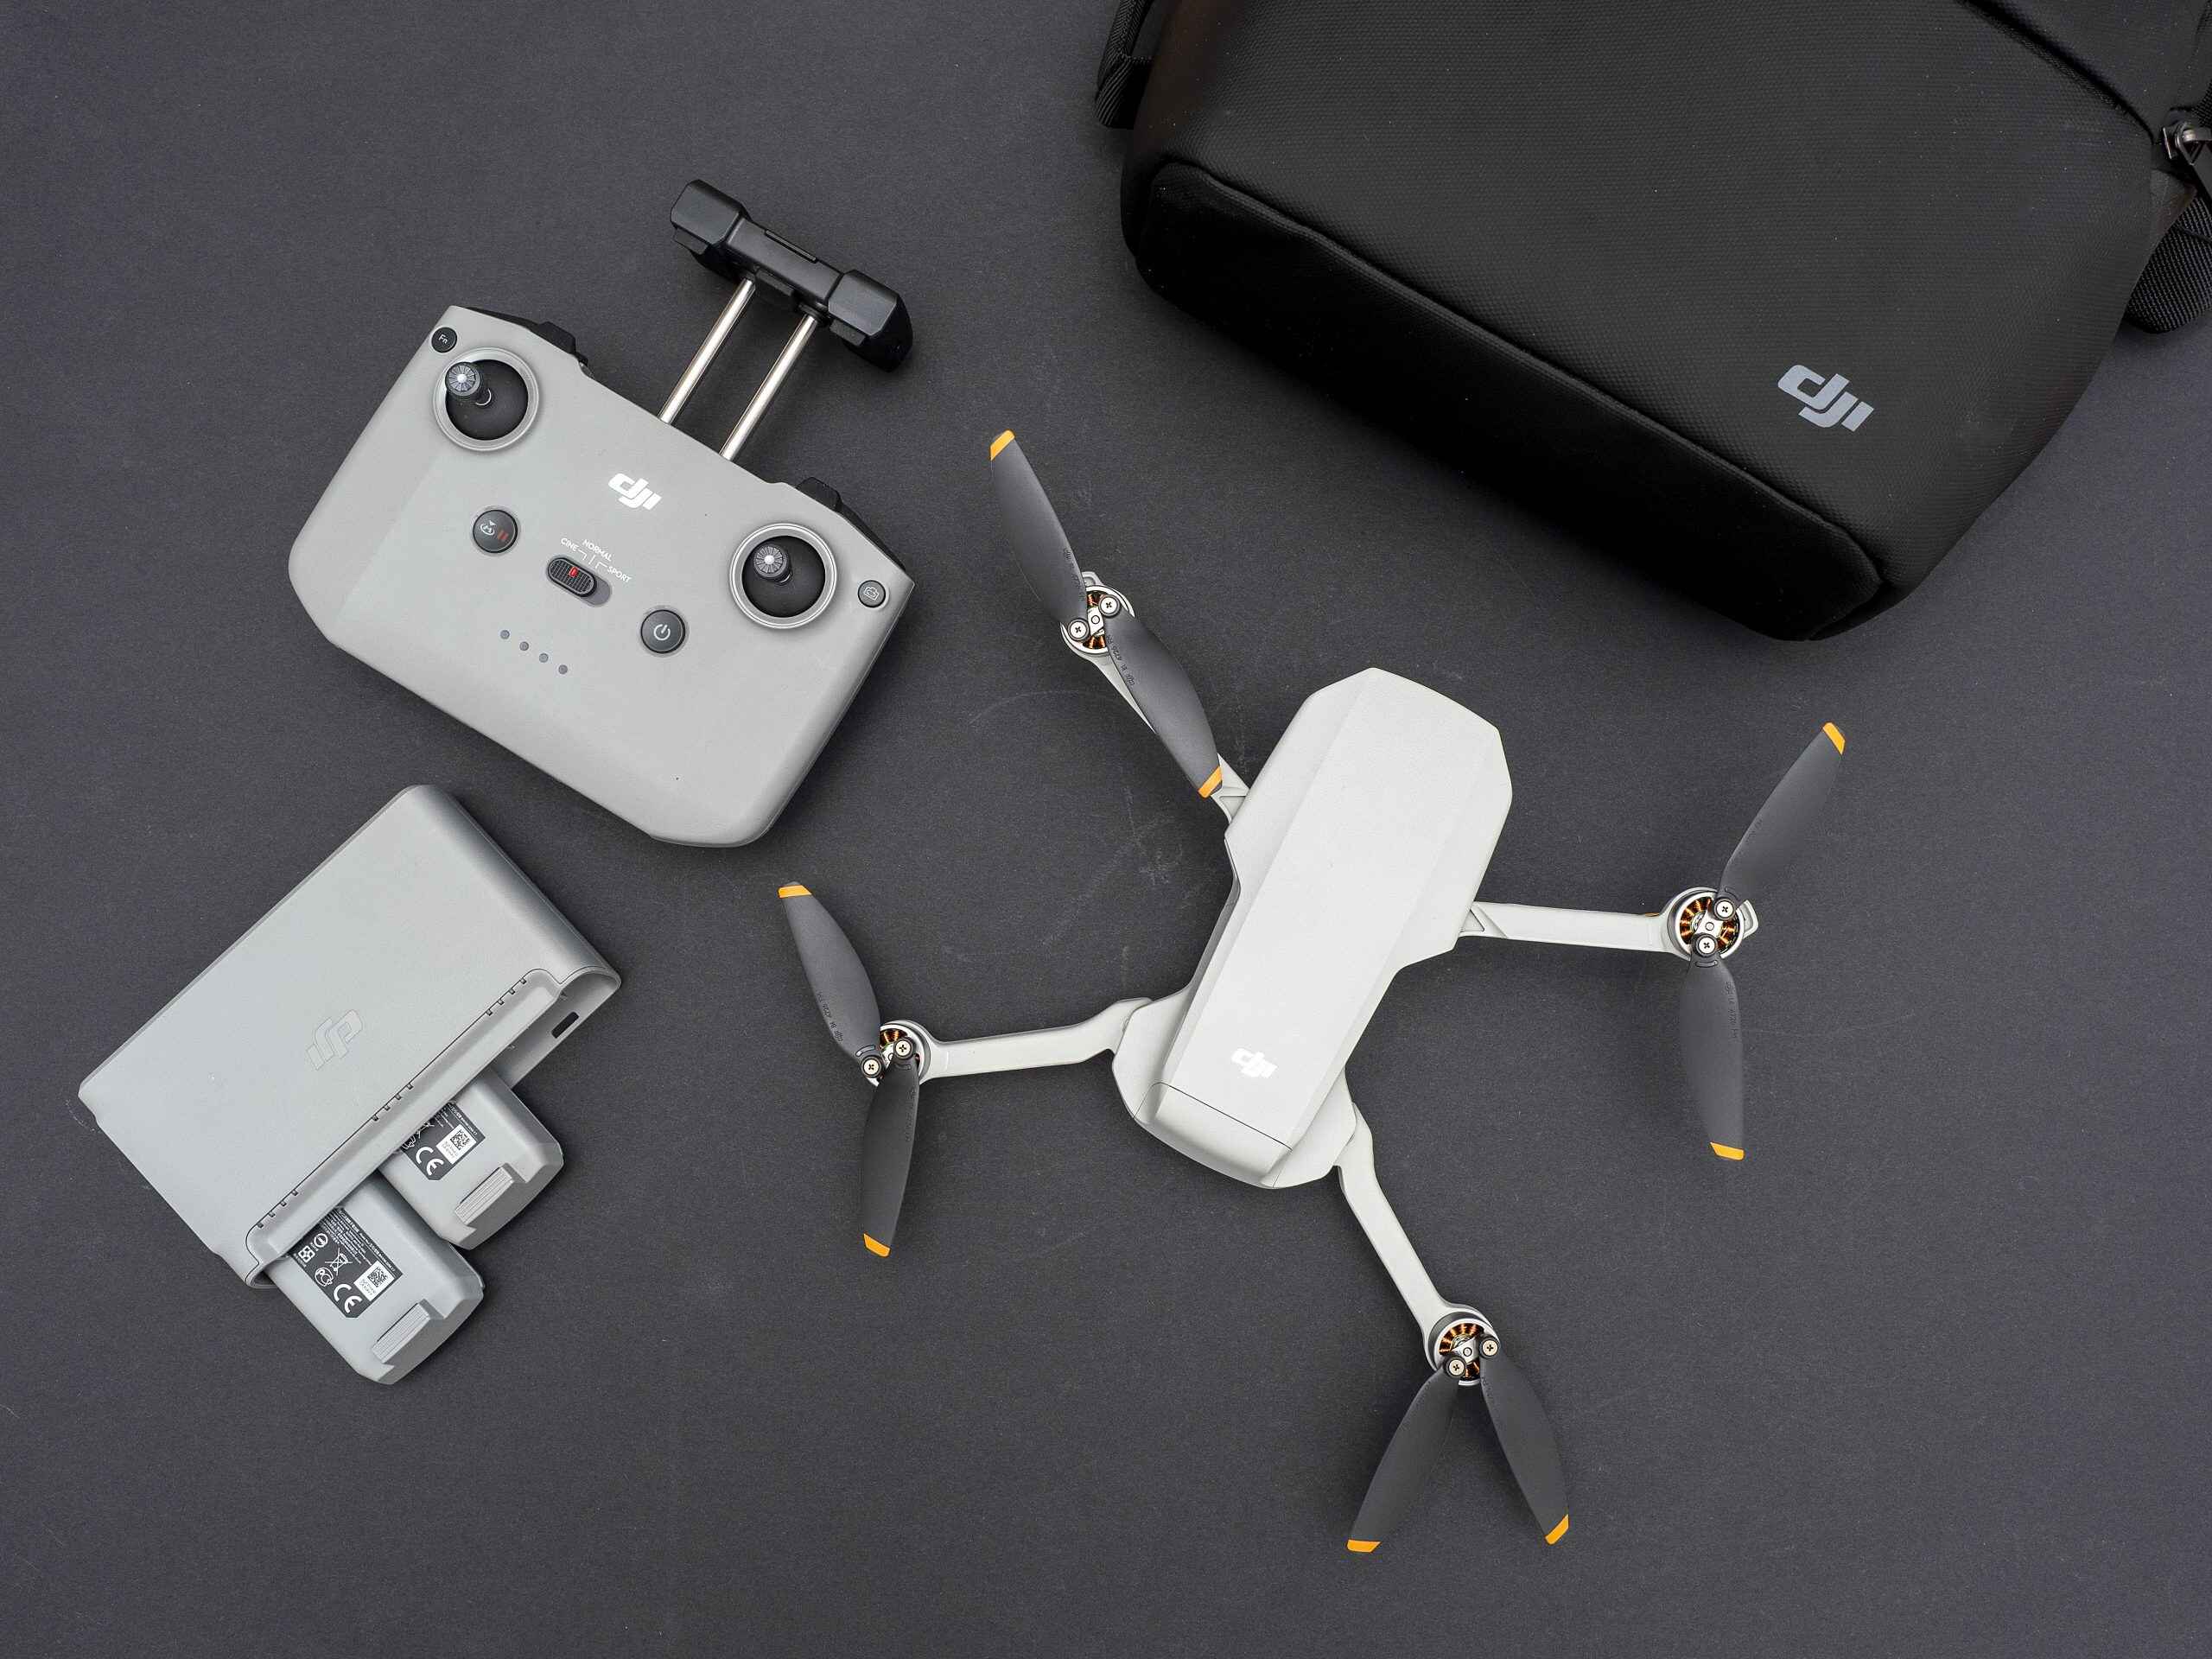
Prepping Your DJI Mini 2
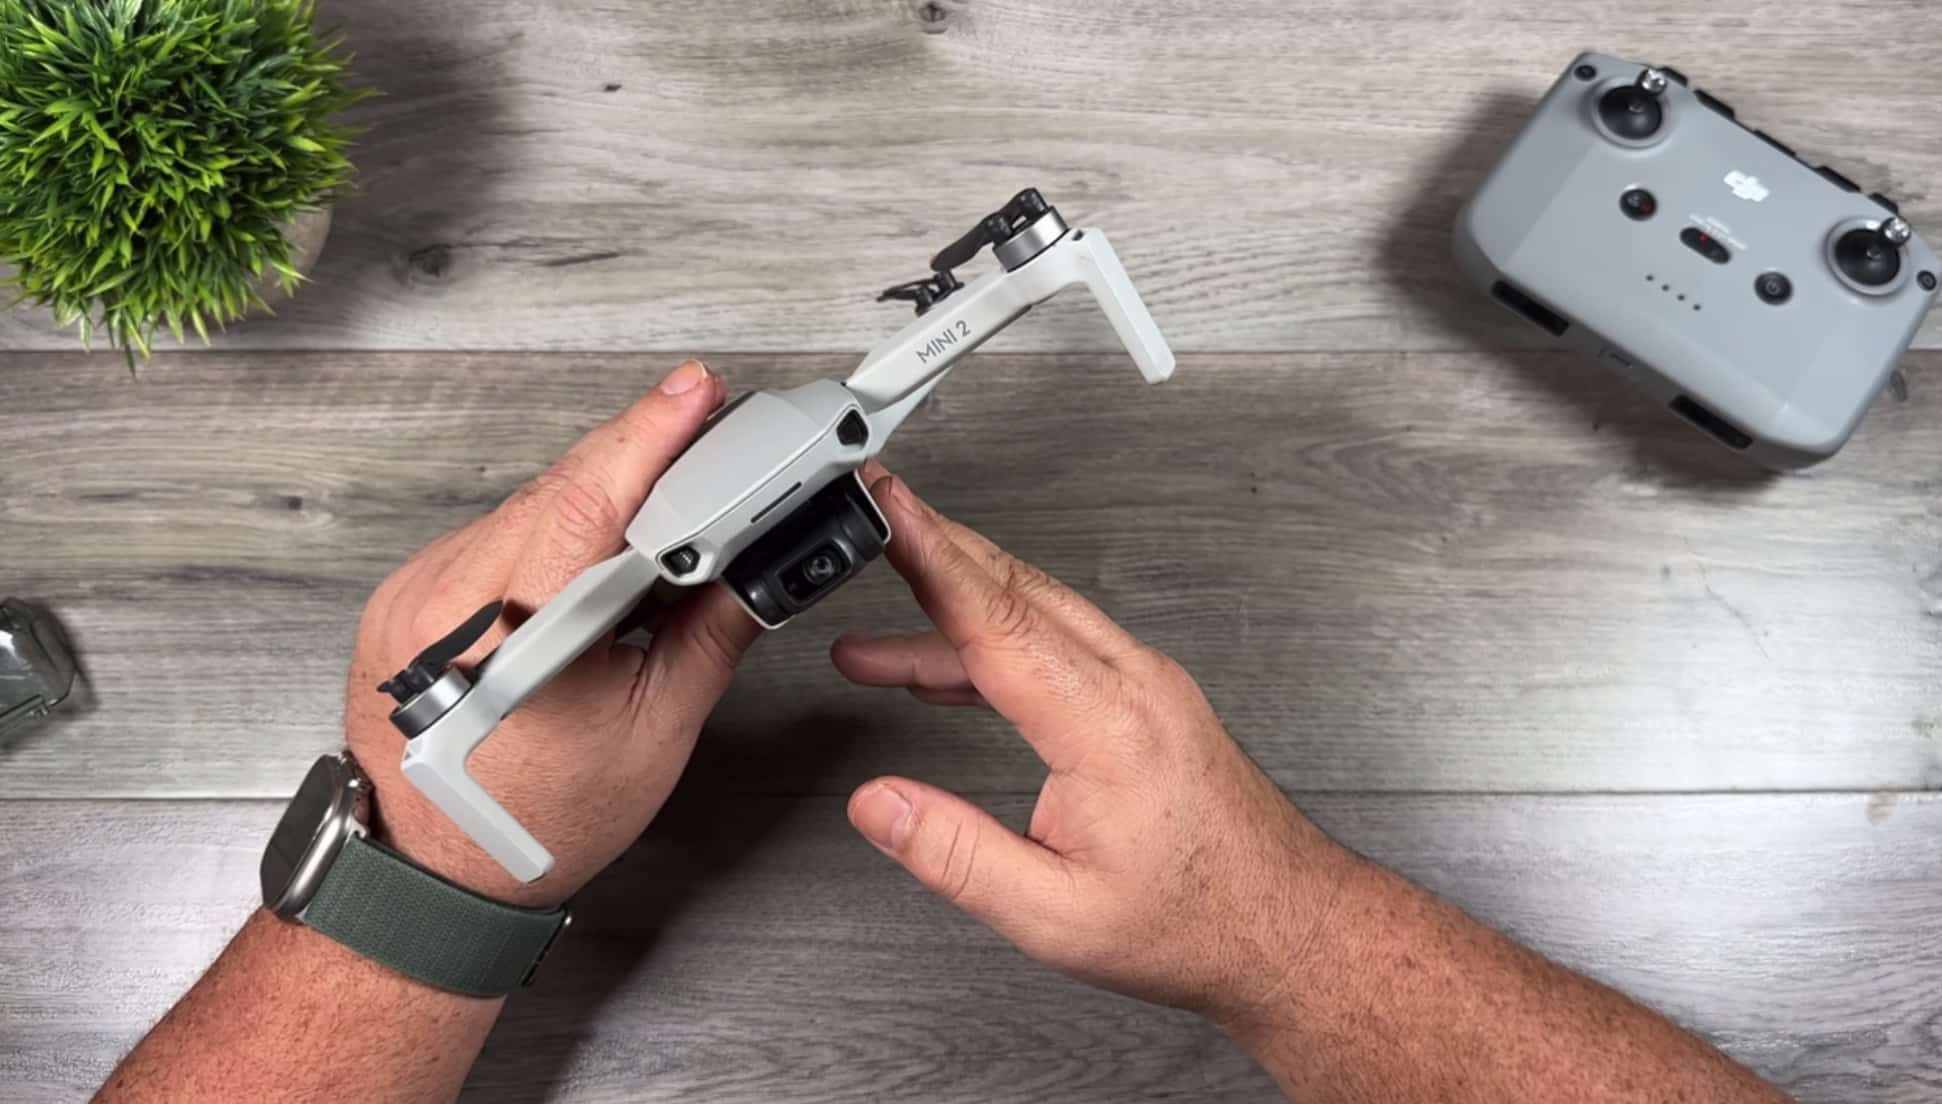
Before you can start using Quick Shots with your DJI Mini 2, it’s important to ensure that your drone is properly prepared for flight. Taking a few minutes to go through this pre-flight checklist will help you avoid any issues and ensure a smooth and successful flight.
- Charge the Batteries: Begin by charging both the drone’s battery and the remote controller. It’s essential to have a full battery to maximize your flight time and make the most of Quick Shots.
- Update Firmware: Check for any available firmware updates and make sure your drone is running the latest software. Firmware updates often include improvements to flight stability and safety features, so it’s crucial to keep your drone up to date.
- Check the Weather: Assess the weather conditions before heading out to fly. Avoid flying in strong winds, heavy rain, or low visibility. Optimal weather conditions will provide a better flying experience and ensure the safety of your drone.
- Choose an Open Area: Find a spacious location with minimal obstructions and people around. This will give you more freedom to execute Quick Shots and reduce the risk of colliding with objects or people.
- Calibrate the Compass: Follow the instructions in the DJI Fly app to calibrate the compass before each flight. This helps the drone accurately determine its heading and ensures stable and reliable flight performance.
- Plan Your Shot: Before launching into Quick Shots, have a clear idea of the shot you want to capture. Visualize the flight path, consider the subject you want to track (if applicable), and think about the composition and framing of your shot.
With these preparations in place, you are now ready to take to the skies with your DJI Mini 2 and dive into the world of Quick Shots. Remember, proper preparation is key to a successful flight and the creation of stunning aerial footage.
Understanding Quick Shots Modes
Quick Shots on the DJI Mini 2 offer a range of dynamic flight modes, each designed to create a unique visual effect in your aerial footage. Let’s explore each mode and understand how they work:
- Dronie: In Dronie mode, the Mini 2 will fly backward and upward simultaneously, creating a dramatic pullback shot. This mode is perfect for revealing a location or subject by starting close and gradually revealing the larger scene.
- Rocket: Rocket mode sends the Mini 2 straight up into the sky, capturing a fast-moving shot that emphasizes the height and scale of your subject. Use this mode to showcase tall structures or to add a sense of grandeur to your footage.
- Circle: Circle mode sets the Mini 2 to orbit around a subject, capturing smooth and consistent footage from a circular flight path. This mode is great for creating dynamic shots that showcase the subject from various angles.
- Helix: Helix mode combines the upward and spiral movements to create an ascending spiral shot. The Mini 2 will fly upward while simultaneously spiraling away from the subject. This mode adds an intriguing and mesmerizing effect to your footage.
- Boomerang: Boomerang mode sends the Mini 2 in an elliptical flight path around the subject, starting and ending at the same point. This mode creates a looping shot that adds a visually captivating and dynamic element to your footage.
Each Quick Shots mode offers a different creative effect, allowing you to capture diverse and engaging footage. Experiment with different modes, subjects, and flight paths to unleash your creativity and achieve unique shots.
Now that you have a good understanding of the Quick Shots modes available on the DJI Mini 2, it’s time to dive into each mode in more detail. We’ll explore how to activate and use each mode effectively and provide tips and tricks to help you capture breathtaking footage.
Using Dronie Mode
Dronie mode is an exciting Quick Shots mode that allows you to capture dynamic pullback shots with the DJI Mini 2. In this mode, the drone will fly backward and upward simultaneously, creating a dramatic effect as it reveals the larger scene or subject.
To activate Dronie mode, follow these steps:
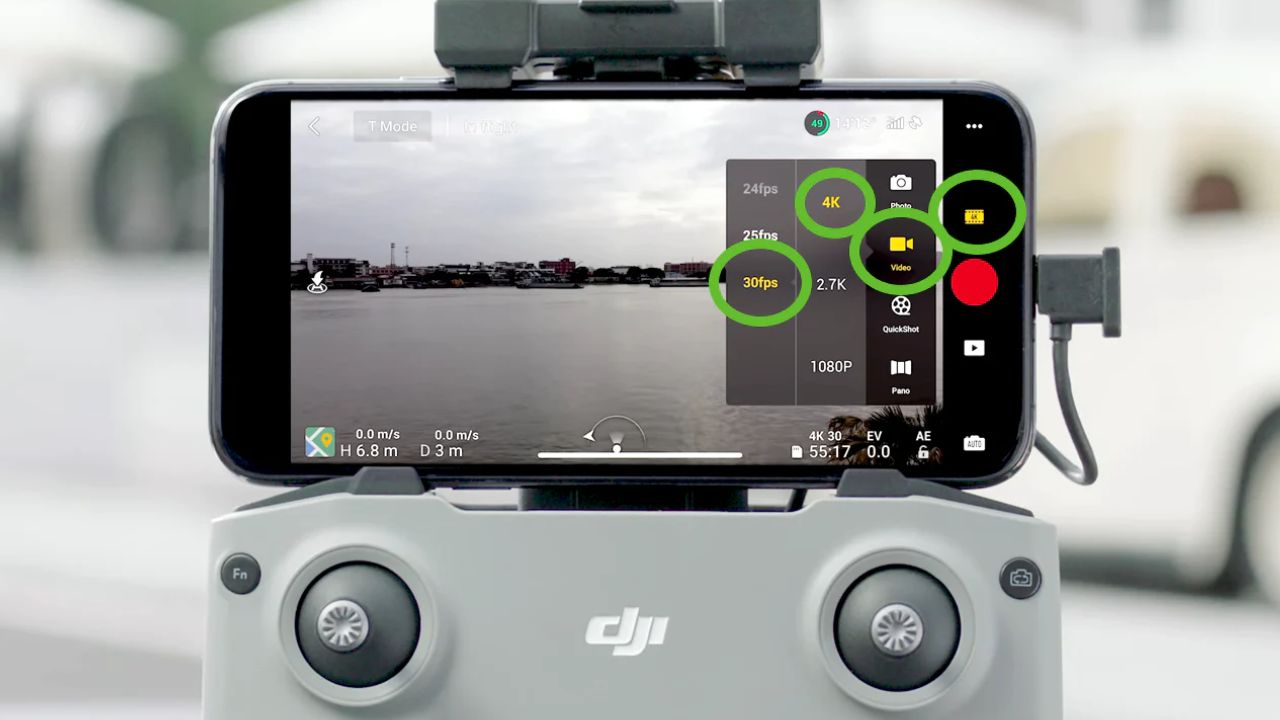
- Open the DJI Fly app on your mobile device and connect to the Mini 2.
- Enter the camera view and swipe left on the screen to access Quick Shots mode.
- Select Dronie from the list of available modes.
- Choose and frame your subject in the viewfinder.
- Define the starting point by adjusting the position of the drone.
- Tap the start button, and the Mini 2 will take off and begin executing the Dronie flight path.
During the Dronie shot, make sure you have enough space and clear surroundings for the drone to safely fly backward and upward. Avoid obstacles and maintain visual contact with the drone throughout the shot.
Here are a few tips to help you capture stunning shots in Dronie mode:
- Choose a captivating subject: Select a subject that will grab the viewer’s attention during the pullback shot. This could be a landmark, a person, or an interesting feature in the environment.
- Plan the flight path: Before starting the Dronie shot, visualize the flight path and determine how far and high you want the drone to go. This will help you create a smooth and aesthetically pleasing shot.
- Use manual control for speed: If you want more control over the speed of the Dronie shot, consider using manual control in the DJI Fly app. This allows you to adjust the drone’s speed to achieve the desired cinematic effect.
- Experiment with camera movements: While the drone is executing the Dronie shot, try tilting the camera or adjusting the camera settings to add creativity and variety to your footage.
- Practice and review: Take the time to practice Dronie mode in different locations and review your footage to identify areas for improvement. With each attempt, you’ll gain more experience and be able to capture even more impressive shots.
By mastering the art of Dronie mode, you can create stunning aerial shots that add a sense of drama and reveal to your aerial videography repertoire.
Using Rocket Mode
Rocket mode is an exhilarating Quick Shots mode available on the DJI Mini 2 that allows you to capture dynamic shots that emphasize the height and scale of your subject. In this mode, the Mini 2 will ascend straight up into the sky, creating a fast-moving shot that adds a sense of grandeur to your footage.
To activate Rocket mode and capture stunning aerial shots, follow these steps:
- Open the DJI Fly app on your mobile device and ensure it is connected to the Mini 2.
- Enter the camera view and swipe left on the screen to access Quick Shots mode.
- Select Rocket from the list of available modes.
- Frame your subject in the viewfinder and adjust the altitude if needed.
- Tap the start button, and the Mini 2 will take off and ascend rapidly, capturing the Rocket shot.
When using Rocket mode, it’s crucial to choose a suitable location with ample vertical space for the drone to ascend without any obstructions. Ensure that the area is clear of obstacles, both in the ascent path and at higher altitudes.
Here are some tips to help you capture incredible shots in Rocket mode:
- Select a captivating subject: Choose a subject that will create a visually compelling shot when captured from above. Buildings, mountains, or any tall structures work well in Rocket mode.
- Timing is key: Consider the timing of your Rocket shot to capture dramatic lighting conditions, such as a colorful sunrise or sunset. This can add an extra layer of visual impact to your footage.
- Experiment with different altitudes: Adjust the altitude of the Mini 2 to capture various perspectives and add depth to your footage. Play around with different altitudes to find the perfect balance for your desired shot.
- Use slow-motion or hyperlapse: If your Mini 2 supports it, consider using slow-motion or hyperlapse modes in conjunction with Rocket mode to create even more cinematic and captivating shots.
- Monitor battery life: Keep an eye on the battery level of your Mini 2 during Rocket shots. Rapid ascents consume more power, so ensure you have enough remaining battery to safely descend and land the drone.
By harnessing the power of Rocket mode, you can capture breathtaking shots that highlight the height and scale of your subject, adding an element of awe and wonder to your aerial videography.
Using Circle Mode
Circle mode is a fantastic Quick Shots mode available on the DJI Mini 2 that allows you to capture captivating aerial shots by executing a smooth circular flight path around your subject. This mode adds a dynamic element to your footage, showcasing the subject from different angles as the drone orbits around it.
To activate Circle mode and capture stunning shots, follow these steps:
- Open the DJI Fly app on your mobile device and ensure it is connected to the Mini 2.
- Enter the camera view and swipe left on the screen to access Quick Shots mode.
- Select Circle from the list of available modes.
- Frame your subject in the viewfinder and adjust the radius and altitude as desired.
- Tap the start button, and the Mini 2 will start executing the circular flight path around the subject.
When using Circle mode, it’s important to choose a location with sufficient space and minimal obstructions to ensure a smooth orbit. Avoid flying too close to obstacles or people to maintain a safe distance and prevent any unwanted collisions.
Here are some tips to help you capture incredible shots in Circle mode:
- Choose a visually interesting subject: Select a subject that will stand out in your footage when viewed from different angles. This could be a structure, a landmark, or any object that has unique features or details.
- Experiment with different radii: Adjust the radius of the circular flight path to vary the distance between the drone and the subject. This can create different perspectives and add depth to your footage.
- Control the speed: Use the control settings in the DJI Fly app to adjust the speed of the orbit. Slower speeds can enhance smoothness and allow for more precise control, while faster speeds can add a dynamic and energetic feel to your shots.
- Consider the background: Pay attention to the background of your shot while orbiting the subject. Look for interesting features or elements that can enhance the overall composition and storytelling aspect of your footage.
- Experiment with camera angles: Tilt and adjust the camera angle during the orbit to add variety to your shots. This can result in more dynamic and visually appealing footage.
By mastering the use of Circle mode, you can create captivating aerial shots that showcase your subject from different angles, adding a visually engaging element to your aerial videography.
Using Helix Mode
Helix mode is an exciting Quick Shots mode on the DJI Mini 2 that allows you to capture mesmerizing shots with an ascending spiral flight path. In this mode, the Mini 2 simultaneously ascends and spirals away from the subject, creating a visually captivating and dynamic effect in your aerial footage.
To activate Helix mode and capture stunning shots, follow these steps:
- Open the DJI Fly app on your mobile device and ensure it is connected to the Mini 2.
- Enter the camera view and swipe left on the screen to access Quick Shots mode.
- Select Helix from the list of available modes.
- Frame your subject in the viewfinder and adjust the altitude and radius if desired.
- Tap the start button, and the Mini 2 will begin the ascending spiral flight path.
When using Helix mode, it’s crucial to choose an open location without any obstructions to ensure a smooth and safe flight path. Ensure that the area is clear of obstacles throughout the ascending spiral to prevent any collisions or accidents.
Here are some tips to help you capture incredible shots in Helix mode:
- Select a suitable subject: Choose a subject with interesting features or textures that will be accentuated by the ascending spiral motion. Consider structures, landscapes, or any visually captivating objects.
- Adjust the altitude and radius: Experiment with different altitudes and radii to achieve the desired effect in your shots. Higher altitudes can provide a wider perspective, while smaller radii can create a more intense spiral effect.
- Control the speed: Use the control settings in the DJI Fly app to adjust the speed of the ascending spiral. Slower speeds can add grace and smoothness to the shot, while faster speeds can create a more dynamic and energetic feel.
- Consider the lighting conditions: Pay attention to the lighting conditions when capturing Helix shots. The changing angle and altitude of the drone can create unique lighting effects, enhancing the overall visual impact of your footage.
- Add camera movements: Experiment with tilting and adjusting the camera angle during the ascending spiral to add variety and interest to your shots. This can result in more dynamic and visually compelling footage.
By mastering the use of Helix mode, you can capture mesmerizing shots that add a unique and visually captivating element to your aerial videography.
Using Boomerang Mode
Boomerang mode is an exciting Quick Shots mode available on the DJI Mini 2 that allows you to capture captivating shots with a looping flight path. In this mode, the Mini 2 flies in an elliptical path around the subject, starting and ending at the same point, creating a visually captivating and dynamic effect in your aerial footage.
To activate Boomerang mode and capture stunning shots, follow these steps:
- Open the DJI Fly app on your mobile device and ensure it is connected to the Mini 2.
- Enter the camera view and swipe left on the screen to access Quick Shots mode.
- Select Boomerang from the list of available modes.
- Frame your subject in the viewfinder and adjust the altitude and distance if desired.
- Tap the start button, and the Mini 2 will begin the looping flight path around the subject.
When using Boomerang mode, it’s important to choose an open location without any obstructions to ensure a smooth and safe flight path. Ensure that the area is clear of obstacles throughout the looping flight to prevent any collisions or accidents.
Here are some tips to help you capture incredible shots in Boomerang mode:
- Select an interesting subject: Choose a visually captivating subject that will enhance the effect of the looping flight path. Look for objects, landmarks, or people that will create engaging visuals as the drone orbits around.
- Adjust the altitude and distance: Experiment with different altitudes and distances to achieve the desired effect in your shots. Higher altitudes can provide a wider perspective, while adjusting the distance can change the composition and framing of your subject.
- Control the speed: Use the control settings in the DJI Fly app to adjust the speed of the looping flight. Slower speeds can add elegance and draw attention to the subject, while faster speeds can create a more dynamic and energetic feel.
- Consider the background: Pay attention to the background of your shot while the drone is executing the looping flight. Look for interesting features or elements that can enhance the overall composition and storytelling aspect of your footage.
- Add camera movements: Experiment with tilting and adjusting the camera angle during the looping flight to add variety and visual interest to your shots. This can result in more dynamic and visually compelling footage.
By mastering the use of Boomerang mode, you can capture captivating shots that add a unique and visually dynamic element to your aerial videography.
Tips for Capturing the Perfect Quick Shot
While the Quick Shots feature on the DJI Mini 2 is designed to streamline the process of capturing impressive aerial footage, there are several tips and tricks that can help you elevate your shots and ensure you capture the perfect Quick Shot. Here are some essential tips to consider:
- Plan your shot: Before executing a Quick Shot, take a moment to plan your shot. Visualize the flight path, consider the subject or point of interest, and think about the composition and framing of your shot. This preparation will help you capture more intentional and visually compelling footage.
- Experiment with different modes: Don’t limit yourself to just one Quick Shot mode. Explore and experiment with different modes to capture diverse and dynamic shots. Each mode offers a unique visual effect, so by using a range of modes, you can create a more engaging and varied final video.
- Practice and familiarize yourself with manual control: While Quick Shots are designed to be simple and automated, there may be instances where manual control can help you achieve more precise and creative shots. Familiarize yourself with the manual control options in the DJI Fly app and practice using them to refine your shots when needed.
- Consider the lighting conditions: Lighting plays a crucial role in photography and videography, and aerial shots are no exception. Pay attention to the lighting conditions when capturing Quick Shots. Golden hour (early morning and late afternoon) offers soft and warm light that can enhance the visual impact of your shots.
- Use the rule of thirds: When framing your shots, consider using the rule of thirds. Imagine dividing your frame into a 3×3 grid, and place your subject or point of interest along the lines or at the intersection points. This creates a more balanced and visually appealing composition.
- Experiment with camera settings: Don’t be afraid to experiment with different camera settings to achieve the desired look for your shots. Adjust the exposure, contrast, and saturation to enhance the colors and contrast in your footage. Additionally, shooting in manual mode can give you more creative control over the final result.
- Edit and enhance your footage: After capturing your Quick Shots, take the time to edit and enhance your footage. Use video editing software to refine the colors, add transitions, and trim the clips to create a cohesive and visually stunning final video.
Remember, capturing the perfect Quick Shot requires practice, patience, and a keen eye for composition. By implementing these tips and techniques, you’ll be well on your way to creating stunning aerial footage that will impress and captivate your audience.
Conclusion
Mastering the art of Quick Shots with the DJI Mini 2 can take your aerial photography and videography to new heights. With the ability to execute complex flight maneuvers and capture cinematic footage with ease, Quick Shots opens up a world of creative possibilities.
In this guide, we’ve explored the various Quick Shots modes available on the Mini 2, including Dronie, Rocket, Circle, Helix, and Boomerang. Each mode offers a unique visual effect, allowing you to create dynamic and captivating shots that will impress your audience.
We’ve also provided valuable tips to help you capture the perfect Quick Shot, such as planning your shot, experimenting with different modes, considering lighting conditions, and utilizing manual control for more precise shots. By following these tips and practicing your skills, you’ll be able to enhance the quality and creativity of your aerial footage.
Remember to always follow safety guidelines and regulations while flying your DJI Mini 2. Fly in open areas, away from obstacles and people, and respect the privacy and airspace of others.
Whether you’re a professional photographer or a hobbyist, the Quick Shots feature on the DJI Mini 2 unlocks a whole new level of creativity and visual storytelling. So, get out there, explore the different Quick Shots modes, and unleash your imagination to capture breathtaking aerial shots that will leave a lasting impression.