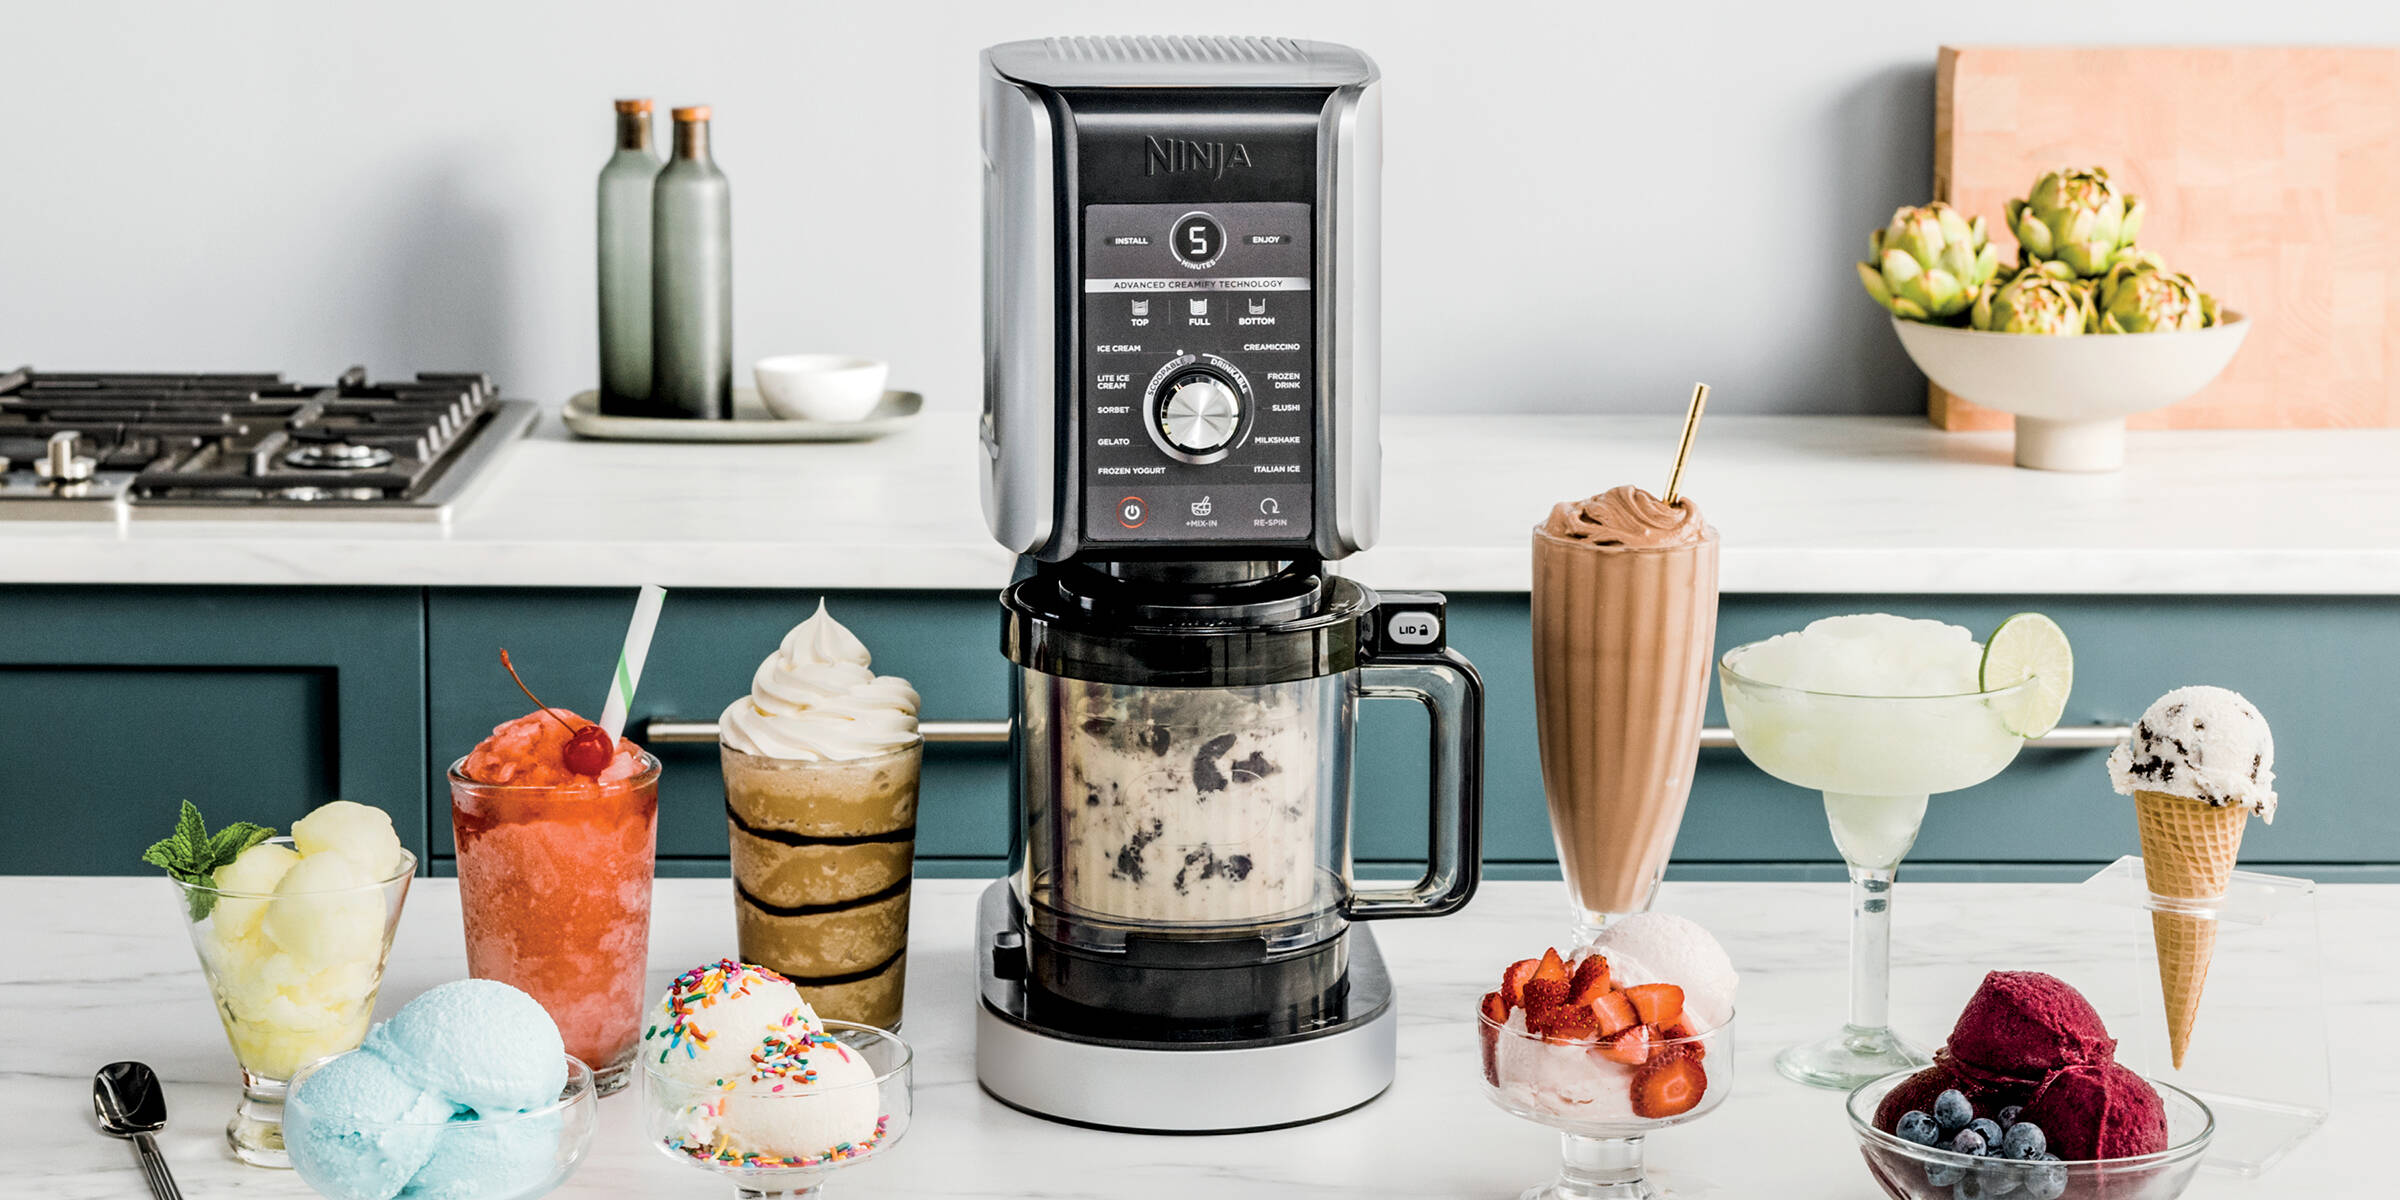
The Importance of Churning Time in Cuisinart Ice Cream Maker
In the world of homemade ice cream, achieving that perfect creamy and smooth texture is essential. And one of the key factors that greatly influences the texture is the churning time in your Cuisinart Ice Cream Maker. Getting the churning time just right can make all the difference between a velvety, luscious ice cream and a grainy, icy dessert.
When you churn your ice cream mixture, several things happen. The freezing bowl in the ice cream maker freezes the mixture, while the paddle continuously moves it, creating small ice crystals. These ice crystals give the ice cream its smooth texture. However, if the mixture is churned for too short a time, these crystals won’t fully develop, resulting in a loose and icy consistency. On the other hand, if the mixture is churned for too long, the ice cream can become overly firm and lose its creaminess.
So, finding the balance between under-churning and over-churning is crucial for achieving that perfect texture. The recommended churning time varies depending on the type of ice cream you’re making, as well as personal preferences.
Churning time is particularly important when making custard-based ice creams. These ice creams are made from a cooked mixture of eggs, sugar, milk, and cream. The churning process helps to incorporate air into the mixture and prevent the formation of large ice crystals. It also helps to create a smooth and creamy consistency by evenly distributing the fat molecules throughout the ice cream.
For lighter ice creams such as sorbets and fruit-based ice creams, a shorter churning time is often preferred. These ice creams tend to have a higher water content, and over-churning can lead to excessive evaporation, causing the ice cream to become icy and grainy.
On the other hand, when making rich and indulgent ice creams like chocolate or vanilla bean, a longer churning time may be needed. This extra churning time allows the flavors to fully develop and creates a denser and creamier texture.
Remember, the churning time provided in recipes is usually a guideline. It’s important to keep an eye on the consistency of the ice cream as it churns and adjust the time accordingly. Pay attention to the texture and consistency you want to achieve, and use this as a basis for determining your preferred churning time.
By understanding the importance of churning time in your Cuisinart Ice Cream Maker and experimenting with different times, you’ll be able to create delectable homemade ice creams that rival those of your favorite ice cream shops. So, don’t be afraid to play around with the churning time and discover the perfect balance that suits your taste buds.
Factors That Affect Churning Time
When it comes to churning ice cream in your Cuisinart Ice Cream Maker, the churning time can be influenced by various factors. Understanding these factors and how they affect the process can help you achieve the desired texture and consistency of your homemade ice cream.
1. Recipe Ingredients: The composition of your ice cream mixture can have a significant impact on the churning time. Higher fat content in recipes, such as those with heavy cream or egg yolks, tend to require longer churning times to achieve a creamy texture. Conversely, recipes with lower fat content, like sorbets or fruit-based ice creams, may have shorter churning times due to their higher water content.
2. Temperature: The starting temperature of your ice cream mixture affects both the freezing time and the churning time. If your mixture is too warm, it will take longer to freeze, resulting in a longer churning time. It is recommended to chill the mixture thoroughly in the refrigerator before pouring it into the ice cream maker, following the recipe’s instructions.
3. Machine Capacity: The capacity of your Cuisinart Ice Cream Maker also plays a role in churning time. If you’re making a larger batch of ice cream, the machine may require a longer churning time to freeze and churn the mixture evenly. Conversely, smaller batches may require shorter churning times as there is less volume for the machine to work with.
4. Ambient Temperature: The temperature of the surroundings where you’re churning your ice cream can affect the churning time. Higher temperatures may cause the ice cream mixture to melt more quickly, resulting in shorter churning times. On the other hand, colder temperatures may slow down the freezing and churning process, requiring a longer time to achieve the desired texture.
5. Mix-in Ingredients: If you’re adding mix-ins, such as chocolate chips or nuts, to your ice cream mixture, they can impact the churning time. These additional ingredients can interfere with the movement of the paddle, causing the ice cream to take longer to churn. It is recommended to add mix-ins during the last few minutes of churning to evenly distribute them without prolonging the overall churning time.
Remember that these factors are not mutually exclusive, and different combinations of ingredients, temperatures, and machine capacities can influence the churning time in unique ways. It’s important to follow the recipe guidelines as a starting point but be prepared to adjust the churning time based on the specific factors at play.
By being mindful of these factors that affect churning time, you can make necessary adjustments and achieve the perfect texture and consistency in your homemade ice cream. So, experiment with different variables, keep an eye on the process, and enjoy the delicious results!
Recommended Churning Time for Different Types of Ice Cream
When it comes to making ice cream with your Cuisinart Ice Cream Maker, the recommended churning time can vary depending on the type of ice cream you’re making. Each flavor and style of ice cream has its own ideal churning time to achieve the perfect texture and consistency.
1. Vanilla Ice Cream: Classic vanilla ice cream typically requires a churning time of around 20-30 minutes. This allows for the development of a smooth and creamy texture, ensuring that all the flavors are fully incorporated. Keep an eye on the consistency and texture as it churns, adjusting the time if needed to achieve your preferred level of creaminess.
2. Chocolate Ice Cream: Rich and indulgent chocolate ice cream may benefit from a slightly longer churning time, around 30-40 minutes. The additional time allows the chocolate flavors to meld together and create a decadent and velvety texture. Be cautious not to over-churn, as this can result in a firmer consistency.
3. Fruit-Based Ice Creams and Sorbets: For lighter and refreshing fruit-based ice creams and sorbets, a shorter churning time of around 15-25 minutes is recommended. These ice creams have a higher water content, and over-churning can lead to excessive evaporation and the formation of large ice crystals. The goal is to achieve a smooth and fruity texture without compromising the flavors.
4. Custard-Based Ice Creams: Custard-based ice creams, like those made with a cooked mixture of eggs, sugar, milk, and cream, often require a longer churning time of 25-35 minutes. The additional churn time helps to develop a rich and creamy consistency while incorporating air into the mixture. It’s important to monitor the texture and adjust the time based on personal preference and desired creaminess.
Remember, these recommended churning times are guidelines. You should consider factors such as recipe variations, machine capacity, and personal preference when determining the ideal churning time for your ice cream. Pay attention to the texture, consistency, and how the flavors come together during the churning process, making any necessary adjustments along the way.
By following the recommended churning times for different types of ice cream and keeping a close eye on the process, you can create homemade frozen delights that are incredibly delicious and satisfying. So, don’t hesitate to experiment and find the perfect churning time that suits your taste buds.
Tips to Achieve the Perfect Consistency
Achieving the perfect consistency is the ultimate goal when making ice cream in your Cuisinart Ice Cream Maker. It’s what sets apart a store-bought pint from a homemade delight. Here are some helpful tips to ensure you achieve that luscious and creamy texture every time:
1. Pre-Freeze Your Bowl: Prior to making your ice cream, make sure to freeze the mixing bowl of your Cuisinart Ice Cream Maker for at least 24 hours. This ensures that the bowl is properly chilled, allowing the ice cream mixture to freeze and churn effectively.
2. Chill Your Mixture: Before pouring your ice cream mixture into the Cuisinart Ice Cream Maker, make sure it is thoroughly chilled in the refrigerator. This helps to ensure a faster and more efficient freezing and churning process.
3. Follow the Recipe: While it’s fun to experiment and add your own touch to recipes, it’s important to follow the recommended ratios and instructions provided in the recipe. This includes the types and amounts of ingredients, as well as the designated churning time. This will help you achieve the intended consistency and flavor profile.
4. Don’t Overfill the Machine: Make sure to pour the ice cream mixture into your Cuisinart Ice Cream Maker without exceeding the machine’s recommended capacity. Overfilling can hinder the churning process and result in uneven freezing and an inferior texture. Consider making smaller batches if needed.
5. Add Mix-ins at the Right Time: If you’re including mix-ins like chocolate chips or nuts, it’s best to add them during the last few minutes of churning. Adding them too early can disrupt the churning process and prevent the ice cream from setting properly.
6. Keep an Eye on Texture: Pay close attention to the texture of the ice cream as it churns. It should transform from a liquid to a soft, scoopable consistency. Avoid churning for too long, as this can lead to over-firmness. If you’re unsure, do a quick taste test to ensure the desired creaminess has been achieved.
7. Properly Store the Ice Cream: Once the ice cream has reached the desired consistency, transfer it to a lidded container and store it in the freezer to further solidify. This helps the ice cream set and develop a smoother texture over time.
By following these tips and techniques, you can optimize the churning process and achieve the perfect consistency in your homemade ice cream. Experiment with different flavors, ingredients, and churning times to find your personal favorites. There’s nothing quite like the satisfaction of indulging in a perfectly executed scoop of homemade ice cream!
Common Mistakes to Avoid in Churning Time
While using your Cuisinart Ice Cream Maker to churn homemade ice cream is relatively straightforward, there are a few common mistakes that can affect the churning time and ultimately impact the texture and consistency of your frozen treat. By being aware of these mistakes, you can ensure a smooth and successful ice cream-making process:
1. Insufficient Freezing Time: One of the most common mistakes is not properly freezing the mixing bowl prior to churning. Make sure to freeze the bowl for the recommended time, usually 24 hours, as a lack of proper freezing can significantly prolong the churning process.
2. Starting with Warm Ingredients: Beginning with ingredients that are not properly chilled can increase the churning time. Ensure that your ice cream mixture is thoroughly chilled in the refrigerator before pouring it into the Cuisinart Ice Cream Maker. This helps to expedite the freezing and churning process.
3. Overfilling the Machine: It’s important not to exceed the recommended capacity of your Cuisinart Ice Cream Maker. Overfilling the machine can hinder the churning process and prevent the ice cream from freezing and setting evenly. If you need to make a larger batch, consider doing it in multiple smaller batches instead.
4. Over-churning: Churning for too long can affect the texture of the ice cream. Over-churning can lead to ice cream that is overly firm and loses its creamy texture. Pay attention to the consistency and do periodic taste tests to avoid over-churning and achieve the desired creaminess.
5. Adding Mix-ins Too Early: If your recipe calls for mix-ins like chocolate chips or nuts, adding them too early in the churning process can disrupt the even churning and freezing of the ice cream. It’s best to add mix-ins during the last few minutes of churning to ensure they are evenly distributed without interfering with the texture.
6. Neglecting to Monitor the Process: It’s essential to keep an eye on the churning process. Check the texture and consistency of the ice cream periodically to avoid under-churning or over-churning. This way, you can make necessary adjustments to achieve the perfect consistency.
7. Rushing the Freezing Process: While it’s tempting to speed up the freezing and churning process, rushing it can lead to uneven freezing and a less desirable texture. Follow the recommended churning time to give the ice cream ample time to develop the desired consistency.
By avoiding these common mistakes, you can ensure that the churning time in your Cuisinart Ice Cream Maker results in delicious and creamy homemade ice cream. Take your time, carefully follow the instructions, and keep an eye on the texture to create frozen treats that will impress your family and friends.
Experimenting with Churning Time for Unique Flavors
One of the joys of making homemade ice cream with your Cuisinart Ice Cream Maker is the ability to experiment with different flavors and ingredients. And while following recommended churning times is essential for classic flavors, don’t be afraid to venture into the world of unique and innovative ice cream creations by experimenting with churning times.
1. Infused Flavors: If you’re looking to infuse flavors like mint, lavender, or cinnamon into your ice cream, consider adjusting the churning time to allow for optimal flavor extraction. Longer churning times can help the flavors meld and intensify, resulting in a more pronounced and aromatic ice cream experience.
2. Chunky Mix-ins: When incorporating chunky mix-ins like cookie dough, brownie pieces, or crushed candy bars, it’s essential to find the perfect balance between achieving a creamy texture and ensuring the mix-ins are evenly distributed. Shorter churning times can help retain the chunkiness of the mix-ins, while longer churning times can result in smoother integration.
3. Swirls and Ribbons: To create beautiful swirls or ribbons of flavor in your ice cream, such as caramel, fudge, or fruit sauces, consider adjusting the churning time. A shorter churning time can create defined ribbons, while a longer churning time allows the flavors to blend more subtly into the ice cream.
4. Boozy Creations: Adding alcohol to your ice cream mixture can dramatically affect the churning time. Alcohol has a lower freezing point than other ingredients, so it’s important to increase the churning time to ensure the ice cream sets properly. Experiment with different spirits, liqueurs, and fortified wines, and adjust the churning time accordingly.
5. Dairy-free and Vegan Alternatives: When working with non-dairy milks and vegan ingredients, it’s important to consider the different composition and freezing points. These alternative bases may require longer churning times to achieve the desired creaminess and texture. Experimentation is key to finding the perfect balance for your specific non-dairy creations.
Remember, experimenting with churning times requires a bit of trial and error, as different flavors and mix-ins can affect freezing and churning differently. Document your experiments, take notes, and adjust the churning time to achieve the desired results for each unique flavor combination.
By embracing the opportunity to experiment with churning times, you can unleash your creativity and create one-of-a-kind ice cream flavors that are uniquely yours. Don’t be afraid to push the boundaries, try new combinations, and discover unexpected and delightful flavor profiles in every frozen scoop.
Final Thoughts: Finding Your Ideal Churning Time
As you embark on your ice cream-making journey with your Cuisinart Ice Cream Maker, it’s important to remember that churning time is an essential factor in achieving the desired texture and consistency of your homemade ice cream. While guidelines and recommendations can provide a starting point, finding your ideal churning time ultimately comes down to personal preference and experimentation.
Start by following the recommended churning times provided in recipes for classic flavors like vanilla or chocolate. Pay close attention to the texture and consistency of the ice cream as it churns, adjusting the time if needed to achieve your preferred level of creaminess. Remember that churning times can vary depending on factors like recipe variations, machine capacity, and ambient temperature.
Keep in mind that while longer churning times can result in a denser and creamier texture, there is a fine line between achieving the perfect consistency and over-churning. Be mindful not to overdo it, as prolonged churning can lead to an overly firm and icy final product.
Don’t be afraid to experiment with different flavors, mix-ins, and techniques. Consider how different ingredients and variations can affect the churning time and the overall taste and texture of your ice cream. Document your experiments and adjust the churning time accordingly to fine-tune your recipes and create unique and delicious flavors.
Remember that finding your ideal churning time is an ongoing process. Each batch of ice cream can present new discoveries and opportunities for improvement. Embrace the flexibility and creativity that making homemade ice cream allows, and enjoy the delicious results of your efforts.
So, have fun exploring the world of churning time, and let your taste buds be the ultimate guide in finding that perfect balance of creaminess, smoothness, and flavor in your homemade ice cream creations with your Cuisinart Ice Cream Maker.


