Introduction
Welcome to the world of homemade ice cream! There’s something special about indulging in a bowl of creamy, flavorful ice cream made right in your own kitchen. While traditional ice cream makers are commonly used for this purpose, did you know that a blender can also serve as an excellent ice cream maker? That’s right – the same appliance you use to whip up smoothies and purees can transform into a versatile machine for creating frozen desserts.
In this article, we will guide you through the process of using a blender as an ice cream maker, from choosing the right blender to troubleshooting common issues. Whether you’re looking to experiment with new flavors or simply want a fun project for the family, making ice cream with a blender is a accessible and enjoyable option.
By harnessing the power of your blender, you can achieve a velvety, homemade texture that rivals store-bought ice cream. Not only will you have control over the ingredients, but you’ll also get to personalize your creations to suit your taste buds. So, get ready to embark on a delicious adventure that will leave you craving more!
Choosing the Right Blender for Making Ice Cream
When it comes to making ice cream with a blender, having the right appliance can make all the difference. Here are some factors to consider when selecting a blender for this purpose:
1. Power: Look for a blender with a powerful motor, ideally between 600 and 1000 watts. This will ensure that your blender can effectively blend frozen ingredients and create a smooth ice cream consistency.
2. Speed settings: Opt for a blender with multiple speed settings. This will give you greater control over the blending process, allowing you to adjust the speed as needed to achieve the desired texture.
3. Capacity: Consider the size of the blender jar or pitcher. If you plan on making larger batches of ice cream, choose a blender with a larger capacity. Keep in mind that a larger capacity may require more powerful motor.
4. Blade design: Look for a blender with sharp, durable blades. Stainless steel blades are typically the best option, as they can easily handle the hardness of frozen ingredients and ensure a smooth blending process.
5. Durability and warranty: Invest in a blender that is built to last. Check customer reviews and ratings to get an idea of the blender’s durability. Additionally, look for a blender that comes with a warranty, so you have peace of mind knowing that you’re protected against any manufacturing defects.
Remember, while you don’t need the most expensive blender on the market, it’s worth investing in a quality appliance that can handle the demands of ice cream making. Take your time to research and compare different models to find the one that best suits your needs and budget. With the right blender, you’ll be well on your way to creating delicious homemade ice cream.
Preparing the Ingredients for Ice Cream
Before you start making ice cream with your blender, it’s important to gather and prepare the ingredients. Here’s what you’ll need:
1. Base Ingredients: The basic components of ice cream include milk or cream, sugar, and flavorings. You can use whole milk, heavy cream, or a combination of both. Sugar adds sweetness and helps to prevent ice crystals from forming. And don’t forget the flavorings – you can choose from a variety of extracts, such as vanilla, chocolate, or fruit purees.
2. Extras and Mix-ins: Get creative with your ice cream by adding extras and mix-ins. From crushed cookies and nuts to fruit chunks and chocolate chips, the possibilities are endless. Adding texture and flavor-enhancing ingredients will take your homemade ice cream to the next level.
3. Chilling Ingredients: For the best results, make sure your base ingredients are chilled before blending. This will help the ice cream mixture freeze faster and result in a creamier texture. You can refrigerate the ingredients for a few hours or overnight, depending on your recipe.
4. Optional Additions: Depending on your preferences, there are a few optional additions you can consider. For a creamier texture, you can add a small amount of cornstarch or a stabilizer like guar gum. These ingredients help to prevent ice crystals from forming and give the ice cream a smoother consistency.
Once you have gathered all your ingredients, make sure to measure them accurately according to your recipe. This will ensure that you achieve the right balance of flavors and textures in your ice cream. Remember, precision is key when it comes to creating the perfect frozen treat.
Now that you have your ingredients ready, it’s time to move on to preparing your blender for making ice cream. Get ready to dive into the heart of the ice cream-making process!
Preparing the Blender for Making Ice Cream
Before you start blending your ice cream ingredients, it’s essential to properly prepare your blender to ensure optimal results. Here are the steps to get your blender ready for the ice cream-making process:
1. Clean and Dry: Begin by thoroughly cleaning your blender, making sure there are no lingering odors or residue from previous uses. Disassemble any removable parts, such as the blender jar or lid, and wash them with warm, soapy water. Rinse well and allow them to air dry completely before reassembling.
2. Freeze the Blender Jar: To help keep the ice cream mixture cold during blending, it’s recommended to pre-freeze the blender jar. Place the clean and dry jar in the freezer for a few hours or overnight, depending on the recipe. This step will assist in maintaining the low temperature necessary for achieving a creamy texture.
3. Chill the Blade Assembly: Just like the blender jar, the blade assembly should be chilled before use. Remove the assembly from the blender and place it in the freezer alongside the jar. Chilling the blade assembly helps to keep the temperature low, ensuring a smooth and consistent blending process.
4. Assemble the Blender: Once the blender jar and blade assembly are sufficiently chilled, remove them from the freezer and reassemble the blender. Make sure all parts are securely attached and properly aligned. This will prevent any leakage or mishaps during blending.
5. Check Stability: Before pouring in the ingredients, give the blender base a gentle shake to ensure it’s stable and securely positioned on the countertop. This step is crucial as blending thick ice cream mixtures can cause the blender to vibrate. Ensure that your blender is on a stable surface to avoid any accidents while in use.
Now that your blender is clean, cold, and assembled correctly, you’re ready to move on to the exciting part – making ice cream with your blender. Prepare yourself for a delightful and creamy homemade ice cream experience!
Making Ice Cream with a Blender
Now that your blender is prepped and ready, it’s time to dive into the process of actually making ice cream. Follow these steps to create a delicious frozen treat using your blender:
1. Add Chilled Ingredients: Begin by adding your chilled ice cream base ingredients into the frozen blender jar. Pour in the milk or cream, sugar, and any desired flavorings or extracts. Remember to follow your recipe’s measurements for accurate results.
2. Blend on Low Speed: Start the blending process on a low speed setting to avoid splattering or overflow. Gradually increase the speed as the ingredients begin to combine. Blend until the mixture becomes smooth and well-incorporated, which typically takes 1 to 2 minutes.
3. Pause and Scrape: Occasionally, you may need to pause the blending process and use a spatula to scrape down the sides of the blender jar. This ensures that all ingredients are evenly mixed and prevents any pockets of unmixed ingredients from forming.
4. Add Mix-ins: Once the ice cream base is well-blended, it’s time to add your desired mix-ins. Whether it’s crushed cookies, fruit chunks, or chocolate chips, gently fold them into the ice cream mixture using a spoon or spatula. This step adds texture and extra flavor to your homemade ice cream.
5. Blend Again: After adding the mix-ins, give the blender a quick pulse or blend on low speed for a few seconds to incorporate them into the ice cream. Be careful not to overdo it, as you want to preserve the texture of the mix-ins.
6. Transfer to a Container: Once the ice cream is well-mixed and the mix-ins are incorporated, carefully pour the mixture into a separate container for freezing. Use a silicone spatula to scrape every last bit from the blender jar, ensuring you don’t waste any of the delicious ice cream. Seal the container with a lid or cover.
7. Freeze Until Firm: Place the container in the freezer and allow the ice cream to freeze until firm. The freezing time can vary depending on your recipe and the consistency you desire. Typically, it takes around 4 to 6 hours, but it’s best to follow the specific instructions provided in your recipe.
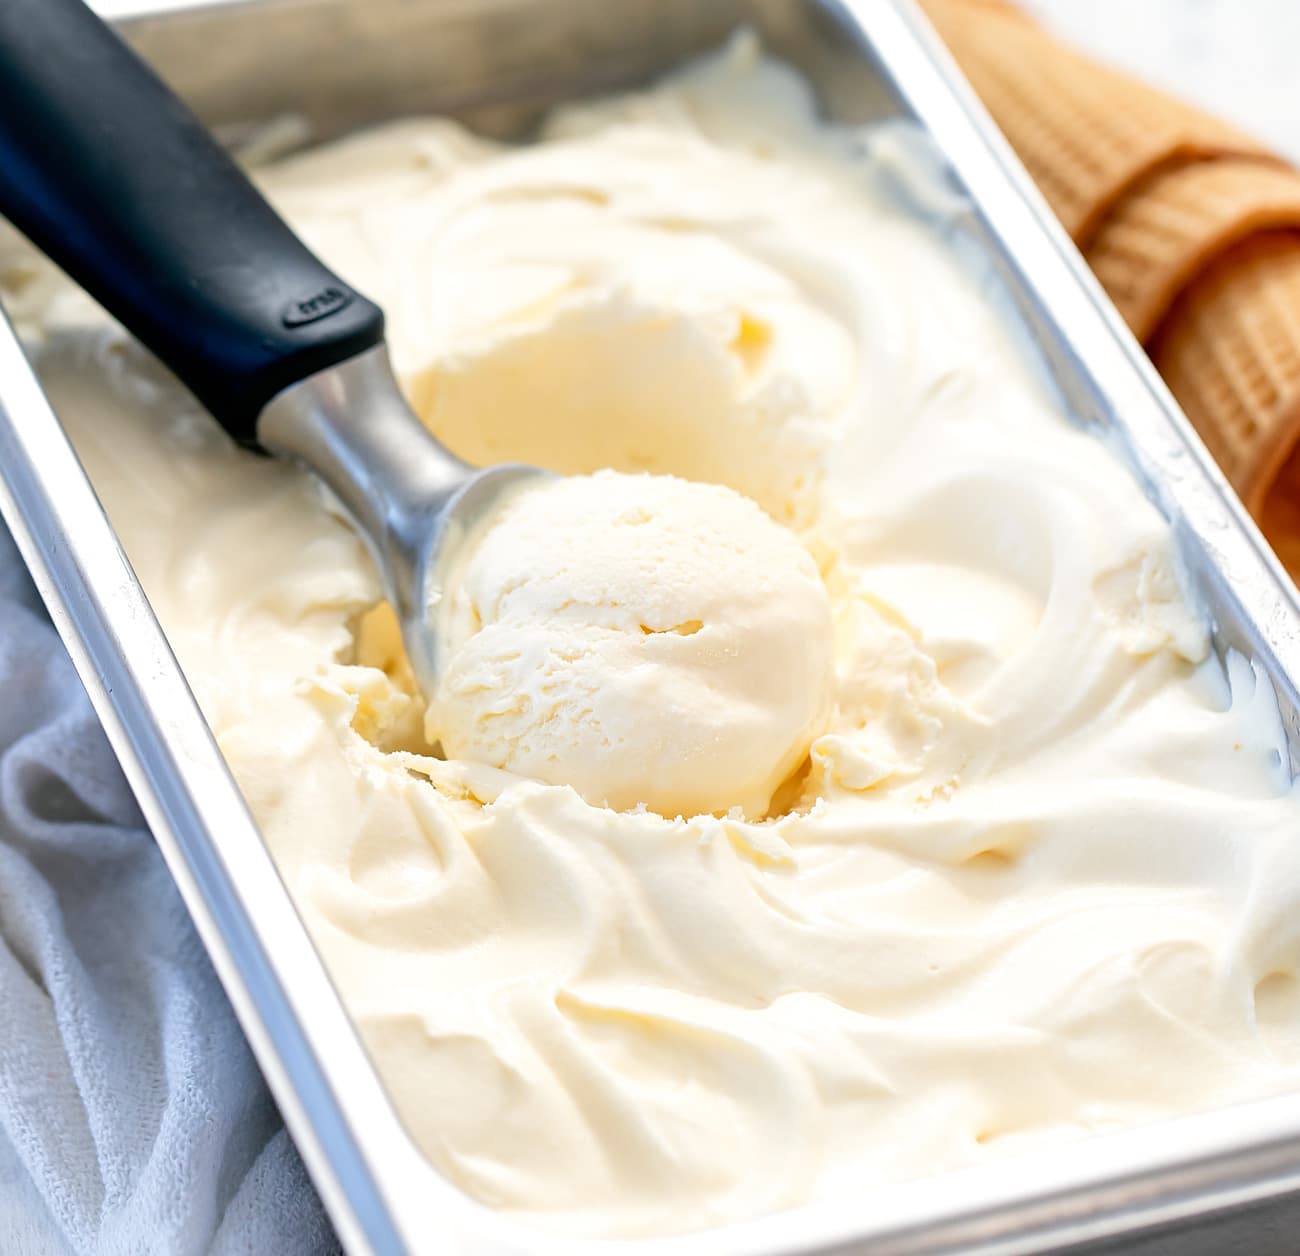
Now, all that’s left to do is patiently wait for your homemade ice cream to freeze. Once it’s ready, scoop it into bowls or cones, and enjoy the creamy goodness that you’ve created with your blender.
Tips and Tricks for Using a Blender as an Ice Cream Maker
Using a blender as an ice cream maker opens up a world of possibilities for delicious frozen treats. To ensure the best results and a smooth ice cream-making experience, here are some helpful tips and tricks:
1. Freeze the Ingredients: Besides chilling the blender jar, it’s also a good idea to freeze your base ingredients before blending. This will help create a creamier texture and faster freezing time.
2. Cut Ingredients into Small Pieces: If you’re adding fruits or other solid ingredients, such as chocolate or nuts, chop them into small pieces before blending. This will help them incorporate evenly into the ice cream mixture, preventing large chunks from forming.
3. Experiment with Ratios: Feel free to experiment with different ratios of milk, cream, and sugar in your ice cream base. Adjusting these proportions can result in a lighter or richer ice cream, depending on your preferences.
4. Use Frozen Fruits: For fruity ice creams, using frozen fruits instead of fresh ones can intensify the flavors and help achieve a creamier consistency.
5. Consider Partially Freezing the Blending Jar: If you’d like a thicker ice cream consistency, you can partially freeze the blending jar before adding the ingredients. This can help achieve a soft-serve-like texture.
6. Add Liquids Gradually: When blending, add liquid ingredients gradually to avoid overwhelming the blender or causing splattering. This will help maintain an even texture and prevent any messes.
7. Don’t Overblend: Avoid overblending the ice cream mixture, as this can introduce excess air and lead to a less creamy texture. Blend until all ingredients are incorporated, but don’t continue blending beyond that point.
8. Freeze Properly: When storing the finished ice cream, make sure to cover the container tightly to prevent freezer burn. Place it in the coldest part of your freezer to ensure a consistent freezing temperature.
9. Allow for Softening Time: If the ice cream becomes too hard in the freezer, allow it to soften at room temperature for a few minutes before scooping. This will make it easier to serve and enjoy.
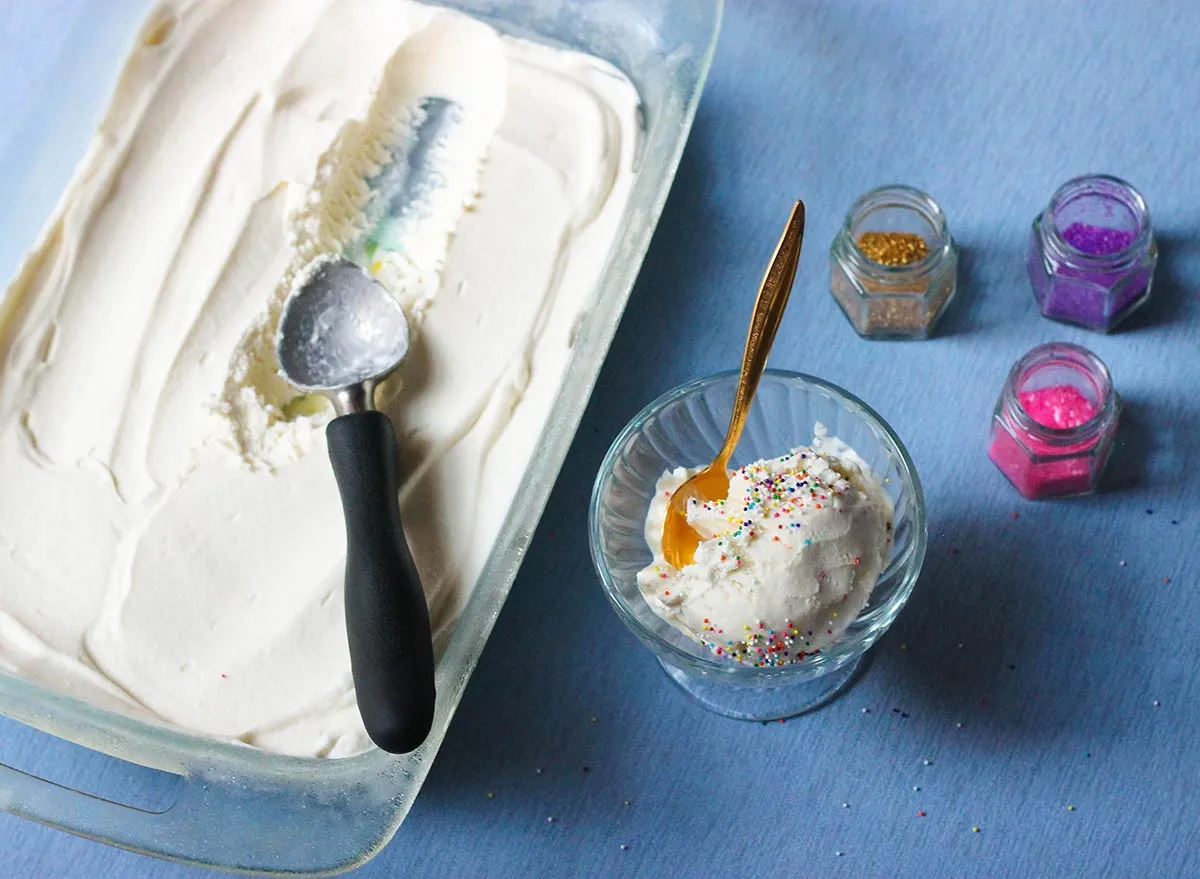
10. Get Creative with Toppings: Once you’ve scooped your homemade ice cream into bowls or cones, get creative with toppings! Add a drizzle of chocolate sauce, sprinkle on some chopped nuts, or add a dollop of whipped cream to elevate the flavors and presentation.
With these tips and tricks, you’ll be well-equipped to make the most delicious ice cream using your blender. Remember, don’t be afraid to get creative and experiment with flavors and ingredients – that’s part of the joy of making homemade ice cream!
Troubleshooting Common Issues
While using a blender as an ice cream maker is a relatively straightforward process, occasional issues may arise. Here are some common problems you may encounter and some troubleshooting tips to help you overcome them:
1. Ice Crystal Formation: If your homemade ice cream has a grainy texture or noticeable ice crystals, it may be due to improper freezing. Ensure that your freezer is set to the appropriate temperature and that your ice cream mixture is churned thoroughly during the blending process. Adding stabilizers like guar gum or cornstarch can also help prevent ice crystals from forming.
2. Runny Ice Cream: If your ice cream turns out too soft or runny, it may be due to not freezing the mixture long enough. Double check that your freezer is set to the recommended temperature, and give the ice cream ample time to firm up. Alternatively, you can also try adjusting the ratio of liquid ingredients in your base to achieve a thicker consistency.
3. Blender Overheating: If your blender starts to overheat during the ice cream-making process, it may be due to blending for an extended period or overfilling the blender jar. Take breaks during the blending process and allow the blender to cool down if necessary. Additionally, make sure to follow your blender’s instructions regarding maximum fill capacity to prevent overheating.
4. Uneven Blending: If you notice chunks of unmixed ingredients or uneven texture in your ice cream, it may be due to insufficient blending or not properly scraping down the sides of the blender jar. To resolve this, pause blending occasionally to scrape down the sides with a spatula, ensuring all ingredients are evenly incorporated.
5. Flavor Intensity: Sometimes, the flavors in homemade ice cream may appear slightly muted compared to store-bought options. To enhance the flavor, consider adding a pinch of salt or increasing the amount of flavoring extracts. Taste the mixture as you blend and adjust accordingly until you achieve the desired flavor intensity.
6. Ingredient Separation: In some cases, ingredients like oils or fats may separate from the ice cream mixture during freezing. This is more common when using homemade flavorings or natural ingredients. To prevent separation, ensure that all ingredients are well-blended, and follow your recipe’s instructions for incorporating fats or oils.
If you encounter any of these issues or any other unexpected problems, don’t be discouraged. Making ice cream with a blender may require some trial and error to find the right technique and recipe adjustments. With practice and persistence, you’ll be able to troubleshoot and create perfect homemade ice cream every time!
Cleaning and Maintaining Your Blender
Proper cleaning and maintenance of your blender are essential to ensure its longevity and optimal performance. Here are some tips to help you effectively clean and maintain your blender:
1. After each use, disassemble any removable parts, such as the blender jar, lid, and blade assembly. Rinse them thoroughly with warm, soapy water to remove any residue or build-up.
2. For tough-to-clean spots or stubborn residue, use a brush or sponge to gently scrub the affected areas. Be cautious when cleaning the sharp blades and handle them with care.
3. Avoid submerging the base of the blender in water. Instead, use a damp cloth or sponge to wipe the exterior clean. Ensure the base is completely dry before using the blender again.
4. To remove stubborn odors or stains from the blender jar, create a solution with equal parts water and white vinegar or lemon juice. Let the solution sit in the jar for a few hours, then rinse thoroughly.
5. Ensure that all parts of the blender are completely dry before reassembling or storing them. Moisture can lead to the growth of mold or mildew, affecting the performance and lifespan of your blender.
6. Regularly check and tighten any loose screws or bolts on your blender. This will prevent any potential accidents or malfunctioning during use.
7. Check the manufacturer’s instructions for any specific cleaning or maintenance recommendations for your blender model. Different blenders may have unique care instructions to ensure optimal performance.
8. Keep your blender stored in a clean and dry place, away from direct sunlight or extreme temperatures. Avoid storing it with any moisture or food particles, which can attract pests or cause deterioration.
9. If your blender has a removable rubber gasket or seal, make sure to clean it thoroughly after each use to prevent the build-up of bacteria or mold. Follow the manufacturer’s instructions for proper cleaning and maintenance of the gasket.
10. Periodically check the condition of your blender’s parts, such as the blades or jar. Replace any worn-out or damaged components as necessary to maintain the blender’s performance and safety.
By following these cleaning and maintenance practices, you can ensure that your blender stays in top shape and continues to deliver outstanding blending results for your ice cream and other culinary adventures.
Conclusion
Using a blender as an ice cream maker is a wonderful way to unleash your creativity and enjoy the deliciousness of homemade frozen treats. With the right blender and a few simple techniques, you can whip up creamy and flavorful ice cream right in your own kitchen.
In this article, we’ve explored the process of using a blender as an ice cream maker, from choosing the right blender to troubleshooting common issues. We’ve provided tips on preparing the ingredients, preparing the blender, and creating delectable ice cream flavors. It’s important to remember that practice makes perfect, so don’t be discouraged if your first attempt isn’t exactly what you envisioned. With time and experimentation, you’ll master the art of making homemade ice cream with your blender.
Whether you’re a beginner or a seasoned pro, the world of homemade ice cream is boundless. Get creative with different flavor combinations, try out various mix-ins, and don’t forget to have fun along the way. Making ice cream with a blender allows you to customize your creations to suit your taste preferences and dietary needs. Plus, it’s a fantastic activity for you and your loved ones to enjoy together.
Remember to clean and maintain your blender regularly to ensure its longevity and reliable performance. By following the recommended cleaning and maintenance practices, you can continue making delicious ice cream for years to come.
So, gather your ingredients, grab your blender, and let your culinary imagination soar as you embark on the delightful journey of making homemade ice cream with a blender. Get ready to create mouthwatering frozen masterpieces that will leave you wanting more!