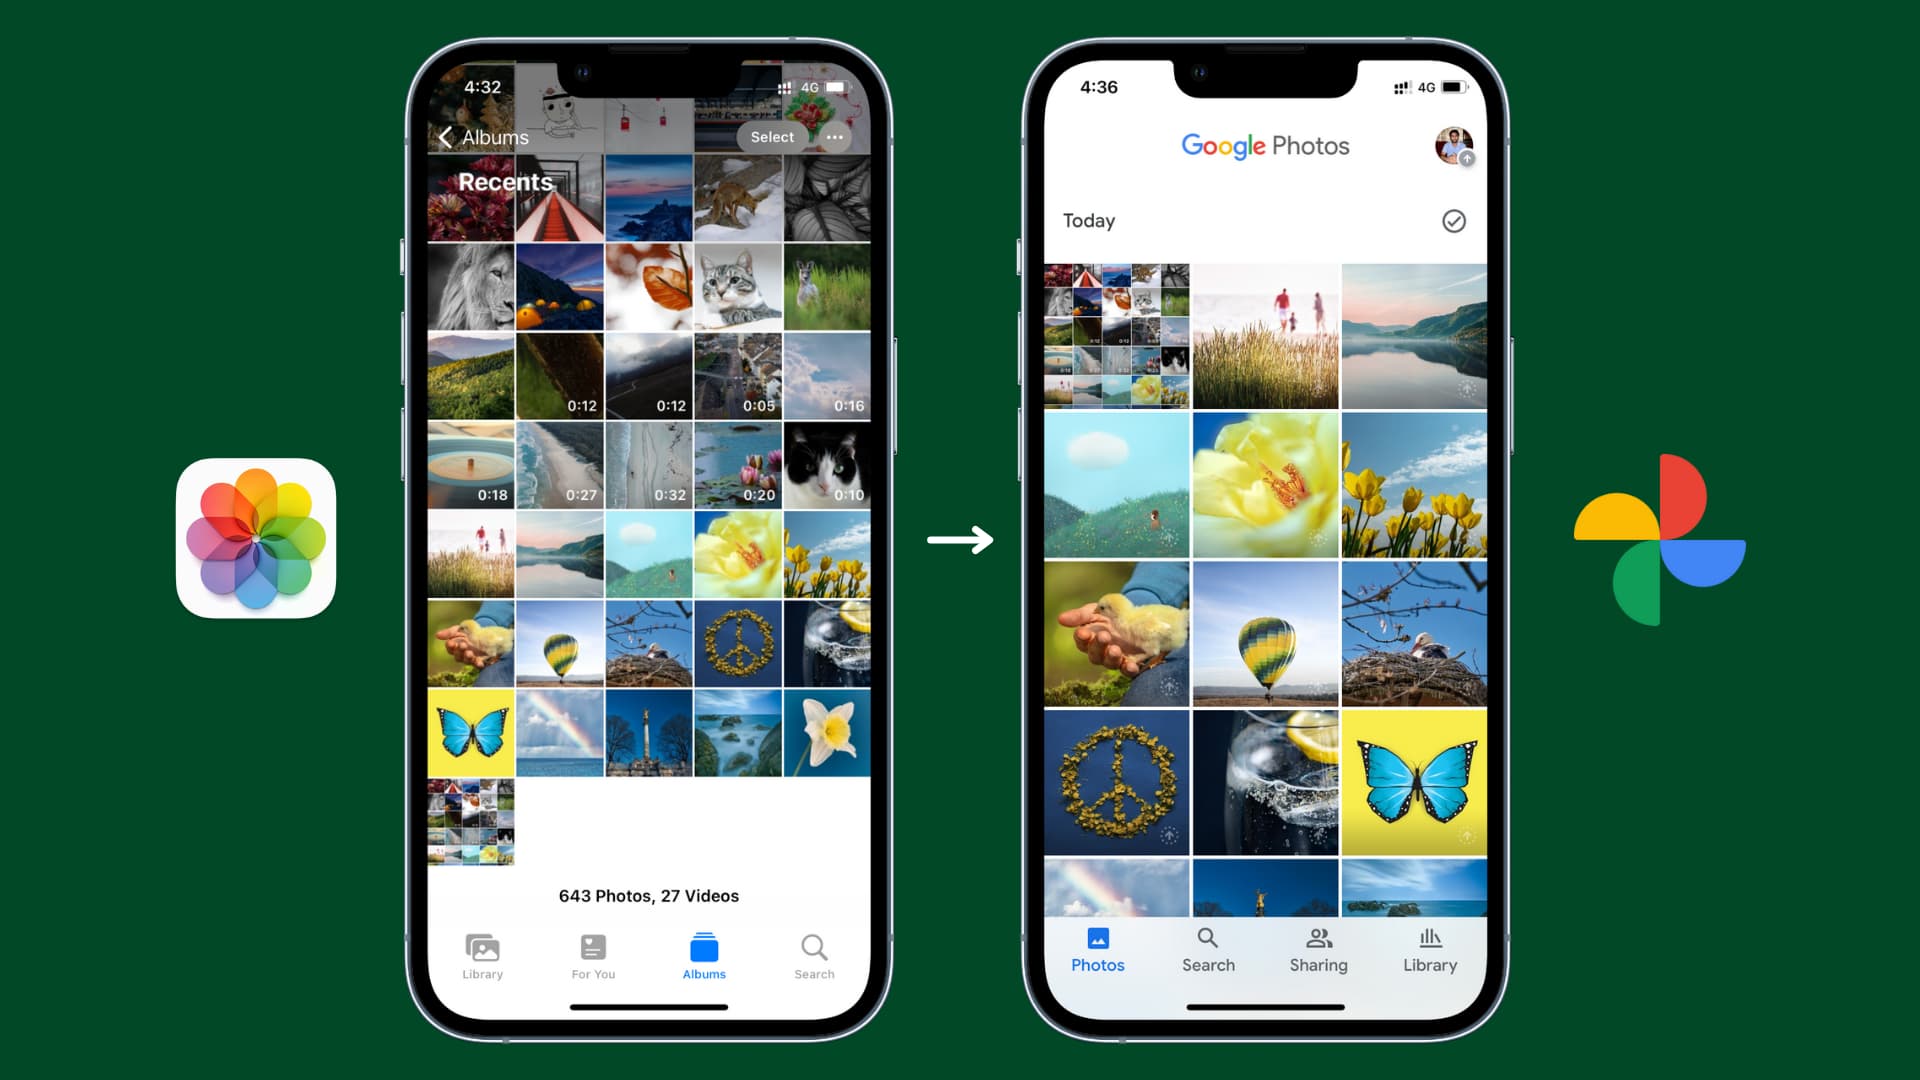
Selecting All Photos in Google Photos
Google Photos is a convenient and user-friendly platform for storing and managing your photos. Whether you want to quickly organize your entire collection or prepare for a backup, selecting all photos at once can save you a significant amount of time. In this article, we will explore two methods to help you select all photos in Google Photos.
Method 1: Selecting all Photos on Desktop
If you are using Google Photos on your desktop, the process of selecting all photos is straightforward. Here’s how you can do it:
- Open the Google Photos website on your preferred browser and sign in to your Google account.
- Click on the “Photos” option in the left-hand sidebar to access your photo library.
- Scroll down to the very first photo in your collection and click on it to select it.
- While holding the Shift key on your keyboard, scroll down to the very last photo in your collection and click on it.
- All the photos between the first and last selected photo will be automatically selected.
- At the top right corner of the page, click on the three-dot menu icon and choose the “Add to album” option to group all the selected photos into an album.
By following these steps, you can select all the photos in your Google Photos library on your desktop with ease.
Method 2: Selecting all Photos on Mobile Devices
If you prefer using Google Photos on your mobile device, here’s how you can select all photos:
- Launch the Google Photos app on your mobile device and sign in to your Google account if you haven’t already done so.
- Tap on the “Library” tab located at the bottom of the screen.
- Scroll to the top of the Library tab to reveal the search bar and tap on it.
- Type “.*” (period followed by asterisk) in the search bar and press enter.
- All the photos in your Google Photos library will be displayed.
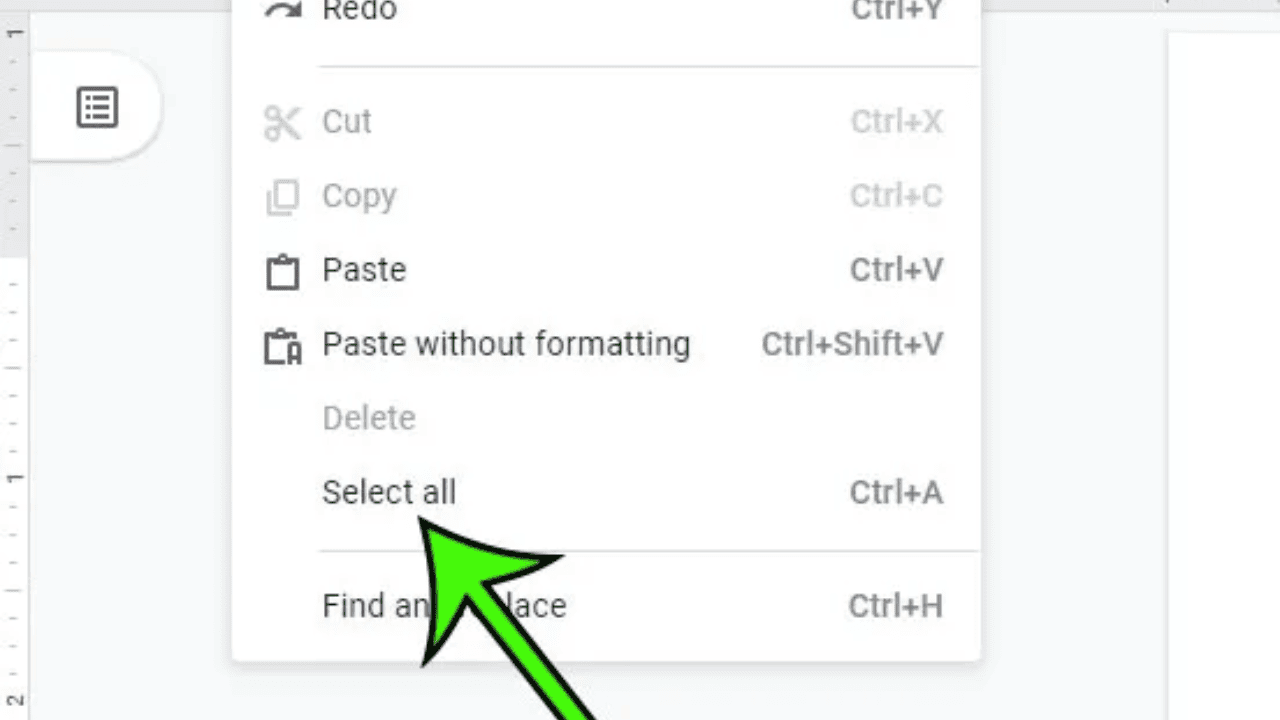
- Tap on the three-dot menu icon at the top right corner of the screen and select “Select all” from the dropdown menu.
- Finally, you can perform various actions such as adding the selected photos to an album or deleting them altogether.
With these steps, you can quickly select all photos in your Google Photos library using your mobile device.
By using either of these methods, you can easily select all photos in Google Photos, whether you are using it on your desktop or mobile device. Take advantage of these efficient techniques to organize and manage your photo collection more effectively.
Introduction
Google Photos has become an indispensable tool for storing, organizing, and managing our ever-growing collection of digital memories. With its intuitive interface and powerful features, it’s no wonder that millions of people rely on Google Photos to store their precious photos and videos.
One of the common tasks that users often face is selecting all photos in Google Photos. Whether you want to create an album of all your vacation photos, delete redundant images, or perform other batch actions, selecting all photos at once can save you a significant amount of time and effort.
In this article, we will explore two methods that allow you to select all photos in Google Photos, both on desktop and mobile devices. Whether you’re using a computer or a smartphone, these methods will help you streamline your photo management process and take control of your digital collection.
We will start with the desktop method, where you will learn how to easily select all photos using a few simple clicks. Then, we will move on to the mobile method, which is equally straightforward and accessible for those who prefer managing their photos on the go.
Once you master these methods, you’ll be able to efficiently organize your photos, create themed albums, or delete unwanted images without the hassle of individually selecting each one. These techniques will help you save time and maintain a well-organized photo library in Google Photos.
Without further ado, let’s dive into the methods and unleash the full potential of Google Photos’ selection capabilities.
Method 1: Selecting all Photos on Desktop
If you primarily use Google Photos on your desktop, selecting all photos is a breeze. Here’s a step-by-step guide to help you:
- Open your preferred web browser and navigate to the Google Photos website. Make sure you are signed in to your Google account.
- Once you’re on the Google Photos homepage, click on the “Photos” option in the left-hand sidebar. This will take you to your photo library.
- Scroll down to the very first photo in your collection. Click on it to select it. You will see a blue checkmark indicating the selection.
- Now, while holding down the Shift key on your keyboard, scroll down to the very last photo in your collection and click on it. This action will select all the photos between the first and last selected image.
- You can verify that all photos are selected by checking if all the images in between have the blue checkmark.
- To perform further actions on the selected photos, such as adding them to an album or deleting them, click on the three-dot menu icon located at the top right corner of the page. From the dropdown menu, select the desired option.
- For example, if you want to create an album with the selected photos, click on “Add to album” and follow the prompts to create a new album or add the photos to an existing one.
By following these simple steps, you can easily select all photos in your Google Photos library on your desktop. This method allows you to efficiently perform batch actions and effectively manage your photo collection.
Remember that the selected photos will remain selected until you click outside the selection or perform another action. So, make sure to double-check your selections before proceeding with further actions.
Now that you know how to select all photos on your desktop, let’s move on to the mobile method for those who prefer using Google Photos on their smartphones or tablets.
Method 2: Selecting all Photos on Mobile Devices
If you primarily use Google Photos on your mobile device, selecting all photos is just as easy. Here’s how you can do it:
- Open the Google Photos app on your mobile device and make sure you are signed in to your Google account.
- At the bottom of the screen, tap on the “Library” tab. This will take you to your photo library.
- Scroll to the very top of the Library tab to reveal the search bar at the top.
- In the search bar, enter “.*” (period followed by an asterisk) and tap on the Enter or Search button on your keyboard.
- After performing the search, you will see all the photos in your Google Photos library displayed on the screen.
- To select all the photos, tap on the three-dot menu icon located at the top right corner of the screen. A dropdown menu will appear.
- From the dropdown menu, tap on the “Select all” option. This will instantly select all the photos in your library.
- Once the photos are selected, you can proceed to perform various actions on them. For example, you may choose to add the selected photos to an album or delete them entirely from your library.
With just a few taps, you can easily select all photos in Google Photos on your mobile device. This method provides a quick and efficient way to manage your photos and perform batch actions on the go.
Remember to be cautious when performing actions on the selected photos, especially when deleting them. Once photos are deleted, they cannot be recovered from Google Photos.
Now that you know how to select all photos on your mobile device, you have the flexibility to manage your Google Photos library regardless of whether you’re using a desktop or a mobile device.
By utilizing these two methods, you can confidently select all your photos in Google Photos and streamline your photo management process.
Conclusion
Selecting all photos in Google Photos is a valuable skill that can save you time and effort when managing your digital photo collection. Whether you use Google Photos on your desktop or mobile device, the methods outlined in this article provide easy and efficient ways to select all your photos.
If you predominantly use Google Photos on your desktop, you can follow the simple steps mentioned in Method 1. By selecting the first and last photo in your collection while holding down the Shift key, you can easily select all the photos in between. From there, you can perform various actions like creating albums or deleting unwanted images.
For those who prefer managing their photos on their mobile devices, Method 2 provides a straightforward approach. By performing a search using the “.*” query, you can quickly select all photos in your library. This method is particularly useful when you want to perform batch actions while on the go.
Remember, when performing actions on your selected photos, exercise caution and double-check your selections to avoid any unintended consequences. Once photos are deleted, they cannot be recovered from Google Photos.
With these methods and techniques, you have the tools to effectively manage your photo library, create themed albums, and perform other bulk actions. Take advantage of the selection capabilities in Google Photos to save time, organize your photos, and preserve your cherished memories.
So, whether you’re planning to create a dazzling vacation album or declutter your photo collection, make use of the methods outlined in this article to select all photos in Google Photos. With a few simple clicks or taps, you’ll be on your way to mastering your photo management tasks with ease.