Introduction
Welcome to this guide on how to change a hard disk drive (HDD). In today’s digital age, storage space is in constant demand. Whether you’re looking to upgrade your storage capacity or replace a faulty HDD, this step-by-step guide will walk you through the process.
An HDD is a crucial component of any computer system, as it houses all the data, files, and operating system that enable your computer to function. Over time, HDDs can become full, slow down, or even fail. When that happens, it’s important to know how to replace the HDD without losing any valuable data.
In this guide, we’ll cover everything you need to know to successfully change your HDD. From preparing for the replacement to safely disconnecting the cables and installing the new HDD, we’ll guide you through each step, ensuring a smooth transition.
It’s essential to gather the necessary tools before starting the replacement process. We’ll outline the tools you’ll need and provide tips to make the process more efficient. Additionally, we’ll guide you on how to safely shut down your computer to avoid any potential damage.
Next, we’ll dive into locating and removing the old HDD from your computer. You’ll learn how to disconnect the cables properly and ensure a safe removal. Once the old HDD is out, we’ll guide you through the process of installing the new HDD, reconnecting the cables, and securing the new drive in place.
After completing the physical installation, we’ll cover how to power up your computer and ensure that the new HDD is recognized by the system. We’ll then walk you through the process of formatting and partitioning the new drive, ensuring it is ready for use.
By following this guide, you’ll be equipped with the knowledge and skills to change your hard disk drive confidently. Whether you’re a novice computer user or a seasoned tech enthusiast, this guide will provide you with the necessary steps to successfully complete the HDD replacement process.
So, let’s dive in and begin the journey to change your hard disk drive!
Understanding the Hard Disk Drive (HDD)
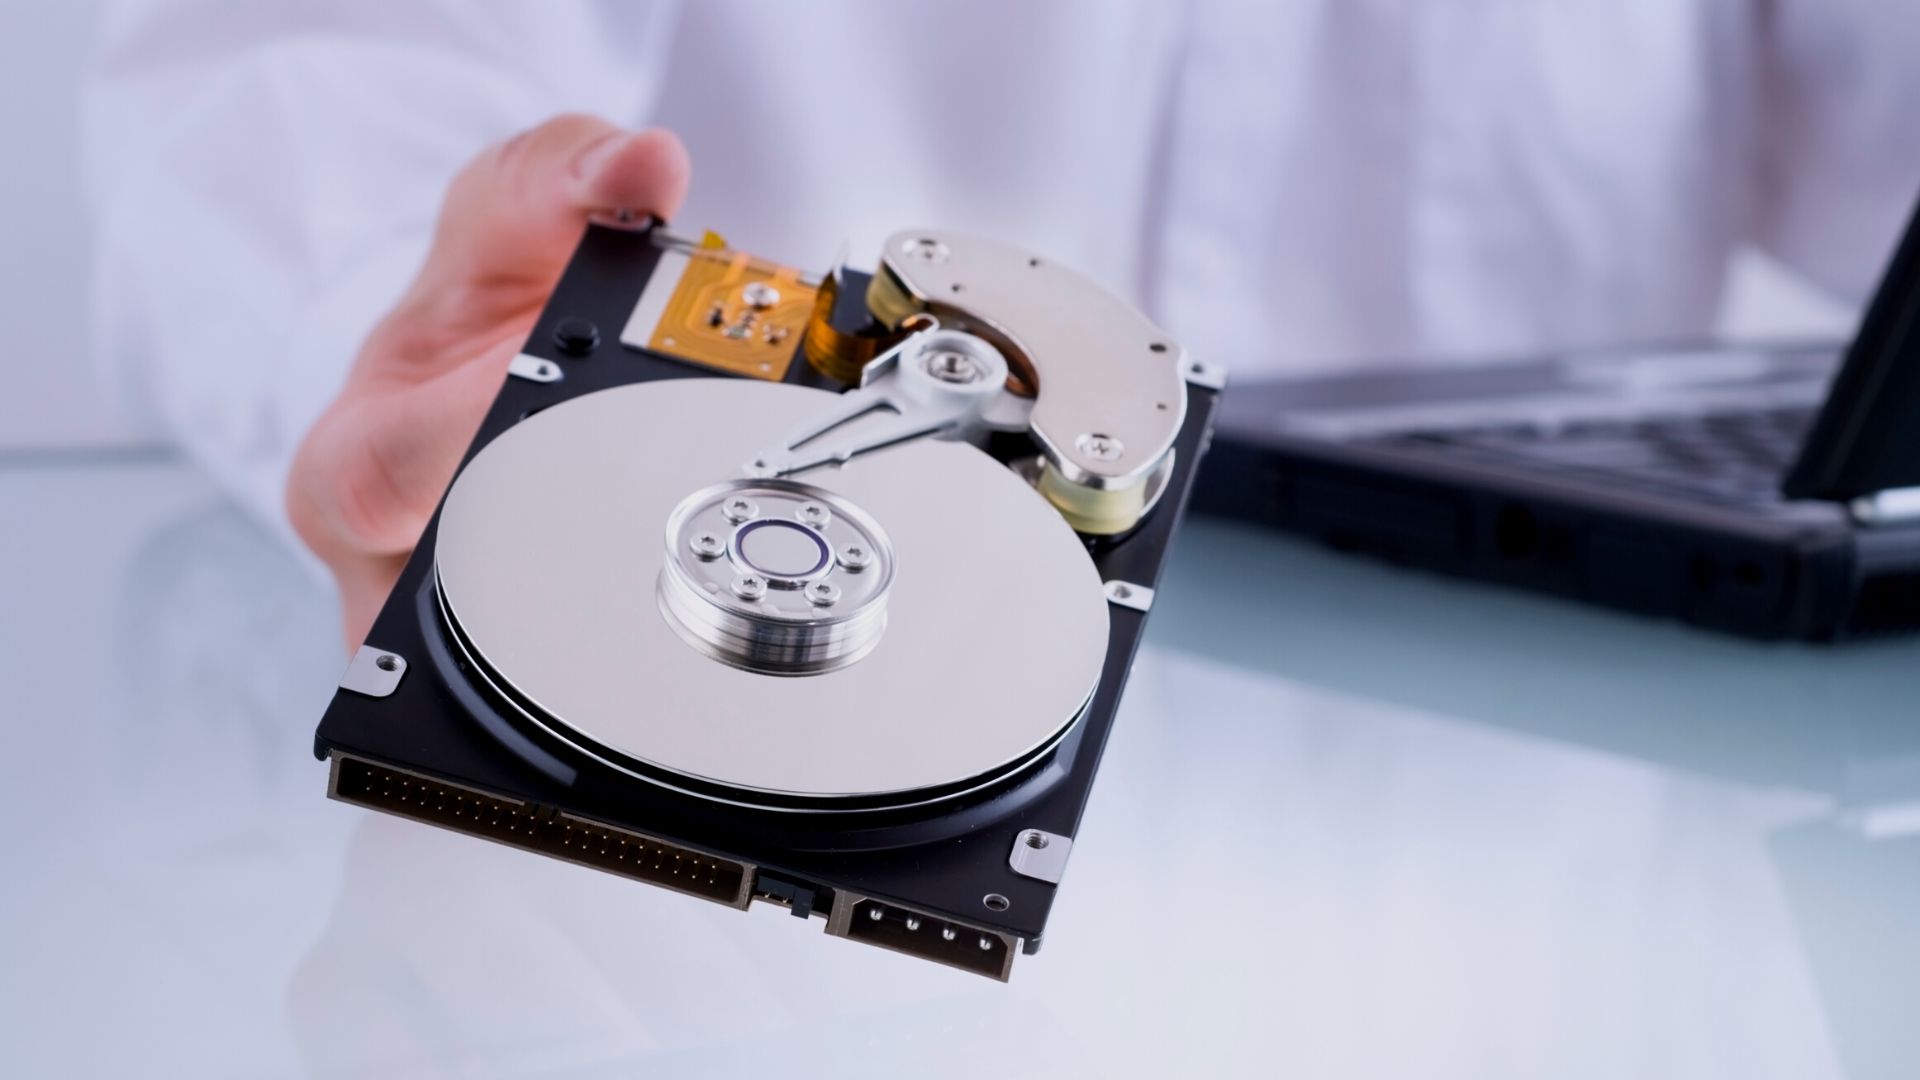
Before we delve into the process of changing a hard disk drive (HDD), let’s take a moment to understand what an HDD is and how it functions. The HDD is the primary storage device in most computers and is responsible for storing and retrieving data.
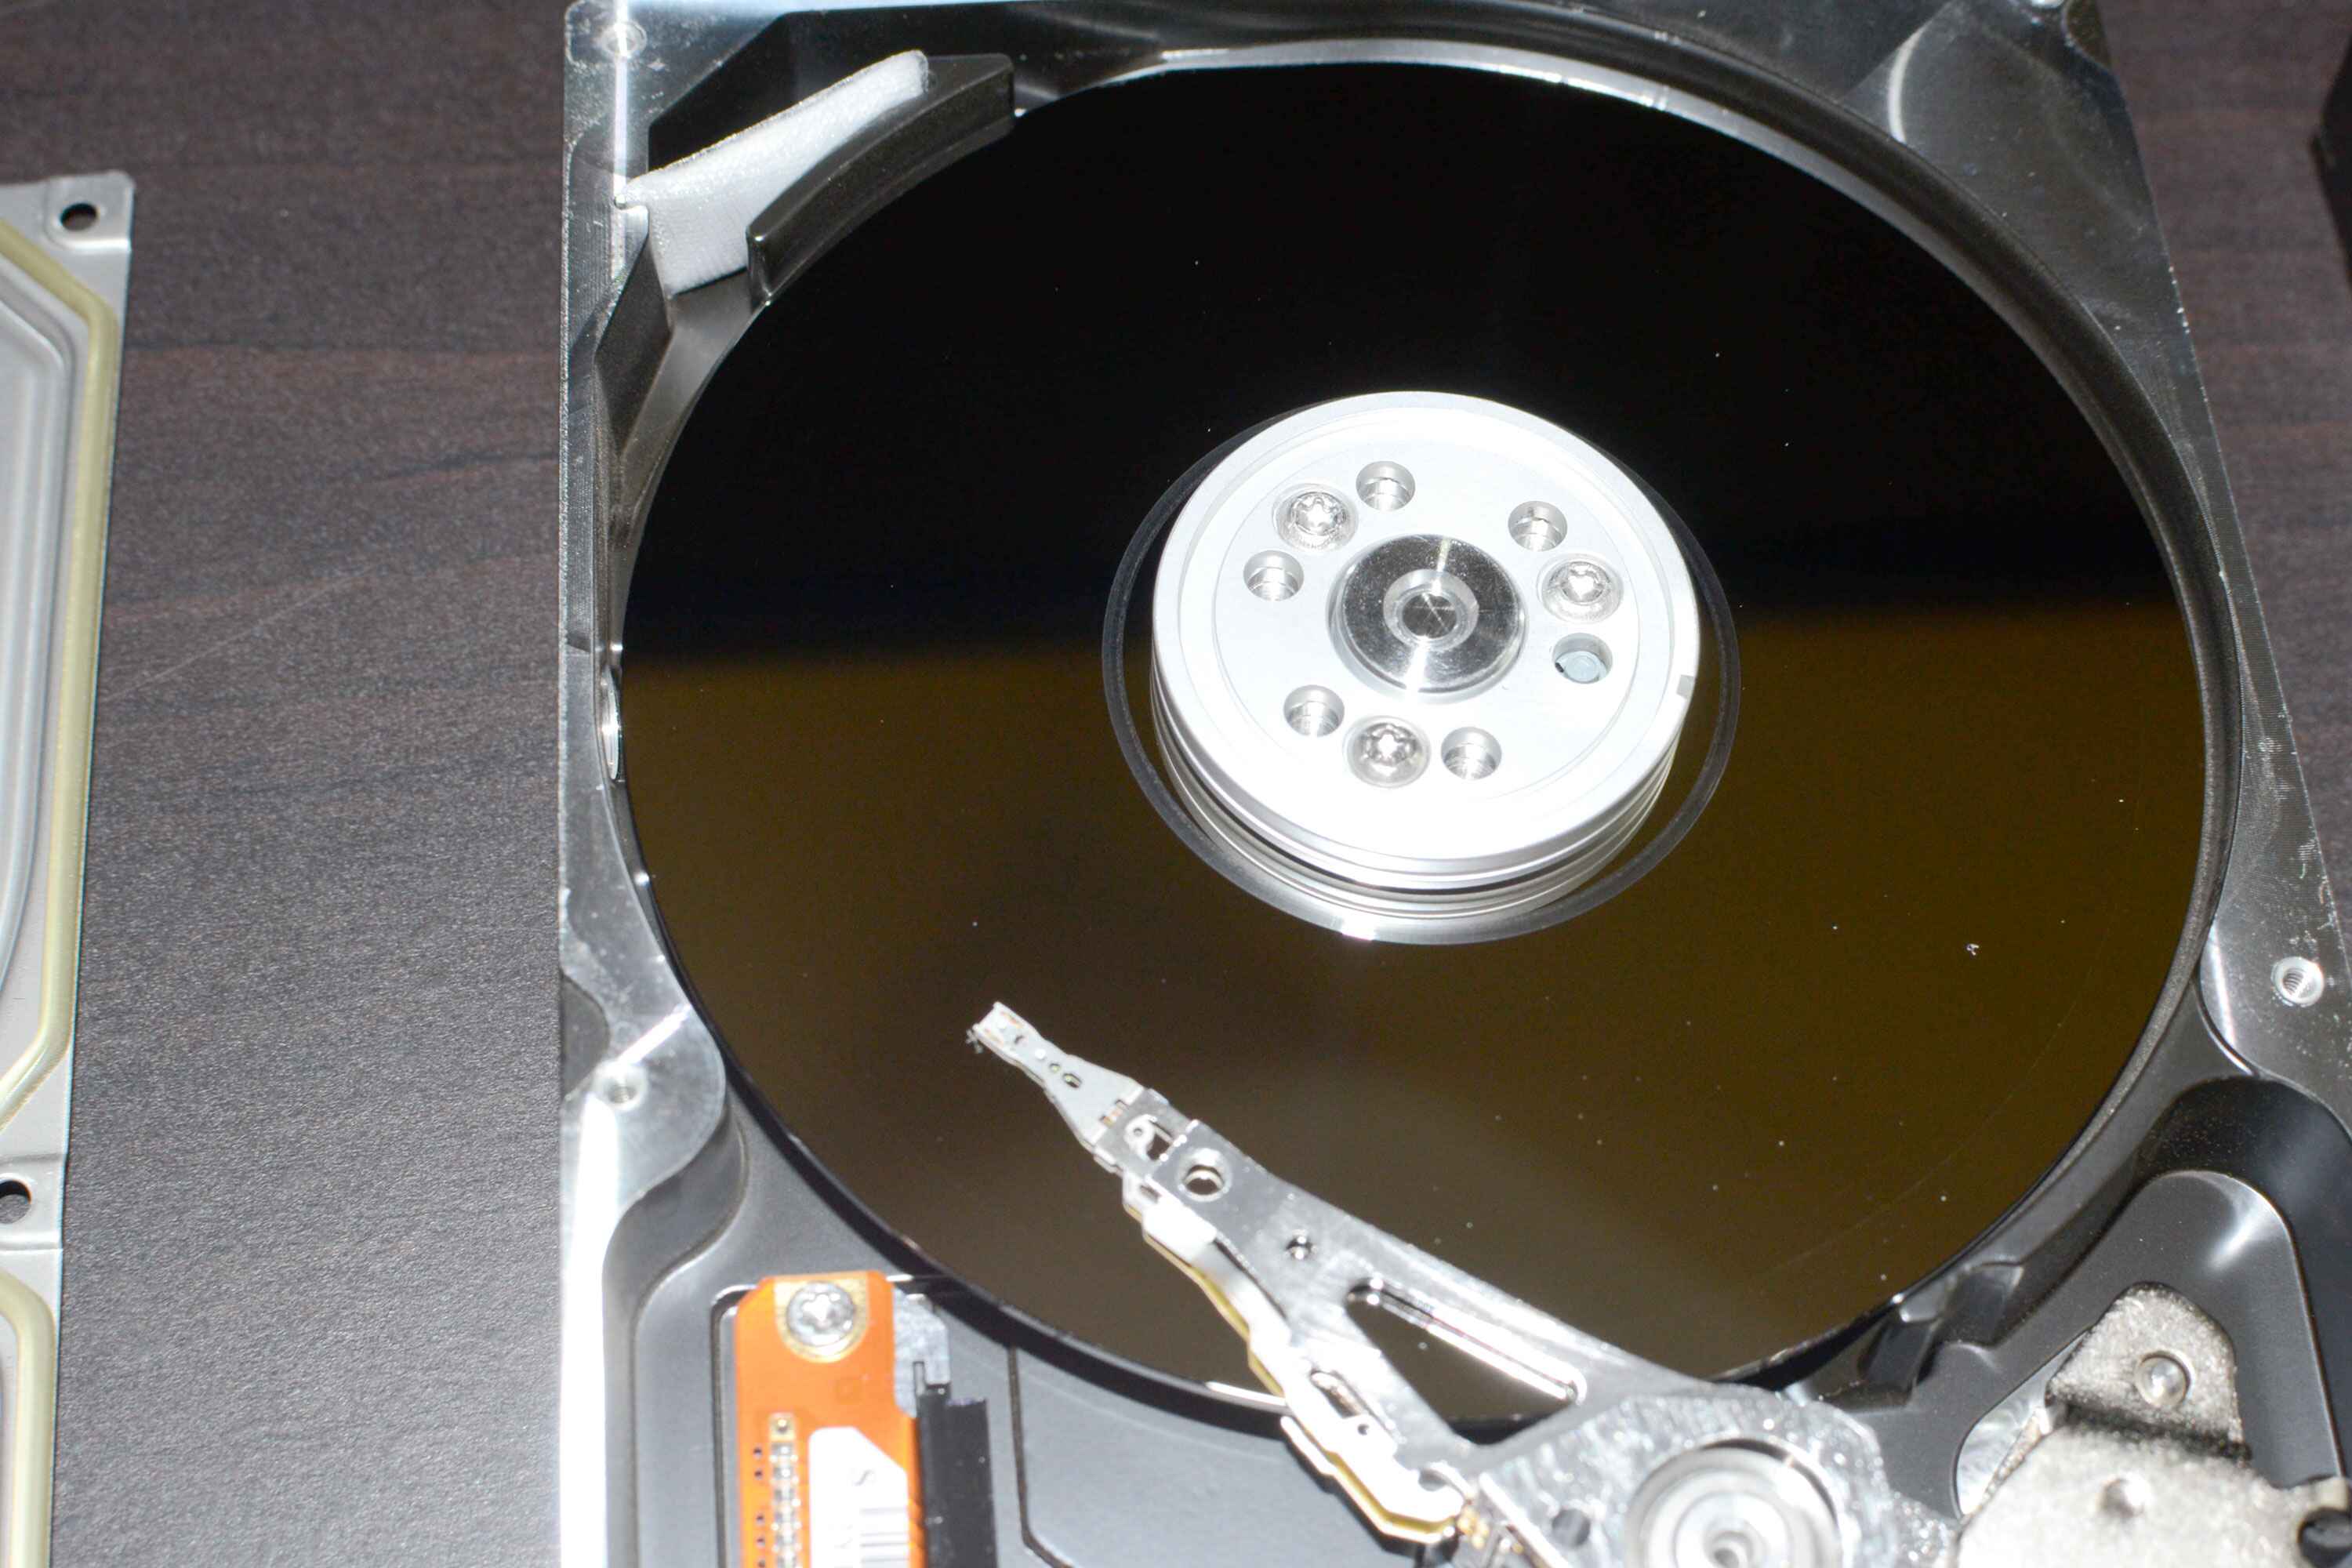
An HDD consists of one or more magnetic disks, also known as platters, which are coated with a thin layer of magnetic material. These platters rotate at high speeds while an arm with read/write heads moves across them to access and store data. The read/write heads use magnetic fields to read and write data onto the platters.
The data is stored in sectors on the platters, and each sector has a unique address. The sectors are organized into tracks, which are concentric circles on the platters. The arm with the read/write heads moves to the correct track and sector to read or write data.
HDDs utilize a file system to manage the storage and retrieval of data. Common file systems include NTFS (used by Windows) and HFS+ (used by macOS). The file system organizes the data into files and directories, allowing the operating system to locate and access specific data as needed.
Storage capacity is one of the key factors to consider when choosing an HDD. This capacity is measured in gigabytes (GB) or terabytes (TB) and determines how much data the HDD can store. Today, HDDs come in various sizes, ranging from smaller capacities like 500GB to larger capacities exceeding 10TB.
Another important aspect to consider is the spin speed of the HDD. The spin speed refers to how fast the platters rotate, measured in revolutions per minute (RPM). Higher spin speeds generally result in faster data transfer rates and improved performance.
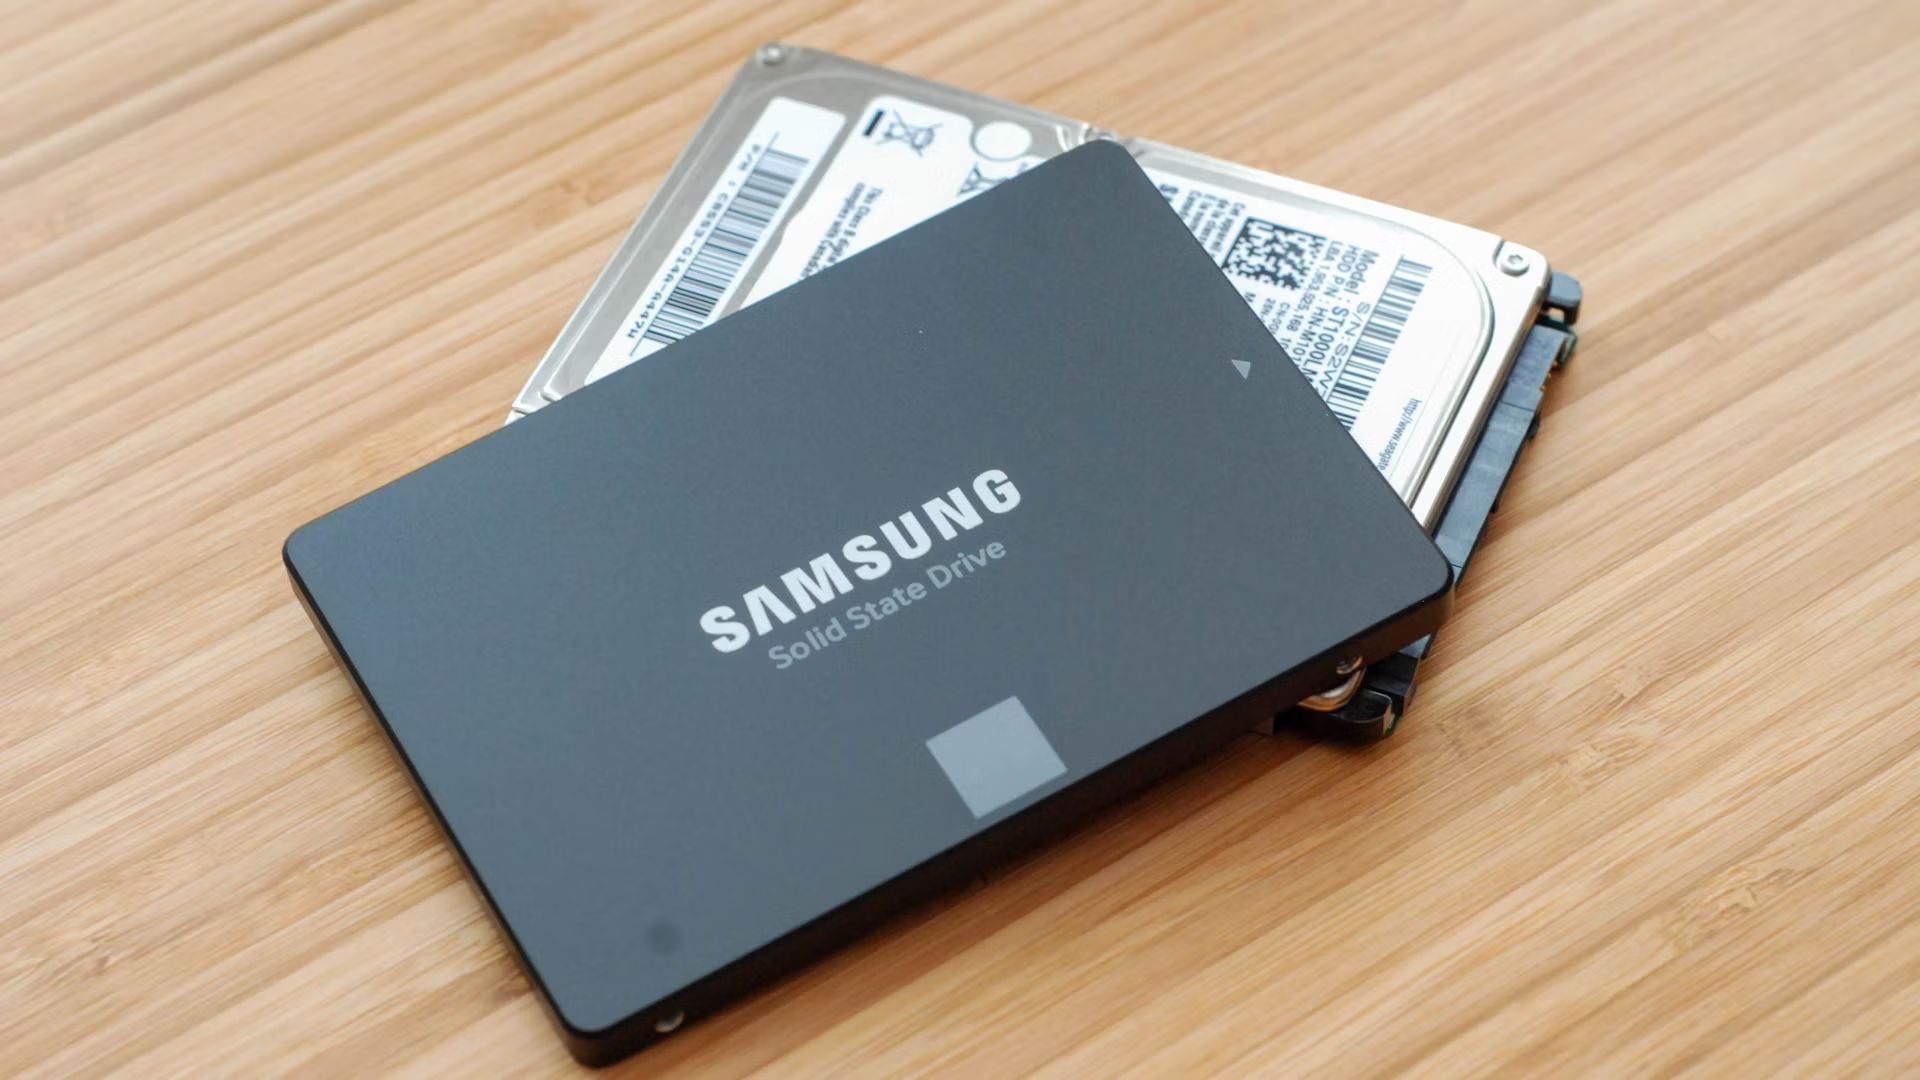
While HDDs have been the leading storage solution for decades due to their affordability and capacity, they do have some limitations. They are more susceptible to physical damage due to their moving parts, and their slower read/write speeds make them less suitable for applications that require fast data access. However, HDDs still remain a popular choice for storing large amounts of data, especially in desktop computers and servers.
Having a basic understanding of how an HDD works and its key characteristics will help you better appreciate the importance of changing or upgrading your HDD when needed. So, let’s move on to the next section, where we’ll explore how to prepare for the HDD replacement.
Preparing for the Replacement
Before diving into the process of changing your hard disk drive (HDD), it’s crucial to prepare yourself and your computer for the replacement. Taking the time to properly prepare will ensure a smoother transition and minimize the risk of any potential issues.
The first step in preparing for the replacement is to backup your data. It’s essential to create a backup of all your important files, documents, and any other data stored on the HDD that you’re going to replace. This ensures that you won’t lose any valuable information during the replacement process.
There are several ways to backup your data. One option is to use an external hard drive or a cloud storage service. Simply transfer your files onto the external hard drive or upload them to the cloud, ensuring that you have a copy of everything you need.
Once your data is backed up, it’s a good idea to gather all the necessary tools for the replacement. This includes a screwdriver set (typically Phillips and/or Torx screwdrivers), an anti-static wrist strap (to protect against static electricity), and any other tools specific to your computer model (if applicable).
It’s also important to ensure that you have the correct replacement HDD. Double-check the specifications, such as storage capacity, interface type, and form factor, to ensure compatibility with your computer. Additionally, consider factors such as spin speed and brand reputation when choosing a replacement HDD.
Before starting the replacement, make sure you have a clear workspace with plenty of room to work. It’s recommended to work on a non-static surface, such as a wooden table or an anti-static mat. This helps minimize the risk of damaging sensitive components with static electricity.
Lastly, familiarize yourself with your computer’s user manual or online guides specific to your model. These resources can provide additional information or specific instructions on how to replace the HDD in your particular computer.
By taking the time to properly prepare for the HDD replacement, you’ll have a better understanding of the process and reduce the likelihood of encountering any issues along the way. With your data backed up and the necessary tools in hand, you’re now ready to move on to the next step: shutting down your computer safely.
Gathering the Necessary Tools
Before proceeding with the replacement of your hard disk drive (HDD), it’s important to gather all the necessary tools. Having the right tools on hand will make the process much smoother and more efficient.
The primary tool you will need is a screwdriver set. Most computer cases use either Phillips or Torx screws, so having a set that includes both types is recommended. This will ensure that you have the appropriate screwdriver for removing and securing the screws on your computer case.
In addition to the screwdriver set, you may need a few specialized tools depending on your specific computer model. Some laptops, for example, require a spudger or a set of pry tools to help in safely removing the keyboard or other components. If you’re unsure about any specialized tools required, consult your computer’s user manual or search for online guides specific to your model.
Another essential tool to have is an anti-static wrist strap. This strap helps protect sensitive electronic components in your computer from damage caused by static electricity. Before touching any internal components, it’s important to ground yourself by connecting the anti-static wrist strap to a grounded object, such as a metal part of your computer case.
To prevent damage to the HDD and other components, consider using an anti-static mat or working on a non-static surface. This helps minimize static electricity buildup and discharge as you handle the components.
If you’re replacing a desktop HDD, it’s also beneficial to have a SATA data cable and a SATA power cable on hand. These cables are necessary for connecting the new HDD to the motherboard and the power supply unit. In some cases, these cables may come with the new HDD, but it’s always good to have extras in case they are not included.
Lastly, it’s a good idea to have a clean and organized workspace. Having a small container or tray to hold screws and other small components will help ensure that they are not misplaced during the replacement process.
By gathering all the necessary tools beforehand, you’ll save time and avoid any frustration during the HDD replacement. This preparation will set you up for success as you move on to the next step: safely shutting down your computer.
Safely Shutting Down the Computer
Before proceeding with the replacement of your hard disk drive (HDD), it’s crucial to safely shut down your computer. By following the proper shutdown procedure, you can protect your data and prevent any potential damage to your computer components.
The first step is to save all your work and close any open applications. Make sure that you have saved any important files or documents that you are currently working on. This ensures that you won’t lose any unsaved data during the shutdown process.
Next, properly close all running applications and programs. This can typically be done by clicking on the “X” or selecting “Close” from the File menu. It’s important to close all programs to prevent any potential data corruption or loss.
Once all applications are closed, it’s time to initiate the shutdown process. In Windows, click on the “Start” menu and select the “Shutdown” or “Power” option. On a Mac, click on the Apple menu and choose “Shut Down”. This will prompt the operating system to begin the shutdown sequence.
It’s crucial to allow the computer to complete the shutdown process before proceeding to the next steps. The shutdown process ensures that all data is properly saved to the HDD and that it’s safe to power off the computer.
Once the computer has completely shut down, it’s recommended to unplug the power cord from the back of the computer or the power outlet. This step helps ensure that there is no power supply to the computer, reducing the risk of electrical shock or damage to the components.
Before proceeding any further, it’s important to discharge any static electricity buildup from your body. You can do this by touching a grounded metal object, such as a metal part of your computer case. Alternatively, you can wear an anti-static wrist strap and keep it connected to a grounded object throughout the process.
By following these steps, you will safely shut down your computer, protecting your data and components. With the computer powered off, you’re now ready to move on to the next section, where we’ll guide you on how to locate and remove the HDD.
Locating and Removing the HDD
Now that you have safely shut down your computer, it’s time to locate and remove the existing hard disk drive (HDD). By following these steps, you’ll be able to access the HDD and prepare it for replacement.
The location of the HDD can vary depending on the type of computer you have. In most desktop computers, the HDD is typically located in the lower front portion of the computer case. It is housed in a drive bay, which is a metal or plastic enclosure that holds the HDD securely in place.
To access the HDD, you’ll need to open your computer case. Most desktop cases use screws or clips to hold the side panel in place. Use a screwdriver or release the clips to remove the side panel, allowing you access to the internal components of the computer.
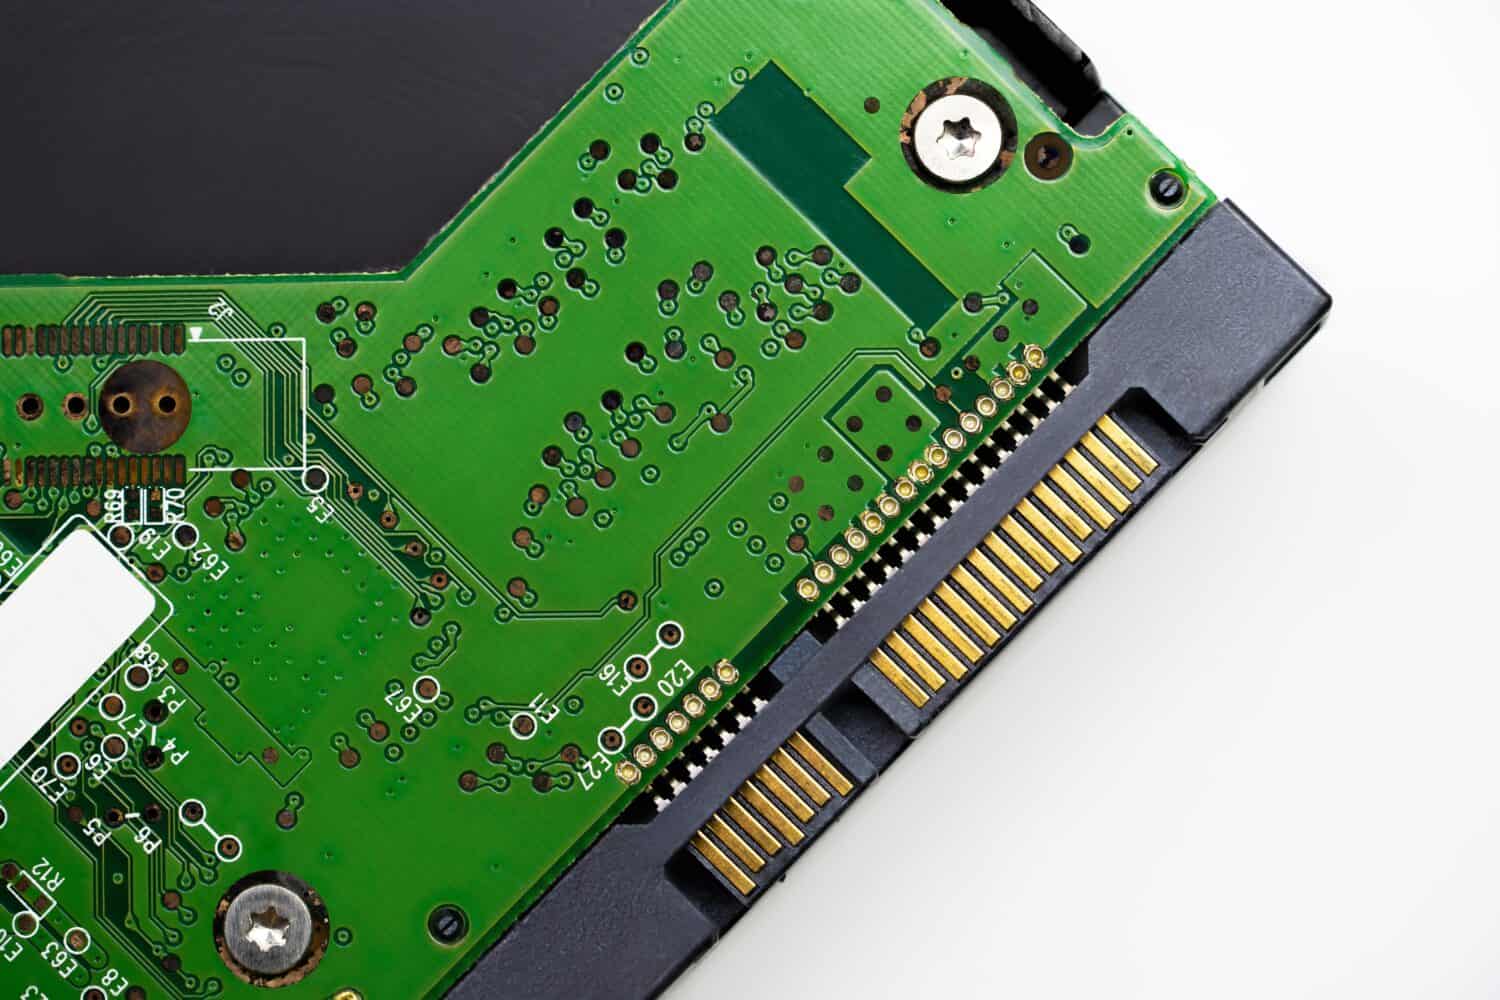
Once the case is open, you’ll be able to locate the HDD. It is a rectangular-shaped device with cables attached to it. Pay close attention to the connections on the HDD, as you’ll need to disconnect these cables later on.
Before removing the HDD, it’s essential to handle it with care. Avoid touching the circuit boards or any exposed components. Hold the HDD by its edges or use an anti-static wrist strap to prevent any damage caused by static electricity.
To remove the HDD from its drive bay, look for screws or mounting brackets that secure it in place. Use a screwdriver to remove these screws or release the brackets, carefully detaching the HDD from the drive bay.
Once the screws or brackets are removed, gently slide the HDD out of the drive bay. If there are any cables connected to the HDD, ensure that you do not strain or pull on them excessively. Take note of how the cables are connected, as you’ll need to reconnect them to the new HDD later on.
Now that the HDD has been successfully removed, place it in a safe and secure location. If you’re replacing the HDD, it’s a good practice to keep the old HDD as a backup or for future use.
With the old HDD removed, you’re now ready to proceed to the next section, where we’ll guide you on disconnecting the cables from the HDD.
Disconnecting the Cables
Now that you have located and removed the old hard disk drive (HDD) from its drive bay, the next step is to disconnect the cables attached to it. Properly disconnecting the cables ensures a smooth and safe removal process.
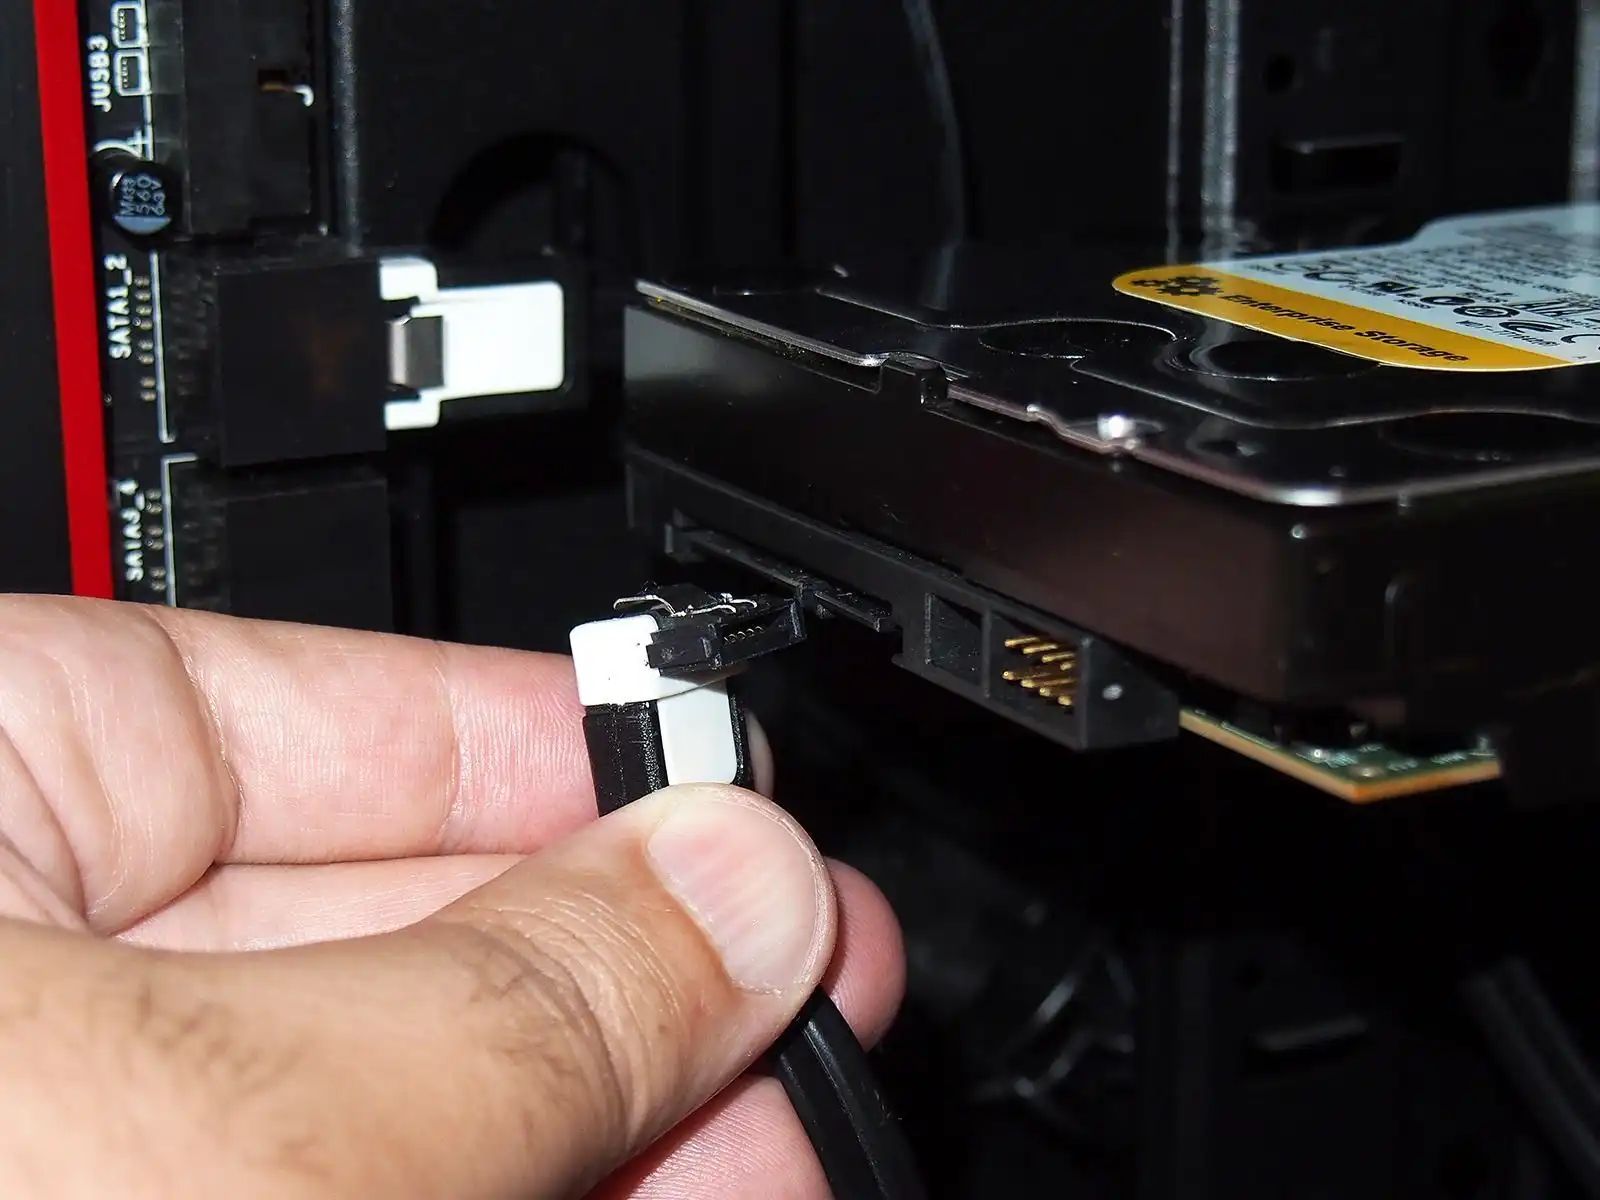
There are typically two types of cables connected to the HDD: the data cable and the power cable. The data cable, usually a SATA cable, is responsible for transferring data to and from the HDD. The power cable, typically a SATA power cable, supplies power to the HDD.
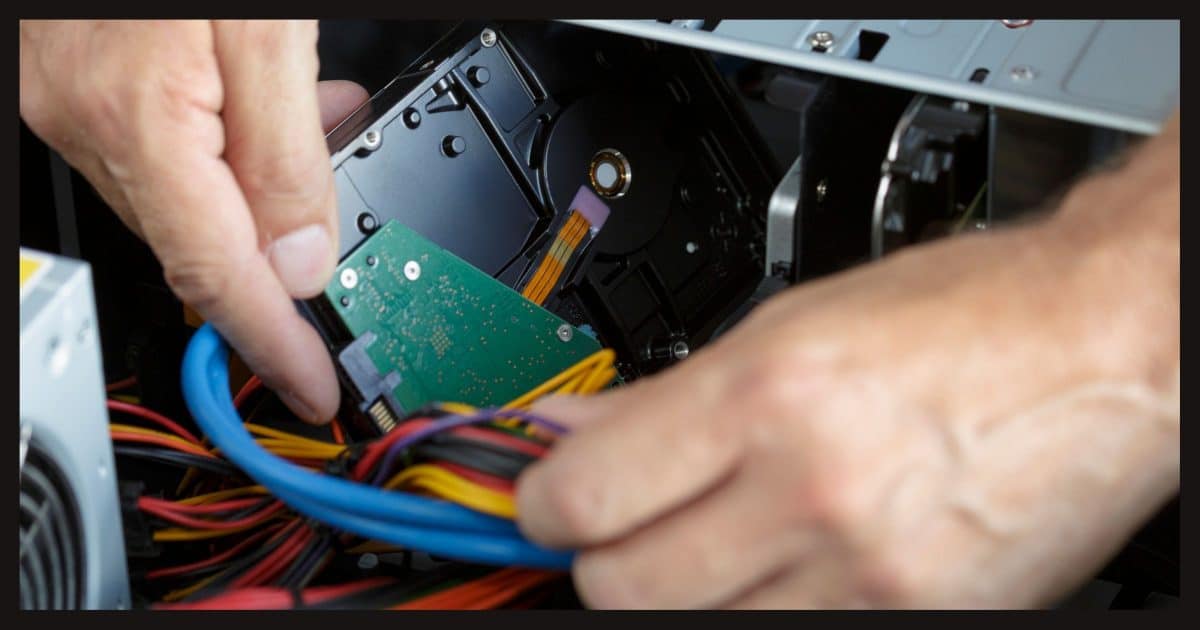
Start by identifying the data cable connected to the HDD. It is a flat and narrow cable with a plastic connector on either end. Locate the plastic connector attached to the HDD and gently grip it. Wiggle it slightly from side to side while pulling it straight out of the HDD. Ensure that you do not pull excessively on the cable to avoid damaging the connection.
Next, locate the power cable connected to the HDD. The power cable has a wider and rectangular-shaped connector. Similar to the data cable, gently grip the plastic connector and pull it straight out of the HDD. Take care not to exert too much force to prevent any damage.
Once both the data and power cables are disconnected from the HDD, carefully set them aside. It can be helpful to label or remember which cable goes where if you have multiple drives in your system.
Inspect the connectors on the cables for any signs of damage or debris. If you notice any issues, it may be necessary to replace the cables before connecting them to the new HDD. Ensure that both the connectors on the cables and the ports on the HDD are clean and free from any obstructions.
With the cables safely disconnected from the old HDD, you are now ready to move on to the next section, where we will guide you on installing the new HDD and reconnecting the cables.
Installing the New HDD
Now that you have successfully disconnected the cables from the old hard disk drive (HDD), it’s time to install the new HDD into your computer. Installing the new HDD will involve securing it in the drive bay and connecting the necessary cables.
Begin by carefully placing the new HDD into the empty drive bay. Ensure that the SATA data and power connectors on the HDD align with the corresponding ports in the drive bay. Gently slide the HDD into the bay until it is fully inserted.
If there are mounting brackets or screw holes in the drive bay, use screws or brackets provided with your computer case to secure the new HDD in place. Be careful not to overtighten the screws, as this could damage the HDD or the drive bay.
Once the new HDD is securely in place, locate the SATA data cable. Connect one end of the SATA data cable to the corresponding port on the motherboard or SATA controller card. Ensure that the connector is inserted straight and fully into the port, and that it is oriented correctly to match the keying on the port.
Next, locate the SATA power cable and connect it to the power supply unit (PSU). The SATA power connectors are usually labeled and have a distinctive L-shaped connector. Insert the connector into an available SATA power port on the PSU, making sure it is fully inserted and secure.
With the new HDD securely installed and the cables connected, double-check all connections to ensure they are properly attached. Verify that the SATA data and power cables are firmly connected at both ends: the HDD and the motherboard or SATA controller card, and the HDD and the PSU, respectively.
Take a moment to organize and arrange the cables inside your computer case, ensuring that they do not obstruct any fans or moving parts. Use cable ties or cable management clips to secure and tidy up the cables, promoting better airflow and reducing clutter.
Now that the new HDD is successfully installed and connected, you are ready to move on to the next section, where we will guide you on reconnecting the cables to the new HDD.
Reconnecting the Cables
With the new hard disk drive (HDD) securely installed in your computer, it’s time to reconnect the cables that you previously disconnected. The cables to be reconnected include the data cable and the power cable.
Start by locating the SATA data cable that you disconnected from the old HDD. The SATA data cable has a narrow and flat connector on each end. Connect one end of the cable to the corresponding port on the new HDD. Ensure that the connector is aligned properly and insert it straight into the port until it clicks into place.
Next, locate the SATA power cable that you disconnected earlier. The SATA power cable has a rectangular-shaped connector. Connect one end of the cable to the power port on the new HDD. Again, ensure that the connector is aligned correctly and insert it fully until it is secure.
Double-check the connections to ensure that the SATA data and power cables are firmly attached to both the new HDD and the appropriate ports on the motherboard or SATA controller card and the power supply unit (PSU) respectively.
Take a moment to organize and arrange the cables within the computer case. Ensure that the cables do not obstruct any fans or moving parts and use cable ties or cable management clips to secure and tidy up the cables.
Now that the cables are reconnected, it’s crucial to ensure that they are properly seated and secured in place. Loose or partially connected cables can cause data transfer issues or lead to improper power supply to the HDD.
Before closing up your computer case, ensure that all other internal components, such as memory modules and expansion cards, are properly seated and secure. This will help prevent any potential issues during the operation and use of your computer.
With the cables reconnected and the internal components checked, you are now ready to proceed to the next steps of securing the new HDD and powering up your computer. We will guide you through these steps in the upcoming sections.
Securing the New HDD
After reconnecting the cables to the new hard disk drive (HDD), it’s important to properly secure the drive in its designated spot within your computer. Securing the HDD will ensure that it remains stable and protected, reducing the risk of any damage.
If your computer case has mounting brackets or screw holes in the drive bay, use screws or brackets provided with your computer case to secure the new HDD in place. Carefully align the holes on the HDD with the corresponding holes in the drive bay.
Insert the screws into the holes and use a screwdriver to tighten them just enough to hold the HDD securely in place. Be cautious not to overtighten the screws, as this can cause damage to both the HDD and the drive bay.
Ensure that the new HDD is properly aligned and level within the drive bay. It should not be loose or wobbly. Take a moment to gently shake the computer case to ensure that the HDD is secure and doesn’t move around excessively.
Double-check that no cables or components are obstructing the HDD’s fan (if applicable) or impeding the free flow of air within the computer case. Proper airflow is essential for optimal cooling of the HDD and other internal components.
If your computer case utilizes tool-less mechanisms for drive installation, follow the instructions provided with your case to secure the new HDD without the need for screws. These mechanisms typically involve tabs or levers that lock the drive in place.
Once your new HDD is securely fastened, you’re ready to proceed to the next section where we’ll guide you on powering up your computer and checking the functionality of the newly installed HDD.
Powering Up the Computer
With the new hard disk drive (HDD) securely installed and the cables connected, it’s time to power up your computer and ensure that the new HDD is recognized by the system. Following the proper steps will help you verify the functioning of the newly installed HDD.
Before turning on the computer, double-check that all the cables and components are securely connected and in their proper place. This includes verifying the power and data cables connected to the new HDD, as well as ensuring that the RAM modules and other expansion cards are seated correctly.
Once you’re confident that everything is in order, you can plug in and reconnect the power cord to the power supply unit (PSU) at the back of your computer. Ensure that the power cord is securely plugged into the PSU and the power outlet.
Before pressing the power button, it’s important to take a moment to ground yourself by touching a grounded metal object or wearing an anti-static wrist strap, especially if you have been moving around or working on other components.
Now, press the power button on your computer to start it up. Listen for any startup sounds, such as fans spinning, and pay attention to the lights on your computer. These indicators can provide valuable feedback on the functioning of your computer during startup.
As your computer boots up, keep an eye on your monitor for any error messages or prompts. Ensure that the BIOS or UEFI recognizes the new HDD and displays it as a connected storage device.
If the new HDD is not recognized by the system, double-check the connections and ensure that the cables are properly seated. You may also need to access your computer’s BIOS or UEFI settings to ensure that the drive is properly configured and enabled.
If the new HDD is recognized and appears in the BIOS or UEFI settings, proceed to the next step of formatting and partitioning the drive, which we will discuss in the subsequent section.
By following these steps, you can power up your computer and verify that the new HDD is functioning correctly. If you encounter any issues, double-check the connections and consult your computer’s documentation or seek assistance to troubleshoot the problem.
Formatting and Partitioning the New HDD
Now that your computer has been powered up and the new hard disk drive (HDD) is recognized, it’s important to format and partition the drive before you can start using it to store your data. Formatting and partitioning will prepare the HDD for use within your operating system.
Formatting the new HDD involves setting up the file system, which allows your computer to organize and store data on the drive. The most common file systems are NTFS (used by Windows) and HFS+ (used by macOS). Choose the file system that is compatible with your operating system and aligns with your preferences.
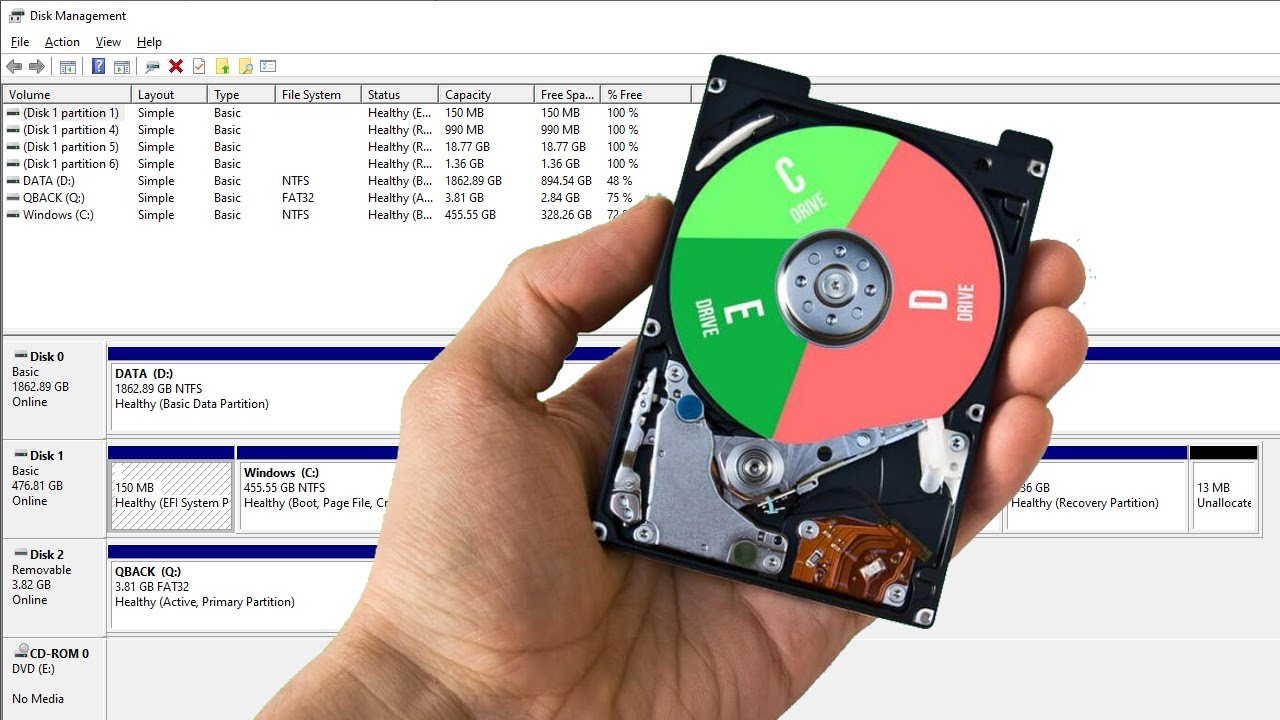
Partitioning the HDD involves dividing it into one or more logical sections called partitions. Each partition functions as a separate entity, allowing you to store and manage data independently. This can be useful for organizing your files and separating your operating system from your personal data.
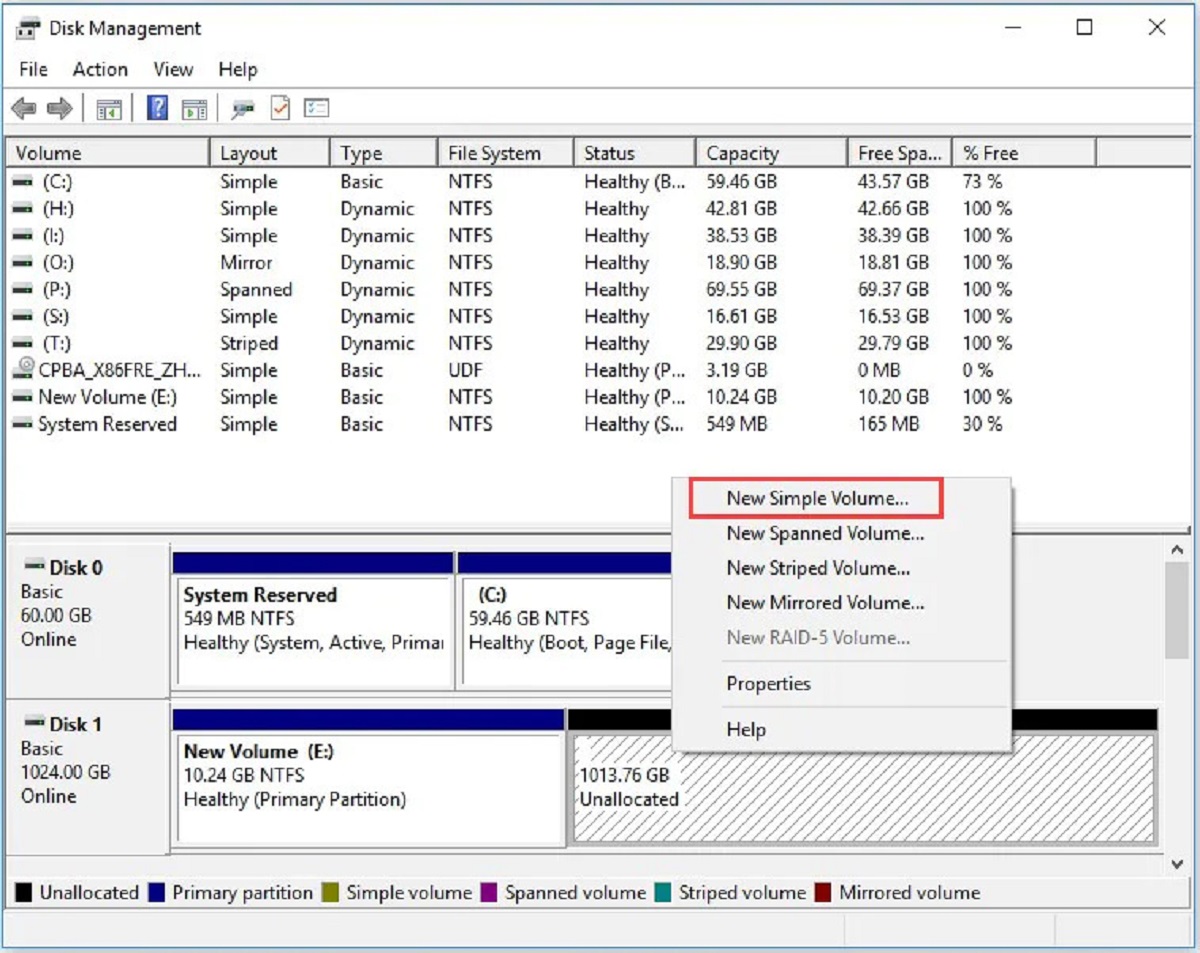
To format and partition the new HDD, you can use the built-in disk management tools provided by your operating system. In Windows, you can navigate to the Disk Management utility by right-clicking the Start button and selecting “Disk Management”. In macOS, you can use the Disk Utility application found in the Utilities folder within the Applications folder.
Within the disk management tool, locate the new HDD and select it. You should see the unallocated space on the drive, as it hasn’t been formatted or partitioned yet. Right-click (Windows) or click the “Erase” or “Partition” button (macOS) to begin the process.
Follow the on-screen prompts to select the desired file system and partition size for each partition. You can choose to create one large partition to utilize the full capacity of the HDD or multiple partitions based on your needs. Be cautious when allocating space and ensure that you leave enough room for future data storage.
After confirming the settings, proceed with the formatting and partitioning process. This may take some time, depending on the size of the HDD and the formatting options chosen. Once completed, the new partitions will be visible in your file explorer or Finder, ready for use.
Remember to assign meaningful names to the partitions to easily identify their purpose or content. This can help you stay organized and avoid confusion in the future.
With the new HDD formatted and partitioned, you are now ready to start using it to store your data. Whether you are using it as additional storage or as a replacement for your old HDD, the drive is now prepared for your needs.
Next, we will discuss the steps to ensure the proper functioning of your newly installed HDD, so continue reading to complete the process successfully.
Ensuring Proper Functioning
After formatting and partitioning the new hard disk drive (HDD), it’s important to ensure its proper functioning to avoid any unforeseen issues. This section will guide you through the steps to verify that the HDD is working correctly and ready for use.
Start by accessing your file explorer or Finder and navigate to the newly created partitions on the HDD. Verify that they are visible and accessible. You should be able to create new folders, copy files to the partitions, and retrieve data from them without any errors.
Perform a quick test by copying a small file to each partition, then try accessing and opening the file to ensure that it works as expected. Repeat this process for all created partitions to confirm that they are functioning properly.
If you encounter any issues or error messages while accessing or copying files, double-check the formatting and partitioning process to ensure that all settings were correctly applied. It’s also a good idea to check for any firmware updates for your HDD, as these updates can address compatibility issues and improve performance.
Monitor the performance of the HDD by observing the read and write speeds while transferring files. While the transfer speed may vary depending on the specific HDD model and your computer’s capabilities, it should generally be within a reasonable range and consistent throughout the process.
Regularly back up your important data to the new HDD and perform periodic checks to ensure that all your files are properly stored and accessible. This will give you peace of mind knowing that your data is safe and protected on the new drive.
If you notice any unusual noises coming from the HDD or experience recurring issues with the drive’s performance, it may be a sign of a defective or failing drive. In such cases, it’s advisable to contact the manufacturer’s customer support for further guidance or consult a professional technician.
Lastly, it’s recommended to periodically check for and install any software updates or driver updates related to your HDD. These updates often include bug fixes, performance improvements, and enhanced compatibility, which can contribute to the smooth functioning of the drive.
By following these steps and regularly monitoring the performance of the new HDD, you can ensure its proper functioning and reliability. With a well-functioning drive, you can confidently store and access your data without any concerns.
Now that you have successfully verified the functionality of your newly installed HDD, you can close the chapter on the HDD replacement process. Enjoy the increased storage capacity and improved performance that your new HDD brings to your computer!
Conclusion
Changing a hard disk drive (HDD) can seem like a daunting task, but with the right knowledge and guidance, it becomes a manageable process. In this guide, we have discussed each step involved in replacing an HDD, from preparing for the replacement to ensuring the proper functioning of the newly installed drive.
Understanding the components and functions of an HDD is crucial to grasp the significance of replacing or upgrading it when needed. HDDs serve as the primary storage devices in most computers, housing valuable data and files that enable our systems to operate effectively.
Preparing for the replacement involves creating backups of your important data and gathering the necessary tools to perform the HDD replacement. Properly shutting down your computer and locating and removing the old HDD are crucial steps that ensure the safety of your system and the effective removal of the old drive.
Once the old HDD is removed, securing and connecting the cables to the new HDD helps prepare it for use. The formatting and partitioning processes are essential to set up the new HDD for storing and managing your data efficiently. Finally, ensuring the proper functioning of the new HDD allows you to confidently use it in your computer system.
By following this guide, you have gained the knowledge and skills necessary to navigate the process of changing an HDD without encountering major issues. Remember to exercise caution, take your time, and refer to your computer’s user manual or online resources specific to your model for additional guidance.
Replacing an HDD can breathe new life into your computer, providing ample storage space and improving performance. Whether you’re upgrading for increased capacity or replacing a faulty drive, this guide has equipped you with the necessary steps to achieve a successful HDD replacement.
Now, armed with your newfound knowledge, it’s time to implement the steps outlined in this guide and embark on the journey of changing your hard disk drive. Enjoy the benefits of a fresh HDD and the peace of mind it brings knowing that your data is secure and your computer is functioning optimally.