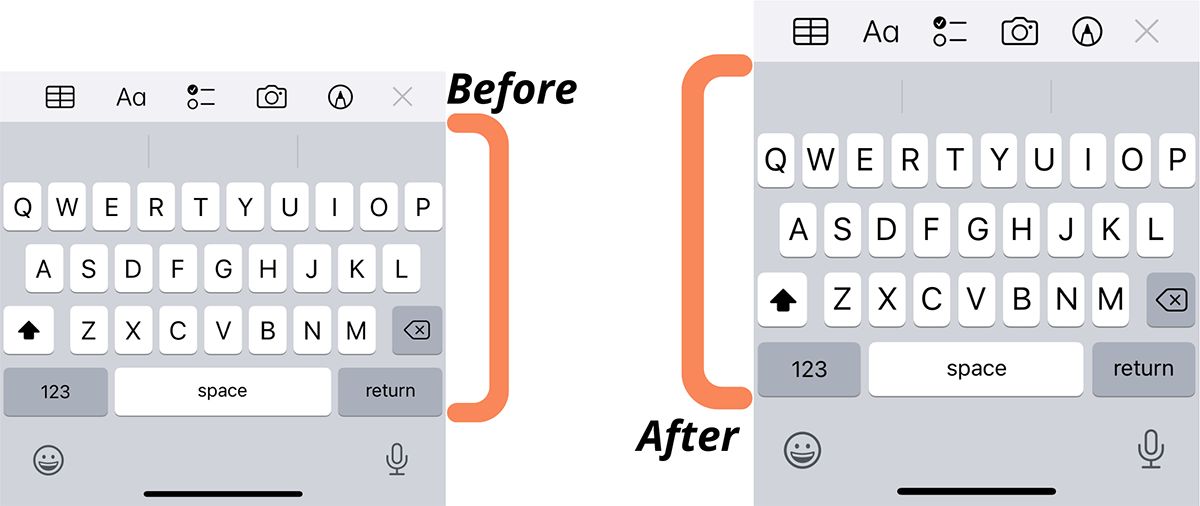
Why Do I Need a Bigger Keyboard?
Using a keyboard that is too small for your needs can be frustrating and uncomfortable. Whether you regularly type lengthy documents, have larger fingers, or experience difficulties with vision, a bigger keyboard can greatly improve your typing experience. Here’s why you might consider upgrading to a larger keyboard:
1. Easier Typing: A bigger keyboard provides more space for your fingers, reducing the chance of hitting the wrong keys. This can result in fewer typing errors and increased typing speed, leading to improved productivity.
2. Increased Comfort: Typing on a small keyboard for extended periods can strain your hands and fingers, causing discomfort or even repetitive strain injuries. A bigger keyboard allows for more natural hand movements, reducing the risk of these issues.
3. Better Visibility: If you struggle with poor eyesight or wear glasses, a larger keyboard with bigger keys makes it easier to see the letters and characters. This enhanced visibility can prevent eye strain and help you type with greater accuracy.
4. Accommodating Larger Fingers: People with larger hands or fingers often struggle with the cramped keys of a small keyboard. A bigger keyboard provides more space between keys, accommodating different hand sizes and reducing accidental presses.
5. Accessibility: A bigger keyboard can be a game-changer for individuals with physical disabilities or conditions that affect motor skills. It offers a more accessible and inclusive typing experience, enabling them to navigate technology more comfortably.
Incorporating a bigger keyboard into your workflow can improve your overall typing efficiency, reduce discomfort, and make the digital experience more enjoyable. Now that we understand the benefits, let’s explore various methods of adjusting the keyboard size on different devices and operating systems.
Adjusting the Keyboard Size on Windows
Windows offers several options to adjust the keyboard size, making it easier for users to find a comfortable typing experience. Follow these steps to modify the keyboard size on your Windows device:
1. Using the On-Screen Keyboard: Windows provides an on-screen keyboard that can be resized. To access it, go to the Start menu, type “On-Screen Keyboard,” and open the app. Once the on-screen keyboard appears, you can resize it by clicking and dragging the edges of the keyboard window.
2. Changing the Keyboard Layout: Windows allows you to switch to different keyboard layouts, such as the “Ease of Access” keyboard or the “Touch Keyboard.” These alternative layouts often come with larger keys, making typing more comfortable. To change the keyboard layout, go to the Start menu, click on “Settings,” select “Time & Language,” and choose “Language” on the left-hand side. From there, select “Keyboards” and add the desired layout.
3. Customizing Keyboard Settings: Windows provides extensive keyboard customization options. To access them, go to the Start menu, click on “Settings,” select “Ease of Access,” and choose “Keyboard” on the left-hand side. Here, you can toggle features like sticky keys, filter keys, and more, which can help accommodate specific typing needs.
Remember to experiment with different settings and layouts to find the keyboard size and layout that suits you best. Whether it’s resizing the on-screen keyboard or customizing keyboard settings, Windows offers flexibility in adjusting the keyboard size to enhance your typing experience.
Adjusting the Keyboard Size on Mac
Mac users have options to adjust the keyboard size and customize their typing experience. Here are the steps to modify the keyboard size on your Mac device:
1. Using the Accessibility Options: Mac provides an Accessibility feature called “Zoom” that can help you enlarge the keyboard. To enable this feature, go to the Apple menu, click on “System Preferences,” select “Accessibility,” and choose “Zoom” from the options on the left-hand side. Check the box next to “Use keyboard shortcuts to zoom,” and then use the keyboard shortcut “Option + Command + = (equal sign)” to zoom in on the screen, including the keyboard.
2. Customizing Keyboard Preferences: Mac also allows you to customize keyboard preferences. To access this feature, go to the Apple menu, click on “System Preferences,” select “Keyboard,” and choose the “Keyboard” tab. Here, you can adjust the “Key Repeat” and “Delay Until Repeat” sliders to change the speed of key response. Increasing the delay or repeat rate can make it easier to type accurately on a smaller keyboard.
3. Using Third-Party Keyboard Apps: If you require a more significant change in keyboard size, you can explore third-party keyboard apps designed specifically for Mac. These apps offer various keyboard layouts and sizes, allowing you to choose the one that best suits your needs. Check the Mac App Store or reputable third-party software websites for options.
By utilizing Mac’s built-in accessibility options and keyboard preferences, or opting for third-party apps, you can adjust the keyboard size on your Mac device to enhance your typing comfort and overall productivity. Experiment with different settings to find the configuration that works best for you.
Changing the Keyboard Size on Android
Android devices offer various methods to change the keyboard size, providing users with flexibility and customization options. Follow these steps to adjust the keyboard size on your Android device:
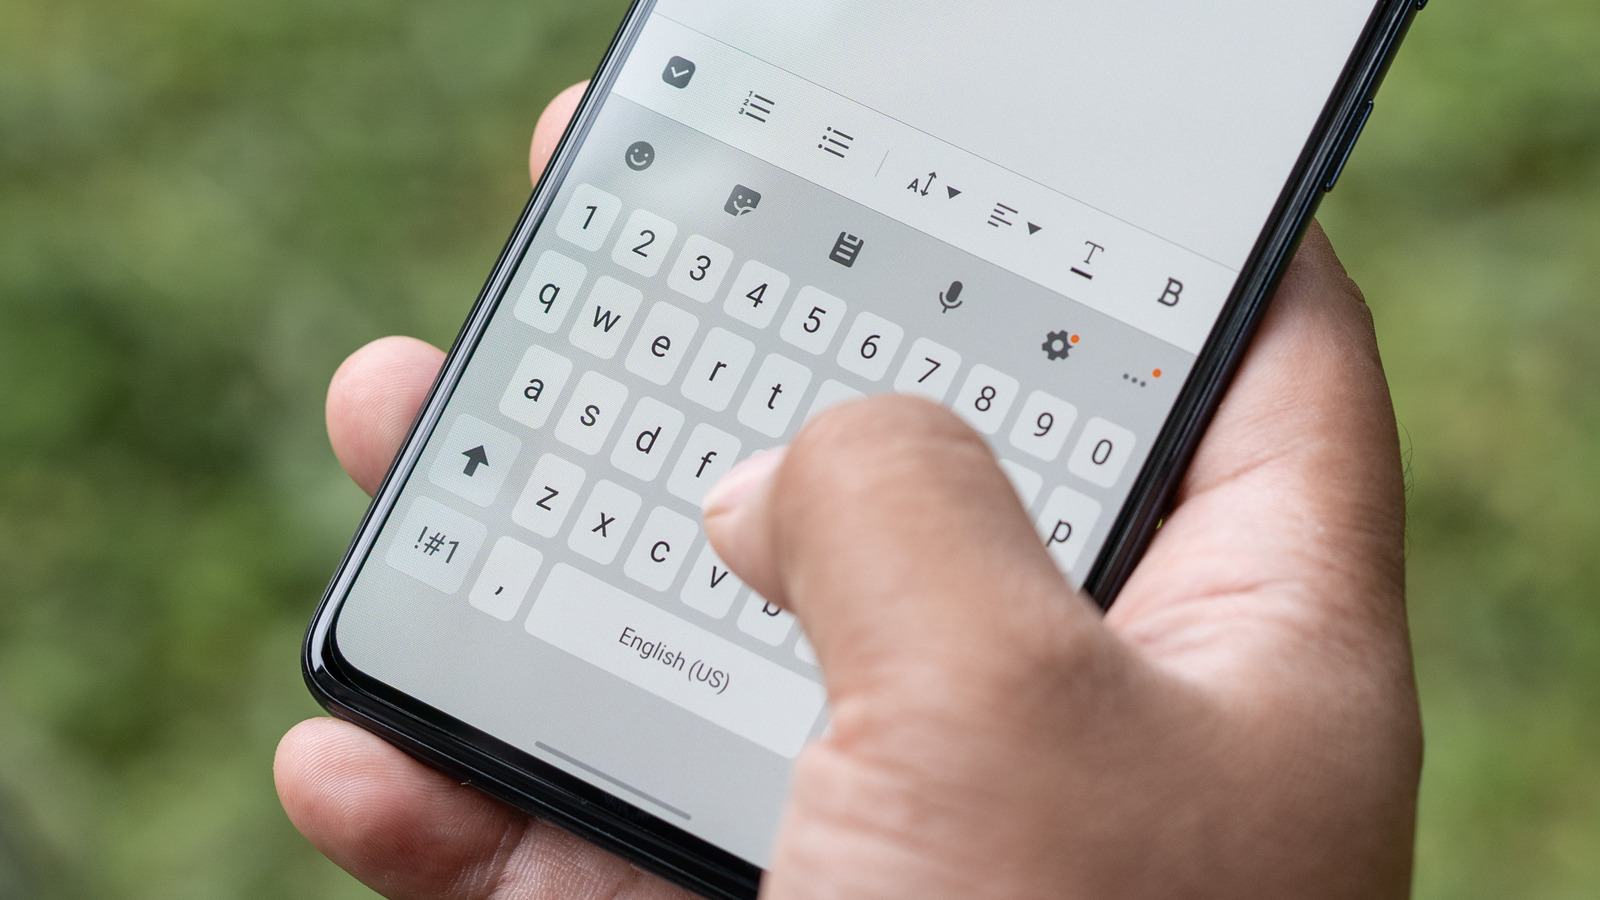
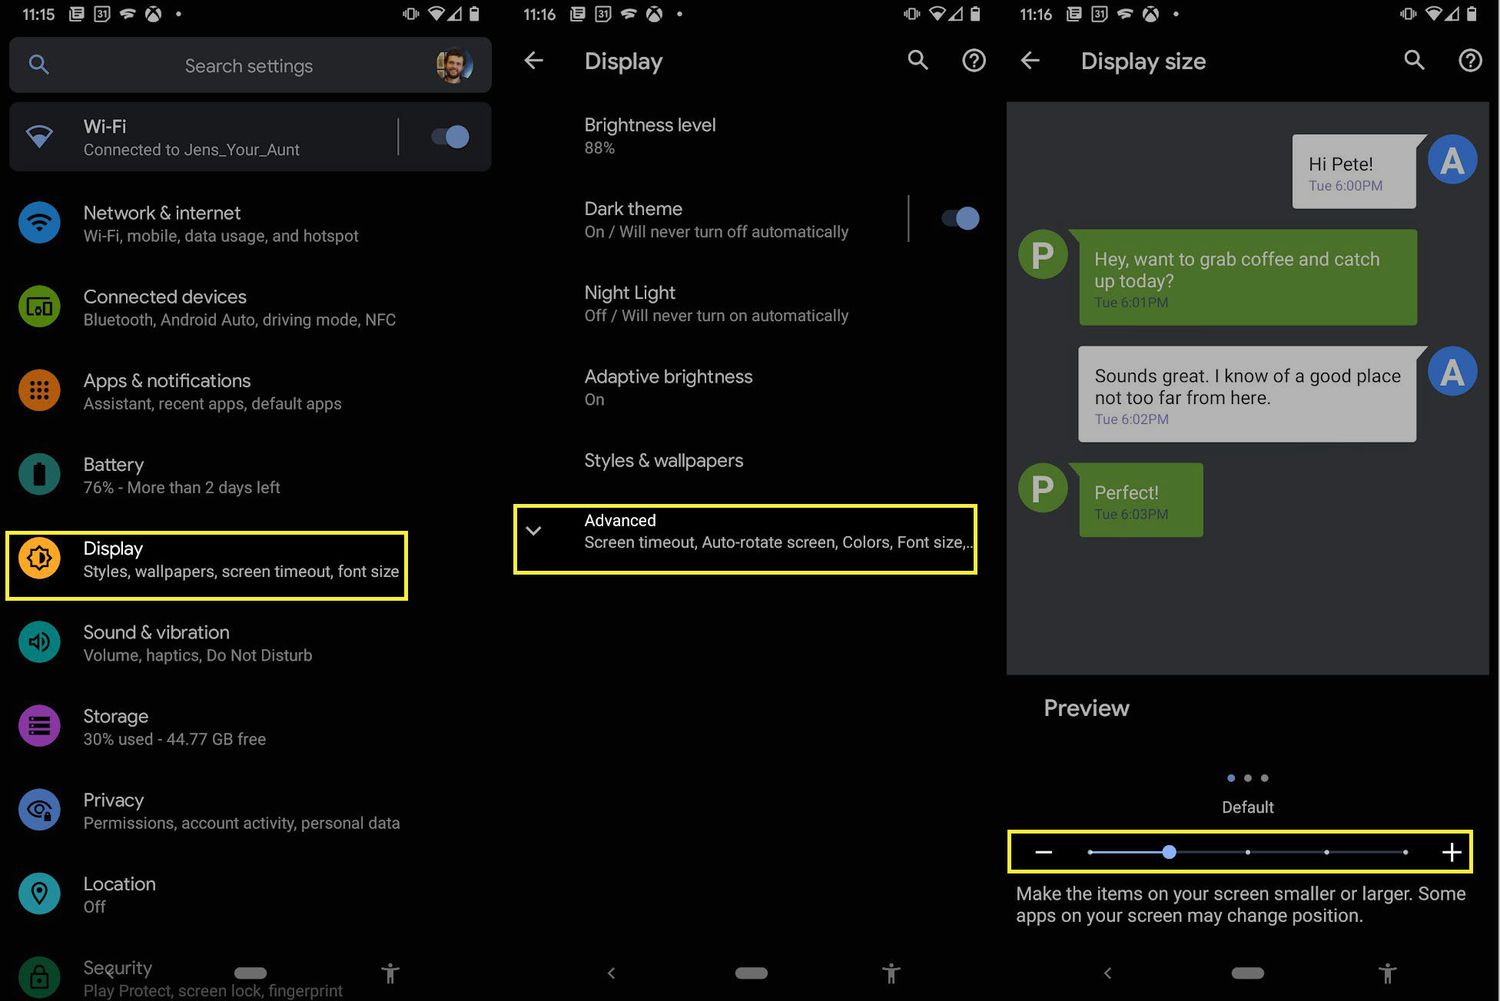
1. System Settings: Android devices have built-in options to adjust the keyboard size. To access these settings, go to the “Settings” app on your device. Depending on your Android version and manufacturer, the path might vary slightly. Look for options like “Language & Input,” “Keyboard & Input Methods,” or “Virtual Keyboard.” From there, select your preferred keyboard and look for settings related to keyboard size or layout. You may find options to adjust the keyboard size, key height, or key width.
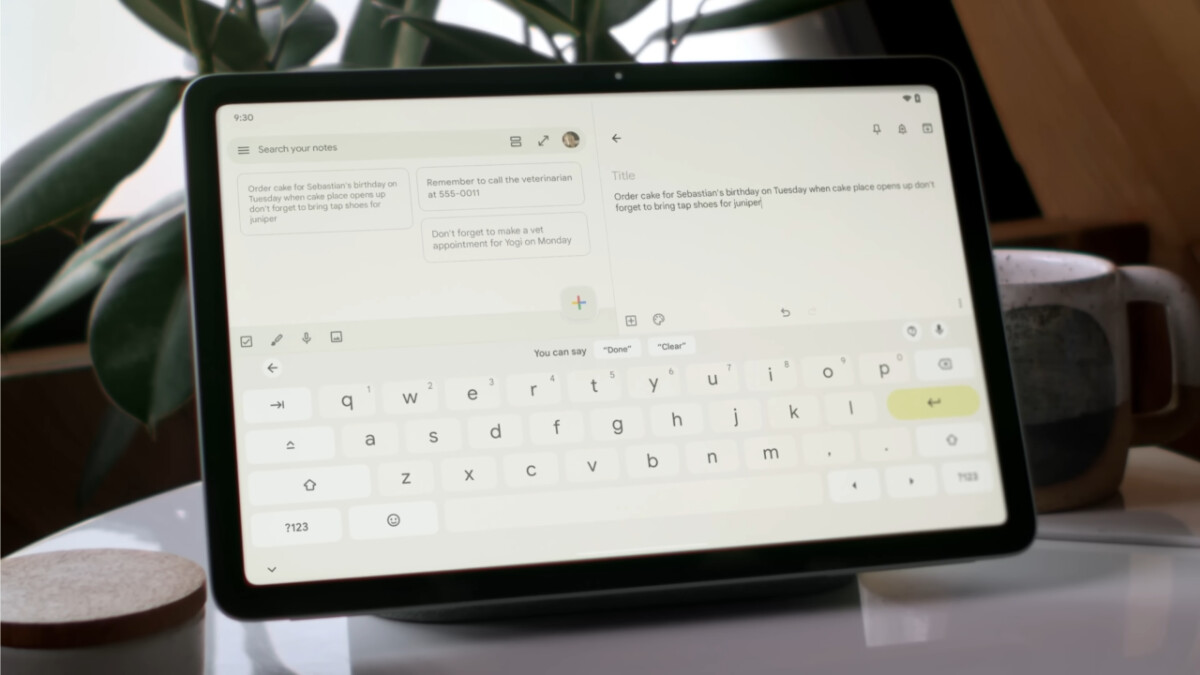
2. Third-Party Keyboard Apps: Android allows you to install third-party keyboard apps that offer customizable keyboard sizes. These apps often provide a wide range of keyboard layouts and sizes to choose from, catering to different user preferences. Some popular third-party keyboard apps include SwiftKey, Gboard, and Fleksy. Visit the Google Play Store, search for keyboard apps, and read reviews to find one that suits your needs.
3. Keyboard Theme and Layout: Some keyboard apps or system settings on Android devices allow you to change the keyboard theme or layout, which can indirectly affect the keyboard size. Themes with larger keys or layouts with increased spacing between keys can provide a more comfortable typing experience. Explore these options within your chosen keyboard app or system settings to customize the keyboard size indirectly.
Remember to experiment with different settings and keyboard apps to find the keyboard size that feels most comfortable for you. Android’s customizable nature allows for a personalized typing experience that can greatly enhance your productivity and comfort while using your device.
Changing the Keyboard Size on iOS
iOS devices offer various options to adjust the keyboard size, allowing users to find a comfortable typing experience. Here’s how you can change the keyboard size on your iOS device:
1. Accessibility Settings: iOS provides built-in accessibility features that include options for adjusting the keyboard size. To access these settings, go to the “Settings” app on your device and tap on “Accessibility.” From there, select “Display & Text Size” or “Accessibility Shortcut” (depending on your iOS version). Look for options like “Bold Text,” “Larger Text,” or “Text Size” to increase the overall display size, including the keyboard.
2. Third-Party Keyboard Apps: iOS allows users to install third-party keyboard apps from the App Store, many of which offer customizable keyboard sizes. These apps provide a wide range of options, allowing you to select a keyboard layout and size that suits your preferences. Popular third-party keyboard apps for iOS include Gboard, SwiftKey, and Grammarly. Visit the App Store, search for keyboard apps, and read reviews to find one that meets your needs.
3. Keyboard Settings: iOS offers some keyboard customization options that can indirectly affect the keyboard size. To access these settings, go to the “Settings” app, tap on “General,” and select “Keyboard.” Here, you can adjust settings such as “Key Repeat,” “Auto-Capitalization,” and “Character Preview.” Experimenting with these options might help you find a more comfortable typing experience.
Explore the accessibility settings, try out third-party keyboard apps, and customize the keyboard settings on your iOS device to find the optimal keyboard size for your needs. With the ability to personalize the keyboard size, you can enhance your typing speed and comfort while using your iOS device.
Installing Third-Party Keyboard Apps with Bigger Keys
If the built-in keyboard options on your device are not sufficient, you can explore third-party keyboard apps with bigger keys. These apps provide a range of features and customization options to enhance your typing experience. Here’s how you can install and use third-party keyboard apps on your device:
1. Research and Choose a Keyboard App: Start by researching popular keyboard apps known for their bigger keys, such as SwiftKey, Gboard, or Fleksy. Read reviews, compare features, and assess their compatibility with your device and operating system. Once you’ve made a selection, proceed to the app installation.
2. Download and Install the App: To install a third-party keyboard app, visit your device’s app store (Google Play Store for Android or App Store for iOS). Search for the keyboard app by name, select it from the search results, and tap on the “Install” or “Get” button. Follow the on-screen instructions to complete the installation process.
3. Enable the Keyboard: After installing the app, you need to enable the keyboard on your device. Go to the device settings and look for options related to “Keyboard” or “Language & Input.” Select “Virtual Keyboard” and then choose the newly installed keyboard app from the list. Follow the prompts to grant necessary permissions and set it as the default keyboard.
4. Customize Keyboard Settings: Once the third-party keyboard app is enabled, you can access its settings to further customize it. These settings vary depending on the app you choose, but usually include options like keyboard layout, key size, theme, and additional features. Explore the settings to adjust the keyboard size according to your preferences.
5. Switch Between Keyboards: With the third-party keyboard app installed and enabled, you can switch between keyboards as needed. When in a text input field, tap on the keyboard icon in the bottom-left or bottom-right corner of the screen. This allows you to toggle between the default keyboard and the third-party keyboard app with bigger keys.
By installing third-party keyboard apps with bigger keys, you can significantly enhance your typing experience. Take some time to explore different options, test out the customization features, and find a keyboard app that caters to your specific needs and preferences.
Using External Keyboards with Larger Keys
If you find it challenging to type on the built-in keyboard of your device, another option to consider is using an external keyboard with larger keys. Whether you are using a desktop computer, laptop, or even a mobile device, connecting an external keyboard can provide a more comfortable and efficient typing experience. Here’s how you can use an external keyboard with larger keys:
1. Wired Connection: Many external keyboards come with a USB cable for a wired connection. To use a wired keyboard, simply connect the USB end of the cable to an available USB port on your computer or device. The keyboard should be recognized automatically, and you can start using it immediately. Ensure that your device has compatible USB ports or use a USB adapter if needed.
2. Bluetooth Connection: If your external keyboard supports Bluetooth connectivity, you can connect it wirelessly to your device. First, enable Bluetooth on your device by going to the settings and selecting “Bluetooth” or “Connections.” Put your keyboard into pairing mode according to the manufacturer’s instructions. On your device, search for available Bluetooth devices and select your keyboard from the list. Follow any additional steps to complete pairing, and once connected, you can start typing with the external keyboard.
3. Compatibility and Settings: Depending on your device and operating system, there may be specific compatibility requirements or settings to configure for optimal use of the external keyboard. Check the manufacturer’s instructions or website for any specific guidelines related to your device or operating system. Additionally, you may have to adjust the keyboard settings on your device to disable the built-in keyboard and prioritize the use of the external keyboard for a seamless typing experience.
4. Key Layout and Ergonomics: When using an external keyboard with larger keys, you may find that the layout and spacing differ from the built-in keyboard. Take some time to adjust to the new key arrangement and familiarize yourself with any additional features or functions specific to the external keyboard. Pay attention to ergonomics as well by setting up the keyboard at a comfortable height and angle to avoid strain or discomfort during extended typing sessions.
Using an external keyboard with larger keys can greatly improve your typing experience, especially if you struggle with smaller built-in keyboards. Whether through a wired or wireless connection, you have the flexibility to find a keyboard that suits your preferences and enhances productivity.
Tips for Easier Typing on Small Keyboards
Typing on small keyboards can be challenging, especially when you have larger fingers or are used to a more spacious layout. However, with a few tips and techniques, you can improve your typing accuracy and efficiency on small keyboards. Here are some suggestions for easier typing:
1. Practice Proper Finger Placement: When typing on a small keyboard, it is crucial to maintain proper finger placement. Use your index fingers for the central row of keys and assign each finger to a specific section of the keyboard. This will help you develop muscle memory and type more accurately.
2. Utilize Auto-Correction and Prediction: Take advantage of the auto-correction and prediction features available on your device. These features can help correct typing errors and suggest words or phrases as you type. By relying on these tools, you can reduce the number of keystrokes and improve typing speed.
3. Enable Tactile Feedback: Some small keyboards offer tactile feedback in the form of haptic vibrations or sounds when a key is pressed. Enable this feature in your device settings to get a physical response that confirms each keystroke, helping you type more accurately.
4. Optimize Keyboard Layout: Some mobile devices allow you to customize the keyboard layout, rearranging keys or adding shortcuts for commonly used phrases. Explore the keyboard settings on your device to see if you can optimize the layout for easier typing.
5. Use Voice Input: If typing on a small keyboard becomes too challenging, consider using voice input methods. Most devices have voice recognition capabilities that allow you to dictate text instead of typing it manually. This can save time and reduce frustration when typing lengthy messages or documents.
6. Take Breaks and Stretch: Typing on a small keyboard for extended periods can lead to hand and finger fatigue. Remember to take breaks, stretch your fingers, and massage your hands to prevent discomfort or repetitive strain injuries.
7. Consider External Keyboard Options: As mentioned earlier, using an external keyboard with larger keys can significantly improve the typing experience. If you frequently type on a small keyboard and find it difficult, connecting an external keyboard to your device might be the ideal solution.
By implementing these tips and techniques, you can make typing on small keyboards a more manageable and efficient task. Experiment with different strategies and find what works best for your individual needs and preferences.


