Introduction
So you’ve decided to change your Playstation email address. Whether you’re looking to update your contact information, create a new account, or simply want to switch to a different email provider, this guide will walk you through the step-by-step process.
Your Playstation email serves as an important link between you and your gaming world. It is used for communication, account verifications, and notifications about new updates, games, and promotions on the Playstation Network. Therefore, it’s crucial to ensure that your email address is accurate and up-to-date.
Changing your Playstation email is a straightforward process that can be done easily through your account settings. In just a few simple steps, you’ll be able to swap out your old email address for a new one, keeping you connected to your Playstation experience seamlessly.
In this guide, we will provide you with a step-by-step walkthrough to help you change your Playstation email address successfully. From accessing your account settings to confirming your new email, we’ll cover everything you need to know to complete this process without any hitches.
Before we dive into the steps, it’s important to note that to change your Playstation email, you’ll need to have access to both your current email address and your Playstation account. This ensures the security and verification of your identity throughout the process.
Now, let’s get started on updating your Playstation email address and keeping your gaming experience smooth and uninterrupted.
Step 1: Accessing your Playstation account settings
The first step in changing your Playstation email address is to access your account settings. Follow these instructions to get started:
- Open a web browser on your computer or mobile device and go to the official Playstation website.
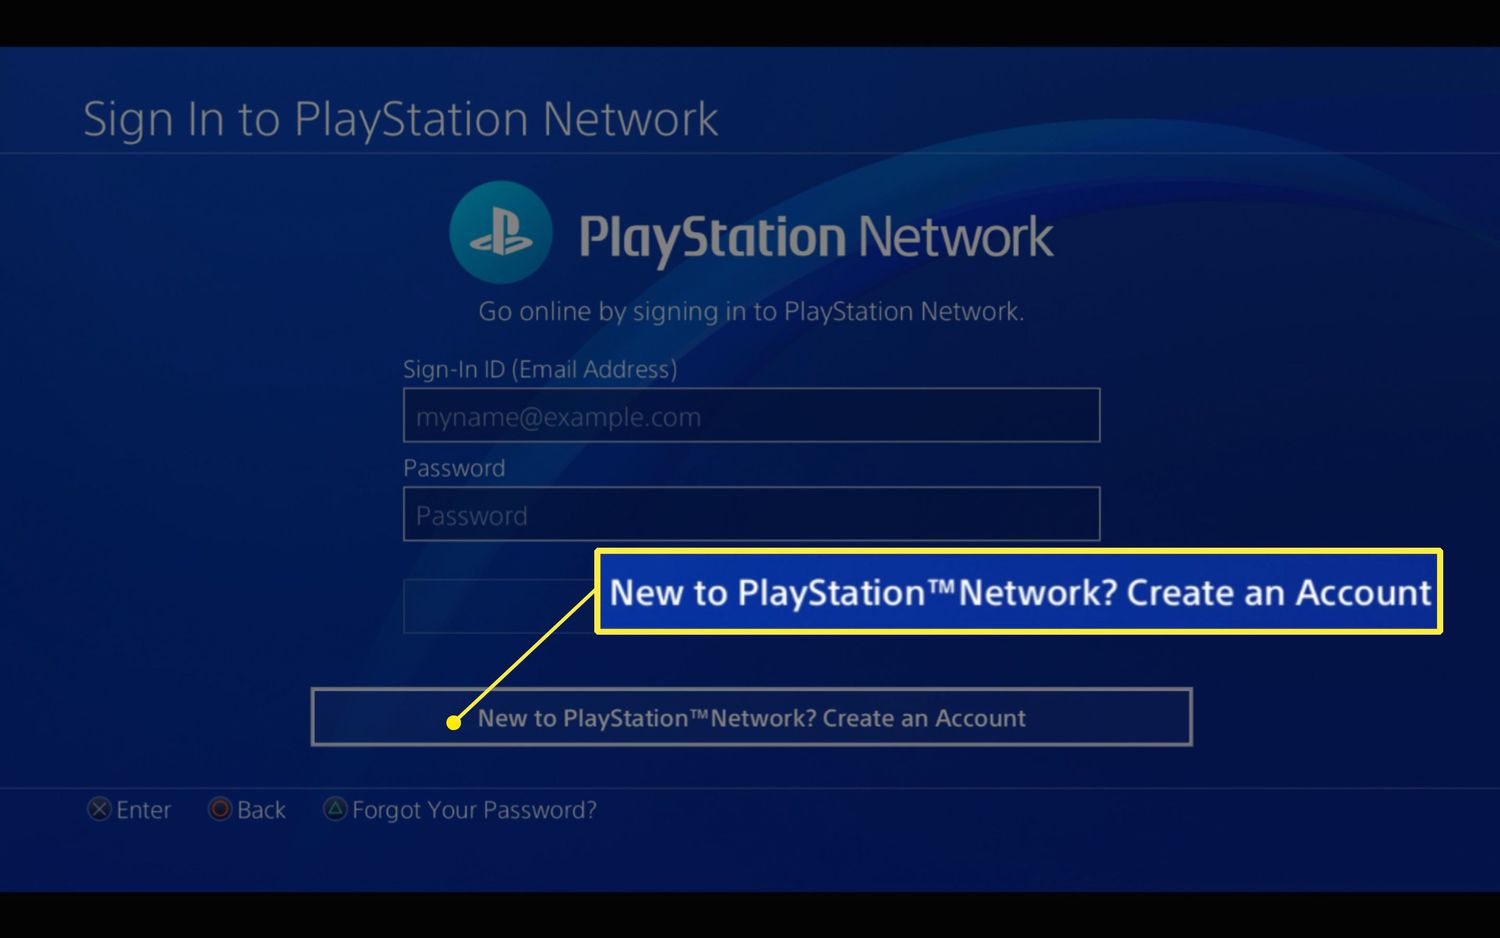
- Click on the “Sign In” button located at the top right corner of the page.
- Enter your login credentials, including your email address and password, and click on the “Sign In” button.
- Once you’re signed in, click on your profile icon or username, usually located at the top right corner of the page. A dropdown menu will appear.
- From the dropdown menu, select “Account Settings” or a similar option. This will redirect you to the account settings page.
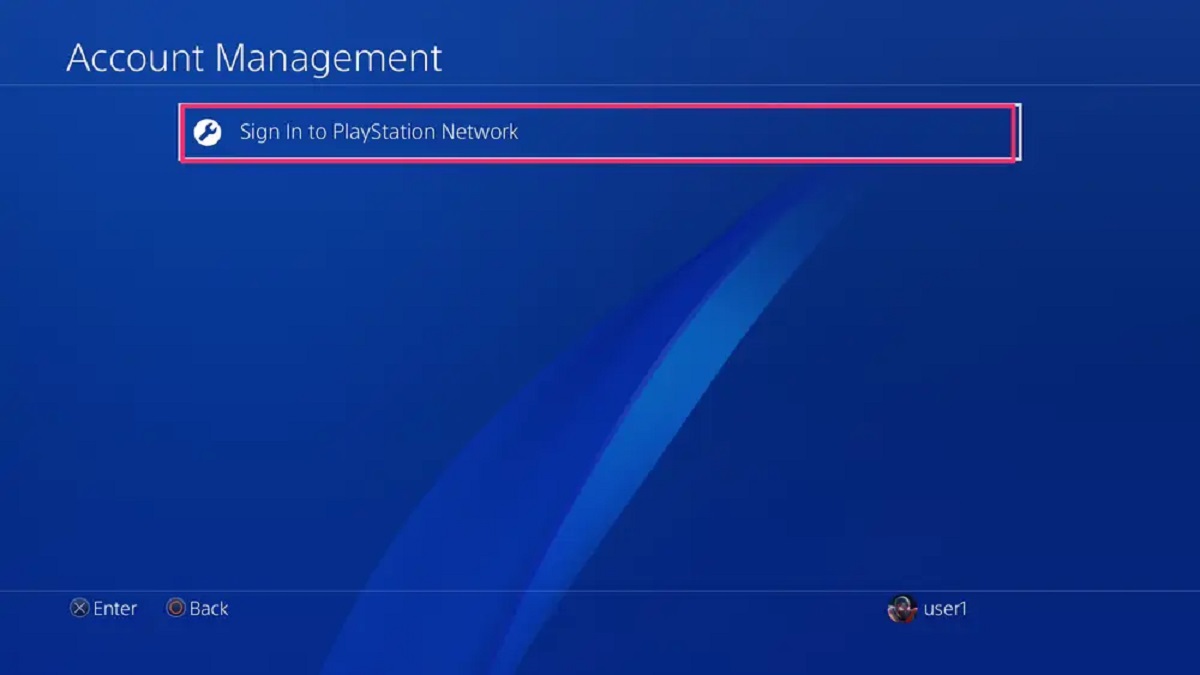
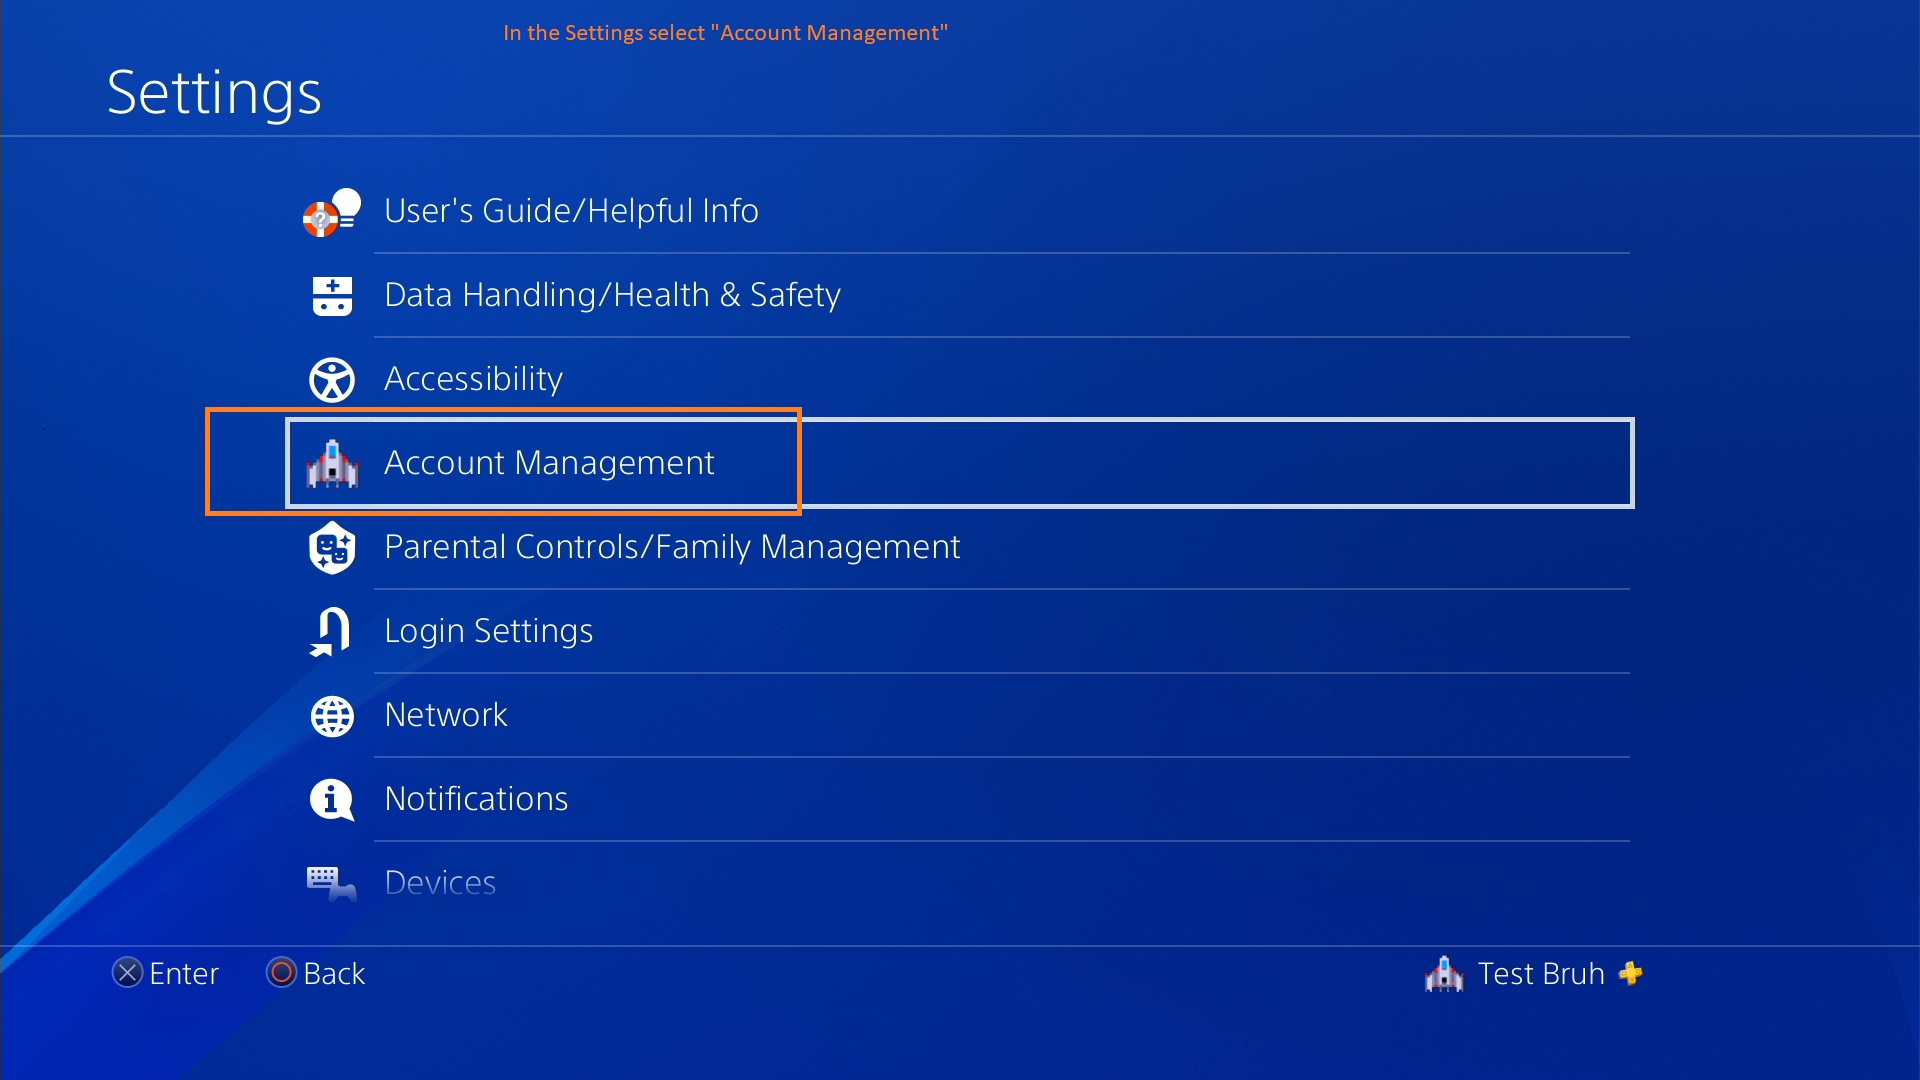
If you’re using a Playstation console, you can also access your account settings directly from the console interface. Simply navigate to the settings menu, select your profile, and choose the option for account settings.
By following these steps, you’ll be able to access your Playstation account settings and proceed with changing your email address. Remember to have your login credentials handy to ensure a smooth sign-in process.
Step 2: Navigating to the email settings
After accessing your Playstation account settings, the next step is to navigate to the email settings option. Here’s how you can do it:
- Once you’re on the account settings page, look for the “Security” or “Privacy” tab. The exact location of the email settings may vary depending on the Playstation website layout or console interface.
- Click on the “Security” or “Privacy” tab to expand the options within that section.
- Look for the “Email” or “Email Settings” option and click on it. This will take you to the email settings page.
If you’re using a Playstation console, you may need to navigate through the settings menu to find the email settings option. Look for a section related to account settings, security, or privacy, and explore the options within that section to find the email settings.
By following these steps, you’ll be able to navigate to the email settings page, where you can proceed to make changes to your current email address and update it with a new one.
Next, we’ll move on to the verification process to ensure the security and authenticity of your account information.
Step 3: Verifying your account information
Before you can change your Playstation email address, it’s important to verify your account information. This step ensures the security of your account and helps prevent unauthorized changes. Here’s what you need to do:
- On the email settings page, you will typically see your current email address listed. Take a moment to confirm that the displayed email address is indeed the one you want to change.
- If necessary, you may be prompted to enter your account password or provide other verification details to proceed. This additional authentication step is in place to protect your account from unauthorized access.
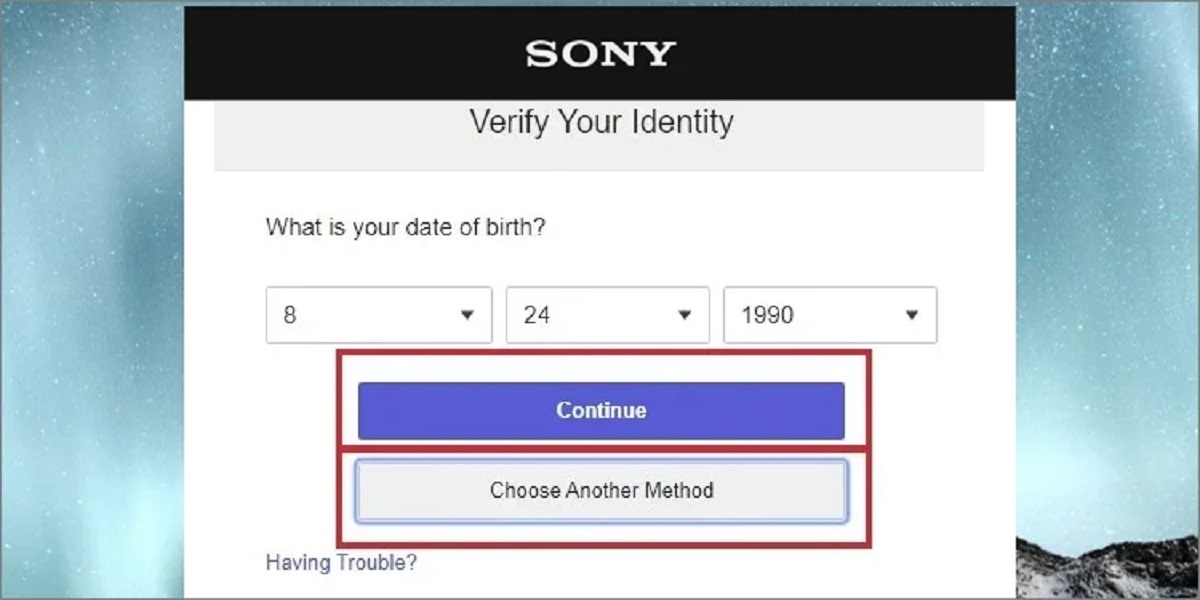
- Follow the prompts on the screen to verify your account information. This may include entering a verification code sent to your current email address, answering security questions, or providing other requested details.
- Once you have successfully verified your account information, you will be granted access to make changes to your email address.
It’s crucial to ensure the accuracy of your account information during this step to prevent any potential issues with the email address change process. Take the time to double-check all the details, including your current email address and any additional verification steps required.
Now that your account information has been verified, you’re ready to proceed with changing your Playstation email address. Continue reading to learn how to perform this change in the next step.
Step 4: Changing your email address
Now that you’ve verified your account information, it’s time to proceed with changing your Playstation email address. Follow these steps to make the necessary updates:
- On the email settings page, locate the option to change your email address. This can typically be found next to your current email address or within a designated section for updating account information.
- Click on the “Change” or “Edit” button next to the email address field.
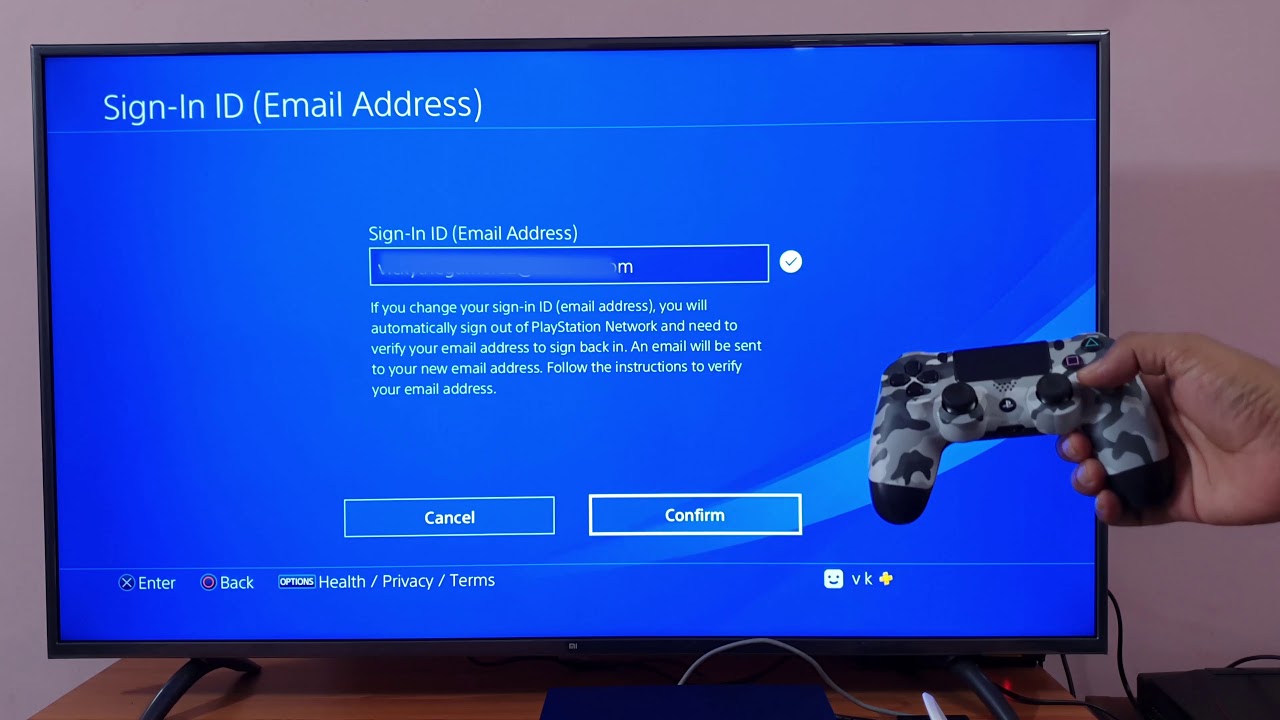
- A new dialog box or form will appear, prompting you to enter your new email address.
- Enter your new email address carefully, ensuring its accuracy and that it is associated with a valid email account that you have access to.
- Upon entering the new email address, you may be prompted to re-enter it to confirm accuracy and prevent any typos or mistakes.
- Click on the “Save” or “Update” button to apply your changes. Depending on the system, you may need to re-enter your account password or go through an additional verification step to complete the process.
Once these steps are completed, your Playstation email address will be successfully changed to the new one you specified. You will now receive all future correspondence and notifications from Playstation on your updated email address.
It’s important to keep in mind that the email address change may take a few moments to reflect in the system. If you do not see the changes immediately, give it some time and check back later.
With your new email address now in place, the next step is to confirm and verify the updated email to ensure its validity. Continue reading to learn how to accomplish this in the next step.
Step 5: Confirmation and verifying your new email
After changing your Playstation email address, it’s essential to confirm and verify your new email to ensure its validity and functionality. Follow these steps to complete the confirmation process:
- Check your new email inbox for a message from Playstation. This email should contain instructions and a verification link to confirm your new email address.
- Open the email and carefully review the instructions provided.
- Click on the verification link within the email. This link is typically a button or a URL that redirects you to a confirmation page.
- On the confirmation page, you may be required to sign in to your Playstation account again using your updated email address and password. This additional step ensures the security of your account throughout the verification process.
- Follow any further prompts or instructions given on the confirmation page to complete the verification.
Once you have successfully confirmed and verified your new email address, you can rest assured that it is now associated with your Playstation account. From this point forward, all important communications and notifications will be sent to your updated email address.
If you do not receive the verification email in your new inbox, be sure to check your spam or junk folder, as it may have been filtered incorrectly. Additionally, confirm that you have entered the correct email address during the change process and consider repeating the steps to ensure accuracy.
With the confirmation and verification process complete, you have successfully changed your Playstation email address and taken the necessary steps to ensure its functionality. Enjoy your renewed connection to the Playstation Network with your updated email address!
Conclusion
Changing your Playstation email address is a straightforward process that involves accessing your account settings, navigating to the email settings, verifying your account information, making the necessary changes, and confirming the updated email. By following the steps outlined in this guide, you can successfully update your email address and ensure a seamless gaming experience.
Keep in mind that it’s important to have access to both your current email address and your Playstation account to complete this process. This ensures the security and verification of your identity throughout the email change. Additionally, be sure to double-check all the details, such as your current email address and any additional verification steps, to prevent any potential issues along the way.
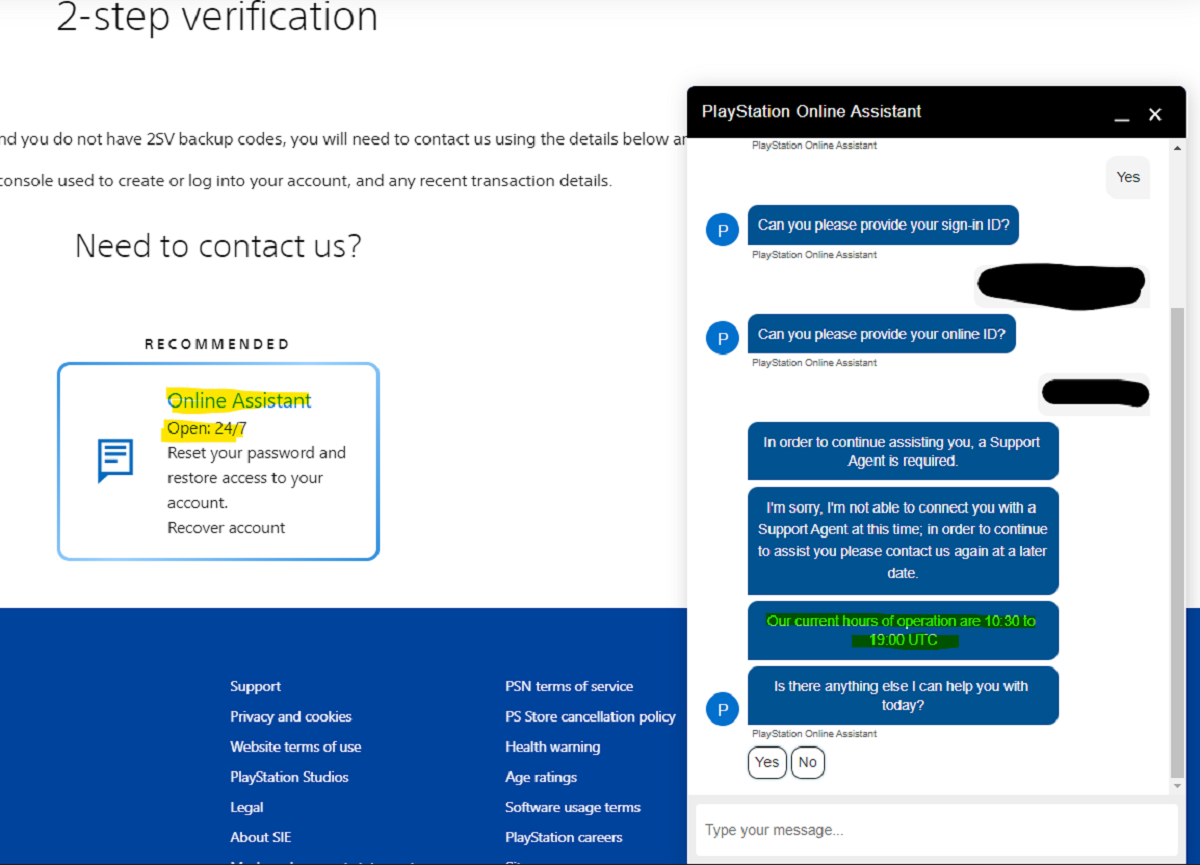
Remember that the email address change may take a short while to reflect in the system, so don’t be alarmed if you don’t see the changes immediately. If you encounter any difficulties during the process, consult the official Playstation support website or contact their customer service for assistance.
Now that you know how to change your Playstation email address, you can keep your contact information up-to-date, receive important notifications, and stay connected to the world of gaming seamlessly. Enjoy your renewed gaming experience with your new email address!


