Introduction
Are you looking to change the age on your PlayStation account? Perhaps you realized that the birthdate you originally entered during account creation is incorrect, or maybe you want to access content that is restricted to certain age groups. Whatever the reason may be, adjusting your age on your PlayStation account is a straightforward process that can be done in just a few simple steps.
In this article, we will guide you through the process of changing the age on your PlayStation account. We’ll show you how to access your account settings, locate the option to edit your basic information, and update your birthdate accordingly. Additionally, we will provide information on verifying your account to ensure that the changes take effect. So, whether you’re a new PlayStation user or a long-time gamer, keep reading to learn how to change your age on your PlayStation account.
Please note that the steps outlined in this guide apply to the latest version of the PlayStation system software. If you have an older version or if the interface has been updated since the time of writing, the steps may differ slightly. However, the general process should remain similar, so you can use this guide as a reference.
Step 1: Sign in to your PlayStation account
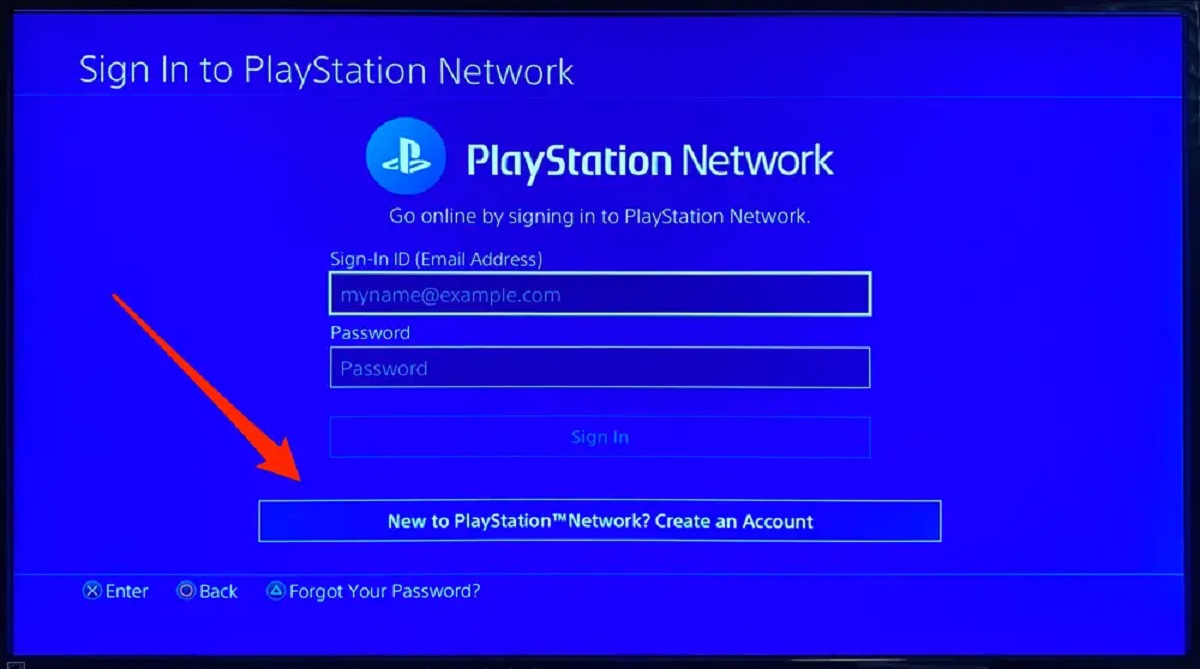
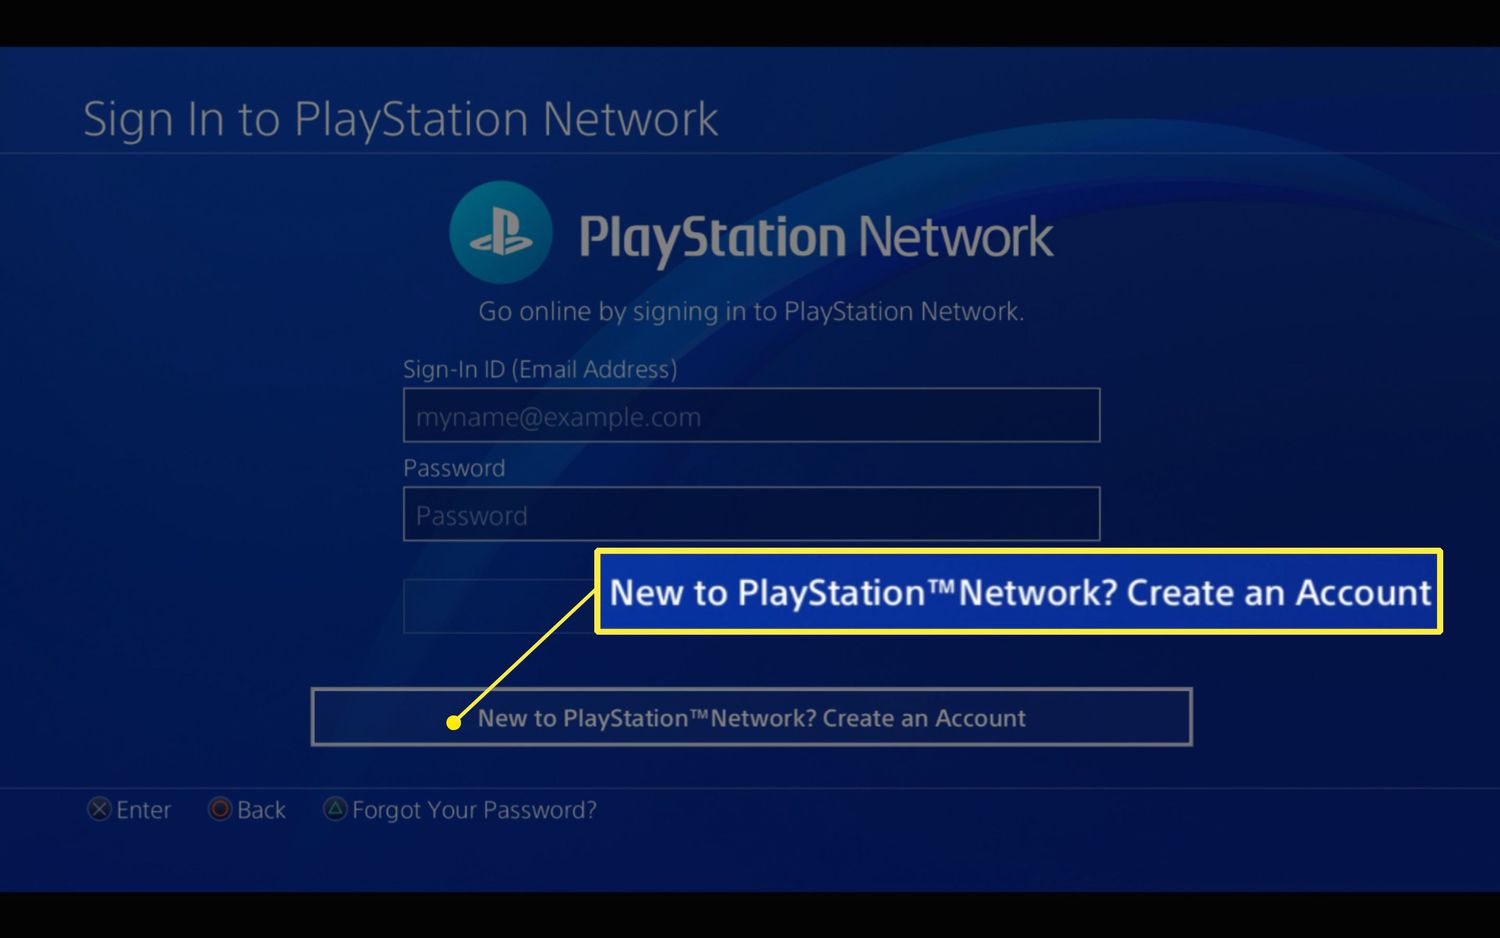
The first step to changing the age on your PlayStation account is to sign in. Make sure you have your login credentials handy, including your email address and password. If you have forgotten your password, you can reset it using the “Forgot your password?” link on the sign-in page. Once you have your login information ready, follow these steps:
- Open a web browser on your computer or mobile device.
- Navigate to the official PlayStation website at www.playstation.com.
- Click on the “Sign In” button located at the top right corner of the page.
- Enter your email address and password associated with your PlayStation account.
- Click on the “Sign In” button to proceed.
After successfully signing in, you will have access to your PlayStation account settings, which will allow you to make the necessary changes to your age information.
Step 2: Access the account settings
Once you have signed in to your PlayStation account, you will need to navigate to the account settings page to proceed with changing your age. Here’s how you can access the account settings:
- Look for your profile icon or avatar in the top right corner of the screen.
- Click on your profile icon to open a drop-down menu.
- From the drop-down menu, select “Account Settings” or a similar option.
The account settings page is where you can manage various aspects of your PlayStation account, including personal information, privacy settings, and security options. By accessing this page, you will be one step closer to updating your age.
It’s important to note that the steps to access account settings may vary slightly depending on the version of the PlayStation system software or the platform you are using. However, the general process should remain similar, so keep an eye out for an option that allows you to access your account settings.
Step 3: Click on ‘Profile and Privacy Settings’
Once you have accessed your PlayStation account settings, it’s time to navigate to the specific section that contains the option to edit your basic information, including your birthdate. Here are the steps to find the ‘Profile and Privacy Settings’ section:
- Look for a tab or menu on the account settings page labeled ‘Profile and Privacy Settings’.
- Click on the tab or menu to expand its options.
- Within the ‘Profile and Privacy Settings’ section, you will find a list of options related to your profile and privacy. Locate the option that allows you to edit your basic information. It may be labeled ‘Edit Profile’ or a similar term.
By clicking on the ‘Profile and Privacy Settings’ section, you will be directed to a page where you can make changes to your profile information, including your birthdate. This step is crucial for updating your age on your PlayStation account.
Depending on the version of the PlayStation system software or the platform you are using, the layout and labeling of the account settings page may differ. However, keep an eye out for a section that pertains to your profile and privacy, as that is where you will likely find the option to edit your basic information.
Step 4: Select ‘Edit’ next to ‘Basic Info’
After navigating to the ‘Profile and Privacy Settings’ section, you’re one step away from changing your age on your PlayStation account. Here’s how you can find the ‘Edit’ option next to ‘Basic Info’:
- Look for the ‘Basic Info’ section on the ‘Profile and Privacy Settings’ page.
- Next to the ‘Basic Info’ section, you should see an ‘Edit’ button or a similar option.
- Click on the ‘Edit’ button to access the page where you can update your birthdate.
By selecting ‘Edit’ next to ‘Basic Info’, you will be able to modify various details related to your profile, including your birthdate. This step is crucial to changing your age on your PlayStation account and ensuring that it accurately reflects your information.
Keep in mind that the location and labeling of the ‘Edit’ button may vary slightly depending on the version of the PlayStation system software or the platform you are using. However, it should be in close proximity to the ‘Basic Info’ section on the ‘Profile and Privacy Settings’ page. Look for the option that allows you to make changes to your profile information.
Step 5: Update your birthdate
Now that you’re on the page where you can make changes to your basic information, including your birthdate, it’s time to update it to reflect the correct age. Follow these steps to update your birthdate:
- Locate the field or section that pertains to your birthdate on the page.
- Click on the field or section to activate the editing mode.
- Enter the correct birthdate by selecting the month, day, and year from the dropdown menus or by typing them in directly.
- Double-check the birthdate to ensure its accuracy. Make sure to select the correct month, day, and year, as this information is crucial for determining your age on your PlayStation account.
By updating your birthdate with the correct information, you’ll be taking a crucial step in changing your age on your PlayStation account. It’s important to provide accurate information to avoid any potential issues or discrepancies that may arise in the future.
Depending on the version of the PlayStation system software or the platform you are using, the layout and design of the page for updating your birthdate may differ. However, look for a clearly labeled field or section where you can input your birthdate, and ensure that you select the correct month, day, and year for accuracy.
Step 6: Confirm changes
After updating your birthdate, it’s important to confirm the changes you’ve made to ensure that your new age is correctly reflected on your PlayStation account. Follow these steps to confirm the changes:
- Review the updated birthdate that you entered to verify its accuracy.
- Look for a ‘Confirm’ button or a similar option on the page.
- Click on the ‘Confirm’ button to save the changes and update your birthdate.
Confirming the changes is crucial as it ensures that your updated birthdate is officially recorded on your PlayStation account. Take a moment to double-check the birthdate you entered to avoid any potential errors or discrepancies.
Depending on the version of the PlayStation system software or the platform you are using, the location and labeling of the ‘Confirm’ button may differ slightly. However, it should be easily recognizable as the option to save and finalize your changes. Look for a button or option labeled ‘Confirm’, ‘Save’, or a similar term.
Step 7: Verify your account
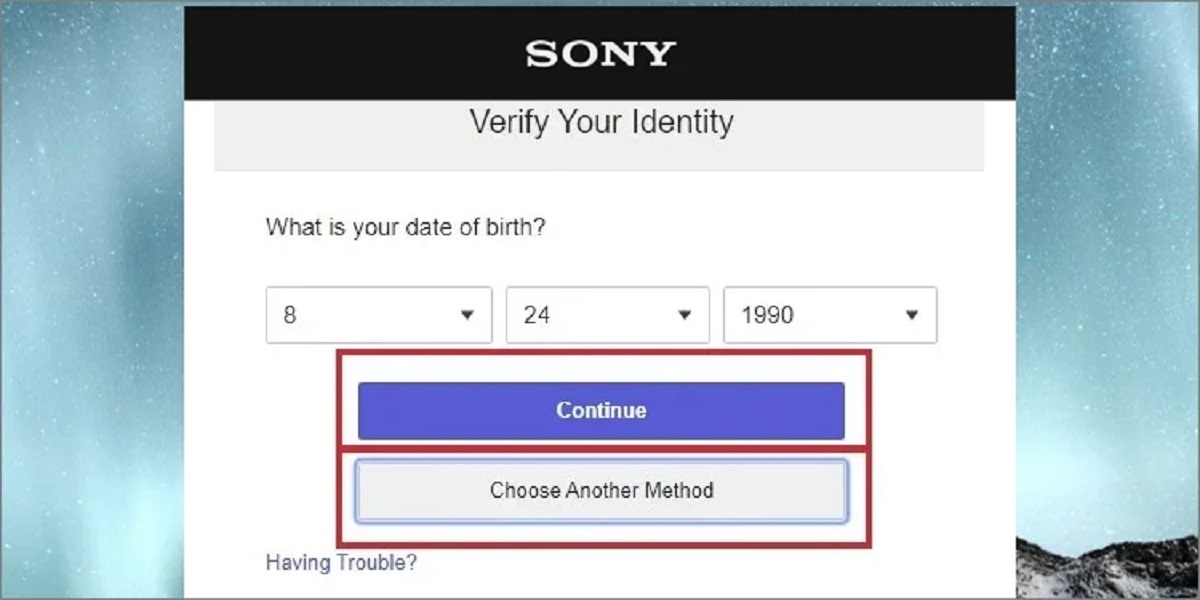
Once you have confirmed the changes to your birthdate, it is important to verify your account to ensure that the updated age is reflected correctly. Follow these steps to verify your account:
- Look for an option or prompt on the screen that asks you to verify your account.
- If prompted, select the method of verification that you prefer, such as via email or mobile phone.
- Follow the instructions provided to complete the account verification process. This may involve clicking a link sent to your email or entering a verification code sent to your mobile device.
Verifying your account is an important step to ensure that the changes you made to your birthdate are officially recognized by PlayStation. This verification process helps ensure the security and integrity of your account.
The method of verification may vary depending on the version of the PlayStation system software or the platform you are using. Look for any prompts or notifications that ask you to verify your account, and follow the instructions provided to complete the process successfully.
Conclusion
Changing the age on your PlayStation account is a simple and straightforward process that can be completed in just a few steps. By following the steps outlined in this guide, you can ensure that your account reflects the correct age information.
First, sign in to your PlayStation account using your email address and password. Then, access the account settings and navigate to the ‘Profile and Privacy Settings’ section. From there, select ‘Edit’ next to ‘Basic Info’ to update your birthdate. Make sure to confirm the changes and verify your account to ensure that the updated age is reflected correctly.
It’s important to note that the steps may vary slightly depending on the version of the PlayStation system software or the platform you are using. However, the general process remains the same.
Remember, providing accurate information, including your correct birthdate, is essential for a seamless gaming experience and ensures that you have access to content that is appropriate for your age group.
So, whether you need to correct an incorrect birthdate or want to access age-restricted content, follow the steps in this guide to change the age on your PlayStation account. Enjoy your gaming experience!