Introduction
The PlayStation 4 (PS4) is a popular gaming console that provides hours of entertainment for gamers of all ages. Setting up your PS4 correctly is essential to ensure a smooth gaming experience and access to all the console’s features and online capabilities. In this guide, we will walk you through the step-by-step process of setting up your PlayStation 4 from unboxing to personalization.
The PS4 boasts impressive hardware, a vast library of games, and a range of multimedia features. Whether you’re a seasoned gamer or new to the PlayStation family, this article will help you navigate the setup process easily and get you gaming in no time.
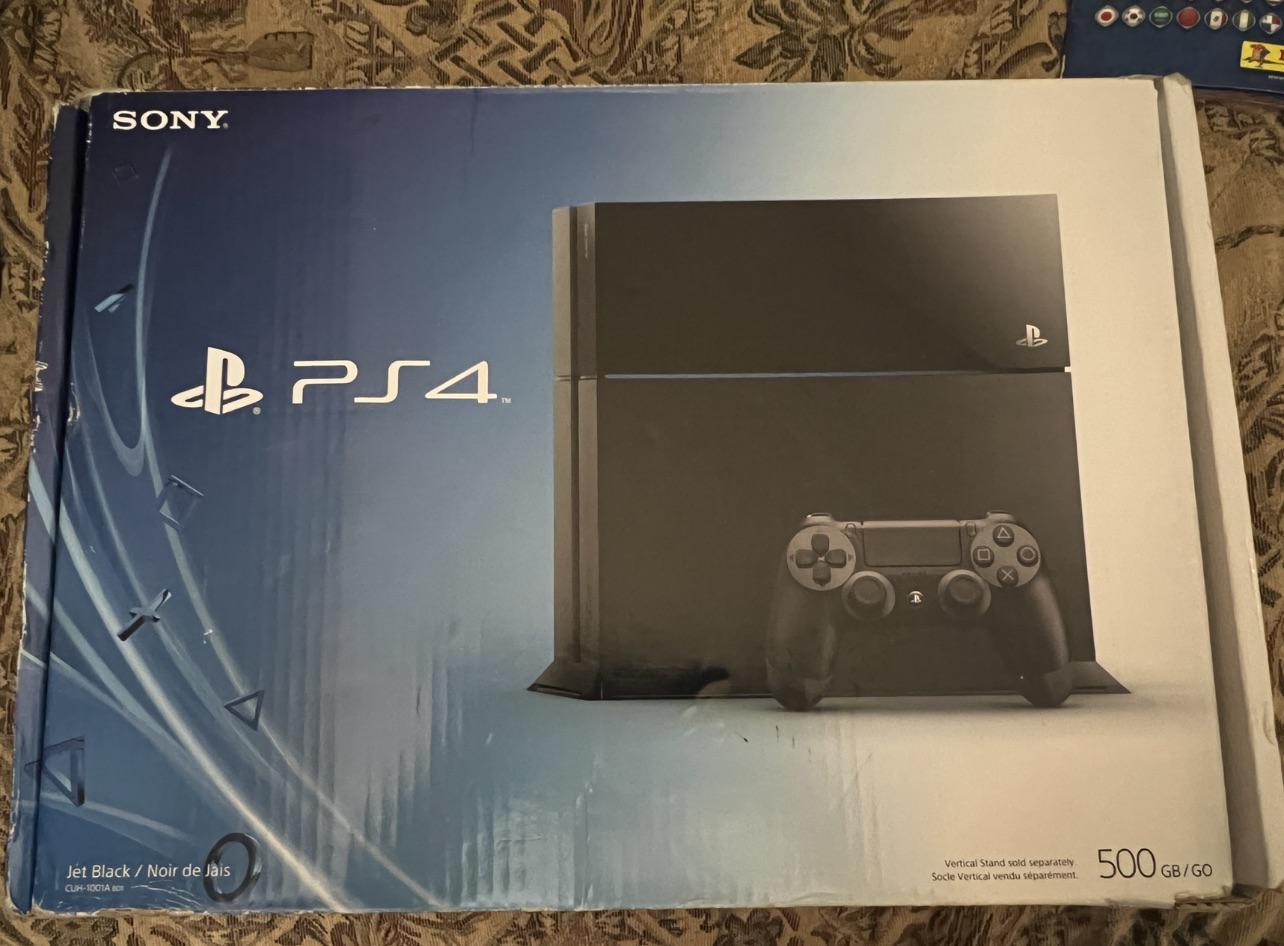
Before we dive into the setup process, you should ensure that you have the necessary components. Inside the PS4 box, you will find the console itself, a DualShock 4 controller, an HDMI cable, a power cord, a USB charging cable, and any accompanying manuals and warranties. Once you have everything ready, you can proceed with setting up your PS4.
It’s worth mentioning that the PS4 offers two different models: the standard PS4 and the PS4 Pro. While the setup process is similar for both models, the PS4 Pro offers enhanced graphics and performance capabilities. If you own the PS4 Pro, you can take advantage of its additional features by following the same setup process outlined in this guide.
Now, without further ado, let’s unpack, connect, and configure your PlayStation 4 to start your gaming journey.
Unboxing and Inspecting the PlayStation 4
The first step in setting up your PlayStation 4 is to unbox and inspect the contents of the package. Carefully remove the console, the DualShock 4 controller, and all accompanying accessories from the box.
Take a moment to inspect the console and ensure there are no visible signs of damage. Any cracks or dents may indicate potential issues with the console. It is also a good idea to check for any loose cables or accessories that may have come loose during transit.
Once you have inspected the console, locate a suitable location to place it. Ensure that you have enough space around the console for proper ventilation to prevent overheating. It is advisable to place the PS4 console on a flat and stable surface.
Next, unpack the DualShock 4 controller and remove any protective coverings or plastic. The controller features a touchpad, motion sensors, and vibration capabilities, enhancing your gaming experience. To use the controller wirelessly, make sure that the internal battery is fully charged. You can charge it using the USB charging cable provided with the PS4.
After unboxing and inspecting the PS4 and its accessories, you’re ready to move on to the next step of setting up your console.
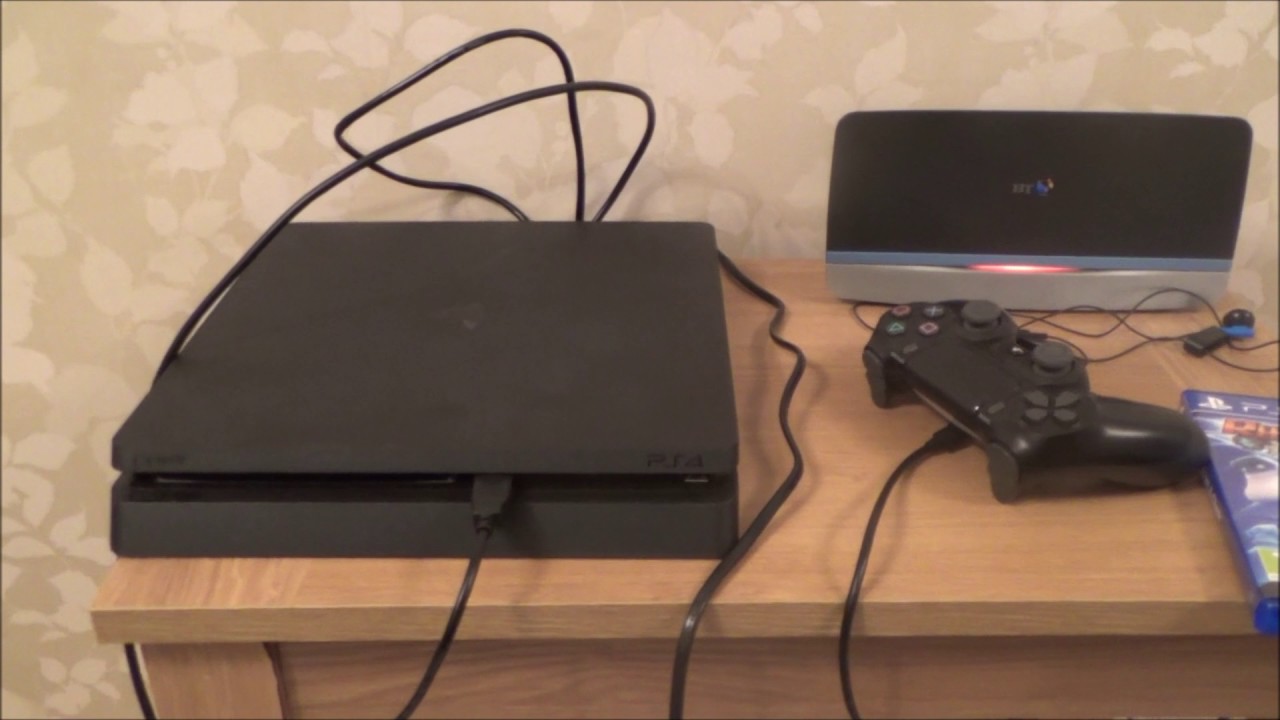
Connecting the Console to Your TV
Connecting your PlayStation 4 to your TV is a crucial step in the setup process. The PS4 supports high-definition displays, so make sure you have an HDTV or a monitor with an HDMI port.
To begin, locate the HDMI cable that came with your PS4. Connect one end of the cable to the HDMI port on the back of the console and the other end to an available HDMI input on your TV. Ensure that you select the correct HDMI input on your TV, as this is where the PS4 signal will be displayed.
If you want to take advantage of additional audio options, you can connect the optical cable from your PS4 to your sound system or AV receiver. This will ensure that you have the best audio experience while gaming.
Now, plug in the power cord into the back of the PS4 and then into a power outlet. The console will power on, and the LED light on the front should turn blue. If the LED light does not turn on, double-check all connections and ensure that the power outlet is functioning properly.
Finally, turn on your TV and navigate to the input source where the PS4 is connected. You should see the PlayStation logo appear on the screen, indicating a successful connection.
With your PS4 now connected to your TV, you’re ready to move on to setting up your PlayStation Network account.
Setting Up the PlayStation Network Account
Creating a PlayStation Network (PSN) account is essential to access online features, connect with friends, and make purchases from the PlayStation Store. To set up your PSN account, follow these steps:
1. On your PS4, navigate to the “Settings” menu located on the home screen. It is represented by an icon that looks like a toolbox.
2. Scroll down and select “Account Management” from the options.
3. Choose “Sign In” or “Create a New Account” if you don’t have an existing account.
4. Follow the on-screen prompts to enter your information, such as your email address, password, and date of birth. Make sure to choose a unique and secure password to protect your account.
5. Verify your email address by following the instructions in the verification email sent to the provided email address.
6. Agree to the terms and conditions and complete any additional steps, such as setting up your profile picture or adding payment details if you wish to make purchases.
7. Once your account is fully set up, you can customize your online profile, add friends, and start exploring the vast PlayStation Network.
With your PSN account ready, you can take advantage of the online features and services offered by the PlayStation Network, including multiplayer gaming, cloud storage for game saves, and access to exclusive content.
Now that you have set up your PSN account, the next step is to configure your internet connection to ensure seamless online gameplay and access to the PlayStation Store.
Configuring Internet Connection
Configuring your internet connection is crucial for accessing online features, downloading game updates, and connecting with other players on the PlayStation Network. Follow these steps to set up your internet connection on your PS4:
1. On your PS4, navigate to the “Settings” menu from the home screen.
2. Select “Network” from the available options.
3. Choose “Set Up Internet Connection” and select either “Use Wi-Fi” or “Use a LAN Cable” depending on your preferred connection method.
4. If you’re using a Wi-Fi connection, select your Wi-Fi network from the list available and enter the password if necessary. Ensure that your PS4 is within range of your Wi-Fi router for a stable connection.
5. If you’re using a LAN cable, connect one end of the cable to the LAN port on the back of the PS4 and the other end to a LAN port on your router or modem.
6. Once connected, your PS4 will automatically detect the network settings. If your network requires a manual setup, select “Custom” and enter the necessary IP address, subnet mask, and gateway information. This information can typically be found in your router’s settings or provided by your internet service provider.
7. After entering the network settings, choose the “Test Internet Connection” option to ensure that your PS4 can successfully connect to the internet.
If the test is successful, your PS4 is now connected to the internet, allowing you to access online features and multiplayer gameplay. If you encounter any issues during the setup process, double-check your network settings and try restarting your router and PS4.
Now that your PS4 is connected to the internet, it’s time to install any available system updates to ensure that you have the latest features and security patches.
Installing System Updates
Regularly updating your PS4 system is essential to ensure optimal performance, stability, and access to the latest features. The PlayStation 4 regularly releases system updates that introduce new functionalities and fix bugs. Follow these steps to install system updates on your PS4:
1. From the PS4 home screen, navigate to the “Settings” menu.
2. Scroll down and select “System Software Update.” If an update is available, you will see the option to download and install it.
3. Choose “Update Now” to initiate the update process. Make sure your PS4 is connected to the internet to download the update file.
4. The PS4 will begin downloading the update file. The duration of the download will depend on the size of the update and your internet connection speed.
5. Once the download is complete, the PS4 will automatically install the system update. The console will restart during the installation process, so it’s important not to disconnect the power or interrupt the update.
6. After the installation is complete, your PS4 will restart again. You can verify that the update was successfully installed by checking the system software version in the “System Information” section of the “Settings” menu.
It’s important to note that system updates may require significant storage space on your PS4. If your console’s storage is running low, consider deleting unnecessary files or games to make room for the update.
Keeping your PS4 system up to date ensures that you have access to the latest features, security updates, and compatibility improvements, enhancing your overall gaming experience.
Now that your system is updated, it’s time to adjust the audio and video settings to optimize your gaming visuals and sound.
Adjusting Audio and Video Settings
Adjusting the audio and video settings on your PlayStation 4 will allow you to optimize your gaming experience and display visuals and sound to your preference. Follow these steps to fine-tune your audio and video settings:
1. Access the “Settings” menu on your PS4 from the home screen.
2. Select “Sound and Screen” from the available options.
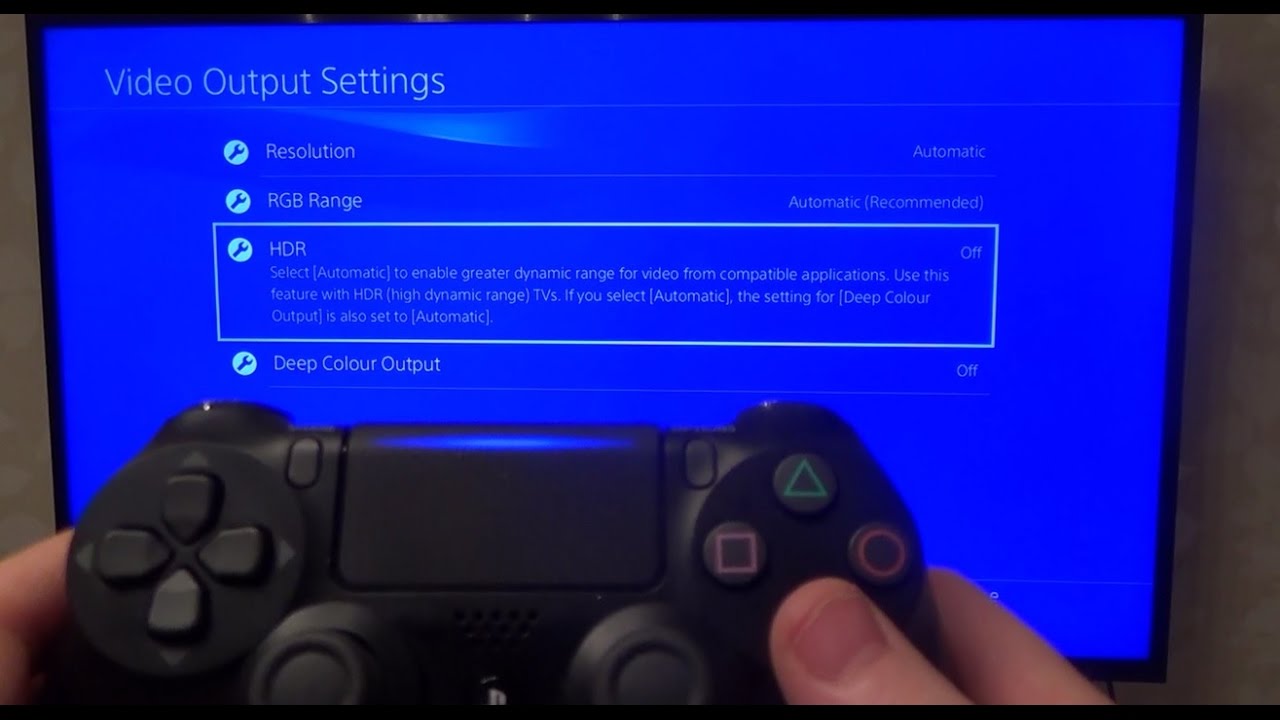
3. To adjust the video settings, choose “Video Output Settings.” From here, you can select the resolution and refresh rate that best suits your TV or monitor. It is recommended to choose the highest resolution and refresh rate supported by your display for the best gaming experience.
4. If you want to further enhance your visuals, enable “HDR” if your TV supports it. HDR (High Dynamic Range) provides more vibrant and lifelike colors, offering a more immersive gaming experience. Ensure that your TV is HDR compatible to fully utilize this feature.
5. To adjust the audio settings, select “Audio Output Settings.” Here, you can choose the audio format, such as stereo or surround sound, depending on your sound system or headset capabilities.
6. If you’re using a headset, select “Output to Headphones” to choose between All Audio (game audio and chat) or Chat Audio only. You can also adjust the volume control options to balance game audio and chat volume.
7. For more advanced audio settings, choose “Audio Format (Priority)” and select the audio format that is compatible with your audio system or game setup.
Make sure to test your audio and video settings by playing a game or streaming content to ensure that the visuals and sound match your preferences. If you encounter any issues, review the settings and consult your TV or audio system’s manual for further assistance.
With your audio and video settings adjusted, you can now move on to personalizing your user profile on the PlayStation Network.
Personalizing Your User Profile
Personalizing your user profile on the PlayStation Network (PSN) allows you to showcase your gaming personality and connect with friends and other players. Follow these steps to customize and personalize your user profile:
1. From the PS4 home screen, navigate to the “Settings” menu.
2. Scroll down and select “Account Management.”
3. Choose “Account Information” and then select “Profile.”
4. Here, you can customize your user profile by adding a profile picture, choosing an online ID, and writing a bio or a status message. Your profile picture can be a self-chosen image or an avatar from the PlayStation Network library.
5. To update your profile picture, choose “Profile Picture” and select the option to either take a new photo or choose one from your existing gallery. If you prefer to use an avatar, select “Avatar” and browse through the available options.
6. To update your online ID, select “Online ID” and follow the prompts to choose a unique and memorable username. Note that changing your online ID may have certain restrictions and may not be available for all users.
7. If you wish to add a bio or status message to your profile, select “About Me” and enter a brief description that represents your gaming interests or personality.
8. Once you have customized your profile to your satisfaction, save your changes and exit the profile settings.
Personalizing your user profile allows you to express yourself within the PlayStation community and make connections with other players. It’s a great way to showcase your gaming accomplishments, interests, and engage in conversations with like-minded individuals.
Now that you have personalized your user profile, it’s time to pair your controllers and ensure they are ready for gaming.
Pairing the Controllers
Pairing your controllers with your PlayStation 4 is necessary to ensure they are recognized and ready for gaming. The PS4 comes with one DualShock 4 controller, but you can pair additional controllers for local multiplayer gaming. Follow these steps to pair your controllers:
1. Turn on your PlayStation 4 console by pressing the power button on the front or by pressing the PS button on the controller.
2. Connect the controller to the PS4 using the USB charging cable that came with the console. The cable will also charge the controller while it is connected.
3. The PS4 will automatically detect the connected controller and pair it with the console. Once paired, you can disconnect the USB cable and use the controller wirelessly.
4. If you want to pair additional controllers, repeat the same process with each controller. Connect them to the PS4 using the USB cable, and they will be paired automatically.
5. If you experience any issues with the controller pairing, such as the controller not being recognized, try resetting the controller. Look for a small hole on the back of the controller near the L2 trigger button. Insert a small pin or paperclip into the hole and hold it for a few seconds to reset the controller. After resetting, try pairing it again.
6. Ensure that your controllers are charged by connecting them to the PS4 using the USB cable when not in use. You can also monitor the battery level of the controllers on the PS4 home screen.
With your controllers successfully paired, you’re ready to enjoy multiplayer gaming experiences with your friends or family. Make sure to have enough controllers for everyone to join in on the fun.
Now that your controllers are paired, it’s time to set up parental controls to ensure a safe and age-appropriate gaming environment for younger players.
Setting Up Parental Controls
Setting up parental controls on your PlayStation 4 is important for creating a safe and appropriate gaming environment for younger players. Parental controls allow you to manage and restrict the content and features that can be accessed on the console. Follow these steps to set up parental controls:
1. On your PS4, navigate to the “Settings” menu from the home screen.
2. Scroll down and select “Parental Controls/Family Management.”
3. Choose “PS4 System Restrictions” and select “Application and Devices Restrictions.”
4. You will be prompted to set a 4-digit passcode. Choose a unique and memorable code that you can easily remember, but will be difficult for others to guess.
5. Once you’ve set the passcode, you can choose from a range of restrictions, including age restrictions for games and apps, online communication settings, and content filtering.
6. Enable “Age Level for Games” to set the appropriate age rating for games that can be played on the console. You can choose from various age categories such as 3+, 7+, 12+, 16+, and 18+. This feature ensures that games rated above the set age level cannot be accessed without the passcode.
7. If you want to restrict online communication, enable the relevant options under “Communication Settings.” This allows you to control who can send messages or friend requests to your child’s account.
8. You can also enable “Content Restriction” to filter or block inappropriate content, including games, videos, and websites. Adjust the settings according to your preferences and the age of the player.
9. Save your settings and ensure that the passcode is kept secret. This passcode will be required to modify or disable the parental control settings.
By setting up parental controls, you can have peace of mind knowing that your children are playing age-appropriate games and accessing suitable content on the PlayStation 4.
With parental controls in place, you can now explore the PlayStation Store and access a wide range of digital content including games, movies, and more.
Exploring the PlayStation Store
The PlayStation Store is a digital marketplace where you can browse and purchase a wide range of games, add-ons, movies, and more for your PlayStation 4. It offers a convenient way to expand your gaming library and explore new entertainment options. Here’s how you can navigate and make the most of the PlayStation Store:
1. From the PS4 home screen, select the PlayStation Store icon. It is represented by a shopping bag icon.
2. Once in the PlayStation Store, you can explore different categories such as Games, Movies, TV, and Apps. Use the left stick on your controller to navigate through the available options.
3. Select a category to browse the available content. You can filter the results by genre, release date, price, and more to find exactly what you’re looking for.
4. When you find a game, movie, or other content that interests you, select it for more information. You can view screenshots, read descriptions, watch trailers, and see user reviews to help you make an informed decision.
5. To make a purchase, select the “Add to Cart” or “Buy” option. If you haven’t linked a payment method to your PlayStation Network account, you will be prompted to do so. Follow the on-screen instructions to complete your purchase.
6. You can also download free content or demos from the PlayStation Store by selecting the “Download” or “Try Free Demo” option.
7. Once you have made a purchase or downloaded content, it will be added to your Library. You can access your Library by scrolling to the far right on the PS4 home screen and selecting the “Library” icon. Here, you can find all your purchased games, movies, and other content.
8. The PlayStation Store often offers exclusive deals, discounts, and special promotions. Keep an eye out for these offers to get the most value for your money.
Exploring the PlayStation Store allows you to discover new games, movies, and entertainment options, expanding your gaming experience and providing hours of entertainment.
Now that you’re familiar with the PlayStation Store, you are all set up and ready to enjoy the vast world of gaming and entertainment on your PlayStation 4!
Conclusion
Congratulations! You have successfully set up your PlayStation 4 and are ready to embark on a thrilling gaming adventure. We covered every step of the setup process, from unboxing your console to exploring the PlayStation Store. By following these instructions, you can ensure a smooth and enjoyable gaming experience.
Remember, personalizing your PlayStation 4 by creating a user profile, adjusting audio and video settings, and pairing controllers allows you to customize your gaming experience to your liking. Setting up parental controls is also crucial to create a safe and age-appropriate environment for younger players.
The PlayStation 4 offers numerous opportunities for both solo and multiplayer gaming, giving you access to a vast library of games, online features, and digital entertainment. Keep an eye on the PlayStation Store for new releases, exclusive deals, and exciting discounts to enhance your gaming library.
As you start your gaming journey, don’t forget to regularly update your PS4 system to access the latest features and improvements. You can also explore various online communities, join multiplayer sessions, and connect with friends on the PlayStation Network.
Enjoy the immersive gaming experience that the PlayStation 4 has to offer and make lasting memories with your friends and family. Whether you’re a casual gamer or a competitive player, the PS4 provides endless entertainment possibilities.
Now that you’re all set up, grab your controller and get ready to experience the excitement and wonder of gaming on your PlayStation 4. Have fun, and may your gaming sessions be filled with epic victories and unforgettable adventures!