Introduction
Welcome to the world of gaming with the PlayStation 5 (PS5)! The PS5 is the latest gaming console from Sony, packed with incredible features and cutting-edge technology that will elevate your gaming experience to new heights. Whether you are a seasoned gamer or new to the gaming scene, setting up your PS5 is the first step towards immersing yourself in a world of thrilling gameplay, stunning graphics, and seamless online connectivity.
In this guide, we will walk you through the process of setting up your PS5, ensuring that you have everything you need to start gaming right away. From unboxing the console to adjusting audio settings and installing games, we will cover every step of the process to ensure a smooth and hassle-free setup.
Setting up your PS5 is not only about plugging in cables and connecting to the internet; it’s an opportunity to personalize your gaming experience. You will have the chance to customize your settings, create a PlayStation Network account, and explore the vast library of games and applications available to you on the PlayStation Store.
Before we dive into the nitty-gritty of setting up your PS5, it’s important to note that the process may vary slightly depending on your specific console model and the peripherals you choose to use. However, the basic steps outlined in this guide will provide a solid foundation for setting up your PS5 and getting the most out of your gaming experience.
So, without further ado, let’s embark on this exciting journey of setting up your PS5 and unlocking the full potential of your gaming adventure.
Unboxing the PS5
As you eagerly unbox your PS5, you’ll be greeted with a sleek and futuristic design that showcases the console’s power and style. Here’s a step-by-step guide to help you unbox your PS5:
- Find a clean and spacious area to unbox your PS5. Make sure you have enough room to safely remove the console and its accessories.
- Carefully remove the outer packaging and set it aside. Take a moment to admire the iconic PlayStation logo on the box.
- Gently lift the top cover of the box to reveal the PS5 console nestled inside. Marvel at its bold design and modern aesthetic.
- Lift the console out of the box, being cautious not to drop it or exert excessive force.
- Remove the protective wrapping from the console, ensuring that all plastic covers and stickers are removed. This will prevent any obstruction to ventilation or ports.
- Set the PS5 in a secure and well-ventilated location, making sure it is placed on a stable surface to avoid any accidental tipping or damage.
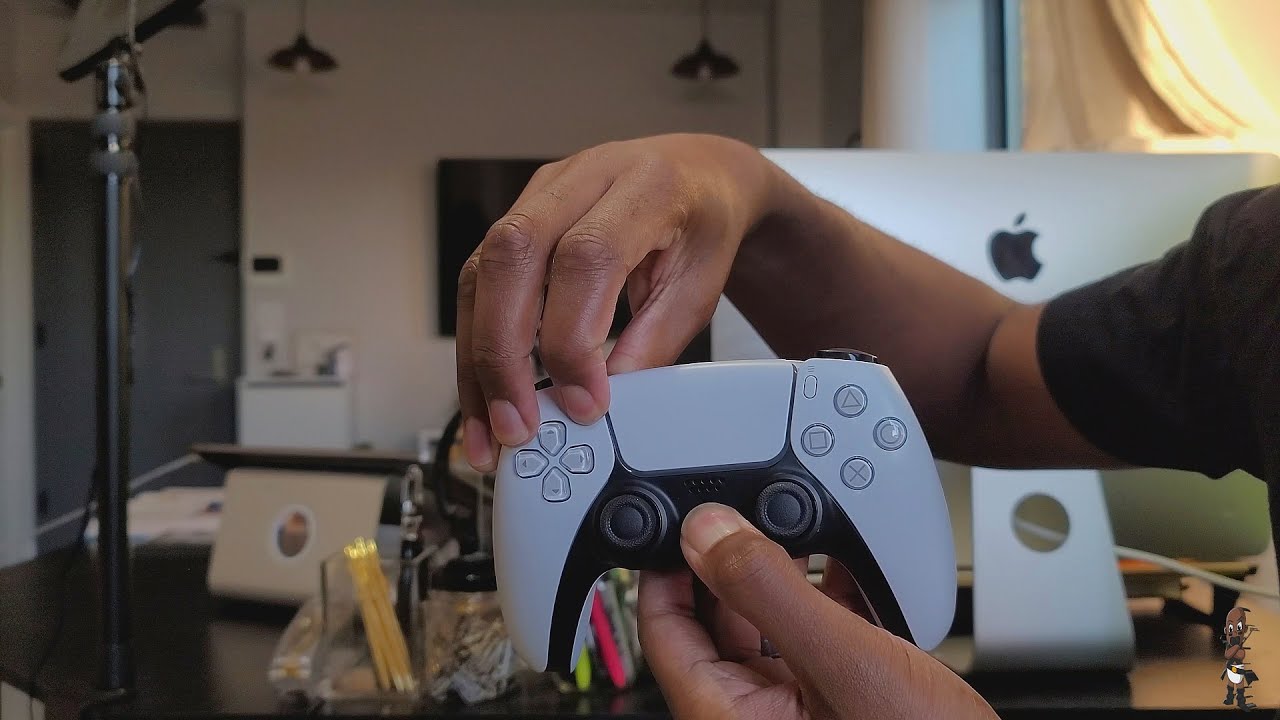
- Next, locate the DualSense controller. Take it out of its packaging and remove any protective covers or tags.
- Inspect the accessories included with your PS5, such as the power cable, HDMI cable, and USB cable. Ensure that all cables are untangled and ready for use.
- Keep all the packaging materials and boxes in a safe place. You may want to preserve them for warranty purposes or for later storage.
By following these steps, you can safely and efficiently unbox your PS5, setting the stage for an unforgettable gaming experience. Now that you have unboxed your PS5, it’s time to move on to the next step: connecting the console.
Connecting the Console
Once you have successfully unboxed your PS5, it’s time to connect the console to your TV or monitor. Follow these steps to ensure a proper connection:
- Identify the HDMI port on your TV or monitor. It is usually labeled as “HDMI” or with a number (e.g., HDMI 1, HDMI 2).
- Take the HDMI cable included with your PS5 and connect one end to the HDMI port on the back of the console.
- Connect the other end of the HDMI cable to the HDMI port on your TV or monitor.
- If you have an audio receiver or soundbar, you may connect the HDMI cable from the PS5 to them for enhanced audio experience.
- Ensure that the HDMI cable is securely plugged in on both ends, providing a firm connection.
- If your TV or monitor supports HDR (High Dynamic Range), make sure to enable it in the settings for the best visual experience.
Once you have connected the console to your TV or monitor, you can proceed to connect the power supply.
Locate the power cable that came with your PS5. Connect one end to the back of the console and the other end to a power outlet. Ensure that the cable is firmly plugged in on both ends.
With the console now connected to both the TV and power supply, you are ready to move on to the next step: setting up the TV and video settings.
Please note that some TVs may have additional settings, such as Game Mode or HDMI Enhanced Mode, which can optimize your gaming experience. Consult your TV’s user manual for specific instructions on configuring these settings.
Setting Up the Power Supply
Setting up the power supply for your PS5 is a crucial step in ensuring proper functionality and optimal performance. Follow these steps to set up the power supply:
- Ensure that the power cable is securely connected to the back of the console and the power outlet.
- Check if the power indicator light on the front of the console is lit. This indicates that the console is receiving power.
- Make sure that the power outlet you are using is suitable for the PS5. Avoid using extension cords or power strips, as they may not provide sufficient power or surge protection.
- Consider plugging your PS5 directly into a wall outlet for the best power supply.
- If you experience any power-related issues, such as the console not turning on or sudden shutdowns, try plugging the PS5 into a different power outlet to rule out any electrical issues.
- If you are using a power conditioner or voltage regulator, ensure that it is compatible with the PS5 and provides stable power delivery.
Remember to always follow safety precautions when dealing with power supplies. Do not expose the power cable to extreme temperatures, liquids, or physical damage. If you notice any abnormalities or issues with the power supply, contact Sony’s customer support for further assistance.
Now that you have successfully set up the power supply, you can proceed to the next step: setting up the TV and video settings to optimize your gaming experience.
Setting Up the TV and Video Settings
Setting up the TV and video settings for your PS5 is crucial to ensure that you enjoy the best possible visual quality and gaming experience. Here’s how you can optimize these settings:
- On your TV or monitor, navigate to the input/source selection menu and choose the HDMI input that is connected to your PS5.
- Access the settings menu on your TV or monitor and look for options related to picture quality or display settings.
- Adjust the picture mode to your preferences. Most TVs offer presets like “Standard,” “Cinema,” or “Game Mode.” Game Mode generally provides the lowest input lag, which is ideal for gaming.
- Enable any additional video-enhancing features your TV may offer, such as motion smoothing or noise reduction. Experiment with these settings to find what works best for you.
- If your TV supports HDR (High Dynamic Range), enable it. HDR enhances contrast and color accuracy, providing a more dynamic and lifelike visual experience.
- Explore the video output settings on your PS5. Access the Settings menu, then go to Video Output and adjust the resolution, HDR, and deep color output settings based on your TV’s capabilities.
- Consider calibrating your TV using built-in tools or professional calibration discs for the most accurate color representation and optimal picture quality.
By carefully adjusting the TV and video settings, you can ensure that the visuals delivered by your PS5 are crisp, vibrant, and aligned with your preferences. Take some time to experiment with different settings and find the configuration that best enhances your gaming experience.
With the TV and video settings optimized, you are now ready to connect your PS5 to the internet and unlock a world of online gaming and entertainment. The next section will guide you through the process of connecting to the internet.
Connecting to the Internet
Connecting your PS5 to the internet is essential for accessing online features, multiplayer gaming, and downloading updates and digital content. Follow these steps to establish an internet connection:
- Go to the settings menu on your PS5 by selecting the gear icon on the home screen.
- Select “Network” from the options menu.
- Choose “Set Up Internet Connection.”
- For a wireless connection, select “Use Wi-Fi” and choose your network from the available list. Enter the password if prompted.
- If you prefer a wired connection, select “Use a LAN Cable” and connect one end of the Ethernet cable to the PS5’s LAN port and the other end to your router or modem.
- Follow the on-screen instructions to complete the network setup process.
- Once connected, perform an internet connection test to ensure that the PS5 is successfully connected to the internet.
If you encounter any issues with the internet connection, make sure that your Wi-Fi network is stable, the Ethernet cable is securely plugged in, and your router or modem is functioning correctly. Refer to the PS5’s user manual or Sony’s support website for troubleshooting tips and additional assistance.
Now that your PS5 is connected to the internet, it’s time to create a PlayStation Network (PSN) account in the next section.
Creating a PlayStation Network Account
To fully enjoy the online features and multiplayer capabilities of your PS5, you’ll need to create a PlayStation Network (PSN) account. Here’s how you can do it:
- On the PS5 home screen, select the “Sign In” icon located in the top right corner.
- Choose “Create Account” from the options provided.
- Follow the on-screen prompts to enter your personal information, including your email address, date of birth, and preferred username.
- Create a strong and unique password for your account to ensure its security.
- Agree to the terms and conditions, privacy policy, and any other agreements presented to you.
- Verify your email address by following the instructions sent to the provided email account.
- Once your PSN account is created and verified, sign in to it on your PS5 to access the full suite of online features, including multiplayer gaming, online chat, and access to the PlayStation Store.
Creating a PSN account allows you to connect with other gamers around the world, join communities, and share your gaming experiences. It also enables you to access exclusive content, participate in events, and take advantage of special deals and discounts.
Remember to use a valid email address and keep your account credentials secure to protect your personal information and gaming progress. In case you forget your password or encounter any account-related issues, refer to the PSN support website for assistance or contact Sony’s customer support.
Now that you have successfully created a PSN account, it’s time to update the system software in the next section to ensure that your PS5 is running on the latest version.
Updating the System Software
Keeping your PS5’s system software up to date is vital for optimal performance, stability, and access to the latest features. Here’s how you can update the system software:
- Ensure that your PS5 is connected to the internet.
- From the PS5 home screen, go to the settings menu by selecting the gear icon.
- Scroll down and select “System,” then choose “System Software.”
- If an update is available, select “Update System Software.”
- Follow the on-screen prompts to start the update process. Your PS5 will download the latest software version and install it.
- Wait for the update to complete. This may take some time, depending on the size of the update.
- Once the update is finished, your PS5 will restart with the updated system software.
It’s essential to periodically check for system software updates to ensure that you have the latest enhancements, bug fixes, and security patches. Keeping your PS5 updated will also allow you to access new features and improvements as they become available.
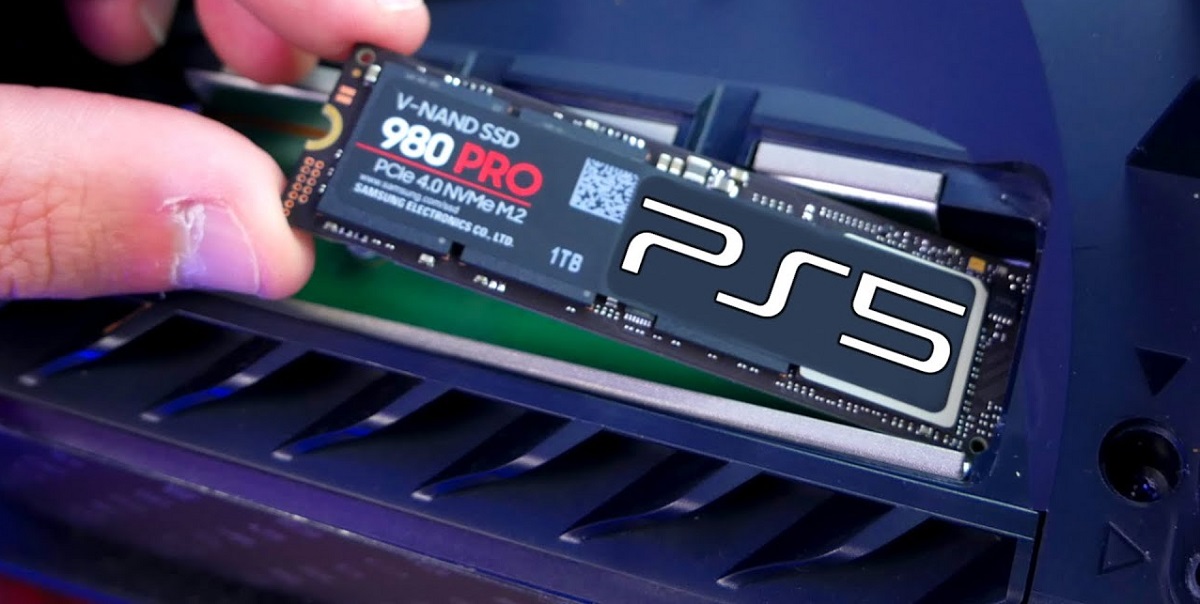
Note that larger updates may require more storage space on your PS5’s internal storage or an extended storage device. If you encounter any issues during the update process, make sure that you have enough free space and a stable internet connection. Additionally, consider enabling automatic updates in the system settings to ensure that your PS5 downloads and installs software updates in the background, keeping your console up to date without manual intervention.
With the system software updated, you can move on to adjusting audio and controller settings in the next section to customize your gaming experience.
Adjusting Audio and Controller Settings
Adjusting the audio and controller settings on your PS5 allows you to customize your gaming experience to suit your preferences. Here’s how you can do it:
- From the PS5 home screen, go to the settings menu by selecting the gear icon.
- Scroll down and select “Sound,” then choose “Audio Output.”
- Adjust the audio output settings, such as the audio format, volume control, and headphone audio options, to your liking.
- Experiment with the audio settings to optimize the sound quality and ensure an immersive gaming experience.
- Return to the settings menu and select “Accessories,” then choose “Controllers.”
- Customize the controller settings by adjusting options such as vibration intensity, trigger effect intensity, and button assignments.
- Explore the various controller settings to find the configuration that feels most comfortable and responsive to your gameplay style.
- If you have multiple controllers, you can also personalize each one separately to accommodate different preferences.
By adjusting the audio and controller settings, you can elevate your gaming experience to new heights. Whether you prefer immersive surround sound or specific controller sensitivities, the PS5 provides a wide range of options to fine-tune your setup.
Take some time to experiment with different audio settings and controller configurations to find the perfect balance that enhances your gameplay immersion and comfort.
Now that you have adjusted the audio and controller settings, it’s time to move on to the next step: installing games and applications on your PS5.
Installing Games and Applications
With your PS5 set up and customized, it’s time to install your favorite games and applications to start playing. Follow these steps to install games and applications on your PS5:
- Select the “Library” icon on the PS5 home screen. This will take you to your library of purchased and downloaded content.
- Browse through your library or navigate to the “All” tab to view all your available games and applications.
- Select the game or application you want to install. You can use the search feature or filter options to find specific titles.
- Once you have chosen a game or application, select the “Download” or “Install” button.
- Depending on the size of the game or application, installation times may vary. Larger games may take longer to download and install. Make sure you have sufficient storage space on your PS5’s internal storage or extended storage device.
- Once the installation is complete, the game or application will appear on your PS5’s home screen or in the “Games” tab.
- Select the game or application you installed to launch and start playing.
Some games may require additional updates or patches to provide the best gaming experience. Make sure to stay connected to the internet to download and install any necessary updates for your games.
In addition to purchased games, the PlayStation Store offers a wide range of free games and applications. Explore the store to discover new titles, demos, and other content that you can download and enjoy on your PS5.
Now that you have installed your games and applications, you’re ready to dive into the immersive world of gaming on your PS5. For those transferring data from a previous console, the next section will guide you through the process.
Transferring Data from a Previous Console
If you are upgrading from a previous PlayStation console, such as the PS4, you have the option to transfer your data to your PS5, including game saves, settings, and downloaded content. Follow these steps to transfer data from your previous console:
- Ensure that both your previous console and your PS5 are connected to the same network.
- On your PS5, go to the settings menu by selecting the gear icon on the home screen.
- Scroll down and select “System,” then choose “System Software.”
- Select “Data Transfer” and choose the option to transfer data from your previous console.
- On your previous console, follow the on-screen instructions to prepare for the data transfer.
- On your PS5, select “Next” and wait for the consoles to detect each other.
- Choose the data you want to transfer, such as game saves, settings, and downloaded content.
- Follow the remaining on-screen prompts to complete the data transfer.
- Once the transfer is complete, you can access your saved games, settings, and other data on your PS5.
Transferring data from your previous console allows you to seamlessly continue your gaming journey on your new PS5. It’s a convenient way to carry over your progress, preferences, and downloaded content without having to start afresh.
Please note that the data transfer process may take some time, depending on the amount of data being transferred. Ensure that both consoles are connected to a stable network and have sufficient storage space to accommodate the transferred data.
With your data successfully transferred, you can now enjoy your games and continue your gaming adventures on your new PS5.
Setting up Parental Controls
Setting up parental controls on your PS5 allows you to manage and restrict access to certain content, ensuring a safe and age-appropriate gaming experience for children. Follow these steps to set up parental controls on your PS5:
- On the PS5 home screen, select the gear icon to access the settings menu.
- Scroll down and select “Family and Parental Controls.”
- Choose “PS5 Console Restrictions” to create restrictions for the entire console or select “Family Management” to manage individual user accounts.
- Follow the on-screen prompts to set up and customize parental controls according to your preferences.
- You can restrict content based on age ratings, prevent access to online features, limit spending on the PlayStation Store, and control communication and sharing options.
- Set up a passcode to prevent unauthorized changes to the parental control settings.
- Monitor and manage your child’s usage and activities by accessing the Family Management settings, where you can view their playtime, adjust restrictions, and receive reports on their gaming habits.
Setting up parental controls is an important step in ensuring a safe and secure gaming environment for children. It allows you to have peace of mind knowing that they are playing age-appropriate games and accessing content suitable for their maturity level.
It’s recommended to regularly review and update the parental control settings as your child grows and their gaming needs change. This way, you can continue to provide a safe and enjoyable gaming experience for them.
With parental controls set up, you can rest assured that your PS5 is protected and tailored to your child’s individual needs and age restrictions.
Exploring the PS5 Interface and Features
Now that your PS5 is fully set up, it’s time to explore the intuitive interface and the exciting features the console has to offer. Here’s a glimpse into what you can expect:
Home Screen: The PS5’s home screen is your gateway to everything on your console. From here, you can access your games, applications, media, and settings. Navigate through the various tiles, which display your most recently played games, recommended titles, and media content.
Activities: The PS5 introduces a new feature called “Activities,” which allows you to jump into specific parts of a game directly from the home screen. Activities can include single-player missions, multiplayer modes, or challenges, providing a streamlined gaming experience.
Create Button: The redesigned Create button on the DualSense controller lets you capture screenshots, record gameplay clips, and share your gaming moments with friends and social media platforms. Take advantage of the built-in editing tools to customize your captures before sharing them.
Game Library: The PS5’s game library stores all your purchased games, both physical and digital. Organize your library, filter by genre or platform, and quickly find the game you want to play. Take advantage of the PS5’s backwards compatibility to play select PS4 titles.
PlayStation Store: Access the PlayStation Store directly from your PS5 to browse and purchase new games, downloadable content, themes, and more. Take advantage of exclusive deals, pre-order upcoming releases, and explore the vast library of games available for download.
DualSense Controller Features: The innovative DualSense controller enhances the gaming experience with adaptive triggers, haptic feedback, and an improved touchpad. These features provide a more immersive feel, allowing you to feel the tension of a bowstring or the rumble of different environments.
Integrated Entertainment: Beyond gaming, the PS5 offers a range of entertainment options. Stream your favorite movies and TV shows from popular streaming platforms like Netflix, Disney+, and more. Access music streaming services and enjoy your favorite tunes while gaming.
System Updates and Enhancements: Sony regularly releases system updates to improve the performance, stability, and functionality of the PS5. Stay connected to the internet to receive these updates and benefit from new features, bug fixes, and security enhancements.
As you explore the PS5 interface and features, you’ll discover even more exciting functionalities and unique experiences that make the console a powerhouse in entertainment and gaming.
Take your time to navigate through the various menus, customize your settings, and delve into the world of gaming and entertainment that the PS5 offers.
Conclusion
Congratulations! You have successfully set up your PS5 and are now ready to embark on an incredible gaming journey. Throughout this guide, we covered the essential steps to unbox the console, connect it to your TV, set up the power supply, adjust audio and controller settings, connect to the internet, create a PSN account, update the system software, install games and applications, transfer data from a previous console, set up parental controls, and explore the PS5 interface and features.
By following these steps, you have ensured a smooth and hassle-free setup process, personalized your gaming experience, and unlocked the full potential of your PS5.
Now it’s time to dive into the immersive worlds of your favorite games, connect with friends online, and explore the vast library of content available on the PlayStation Store. Take advantage of the powerful hardware, cutting-edge features, and stunning visuals that the PS5 has to offer.
Remember to keep your system software up to date, regularly review and adjust your settings, and explore new games and features as they become available.
Enjoy your gaming sessions, immerse yourself in thrilling adventures, and make memories that will last a lifetime. Whether you’re a casual gamer, a competitive player, or a fan of immersive storytelling, the PS5 offers something for everyone.
Thank you for choosing the PS5, and may your gaming experiences be filled with excitement, entertainment, and countless hours of fun!