Introduction
Rest Mode is a handy feature on the PlayStation 5 (PS5) that allows you to save power while keeping your console in a suspended state. Whether you need to take a break from gaming or you want to preserve your progress in a game for later, putting your PS5 in Rest Mode is the way to go.
In Rest Mode, your PS5 will consume significantly less power compared to when it’s fully active. This means you can leave your console in Rest Mode without worrying about wasting energy or affecting your electricity bill. Additionally, when you turn on your PS5 from Rest Mode, you’ll be able to resume your activities right where you left off. It’s a convenient and time-saving feature that every PS5 owner should be familiar with.
In this article, we’ll walk you through the step-by-step process of putting your PS5 in Rest Mode. Whether you’re a new PS5 owner or you simply want a refresher, we’ve got you covered. So, let’s dive in and discover how to make the most of Rest Mode on your PS5.
Understanding Rest Mode on PS5
Rest Mode is a power-saving feature on the PlayStation 5 (PS5) that allows you to put your console into a suspended state while still keeping it operational. When you activate Rest Mode, your PS5 will enter a low-power mode where it consumes significantly less energy than when it’s fully active.
While in Rest Mode, your PS5 performs various background tasks, such as downloading and installing game updates, charging your controllers, and syncing your saved data with the cloud. This means that even when your console is not actively being used, it’s still working to ensure a seamless gaming experience.
One of the major advantages of Rest Mode is the ability to resume your activities instantly. When you turn on your PS5 from Rest Mode, you’ll find that your game or application is right where you left it, allowing you to quickly jump back into the action. This can be especially convenient if you need to take a break from gaming but don’t want to lose your progress.
It’s worth noting that Rest Mode is different from turning off your PS5 completely. When you turn off your console, it will need to go through the boot-up process the next time you want to use it. With Rest Mode, however, your PS5 remains in a standby state, allowing for quicker access and reduced waiting times.
Rest Mode also offers some additional customization options. For example, you can choose whether your console stays connected to the internet in Rest Mode, allowing for automatic downloads and updates. You can also adjust the power settings, such as the time it takes for the console to enter Rest Mode automatically after a period of inactivity.
Understanding the concept and benefits of Rest Mode is essential for efficiently managing your PS5. Now that you have a grasp of its purpose, let’s get into the steps of how to put your PS5 into Rest Mode.
Step 1: Navigating to the Home Screen
Before you can put your PS5 into Rest Mode, you’ll first need to navigate to the Home Screen. This is the main dashboard where you’ll find all your games, apps, and settings. To get there, follow these simple steps:
- Ensure that your PS5 is turned on and that you’re logged into your account.
- If you’re currently in a game or application, press the PS button on your controller to return to the Home Screen. Alternatively, you can press and hold the PS button to bring up the Control Center, and then select the Home icon.
- Once you’re on the Home Screen, you’ll see various icons representing your installed games and apps. Take a moment to familiarize yourself with the layout, as this is where you’ll access the necessary options to put your PS5 into Rest Mode.
It’s important to note that you need to be on the Home Screen before proceeding to the next step. If you’re currently in a game or application, make sure to return to the Home Screen by pressing the PS button on your controller or selecting the Home icon from the Control Center.
By successfully navigating to the Home Screen, you’re now ready to move on to the next step: accessing the Control Center.
Step 2: Accessing the Control Center
To put your PS5 into Rest Mode, you’ll need to access the Control Center. The Control Center is a menu that provides quick access to essential settings and features on your PS5. Here’s how you can access it:
- From the Home Screen, ensure that your PS5 controller is turned on and within your reach.
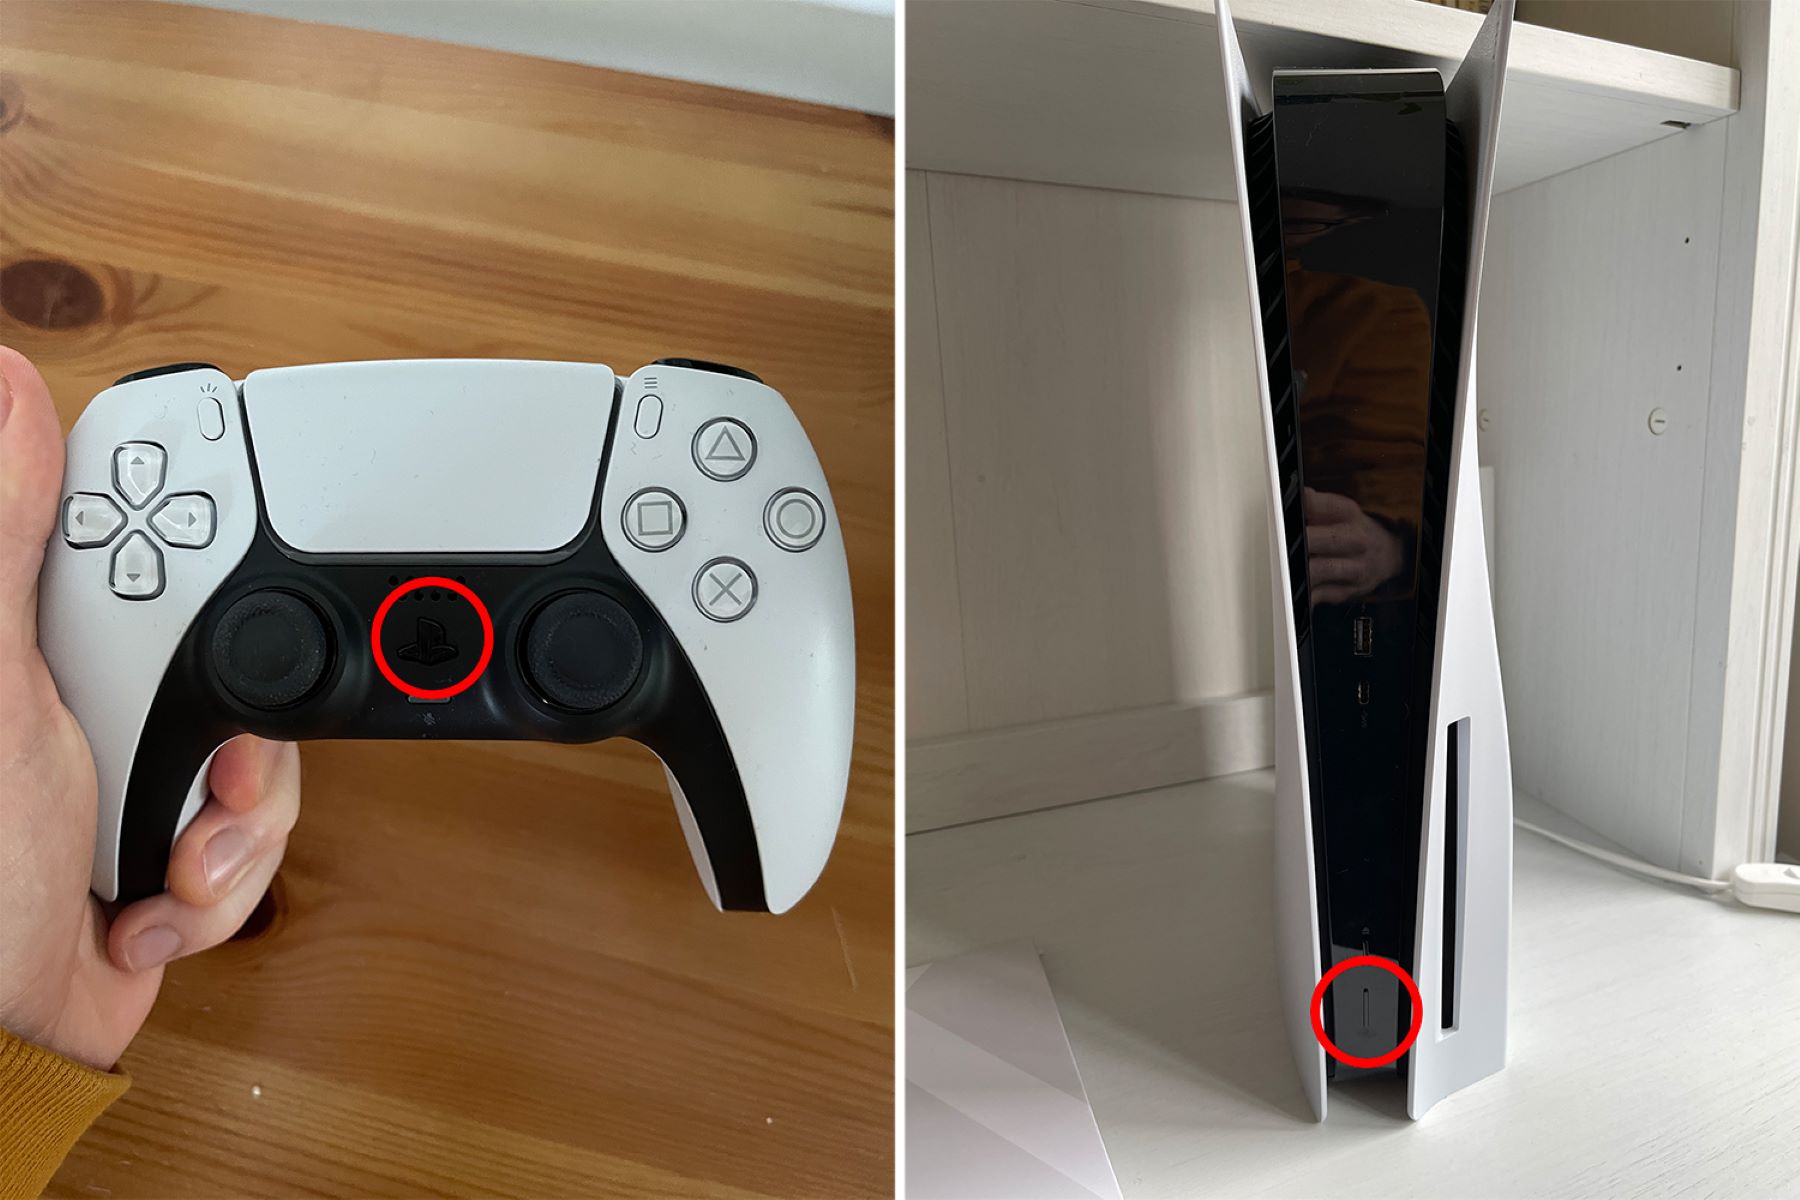
- Press and hold the PlayStation button (the large button with the PS logo) located in the center of your controller.
- After holding the PlayStation button for a couple of seconds, the Control Center will appear on your screen.
The Control Center is a sleek overlay that provides easy access to various options and features. It includes shortcuts to frequently used settings, such as audio controls, display settings, and power options, including Rest Mode.
Take a moment to explore the Control Center and familiarize yourself with its layout. You’ll notice that it offers not only quick access to Rest Mode but also other useful functions that can enhance your gaming experience.
With the Control Center now accessible, let’s move on to the next step: activating Rest Mode on your PS5.
Step 3: Activating Rest Mode
Now that you’ve accessed the Control Center on your PS5, it’s time to activate Rest Mode. Rest Mode allows your console to enter a low-power state while keeping it operational. Here’s how you can activate Rest Mode:
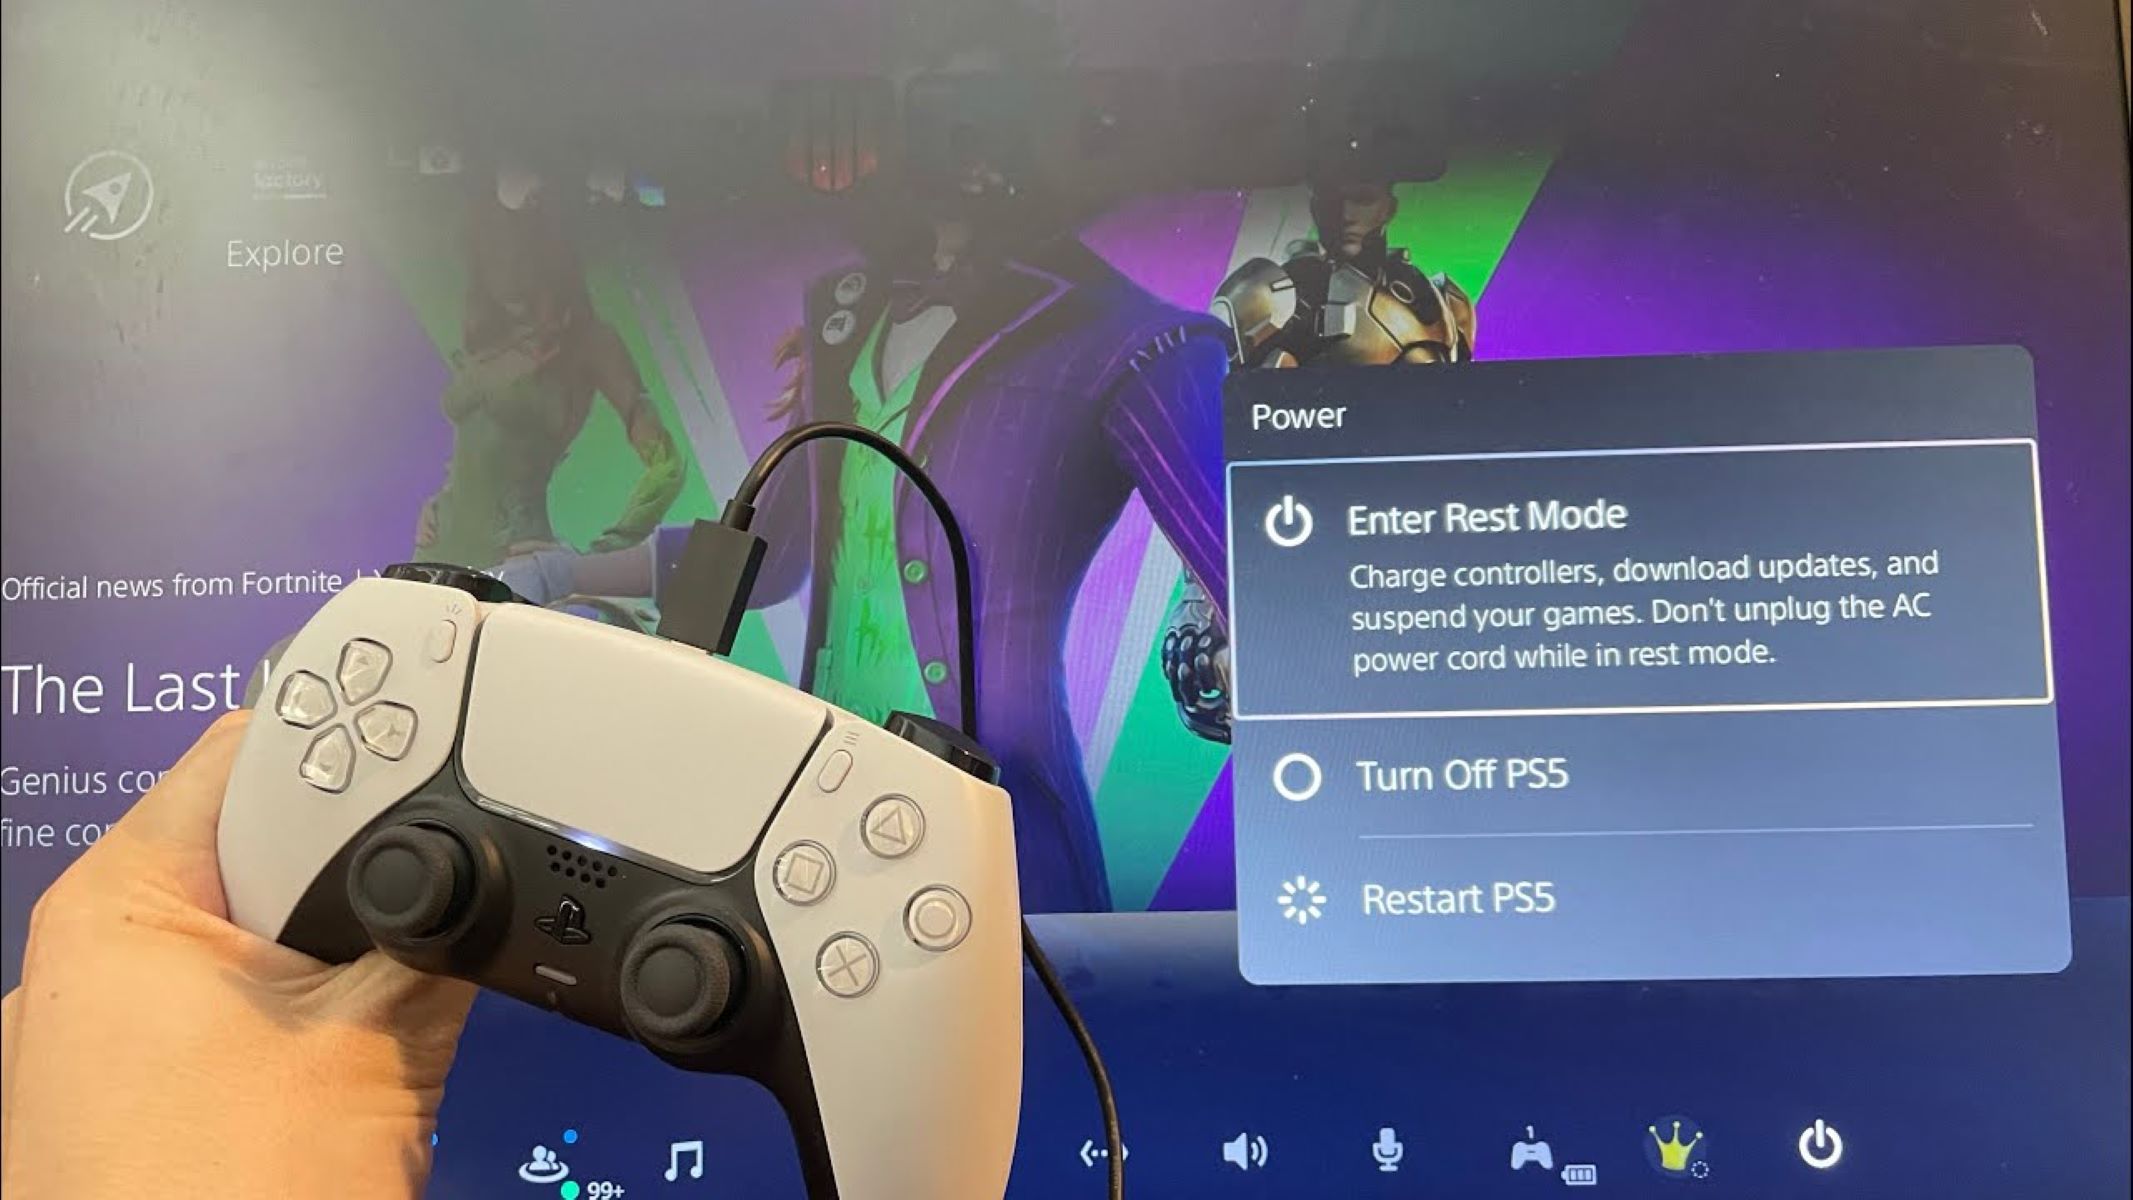
- In the Control Center, navigate to the power options. It is usually represented by a power icon.
- Highlight the power icon and press the X button on your controller to open the power menu.
- In the power menu, you’ll see various options, including Turn Off, Restart, and Rest Mode. Move the cursor to highlight the Rest Mode option.
- Once Rest Mode is highlighted, press the X button on your controller to activate it.
After selecting Rest Mode, your PS5 will begin the process of entering the low-power state. The screen will turn off, but the console will continue to perform background tasks, such as downloading updates and syncing data.
It’s important to note that you can manually activate Rest Mode at any time, even if your console is currently idle or running a game or application. Just follow the steps above to access the power menu and select Rest Mode.
Activating Rest Mode is a great option when you want to take a break from gaming or step away from your PS5 for a while. It allows you to save power while keeping your console in a state where you can quickly return to your activities without any interruptions.
With Rest Mode now activated on your PS5, let’s move on to the next step: confirming the activation.
Step 4: Confirming Rest Mode Activation
Once you’ve activated Rest Mode on your PS5, it’s important to confirm that it has been successfully initiated. Confirming the activation will give you the peace of mind that your console is in the desired low-power state. Here’s how you can confirm Rest Mode activation:
- After selecting Rest Mode from the power menu, your PS5 will start the process of entering the low-power state.
- Observe the power light on your PS5. It should turn orange or display a pulsating orange glow, indicating that Rest Mode is active.
- You might also notice that the fan noise on your PS5 decreases significantly or becomes nearly silent, another sign that your console is in Rest Mode.
If you see the orange power light and experience reduced fan noise, you can rest assured that Rest Mode has been successfully activated on your PS5. This means your console will conserve power while still performing background tasks, ensuring that you can quickly resume your activities when you return.
Confirming Rest Mode activation is especially useful if you plan on leaving your console unattended for an extended period. It provides you with the confidence that your PS5 is in a safe and energy-efficient state.
Now that you’ve confirmed Rest Mode activation, it’s time to learn how to exit Rest Mode and resume normal use of your PS5. Let’s explore the steps in the next section.
Step 5: Exiting Rest Mode
When you’re ready to use your PS5 again after putting it in Rest Mode, you’ll need to know how to exit the low-power state and return to normal operation. Exiting Rest Mode is a simple process that allows you to quickly resume your activities on the console. Here’s how you can exit Rest Mode on your PS5:
- To exit Rest Mode, simply press the PS button on your controller.
- You’ll notice that the screen will turn on, and your PS5 will boot up, bringing you back to the exact point where you left off.
It’s important to note that when you exit Rest Mode, your PS5 will go through the boot-up process, which may take a few seconds. However, the advantage of Rest Mode is that it significantly reduces the wait time compared to starting up your console from a completely powered-off state.
Once your PS5 has powered on, you’ll find yourself back at the Home Screen, ready to continue your gaming session or use any other applications you had open. Any downloads or updates that were paused during Rest Mode will resume automatically.
Exiting Rest Mode allows you to seamlessly transition from a low-power state to full operation, without any loss of progress or interruption to your gaming experience.
Now that you know how to exit Rest Mode, you can confidently utilize this feature on your PS5 to save power and ensure convenient resumptions of your gaming activities.