Introduction
Welcome to the exciting world of PlayStation gaming! If you’re a proud owner of the latest PlayStation 5 (PS5) console, you’re probably already enjoying the incredible gaming experience it offers. However, did you know that you can further enhance your gaming adventures by making your PS5 the primary console? Setting your PS5 as the primary console allows you to access additional features, such as sharing games and PlayStation Plus benefits with other users on the same console.
In this guide, we will walk you through the process of making your PS5 the primary console. Whether you’re a seasoned gamer or new to the PlayStation family, this step-by-step tutorial will help you unlock the full potential of your console and make the most out of your gaming experience.
Before we dive into the technical details, it’s important to note that modifying your console may void the warranty. Therefore, proceed at your own risk and only if you feel comfortable doing so. If you’re unsure or feel uneasy about the process, it’s always recommended to seek assistance from a professional or reach out to PlayStation support for guidance.
Now, let’s get started and turn your PS5 into the primary console. Get ready to unlock an array of exciting features and fully immerse yourself in the world of PlayStation gaming!
Getting Started
Before we begin the process of making your PS5 the primary console, let’s ensure that you have everything you need. Here are the essential things to consider:
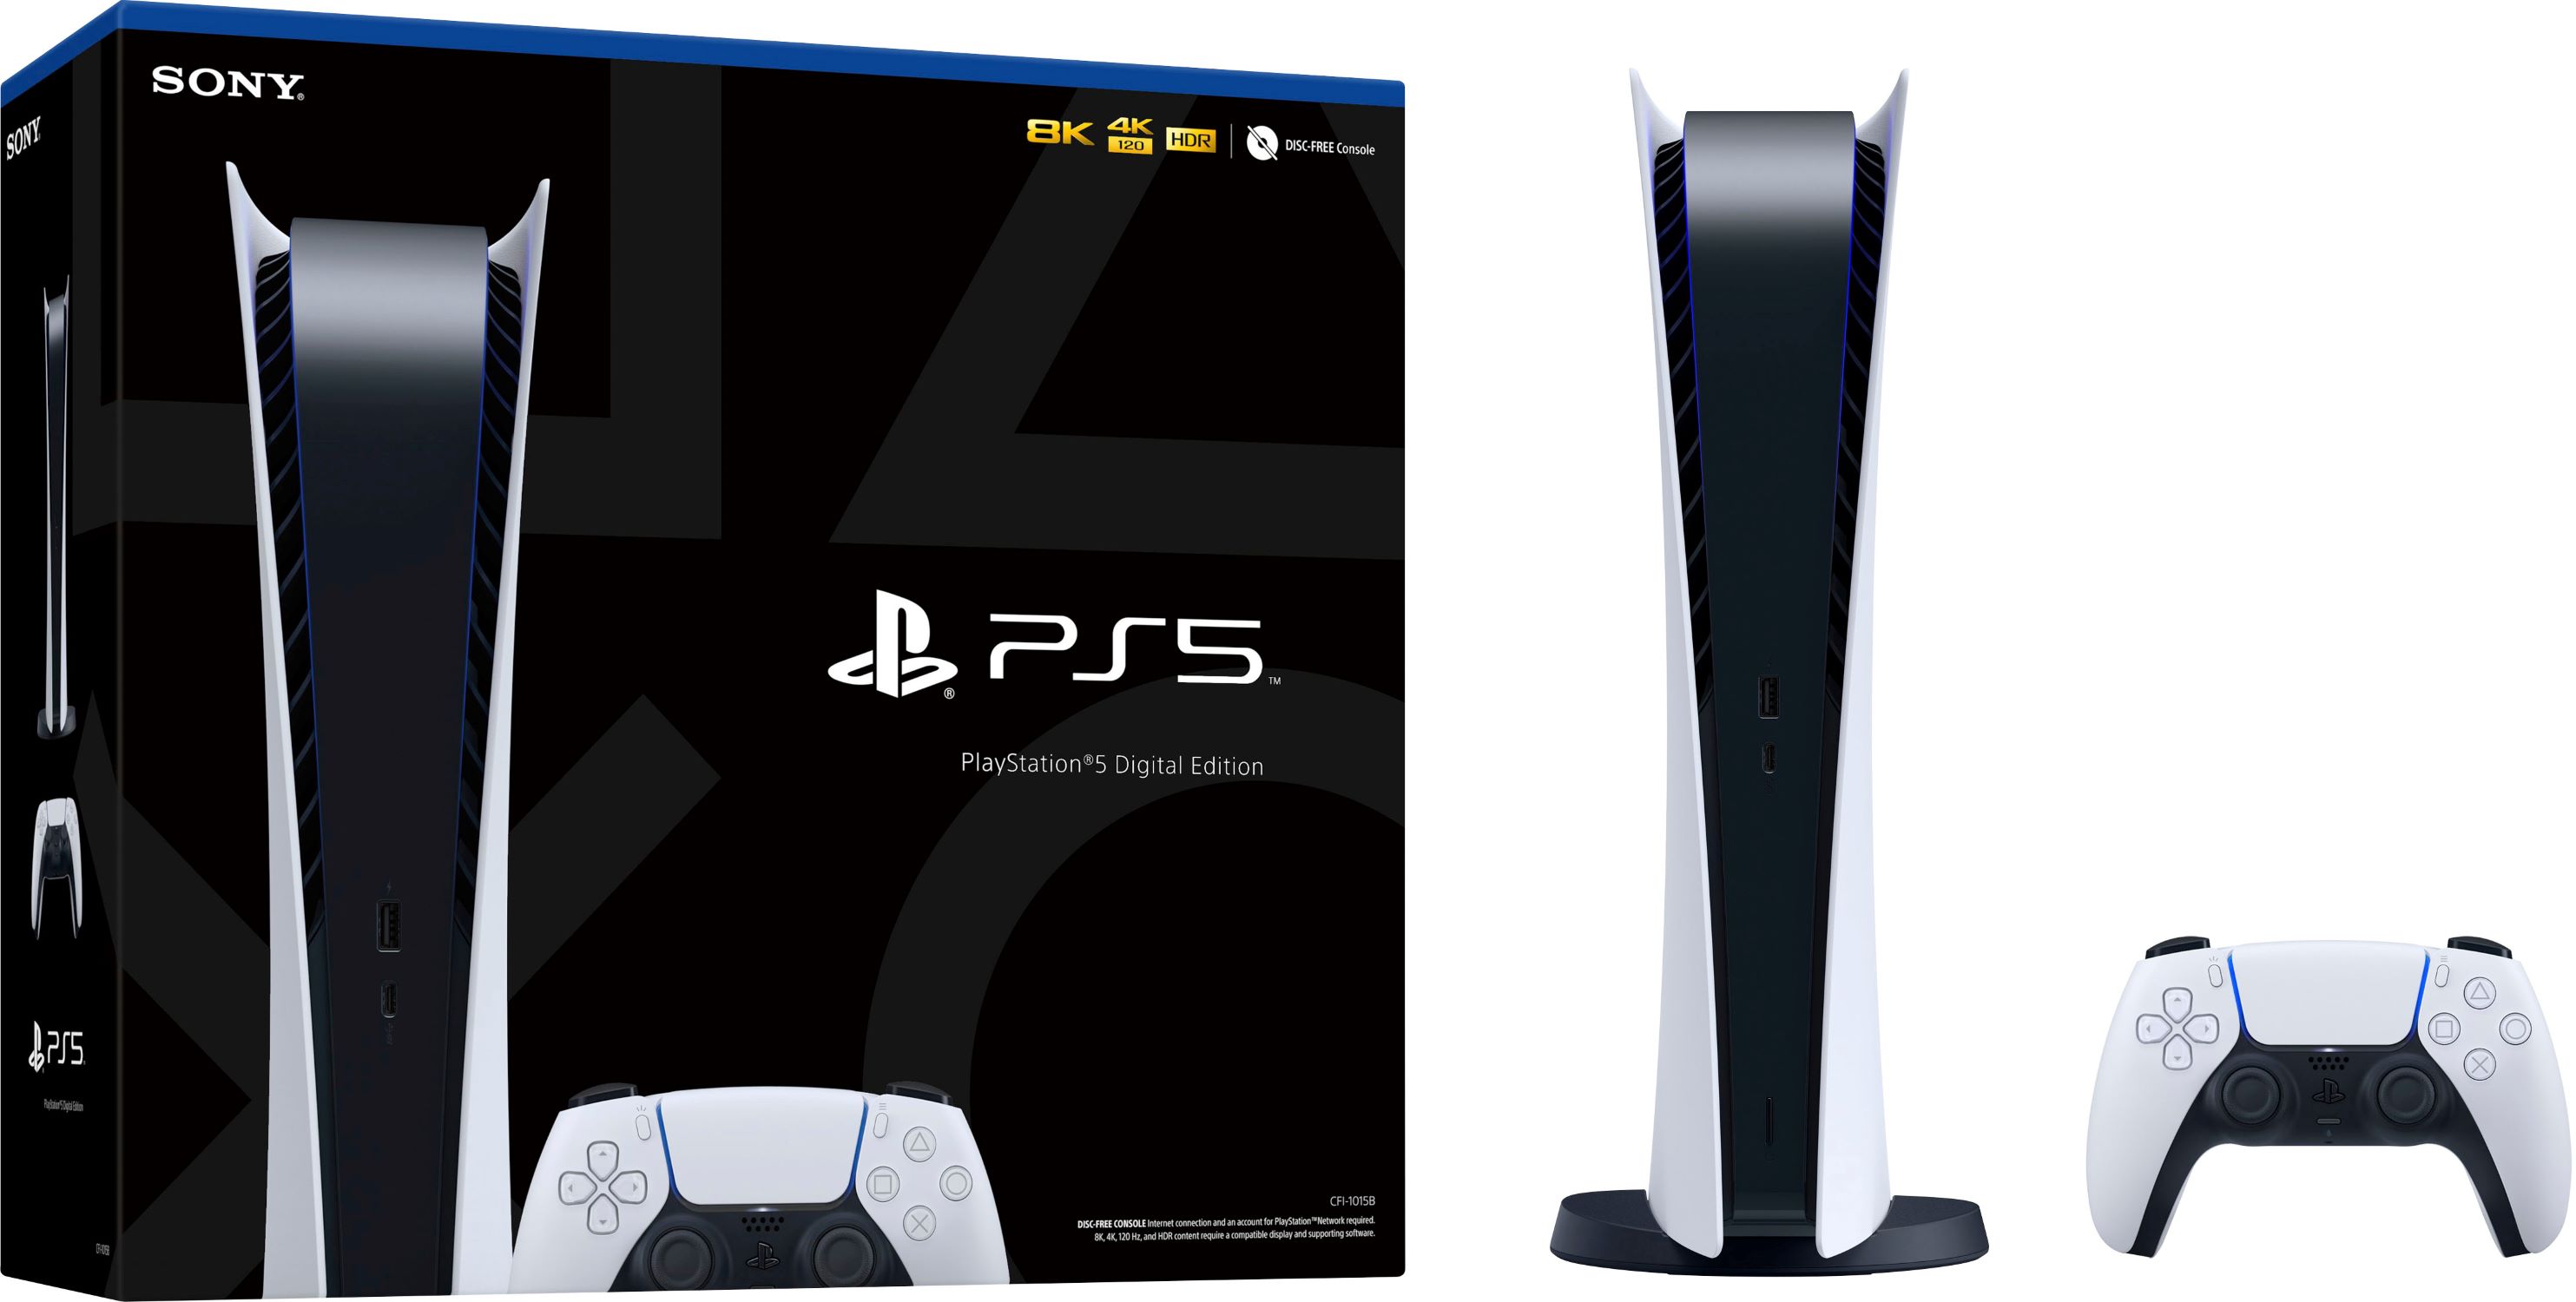
- A PlayStation 5 console: Obviously, you’ll need the PS5 console itself. Ensure that it is in good working condition and has the necessary power supply.
- Internet Connection: A stable and reliable internet connection is crucial for setting up and managing your primary PS5. Make sure you have access to a high-speed internet connection to avoid any issues during the process.
- An Active PlayStation Network (PSN) Account: You’ll need a valid PSN account to complete the setup. If you don’t have one, you can easily create a new account on the PlayStation website or directly from the console.
- Access to a Computer or Mobile Device: You’ll need a computer or mobile device with internet access to access the PlayStation Network website and make the necessary changes to your account.
Once you have ensured that you have all the required items, it’s time to move on to the next step, which is gathering the necessary materials to proceed with making your PS5 the primary console.
Gathering the Materials
Before you start the process of making your PS5 the primary console, it’s important to gather the necessary materials. Here are the items you’ll need:
- A Controller: Ensure that you have at least one PlayStation 5 controller. This is essential for navigating the console’s settings and making the necessary changes.
- A Micro USB Cable: You’ll need a micro USB cable to connect the controller to your PS5. This cable is also used for charging the controller, so make sure you have one available.
- A Computer or Mobile Device: As mentioned earlier, you’ll need a computer or mobile device to access the PlayStation Network website and make the required changes to your account settings.
- An Internet Browser: Make sure you have an updated internet browser installed on your computer or mobile device. Popular options include Google Chrome, Mozilla Firefox, Safari, or Microsoft Edge.
- A Stable Internet Connection: Ensure that you have a stable and reliable internet connection throughout the process. Interrupted or slow connections may cause delays or errors.
Once you have gathered all the necessary materials, you’re ready to set up your workstation and begin the process of making your PS5 the primary console. Remember to double-check that you have all the items listed above before proceeding.
Preparing the Workstation
Before you start disassembling your PS5 and making any changes to its settings, it’s important to properly prepare your workstation. Here are the steps to ensure your workstation is ready:
- Clean and Organize: Clear your workspace of any clutter or unnecessary items. This will give you a clean and organized area to work on your PS5 without any distractions.
- Find a Well-Lit Area: Make sure you have adequate lighting in your workspace. This will help you see the small details and components of your PS5 more clearly, reducing the risk of any mistakes or mishaps.
- Use a Static-Free Surface: It’s crucial to work on a surface that is static-free. Static electricity can damage the sensitive components of your PS5, so consider using an anti-static mat or working on a wooden or non-static surface.
- Gather Tools: Prepare any tools you may need during the disassembly and reassembly process. This may include screwdrivers, prying tools, and cleaning equipment.
- Have a Container for Small Parts: As you disassemble your PS5, you may encounter small screws or components that need to be kept safe. Have a small container or tray nearby to store these parts so you don’t lose them.
By following these steps, you’ll ensure that your workstation is clean, organized, and optimized for the task at hand. This will help streamline the process and minimize the risk of any damage to your PS5 or its components.
Disassembling the PS5
Before proceeding with disassembling your PS5, it’s important to note that opening your console may void the warranty. If your PS5 is still under warranty and you’re uncomfortable with the idea of disassembly, it’s recommended to seek assistance from a professional or contact PlayStation support for guidance.
With that in mind, here are the general steps for disassembling your PS5:
- Power Off and Unplug: Make sure your PS5 is turned off and unplugged from the power source. This will ensure your safety during the disassembly process.
- Prepare the Screwdriver: Depending on the model of your PS5, you may need a special type of screwdriver, such as a Torx or Phillips screwdriver, to remove the screws holding the outer casing together. Ensure you have the proper screwdriver before proceeding.
- Remove the Screws: Carefully remove the screws from the bottom of the PS5 using the appropriate screwdriver. Keep the screws in a safe place to avoid misplacing them.
- Gently Pry Open the Casing: With the screws removed, gently pry open the casing of the PS5. Be mindful of any cables or connections that may be attached to the casing, and gently disconnect them if necessary.
- Set Aside the Casing: Once the casing is removed, set it aside in a safe place where it won’t get damaged or misplaced.
- Access the Internal Components: With the casing removed, you will have access to the internal components of the PS5. Take caution not to touch any sensitive parts and avoid static electricity.
These steps provide a general guideline for disassembling your PS5. However, it’s important to emphasize that each console model may have slight variations in the disassembly process. Therefore, it’s always recommended to consult the official PlayStation website or seek professional guidance specific to your PS5 model to ensure a safe and successful disassembly.
Installing the Primary Components
Now that you have successfully disassembled your PS5, it’s time to install the primary components that will enable you to make it the primary console. Follow these steps to proceed:
- Identify the Mainboard: Locate the mainboard of your PS5, which is the central circuit board that contains all the essential components. Take note of its location so you can easily access it.
- Reset CMOS Battery: Locate the CMOS battery on the mainboard and carefully remove it. Leave it out for a few minutes to reset the system’s settings.
- Reinstall CMOS Battery: After a few minutes, reinsert the CMOS battery back into its slot, ensuring a secure connection.
- Connect Controller via USB: Connect your PS5 controller to the console using a micro USB cable. This will allow you to navigate the settings and make the required changes.
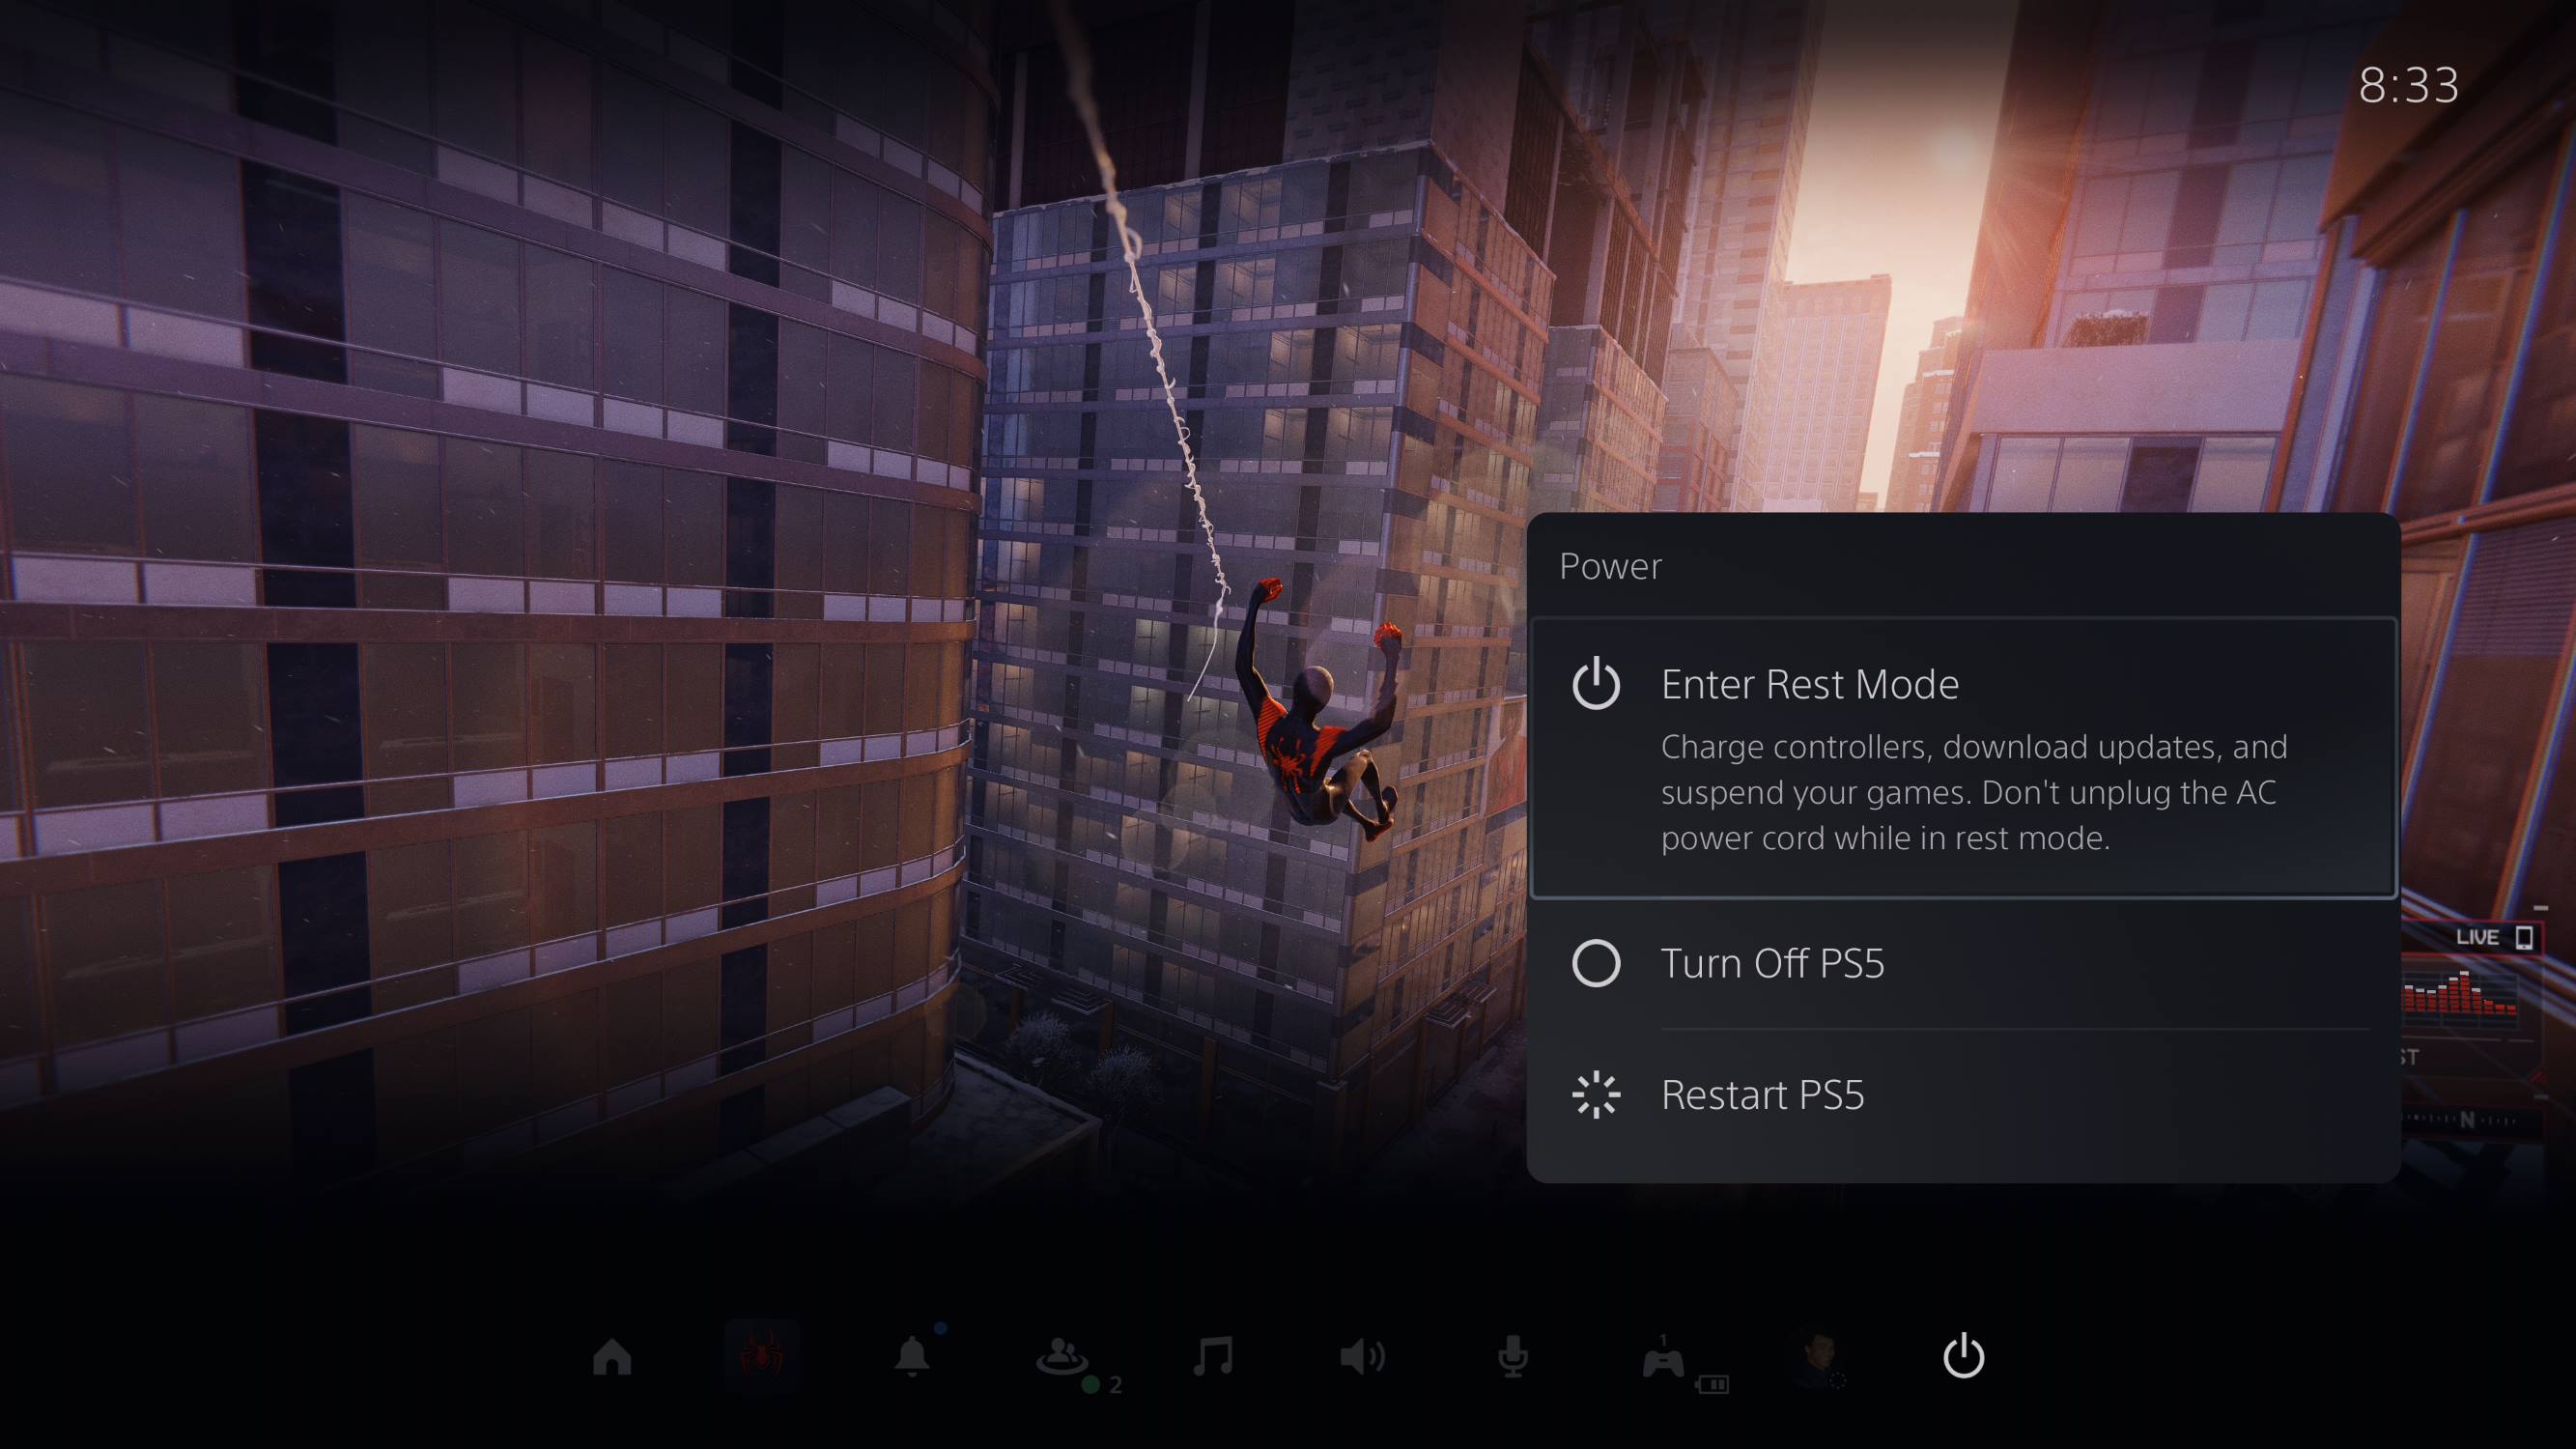
- Power on the PS5: Plug in and power on your PS5. Wait for it to boot up and reach the home screen.
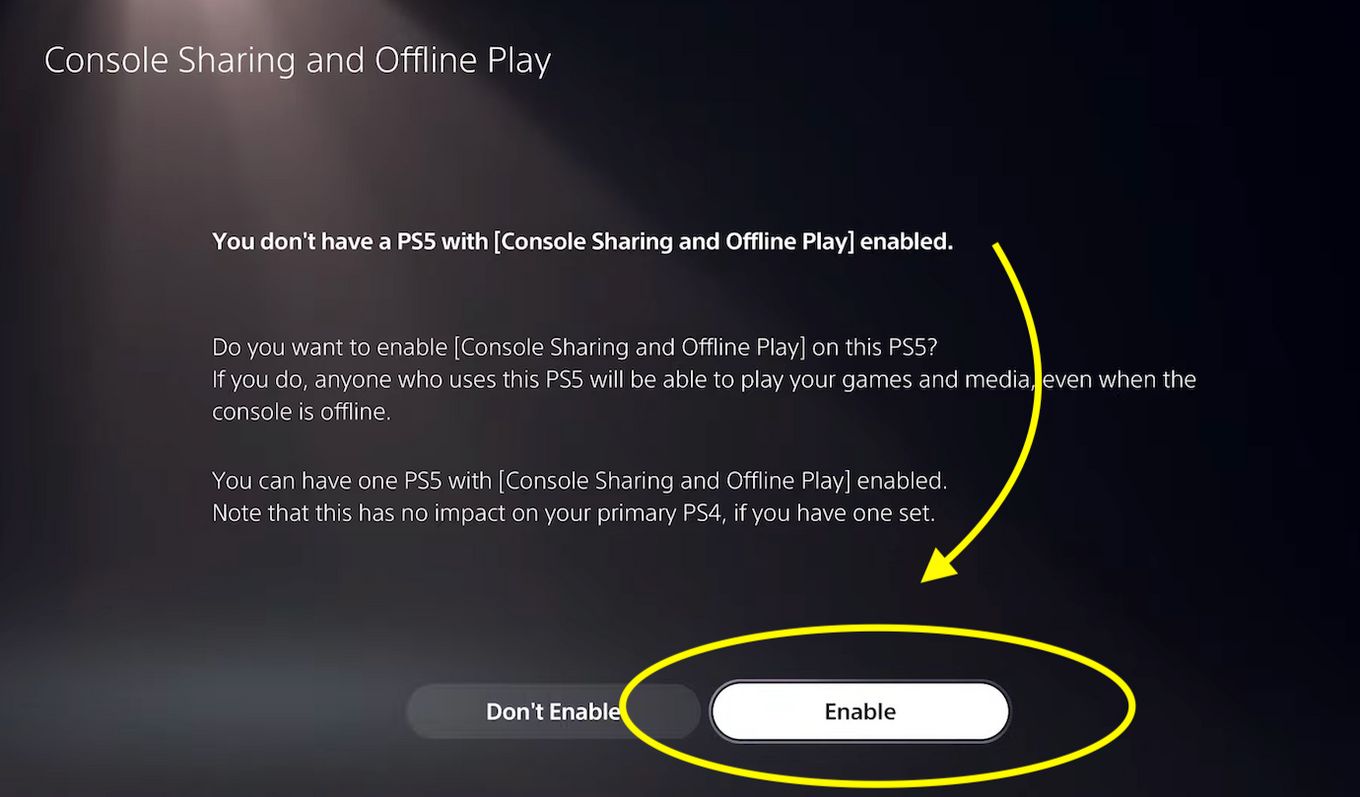
- Access Settings: Once the PS5 is powered on and at the home screen, navigate to the “Settings” menu. This is where you can make the necessary changes to set the console as the primary.
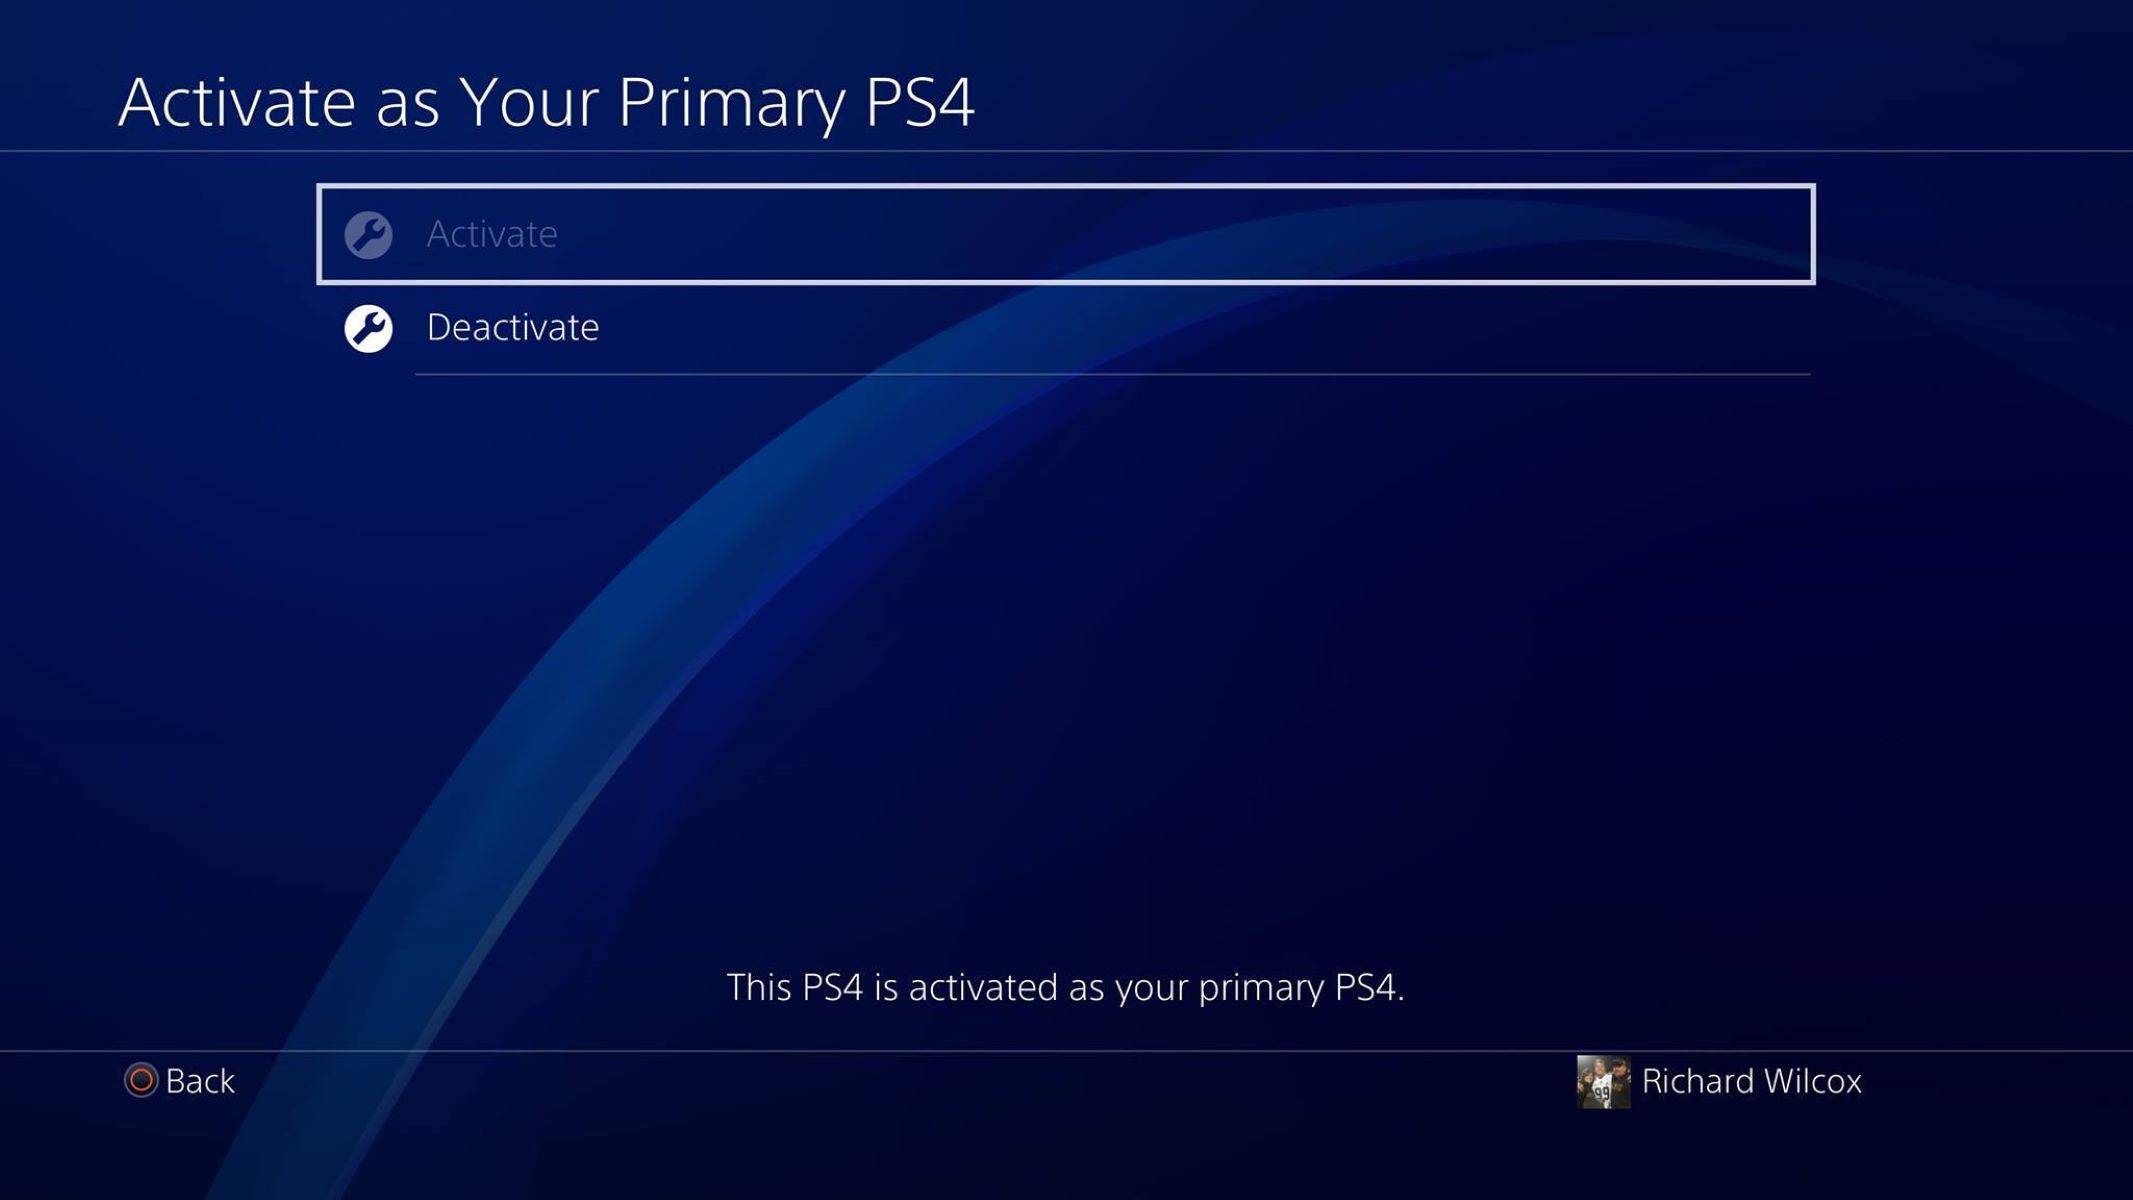
- Select “Users and Accounts”: Within the “Settings” menu, scroll down and select “Users and Accounts” to access the user settings.
- Choose “Other” Options: Under the “Users and Accounts” menu, select “Other” options to access additional settings related to your primary console.
- Set as Primary Console: Within the “Other” options, locate the “Make This PS5 My Primary Console” setting and select it. Follow the on-screen prompts to confirm and finalize the changes.
- Restart the PS5: After making the necessary changes, restart your PS5 to ensure that the settings take effect. You can do this by navigating to the power options and selecting the restart option.
By following these steps, you will successfully install the primary components and set your PS5 as the primary console. This will unlock additional features and benefits for your gaming experience.
Testing the Primary PS5
After successfully setting your PS5 as the primary console, it’s important to test its functionality to ensure that everything is working as intended. Here are some steps you can take to test your primary PS5:
- Game Access: Check if you can access and play your digital games that were previously purchased on your PSN account. You should be able to download, install, and play these games without any issues.
- Online Features: Test the online features of your primary PS5, such as multiplayer gaming and access to online services like PlayStation Plus. Ensure that you can connect to online servers and interact with other players seamlessly.
- Game Sharing: If you have set up game sharing with other users on your primary console, verify that they can access and play the shared games without any restrictions.
- Remote Play: If you use remote play to stream your PS5 games to another device, such as a computer or mobile device, test the remote play functionality to ensure smooth gameplay and minimal input lag.
- Downloads and Updates: Check if your primary PS5 is able to download game updates, patches, and system updates without any issues. Make sure that these updates install correctly and improve the performance of your console.
- Account Management: Verify that you can manage your PSN account settings, including privacy settings, parental controls, and payment methods, on your primary PS5.
- Media Playback: Test the media playback capabilities of your primary PS5. Check if you can play Blu-ray discs, stream movies and TV shows, and access other media apps without any glitches.
- Controller Functionality: Ensure that your PS5 controllers are working properly on your primary console. Test the buttons, triggers, and touchpad to confirm that they are responsive and functioning as expected.
- Performance and Stability: Monitor the overall performance and stability of your primary PS5. Look out for any crashes, freezes, or abnormal behavior that may indicate a problem with the console.
Testing these aspects of your primary PS5 will help validate its functionality and ensure that it meets your gaming and entertainment needs. If you encounter any issues during the testing phase, refer to the troubleshooting tips in the next section for assistance in resolving them.
Reassembling the PS5
Once you have completed the testing phase and ensured that your primary PS5 is functioning correctly, it’s time to reassemble the console. Follow these steps to safely and effectively put your PS5 back together:
- Place the Casing: Carefully position the casing back onto the PS5, ensuring that it aligns properly with the console.
- Secure the Screws: Retrieve the screws that were removed earlier and securely screw them back into the appropriate locations on the bottom of the PS5.
- Reconnect Cables: If any cables were detached during the disassembly process, now is the time to reconnect them. Make sure to connect each cable to its corresponding port, taking care not to force or damage any connectors.
- Verify the Alignment: Double-check that all components are properly aligned and there are no loose parts within the console. This will prevent any potential issues or rattling noises when the console is in use.
- Test the Power and Functionality: Plug in the power cable and turn on your PS5. Verify that it powers on as expected and all functions are working correctly.
- Monitor for Proper Ventilation: Observe that the console is adequately ventilated with proper airflow. Ensure that there are no obstructions or dusty areas that may hinder the cooling system.
Once you have completed these steps, your PS5 should be fully reassembled and ready for use. Take a moment to appreciate your handiwork and enjoy the satisfaction of successfully making your PS5 the primary console.
Note: If you encounter any difficulties during the reassembly process or find that the console is not functioning as expected, it’s recommended to consult professional assistance or reach out to PlayStation support for further guidance.
Troubleshooting Tips
While setting up your primary PS5, you may encounter some common issues or challenges. Here are a few troubleshooting tips to help you resolve them:
- Power and Connectivity: If your PS5 doesn’t power on or you’re having connectivity issues, ensure that all cables, including the power cable and HDMI cable, are securely connected. Try using different cables or ports to rule out any potential issues.
- Internet Connection: If you’re experiencing network connectivity issues, check your internet connection. Ensure that your PS5 is properly connected to your Wi-Fi network or Ethernet cable. Restart your router or modem if necessary.
- Reset CMOS Battery: If you’re encountering unusual settings or experiencing performance issues, resetting the CMOS battery as mentioned in the installation section can often help resolve such issues. However, proceed with caution and refer to official guidelines or seek professional assistance if needed.
- Software Updates: Ensure that your PS5 has the latest system software updates installed. Go to the settings menu and check for any available updates. Installing these updates can often fix bugs, improve performance, and enhance the overall functionality of your console.
- Controller Syncing: If your PS5 controller is not syncing or connecting properly, try resetting it by inserting a small pin into the reset button located on the back of the controller. Then, re-establish the connection by connecting the controller to the PS5 via a USB cable.
- Restore Factory Settings: If you’re still experiencing significant issues or errors, you can try restoring your PS5 to its factory settings. Keep in mind that this will erase all data and settings, so make sure to back up any important data beforehand.
- Seek Professional Assistance: If you have tried these troubleshooting steps and are still encountering problems, it’s advisable to contact PlayStation support or seek assistance from a professional technician. They can provide specific guidance based on your unique situation and help resolve any complex issues you may be facing.
Remember, troubleshooting can be a trial-and-error process, and it’s always recommended to consult official support channels or seek professional help if needed. Don’t hesitate to reach out for assistance to ensure the smooth operation of your PS5 as the primary console.
Conclusion
Congratulations! You have successfully made your PlayStation 5 (PS5) the primary console, unlocking a range of additional features and benefits. By following the steps outlined in this guide, you have set yourself up for an enhanced gaming experience.
From gathering the necessary materials to disassembling and reassembling the console, you have navigated through the process with skill and precision. By testing the functionality, you have verified that your primary PS5 is working as intended, allowing you to enjoy all the capabilities it offers.
Remember, as you proceed with making your PS5 the primary console, always exercise caution and be aware of any potential warranty implications. If you have any concerns or doubts, consult professional assistance or reach out to PlayStation support for expert guidance.
Now that your PS5 is the primary console, you can fully immerse yourself in the world of PlayStation gaming. Enjoy multiplayer experiences, share games with other users on the same console, and make the most out of your PlayStation Plus benefits. Take advantage of the powerful hardware, stunning graphics, and extensive game library that the PS5 has to offer.
Lastly, keep in mind that technology is ever-evolving, and new updates and features may become available for your PS5 in the future. Stay up to date with system updates, game patches, and firmware upgrades to ensure your console remains optimized and is always ready to deliver the best gaming experience possible.
Now it’s time to sit back, relax, and embark on an exciting gaming journey with your newly established primary PS5. Get ready to explore captivating worlds, compete in thrilling battles, and create lasting memories with friends and fellow gamers. Happy gaming!