Introduction
Changing your PlayStation email address is a straightforward process that can be done in just a few simple steps. Whether you’ve created a new email account or want to update your existing one, this tutorial will guide you through the process. Your PlayStation email is essential for account verification, communication, and account recovery purposes, so it’s important to keep it up to date.
In this guide, we’ll walk you through the necessary steps to change your PlayStation email address. We’ll start by signing in to your PlayStation account and accessing the account settings. Then, we’ll go through the process of updating your email address and verifying the new email to ensure a smooth transition.
Before we begin, please note that you’ll need access to both your current and new email addresses, as well as your PlayStation account login details. It’s also crucial to verify the email changes to ensure the security of your account and prevent unauthorized access.
Now, let’s dive into the step-by-step process of changing your PlayStation email address.
Step 1: Sign in to your PlayStation account
The first step in changing your PlayStation email address is to sign in to your PlayStation account. To do this, follow the steps below:
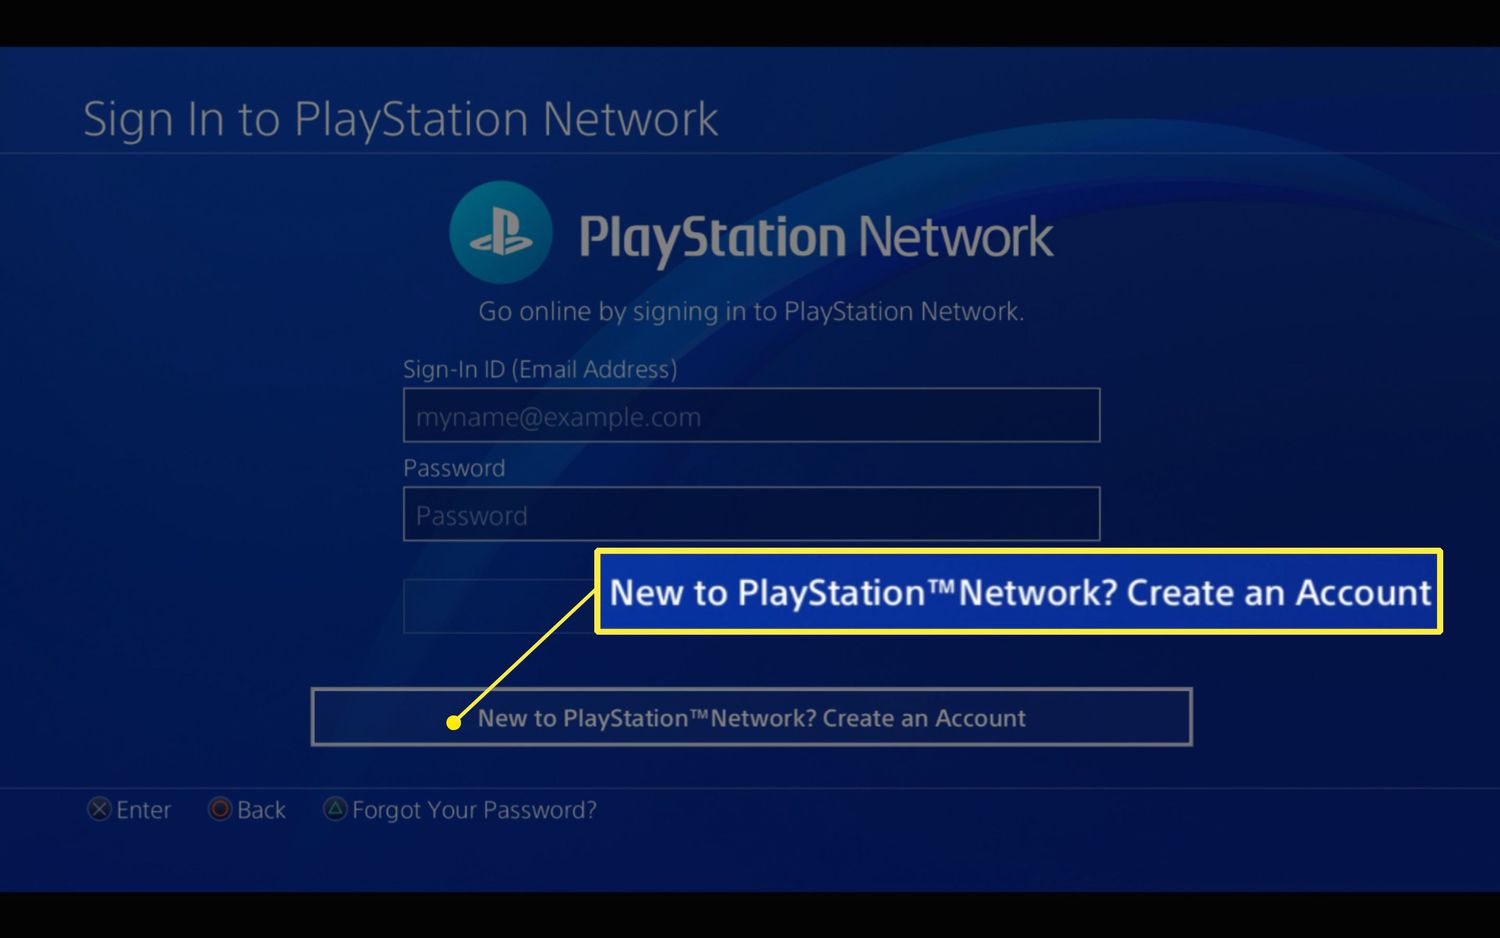
- Open a web browser on your computer or mobile device and go to the PlayStation website.
- Click on the “Sign In” button located at the top right corner of the webpage.
- Enter your PlayStation Network (PSN) ID and password in the respective fields.
- Click on the “Sign In” button to log in to your PlayStation account.
If you have forgotten your PSN ID or password, click on the “Trouble signing in?” link below the login fields. Follow the instructions provided to recover your account details.
Once you have successfully signed in to your PlayStation account, you are ready to proceed to the next step: accessing the Account Settings.
Step 2: Go to Account Settings
After signing in to your PlayStation account, the next step is to navigate to the Account Settings page. Here’s how you can do it:
- On the PlayStation website, look for your profile icon or avatar in the top right corner of the page. Click on it to open a drop-down menu.
- In the drop-down menu, select the option that says “Account Settings.” This will take you to the Account Settings page.
If you are on a PlayStation console, you can access the Account Settings by following these steps:
- Turn on your PlayStation console and sign in to your account.
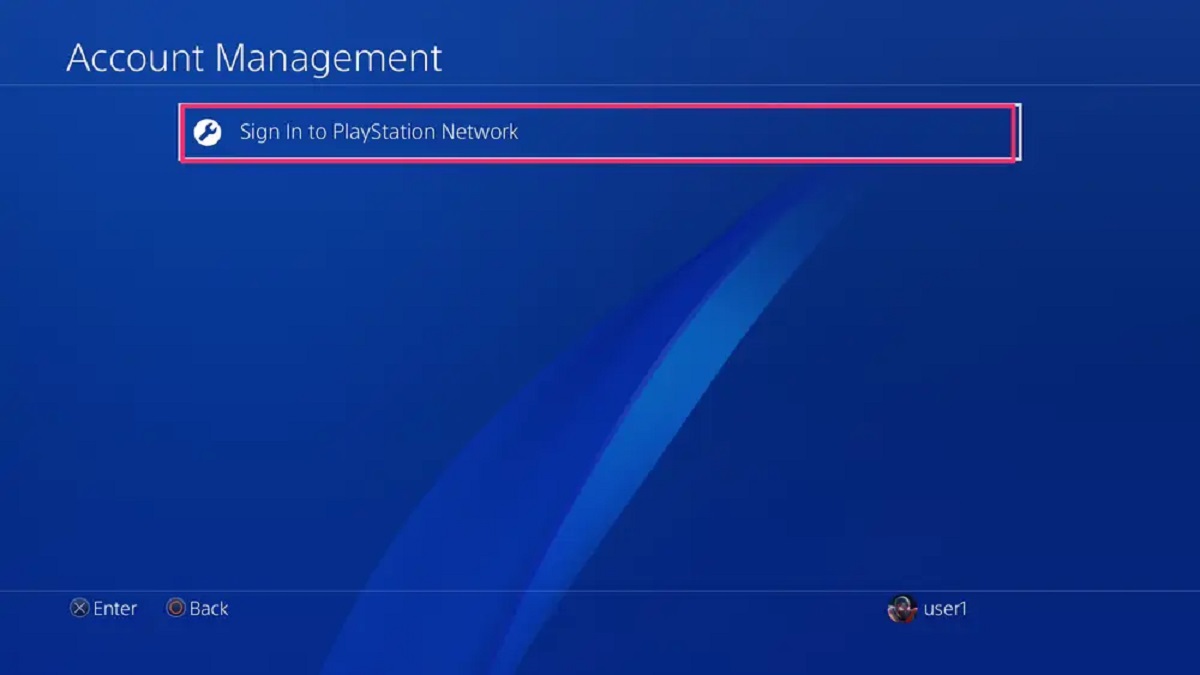
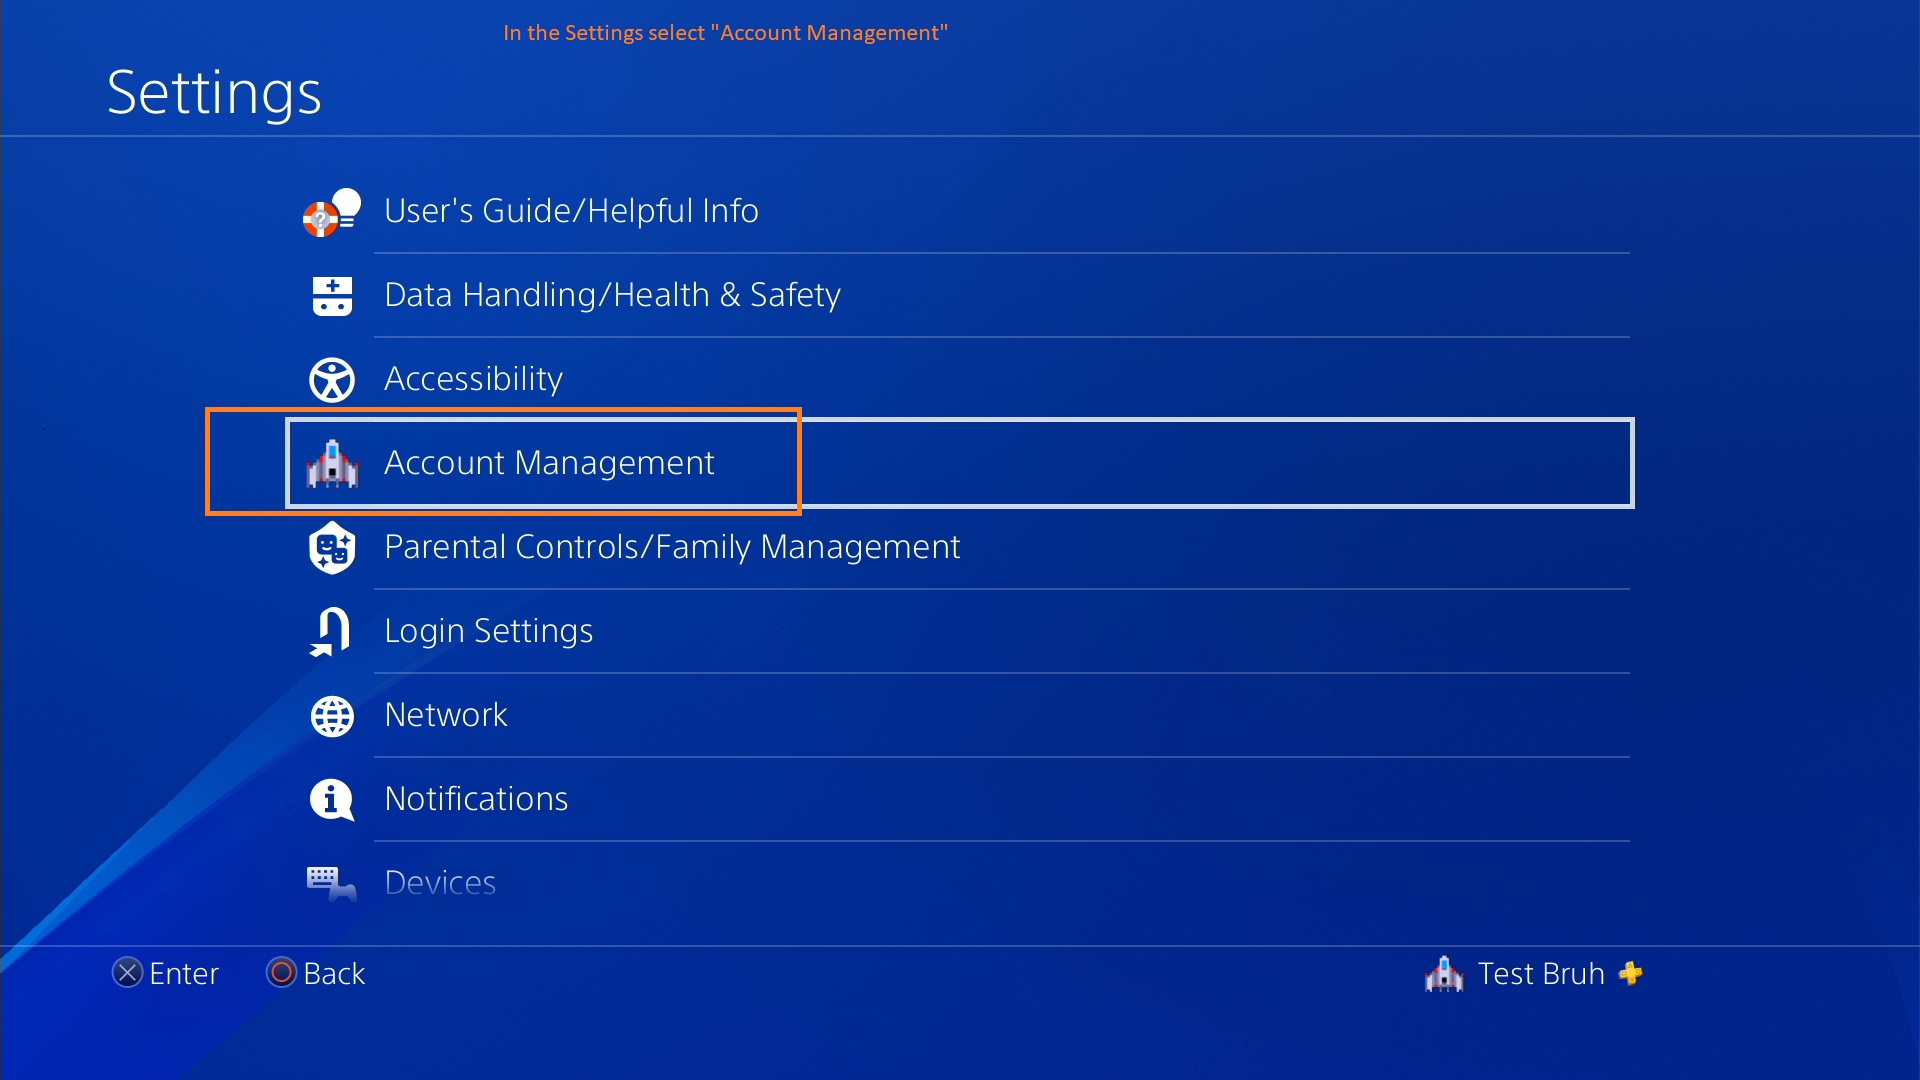
- From the main menu, navigate to the far right and select “Settings.”
- In the Settings menu, scroll down and select “Account Management.”
- Choose “Account Information” and then select “Account Settings.”
Once you have reached the Account Settings page, you are ready to move on to the next step: selecting the Email and Password option.
Step 3: Select Email and Password
Now that you have accessed the Account Settings page, the next step is to select the Email and Password option. This section allows you to make changes to your email address and update other account-related information. Follow these steps to proceed:
- On the Account Settings page, scroll down until you find the “Email and Password” section. It is usually located towards the middle or bottom of the page.
- Click on the “Edit” or “Change” button next to the Email and Password section. This will open the email and password settings.
If you are on a PlayStation console, the steps to access the Email and Password settings may vary slightly. Follow these steps instead:
- From the Account Settings page on your console, select “Account Information.”
- Choose the option for “Email,” “Sign-in ID,” or a similar option.
After selecting the Email and Password option, you are now ready to update your email address. Proceed to the next step for detailed instructions.
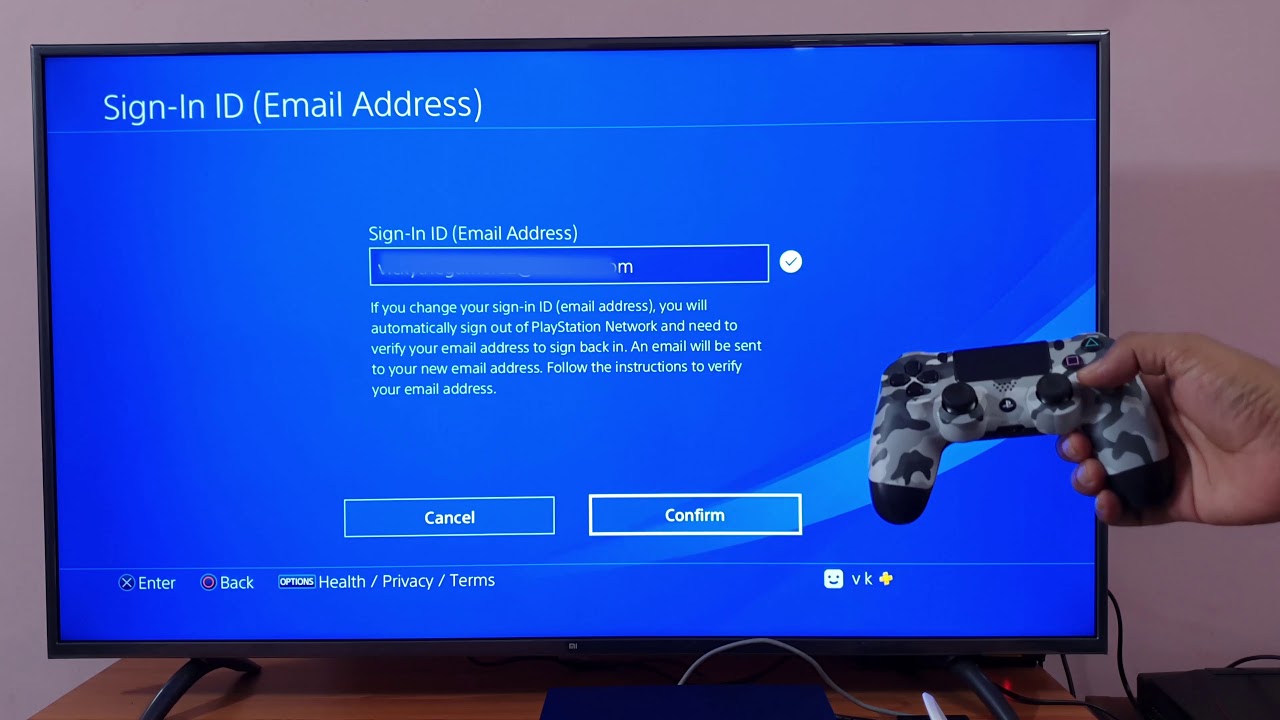
Step 4: Update your Email address
Now that you have accessed the Email and Password settings, it’s time to update your email address. Follow these steps to change your email address associated with your PlayStation account:
- In the Email and Password settings, locate the field labeled “Email Address” or “Current Email Address.” This field displays your current email address.
- Click on the field to select it and delete the current email address.
- Type in your new email address in the provided field. Double-check the email address to ensure it is accurate and entered correctly.
If you are on a PlayStation console, the steps to update your email address are slightly different. Follow these steps instead:
- In the Email and Password settings on your console, select the option to “Edit” or “Change” your email address.
- Enter your new email address in the provided field, and make sure to double-check for any errors.
Once you have provided your new email address, you are ready to move on to the next step: verifying your new email address. This step is crucial to ensure the security of your account and prevent unauthorized access.
Step 5: Verify your new Email address
After updating your email address, it’s important to verify it to ensure that it’s valid and associated with your PlayStation account. Follow these steps to verify your new email address:
- Once you have entered your new email address, look for a button or link labeled “Verify” or “Send Verification Email.” Click on it to initiate the verification process.
- Check your inbox for a verification email from PlayStation. If you don’t see it in your inbox, make sure to check your spam or junk folder as well.
- Open the verification email and click on the provided link to confirm that the new email address belongs to you.
If you are on a PlayStation console, the verification process might be slightly different. Follow these steps instead:
- In the Email and Password settings on your console, select the option to “Request Verification Email” or a similar option.
- Check your email inbox, including the spam or junk folder, for the verification email from PlayStation.
- Open the email and follow the instructions provided to verify your new email address.
It’s vital to complete the verification process to ensure the successful update of your email address. Failure to verify the new email address might result in difficulties accessing your PlayStation account or receiving important account-related updates.
Once you have verified your new email address, you are almost done with the process. Proceed to the next step to ensure everything is in order.
Step 6: Check for Confirmation Email
After verifying your new email address, it’s essential to check for a confirmation email from PlayStation. This confirmation email serves as a confirmation that your email address update was successful. Follow these steps to ensure that you have received the confirmation email:
- Go to your email inbox and check for a new email from PlayStation.
- Open the email and look for a confirmation message or notification. It may state that your email address has been successfully updated.
- Read through the email to check for any further instructions or actions required on your part.
If you cannot find the confirmation email in your inbox, make sure to also check your spam or junk folder. Sometimes, legitimate emails can get filtered into these folders by mistake.
If you have not received the confirmation email within a reasonable amount of time, you can try the following steps to ensure delivery:
- Check your email provider’s settings to ensure that emails from PlayStation are not being blocked or flagged as spam.
- Double-check that you provided the correct email address during the update process. If necessary, repeat the steps to update your email address and verify it again.
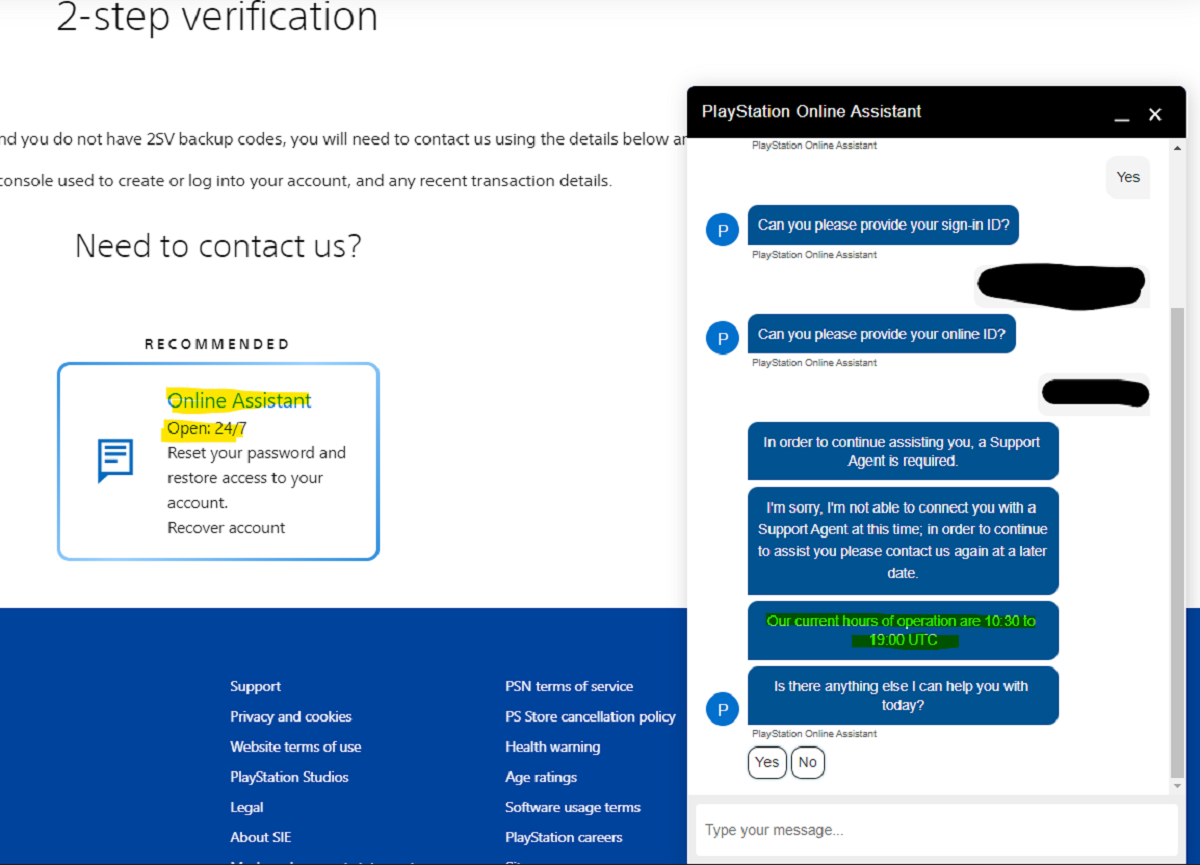
- If you still experience difficulties with receiving the confirmation email, consider reaching out to PlayStation support for further assistance.
Once you have received and reviewed the confirmation email, you can be confident that your email address update is complete. Proceed to the final step to save your changes and log out.
Step 7: Save changes and log out
Now that you have successfully updated your email address and received the confirmation, it’s time to save your changes and log out of your PlayStation account. Follow these final steps to complete the process:
- On the Account Settings page or in the Email and Password settings, locate the option to “Save Changes” or “Update Account.”
- Click on the appropriate button to save your changes and confirm the update to your email address.
- Once your changes are saved, navigate to the option labeled “Sign Out” or “Log Out.” Click on it to log out of your PlayStation account.
If you are on a PlayStation console, the steps to save changes and log out may look slightly different. Follow these steps instead:
- From the Account Settings menu on your console, select the option to “Save” or “Apply Changes.”
- After your changes are saved, navigate to the option for “Sign Out” or “Log Out.” Select it to log out of your PlayStation account.
Once you have successfully saved your changes and logged out, you can rest assured that your email address has been updated and associated with your PlayStation account. Make sure to remember your new email address and keep it secure.
It’s recommended to periodically review and update your account information, including your email address, to ensure the accuracy and security of your PlayStation account. If you ever need to make further changes or have any other account-related queries, don’t hesitate to refer to the PlayStation support team for assistance.
Conclusion
Changing your PlayStation email address is a simple process that can be accomplished in just a few steps. By following the steps outlined in this guide, you can update your email address and ensure that it is associated with your PlayStation account accurately.
Remember, having an up-to-date email address is crucial for account verification, communication, and account recovery purposes. It’s important to verify your new email address to ensure its validity and security.
We started by signing in to your PlayStation account, accessing the Account Settings, and selecting the Email and Password option. Then, we updated your email address and went through the verification process. Lastly, we checked for the confirmation email and saved our changes, ensuring that everything was in order.
By following these steps, you can successfully change your PlayStation email address and continue to enjoy a seamless gaming experience. It’s always a good practice to periodically review and update your account information to ensure the accuracy and security of your PlayStation account.
If you ever encounter any difficulties or have any questions, don’t hesitate to reach out to PlayStation support for further assistance. They are available to help you with any account-related queries you may have.
Now that you know how to change your PlayStation email address, you can keep your account information up to date and stay connected with the PlayStation community and services. Happy gaming!