Introduction
Setting up a projector to fit the screen properly is essential for a quality viewing experience. Whether you’re using a projector at home or in a professional setting, adjusting the projector correctly will ensure that the projected image is clear, crisp, and properly aligned with the screen.
Understanding the basics of projector adjustment is crucial before getting started. You’ll need to familiarize yourself with the different components of the projector, such as the zoom, focus, and keystone, and learn how to manipulate them to achieve the desired image size and clarity.
In this article, we will guide you through the steps necessary to adjust a projector to fit the screen perfectly. By following these instructions, you’ll be able to optimize the image quality and make the necessary adjustments based on your specific environment and preferences.
Keep in mind that different projectors may have slightly different adjustment options and functionalities. Therefore, it’s always a good idea to consult the user manual that comes with your projector for specific instructions. However, the general principles and techniques discussed in this article can be applied to most projectors on the market.
Now, let’s delve into the details of adjusting a projector to fit the screen and create a top-notch projection setup!
Understanding the Basics
Before you start adjusting your projector to fit the screen, it’s important to have a basic understanding of the key components involved. Here are the main elements you need to familiarize yourself with:
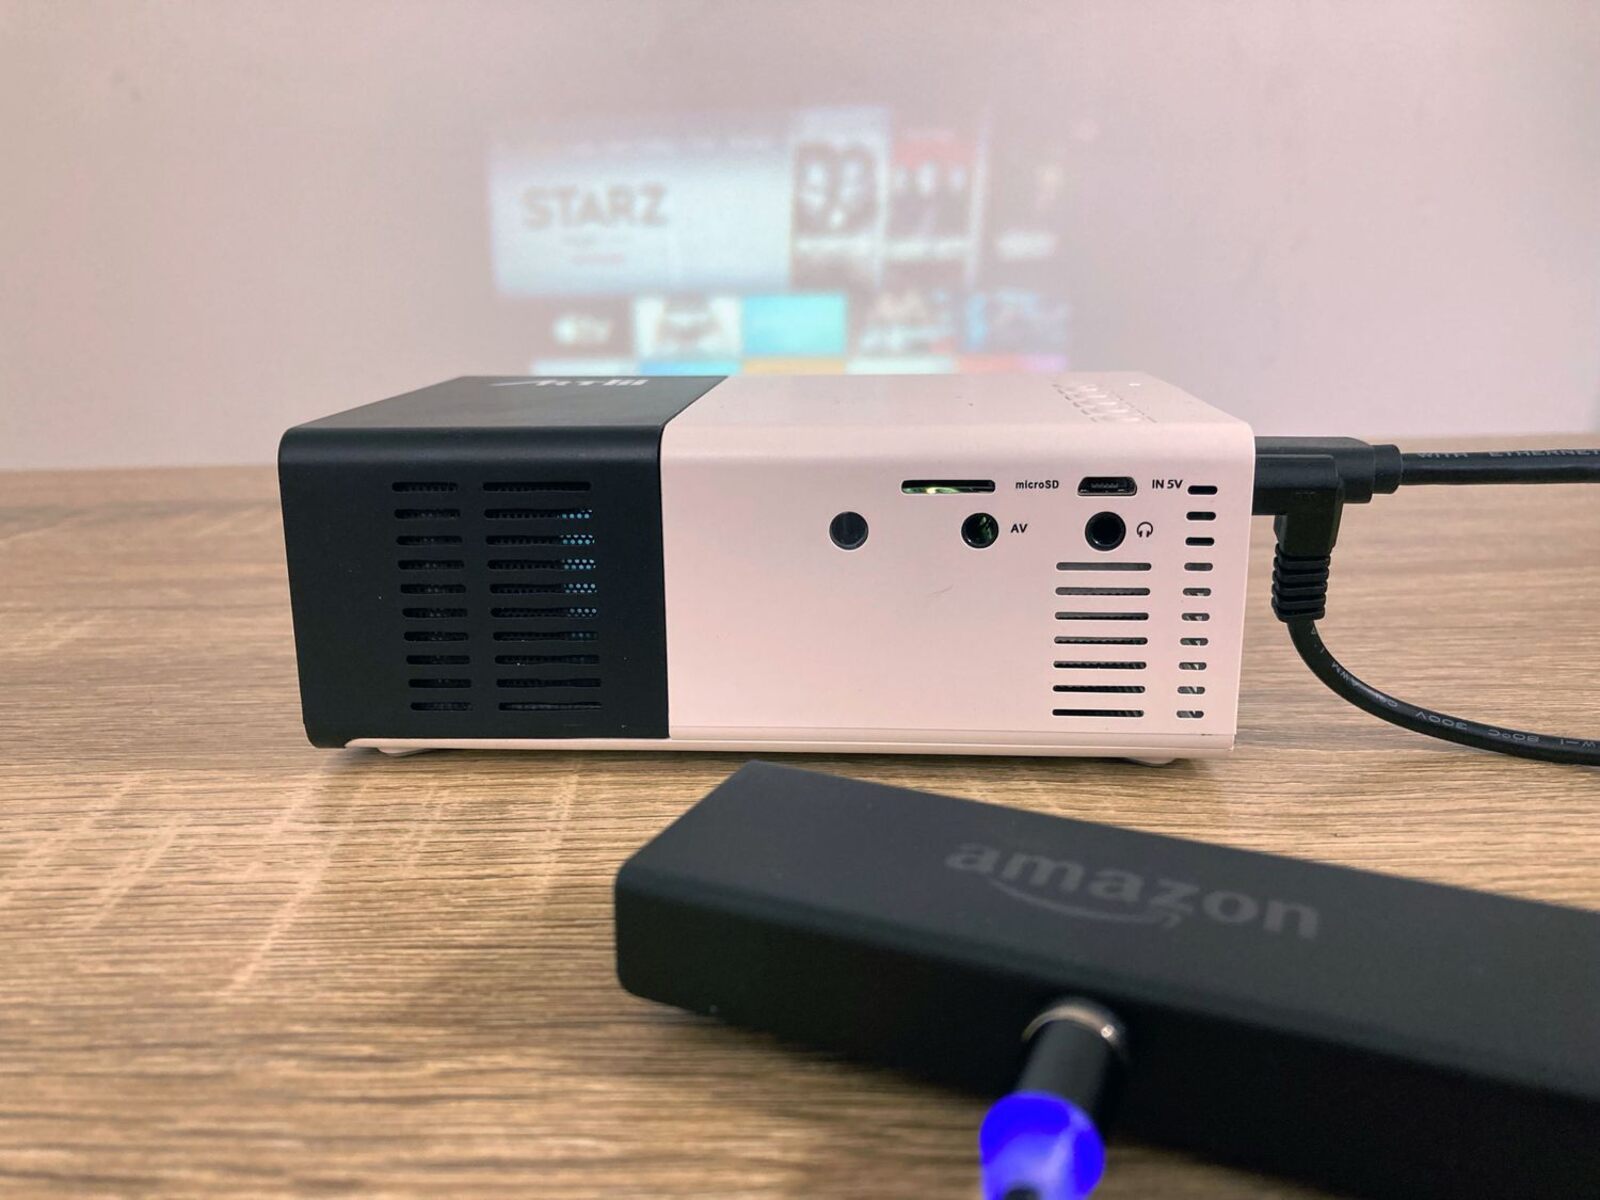
- Zoom: The zoom feature allows you to adjust the size of the projected image. It works by changing the focal length of the lens, either enlarging or reducing the size of the image without affecting its clarity. By increasing the zoom, the image will be larger but may require you to move the projector further from the screen. Conversely, decreasing the zoom will make the image smaller but allow you to position the projector closer to the screen.
- Focus: The focus adjustment allows you to make sure the projected image is sharp and clear. It involves adjusting the lens to bring the image into focus. Most projectors have a manual focus ring that you can turn to achieve the desired clarity. It’s essential to adjust the focus carefully to avoid any blurriness or distortion in the image.
- Keystone: Keystone correction is used to correct the trapezoidal distortion that may occur when the projector is tilted or not placed perpendicular to the screen. This distortion can make the image appear wider at the top or bottom. Keystone correction allows you to correct the image and make it rectangular and properly proportioned.
Understanding how these basic functions work will give you a solid foundation for adjusting your projector to fit the screen accurately. It’s important to note that not all projectors have the same capabilities or controls. Some projectors may have additional features, such as lens shift or image shift, which allow for more precise adjustments. Consult your projector’s user manual to learn about the specific features and controls it offers.
With a grasp of the fundamentals, you’ll be ready to start positioning and adjusting your projector to achieve the optimum image quality. In the following sections, we’ll guide you step by step through the process of adjusting the zoom, focus, keystone, and other settings. Let’s dive in!
Positioning the Projector
The first step in adjusting your projector to fit the screen is positioning it correctly. Proper placement is crucial for achieving an optimal viewing experience. Here’s how to position your projector effectively:
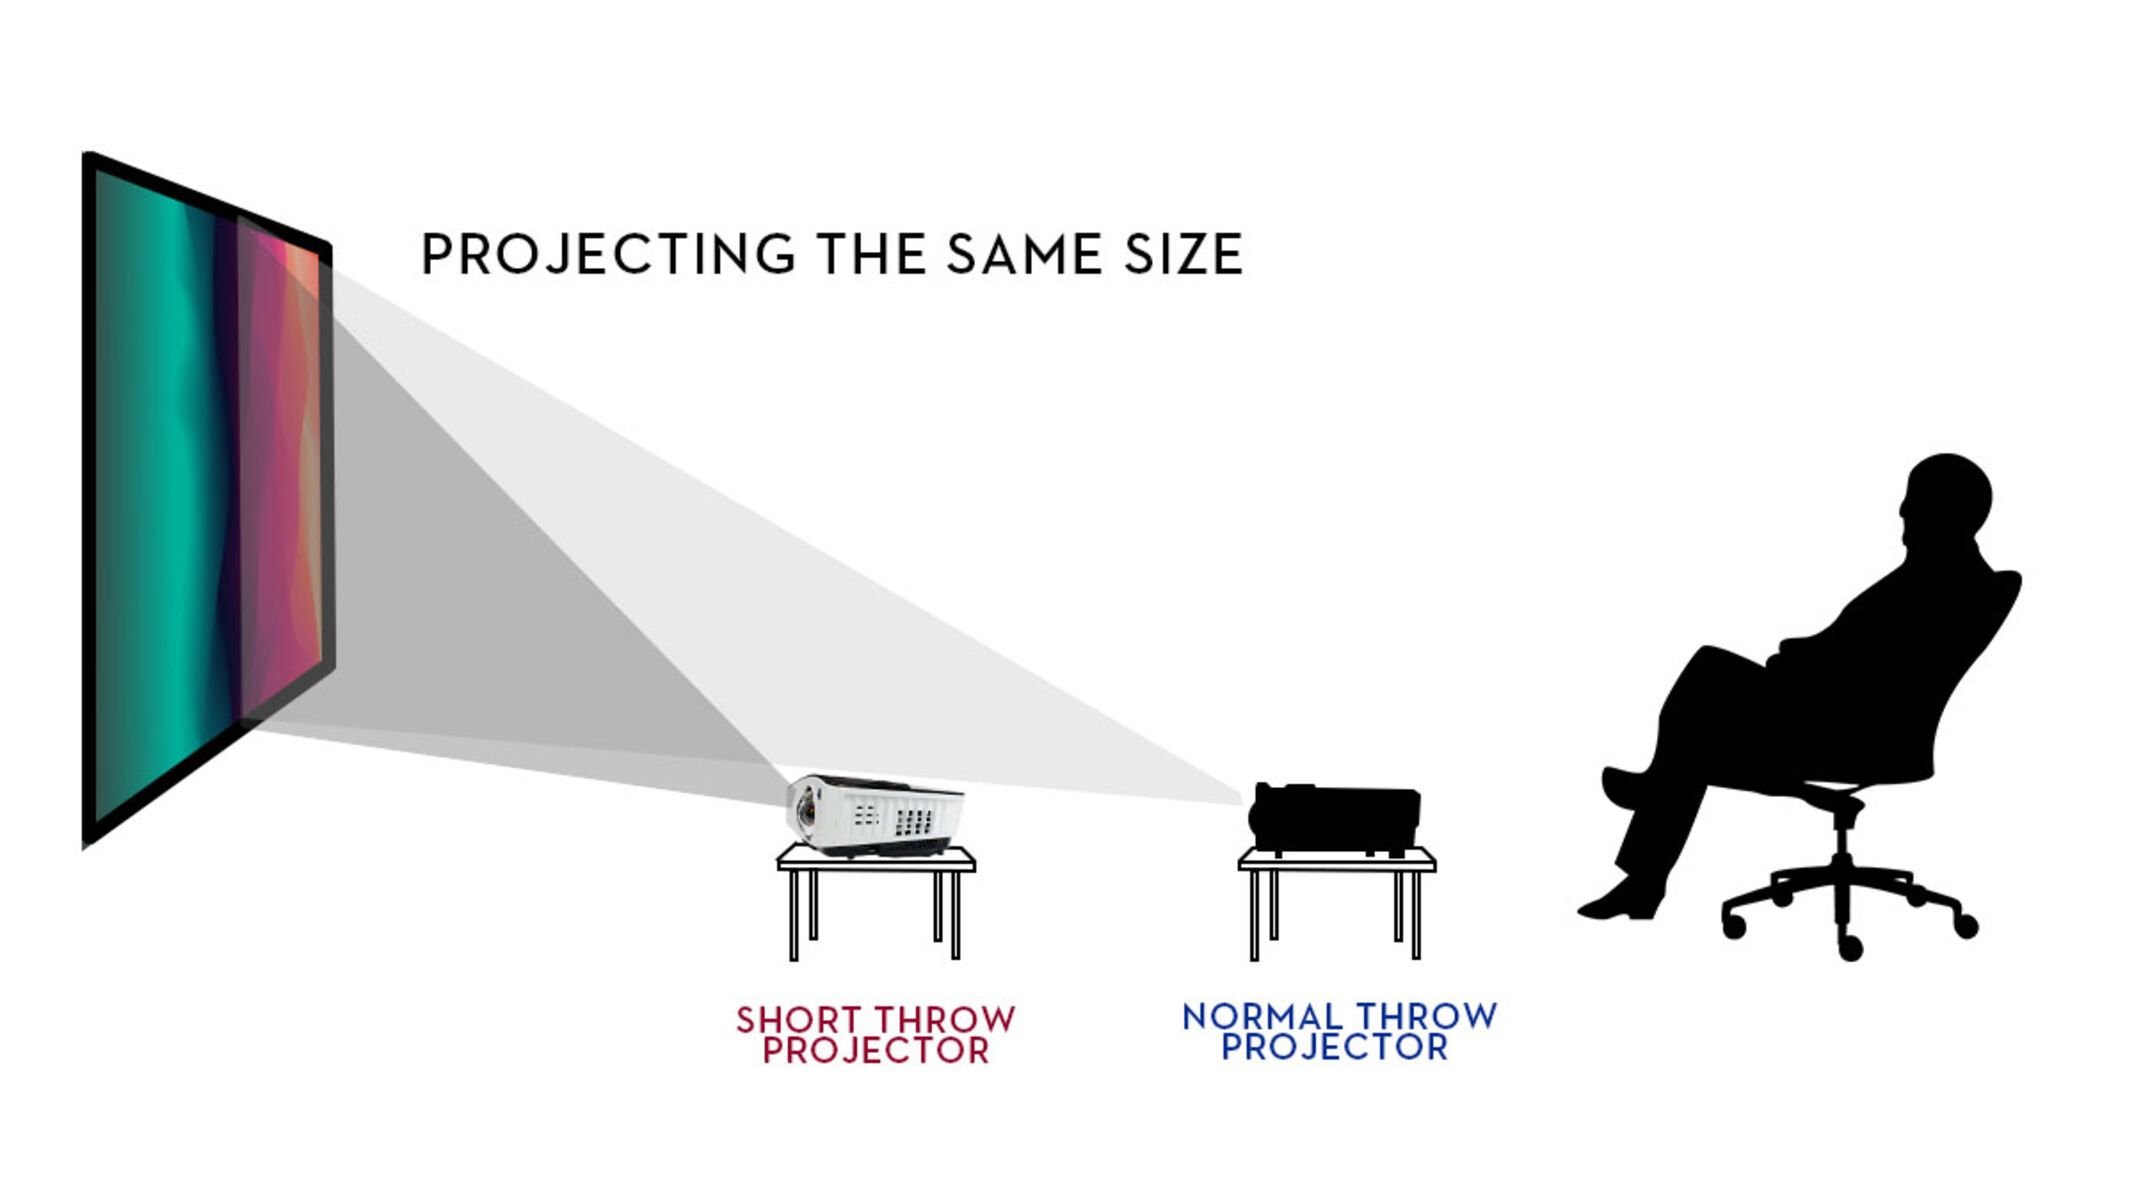
- Distance from the screen: Determine the ideal distance between the projector and the screen based on the throw ratio of your projector. The throw ratio is the distance between the projector and the screen divided by the width of the projected image. Consult your projector’s manual or manufacturer’s website for the recommended throw ratio. Positioning the projector at the correct distance ensures that the image will be the right size and in focus.
- Screen height: Align the height of the projector with the center of the screen. This ensures that the projected image is not skewed or distorted vertically. Adjust the projector’s height using a tripod, mount, or other suitable equipment to achieve the proper alignment.
- Leveling the projector: Make sure the projector is level with the screen horizontally. If the projector is tilted, it can cause the image to appear skewed. Most projectors have adjustable feet or a keystone correction feature to help you achieve a level projection. Use a bubble level or the built-in adjustment mechanisms to ensure that the projector is perfectly horizontal.
- Avoid obstructions: Position the projector in a location where there are no obstructions that could block the projected image. Make sure there is enough clearance for the projector’s airflow to prevent overheating. Be mindful of any objects, furniture, or decorations in the projected path.
By following these positioning guidelines, you’ll lay the groundwork for a successful projector setup. Take your time to accurately position the projector before moving on to the next steps. It’s important to note that these guidelines are general recommendations, and the specific requirements may vary depending on your projector model and room layout.
Now that you have the projector properly positioned, it’s time to adjust the zoom and focus to ensure a clear and well-defined projected image. Read on to learn how to fine-tune these settings in the next sections.
Adjusting the Zoom
Once you have positioned your projector correctly, the next step is to adjust the zoom to match the screen size. The zoom feature allows you to increase or decrease the size of the projected image without sacrificing clarity. Here’s how to adjust the zoom:
- Refer to the throw ratio: Consult your projector’s manual or the manufacturer’s specifications to determine the appropriate zoom setting for your desired screen size. The throw ratio will provide guidance on the zoom range you should use.
- Access the zoom control: Locate the zoom control on your projector. It is usually a ring or lever near the lens. Some projectors may also offer motorized zoom controls that can be adjusted using remote control or on-screen menus.
- Test and adjust: Start by setting the zoom to the mid-range recommended by the throw ratio. Project the image onto the screen and assess its size. Adjust the zoom accordingly to make the image larger or smaller until it fits the screen perfectly. Be careful not to exceed the maximum or minimum zoom limits specified by the manufacturer.
- Fine-tune the focus: After making adjustments to the zoom, recheck the focus of the image. Use the projector’s focus adjustment ring to refine the clarity and sharpness of the projected image. Ensure that the image is crisp and well-defined.
Keep in mind that achieving the perfect zoom and focus may require some trial and error. It’s important to take your time and make incremental adjustments until you are satisfied with the projected image size and clarity.
Remember that the recommended zoom settings may vary depending on the specific projector model and screen size. It’s best to consult the user manual or the manufacturer’s guidelines for precise instructions on zoom adjustment.
Once you have adjusted the zoom to fit the screen accurately, you can move on to the next step: adjusting the focus of the projected image. Read on to learn how to optimize the focus for a clear and crisp picture.
Adjusting the Focus
After adjusting the zoom to fit the screen, the next crucial step is to fine-tune the focus of the projected image. Adjusting the focus ensures that the image appears sharp, clear, and well-defined. Follow these steps to adjust the focus:
- Select a test pattern: If your projector offers a built-in test pattern, use it to make focus adjustments. If not, you can display a high-contrast image or text on your screen for fine-tuning the focus.
- Access the focus control: Locate the focus adjustment ring near the lens of your projector. In most cases, it is a physical ring that can be turned to adjust the focus. Some projectors may have electronic focus controls accessible through the on-screen menu or a remote control.
- Start with the mid-range focus setting: Begin by setting the focus adjustment to the mid-point. This will give you a baseline to work with and allow you to make finer adjustments as needed.
- Observe the image: Look at the projected image and assess its sharpness. If it appears blurry or unclear, continue adjusting the focus in small increments. Turn the focus ring clockwise or counterclockwise until the image appears as sharp as possible.
- Check different areas of the image: While adjusting the focus, pay attention to different areas of the projected image. Ensure that the focus is consistent across the entire screen, from edge to edge. Adjust as necessary to achieve uniform sharpness throughout.
- Refine and fine-tune: Make smaller adjustments to the focus control to achieve the optimum level of sharpness and clarity. Take your time to get it just right.
It’s important to note that some projectors may have an automatic focus feature that can assist you in achieving optimal focus. If available, consult your projector’s manual to learn more about the automatic focus functionality.
Once you have successfully adjusted the focus, you can move on to aligning the keystone if necessary. The next section will guide you through the process of keystone correction to ensure a well-proportioned image on the screen.
Aligning the Keystone
Aligning the keystone is an important step in adjusting your projector to fit the screen properly. Keystone correction is used to compensate for the trapezoidal distortion that can occur when the projector is tilted or positioned at an angle. This adjustment ensures that the projected image appears rectangular and well-proportioned. Follow these steps to align the keystone:
- Access the keystone adjustment: Most projectors have a keystone adjustment feature that can be accessed through the on-screen menu or dedicated buttons on the remote control or the projector itself. Refer to your projector’s manual to find out how to access the keystone adjustment.
- Check for keystone correction options: Depending on your projector, you may have vertical keystone correction, horizontal keystone correction, or both. Determine the type of keystone correction available on your projector to make the appropriate adjustments.
- Adjust the keystone: Use the keystone adjustment controls to correct the trapezoidal distortion. If the top of the projected image appears wider than the bottom, use the vertical keystone correction to narrow it down. If the sides of the image are wider than the center, use the horizontal keystone correction to align it properly.
- Make small adjustments: When aligning the keystone, make small adjustments at a time and observe the changes on the projected image. It may take a few iterations to achieve the desired result. Be patient and refine the keystone correction until the image appears rectangular and proportionate.
- Check image quality: As you make keystone adjustments, ensure that the overall image quality, sharpness, and clarity are not compromised. Fine-tuning the focus may be necessary after making keystone corrections.
It’s important to note that excessive keystone correction can degrade image quality, so it’s best to position the projector as perpendicular to the screen as possible to minimize the need for extensive keystone adjustments.
Once you’ve aligned the keystone and the image appears rectangular and properly proportioned, you can move on to fine-tuning the image and testing the setup. The following sections will guide you through these final steps before enjoying your perfectly adjusted projection setup.
Fine-Tuning the Image
After adjusting the zoom, focus, and keystone, it’s time to fine-tune the image further to ensure optimal quality. Fine-tuning allows you to make subtle adjustments to enhance the overall appearance and clarity of the projected image. Here are some tips for fine-tuning the image:
- Brightness and contrast: Adjust the brightness and contrast settings on your projector to achieve the desired level of brightness without sacrificing image detail. Find the optimal balance that suits your viewing environment and preferences.
- Color temperature and saturation: If your projector offers color adjustment settings, experiment with the color temperature and saturation to achieve accurate and vibrant colors. Calibrate the colors to match your preference or the specific content you are projecting.
- Aspect ratio: Ensure that the aspect ratio of the projected image matches the content you are displaying. Most projectors have options for different aspect ratios, such as 16:9 for widescreen content or 4:3 for standard presentations. Select the appropriate aspect ratio to avoid distortion or stretching of the image.
- Noise reduction and sharpness: Adjust the noise reduction and sharpness settings to reduce any unwanted digital noise and enhance the sharpness of the image. Find the right balance to maintain a clear and natural-looking picture without introducing artifacts or excessive sharpening.
- Test patterns and reference materials: Utilize test patterns or reference materials specifically designed for projector calibration. These resources can help you fine-tune various image settings, including gamma, color balance, and uniformity.
- Viewing angles and screen position: Consider the optimal viewing angles and screen position for your audience. Make sure the projected image is visible and clear from various seating positions, and adjust the screen position if necessary.
It’s important to note that every projector model has its own set of image adjustment options and settings. Refer to your projector’s manual or on-screen menus for specific instructions on how to access and adjust these parameters.
Take the time to experiment with different image settings and make incremental adjustments until you achieve the desired image quality for your specific environment and content. By fine-tuning the image, you can ensure a visually pleasing and immersive projection experience.
Now that you’ve fine-tuned the image, it’s time to test and finalize the setup. The next section will guide you through the necessary steps to ensure everything is working perfectly before enjoying your projected content.
Testing and Finalizing the Setup
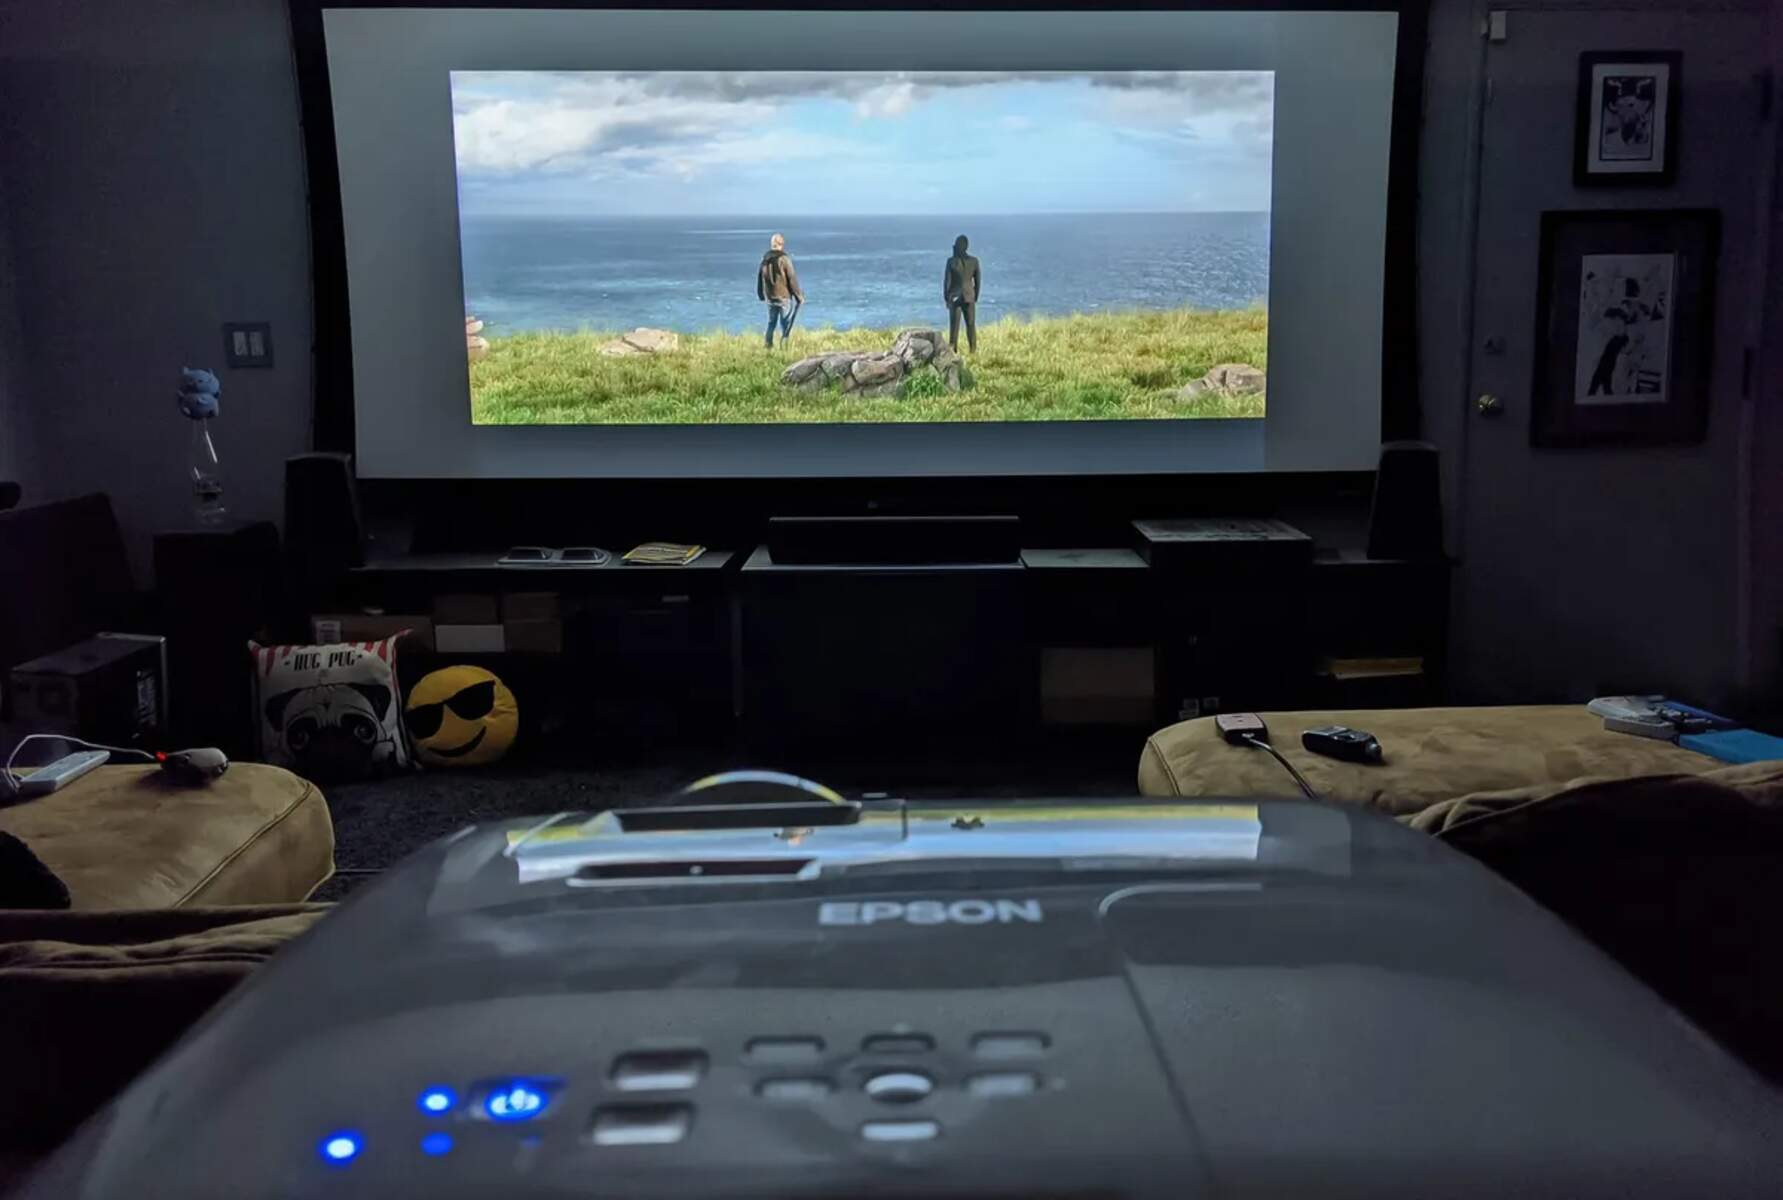
Once you’ve adjusted and fine-tuned your projector to fit the screen, it’s essential to perform thorough testing to ensure everything is working perfectly and that you’re ready to enjoy your projected content. Follow these steps to test and finalize the setup:
- Display different content: Test your projector with various types of content, such as movies, presentations, or photos. This will allow you to assess the image quality, color accuracy, and overall performance of the projector for different applications.
- Check for image artifacts: Pay close attention to the projected image and look for any visual artifacts, such as distortion, pixelation, or flickering. Adjust the settings as necessary to eliminate any undesirable effects.
- Assess brightness and contrast: Evaluate the brightness and contrast of the projected image in different lighting conditions, ensuring that it is easily viewable and visually appealing. Make adjustments as needed to achieve optimal image visibility.
- Verify audio synchronization (if applicable): If your projector has built-in speakers or audio capabilities, confirm that the audio is synchronized properly with the projected video content. Adjust any audio delay settings to achieve perfect synchronization.
- Inspect screen alignment: Verify that the projected image is aligned properly with the screen’s edges. Make any necessary adjustments to ensure that the image fits snugly within the boundaries of the screen.
- Consider ambient lighting: Take into account the ambient lighting conditions in the room where the projector is installed. If necessary, adjust curtains or blinds to minimize glare and optimize the viewing experience.
- Revisit previous adjustments: Double-check the zoom, focus, keystone, and other image settings to ensure they haven’t shifted or been altered during the testing process. Make any final adjustments as needed.
By thoroughly testing and finalizing the setup, you can ensure that your projector is delivering the desired image quality and performance. Make any additional adjustments until you are completely satisfied with the projected image.
Remember to document your customized projector settings so that you can easily reproduce the ideal setup in the future. This will save you time and effort when you need to reposition the projector or adjust the settings for different viewing scenarios.
Congratulations! Now that you’ve tested and finalized your projector setup, you can sit back, relax, and enjoy a superb viewing experience with your perfectly adjusted projection system.
Conclusion
Adjusting a projector to fit the screen properly is an essential step in ensuring an optimal viewing experience. By understanding the basics of projector adjustment and following the necessary steps, you can achieve a clear, well-aligned, and immersive image.
Starting with positioning the projector at the correct distance and aligning it with the screen height, you can lay the foundation for a successful setup. Adjusting the zoom allows you to match the image size to the screen, while focusing ensures a sharp and clear picture. Keystone correction corrects any trapezoidal distortion caused by tilting the projector, ensuring a properly proportioned image.
Furthermore, fine-tuning the image with adjustments such as brightness, contrast, color temperature, and noise reduction enhances the overall visual quality. Testing the setup by displaying different content, checking for artifacts, verifying audio synchronization, and inspecting screen alignment ensures that everything is working as expected.
Remember to consult your projector’s manual for specific instructions, as different projector models may have slightly different adjustment options and functionalities.
By following these guidelines and taking the time to meticulously adjust and test your projector, you can create a superior projection setup that delivers an immersive and satisfying viewing experience for both personal and professional use.
Now, sit back, relax, and enjoy your favorite content on your perfectly adjusted projector!