Introduction
With the rise of streaming services and smart technology, Roku has emerged as a popular choice for those looking to enhance their smart TV experience. Roku offers a wide range of features and channels that allow users to access their favorite movies, TV shows, and more, all from the comfort of their couch.
In this article, we will guide you through the process of adding Roku to your smart TV, from connecting the device to setting it up and customizing the settings. Whether you’re a tech-savvy user or new to smart TVs, this article will provide you with all the information you need to start enjoying the benefits of Roku.
Roku is a streaming media player that connects to your TV and allows you to access various streaming services, such as Netflix, Hulu, and Amazon Prime Video. It’s a budget-friendly option that offers a user-friendly interface and a wide range of entertainment options.
Adding Roku to your smart TV is a straightforward process that can be done in a few simple steps. Once you have set up Roku, you can enjoy unlimited streaming, personalized recommendations, and a seamless viewing experience.
In the following sections, we will delve into the specific steps required to connect Roku to your smart TV, including setting up the device, activating it, customizing the settings, and installing channels. We will also address common troubleshooting issues and provide helpful tips to ensure a smooth and enjoyable streaming experience.
So, whether you’re a movie buff, a sports enthusiast, or simply looking to expand your entertainment options, adding Roku to your smart TV is a great way to unlock a world of unlimited streaming possibilities. Let’s get started with the process of connecting Roku to your smart TV and dive into the world of endless entertainment options.
Understanding Roku
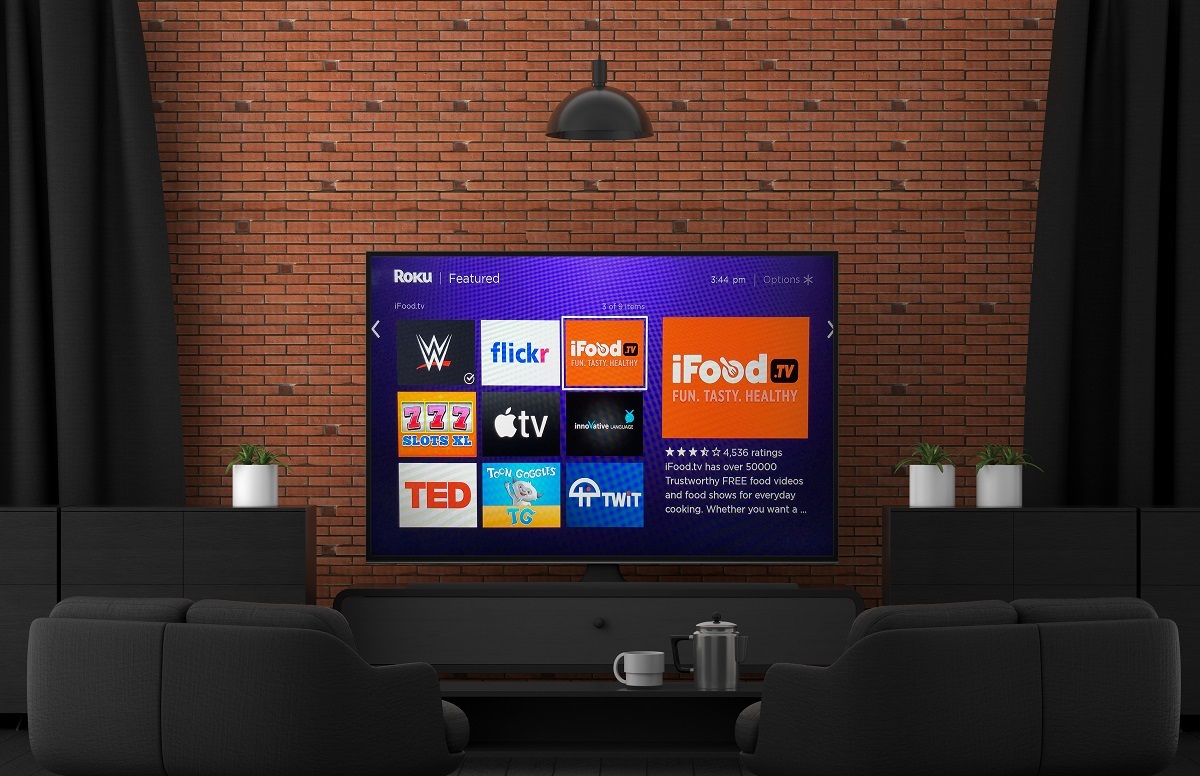
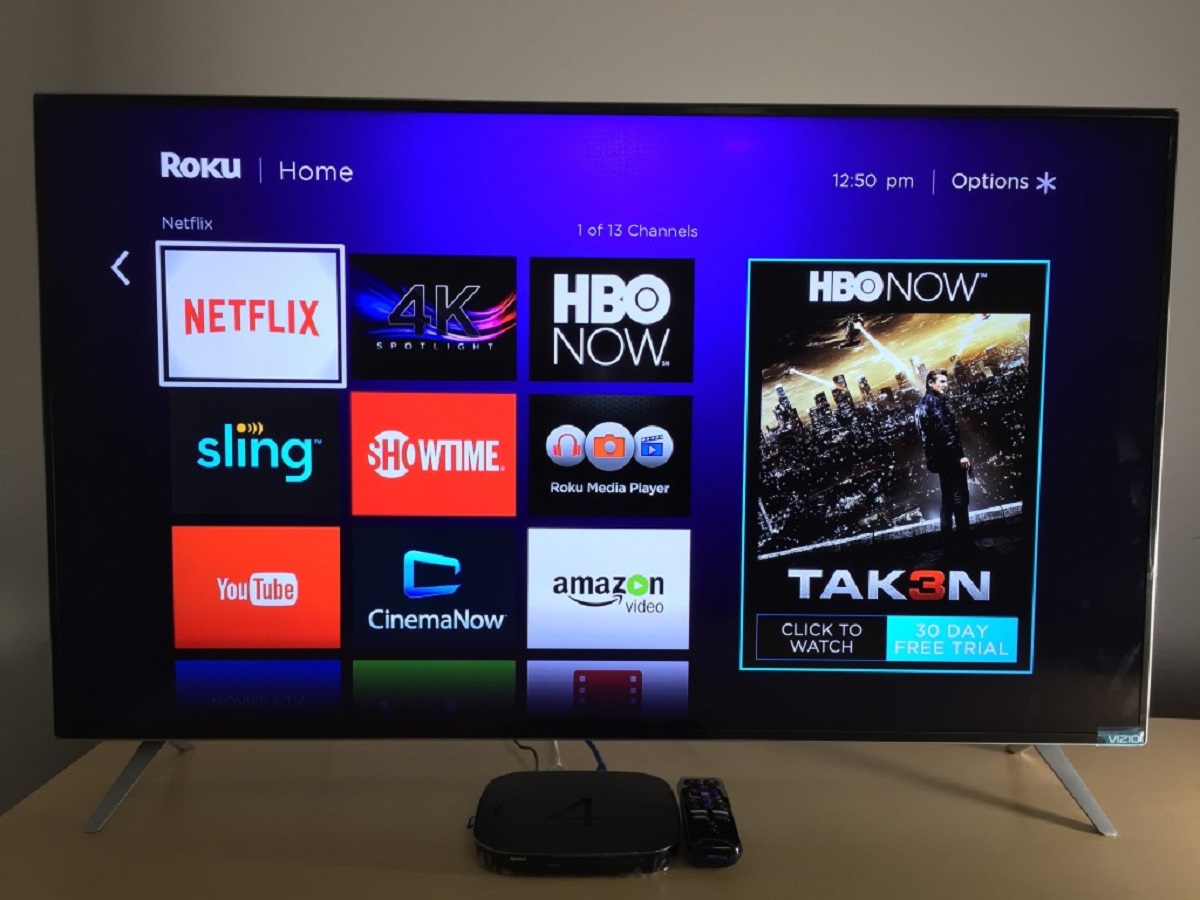
Before we dive into the process of connecting Roku to your smart TV, let’s take a moment to understand what Roku is and how it works. Roku is a streaming media player that allows you to access a wide variety of streaming services and channels on your TV.
One of the key features of Roku is its extensive channel library. Roku offers thousands of channels, including popular streaming services like Netflix, Hulu, Amazon Prime Video, Disney+, and many more. These channels provide a vast selection of movies, TV shows, documentaries, and even live sports events.
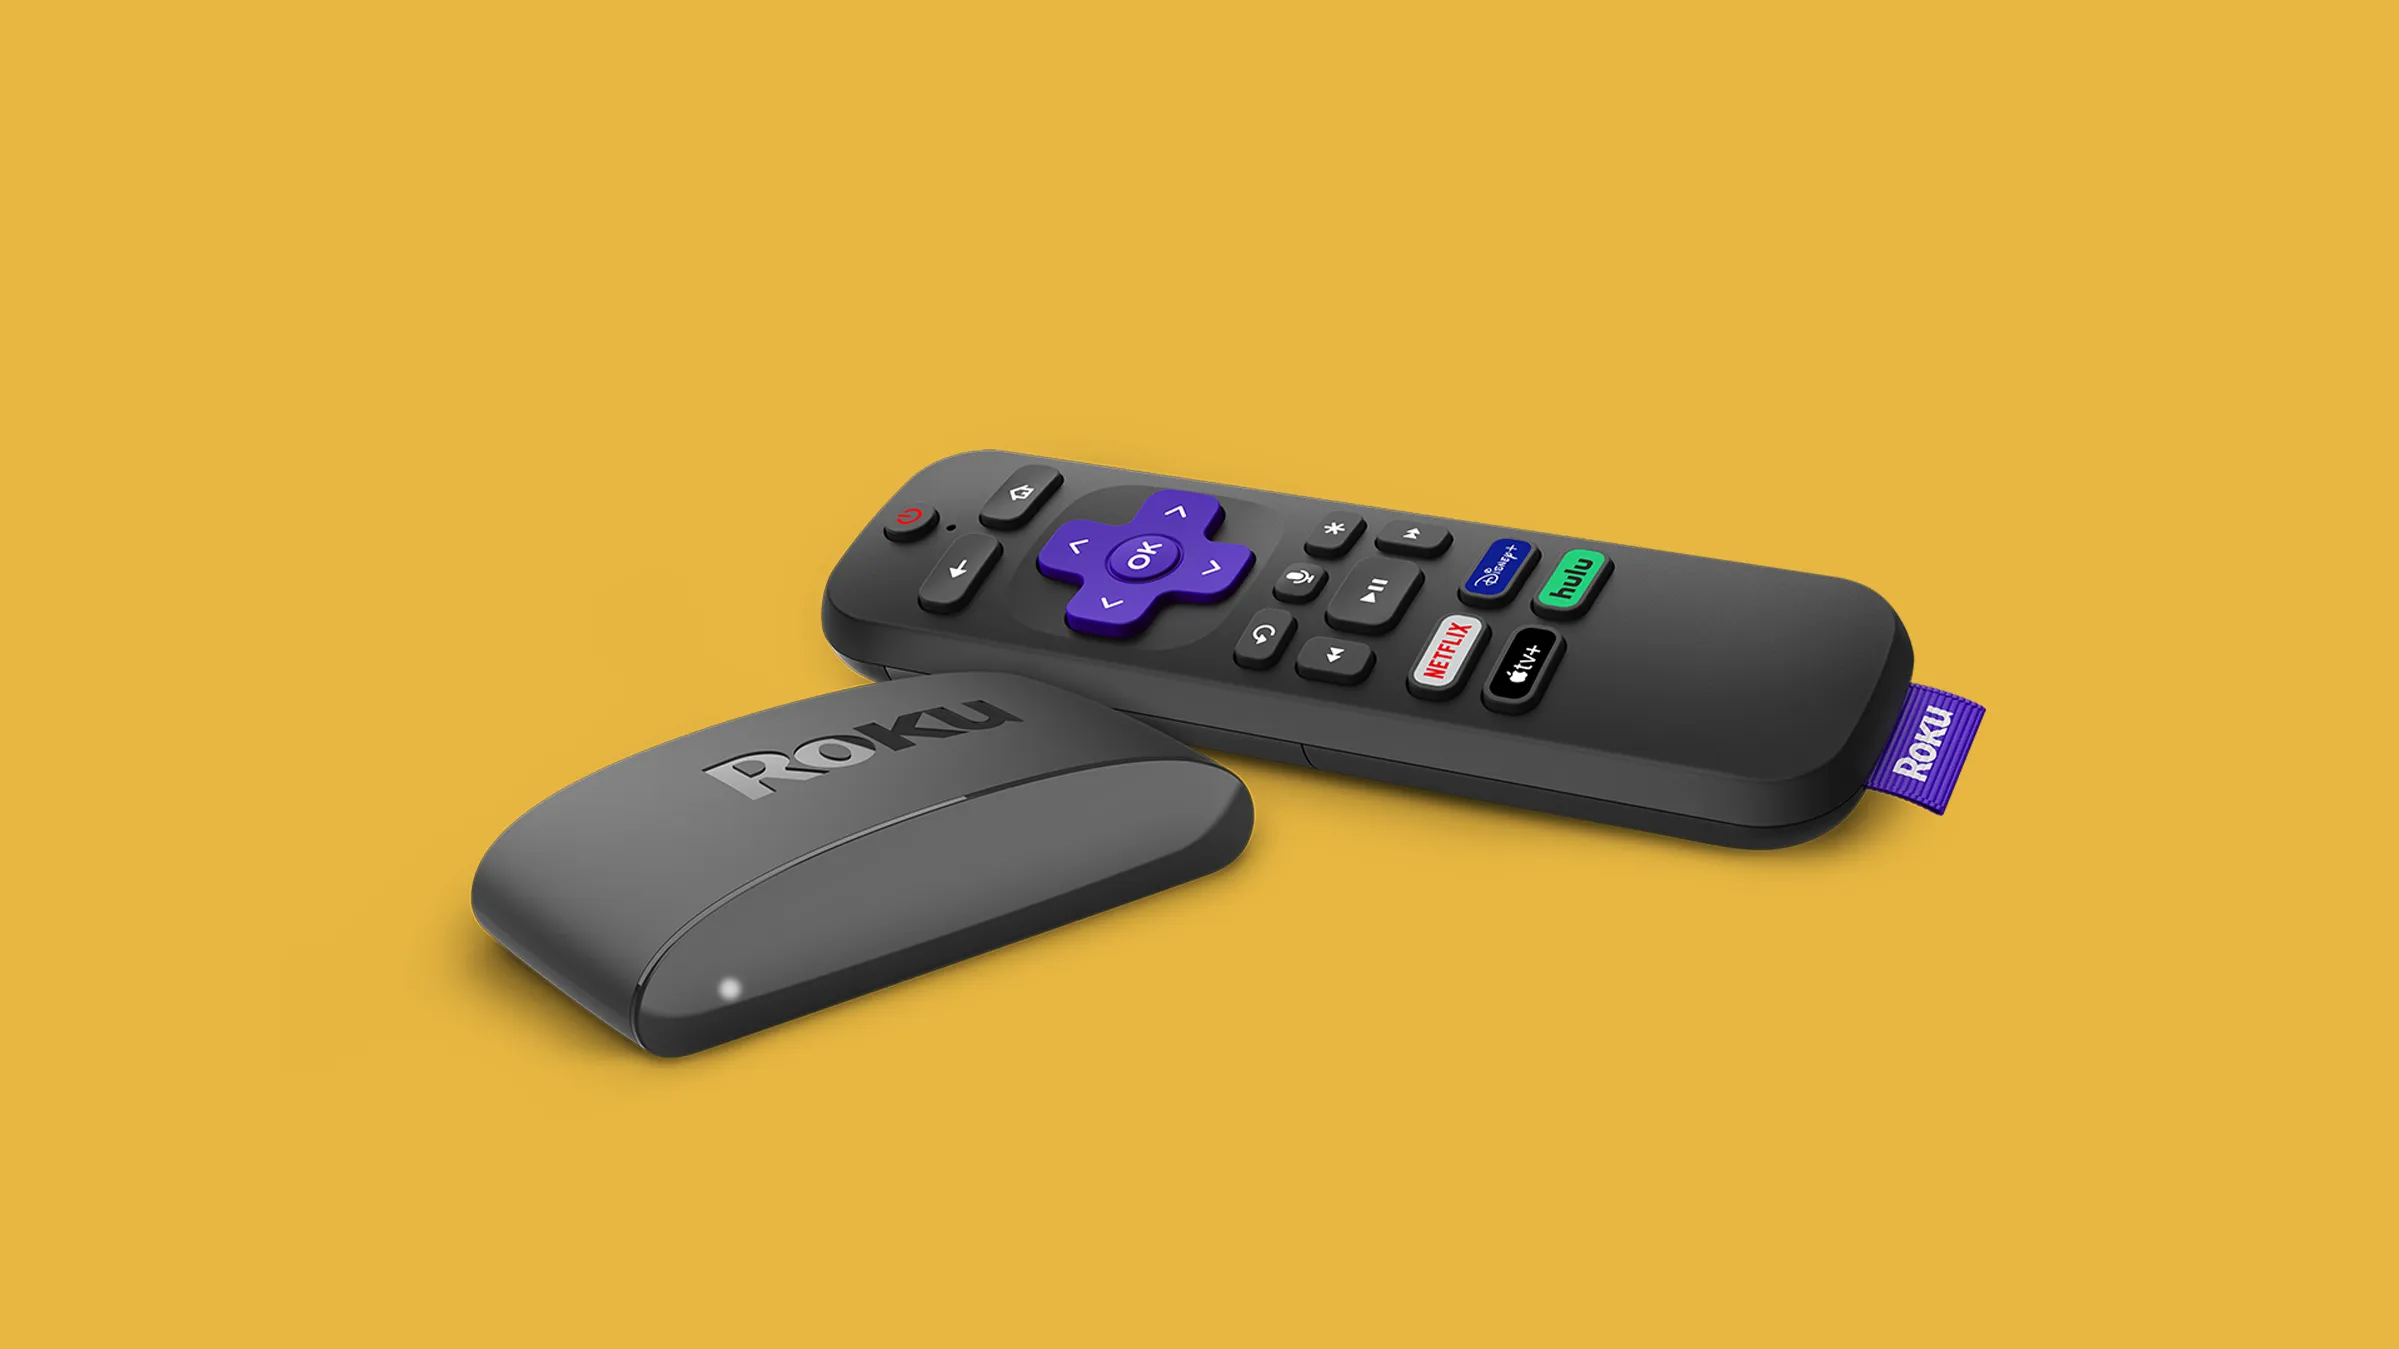
Roku operates on an operating system called the Roku OS. This operating system provides a simple and user-friendly interface that makes it easy to navigate through the various channels and settings. You can use the Roku remote or a smartphone app to control the device and access your favorite content.
One of the advantages of Roku is its affordability. Roku devices come in a range of models and price points, catering to different budgets and preferences. Whether you’re looking for a basic streaming device or a more advanced option with 4K streaming capabilities, Roku has something for everyone.
In addition to its channel offerings, Roku also provides a range of features to enhance your streaming experience. These include voice search functionality, where you can use your voice to search for movies or TV shows, and personalized recommendations based on your viewing history.
Roku is also compatible with a range of smart TV models, making it easy to connect and integrate into your existing entertainment setup. You can connect Roku to your smart TV using an HDMI cable, allowing for seamless streaming without any additional devices.
Overall, Roku is a versatile and user-friendly streaming media player that offers a wide range of channels and features. Whether you’re a casual viewer or a binge-watcher, Roku provides a convenient and affordable solution to access your favorite content on your smart TV. Now that we have a good understanding of what Roku is, let’s move on to the next step: connecting Roku to your smart TV.
Connecting Roku to Your Smart TV
Now that you have a good understanding of what Roku is, let’s move on to the important step of connecting Roku to your smart TV. The process is relatively simple and can be completed in a few easy steps.
1. Check TV Compatibility: Before connecting Roku to your smart TV, make sure that your TV is compatible with a Roku device. Most smart TVs have an HDMI port, which is required to connect Roku. Additionally, ensure that your TV has internet connectivity options, either through Wi-Fi or an Ethernet connection.
2. Gather the Required Equipment: To connect Roku to your smart TV, you will need a few essential items. These include a Roku streaming device, an HDMI cable, and a power adapter.
3. Connect Roku to the TV: Start by connecting one end of the HDMI cable to the HDMI port on the Roku device and the other end to the HDMI port on your smart TV. Make sure to remember which HDMI port you’ve connected the Roku to as you will need this information to set up Roku later.
4. Power up Roku: Plug the power adapter into the Roku device and connect it to a power outlet. Once connected, your Roku streaming device should power up.
5. Set the TV Input: Using your TV remote, switch the input/source on your smart TV to the HDMI port where you have connected the Roku device. This allows your TV to recognize the Roku and display the setup process.
6. Select Language and Set Up Network: On your TV screen, you will be prompted to select a language. Choose your preferred language and then proceed to set up your network. You can connect Roku to the internet either through Wi-Fi or by using an Ethernet cable.
7. Complete the Guided Setup: Follow the on-screen instructions to complete the guided setup process. This includes selecting your time zone, connecting to your Wi-Fi network, and signing in or creating a Roku account.
8. Roku Software Updates: After completing the guided setup, your Roku device may automatically check for any software updates. If updates are available, let the device download and install them. This helps ensure that you have the latest features and bug fixes.
9. Restart and Confirm Connection: After the software updates are installed, your Roku device may restart. Once it has restarted, you should see a confirmation message on your TV screen indicating that the Roku device has successfully connected to your network.
Congratulations! You have now connected your Roku device to your smart TV. In the next section, we will guide you through the process of setting up Roku and activating it.
Setting up Roku
Now that you have successfully connected your Roku device to your smart TV, it’s time to set up the device and get it ready for streaming. The setup process involves a few simple steps to ensure that your Roku is personalized and ready to provide you with the content you love.
1. Create or Sign in to Your Roku Account: If you don’t already have a Roku account, you will need to create one. This account allows you to personalize your Roku experience, add channels, and sync your preferences across multiple devices. To create an account, go to the Roku website and follow the instructions. If you already have a Roku account, sign in using your credentials.
2. Link Your Roku Device: Once you are signed in to your Roku account, you need to link your Roku device to your account. Go to the Roku device and follow the on-screen instructions to get a unique link code. Enter this code on the Roku website to link your device to your account.
3. Customize Display Settings: After linking your Roku device, you have the option to customize the display settings. This includes selecting the screen resolution, screen mirroring preferences, and other display options. Choose the settings that best suit your TV and personal preferences.
4. Add Channels: Roku offers a vast selection of channels that you can add to your device. Some popular channels include Netflix, Hulu, Disney+, Amazon Prime Video, and many more. To add channels, go to the Roku Channel Store either on your TV or the Roku website, browse through the available options, and select the channels you want to install. The channels will be added to your device and appear on your Roku home screen.
5. Organize Home Screen: Once you have added your preferred channels, you can customize the layout and organization of your Roku home screen. Move the channels around, create folders, or remove channels that you don’t use. This allows you to have quick and easy access to your favorite content.
6. Enable Parental Controls (optional): If you have children or want to control the content accessible on Roku, you can enable parental controls. This feature allows you to set a PIN that must be entered in order to access certain channels or to make purchases.
7. Explore Additional Features: Roku offers various additional features that can enhance your streaming experience. These include voice search, which allows you to search for content using your voice, and Roku Feed, which notifies you when new episodes or movies are available for your favorite shows. Take some time to explore these features and make the most out of your Roku device.
Setting up your Roku device is a straightforward process that can be completed in a matter of minutes. Once everything is set up, you’re ready to start streaming your favorite movies, TV shows, and more. In the next section, we will guide you through the process of activating your Roku device.
Activating Roku
After setting up your Roku device and customizing your settings, the next step is to activate your Roku. Activation is an essential process that ensures your device is authorized to access and stream content.
To activate your Roku device, follow these steps:
1. On your TV screen, you will see a unique activation code displayed. Make a note of this code as you will need it during the activation process.
2. Open a web browser on your computer or smartphone and visit the Roku activation website.
3. On the website, you will be prompted to enter the activation code that is displayed on your TV screen. Type in the code correctly and select “Submit” or “Continue”.
4. Next, you will be prompted to sign in to your Roku account. Enter your login credentials and select “Sign In”. If you don’t have an account, you can create one by selecting the “Create Account” option.
5. Once signed in or after creating a new account, you will be asked to provide payment information. Roku requires payment information to facilitate purchases or subscriptions to paid channels. If you do not intend to make any purchases, you can skip this step by selecting the option for “Skip, I’ll add later” or “Skip, I’ll add payment info later”.
6. After completing the activation process, your Roku device will refresh and automatically update any necessary software updates.
7. Finally, you will see a confirmation message on your TV screen indicating that your Roku device is activated and ready to use.
It is important to note that Roku activation requires a stable internet connection. Ensure that your Roku device is connected to the internet and that your network settings are correctly configured before proceeding with the activation process. If you encounter any issues during activation, refer to the Roku troubleshooting guide or contact Roku customer support for assistance.
Once your Roku device is activated, you can start exploring the wide range of channels and streaming options available. From popular streaming services to niche channels, Roku offers a diverse selection of content to cater to your preferences. Customize your Roku experience by adding and organizing channels, discovering new content, and enjoying an immersive streaming experience from the comfort of your TV.
In the next section, we will dive into customizing Roku settings to tailor your streaming experience even further.
Customizing Roku Settings
Now that you have successfully set up and activated your Roku device, it’s time to explore the various customization options available. Customizing your Roku settings allows you to personalize your streaming experience and tailor it to your preferences. Here are some key settings you can adjust:
1. Display Settings: Roku provides options to adjust display settings, including screen resolution, picture mode, and aspect ratio. Navigate to the Display Settings menu in the Roku settings and make adjustments based on your TV and personal preferences.
2. Audio Settings: Roku allows you to configure audio settings to optimize your sound experience. You can adjust settings such as volume mode, audio mode, or even enable/disable audio leveling. Access the Audio Settings menu in the Roku settings to make adjustments according to your audio setup.
3. Screensavers and Themes: Customize the look of your Roku interface by selecting different screensavers and themes. Roku provides a range of screensavers and themes to choose from, allowing you to personalize the appearance of your Roku device. Access the Themes and Screensavers menu in Roku settings to explore the available options.
4. Parental Controls: Set up parental controls to restrict certain channels or content based on ratings. Roku provides options to create a PIN and control the access to specific channels or types of content. This allows you to create a safe viewing environment for your family and filter content as needed.
5. Voice Search and Control: Take advantage of voice search and control capabilities offered by Roku. Many Roku devices come with a remote that has a built-in microphone, allowing you to search for content or control Roku using voice commands. Make sure to enable voice search and control in the Roku settings to enjoy this convenient feature.
6. Remote Control Settings: Customize your Roku remote control settings to enhance your viewing experience. Roku offers options to adjust the sensitivity of your remote, enable or disable certain buttons, or even enable private listening through headphones connected to your mobile device. Access the Remote Control Settings menu in the Roku settings to make adjustments as needed.
7. Network Settings: In the Network Settings menu, you can manage your Wi-Fi connection, enable or disable network pings, or set up a static IP address if required. Ensure that your Roku device is connected to a stable network and adjust network settings as necessary.
These are just a few of the many customization options available in Roku settings. Take some time to explore the settings menu and make adjustments based on your preferences. Remember, customization is key to tailoring your Roku streaming experience to your liking.
By customizing your Roku settings, you can optimize your viewing experience and make the most out of your Roku device. Experiment with different settings and configurations to find the perfect setup that suits your needs.
In the next section, we will discuss how to install channels on your Roku device, allowing you to access your favorite content.
Installing Channels on Roku
One of the greatest advantages of Roku is its extensive library of channels, offering a wide variety of content for every interest and preference. From popular streaming services to niche channels, Roku provides a vast selection of options to cater to your entertainment needs. Here’s how you can install channels on your Roku device:
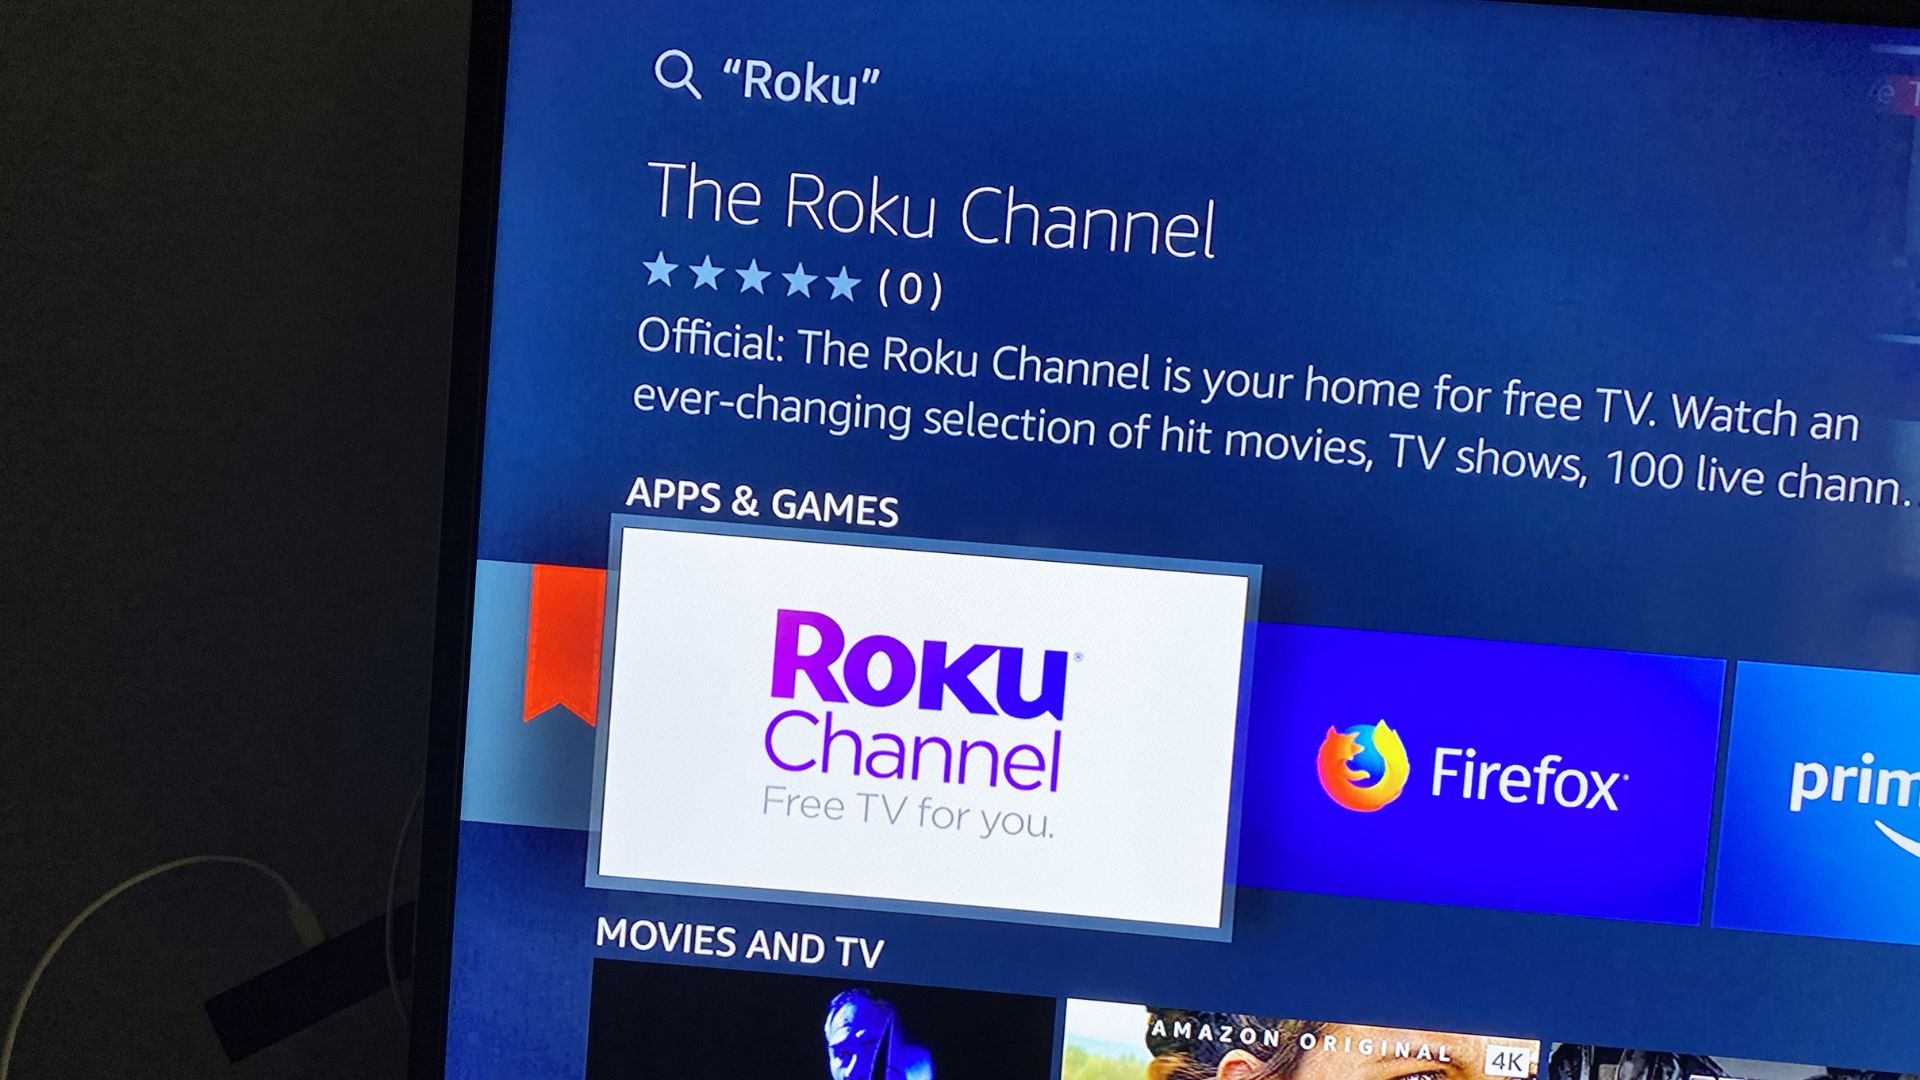
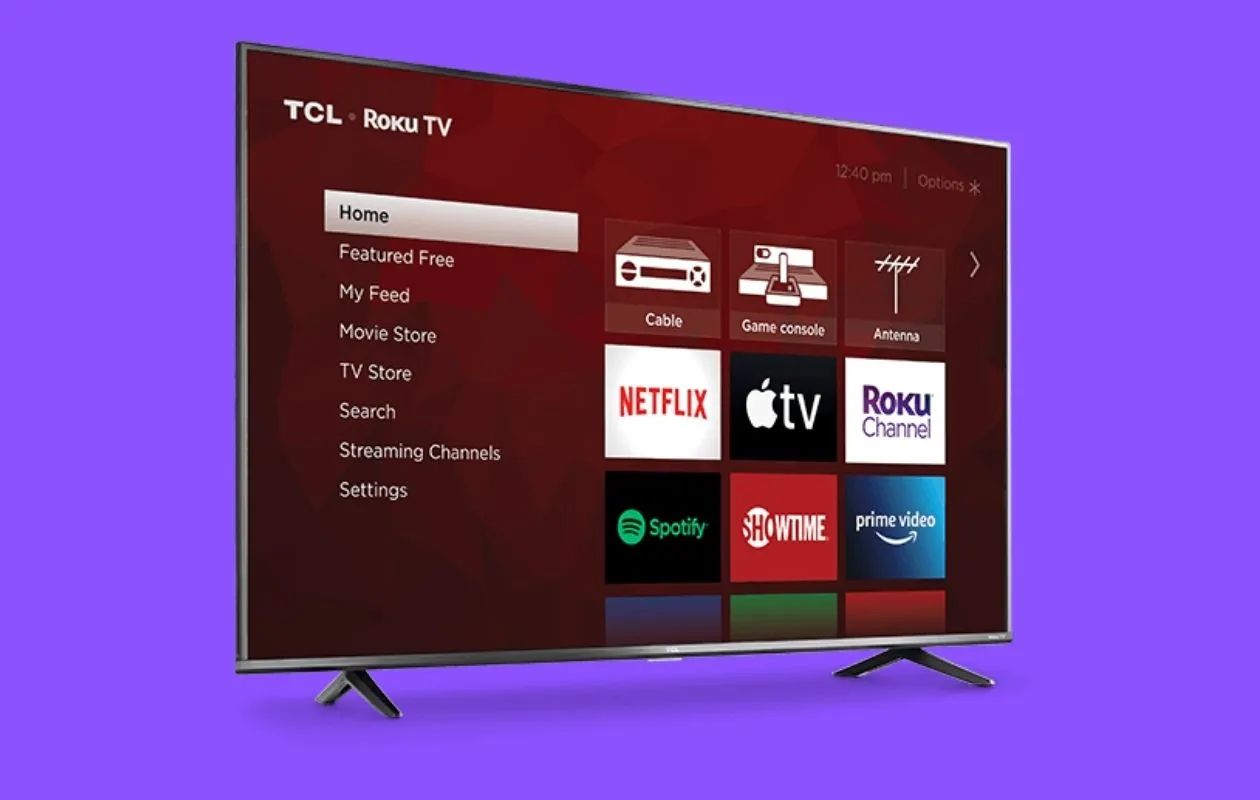
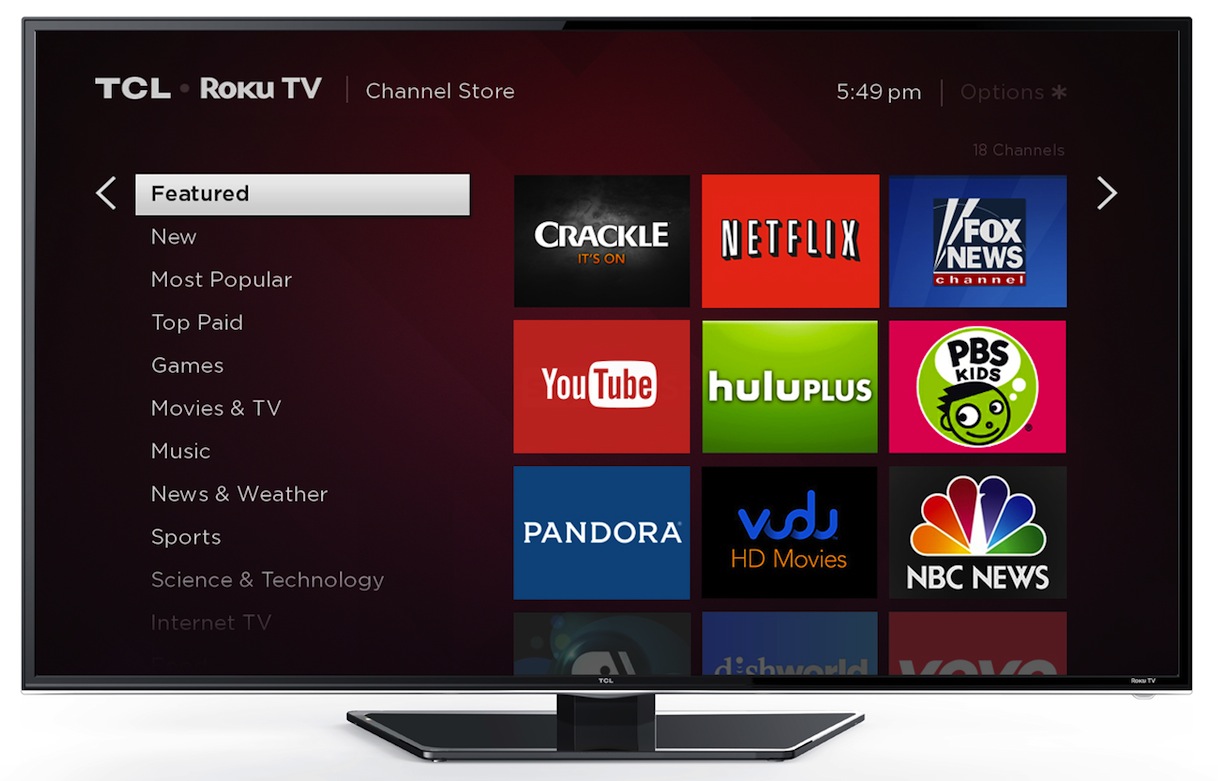
1. Access the Roku Channel Store: To install channels, navigate to the Roku home screen and scroll down to find the “Streaming Channels” option. Select it, and you will be taken to the Roku Channel Store.
2. Explore Available Channels: In the Roku Channel Store, you can browse through the numerous channels available. Channels are organized into various categories, making it easy to find the genres or types of content you’re interested in. You can also use the search function to search for specific channels by name.
3. Select and Install Channels: When you find a channel you want to install, highlight it and select “Add Channel” or “Install”. Follow any prompts or instructions that appear on the screen to confirm the installation. The channel will then be added to your Roku device.
4. Manage Installed Channels: After installing channels, you can rearrange their order on your Roku home screen. Simply highlight the channel, press the asterisk (*) button on your Roku remote, and select “Move Channel” to change its position.
5. Remove Channels: If you no longer want a particular channel on your Roku, you can easily remove it. Highlight the channel, press the asterisk (*) button on your remote, and select “Remove Channel” or “Delete”. Removing a channel does not delete your Roku account; it simply removes the channel from your device.
6. Channel-Specific Activation: Some channels may require activation before you can access their content. This typically involves visiting the channel’s website and entering a provided code to link your Roku device with your account for that specific channel. Follow the instructions provided by the channel to complete the activation process.
Remember, there are both free and paid channels available on Roku. While many popular channels require a subscription, there are also a variety of free channels with ad-supported content. Additionally, some channels offer both free and paid content, allowing you to access additional features or premium content through a subscription.
By installing channels on your Roku device, you can unlock a vast world of entertainment and access your favorite shows, movies, documentaries, and more. Customize your channel lineup based on your interests, and explore new content across various genres. With Roku’s extensive channel library, there is something for everyone to enjoy.
In the next section, we will discuss the process of streaming on Roku, allowing you to enjoy your favorite content seamlessly.
Streaming on Roku
Streaming on Roku is a seamless and enjoyable experience that allows you to access a wide variety of content on your smart TV. Once you have installed your preferred channels, you can start streaming your favorite shows, movies, sports, and more. Here’s how to make the most out of your streaming experience on Roku:
1. Navigate the Roku Home Screen: Upon turning on your TV, you will be greeted by the Roku home screen. From here, you can easily browse through your installed channels and access your favorite content. Use the Roku remote to navigate through the menu and select the desired channel.
2. Select and Play Content: Once you have chosen a channel, use the remote to browse the available content. You can explore different genres, search for specific shows or movies, or discover recommendations based on your viewing history. Select the content you want to watch and press the play button on your remote to start streaming.
3. Take Advantage of Roku Features: Roku offers several features to enhance your streaming experience. Use the voice search function to find content by simply speaking into your remote. You can also pause, rewind, or fast forward through your content using the playback controls on the remote. Additionally, some channels offer features like live TV, personalized playlists, or sports-specific content.
4. Customize Your Viewing Experience: Roku allows you to tailor your viewing experience based on your preferences. Adjust audio and display settings to optimize the sound and picture quality. Enable closed captions or subtitles if desired. Explore the settings within each channel to customize playback preferences, such as video quality or autoplay.
5. Roku Mobile App: Download the Roku mobile app on your smartphone or tablet to enhance your streaming experience. The app allows you to control your Roku device, browse channels, search for content, and even use your mobile device as a remote control. You can also use the app for private listening through headphones connected to your mobile device.
6. Discover New Content: Roku provides personalized recommendations based on your viewing history. Take advantage of these recommendations to discover new shows, movies, or channels that you may be interested in. Explore different genres or featured content sections to find something new to watch.
7. Continue Watching: Roku conveniently keeps track of the shows and movies you’ve been watching but haven’t finished. When you return to a channel, you will often be prompted to continue watching where you left off, allowing you to easily pick up where you left off and enjoy uninterrupted streaming.
With Roku, you have a wide array of streaming options at your fingertips. From popular streaming services like Netflix and Hulu to niche channels catering to specific interests, Roku offers something for everyone. Explore the channels, discover new content, and immerse yourself in endless entertainment possibilities.
In the next section, we will address common troubleshooting issues that you may encounter while using Roku and provide helpful tips to resolve them.
Troubleshooting Roku Issues
While Roku offers a seamless streaming experience, there may be times when you encounter issues or challenges. Here are some common troubleshooting tips to help you address the most common Roku issues and enjoy uninterrupted streaming:
1. Restart Your Roku Device: If you encounter any glitches or performance issues, a simple restart can often resolve the problem. Navigate to the Roku settings, select “System”, and choose “System Restart” or “Power”. Wait for the device to turn off and then turn it back on to complete the restart.
2. Check Internet Connection: Poor internet connectivity can lead to buffering or streaming issues. Ensure that your Roku device is connected to a stable and reliable internet connection. You can check the network status in the Roku settings or try rebooting your router if necessary.
3. Update Roku Software: Sometimes, software updates are released to fix bugs or improve performance. Make sure your Roku device is running on the latest software version. Go to the Roku settings, select “System”, and choose “System Update” to check for any available updates and install them if needed.
4. Reinstall Problematic Channel: If you’re experiencing issues with a specific channel, try removing and reinstalling it. Go to the Roku home screen, highlight the channel, press the asterisk (*) button on your remote, and select “Remove Channel” or “Delete”. Once removed, visit the Roku Channel Store and reinstall the channel.
5. Check HDMI Connection: If you’re not getting any picture or sound on your TV, ensure that the HDMI cable is properly connected to both your Roku device and your TV. Try disconnecting and reconnecting the HDMI cable or using a different HDMI port on your TV.
6. Clear Cache and Data: Over time, the cache and data stored by channels on your Roku device can accumulate and affect performance. To clear cache and data for a specific channel, go to the Roku settings, select “System”, and choose “Advanced System Settings”. Then, select “Clear cache” or “Clear data” for the desired channel.
7. Factory Reset: If all else fails and you’re still experiencing significant issues, you can perform a factory reset on your Roku device. This will restore the device to its original settings. However, keep in mind that this will erase all your settings and installed channels, so make sure to note down any important information before proceeding.
8. Contact Roku Support: If you’ve tried all the troubleshooting steps and are still encountering issues, it may be helpful to reach out to Roku customer support. They can provide further assistance and guidance tailored to your specific situation.
By following these troubleshooting tips, you can overcome common Roku issues and ensure a smooth streaming experience. Remember, patience and persistence are key when dealing with technical challenges. With a little troubleshooting, you’ll be back to enjoying your favorite shows and movies in no time.
In the final section, we will provide a brief recap of the key points covered in this article.
Conclusion
In this article, we explored the process of adding Roku to your smart TV, from understanding what Roku is to customizing settings and troubleshooting common issues. Roku offers a convenient and affordable way to access a vast library of channels, allowing you to stream your favorite movies, TV shows, and more.
We began by introducing Roku and its features, highlighting its user-friendly interface, extensive channel library, and compatibility with various smart TV models. We then walked through the steps of connecting Roku to your smart TV, setting up the device, activating it, and customizing settings according to your preferences.
Installing channels on Roku was discussed, as we explained how to explore the Roku Channel Store, select and install channels of interest, and manage your channel lineup. We also touched on streaming on Roku, emphasizing the intuitive navigation, personalized recommendations, and additional features like voice search and control.
Furthermore, we provided troubleshooting tips to address common issues that may arise while using Roku, from basic restarts and software updates to reinstalling problematic channels and checking internet connectivity. In cases where more extensive troubleshooting is needed, reaching out to Roku customer support was encouraged.
By following these steps and tips, you can optimize your Roku streaming experience and enjoy seamless access to a wide variety of content. Whether you’re a casual viewer or a dedicated binge-watcher, Roku offers an array of entertainment options to suit different interests.
Remember, the key to getting the most out of Roku is customization. Take the time to personalize your channel lineup, explore new content, and adjust settings to meet your preferences. With Roku, you have the power to transform your smart TV into a hub of endless entertainment possibilities.
So, go ahead, connect your Roku device to your smart TV, set it up, add your favorite channels, and start streaming! Sit back, relax, and enjoy a world of movies, TV shows, and more from the comfort of your own home.
Happy streaming!