Introduction
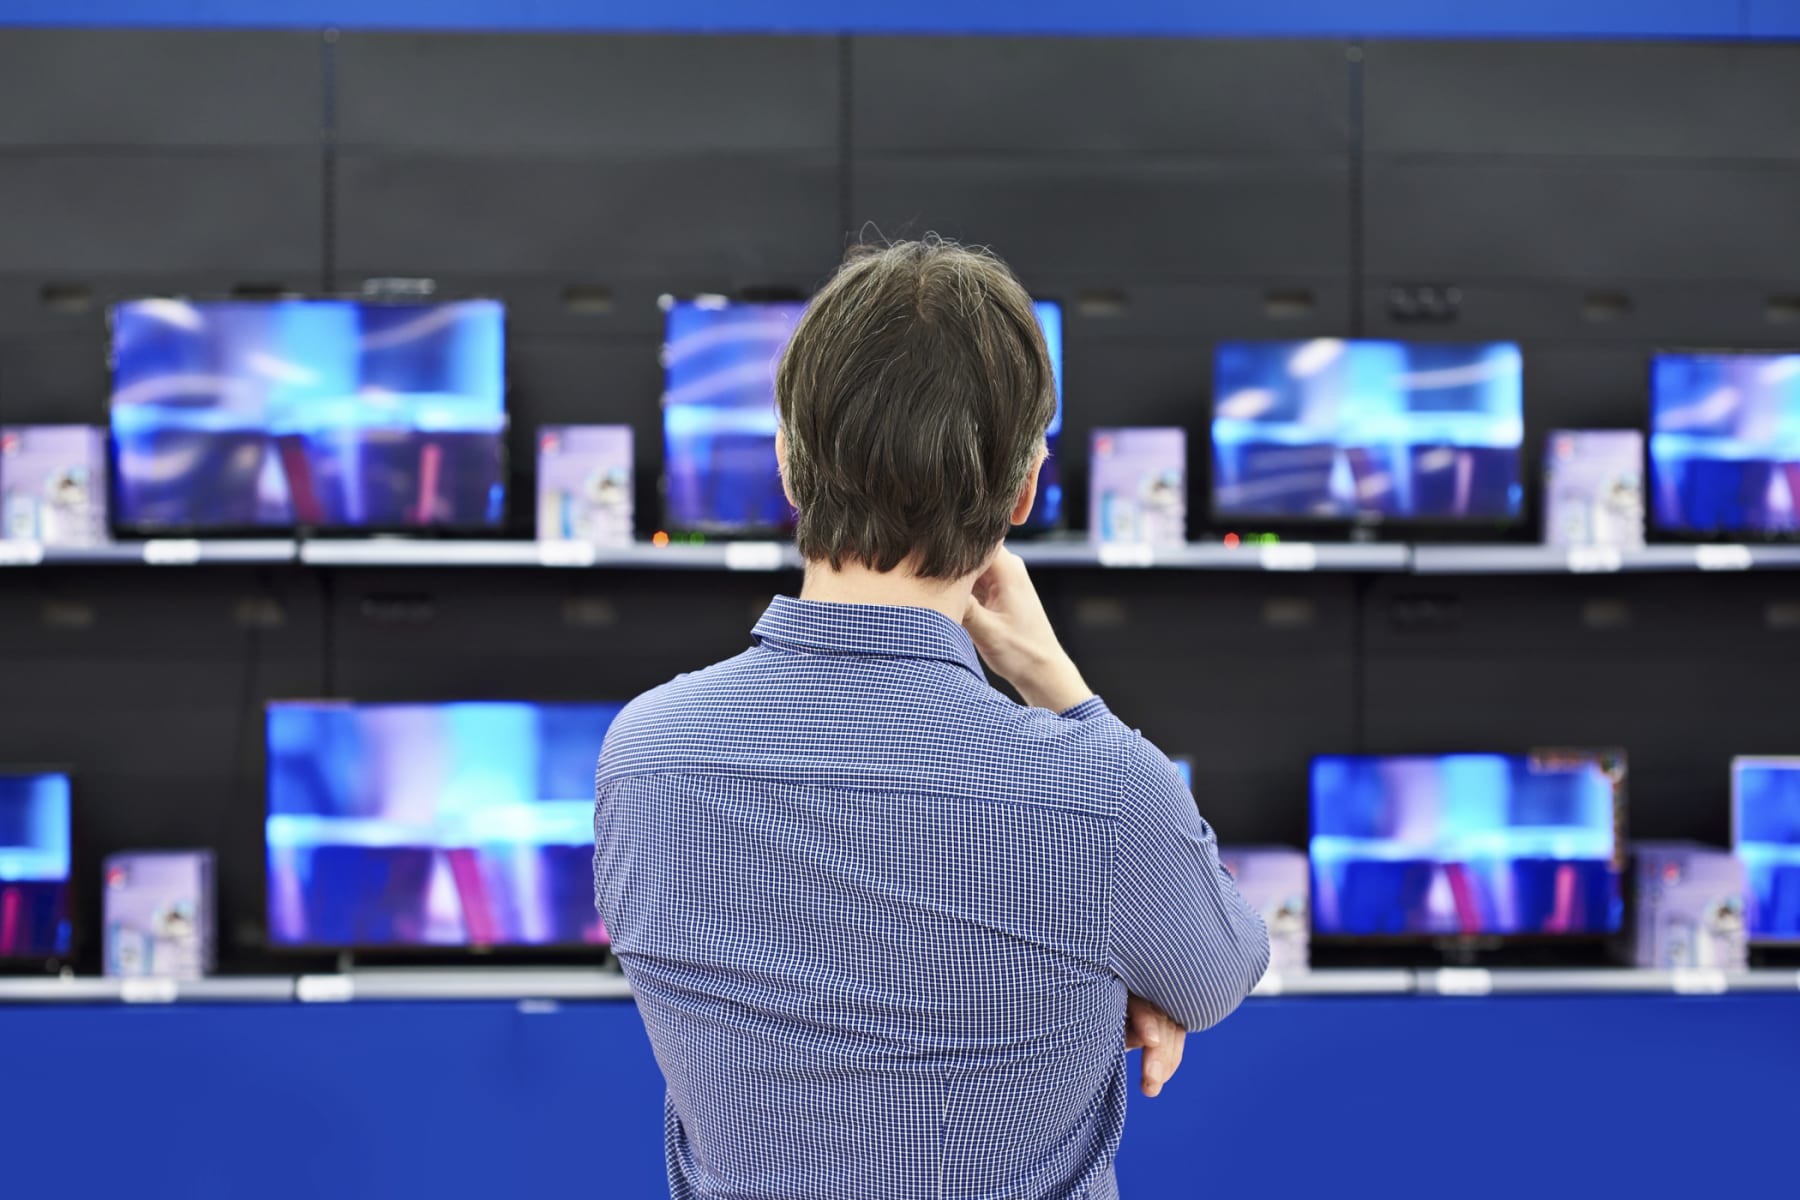
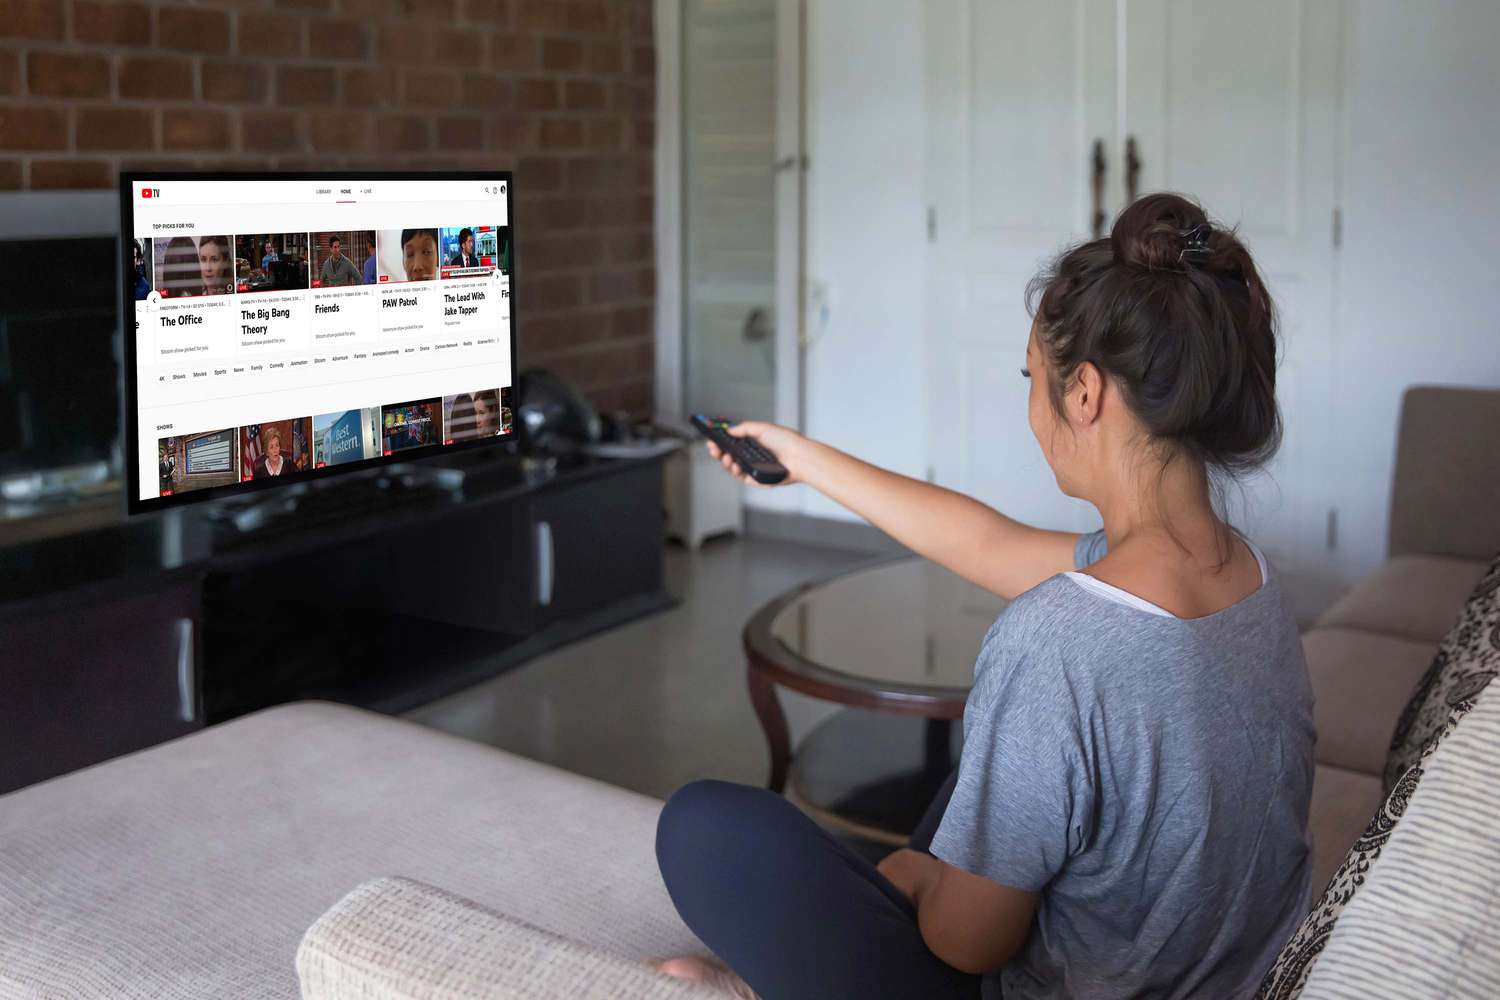
Welcome to the digital age, where streaming has become the preferred method of consuming entertainment. With the rise of streaming platforms like Netflix, Hulu, and Amazon Prime Video, the demand for smart TVs has skyrocketed. However, not everyone has a smart TV at their disposal. If you’re one of the many individuals who still owns a non-smart TV, don’t fret! You can still access a world of streaming content using a device called Roku.
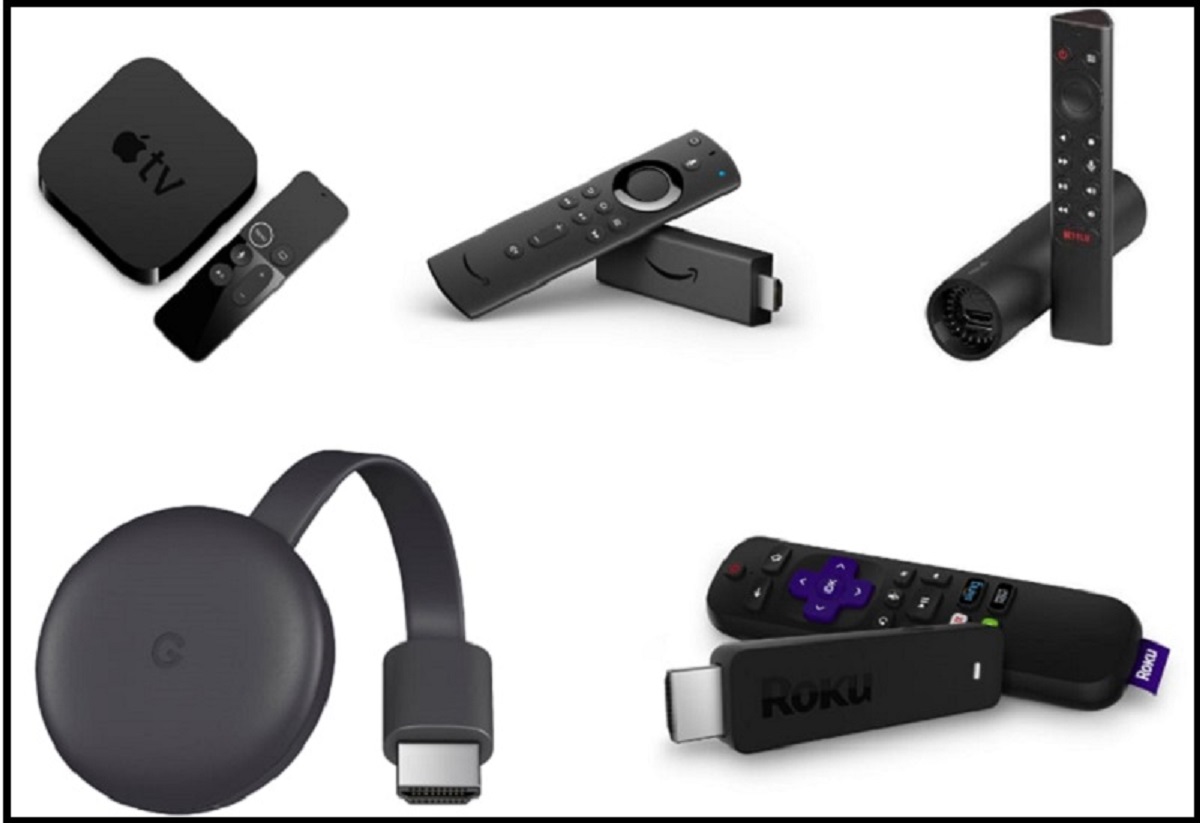
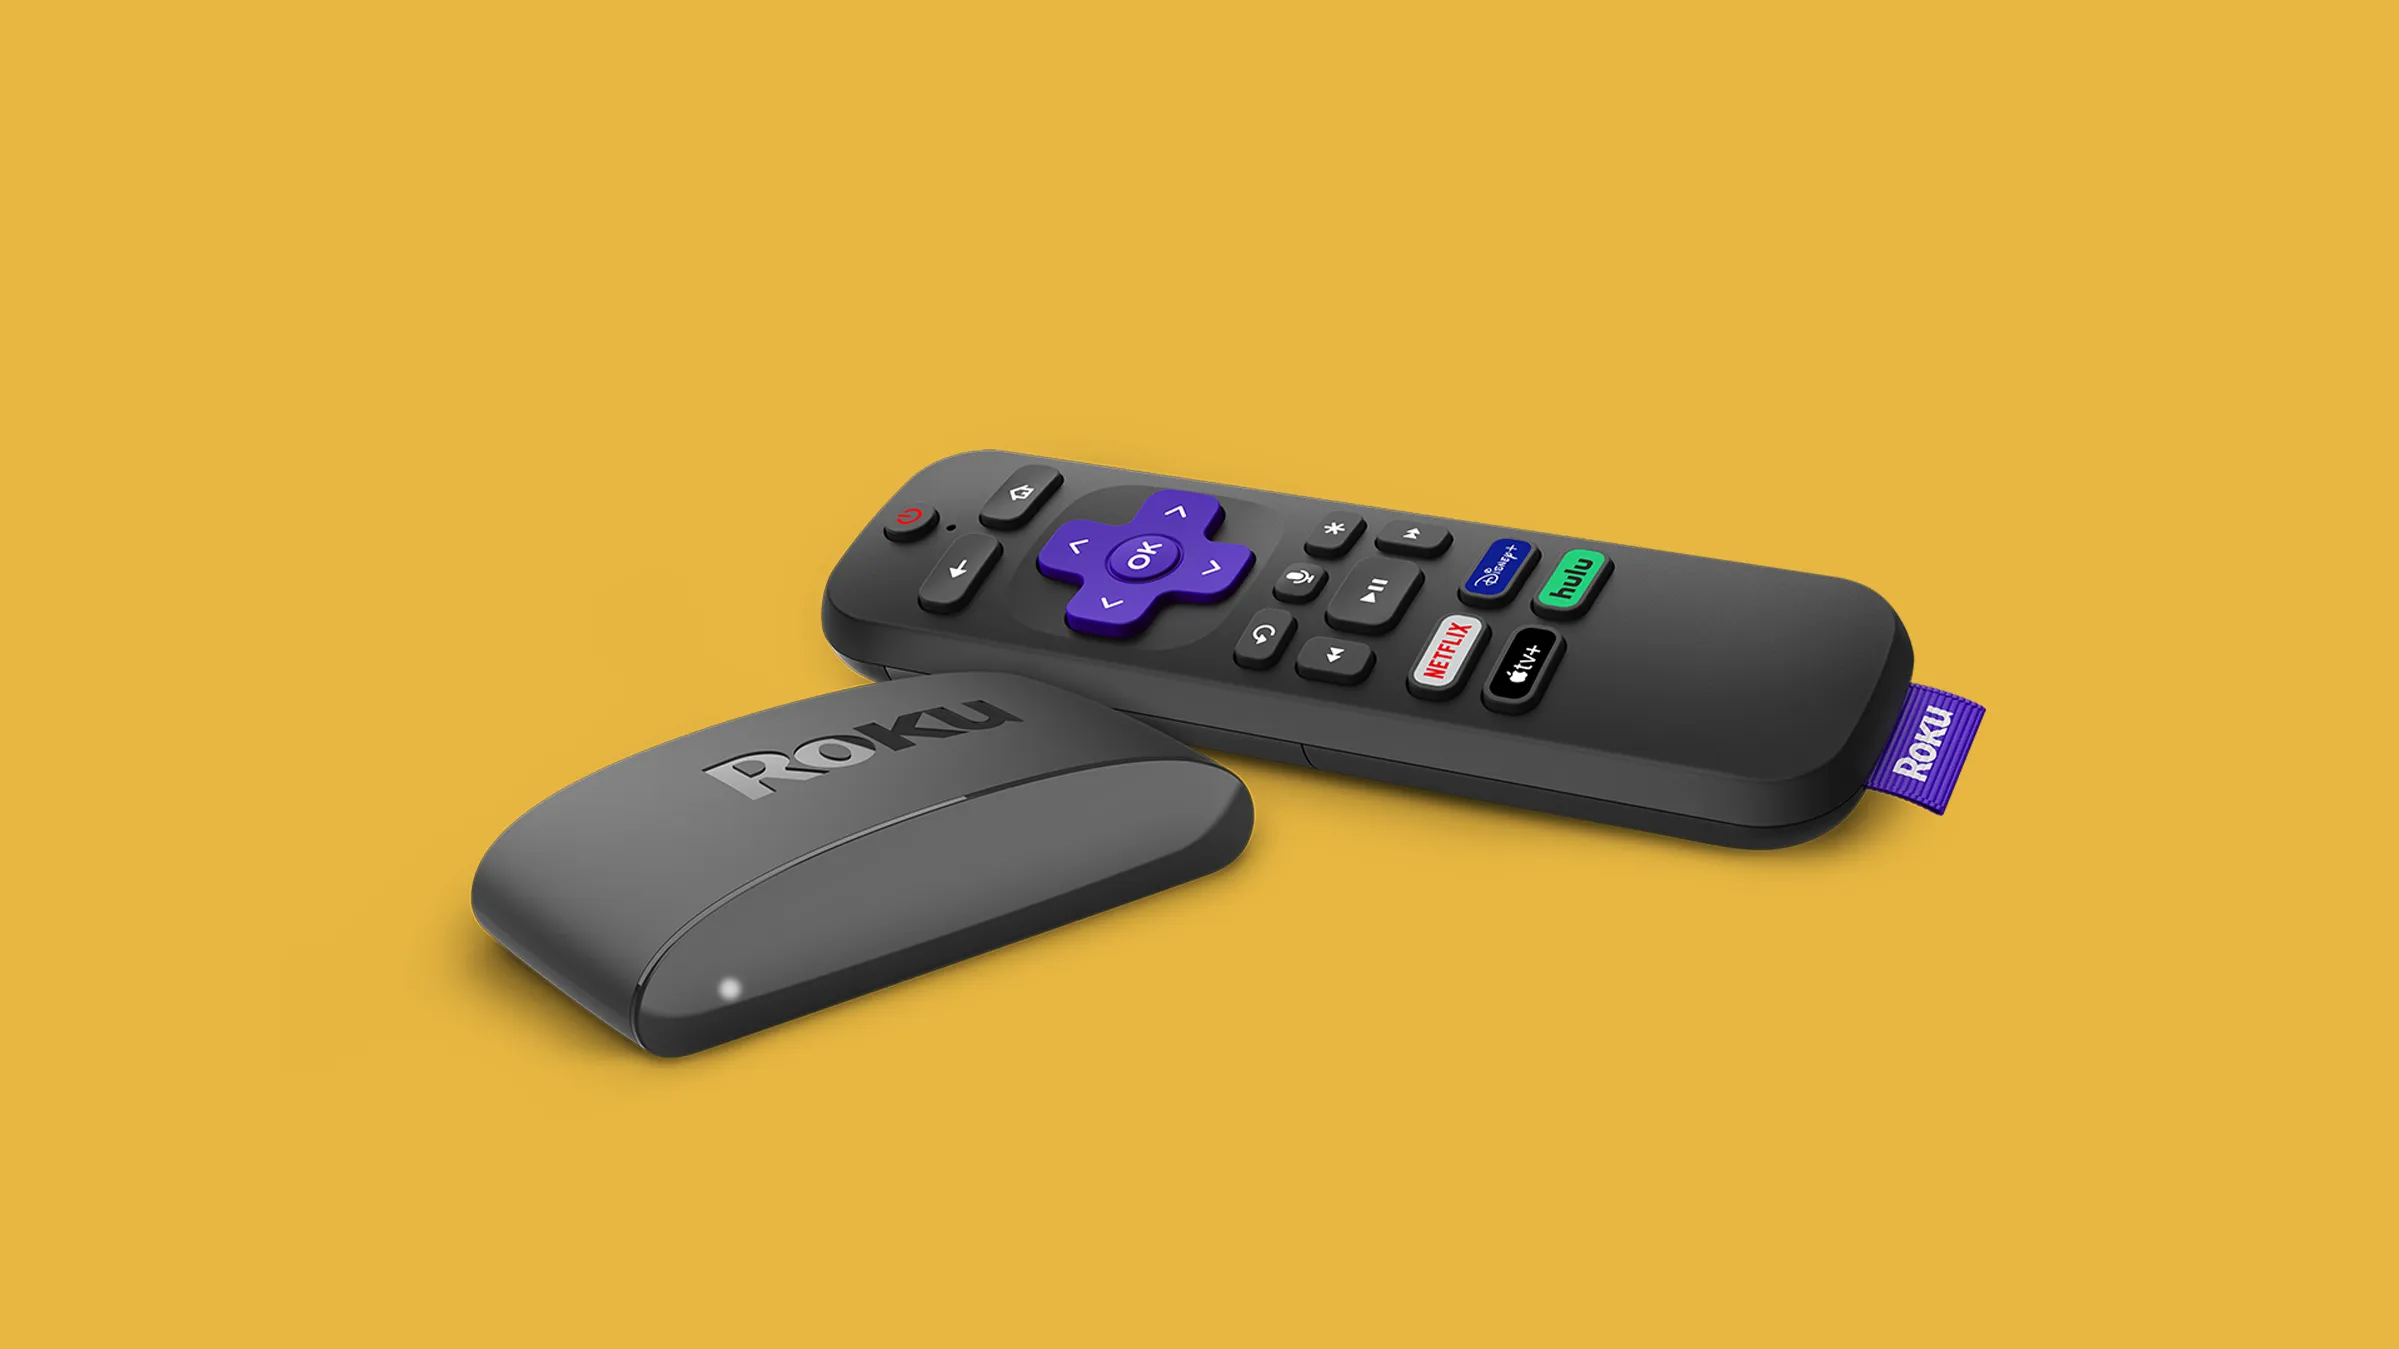
Roku is a small streaming player that connects to your non-smart TV, transforming it into a smart TV in a matter of minutes. But what exactly is Roku, and how can you make the most out of it on your non-smart TV? In this article, we will explore the world of Roku and guide you through the process of setting it up on your TV.
At its core, Roku is a digital media player that allows you to stream a wide variety of content, including movies, TV shows, music, and even games, directly to your TV. What sets Roku apart from other streaming devices is its vast selection of channels and user-friendly interface.
One of the main benefits of using Roku on a non-smart TV is the convenience it offers. Instead of struggling with multiple cables and connections, all you need is a single HDMI cable to connect your Roku device to your TV. This means that you can enjoy the flexibility and freedom of streaming without having to invest in a brand new smart TV.
With Roku, you gain access to a world of streaming options. From popular streaming platforms like Netflix, Hulu, and Amazon Prime Video, to niche channels specializing in genres like cooking, sports, and documentaries, Roku has something for everyone. The extensive channel lineup ensures that you never run out of content to watch, keeping you entertained for hours on end.
Now that you have an understanding of what Roku is and the benefits it offers, let’s dive into how you can set it up on your non-smart TV. Don’t worry if you’re not tech-savvy – the process is straightforward and can be completed in just a few simple steps.
What is Roku?
Roku is a popular streaming device that allows you to turn your non-smart TV into a smart TV. It is a compact digital media player that connects to your TV, enabling you to stream a wide range of content from various streaming platforms and channels. With Roku, you can enjoy movies, TV shows, music, games, and more, all from the comfort of your living room.
Roku offers a simple yet powerful solution for accessing streaming content. Instead of relying on a smart TV with pre-installed apps, Roku acts as a standalone device that brings the functionality of a smart TV to any television with an HDMI port. It is designed to be user-friendly and can be easily set up even by those with limited technical knowledge.
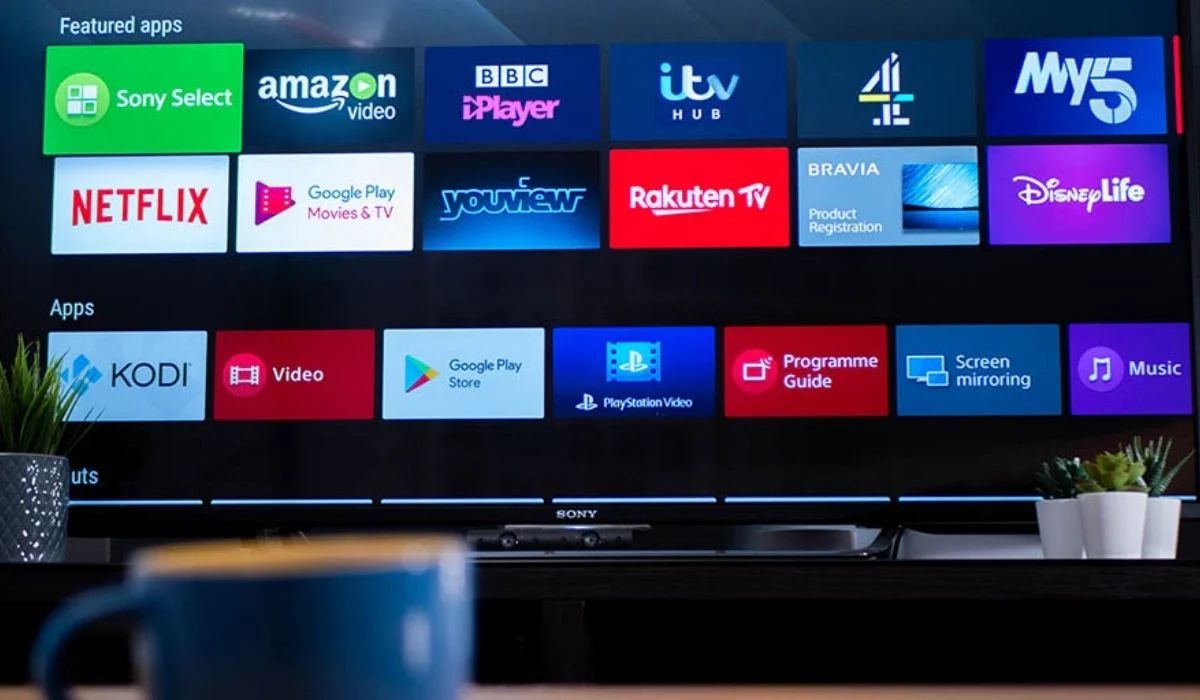
One of the key features of Roku is its extensive selection of channels. With over 500,000 movies and TV episodes available across various streaming services, including popular platforms like Netflix, Hulu, and Amazon Prime Video, Roku offers a vast library of content to choose from. In addition to major streaming services, Roku also provides access to niche channels that cater to specific interests such as sports, news, lifestyle, and more.
Another standout feature of Roku is its user interface. The Roku interface is intuitive and easy to navigate, making it a breeze to find and stream your favorite content. You can search for specific titles, browse through different genres, or explore curated content recommendations. The interface also allows you to personalize your streaming experience by creating a list of favorite channels and customizing your home screen layout.
One of the advantages of using Roku is its compatibility with various streaming formats and resolutions. Roku devices support high-definition (HD), 4K Ultra HD, and even some models offer support for HDR (High Dynamic Range) content. This means you can enjoy stunning visuals and immersive audio quality, depending on the capabilities of your TV and the content you are streaming.
In addition to its streaming capabilities, Roku offers additional features to enhance your viewing experience. It supports screen mirroring, allowing you to display the content from your smartphone, tablet, or computer directly on your TV screen. Some Roku devices also feature a remote control with voice search, making it even easier to find what you’re looking for without typing.
In summary, Roku is a versatile streaming device that brings the power of a smart TV to non-smart TVs. With its wide selection of channels, user-friendly interface, and support for various streaming formats, Roku offers an excellent solution for accessing your favorite content on the big screen. Whether you’re a movie enthusiast, a sports fan, or simply want to explore new shows and documentaries, Roku has something to offer for everyone.
Benefits of using Roku on a Non-Smart TV
Turning your non-smart TV into a smart TV using Roku comes with a multitude of benefits. Here are some of the advantages you can enjoy by utilizing Roku on your non-smart TV:
1. Access to a vast selection of streaming content: Roku provides access to an extensive range of streaming platforms and channels, offering an unparalleled library of movies, TV shows, music, and more. From popular services like Netflix and Disney+, to niche channels catering to specific interests, Roku ensures that you never run out of content to enjoy.
2. Convenience and affordability: Instead of shelling out hundreds or even thousands of dollars on a new smart TV, Roku offers an affordable alternative. With a Roku device, you can transform your existing non-smart TV into a smart TV at a fraction of the cost.
3. User-friendly interface: Roku boasts a user-friendly interface designed to simplify the streaming experience. The intuitive navigation makes it easy to browse and search for content, ensuring that you spend less time searching and more time enjoying your favorite shows and movies.
4. Flexible connectivity options: Roku devices offer various connectivity options, including Wi-Fi and Ethernet. This flexibility allows you to connect your Roku device to the internet in a way that works best for your setup, ensuring smooth streaming and minimal buffering.
5. High-quality streaming: Roku supports different video resolutions, including HD, 4K Ultra HD, and even HDR, depending on your device and the content being streamed. This ensures that you can enjoy stunning visuals and immersive audio, enhancing your overall viewing experience.
6. Personalization and customization: With Roku, you have the freedom to personalize your streaming experience. You can customize your home screen layout, create a list of favorite channels, and even add private channels that offer exclusive content.
7. Screen mirroring: Roku devices support screen mirroring, allowing you to mirror the display of your smartphone, tablet, or computer directly onto your TV screen. This feature is handy for sharing photos, videos, or presentations with friends and family.
8. Regular software updates: Roku continually improves its devices by rolling out regular software updates. These updates not only enhance performance and security but also introduce new features and functionalities, ensuring that you stay up-to-date with the latest streaming advancements.
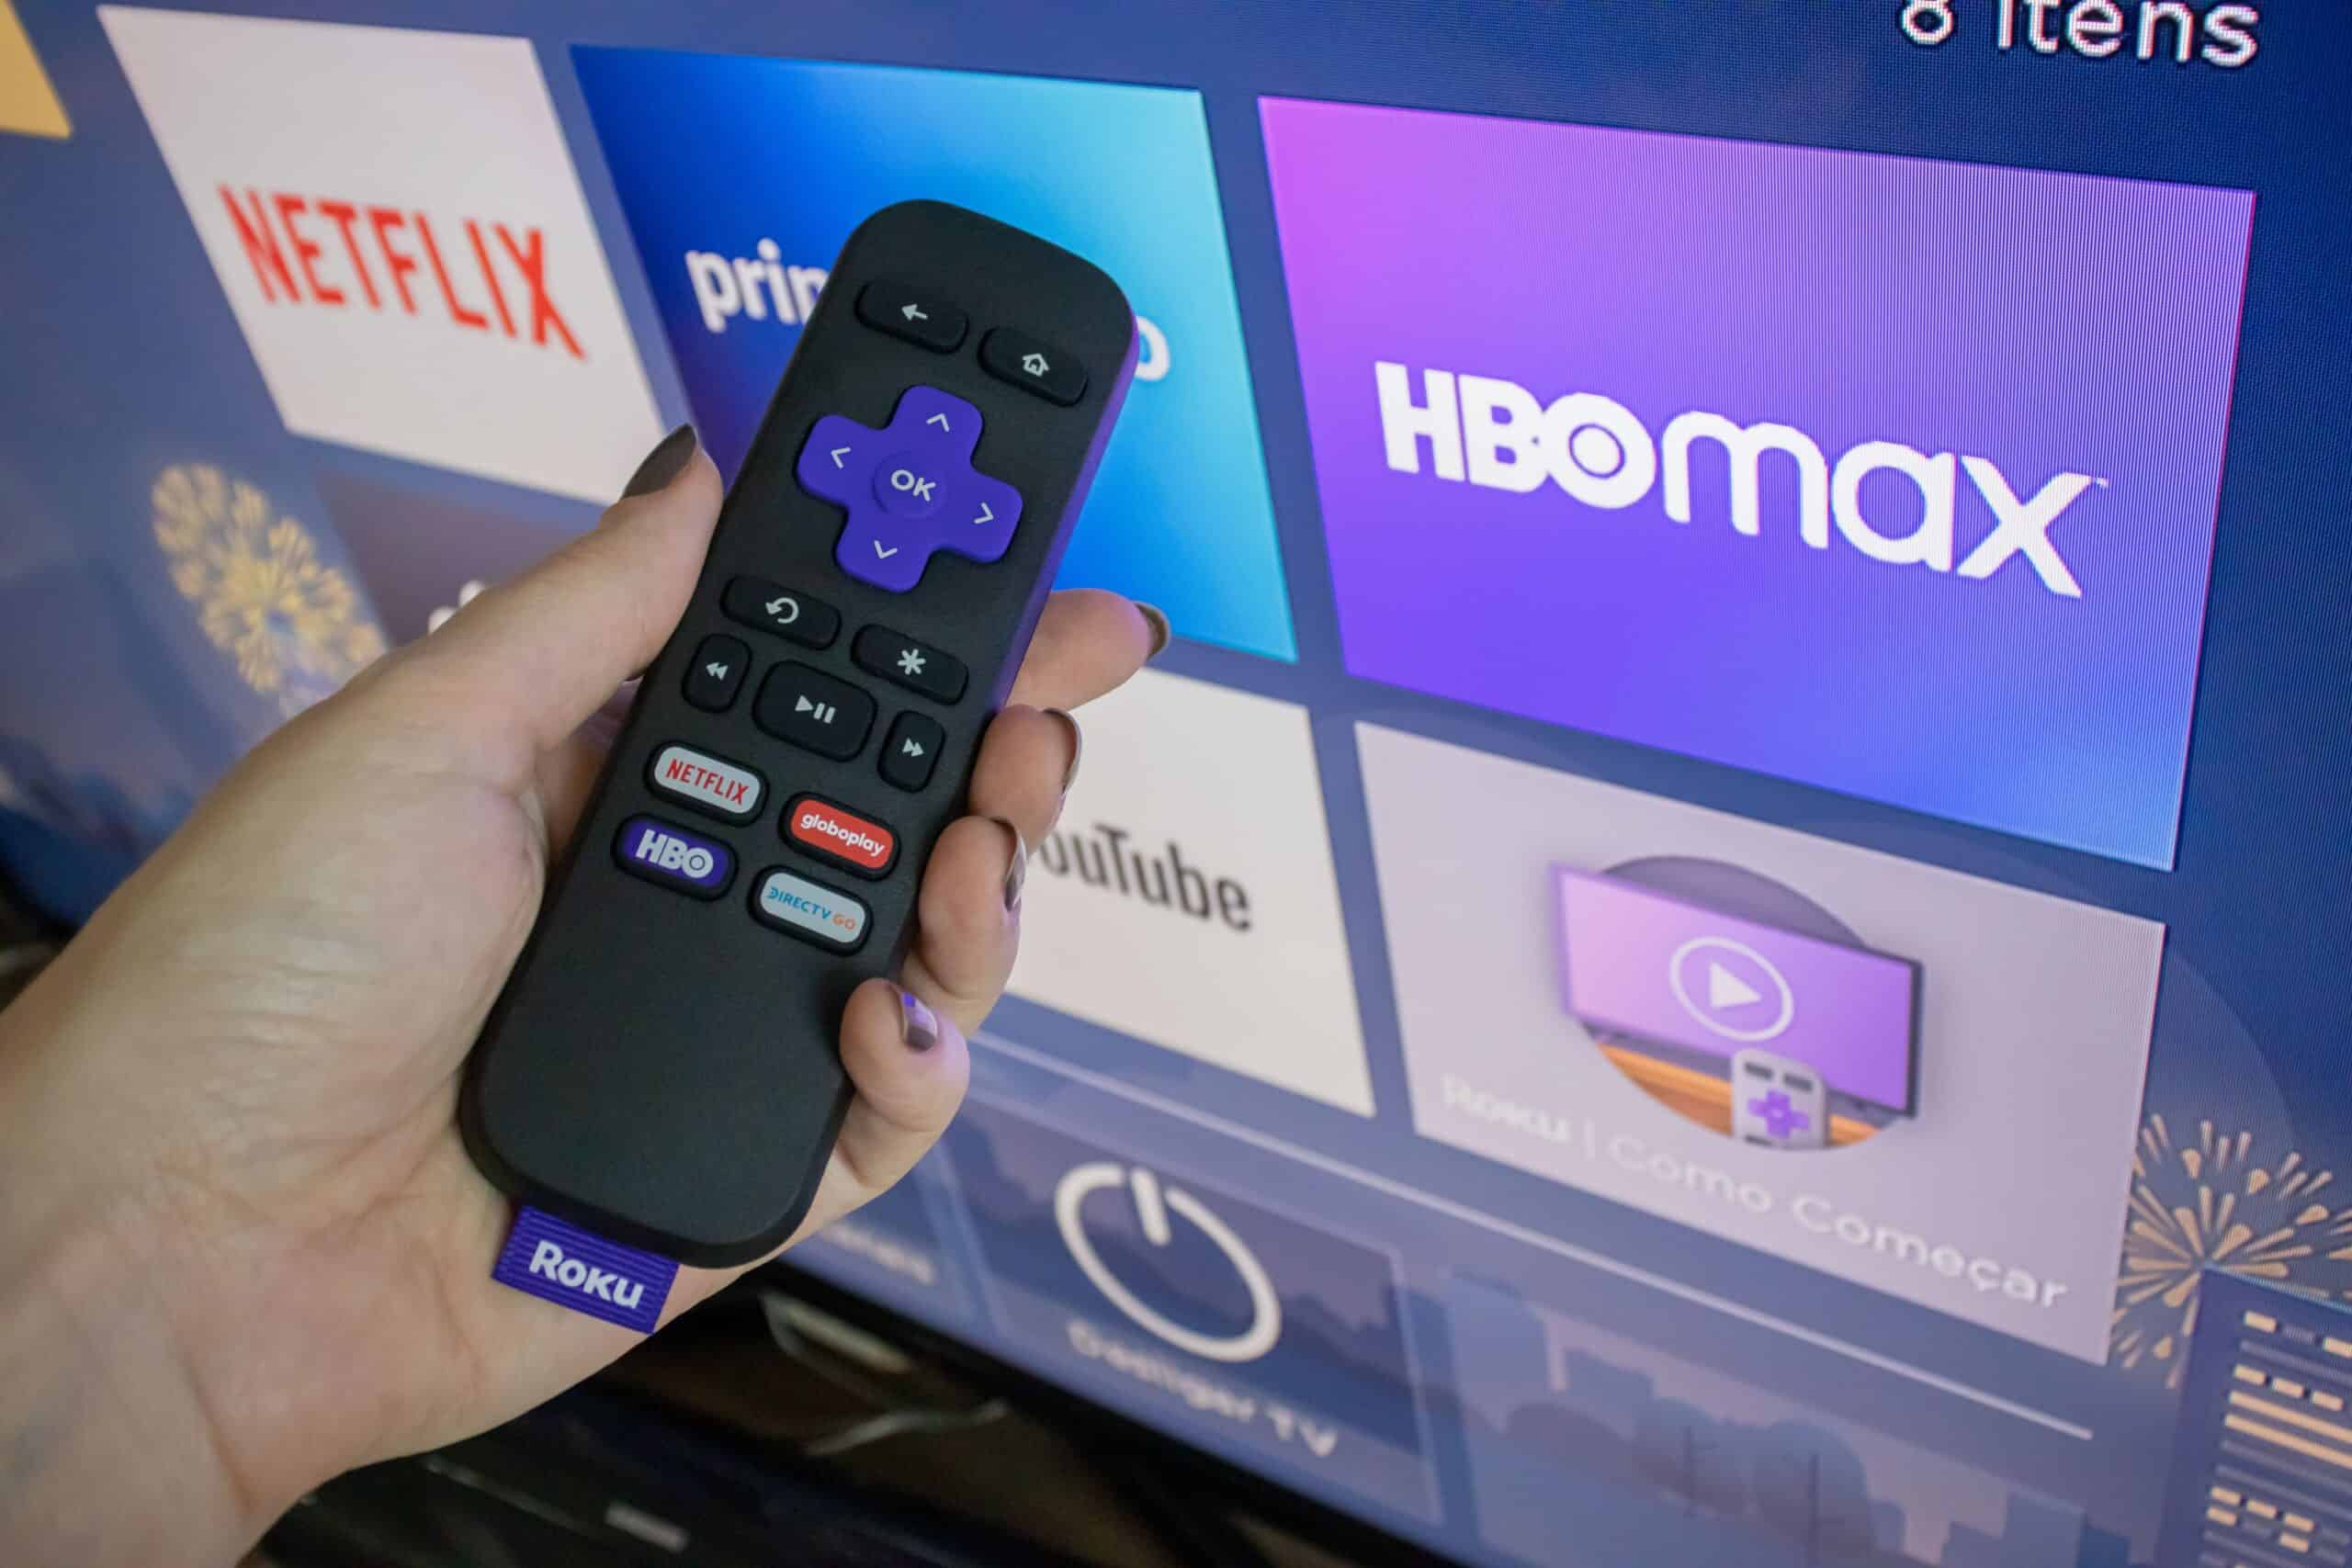
9. Easy setup and user-friendly remote: Setting up a Roku device on a non-smart TV is a straightforward process that can be completed within minutes. Additionally, Roku remotes are designed to be user-friendly, with dedicated buttons for quick access to popular streaming services and navigation controls.
Overall, using Roku on a non-smart TV offers a multitude of benefits, such as access to a vast range of streaming content, affordability, user-friendly interface, high-quality streaming, personalization options, screen mirroring capabilities, regular updates, and easy setup. Whether you want to enjoy the latest movies, binge-watch your favorite TV shows, or explore new channels, Roku provides a seamless and enjoyable streaming experience on any non-smart TV.
Step-by-Step Guide to Set Up Roku on a Non-Smart TV
Setting up Roku on a non-smart TV is a straightforward process that can be completed in just a few simple steps. Follow this step-by-step guide to get your Roku device up and running:
Step 1: Unpack and connect your Roku device
Start by unpacking your Roku device and finding the HDMI cable included in the package. Connect one end of the HDMI cable to the HDMI port on your Roku device, and the other end to the HDMI input on your non-smart TV.
Step 2: Power on your Roku device and TV
Plug the power adapter into your Roku device and plug the other end into a power outlet. Turn on your TV and make sure it is set to the correct HDMI input where your Roku device is connected.
Step 3: Set up your internet connection
Using the Roku remote, navigate to the Settings menu on the Roku home screen. Select “Network” and choose either “Wireless” or “Wired” depending on your internet connection type. Follow the on-screen instructions to connect your Roku device to Wi-Fi or Ethernet.
Step 4: Complete the Roku setup process
After connecting to the internet, your Roku device will automatically download and install the latest software updates. Once the updates are installed, your Roku device will restart. Follow the on-screen prompts to choose a language, set the display type, and sign in to your Roku account or create a new one.
Step 5: Activate your Roku device
Next, you will need to activate your Roku device. You will be provided with a unique activation code on your TV screen. Open a web browser on your computer or smartphone and visit the Roku activation website. Enter the activation code and follow the instructions to link your Roku device to your Roku account.
Step 6: Customize your Roku home screen
Once your Roku device is activated, you can personalize your home screen. Add your favorite channels, rearrange the icons, and explore the Roku Channel Store to find new channels to install. You can also customize your theme and screensaver settings to suit your preferences.
That’s it! Your Roku device is now set up and ready to use with your non-smart TV. Use the Roku remote to navigate through the user-friendly interface, browse channels, and start streaming your favorite content.
Note: Depending on the specific model of your Roku device, the setup process may vary slightly. Always refer to the instructions provided with your device for the most accurate setup guidance.
Connecting Roku to Wi-Fi
To fully utilize your Roku device and enjoy streaming content on your non-smart TV, you will need to connect it to a Wi-Fi network. Follow these step-by-step instructions to connect your Roku device to Wi-Fi:
Step 1: Power on your Roku device and TV
Ensure that your Roku device is powered on and connected to your non-smart TV via the HDMI cable. Power on your TV and set it to the correct HDMI input where your Roku device is connected.
Step 2: Access the Settings menu
Using the Roku remote, navigate to the Roku home screen. Press the Home button to display the main menu. Select “Settings” from the list of options.
Step 3: Navigate to the Network settings
In the Settings menu, use the arrow buttons on the remote to scroll and select “Network”. Press the OK button to enter the Network settings.
Step 4: Choose your network connection type
In the Network settings, select either “Wireless” or “Wired” depending on the type of internet connection you have. For most users, “Wireless” is the preferred option.
Step 5: Select your Wi-Fi network
If you have chosen “Wireless” as your network connection type, Roku will scan for available Wi-Fi networks. Select your Wi-Fi network from the list of networks displayed on the screen. If your network is hidden, choose the “Scan Again to See All Networks” option.
Step 6: Enter your Wi-Fi password
If your Wi-Fi network is secured, you will be prompted to enter the Wi-Fi password. Use the on-screen keyboard to enter the password, making sure to select the appropriate characters using the arrow buttons. Once the password is entered, select “Connect” or “OK” to proceed.
Step 7: Wait for the connection to be established
Roku will now attempt to connect to your Wi-Fi network. This may take a few moments. Once the connection is established, you will see a confirmation message on the screen.
Step 8: Test the connection
After connecting to Wi-Fi, Roku will automatically perform a network connectivity test. This test ensures that your Roku device is properly connected to the internet. If the test is successful, you will be able to proceed with using your Roku device.
That’s it! You have successfully connected your Roku device to Wi-Fi. Now you can start enjoying a wide range of streaming content on your non-smart TV.
Note: If you encounter any issues during the Wi-Fi setup process, ensure that you have entered the correct Wi-Fi password and that your Wi-Fi network is functioning properly. If problems persist, consult the Roku support website for troubleshooting guidance.
Adding Channels to Roku
One of the key features of Roku is its vast selection of channels, offering a wide range of streaming content to suit every taste. To make the most out of your Roku device on your non-smart TV, here is a step-by-step guide on how to add channels:
Step 1: Access the Roku Channel Store
From the Roku home screen, use the remote to navigate to the Streaming Channels option. Press the OK button to enter the Roku Channel Store.
Step 2: Browse through available channels
In the Roku Channel Store, you can explore the wide variety of channels available. Browse through the featured, popular, or category sections to find channels that match your interests. You can also use the search function to look for specific channels by name.
Step 3: Select and add a channel
Once you have found a channel you want to add, highlight it and press the OK button on the remote. On the channel’s details page, you will see an option to “Add Channel.” Select this option to add the channel to your Roku device.
Step 4: Confirm the channel addition
After selecting “Add Channel,” Roku will display a confirmation message and may provide additional information about the channel. If you want to proceed, select “OK” or “Yes” to confirm the channel addition.
Step 5: Wait for the channel to install
Roku will now download and install the channel onto your device. The time required for installation may vary depending on the channel’s size and your internet connection speed. Once the installation is complete, you will see a notification on the screen.
Step 6: Repeat the process for more channels
To add more channels, simply repeat steps 2 to 5. Explore the Roku Channel Store to discover new channels and add them to your device. Remember, Roku offers a vast selection of channels, including popular streaming platforms like Netflix, Hulu, and Amazon Prime Video, as well as specialty channels focusing on specific genres or interests.
Step 7: Manage and organize your channels
After adding channels to your Roku device, you can manage and organize them to suit your preferences. On the Roku home screen, you can move channels around, create custom categories, and prioritize your favorite channels for easy access. Press the Home button on your remote, navigate to the channel you wish to move, press the Options button (*), and select “Move Channel” to rearrange the order.
By following these steps, you can easily add channels to your Roku device and access a vast array of streaming content on your non-smart TV. Whether you prefer movies, TV shows, sports, news, or documentaries, Roku offers a diverse range of channels to cater to your entertainment needs.
Navigating Through Roku Interface
Navigating through the Roku interface is a breeze, thanks to its user-friendly design and intuitive controls. Whether you are new to Roku or a seasoned user, understanding how to navigate the interface will enhance your streaming experience on your non-smart TV. Here’s a guide on how to navigate through the Roku interface:
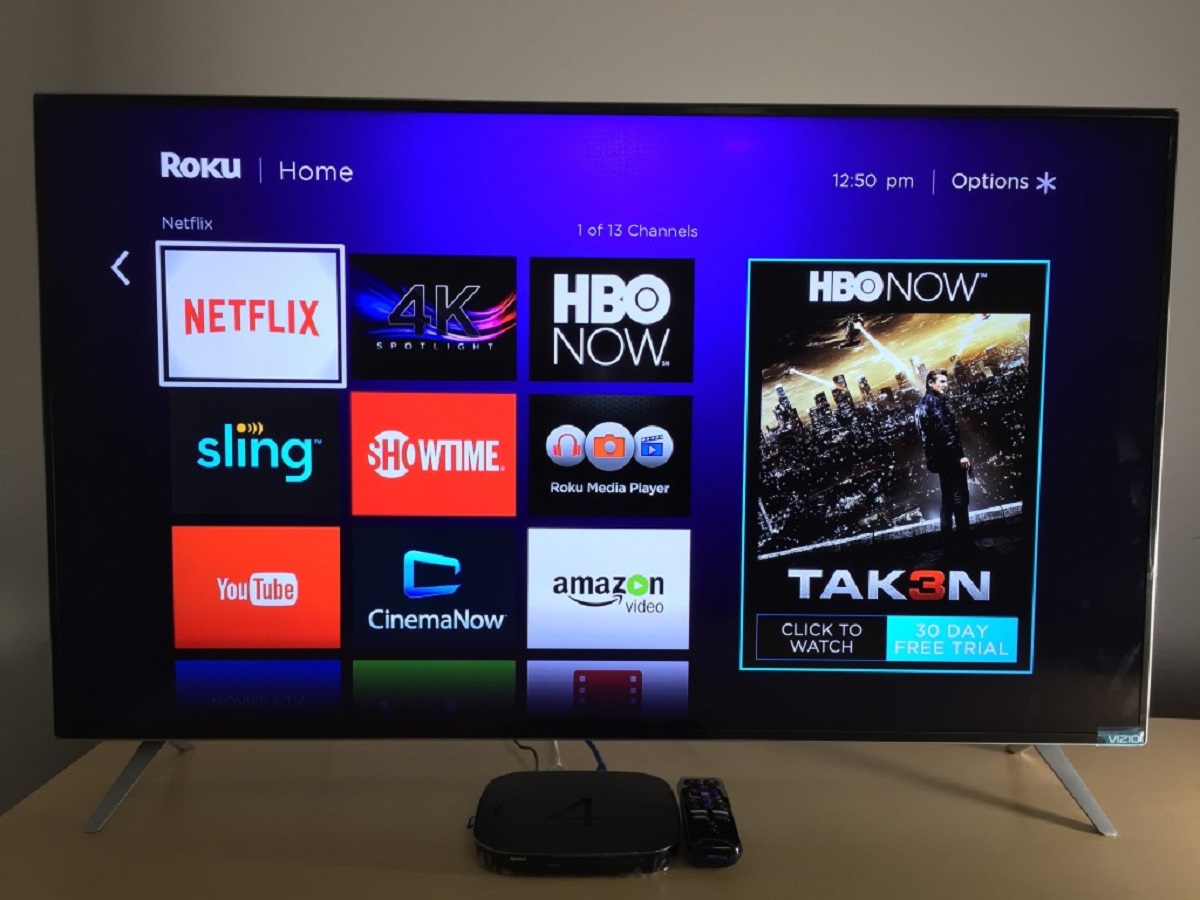
Home Screen:
When you power on your Roku device, you will be greeted by the Home screen. This is the main hub where you can access all your installed channels and settings. Use the arrow buttons on your Roku remote to navigate through the available options.
Main Menu:
To access the main menu on the Home screen, press the Home button on your Roku remote. This brings up a vertical menu on the left side of the screen. Use the up and down arrows on your remote to navigate through the different sections, such as Home, Streaming Channels, Search, My Feed, and Settings.
Streaming Channels:
In the main menu, select “Streaming Channels” to access the Roku Channel Store. This is where you can browse, search, and add new channels to your Roku device. Explore different categories and use the search function to find specific channels by name.
Featured Channels:
On the Home screen, you may find a section dedicated to showcasing Featured Channels. This is a great way to discover new and popular channels. Scroll horizontally to browse through the featured content, and press OK to select a channel for further exploration.
My Channels:
Located on the Home screen, the My Channels section displays all the channels that you have added to your Roku device. Use the left and right arrow buttons to scroll through the list and highlight a channel to launch it.
Search:
If you have a specific channel, movie, TV show, actor, or director in mind, the Search function is a handy tool to find what you’re looking for. From the Home screen or main menu, select “Search” and use the on-screen keyboard to enter your search query. Roku will display relevant results across various channels.
Settings:
To access the Settings menu, navigate to the main menu and select “Settings.” In this menu, you can adjust various settings related to your Roku device, network, display, audio, and more. Use the arrow buttons to navigate through different options and press OK to enter a specific setting.
Back and Return:
To go back to the previous screen or exit a channel, press the Back button on your Roku remote. This allows you to navigate through menus and channels without having to start from the beginning.
By mastering the art of navigating through the Roku interface, you can seamlessly explore channels, search for content, and customize settings on your non-smart TV. The intuitive controls and user-friendly design ensure a smooth and enjoyable streaming experience.
Troubleshooting Common Roku Issues
While Roku devices are generally reliable and easy to use, occasional issues may arise that can hinder your streaming experience. Here are some common Roku issues and troubleshooting steps to resolve them:
1. Connection Problems:
If you are experiencing issues with your Roku device connecting to Wi-Fi, check that your Wi-Fi network is working properly and that the Roku device is within range. Restart your Roku device and router, and ensure that you have entered the correct Wi-Fi password. If the issue continues, try connecting via Ethernet or contacting your internet service provider for assistance.
2. Slow Streaming or Buffering:
If you are encountering slow streaming or constant buffering, it may be due to a poor internet connection. Check your Wi-Fi signal strength and move your Roku device closer to the router if needed. You can also try lowering the video quality in the Roku settings to reduce the strain on your internet connection. If the problem persists, consider upgrading your internet plan or contacting your ISP for further assistance.
3. Channel Activation Issues:
If you are having trouble activating a specific channel on your Roku device, ensure that you have entered the correct activation code from the channel provider. Double-check that your Roku device is linked to your Roku account, as some channels require this for activation. If the issue persists, reach out to the channel provider or Roku support for further guidance.
4. Remote Control Problems:
If your Roku remote is unresponsive or not working properly, try replacing the batteries or resetting the remote by removing the batteries, pressing and holding the pairing button for a few seconds, and then reinserting the batteries. If that doesn’t work, try pairing the remote with the Roku device again. In some cases, a factory reset of the Roku device may be necessary to resolve remote control issues.
5. Audio or Video Issues:
If you are experiencing audio or video problems on your Roku device, such as distorted sound or no picture, ensure that all cables are properly connected. Check the audio and video settings on your Roku device and TV to ensure they are compatible. Adjust the display settings to match the capabilities of your TV. If the problem persists, try using different HDMI cables or consult the Roku support website for specific troubleshooting steps.
6. Software Update Problems:
If your Roku device fails to update or encounters errors during the update process, restart your Roku device and try again. Ensure that your Roku device is connected to a reliable internet connection during the update. If the issue persists, perform a factory reset of the Roku device or contact Roku support for further assistance.
When troubleshooting Roku issues, it’s always a good idea to consult the Roku support website for specific troubleshooting guides and resources. If all else fails, contacting Roku support directly can provide you with the necessary assistance to resolve any persistent issues and ensure a smooth streaming experience on your non-smart TV.
Conclusion
Turning your non-smart TV into a smart TV using Roku opens up a world of streaming possibilities. With its user-friendly interface, vast selection of channels, and convenient setup process, Roku provides an excellent solution for accessing streaming content on your non-smart TV.
In this article, we explored what Roku is and how it can benefit non-smart TV owners. We learned that Roku is a compact streaming device that allows you to stream a wide variety of content, from movies and TV shows to music and games. The benefits of using Roku on a non-smart TV include convenience, affordability, and access to a vast selection of streaming options. Furthermore, we provided a step-by-step guide on setting up Roku, including connecting it to Wi-Fi, adding channels, and navigating the user-friendly interface.
While using Roku on a non-smart TV offers numerous advantages, it’s important to be aware of common issues that may arise. We discussed troubleshooting tips for connection problems, slow streaming, channel activation issues, remote control problems, audio or video issues, and software update problems. By following these troubleshooting steps and consulting the Roku support website, you can overcome any obstacles and enjoy a seamless streaming experience.
In conclusion, Roku is an excellent choice for non-smart TV owners who want to access a wide range of streaming content. With its easy setup, vast channel selection, and user-friendly interface, Roku brings the convenience and entertainment of a smart TV to any non-smart TV. Start enjoying your favorite movies, TV shows, and more on the big screen by setting up Roku on your non-smart TV today!