Connecting a Benq Projector to a Laptop
Connecting a Benq projector to a laptop allows you to enjoy a larger display for presentations, movies, or gaming. Follow these step-by-step instructions to easily connect your Benq projector to a laptop:
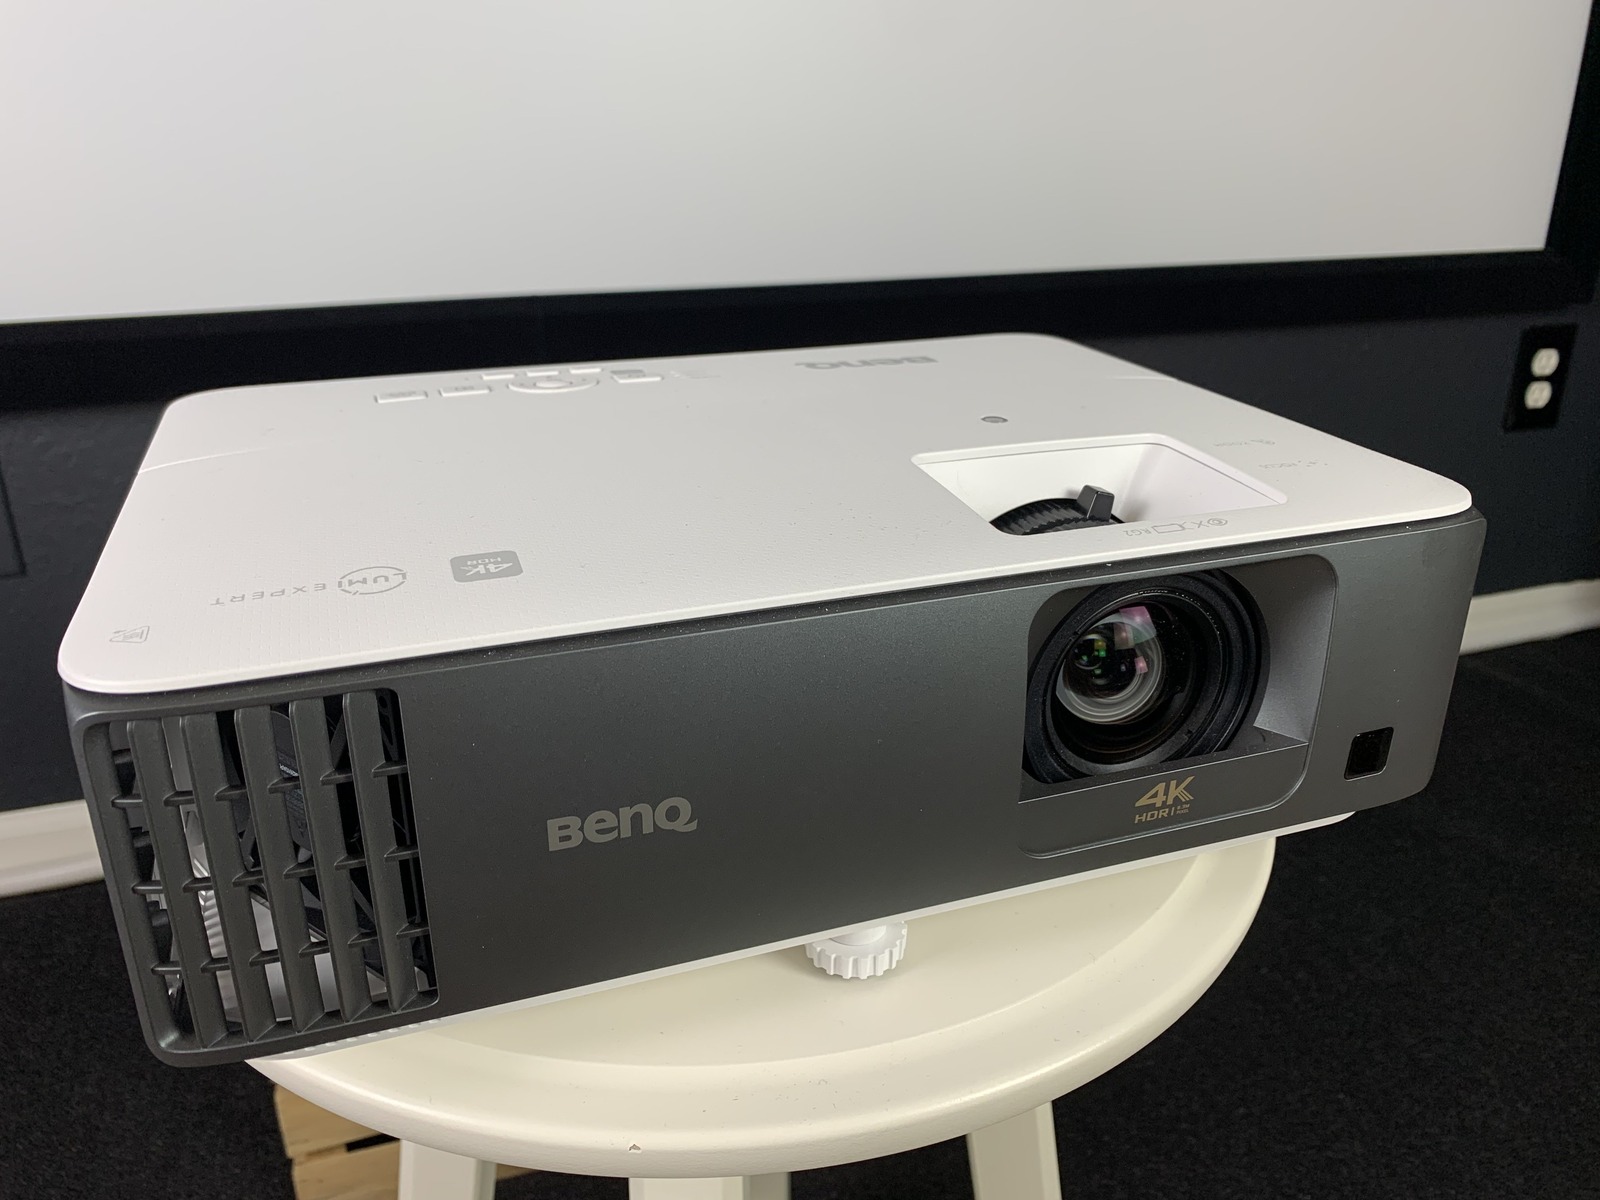
- Check the ports: Start by identifying the available ports on both your Benq projector and laptop. Most projectors and laptops feature HDMI, VGA, or DisplayPort connections.
- Choose the appropriate cable: Depending on the ports available on your laptop and projector, select the appropriate cable to connect them. If both devices have HDMI ports, use an HDMI cable for the best quality. If your laptop has a VGA port, use a VGA cable, and make sure to also connect the audio if required.
- Power on the devices: Connect your Benq projector to a power source and turn it on. Similarly, power on your laptop and wait for it to boot up.
- Connect the cable: Plug one end of the chosen cable into the corresponding port on your laptop and the other end into the appropriate port on the projector.
- Configure display settings: On your laptop, go to the display settings. On Windows, right-click on the desktop and select “Display settings,” while on Mac, go to “System Preferences” and click on “Displays.” Select the appropriate display mode, such as “Duplicate” to mirror the laptop screen or “Extend” to use the projector as an additional display.
- Adjust display resolution: It’s important to ensure that the display resolution of your laptop matches the native resolution of the Benq projector. Adjust the display resolution in the display settings to achieve the best visual quality.
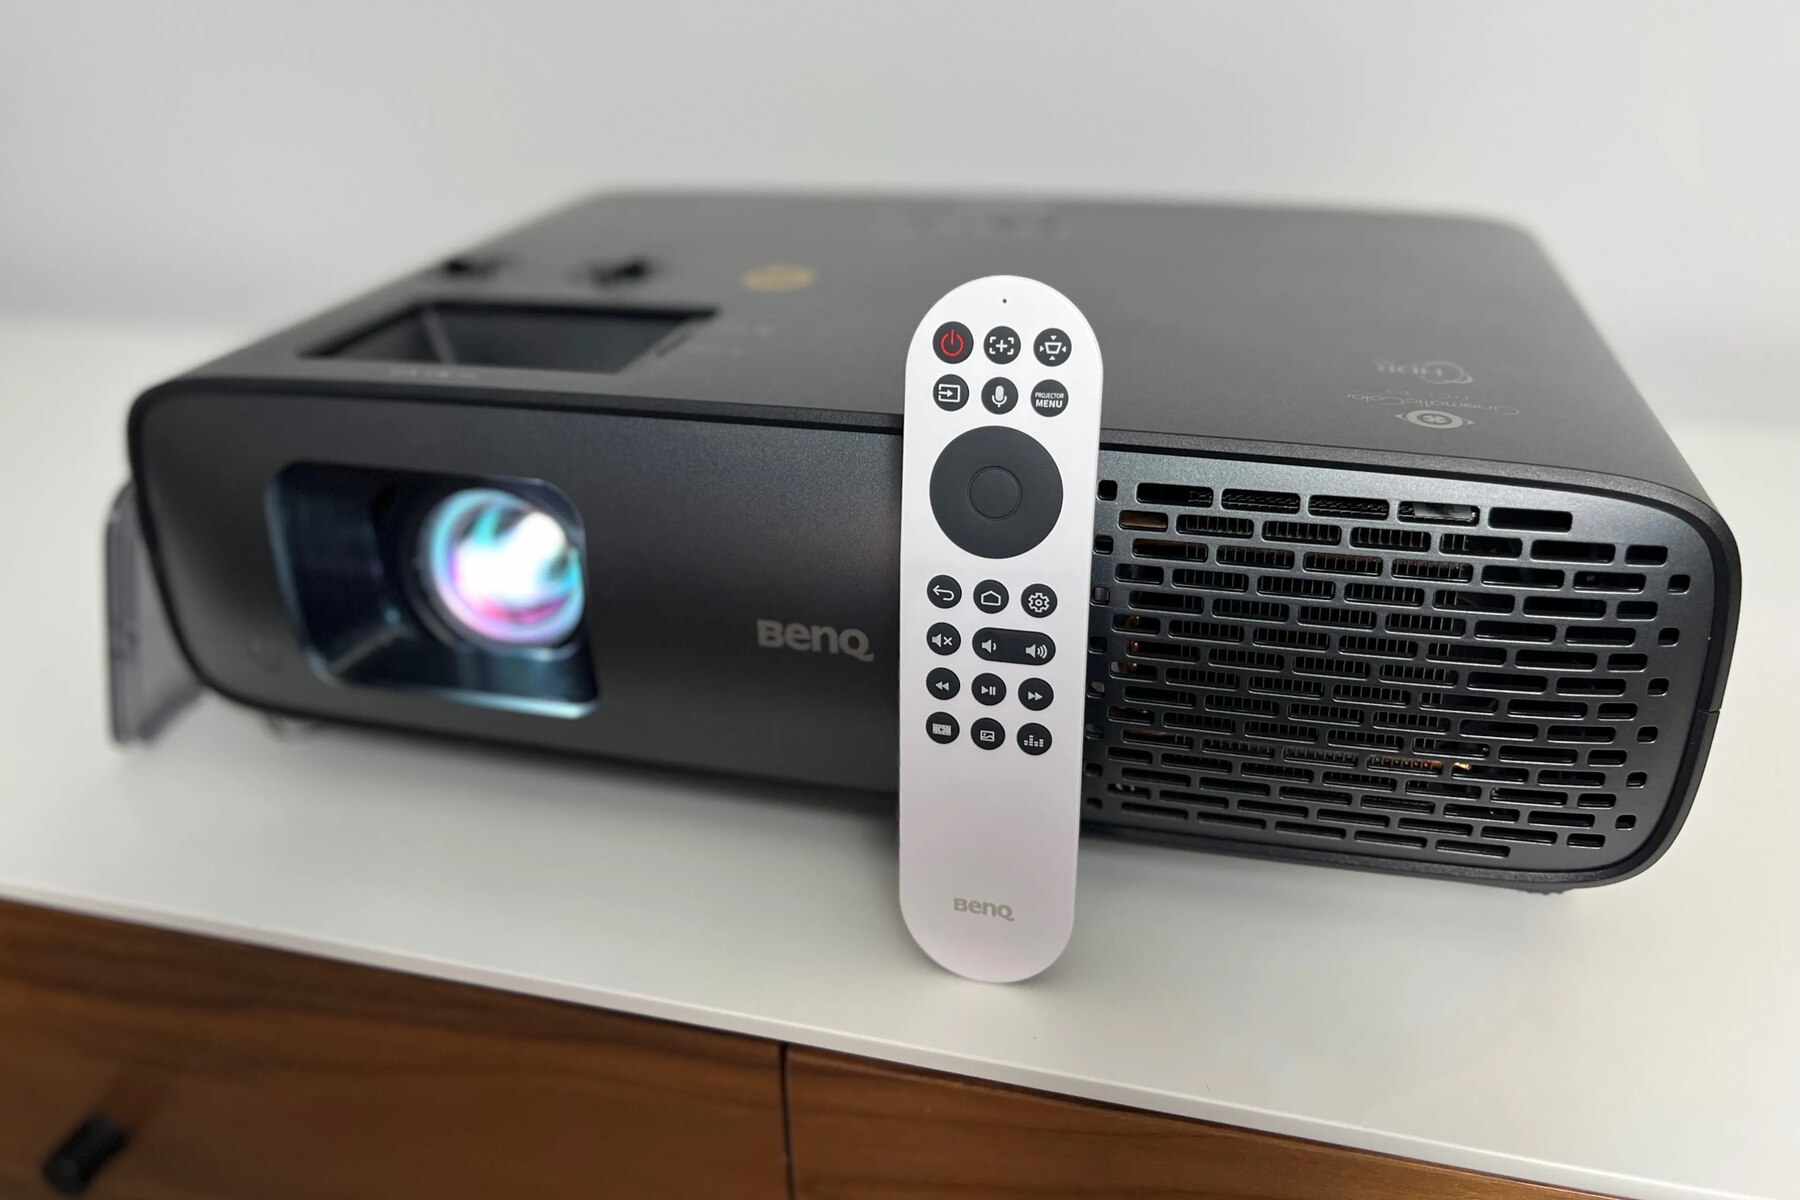
- Test the connection: Play a test video or open a document to verify that the laptop screen is being projected onto the Benq projector. If necessary, use the projector’s remote control to adjust focus, zoom, or other image settings for optimal viewing.
By following these steps, you can easily connect your Benq projector to a laptop and enjoy a larger, immersive display for your multimedia needs. Whether you’re giving a presentation, watching a movie, or playing games, the Benq projector provides a fantastic visual experience.
Connecting a Benq Projector to a Desktop Computer
Connecting a Benq projector to a desktop computer can expand your visual experience and give you a larger display for presentations, videos, or gaming. Here is a simple step-by-step guide to help you connect your Benq projector to a desktop computer:
- Identify the available ports: Check the ports on both your Benq projector and desktop computer. Most projectors and computers have HDMI, VGA, or DisplayPort connections.
- Select the appropriate cable: Based on the available ports, choose the appropriate cable to connect your projector and desktop computer. For HDMI ports, use an HDMI cable for the best quality. If your computer has a VGA port, use a VGA cable.
- Power on the devices: Connect your Benq projector to a power source and turn it on. Make sure your desktop computer is powered on as well.
- Connect the cable: Plug one end of the cable into the corresponding port on your desktop computer and the other end into the appropriate port on the projector.
- Adjust display settings: Open the display settings on your computer. On Windows, right-click on the desktop, select “Display settings,” and choose the appropriate display mode. On Mac, go to “System Preferences,” click on “Displays,” and configure the display settings.
- Set the display resolution: Ensure that the display resolution of your computer matches the native resolution of the Benq projector. Adjust the display settings to achieve the desired visual quality.
- Test the connection: Play a video or open a document to confirm that the desktop computer screen is being projected onto the Benq projector. Use the projector’s remote control to adjust image settings if needed.
Following these steps will allow you to successfully connect your Benq projector to a desktop computer. Whether you’re giving a presentation, watching movies, or playing games, the Benq projector will provide an immersive and captivating visual experience on the big screen.
Connecting a Benq Projector to a Smartphone or Tablet
Connecting your smartphone or tablet to a Benq projector can transform your portable device into a larger screen for videos, presentations, or gaming. Here’s a step-by-step guide to help you connect your Benq projector to a smartphone or tablet:
- Check the available ports: Determine the ports available on both your Benq projector and mobile device. Most projectors support HDMI, VGA, or USB connections, while smartphones and tablets typically have USB-C or micro HDMI ports.
- Select the appropriate adapter or cable: Based on the available ports, choose the appropriate adapter or cable to connect your mobile device and the projector. For USB-C ports, use a USB-C to HDMI adapter, and for micro HDMI ports, use a micro HDMI to HDMI cable.
- Power on the devices: Plug in your Benq projector to a power source and turn it on. Ensure that your smartphone or tablet is charged and powered on.
- Connect the adapter or cable: Connect one end of the chosen adapter or cable to the corresponding port on your mobile device and the other end to the appropriate port on the projector.
- Switch the projector to the correct input source: Use the projector’s remote control or menu options to select the input source that corresponds to the port you connected your mobile device to (e.g., HDMI or USB).
- Adjust the display settings on your mobile device: Open the display settings on your smartphone or tablet and choose the appropriate display mode, such as screen mirroring or extended display.
- Start projecting: With the connection established and the display settings configured, you can now start projecting content from your smartphone or tablet onto the Benq projector. Play videos, run presentations, or enjoy gaming on the big screen.
Connecting your smartphone or tablet to a Benq projector opens up a world of possibilities for sharing and enjoying multimedia content on a larger scale. Whether you’re watching movies, giving presentations, or playing games, the Benq projector provides a captivating visual experience with your portable device.
Connecting a Benq Projector to a Gaming Console
Connecting a Benq projector to a gaming console can take your gaming experience to a whole new level by providing a larger, more immersive display. Follow these steps to easily connect your gaming console to a Benq projector:
- Check the available ports: Examine the ports on both your gaming console and the Benq projector. Most gaming consoles have HDMI output ports, which are compatible with the HDMI input of the projector.
- Select the appropriate cable: Choose an HDMI cable that matches the HDMI ports on both your gaming console and the Benq projector. Ensure the cable is long enough to reach between the two devices.
- Power on the devices: Plug in your Benq projector to a power source and turn it on. Power on your gaming console as well.
- Connect the cable: Connect one end of the HDMI cable to the HDMI output port of your gaming console and the other end to the HDMI input port of the Benq projector.
- Switch the projector to the correct input source: Use the projector’s remote control or menu options to select the HDMI input source that corresponds to the port you connected your gaming console to.
- Configure the console output settings: On your gaming console, navigate to the display settings and configure the output resolution and aspect ratio to match the capabilities of the Benq projector.
- Start gaming: Once the connection is established and the console output settings are configured, you can start gaming on the big screen provided by the Benq projector. Enjoy an immersive gaming experience like never before.
By following these steps, you can easily connect your gaming console to a Benq projector and enjoy your favorite games on a large projection screen. Immerse yourself in the gaming world and feel the excitement as you adventure through virtual realms.
Connecting a Benq Projector to a DVD or Blu-ray Player
Connecting a Benq projector to a DVD or Blu-ray player allows you to enjoy your favorite movies on a larger, cinematic screen. Follow these steps to easily connect your DVD or Blu-ray player to a Benq projector:
- Check the available ports: Take a look at the ports on both your DVD or Blu-ray player and the Benq projector. Most players have HDMI output ports, which are compatible with the HDMI input of the projector.
- Select the appropriate cable: Choose an HDMI cable that matches the HDMI ports on both your DVD or Blu-ray player and the Benq projector. Make sure the cable is long enough to reach between the two devices.
- Power on the devices: Plug your Benq projector into a power source and turn it on. Power on your DVD or Blu-ray player as well.
- Connect the cable: Connect one end of the HDMI cable to the HDMI output port of your DVD or Blu-ray player and the other end to the HDMI input port of the Benq projector.
- Switch the projector to the correct input source: Use the projector’s remote control or menu options to select the HDMI input source that corresponds to the port you connected your DVD or Blu-ray player to.
- Insert the DVD or Blu-ray disc: Insert the DVD or Blu-ray disc into your player and start playing it.
- Adjust the projector settings if necessary: Use the projector’s remote control to adjust brightness, contrast, and other display settings to optimize the viewing experience for movies.
That’s it! Following these steps will allow you to connect your DVD or Blu-ray player to a Benq projector and enjoy your favorite movies on the big screen. Sit back, relax, and immerse yourself in a truly cinematic experience from the comfort of your own home.
Connecting a Benq Projector to a Cable or Satellite Box
Connecting a Benq projector to a cable or satellite box allows you to enjoy your favorite TV shows and channels on a larger screen. Follow these simple steps to connect your cable or satellite box to a Benq projector:
- Check the available ports: Take a look at the ports on both your cable or satellite box and the Benq projector. Most boxes have HDMI output ports, which are compatible with the HDMI input of the projector.
- Select the appropriate cable: Choose an HDMI cable that matches the HDMI ports on both your cable or satellite box and the Benq projector. Ensure the cable is long enough to reach between the two devices.
- Power on the devices: Plug your Benq projector into a power source and turn it on. Power on your cable or satellite box as well.
- Connect the cable: Connect one end of the HDMI cable to the HDMI output port of your cable or satellite box and the other end to the HDMI input port of the Benq projector.
- Switch the projector to the correct input source: Use the projector’s remote control or menu options to select the HDMI input source that corresponds to the port you connected your cable or satellite box to.
- Turn on the cable or satellite box: Use the remote control for your cable or satellite box to power it on and start watching your favorite TV channels.
That’s it! By following these steps, you can easily connect your cable or satellite box to a Benq projector and enjoy television shows on a larger display. Whether you’re tuning in to sports events, catching up on your favorite series, or enjoying live TV, the Benq projector will provide an immersive viewing experience.
Connecting a Benq Projector to a Sound System
Connecting a Benq projector to a sound system can greatly enhance your audio experience when watching movies, playing games, or giving presentations. Here are the steps to connect your Benq projector to a sound system:
- Check the audio ports: Identify the available audio ports on both your Benq projector and the sound system. Projectors typically have audio output ports such as HDMI ARC, 3.5mm headphone jack, or optical audio.
- Select the appropriate cable: Based on the available audio ports, choose the corresponding cable to connect the projector and the sound system. For HDMI ARC, use an HDMI cable that supports audio return channel functionality. Alternatively, for 3.5mm or optical audio, use the respective cables.
- Power on the devices: Ensure that both the Benq projector and the sound system are connected to power sources and turned on.
- Connect the audio cable: Plug one end of the audio cable into the audio output port of the Benq projector and the other end into the corresponding audio input port of the sound system.
- Adjust audio settings: On the sound system, select the appropriate audio input source that corresponds to the port you connected the projector to. This may involve adjusting settings on the sound system’s remote control or interface.
- Test the audio connection: Play a video or any audio content on the projector and ensure that the sound is being output through the connected sound system. Adjust the volume on both the projector and the sound system to achieve the desired sound level.
By following these steps, you can connect your Benq projector to a sound system and enjoy immersive audio to accompany your visual experience. Whether it’s the booming sound effects in a movie or the clear audio of a presentation, the combination of the Benq projector and a sound system will elevate your multimedia experience.
Troubleshooting common connectivity issues with Benq projectors
While connecting a Benq projector to various devices is usually straightforward, you may encounter some common connectivity issues. Here are some troubleshooting steps to help resolve these issues:
- No signal from the source device: Ensure that the source device (e.g., laptop, gaming console) is powered on and connected properly to the Benq projector. Double-check the cables and ports for any loose connections.
- Incorrect input source selected: Verify that the correct input source is selected on the projector. Use the remote control or the on-screen menu to switch to the appropriate input (e.g., HDMI, VGA, USB).
- Display resolution mismatch: If the image appears distorted or doesn’t fit the screen, check the display resolution settings on both the source device and the projector. Make sure they are set to compatible resolutions.
- No sound output: If you’re not getting any sound through the projector’s speakers or connected audio system, ensure that the audio cables are connected correctly. Adjust the audio settings on both the projector and the audio device to ensure they are synchronized.
- Incompatible cable or adapter: Verify that the cables or adapters being used are compatible with both the source device and the Benq projector. Some older devices may require specific adapters or converters to establish a connection.
- Unresponsive remote control: If the projector’s remote control is not working, replace the batteries and ensure they are inserted correctly. If the issue persists, try using the control panel buttons on the projector itself.
- Power supply issues: If the projector is not turning on, check the power cable and ensure it is securely plugged into a working power outlet. If the projector is still unresponsive, try using a different power cable or contact technical support.
- Software and firmware updates: Check for any available software or firmware updates for your Benq projector. These updates can often address connectivity issues and improve overall performance.
By following these troubleshooting steps, you can resolve common connectivity issues with your Benq projector and ensure a smooth and seamless multimedia experience. If the problem persists, consult the user manual or reach out to Benq’s customer support for further assistance.


