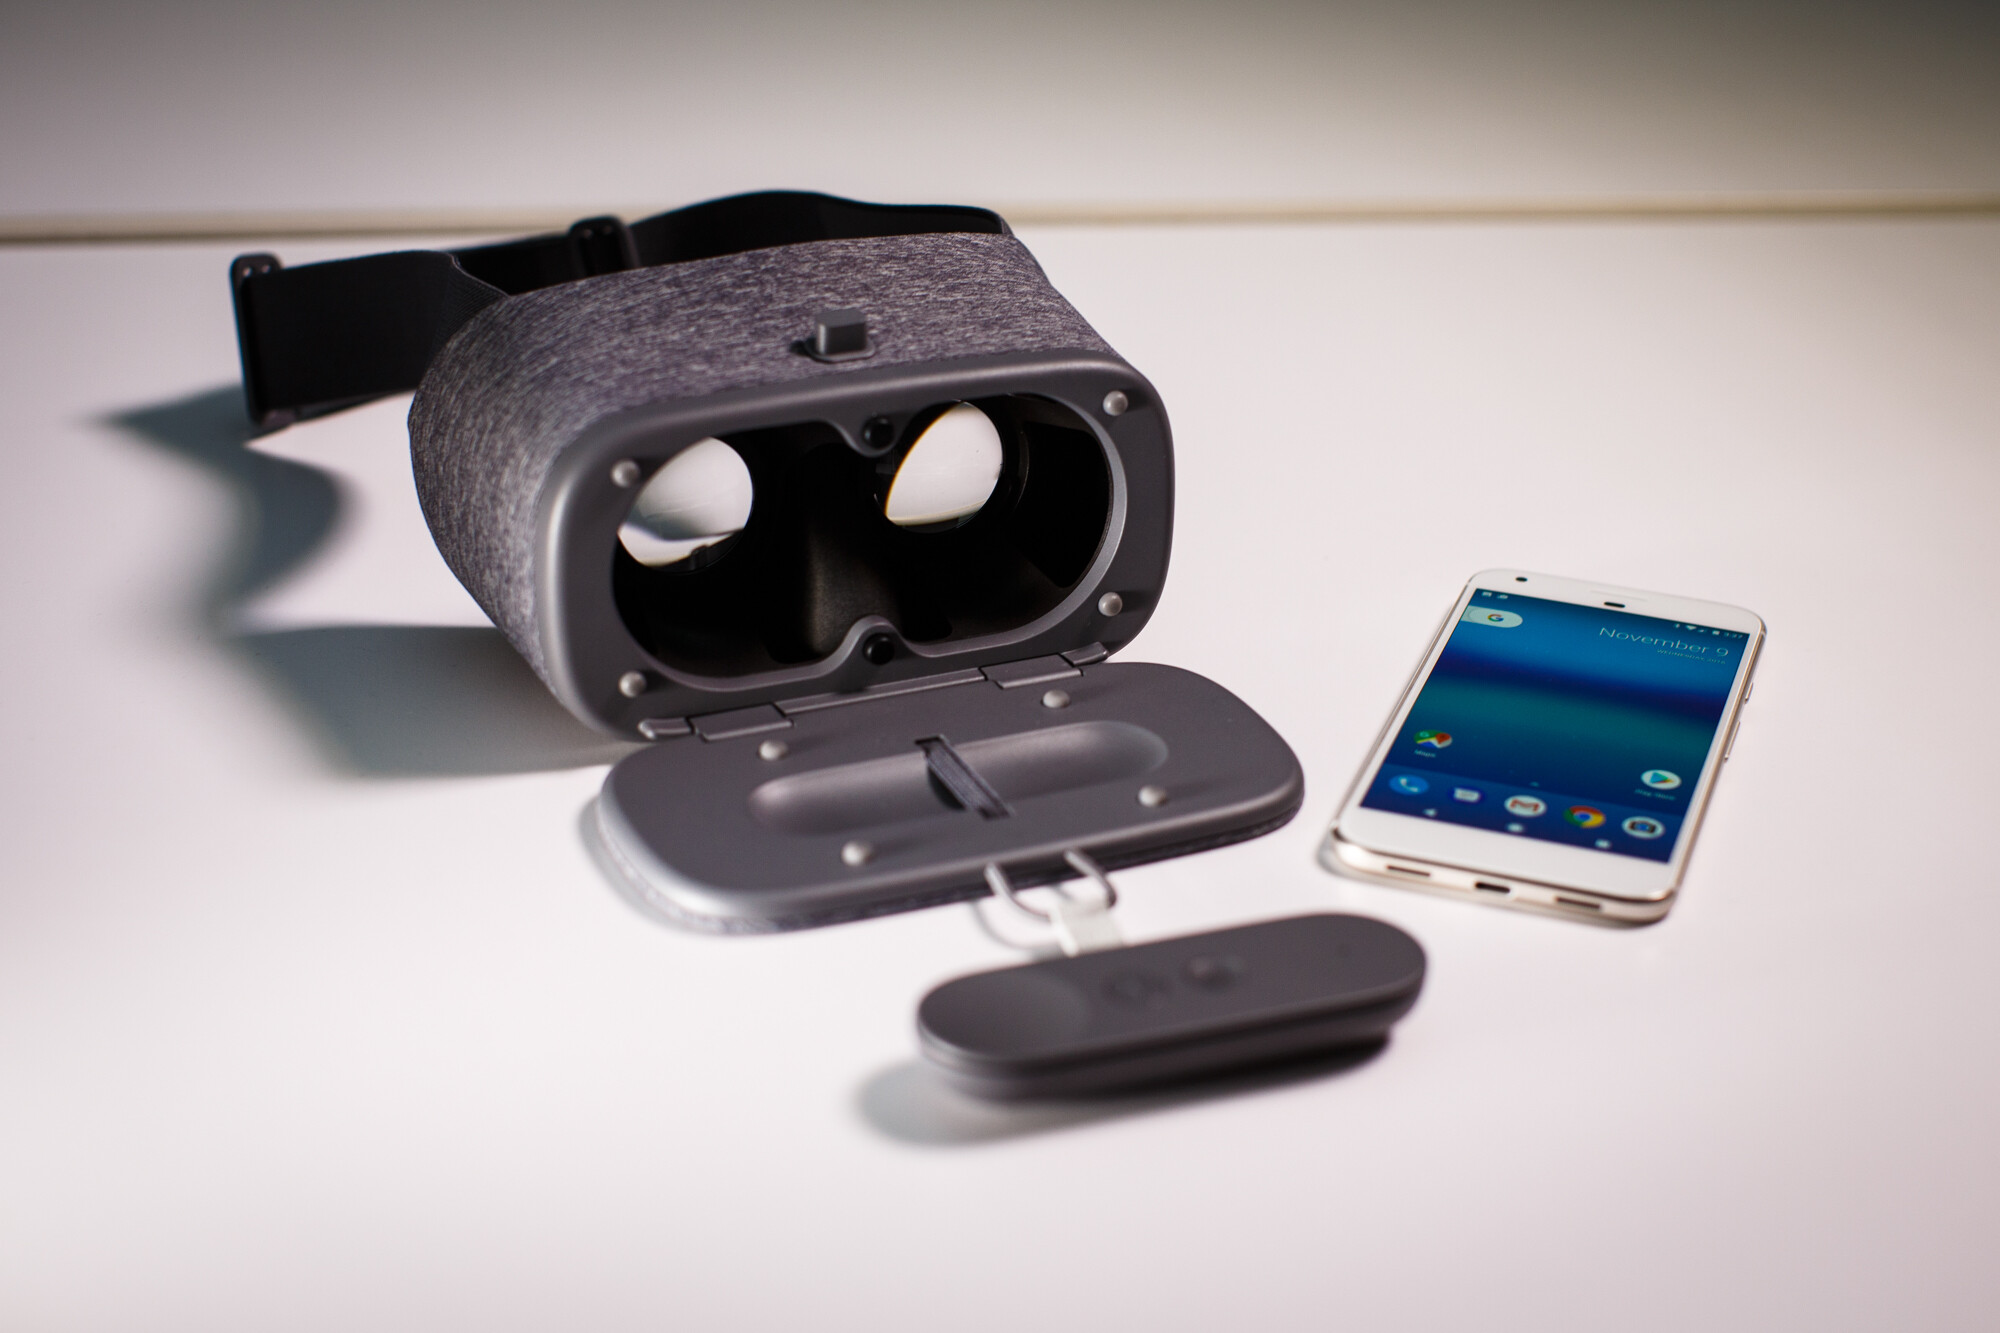
To use phone as VR headset, you need just three things: a compatible smartphone, a low-cost viewer like Google Cardboard, and a VR app from your app store. This turns your everyday device into a portable virtual reality screen for casual gaming and 360-degree videos, without spending hundreds on a dedicated headset.
What you need to use your phone as a VR headset
Before you start, gather these essential items. The core requirement is a smartphone running Android 4.1+ or iOS 8.0+, which covers virtually every phone made in the last decade. You'll also need a VR viewer, Google Cardboard is the classic budget option, but any compatible holder works. Finally, install a VR app like Google Cardboard's official app or any 360-degree video player. Optional but recommended: a pair of headphones for spatial audio and a clean, open space to sit or stand. If you need to step away from VR to handle a missed call, you can set up visual voicemail on Android to read transcripts without removing your headset.
Step-by-step setup: turning your phone into a VR headset
Follow this exact sequence to get your phone working with a viewer. First, download the official Google Cardboard app from the App Store or Google Play. Next, scan the QR code printed on your viewer's cardboard or manual, this pairs the app with your specific lens configuration. Then, adjust your phone settings: enable airplane mode to block notifications, and disable automatic screen rotation to prevent orientation glitches. Finally, open the front flap of your viewer and insert your phone with the screen facing inward, aligning the screen's center with the lenses. Close the flap and secure any straps.
Pairing with Google Cardboard's QR code
The QR code step is critical, it tells the app the exact distance and curvature of your viewer's lenses.
How to find and install VR apps on your phone
Open your phone's app store, the App Store for iPhone or Google Play for Android. Search terms like "VR," "virtual reality," or "360 video." Look for apps with high ratings and clear VR compatibility notes. Before installing, verify the app supports your operating system version (Android 4.1+ or iOS 8.0+). Tap "Install" and wait for the download to finish. Once installed, launch the app and grant any camera or motion permissions it requests.
Adjusting your phone and headset for the clearest VR view
Physical alignment makes or breaks the experience. Start by aligning the phone's screen dead-center with the viewer's lenses, a misaligned screen causes blurriness. If your viewer has adjustable lenses, slide them to match your eye distance (pupillary distance). Secure the head straps so the device sits snugly but not tight against your face. Clean both the phone screen and the lenses with a microfiber cloth before every use; fingerprints are the #1 cause of foggy visuals.
Securing the phone in the viewer
Most Cardboard-style viewers use a simple flap or slot. Ensure the phone doesn't shift during head movement, if it wobbles, add a thin rubber band or use the viewer's built-in foam padding.
What to expect from smartphone VR (and what not to)
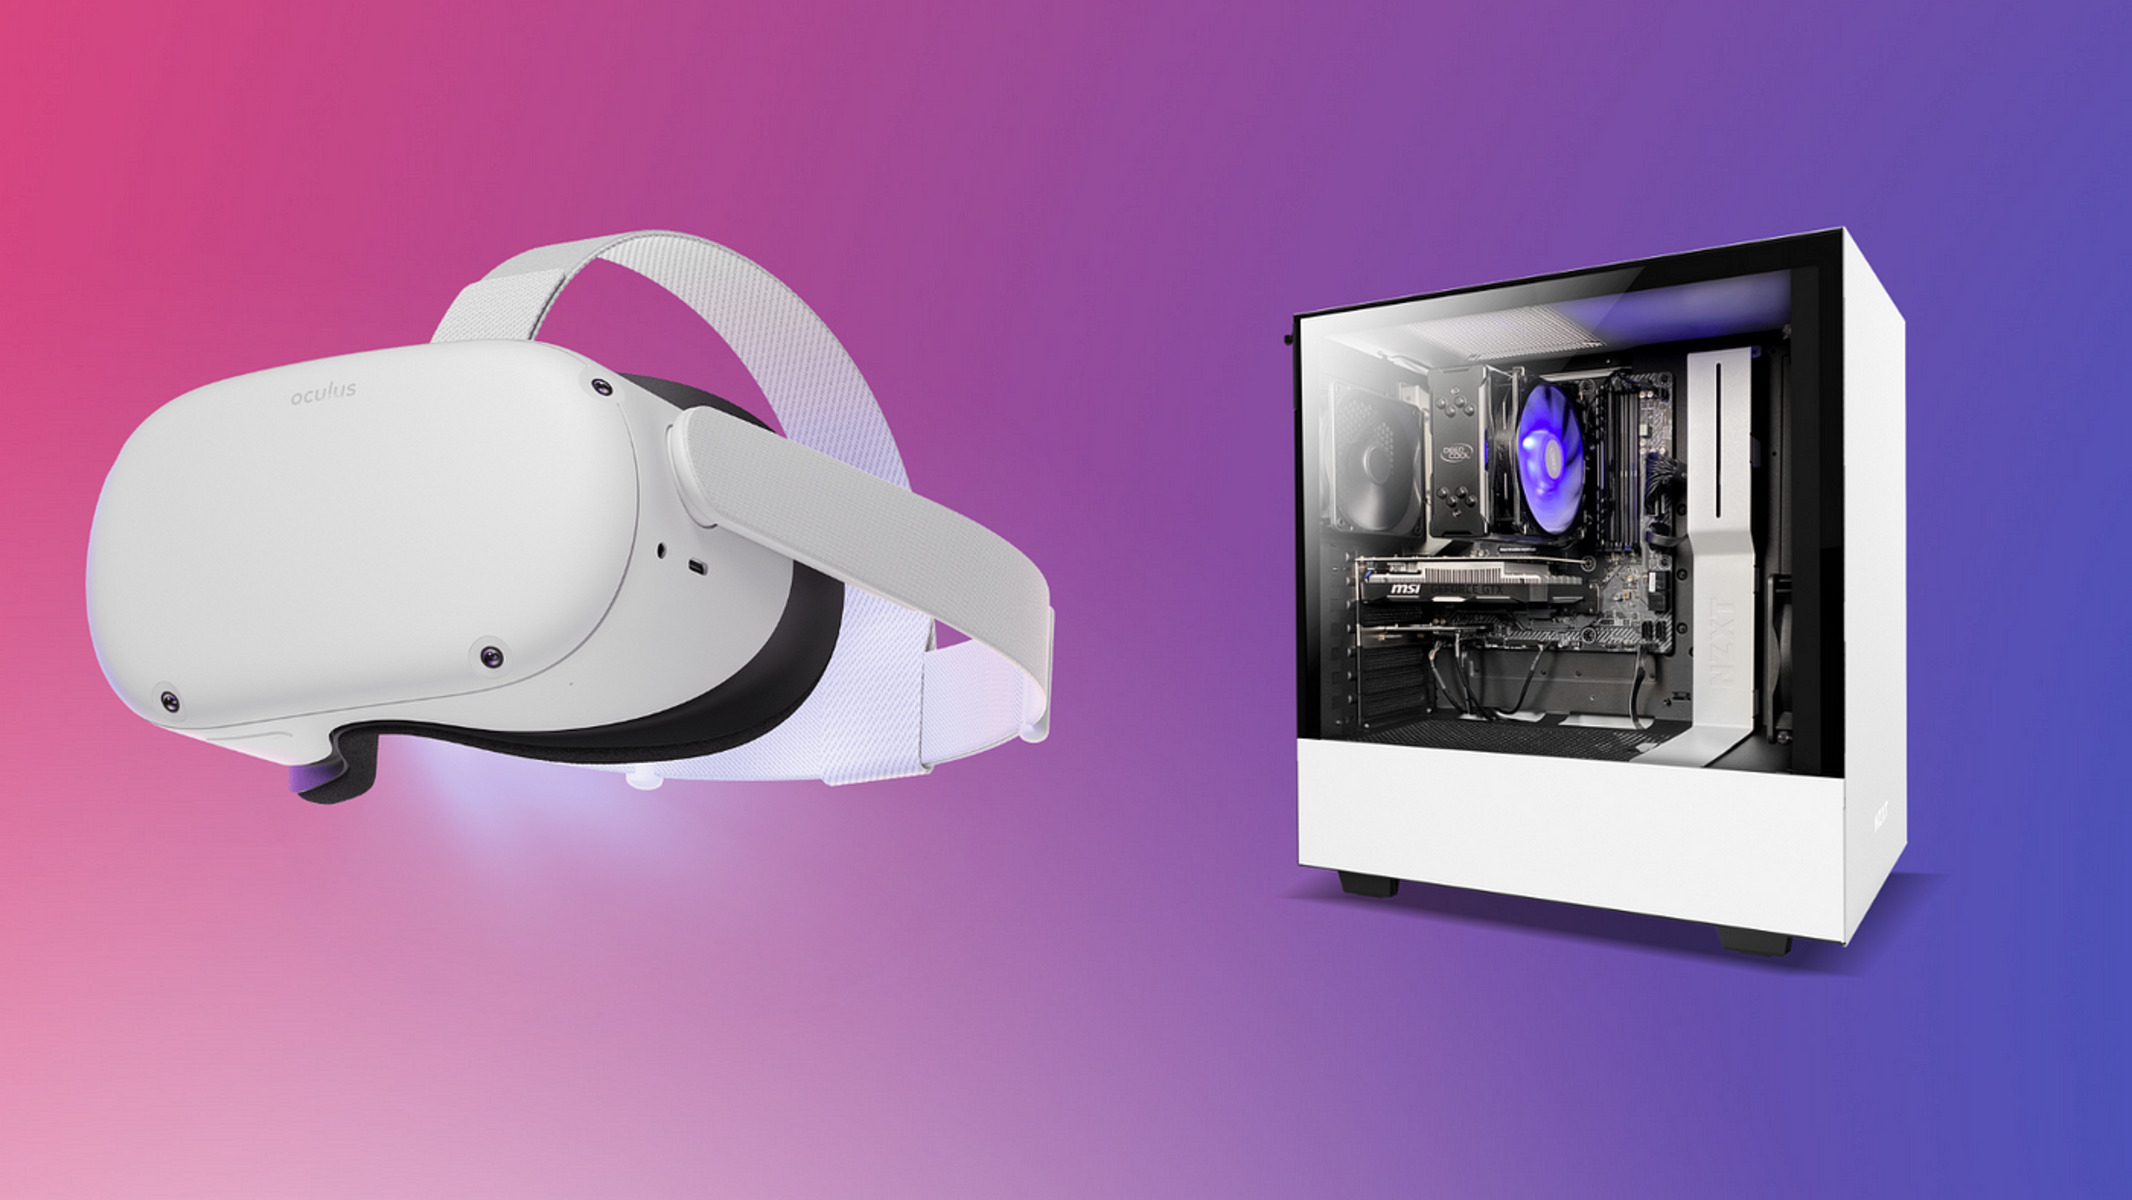
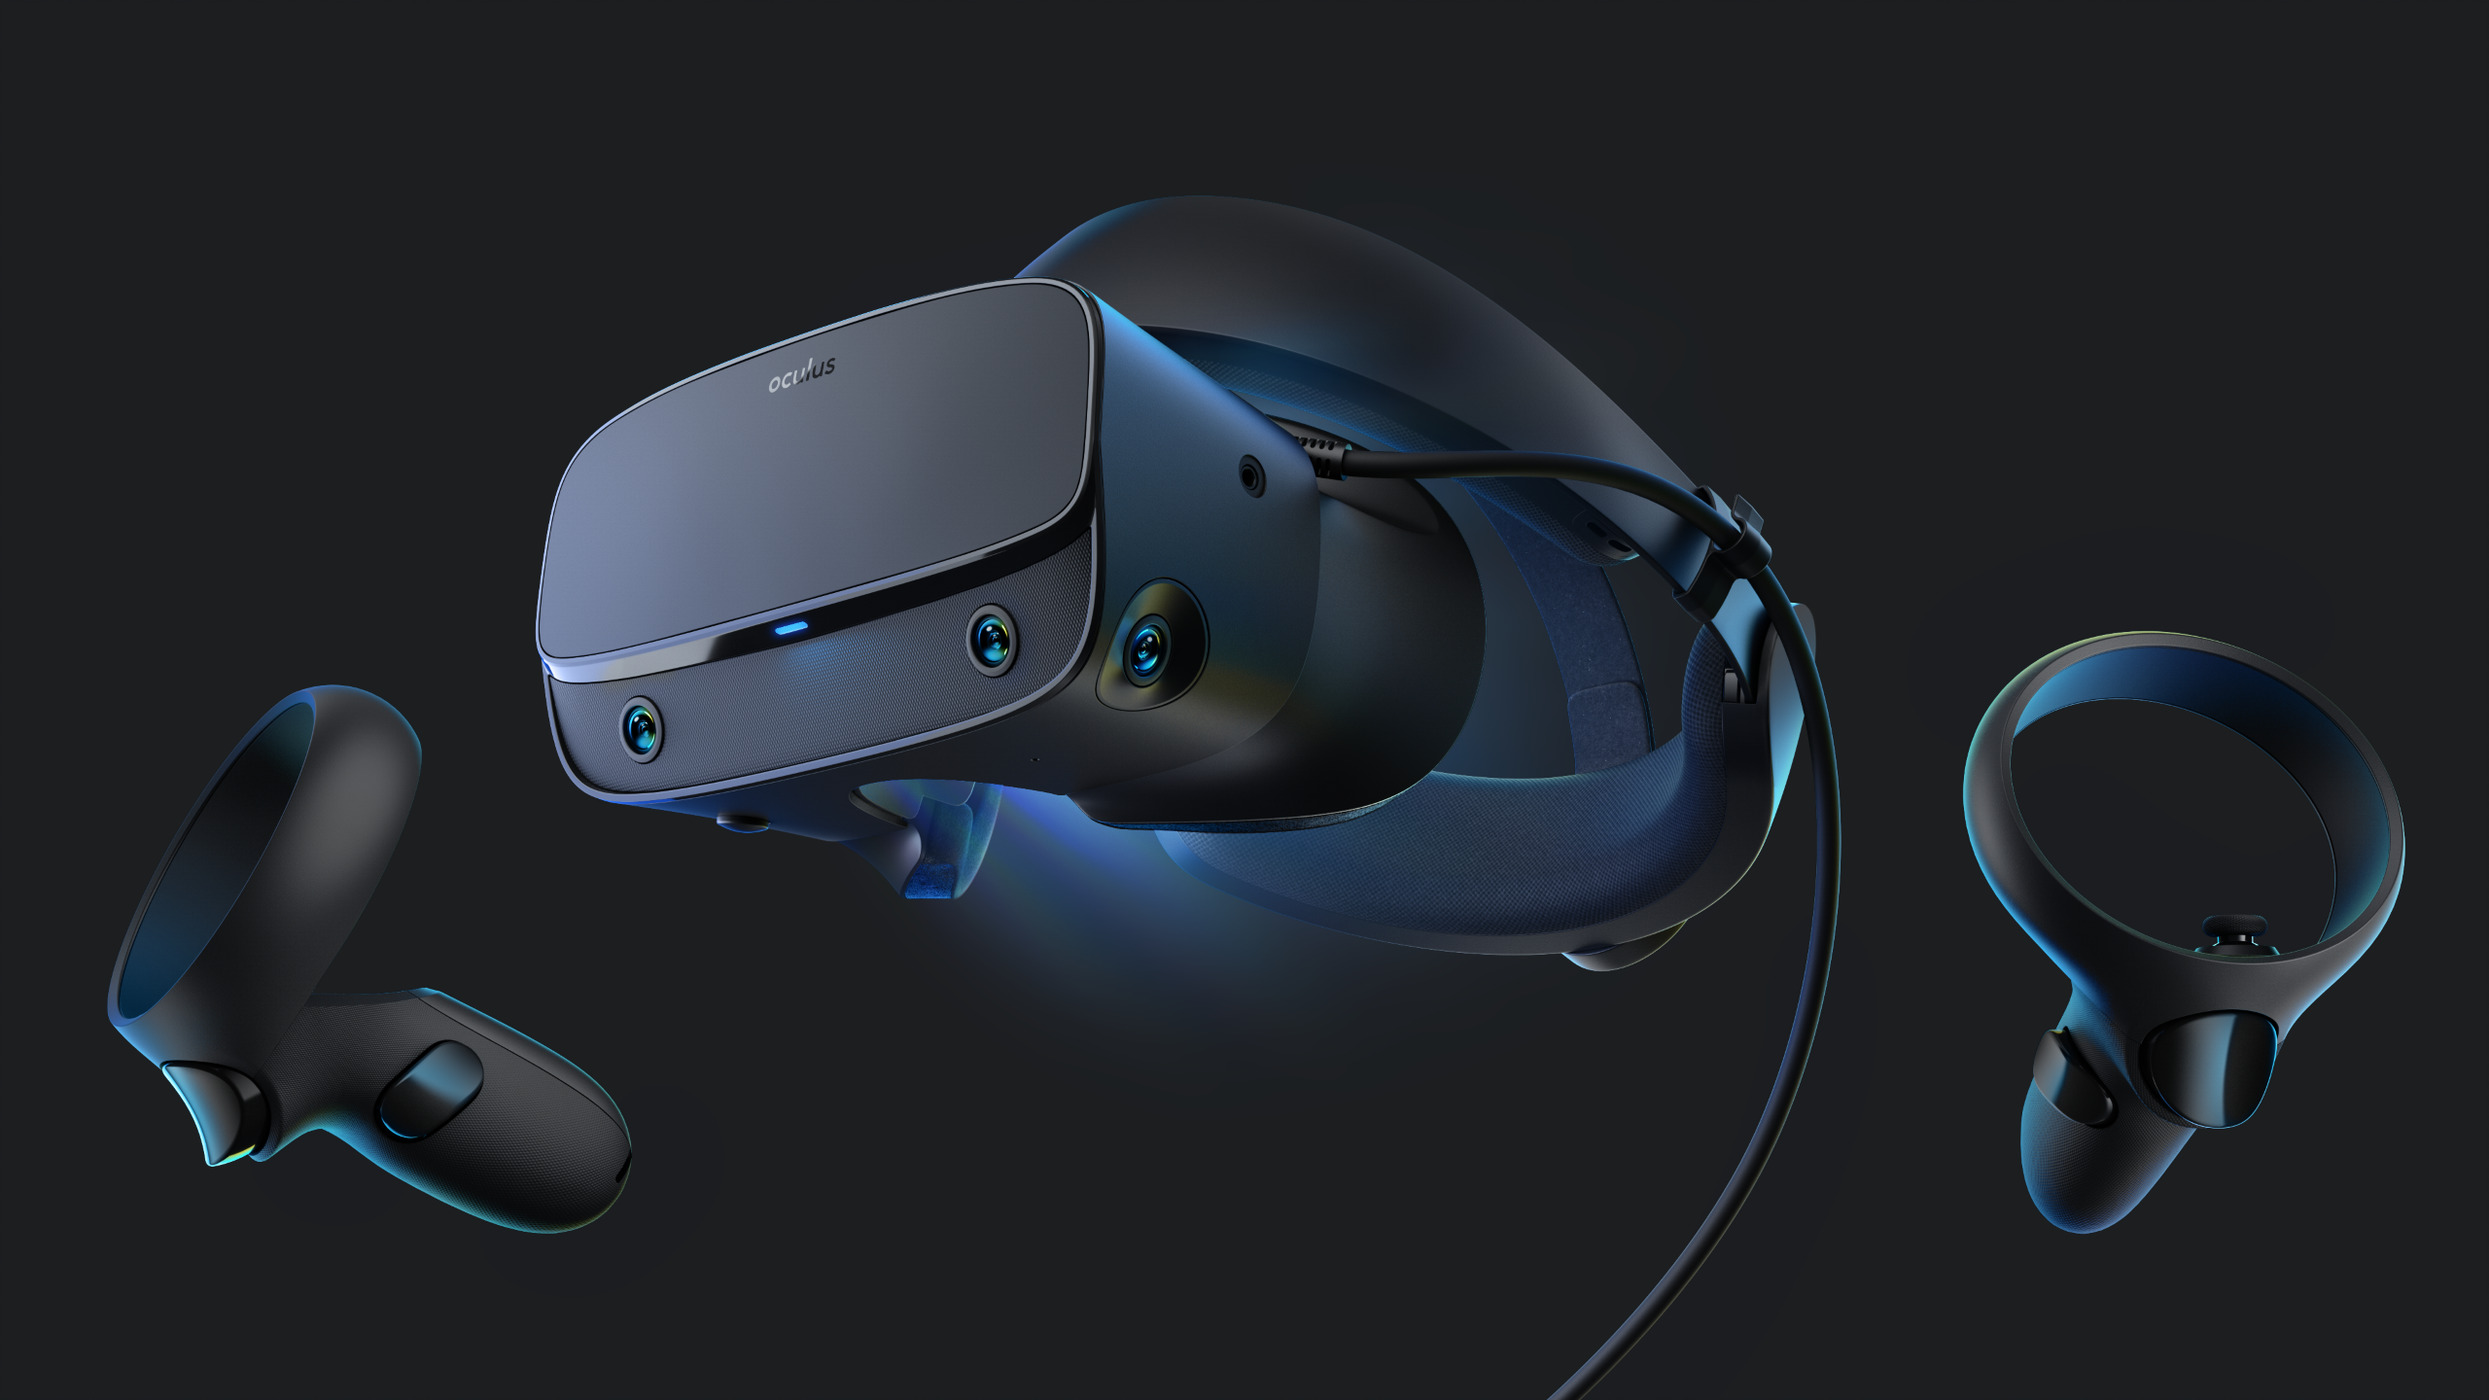
Smartphone VR excels at seated 360-degree videos and casual games, think watching a roller coaster ride on YouTube or playing a simple puzzle game where you look around. You'll get convincing immersion for these experiences. However, you cannot replicate the full-motion, room-scale tracking of dedicated PC VR headsets like the Oculus Rift. There's no walking around virtual rooms; your head movements are tracked, but your body position stays fixed. Also expect lower resolution and occasional pixelation compared to expensive headsets. Set your expectations accordingly: this is a budget-friendly entry point, not a replacement for high-end VR.
Troubleshooting common smartphone VR problems
Here's how to fix the most frequent issues. Blurry visuals: Re-align your phone in the viewer, clean the lenses, and adjust the lens distance. Phone overheating: Remove the phone from the viewer, let it cool for 5 minutes, and avoid using VR while charging. Poor head tracking: Make sure your phone's gyroscope is working by testing a non-VR app; also clean the sensors with a dry cloth. Motion sickness: Start with 5-minute sessions, focus on fixed objects in the virtual scene, and stop immediately if you feel dizzy. Rapid battery drain: Close all background apps, reduce screen brightness to 50%, and enable battery saver mode. If issues persist, check for app updates or your phone's OS updates.
Next steps for your virtual reality journey
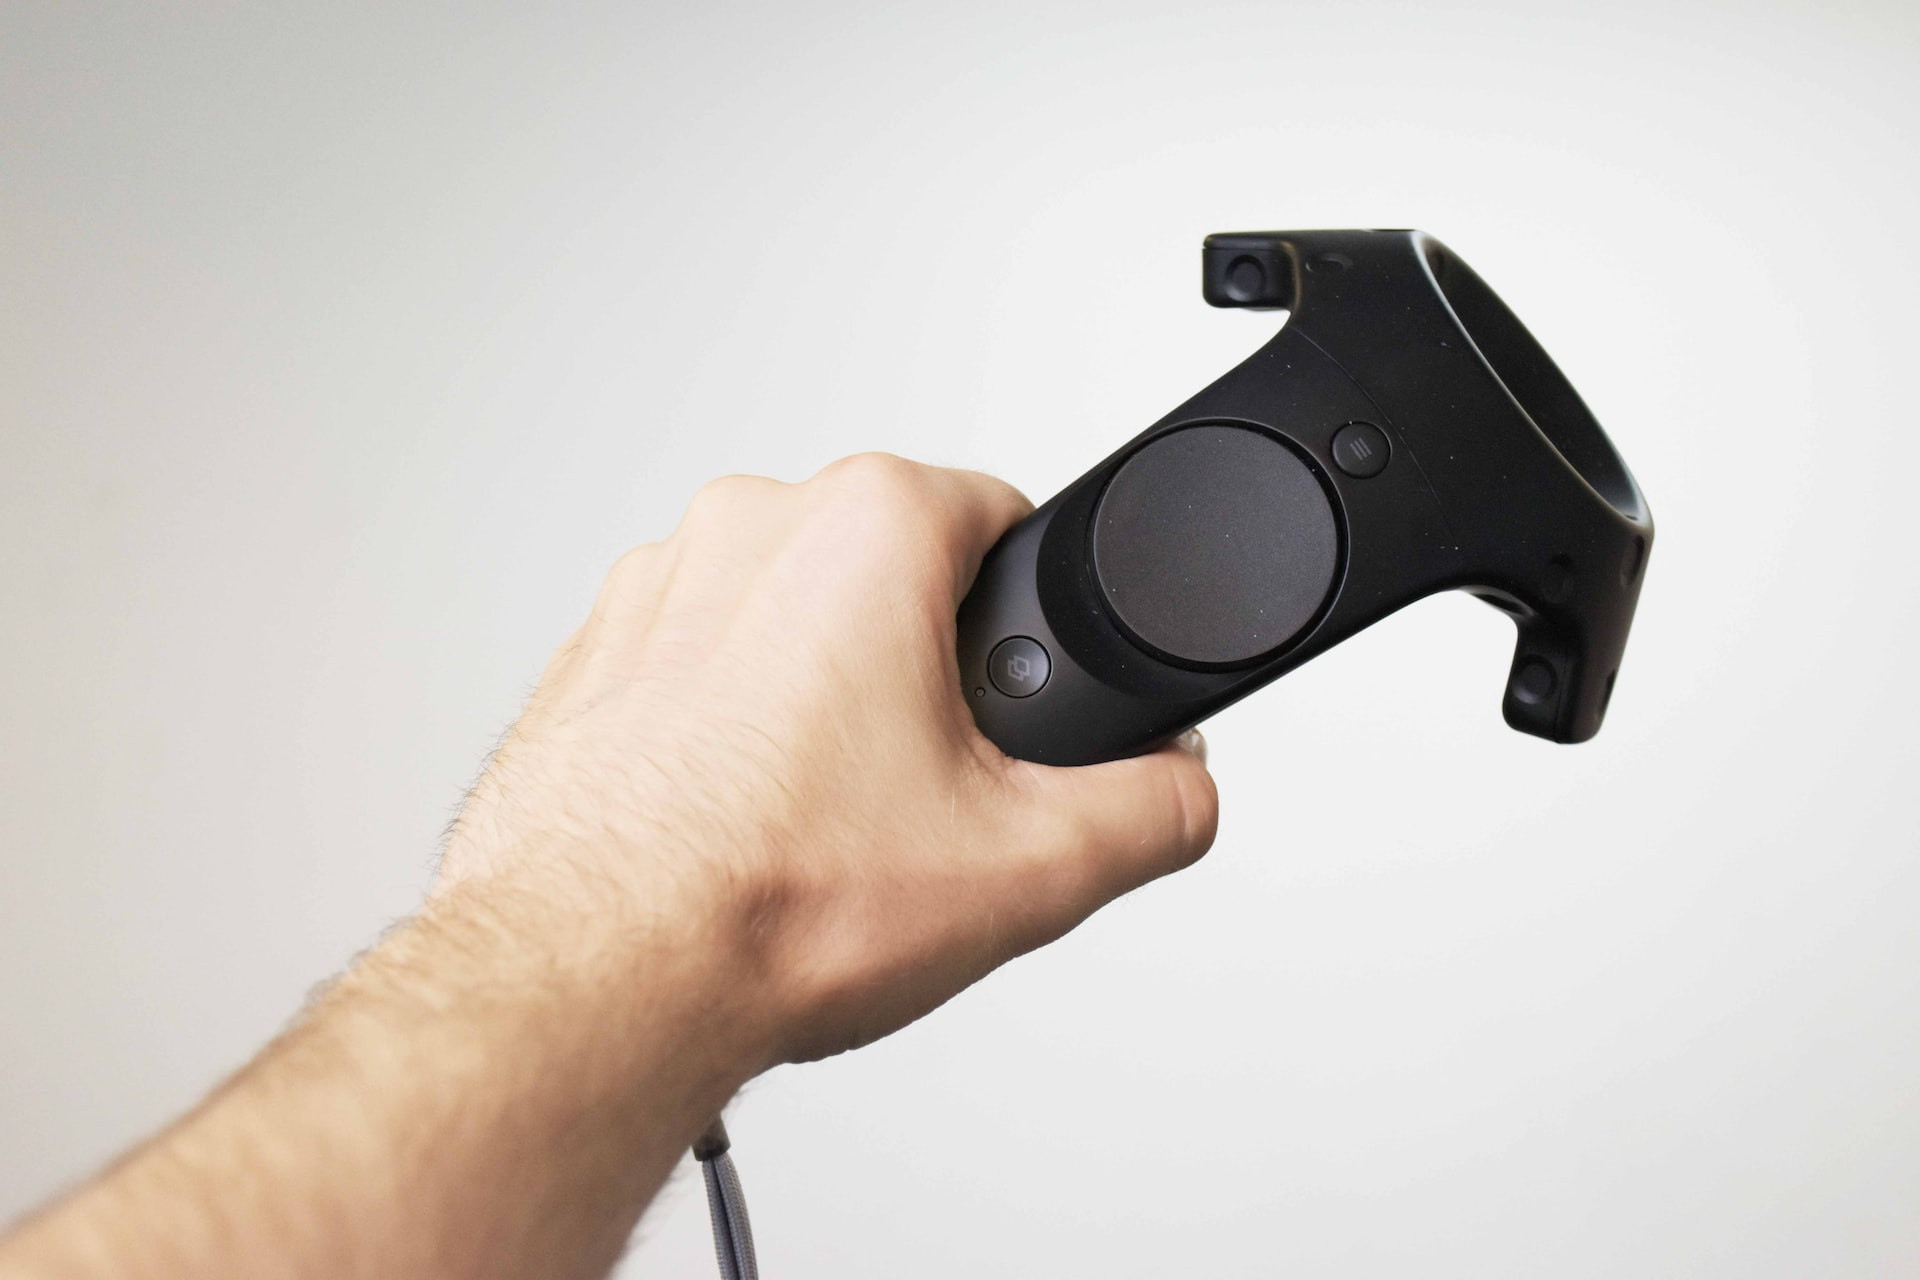
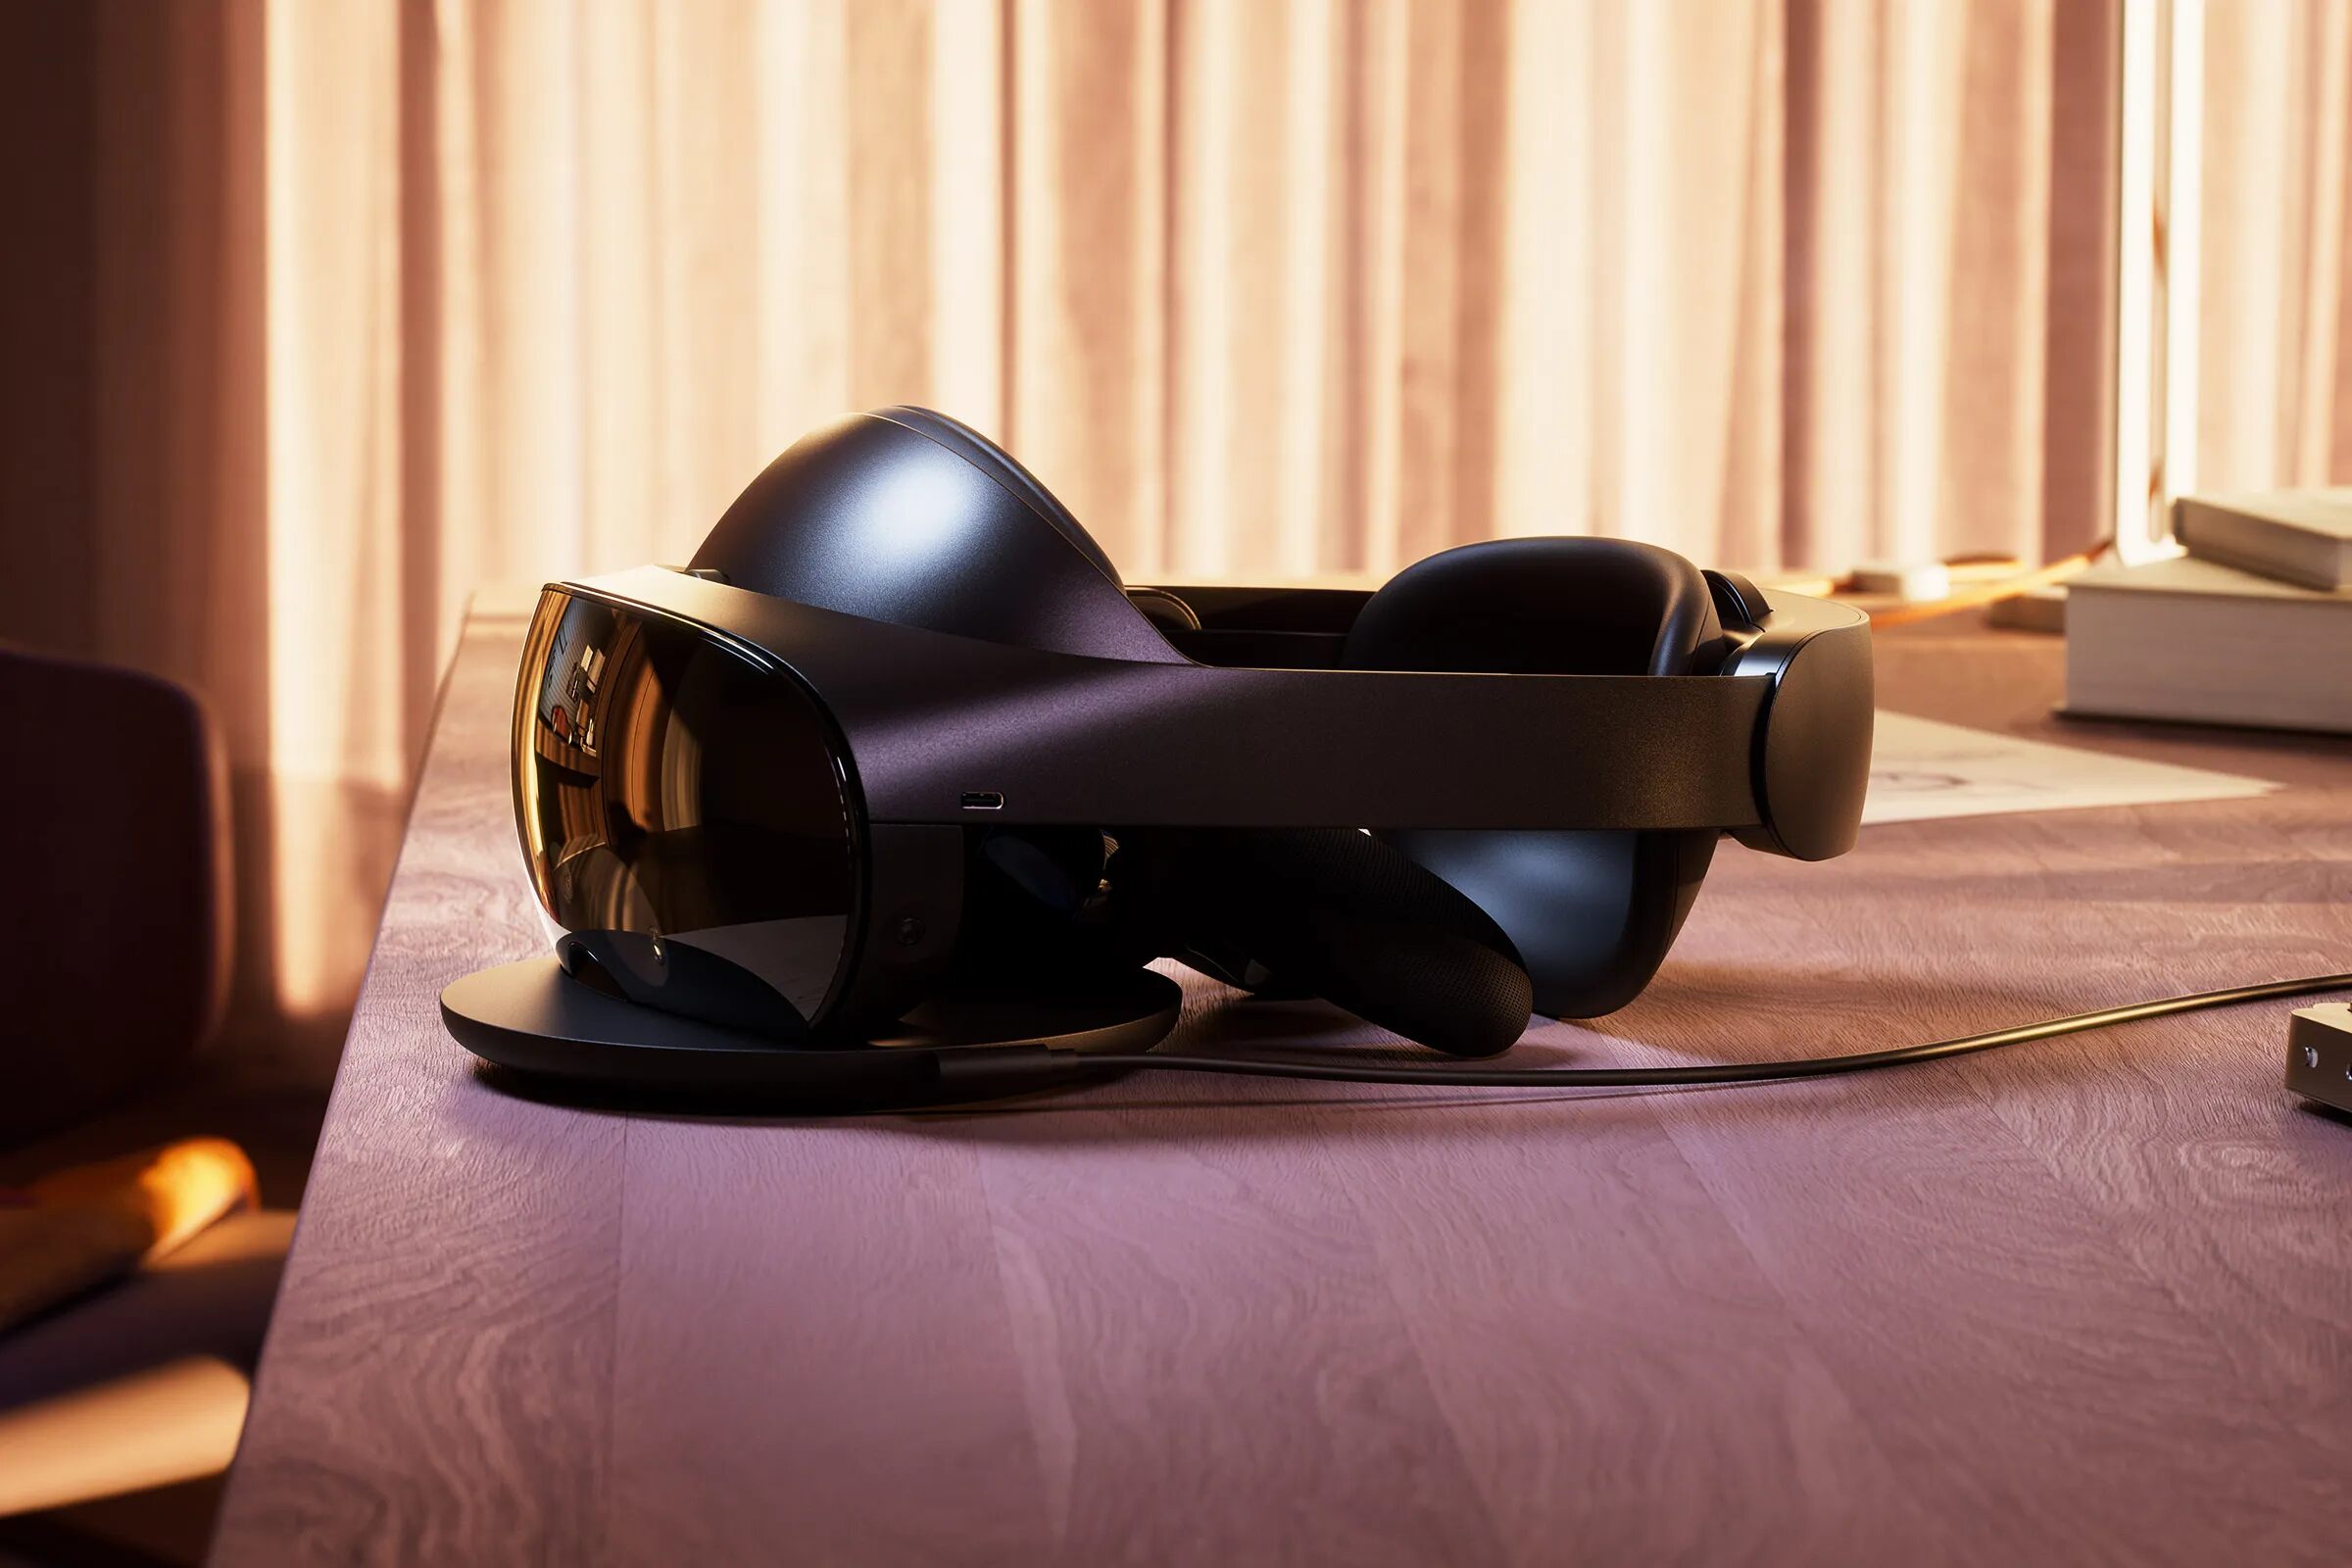
Once you've mastered the basics, you might want to expand your setup. If your viewer supports a Bluetooth controller, you can connect VR controller to VR headset for more interactive games, check your viewer's manual for pairing instructions. If you're considering an upgrade, research the cost of virtual reality for dedicated headsets like the Meta Quest, which start around $300. And if you ever buy a used or borrowed headset, you'll need to know how to reset a VR headset to clear previous owner data, this typically involves holding the power and volume buttons for 10 seconds. If you run into trouble getting your phone to recognize the viewer, you may need to connect VR headset to phone properly first. These steps will keep your VR journey smooth as you grow beyond phone-based experiences.
For the wider topic, see reset a VR headset.